 [zit] Olivier Gade
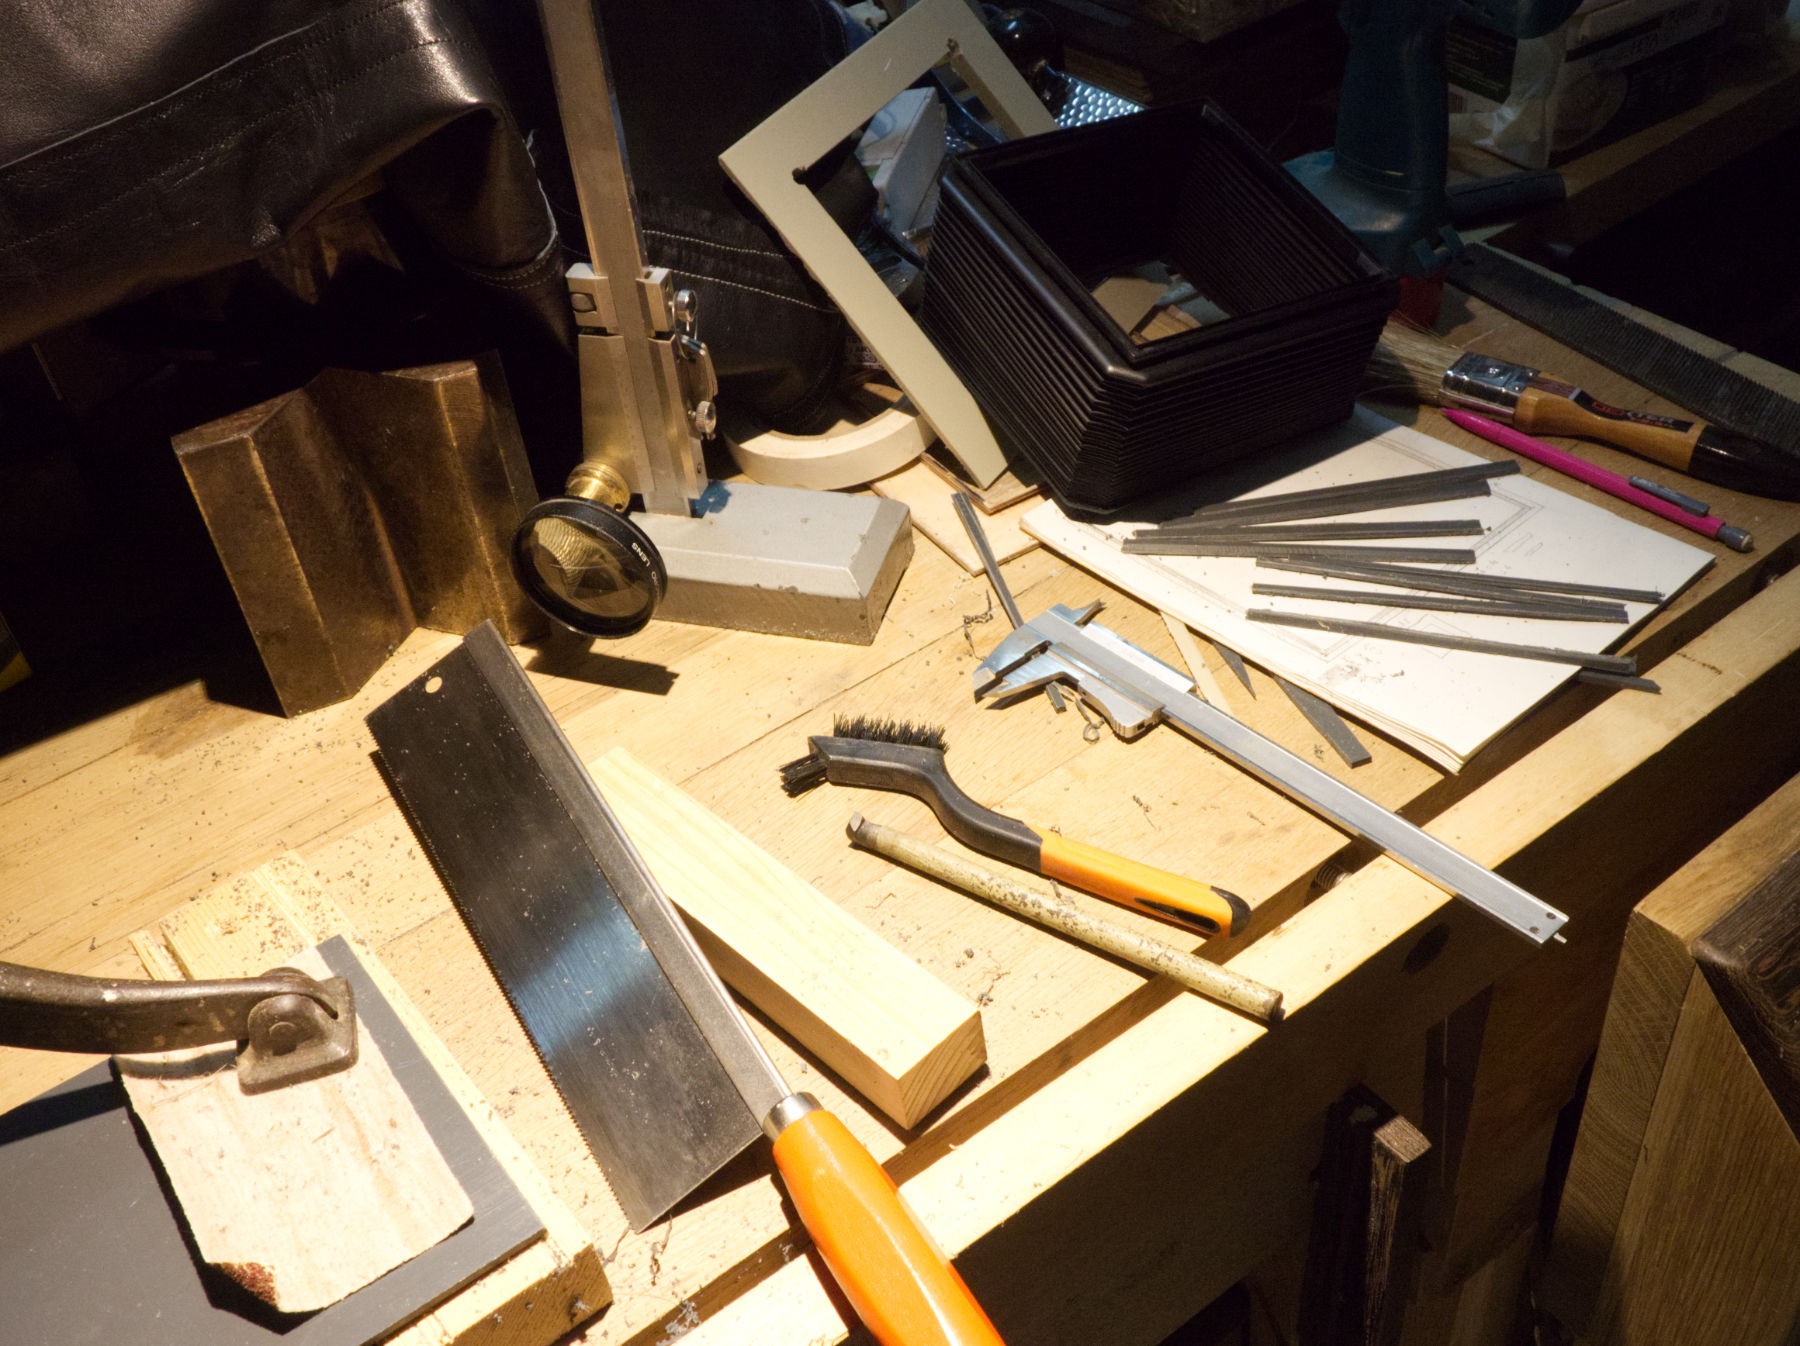
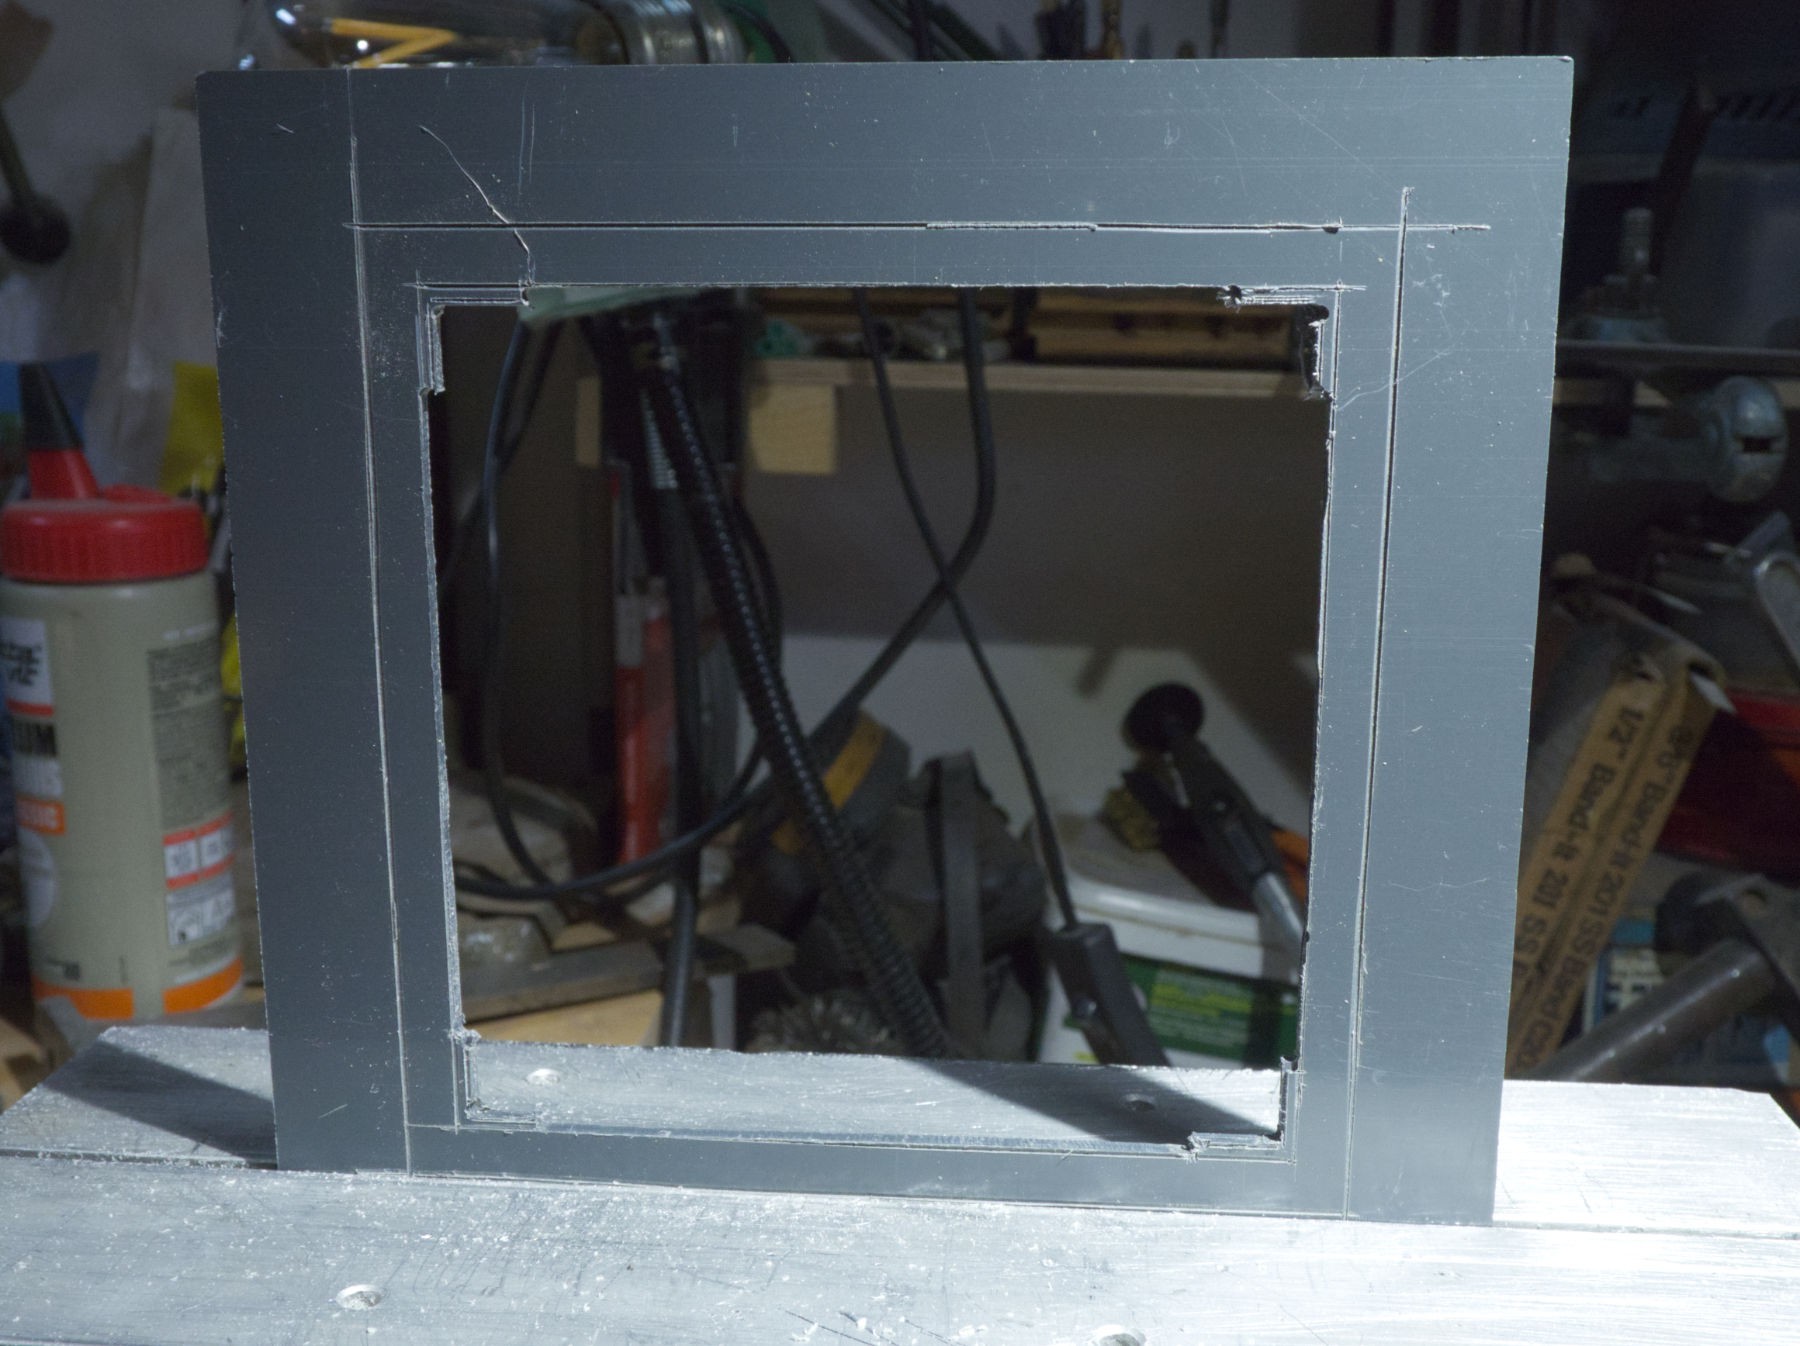
Same material (PVC) but 3 mm thickness, it'll be glued (in fact, welded as the material is melted).
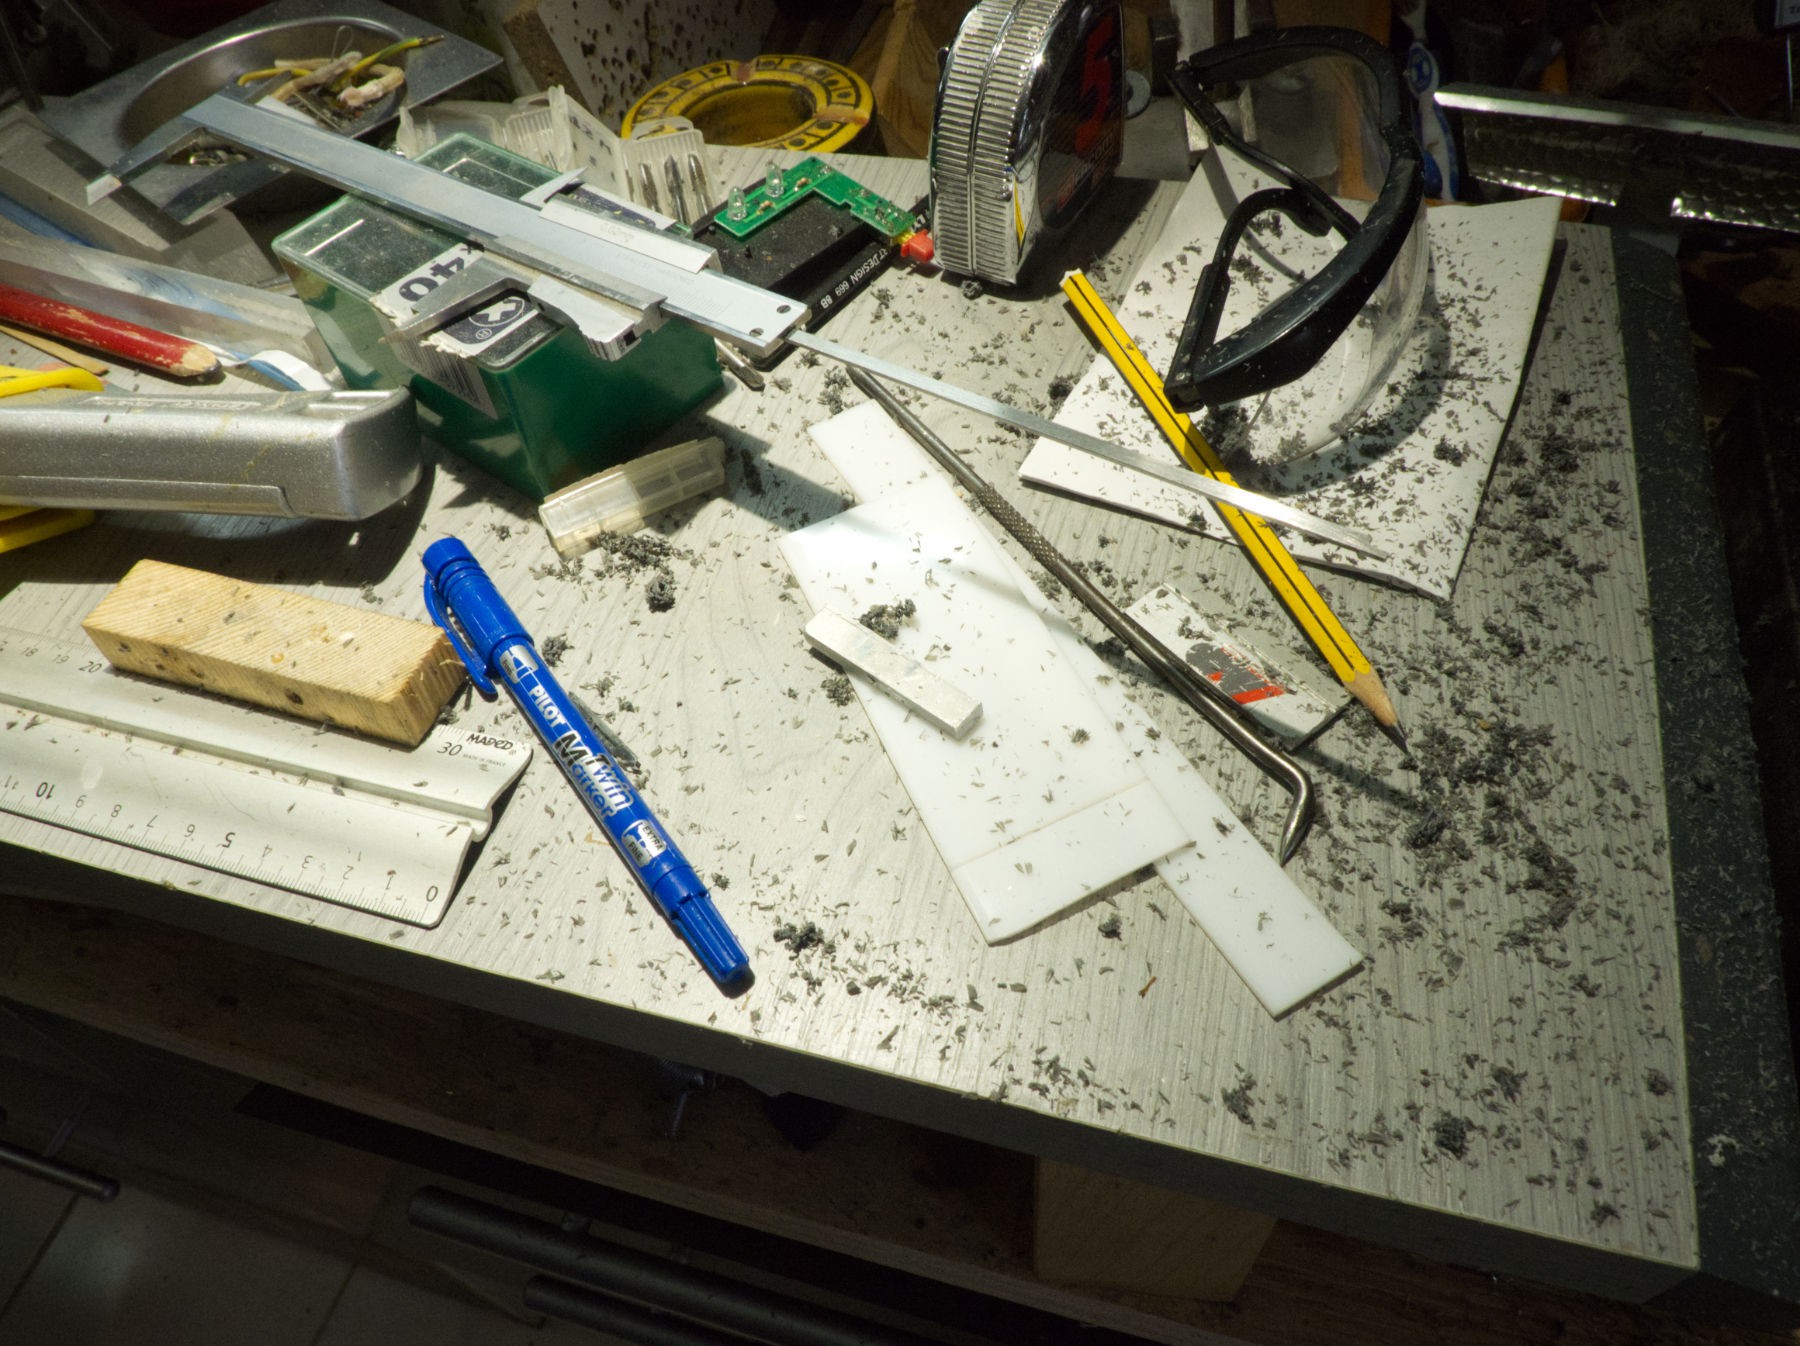
I need 8 very thin (between 4 and 7 mm wide) strips to make the frame, I don't have the bandsaw that would be perfect, so a backsaw is used, but first the cutting is initiated with the trusquin (marking gauge), and continuated with an metal lathe tool, very sharp, and it makes a very satisfying SCRIIITCH noise, the hand must be very well positioned to scratch on the thin strait line made first with the trusquin, then repeated about 10 times on each side, and then, the backsaw to finish. It gives, with the help of an ébavureur (deburring tool) a very soft edge finish with a little chanfrein (in fact, it's better not to have an angled cut for the upper stripes, the largest ones 7 x 140 mm must have strait edges as they are going to be routed « in between the 7 mm », so lost material isn't a good option).
I really enjoy using the trusquin ! With the sharp tungsten carbide marking tool, it's very pleasant trying to be precise. Even for small woodworks it's smooth, and you can repeat anytime you wish to have a mark on very hard surfaces. Of course, it's better used on the marble than on the wood bench, but it's flat enough for that task.
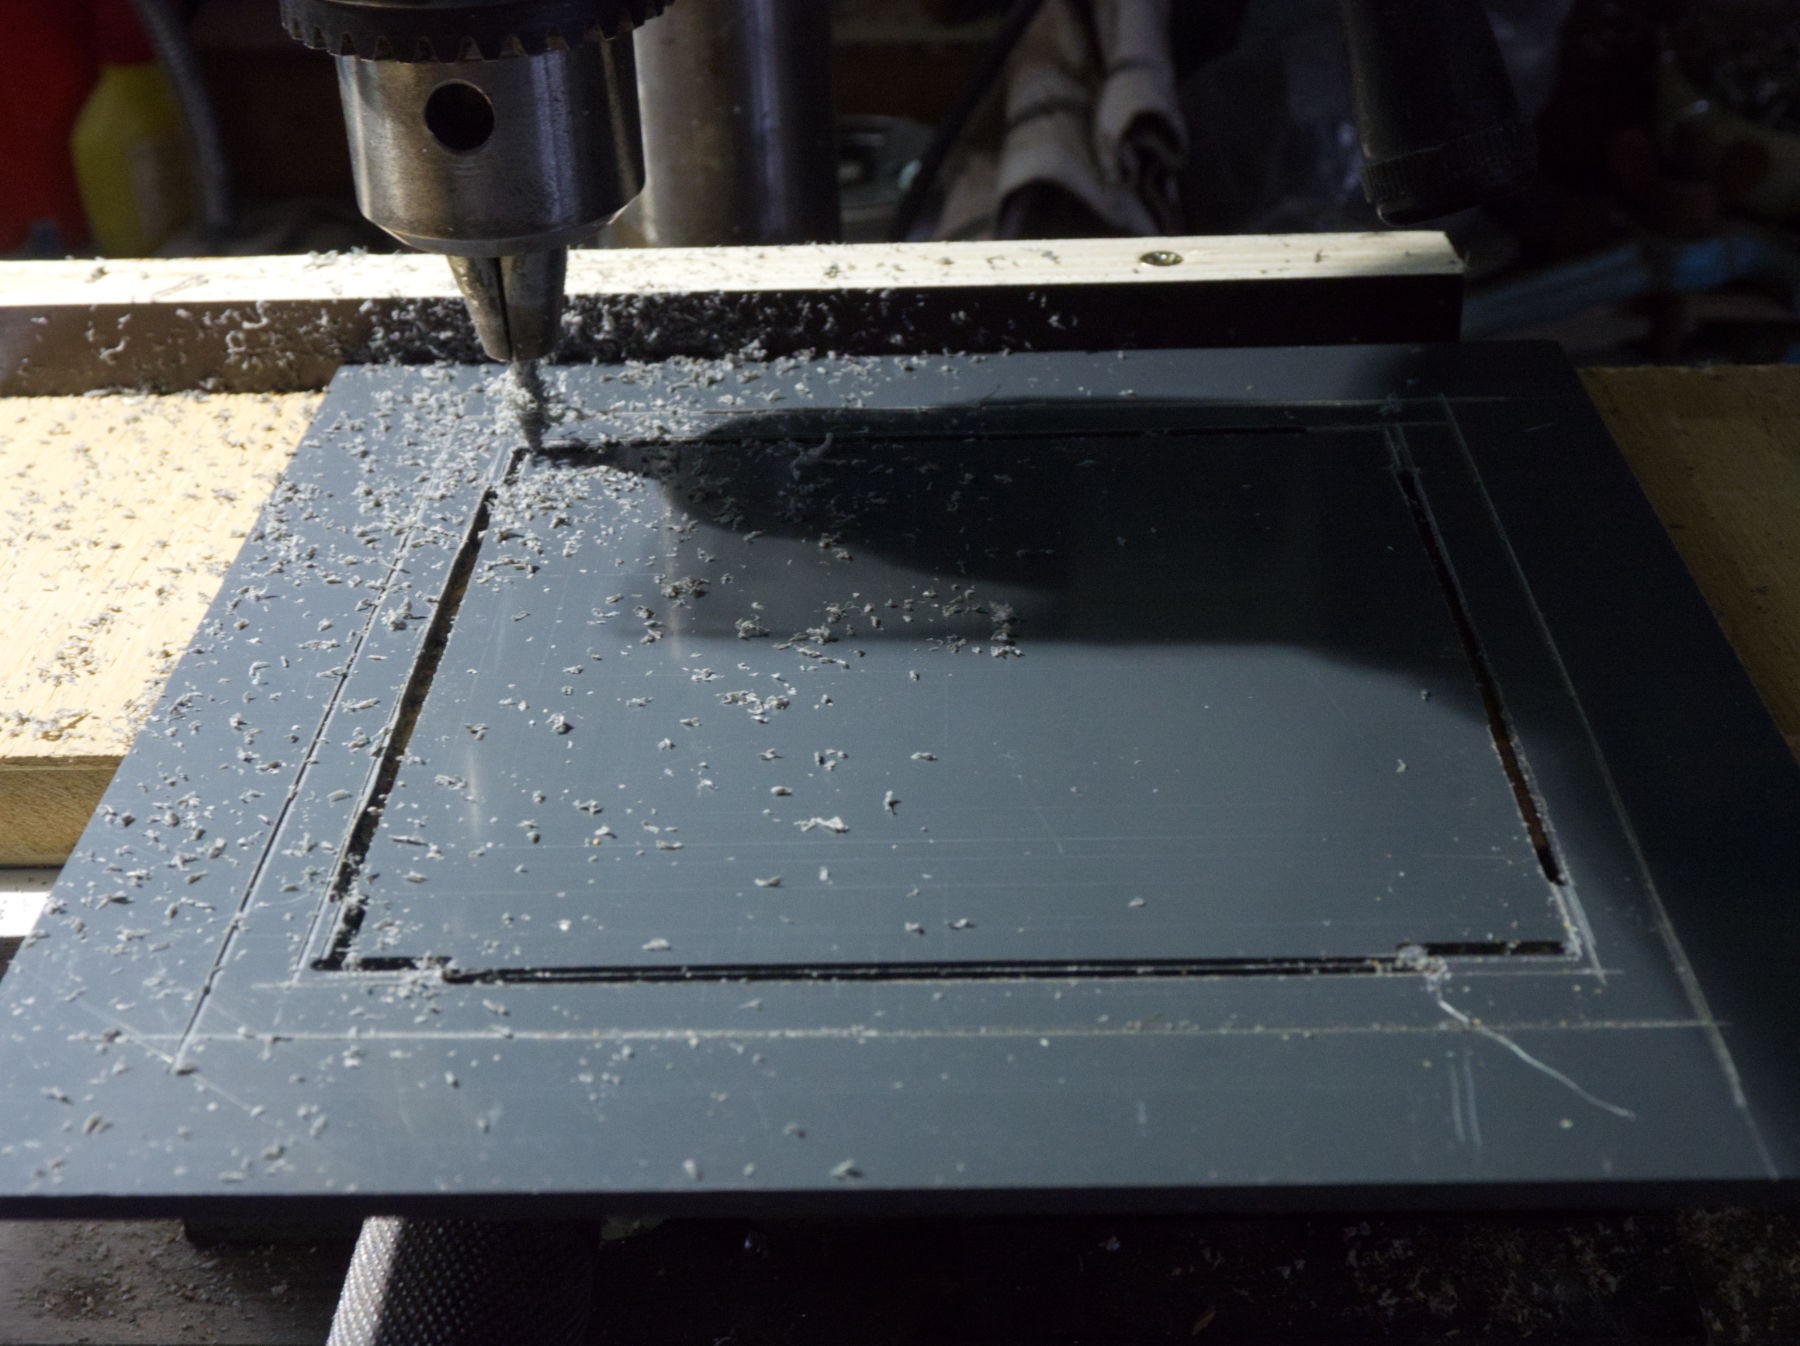
Very easy to cut with the "milling machine" adapted drill press and an 2 mm tool.
Just a few surgeon blade cuts here and there needed.
Some filling here and there. The soft jaws of my soviet (made in CCCP in the 80's it was just 10 times cheaper than a made in France smaller one) vise are the same 5 mm L shaped profiles used for the frame of the lens, as a very valuable strong material, even if fond on the sidewalk, I don't use it for small projects.
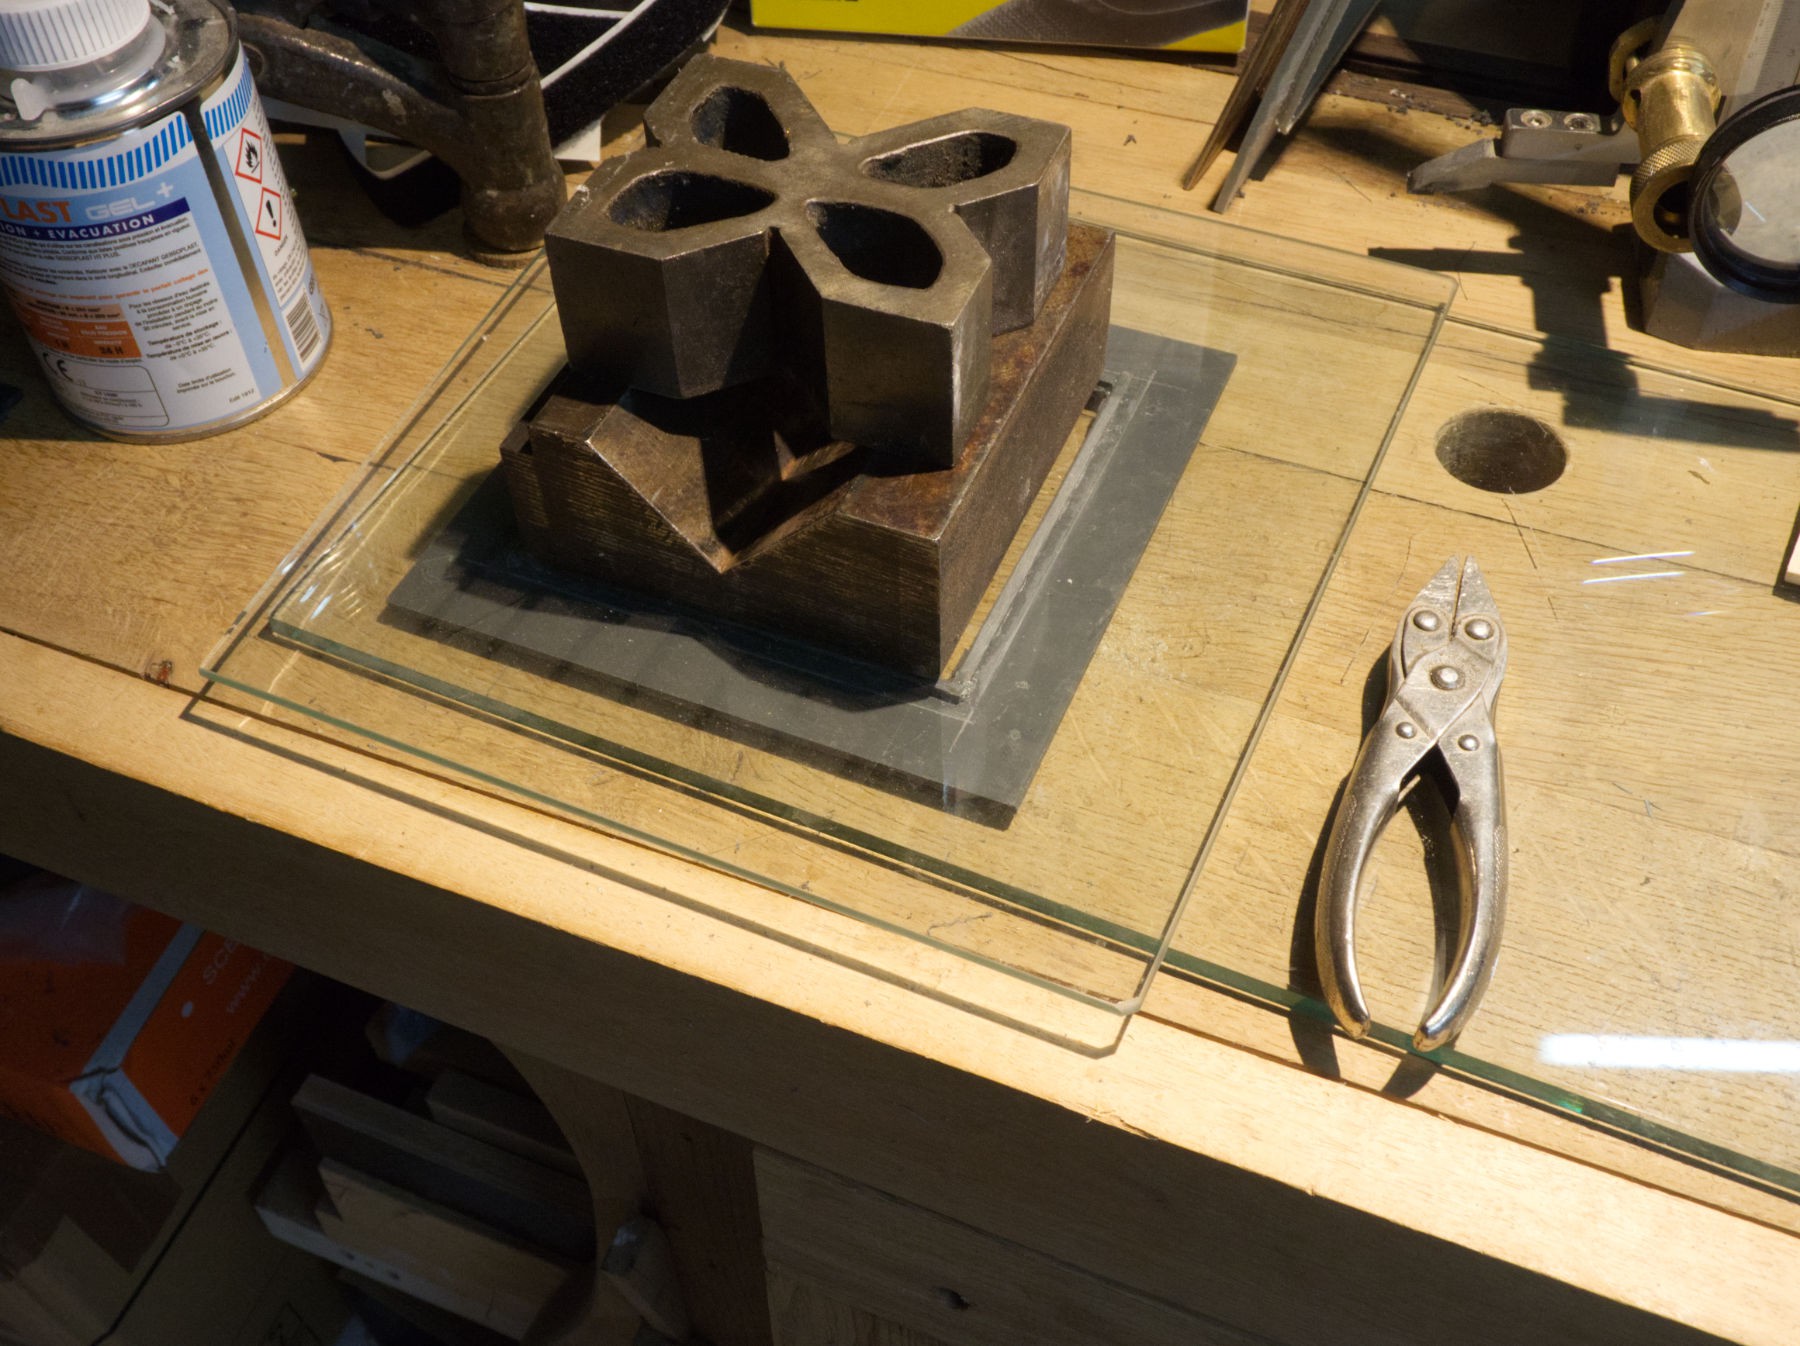
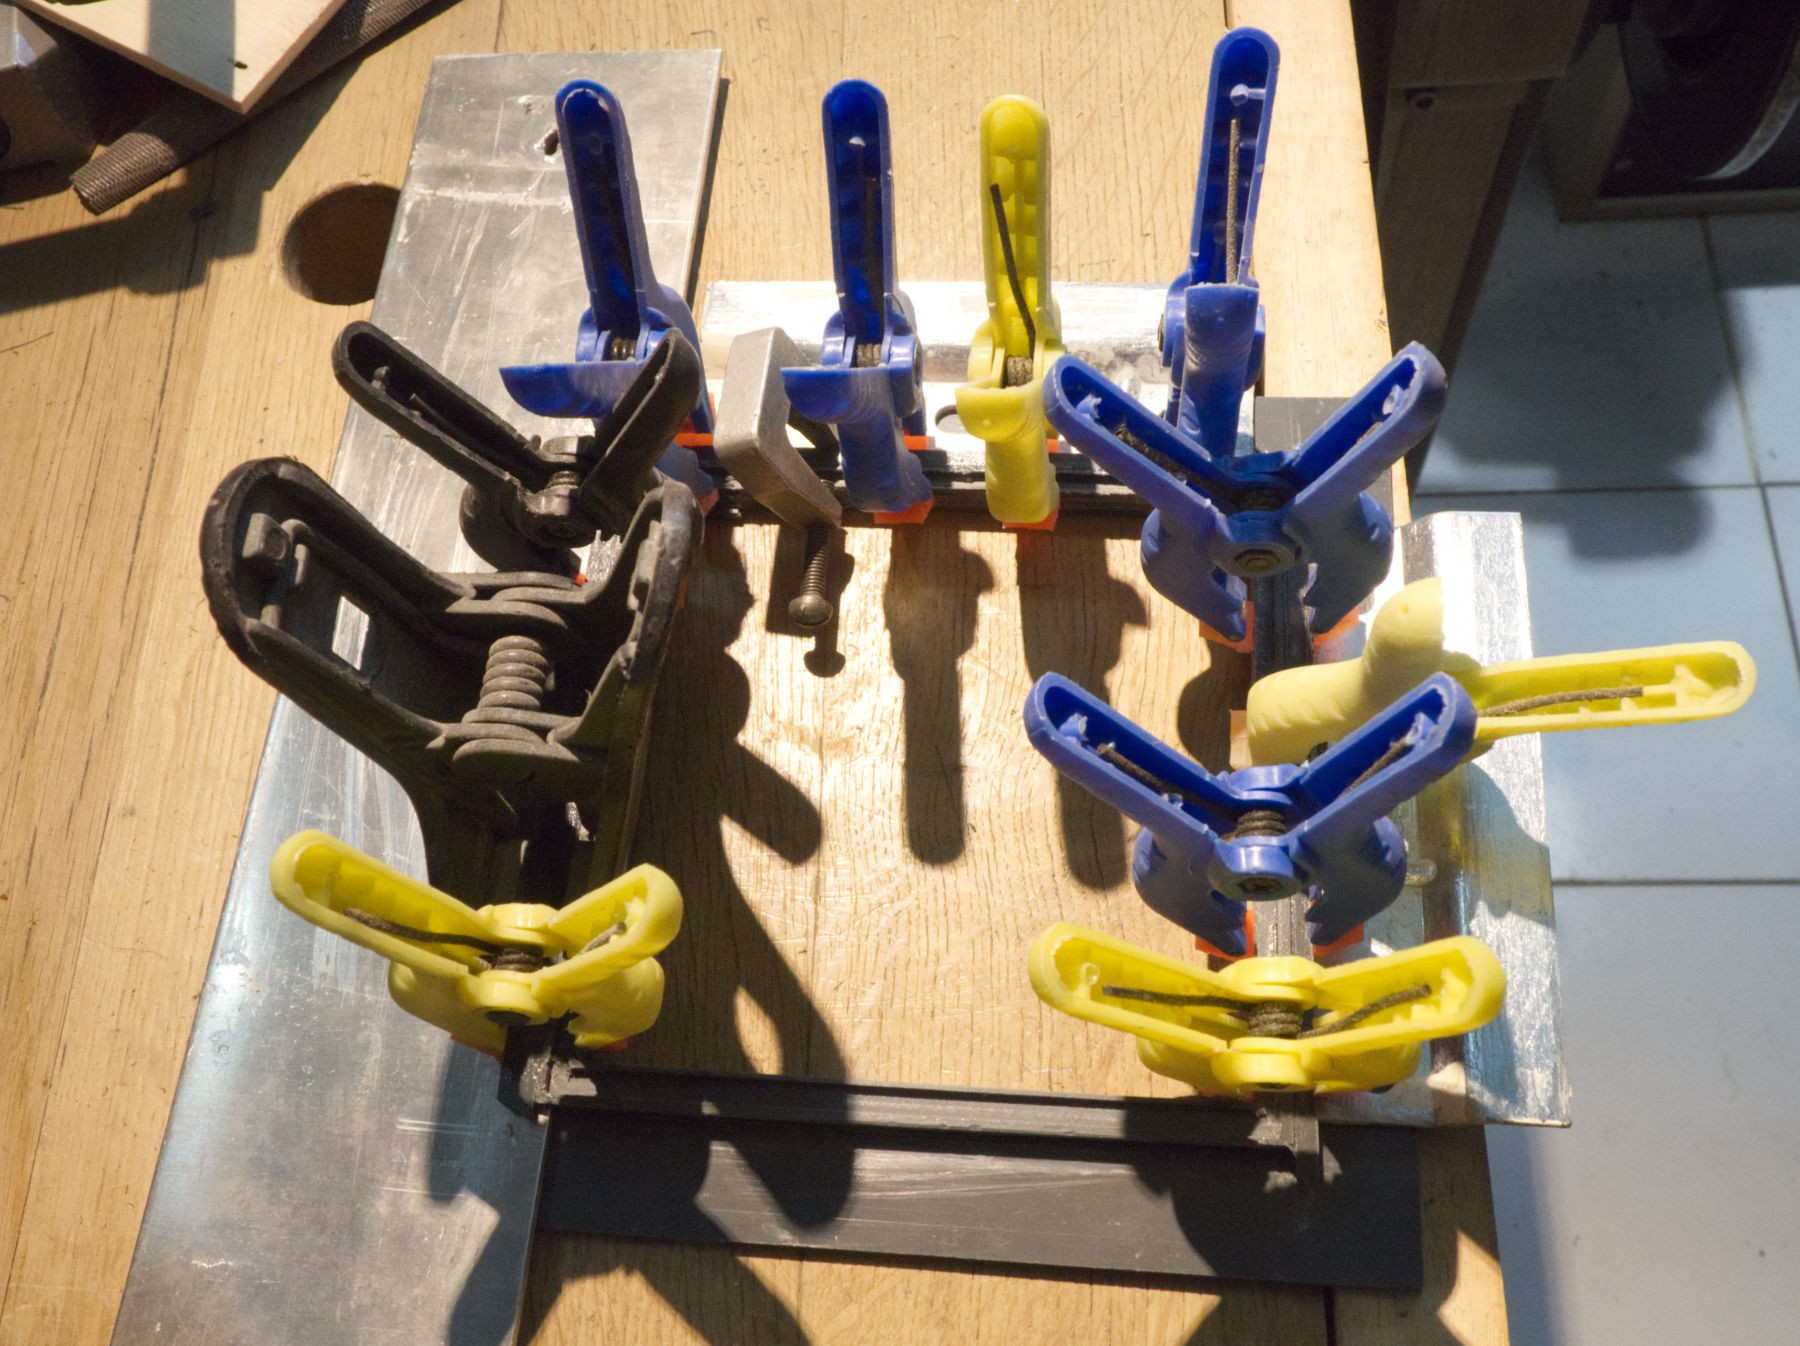
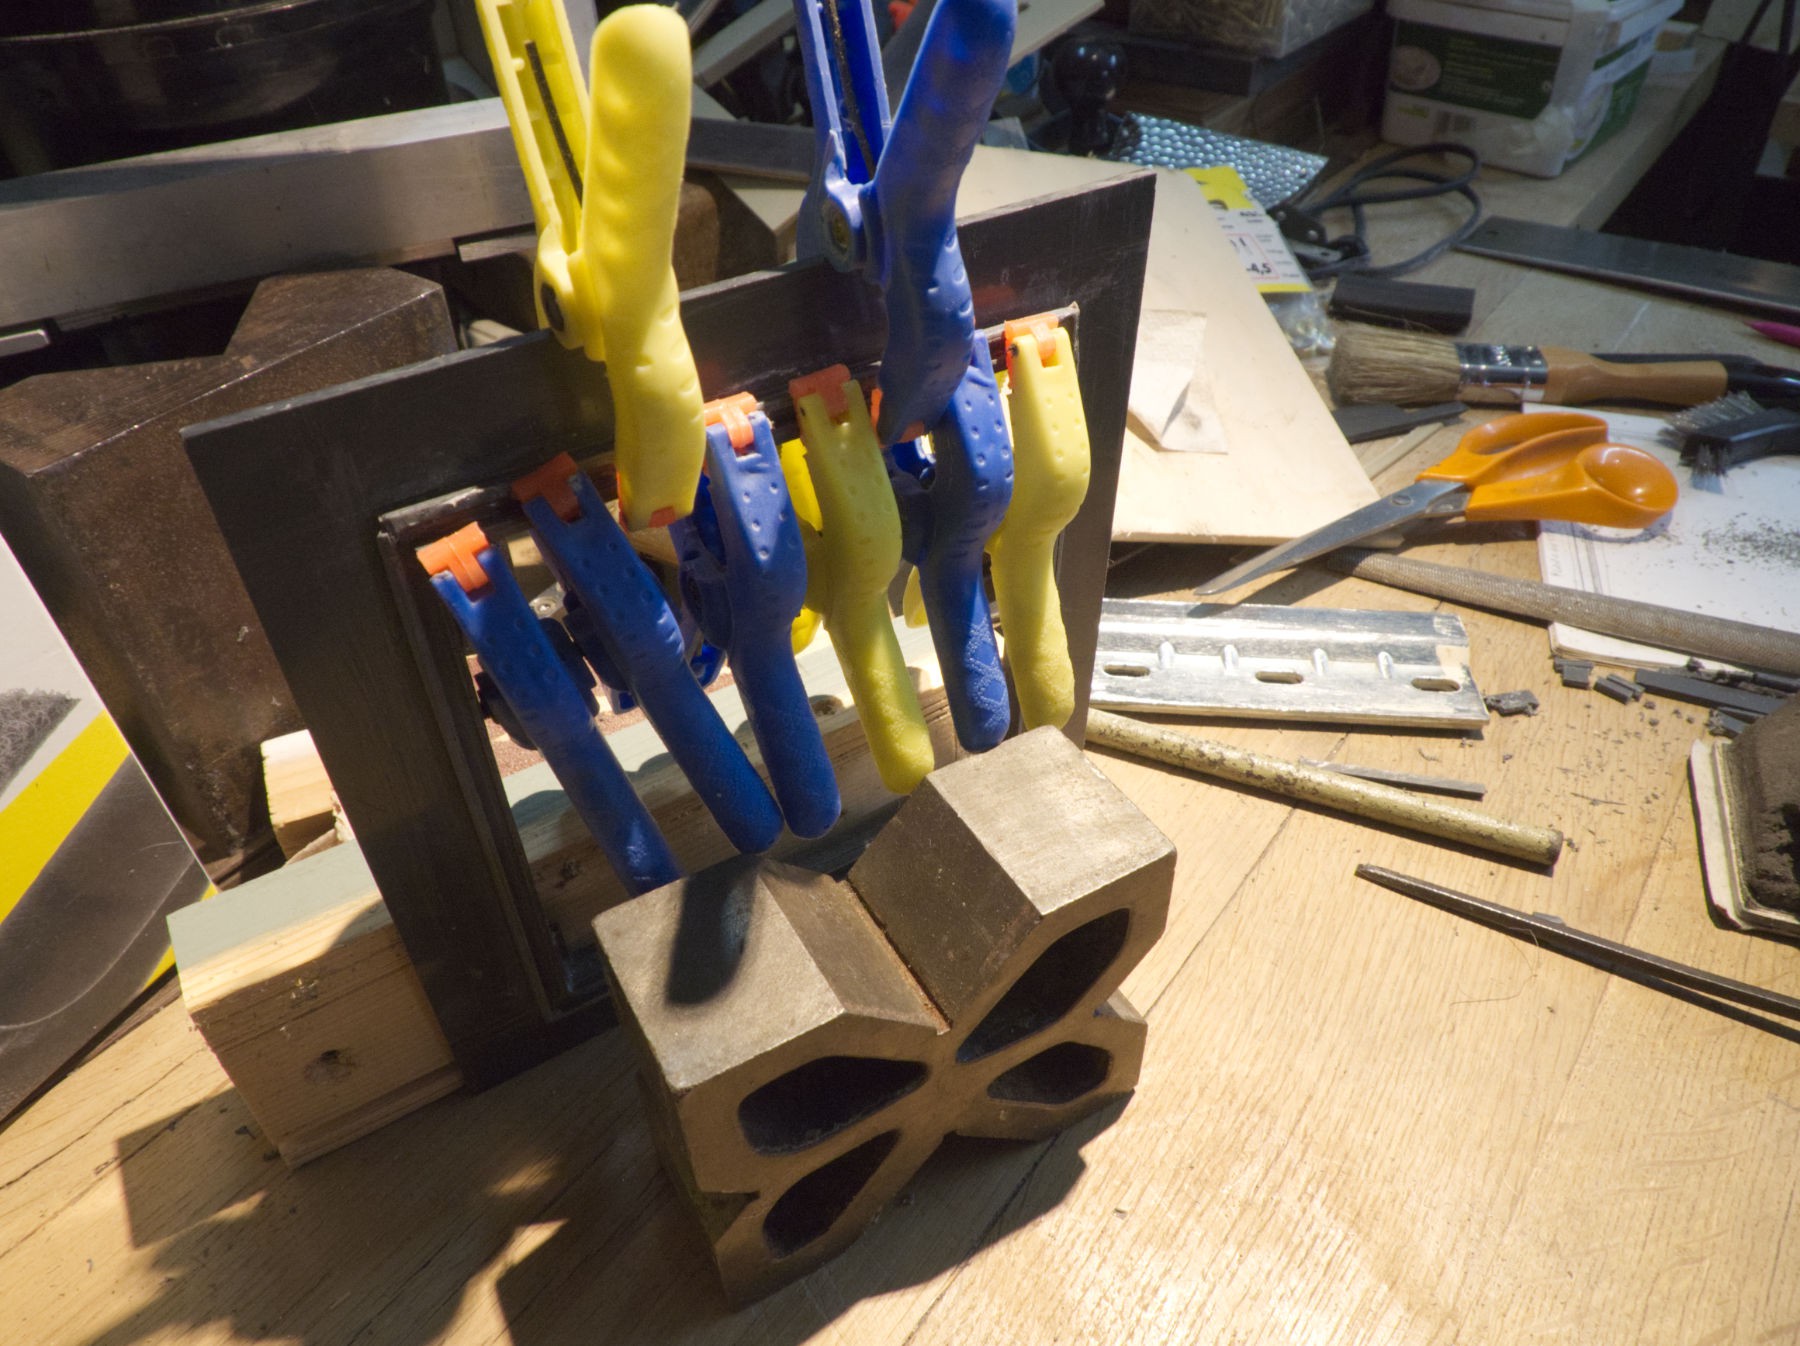
Welding the first 3 x 4 x 130 mm strips with the help of some weights and the appropriate "PVC gel glue" witch is a solvent, that's why welding PVC, if done well (after scratching a little the surface with sand paper) is a good strong bond, just like PMMA with chloroform. A very good ventilation is necessary it's toxic and I also use a little acetone for cleaning. Some glass shelves are used to protect the bench. I don't want to have a sticky woodbench, and glass is very easy to clean with a blade and don't fear nothing except heat, hits and scratches.
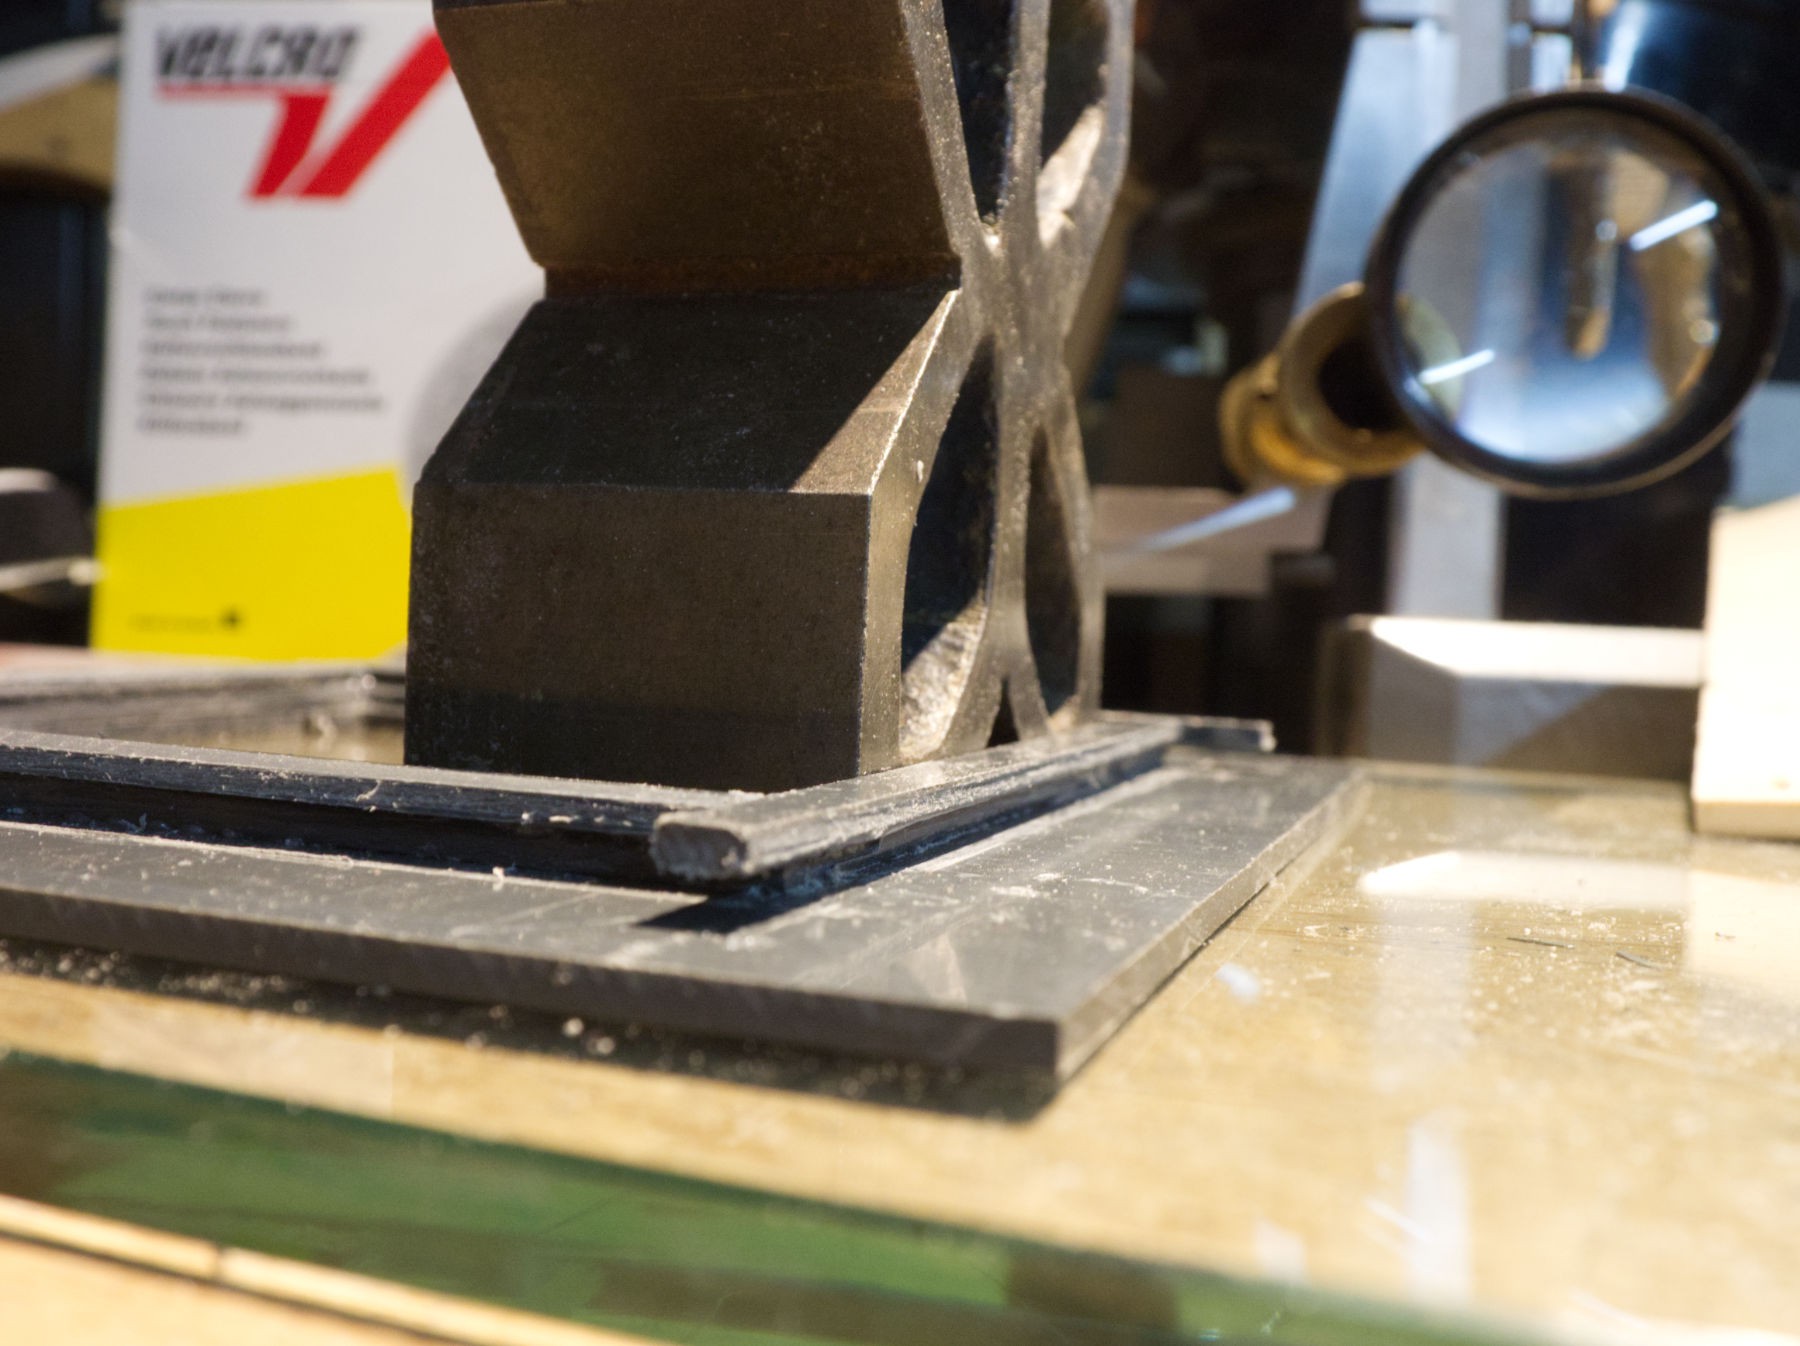
Second stage, 3 x 7 x 140 mm strips welding.
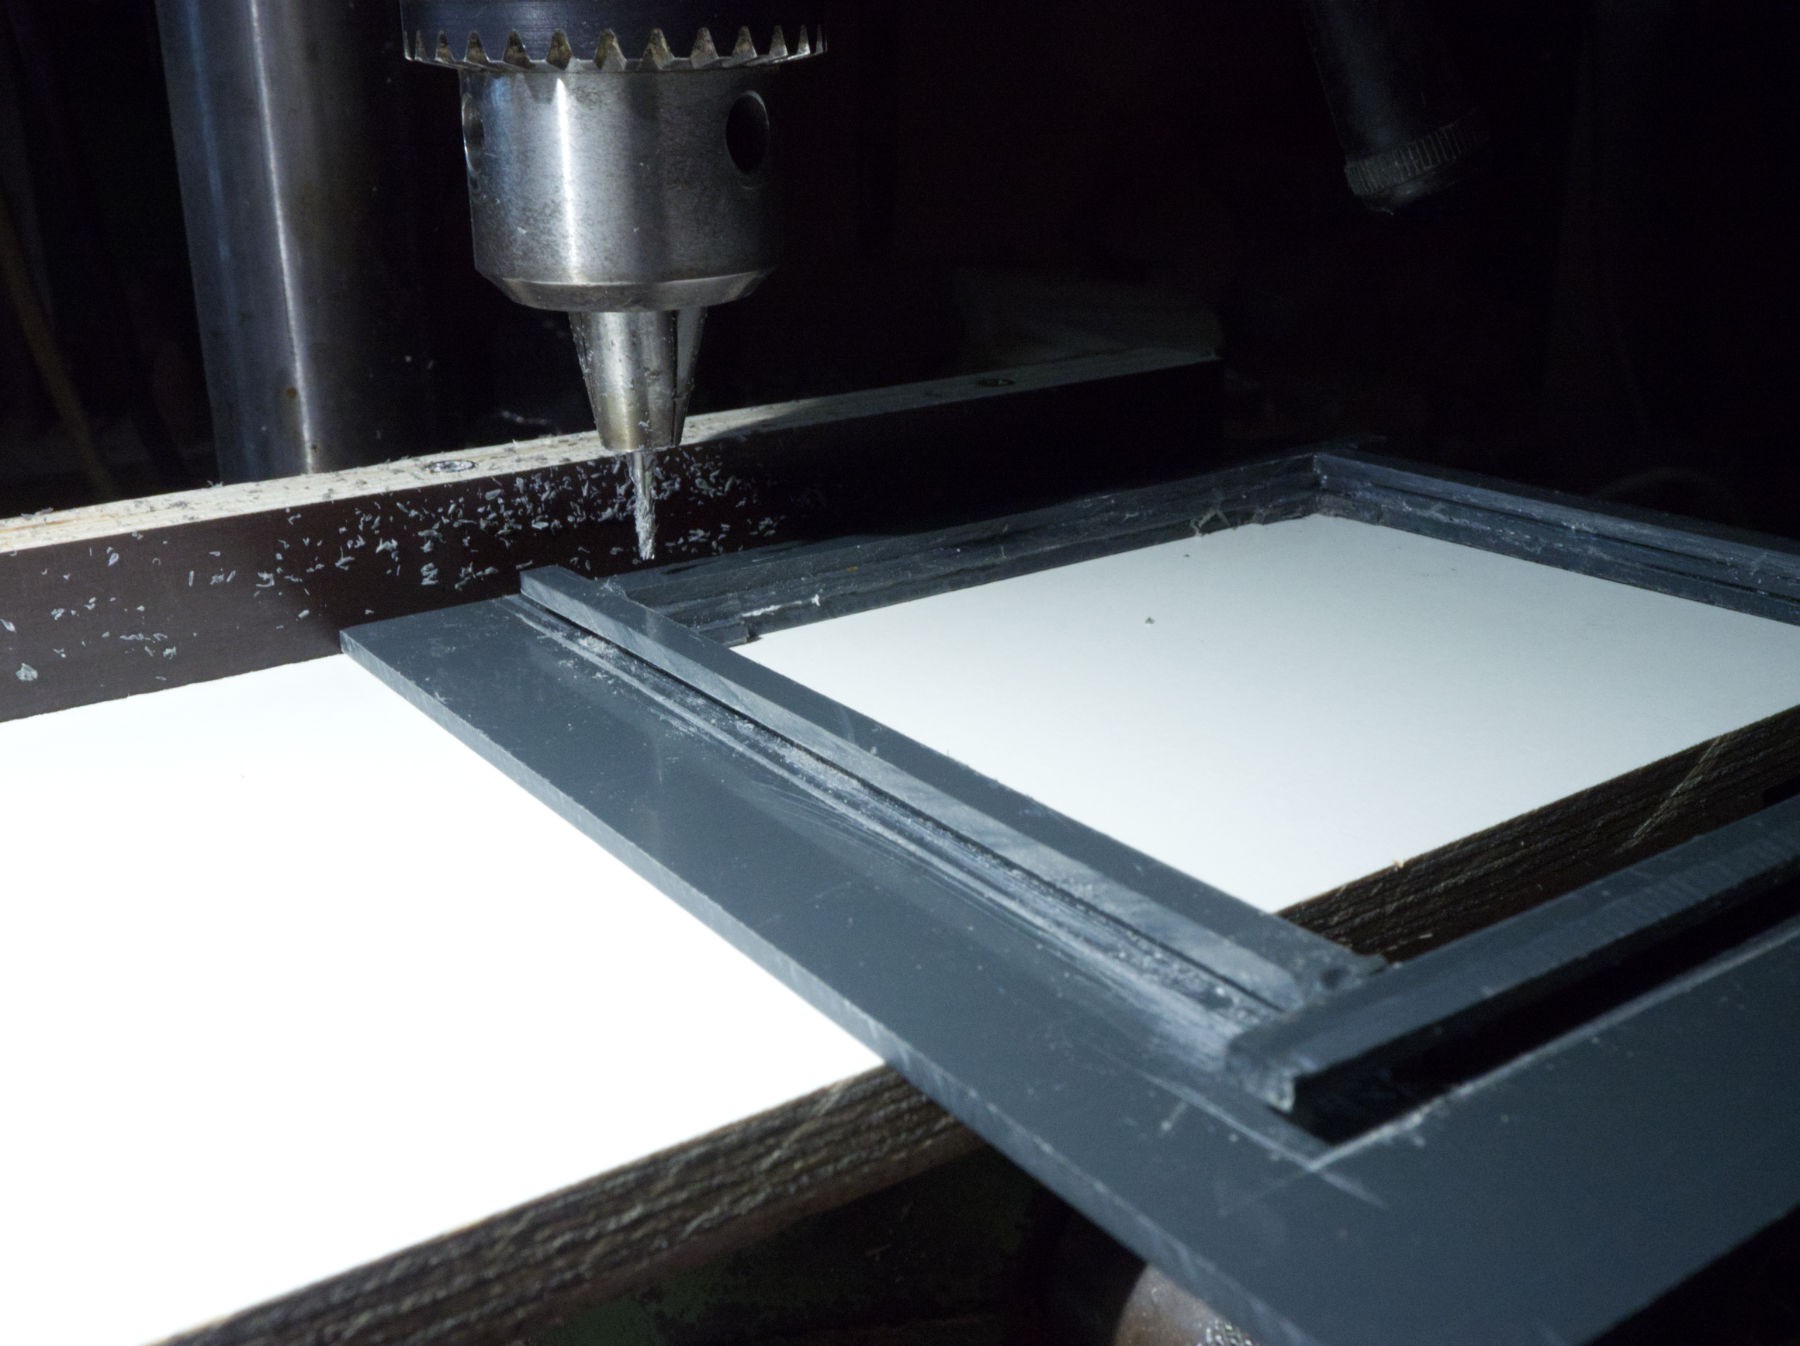
Milling with the 2 mm tool.
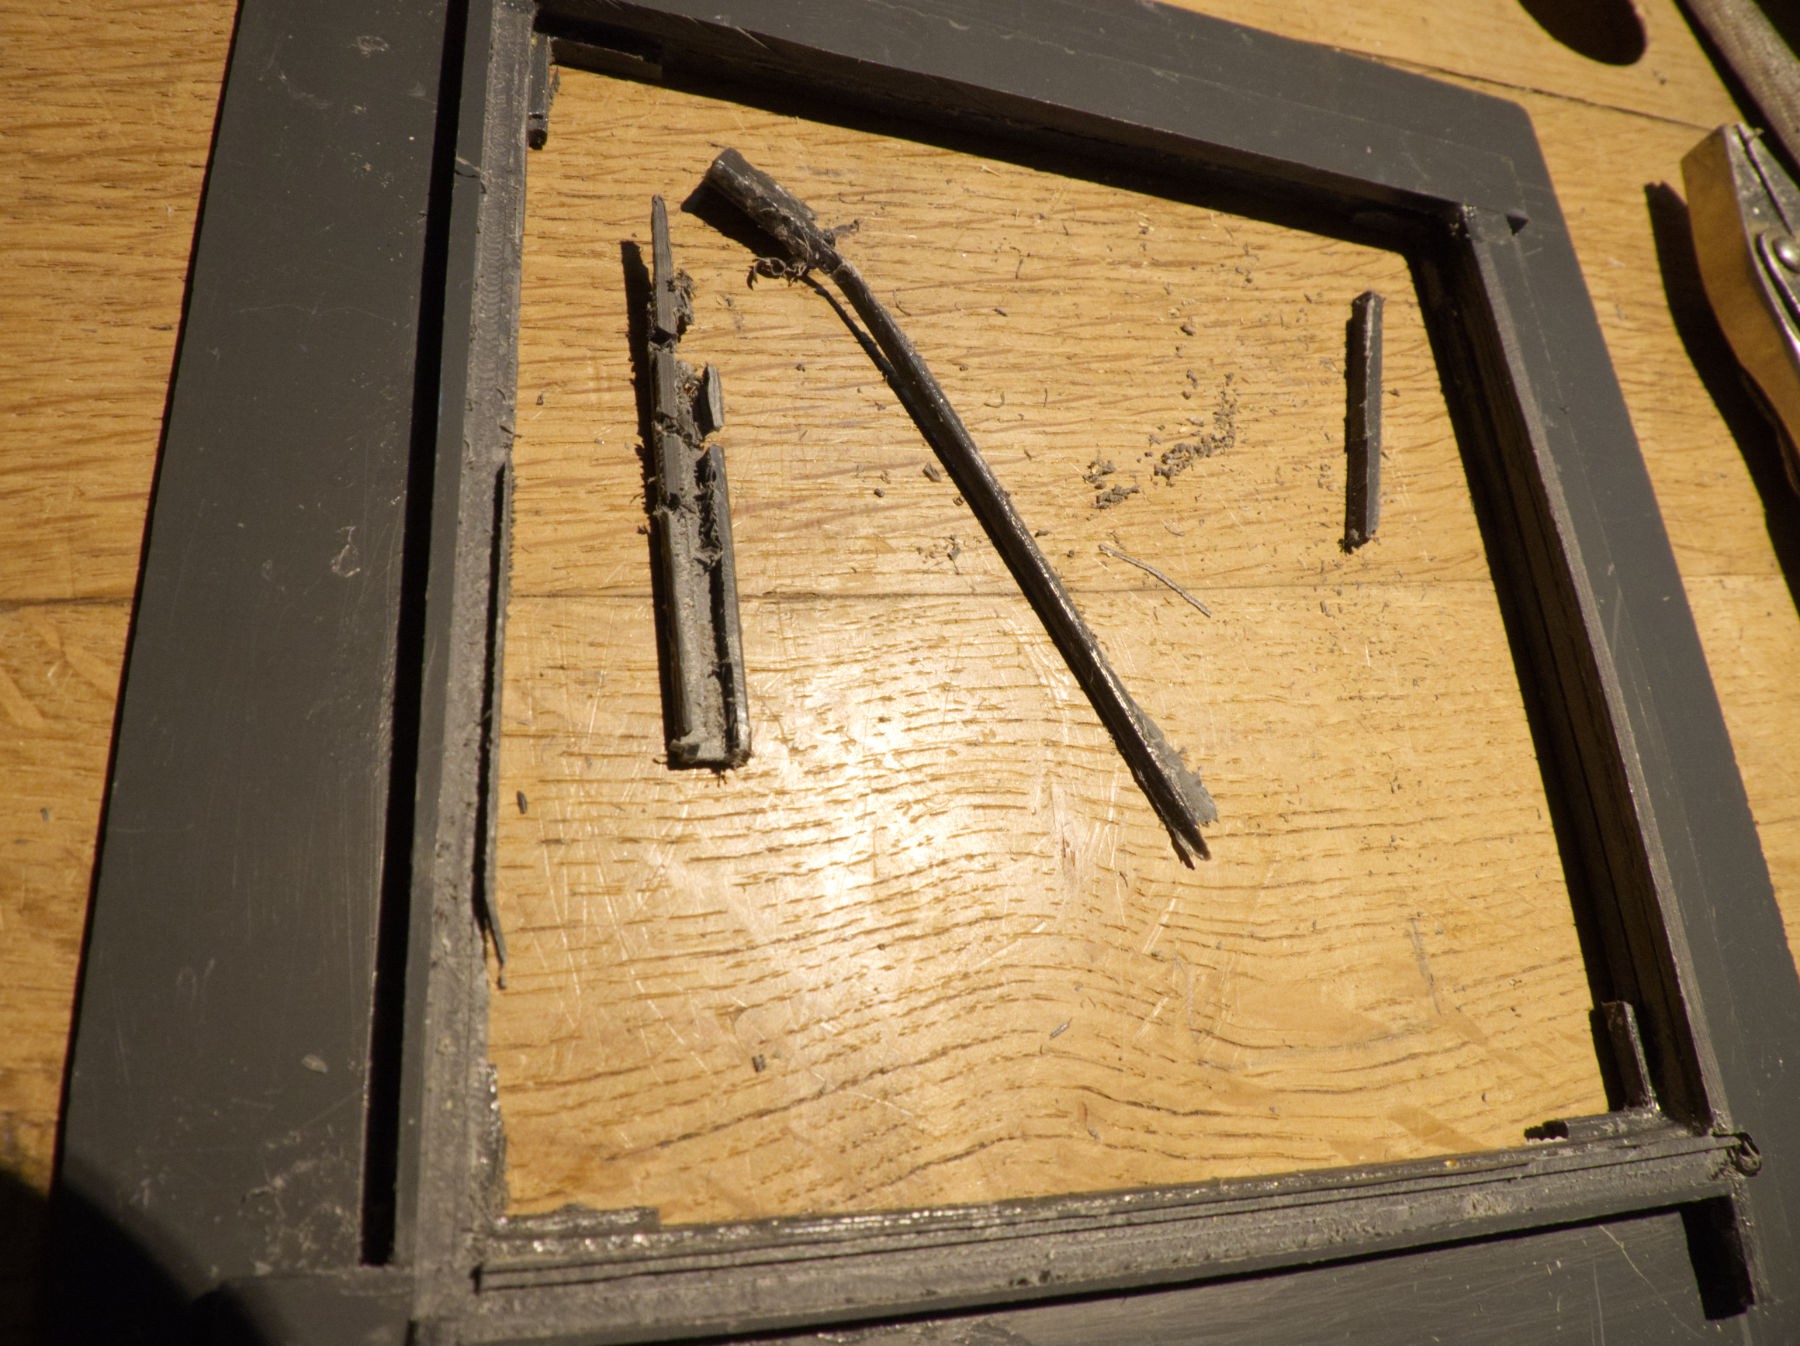
Aaaargh ! It was doing fine and it slipped, need more new strips to weld.
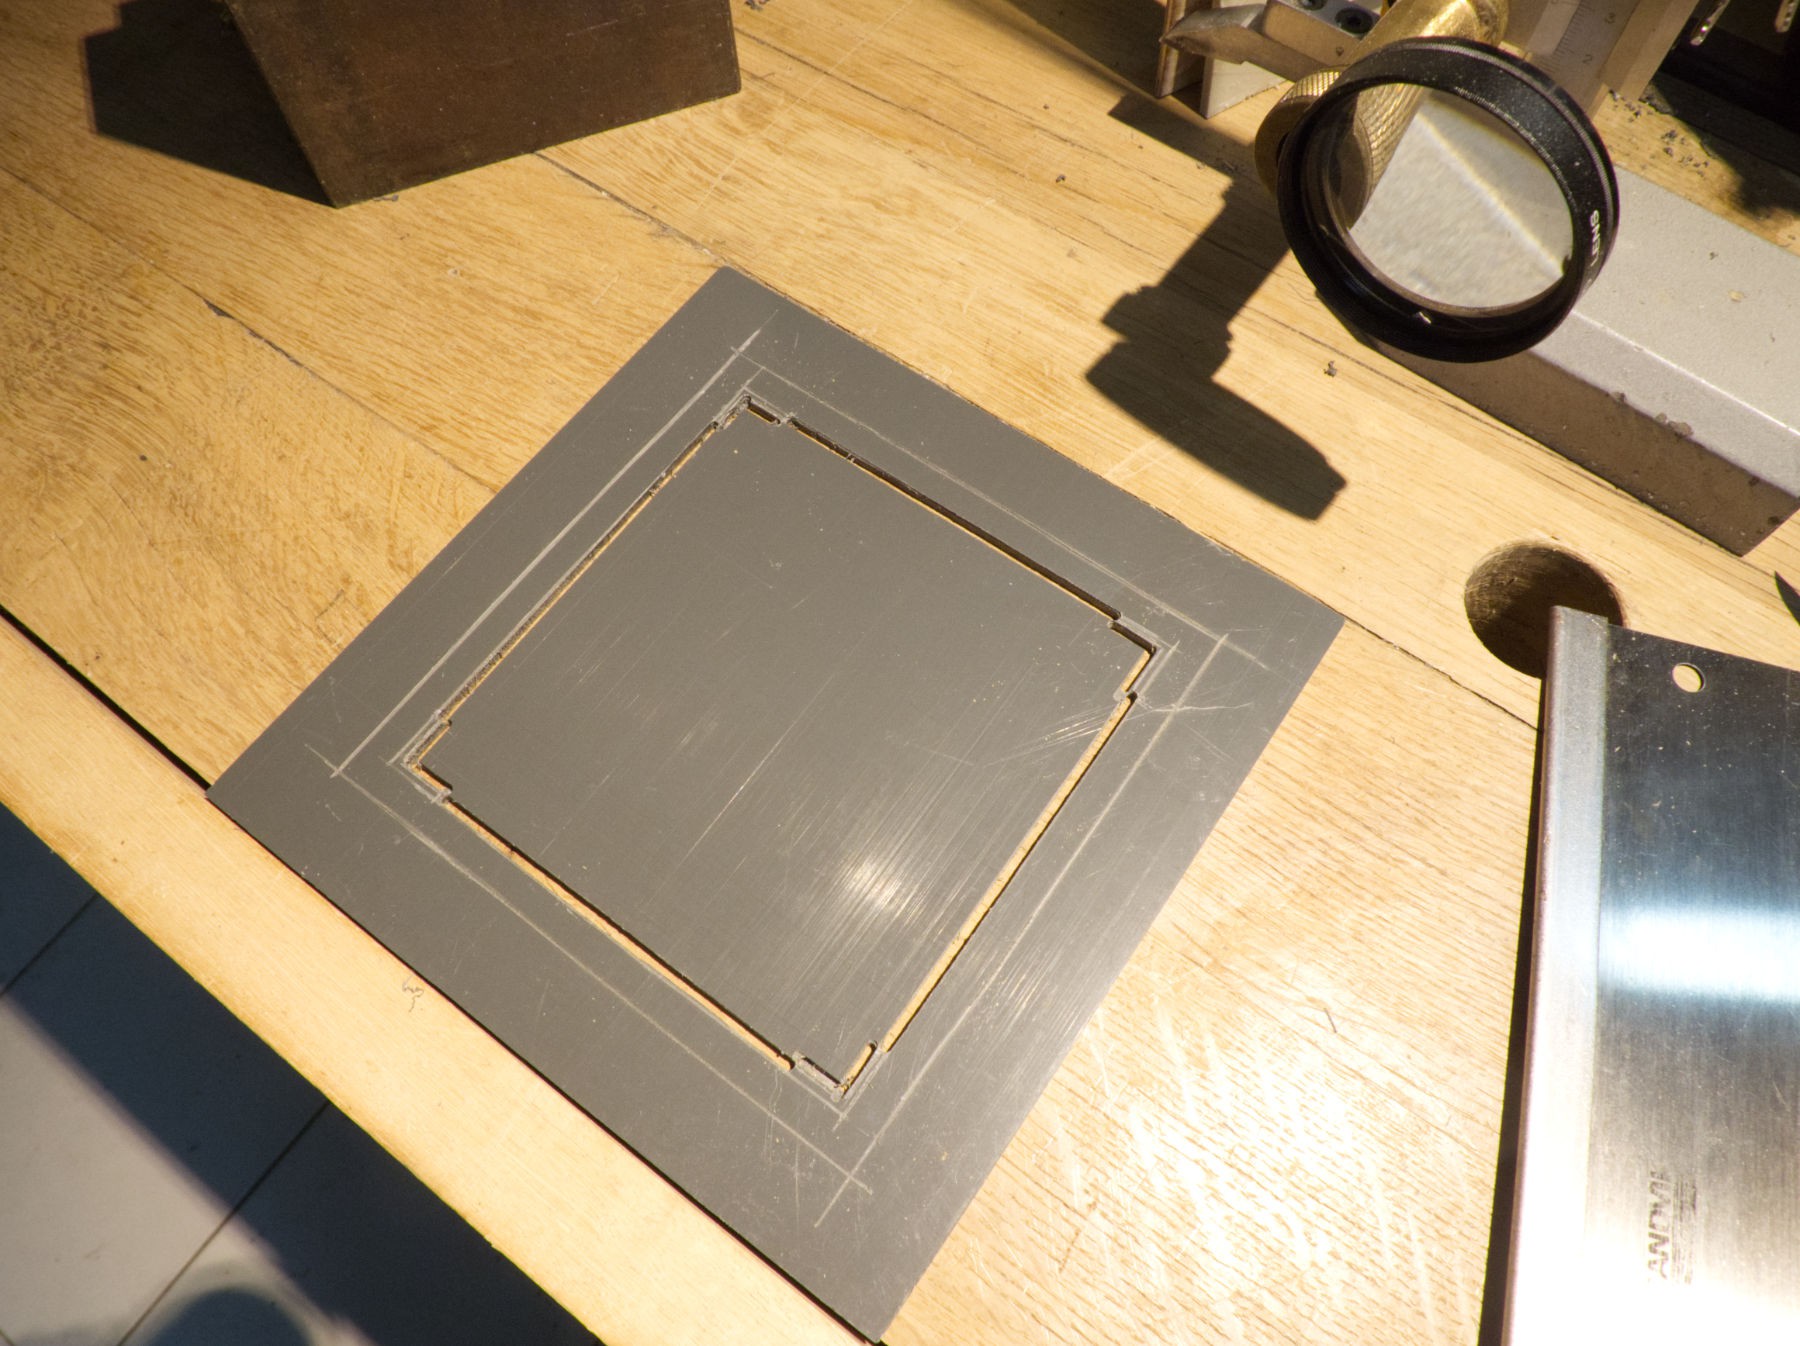
Nearly a good fit.
Welding the damaged parts.
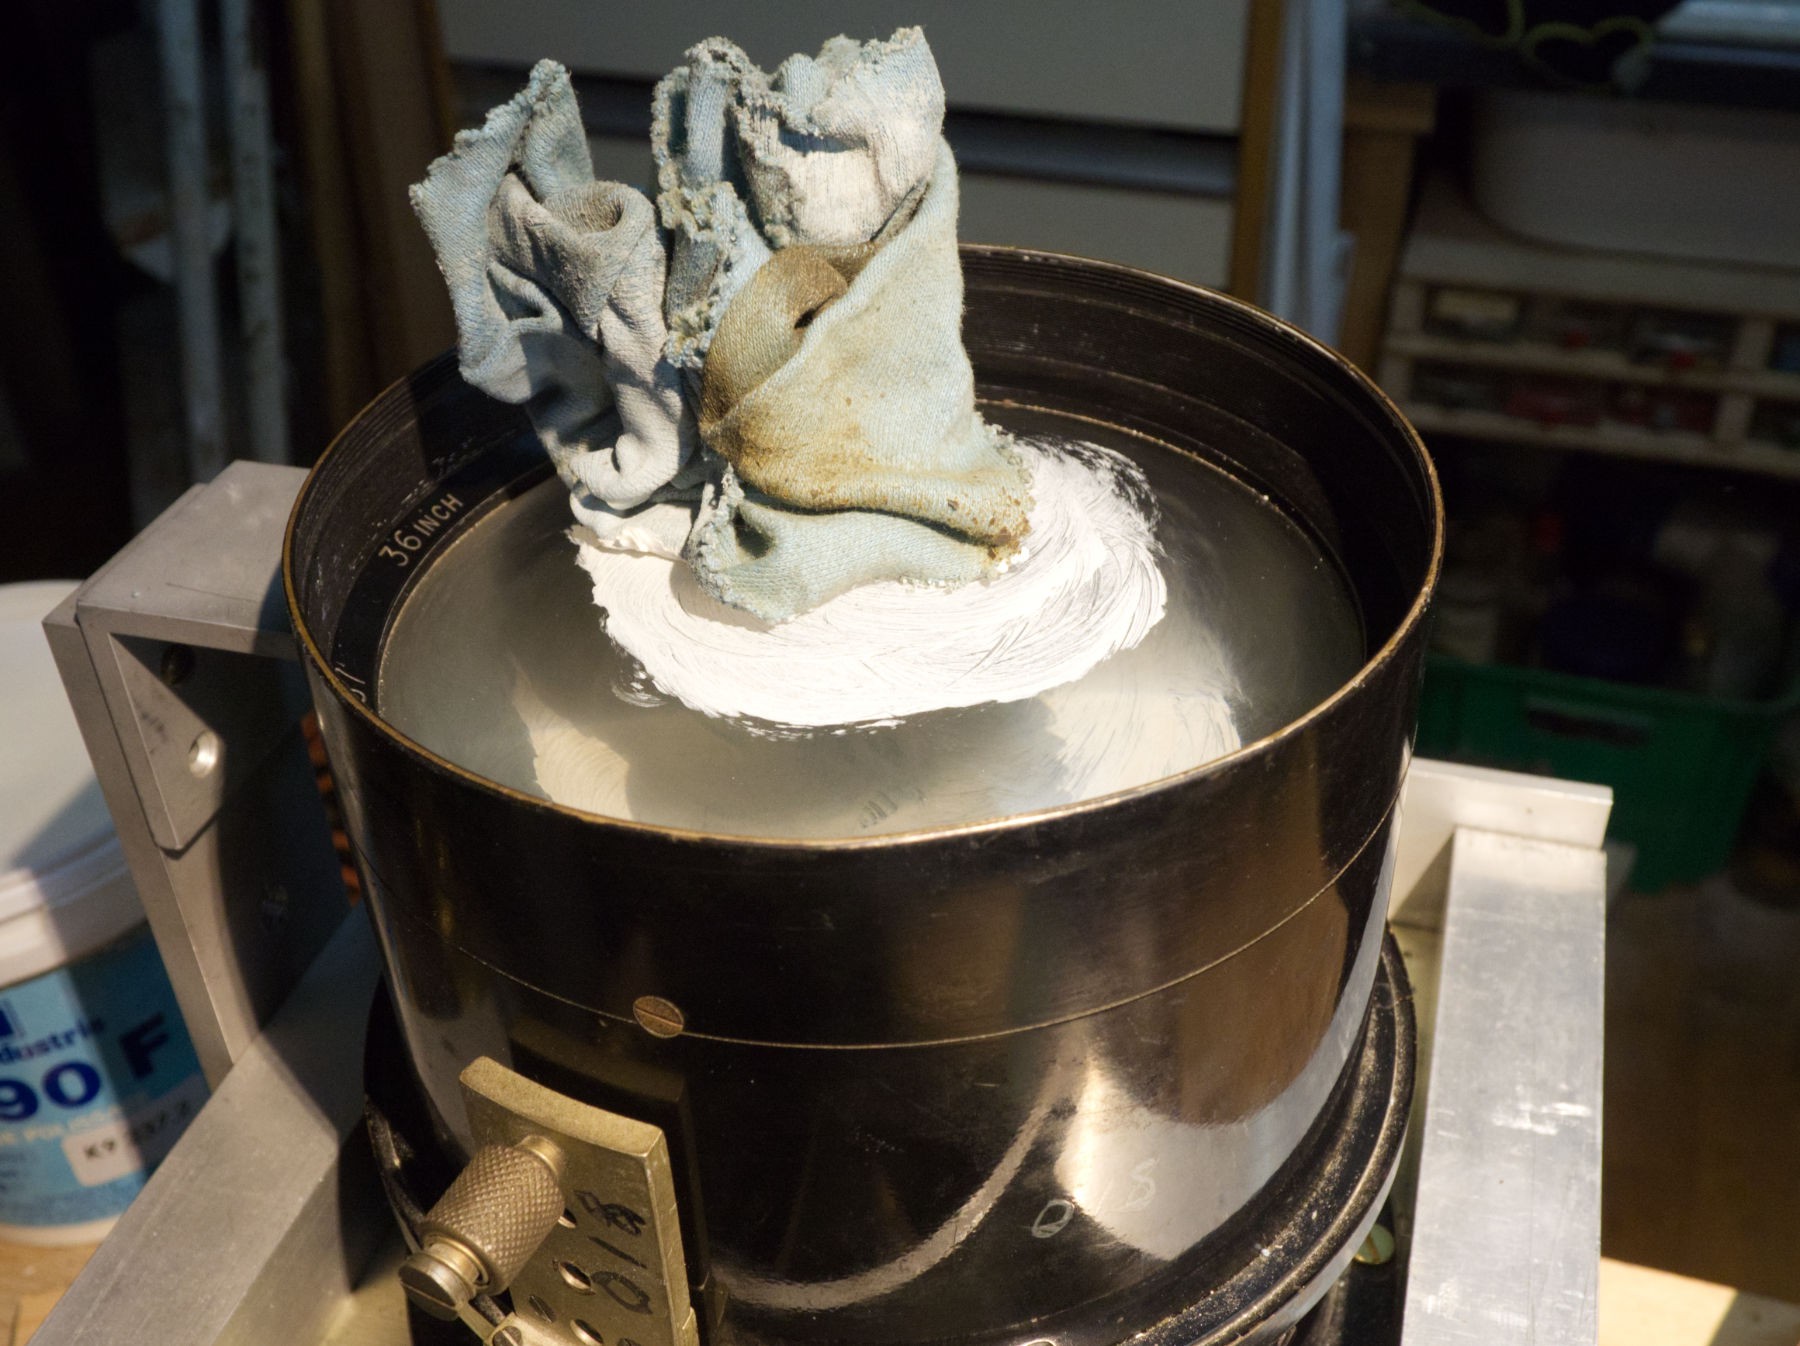
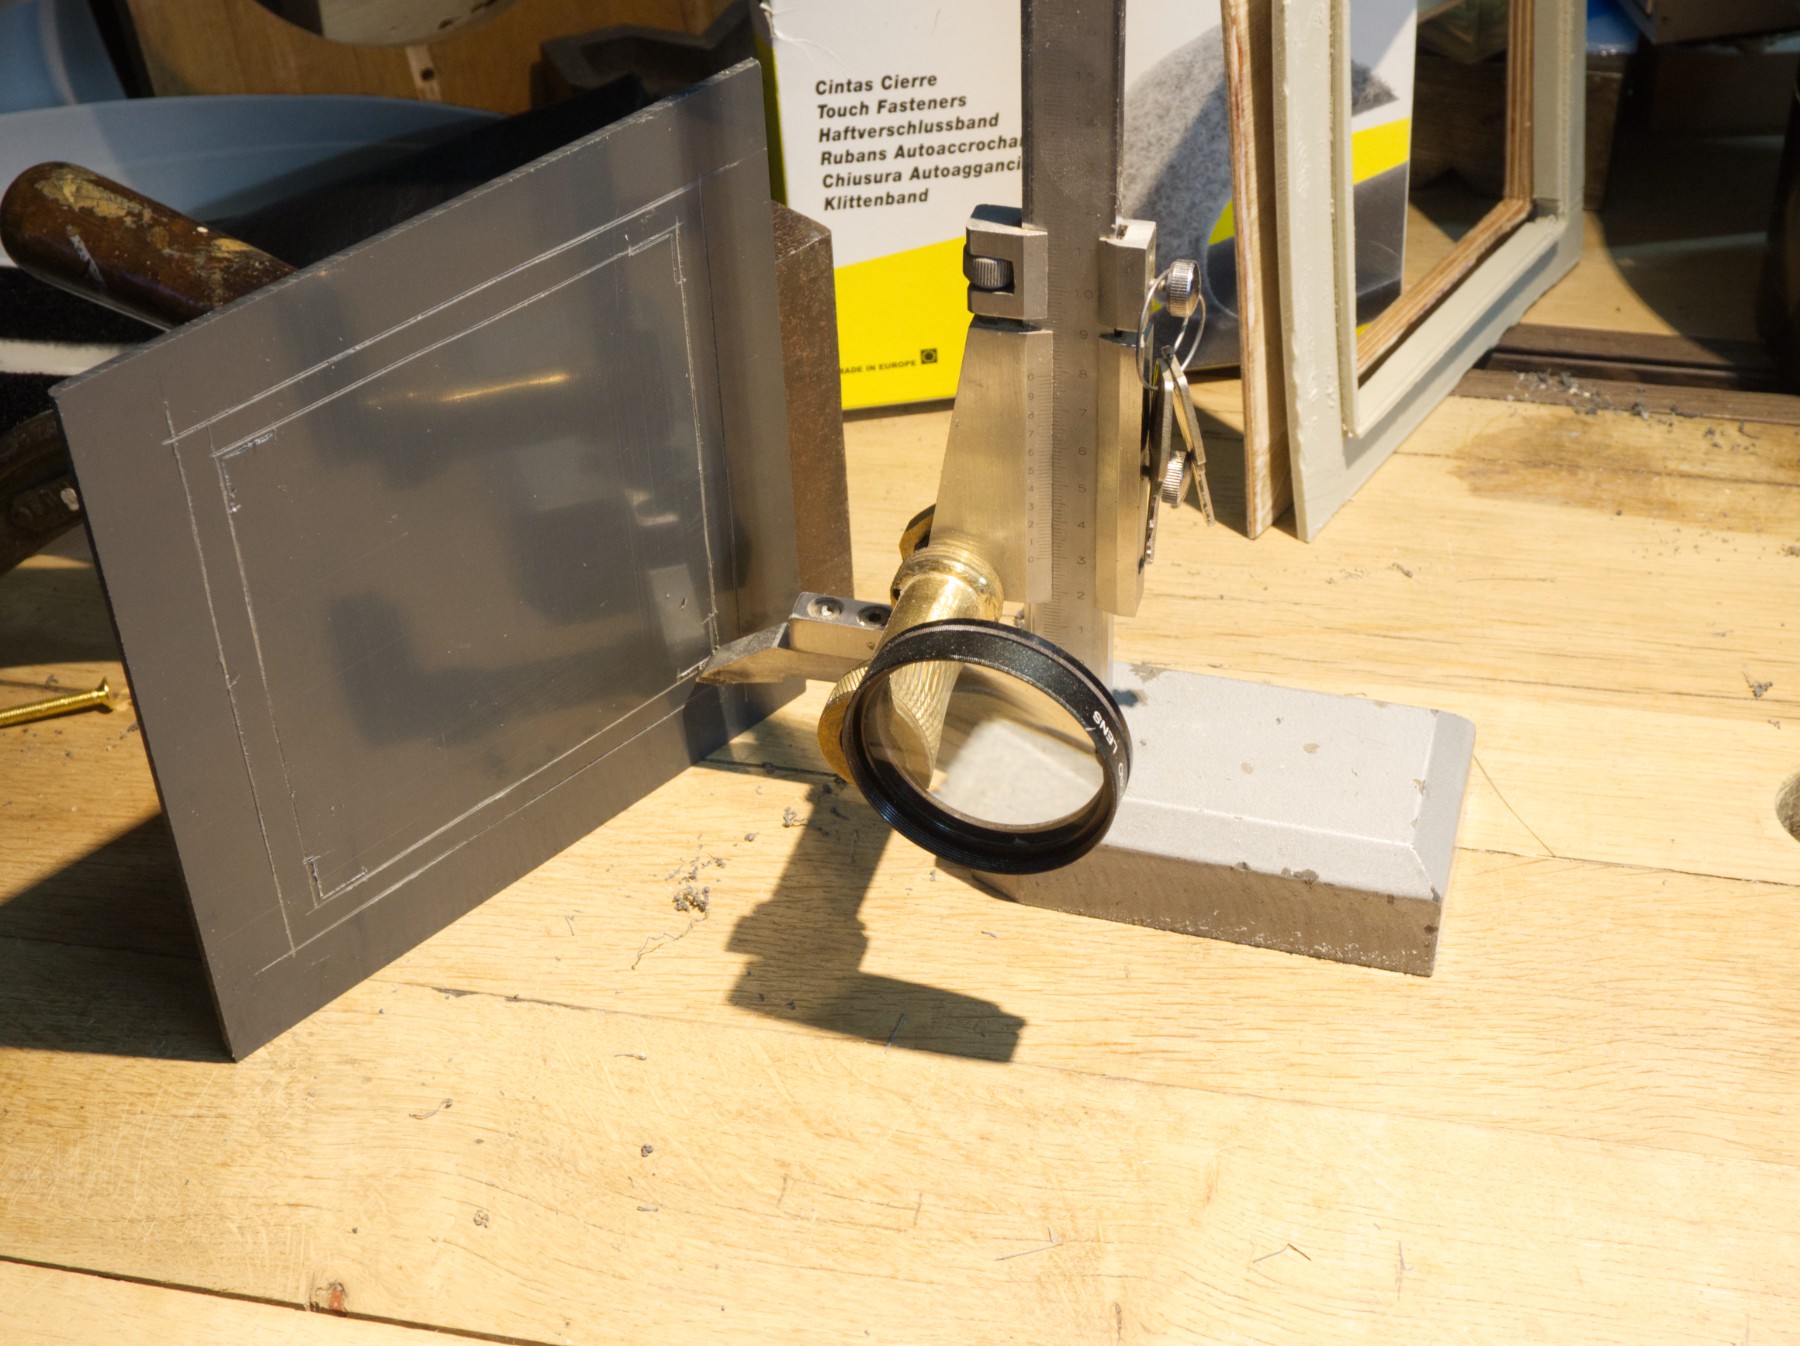
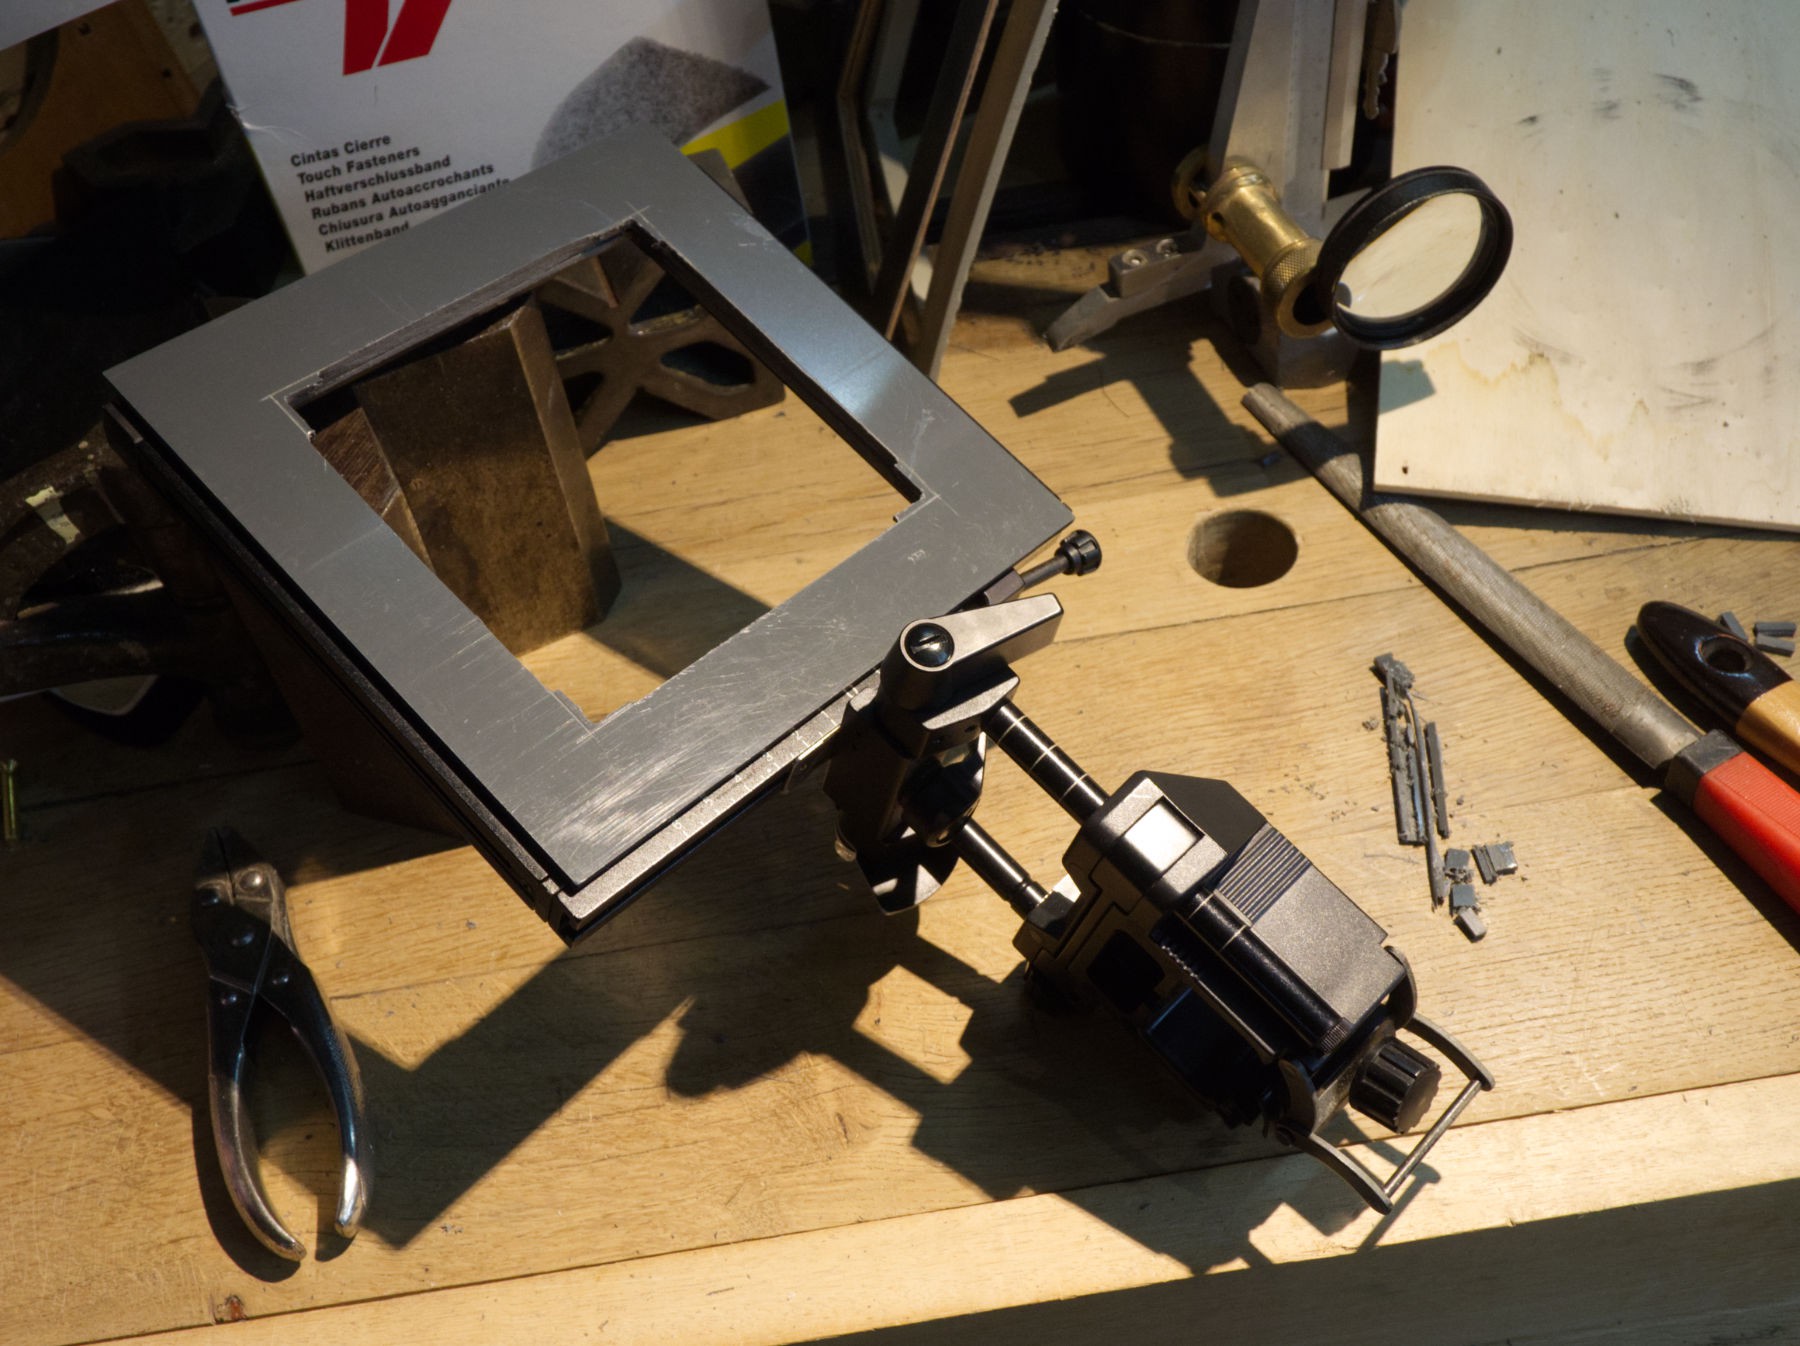
While waiting for the welding to be strong enough to be machined, trying to polish the front element that's been seriously screeched. Not sure that acrylic polish is enough grainy to make any difference, I need to find the right polishing paste, the cloth is a Tetenal optical polishing cloth, but the paste...
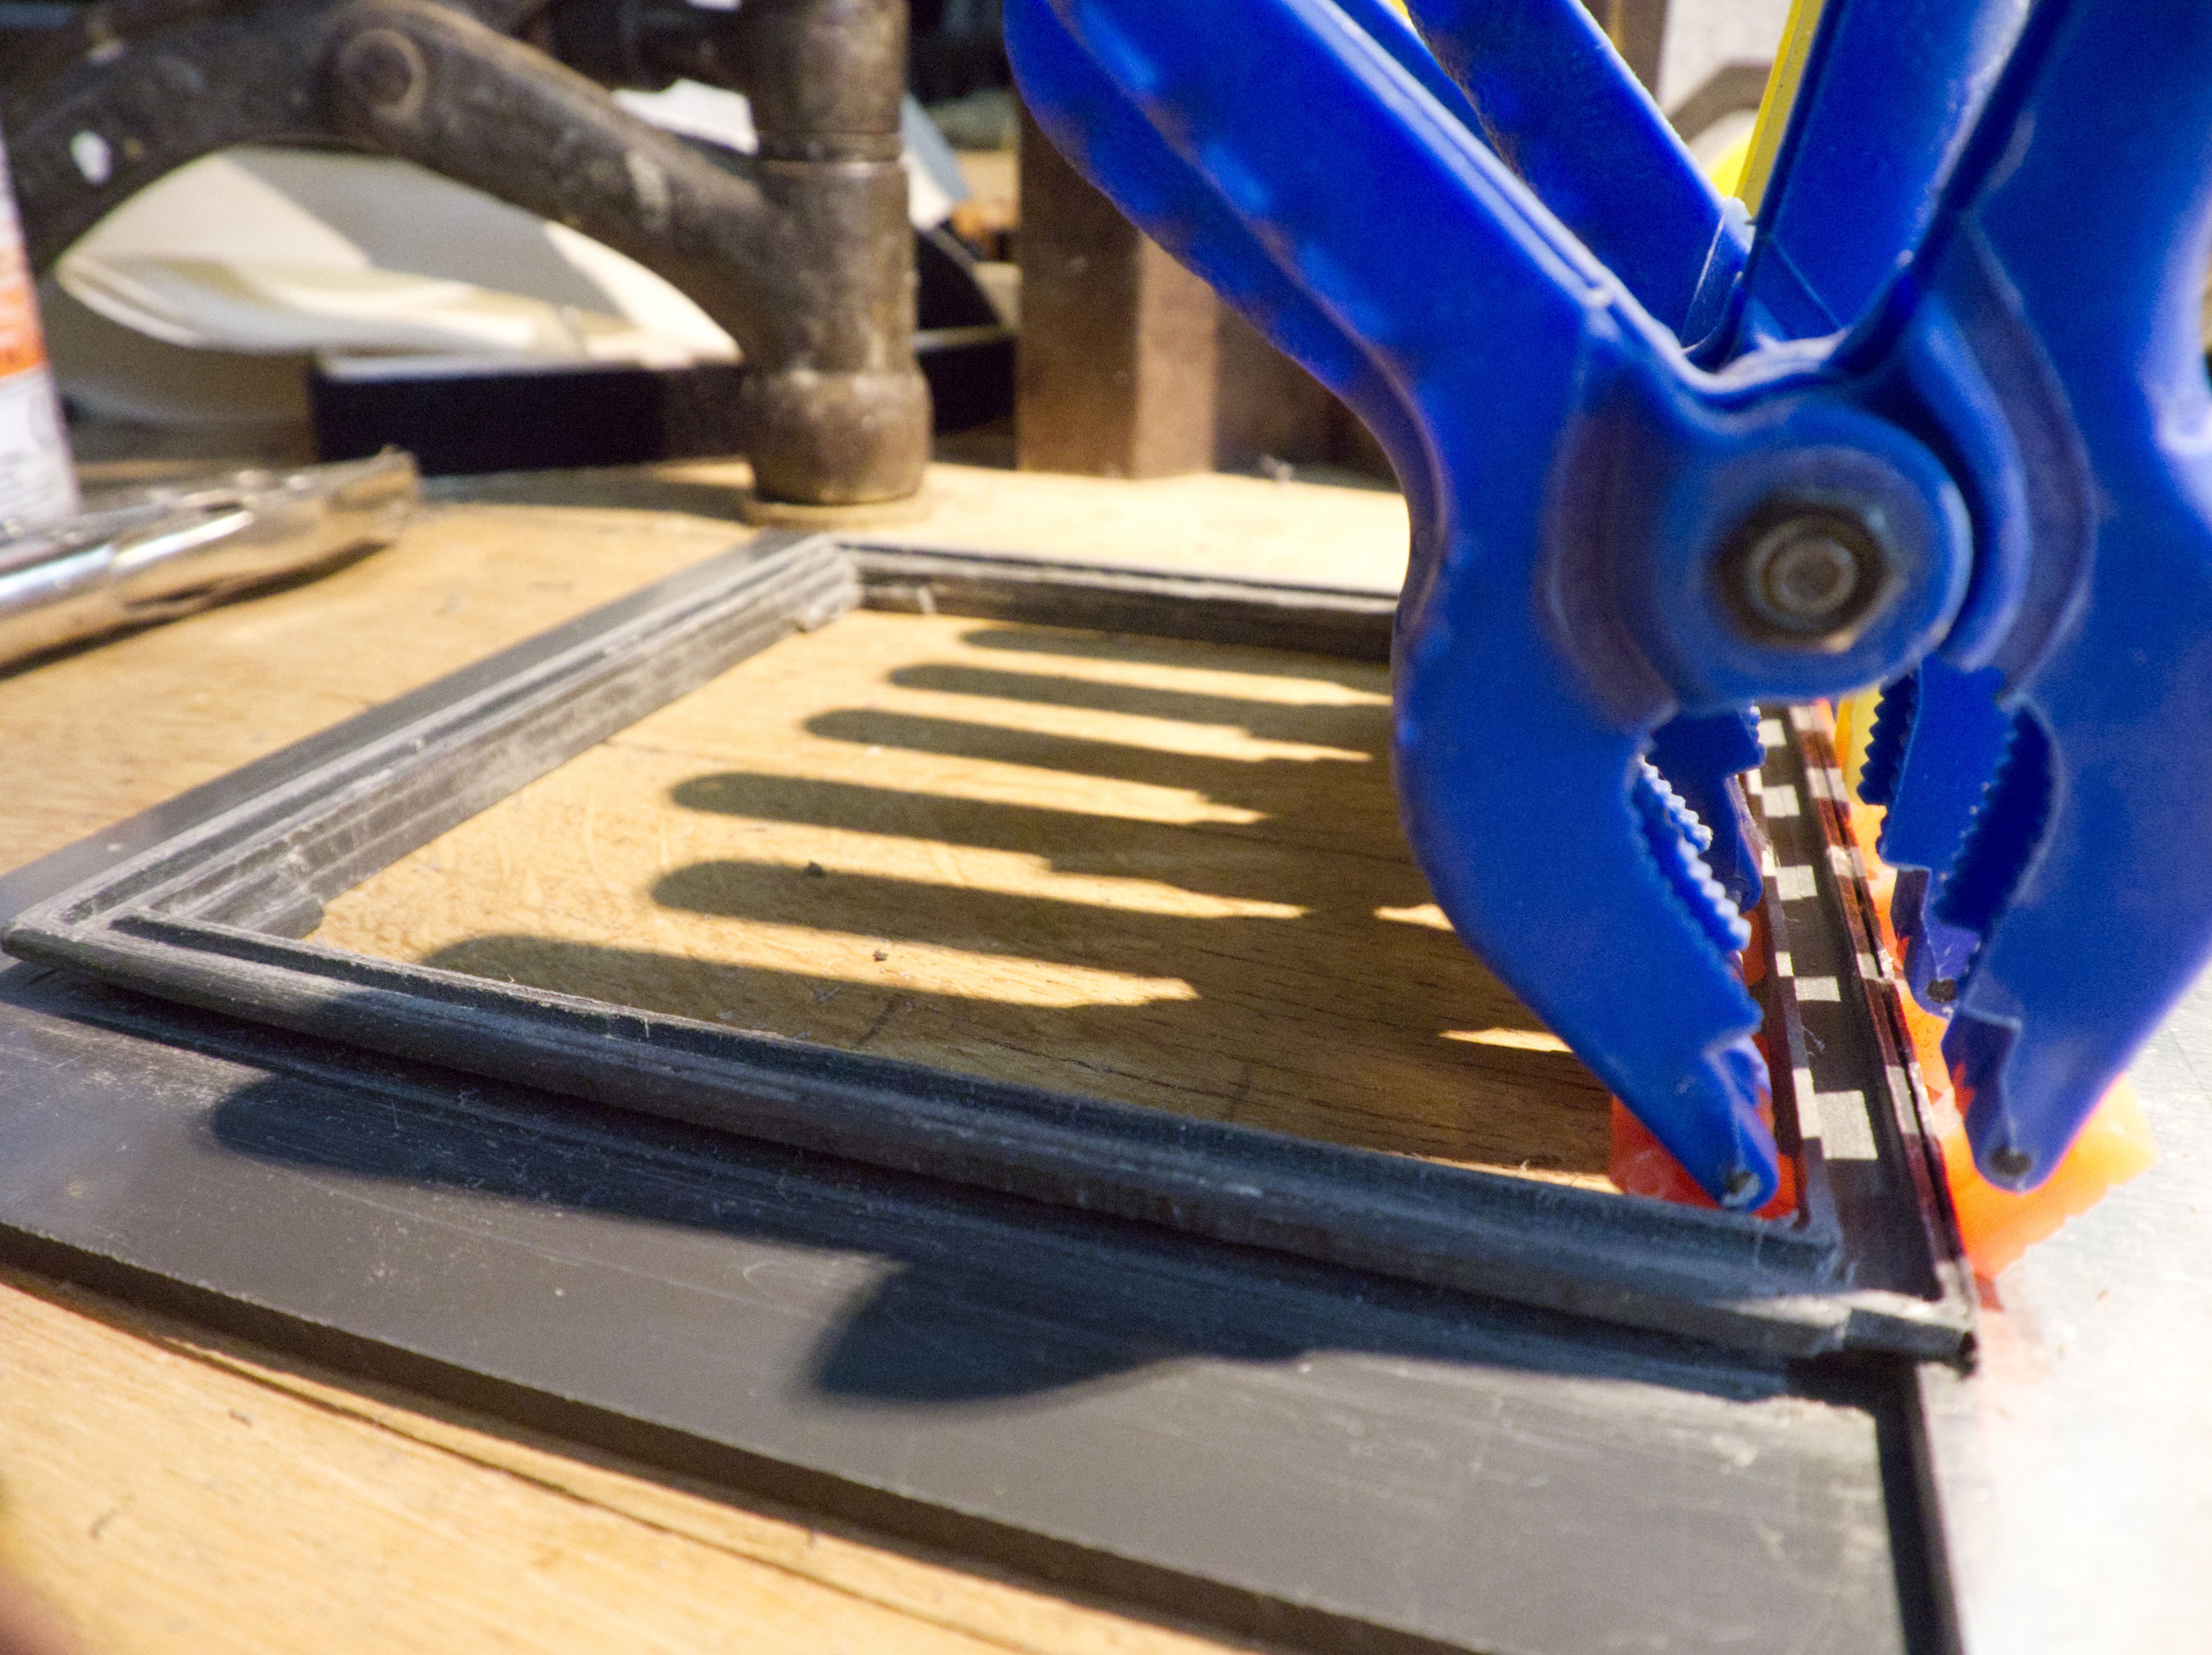
You can read, on the iris lever (yellow part), and in the bright reflection on the right center of the barrel, hand written : "810" (and not "018"), witch is the focal length in millimeters.
One more milling accident, one more strip cut and welded.
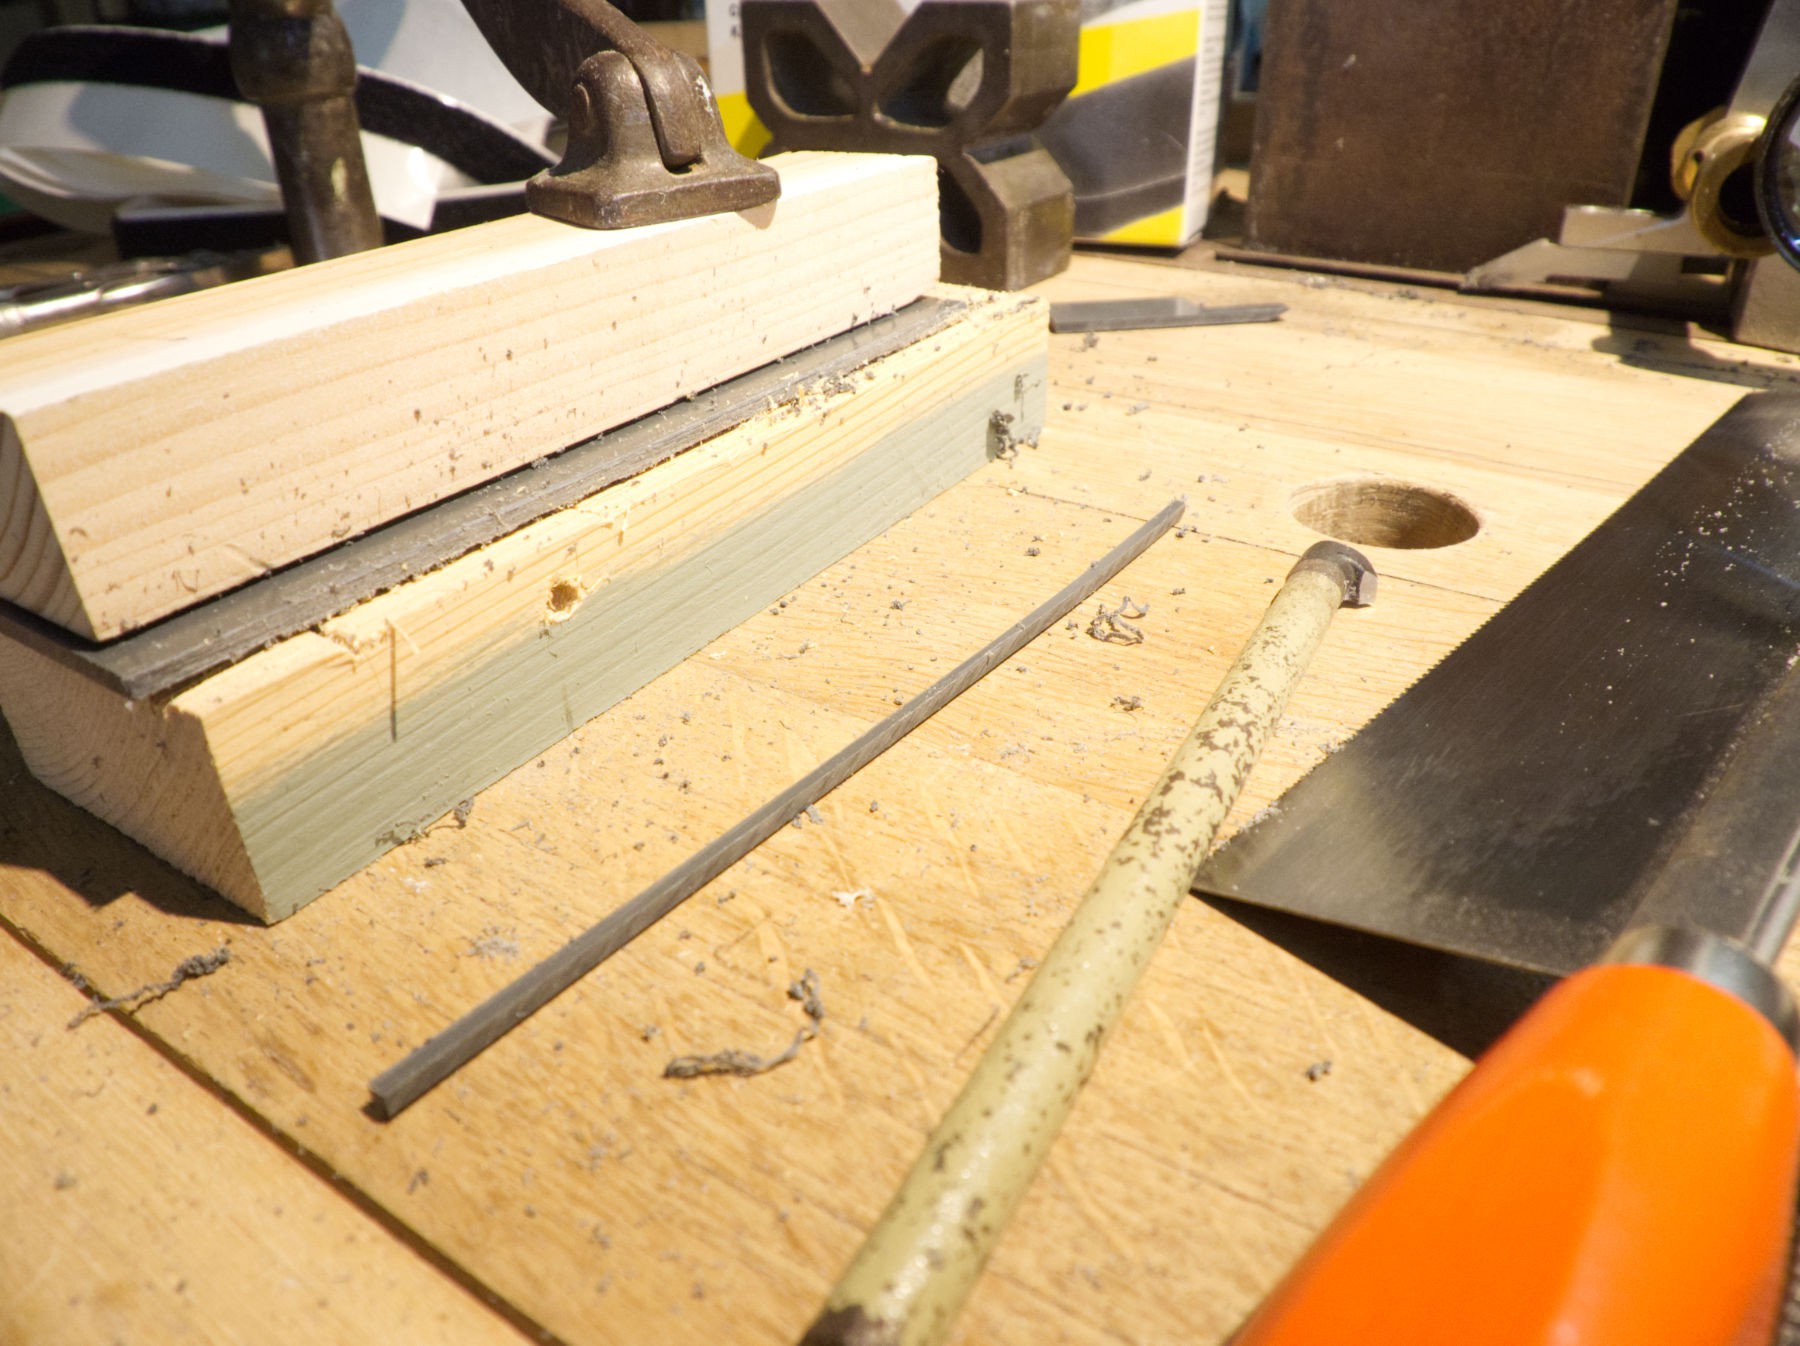
Another accident. Last strip, 3 x 3 x 140 mm, on the back, the valet is firmly holding the PVC between two pieces of wood, with old sandpaper on both sides of the plastic to prevent slipping when cutting. In the center, the lathe tool used to scratch.
Last weld.
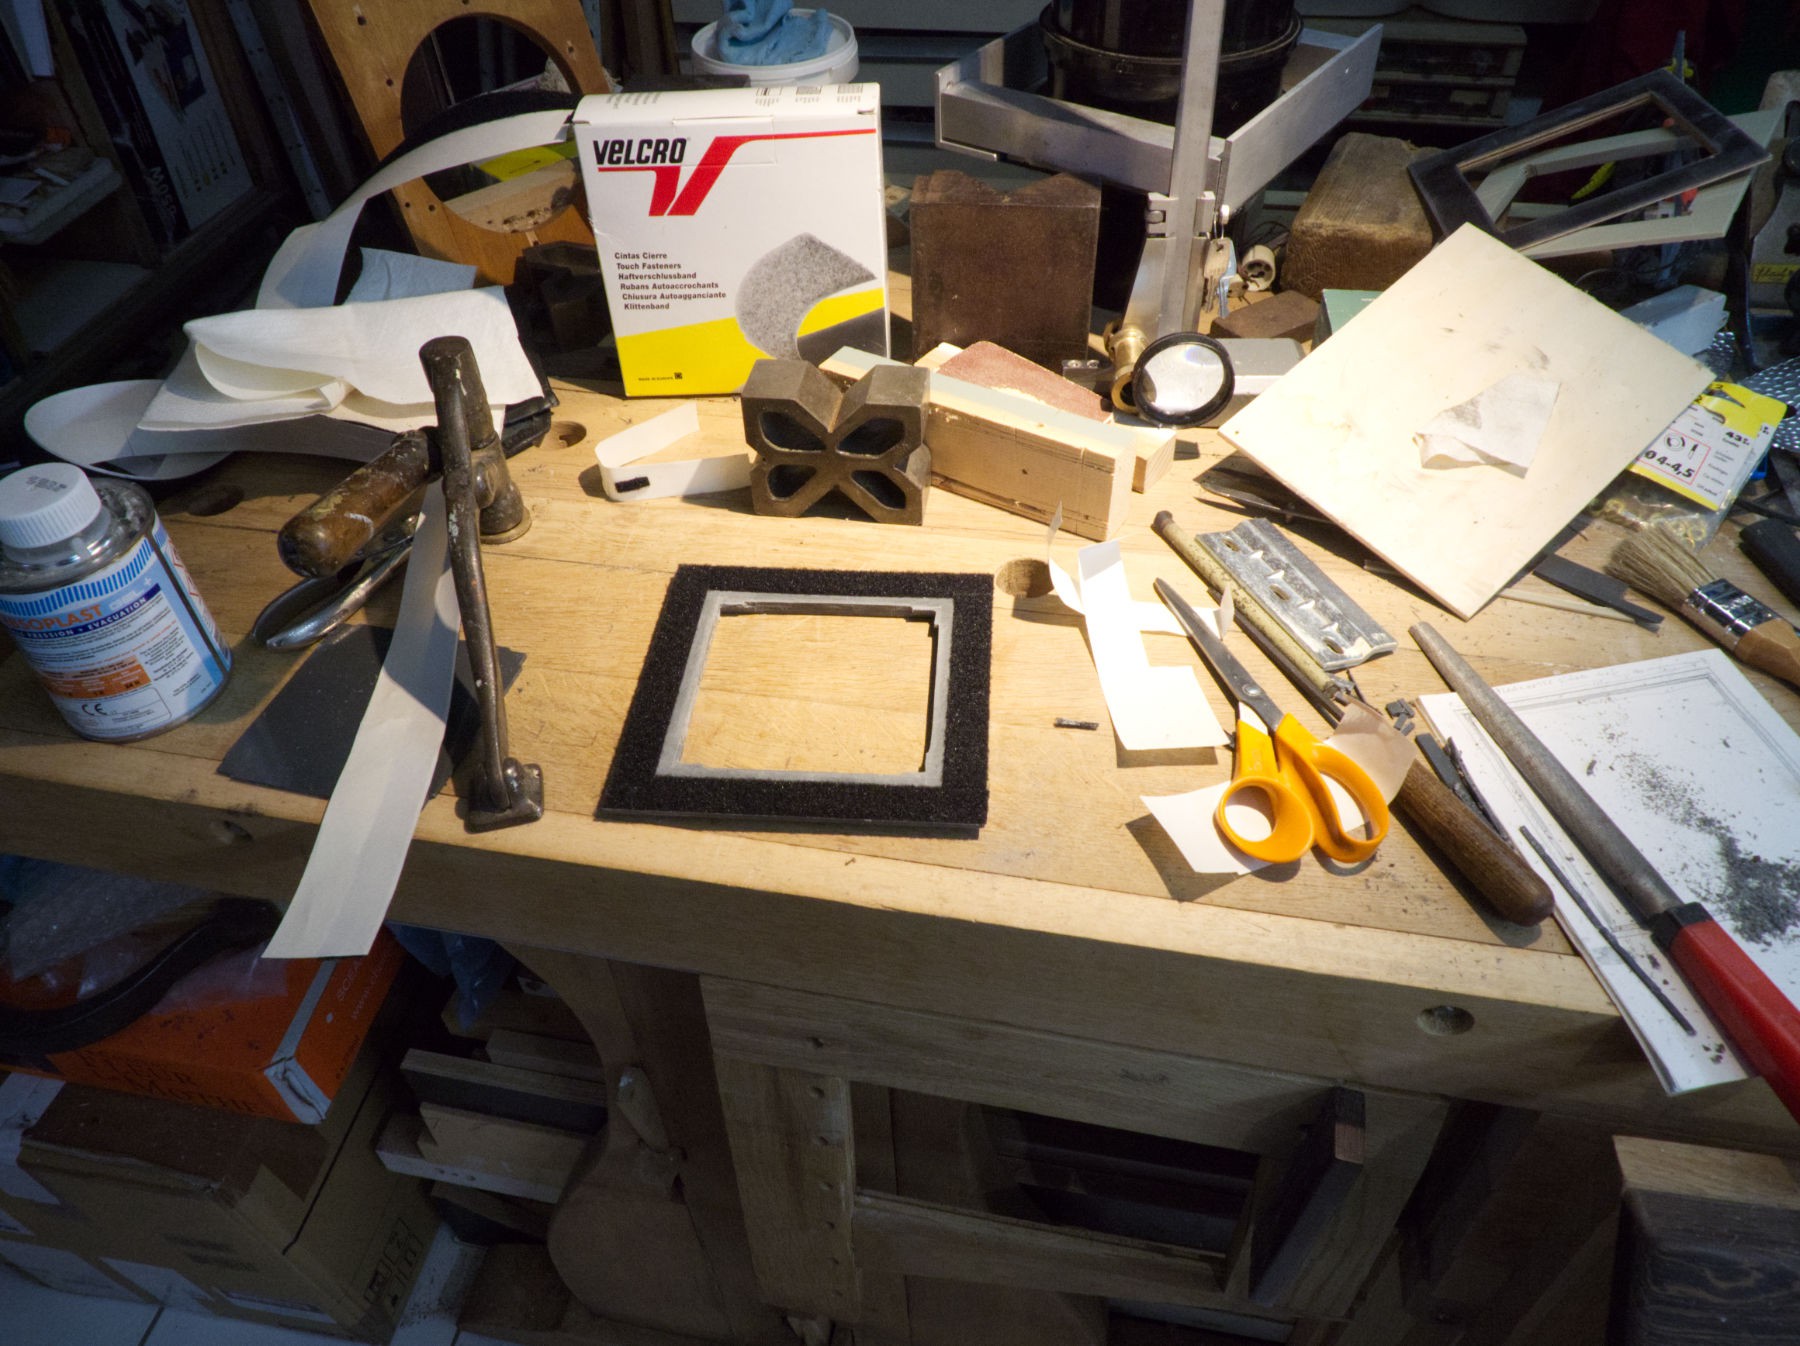
Velcroed ! and ready for service.
PVC milling is... dirty.
Discussions
Become a Hackaday.io Member
Create an account to leave a comment. Already have an account? Log In.