 [zit] Olivier Gade
First, I have to build some kind of box that will
- block all the light except where there will be the shutter mechanism opening
- hold the shutter blade in shut position
- liberate the shutter blade
- stop the shutter blade in a shut position again
It will have round openings, the one touching the lens must fit precisely to avoid any light leaks, the front one must be bigger not to block any ray of light in the optical path.
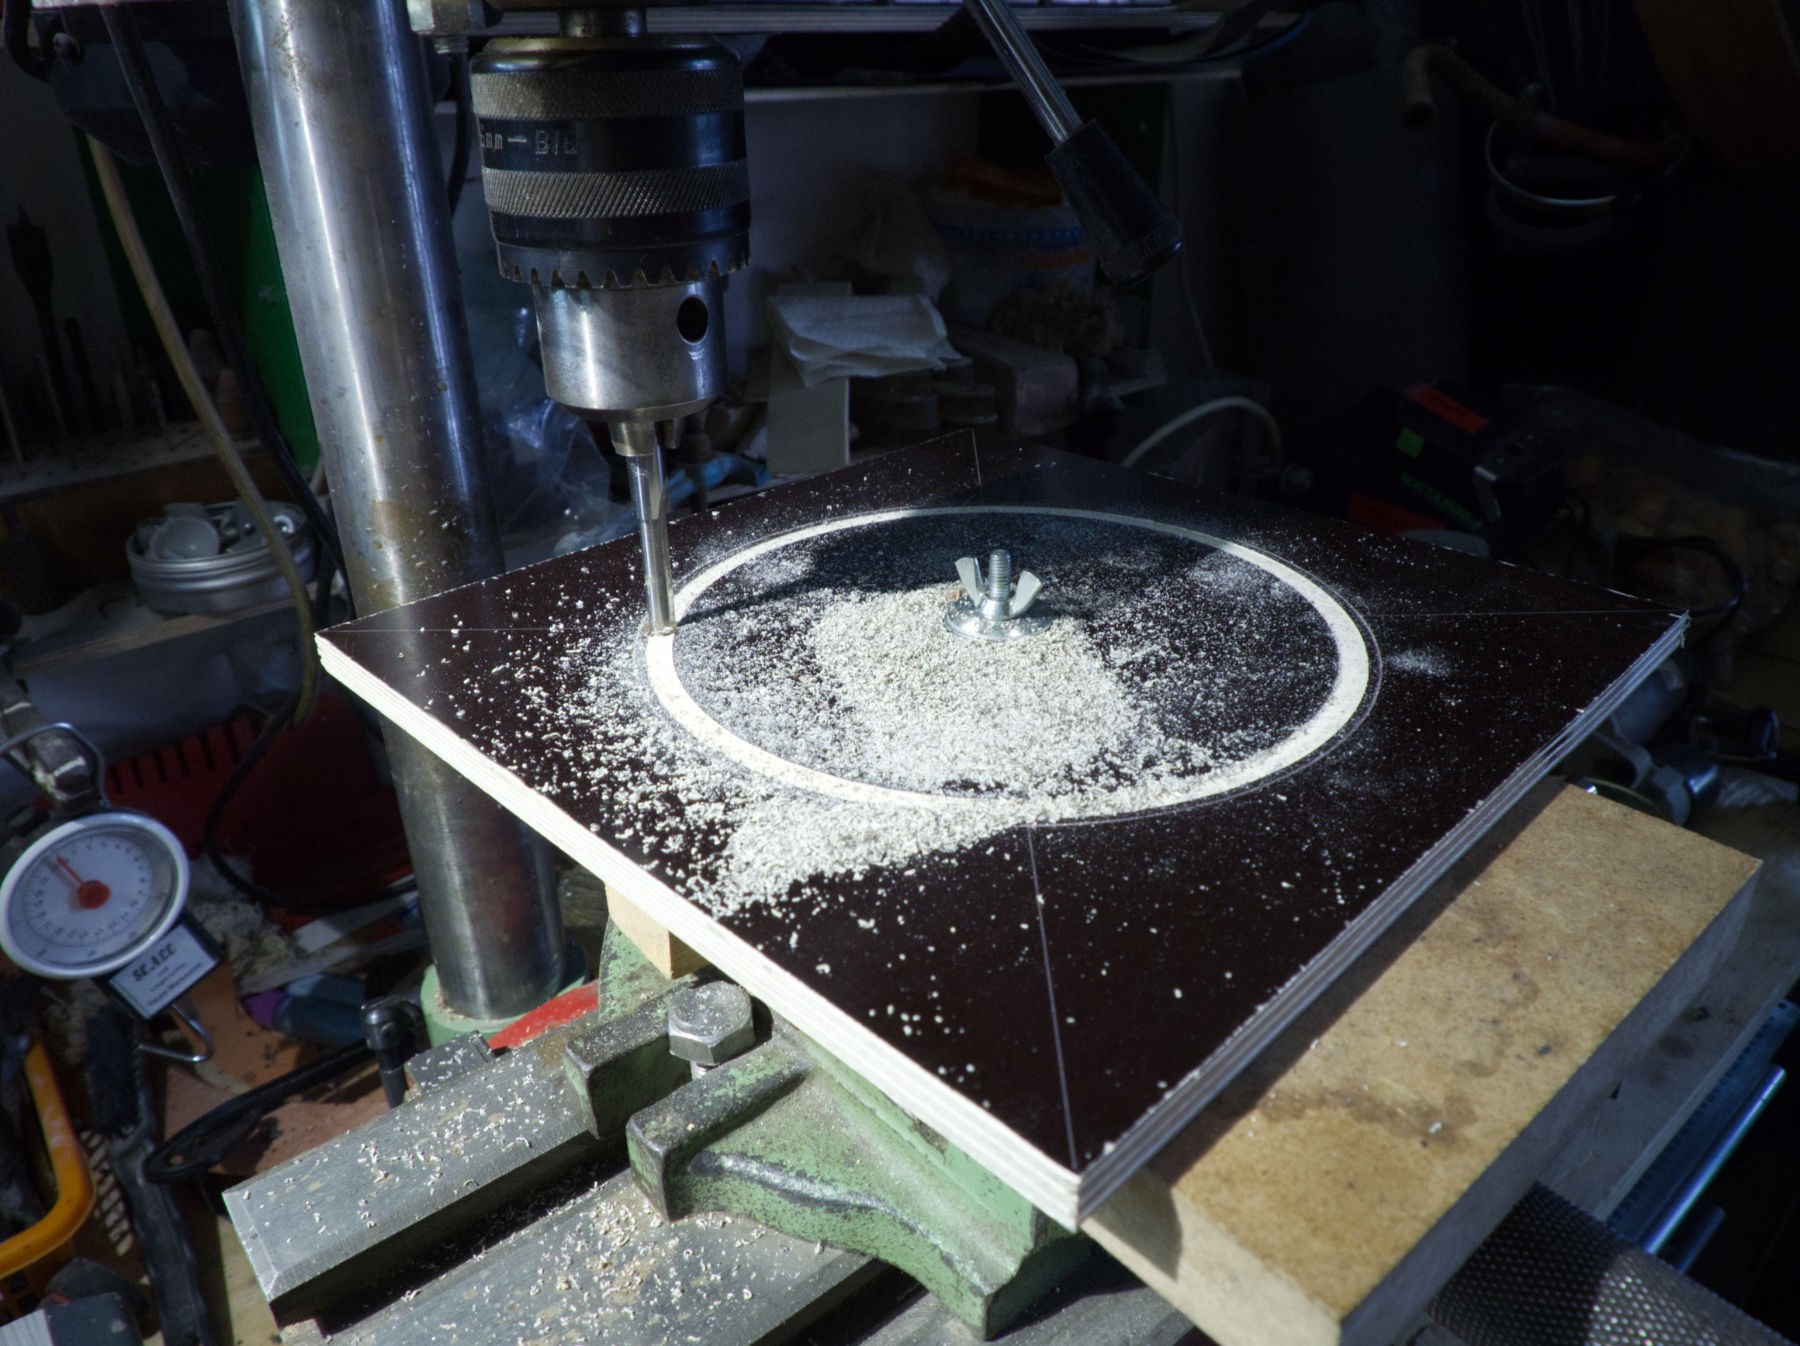
I'm getting used to that, with a 6 mm tool and, for the first time, at fast speed (there are gears and a belt I can change in the drill), little more than 2500 RPM, not really a router, but it's good for me.
Once again, it's the limit of the size I can do without touching the drill's column with the corners when turning it.
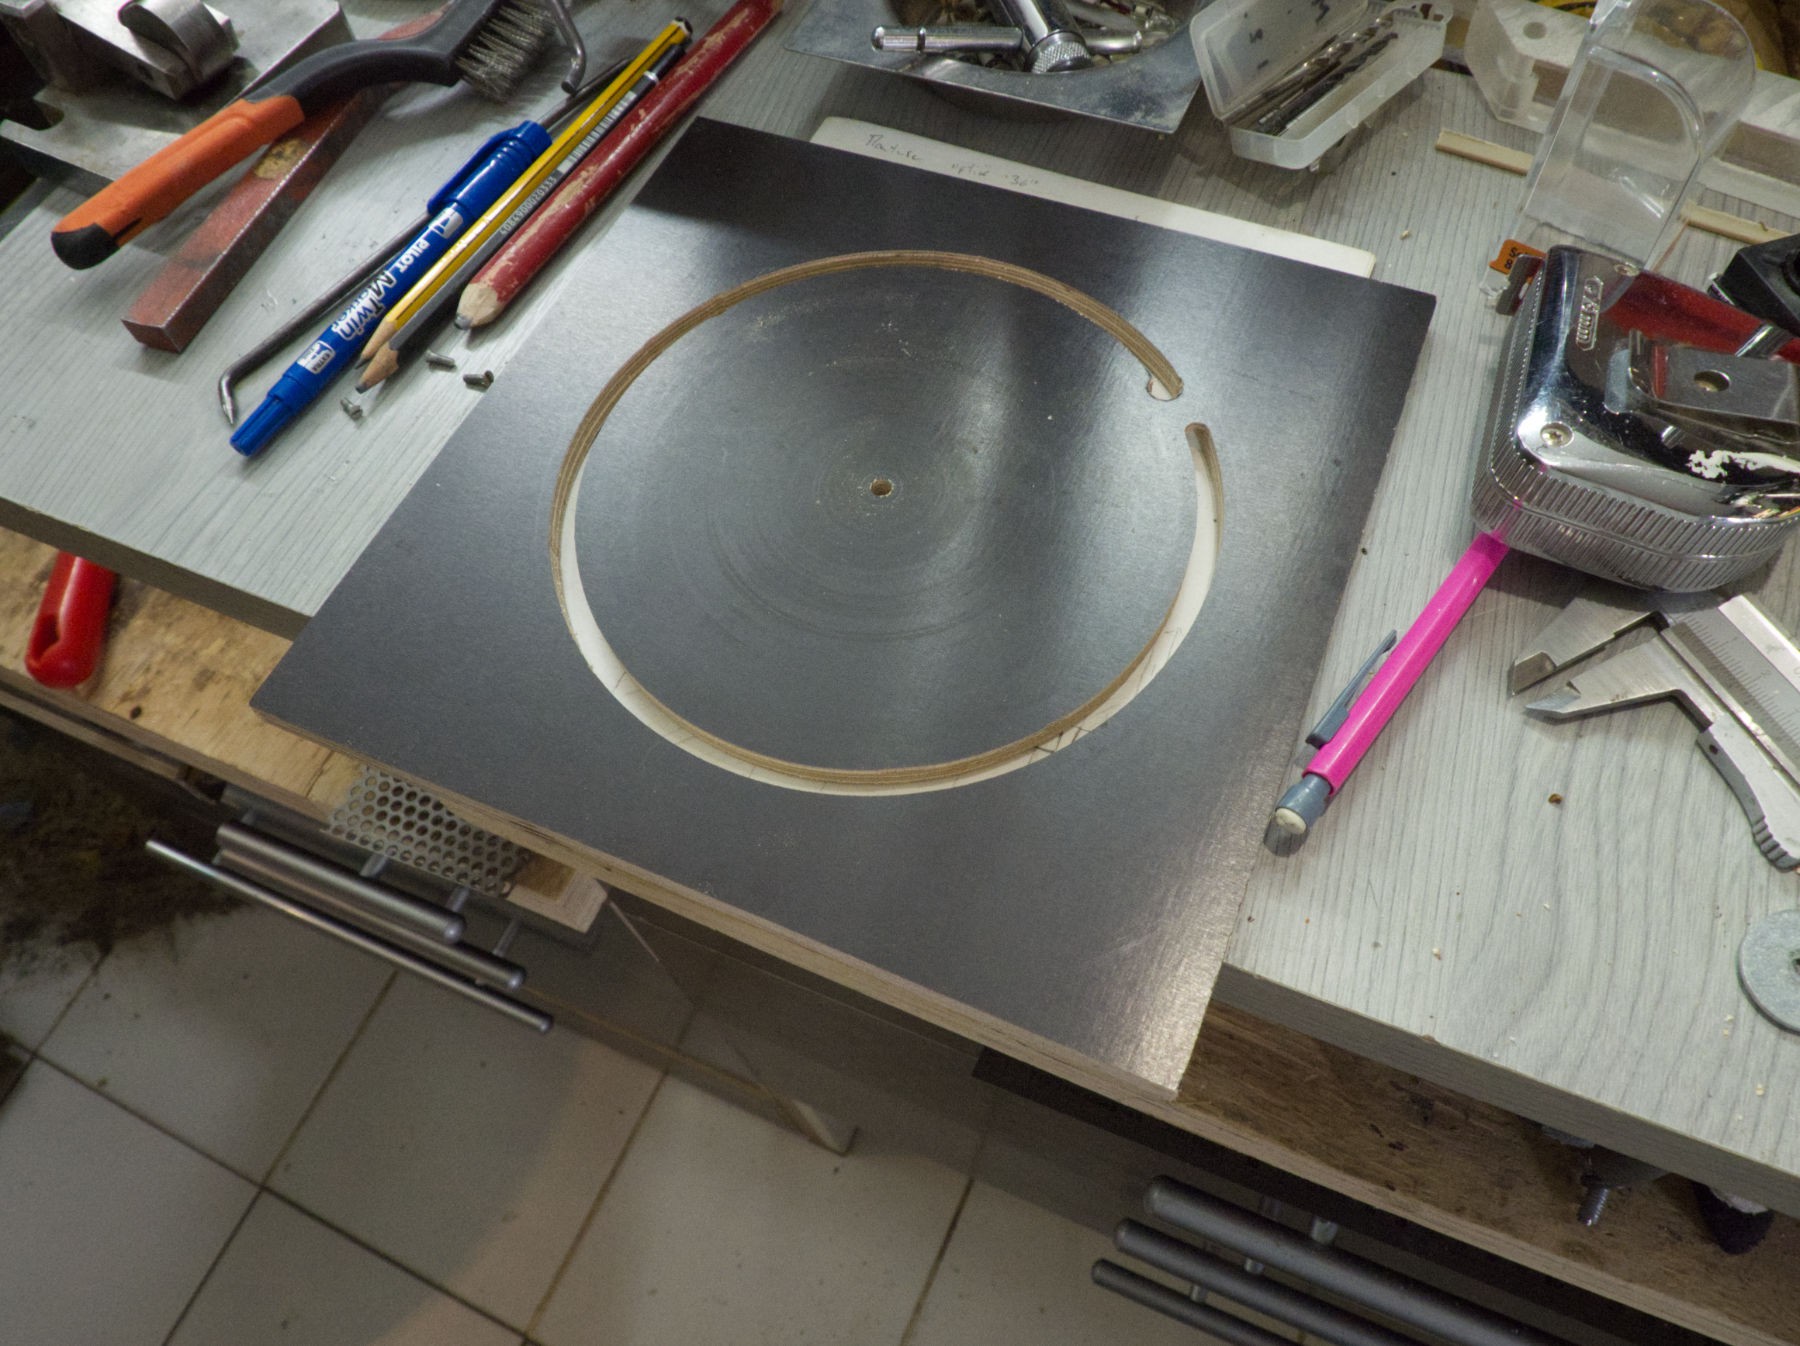
Magnifique !
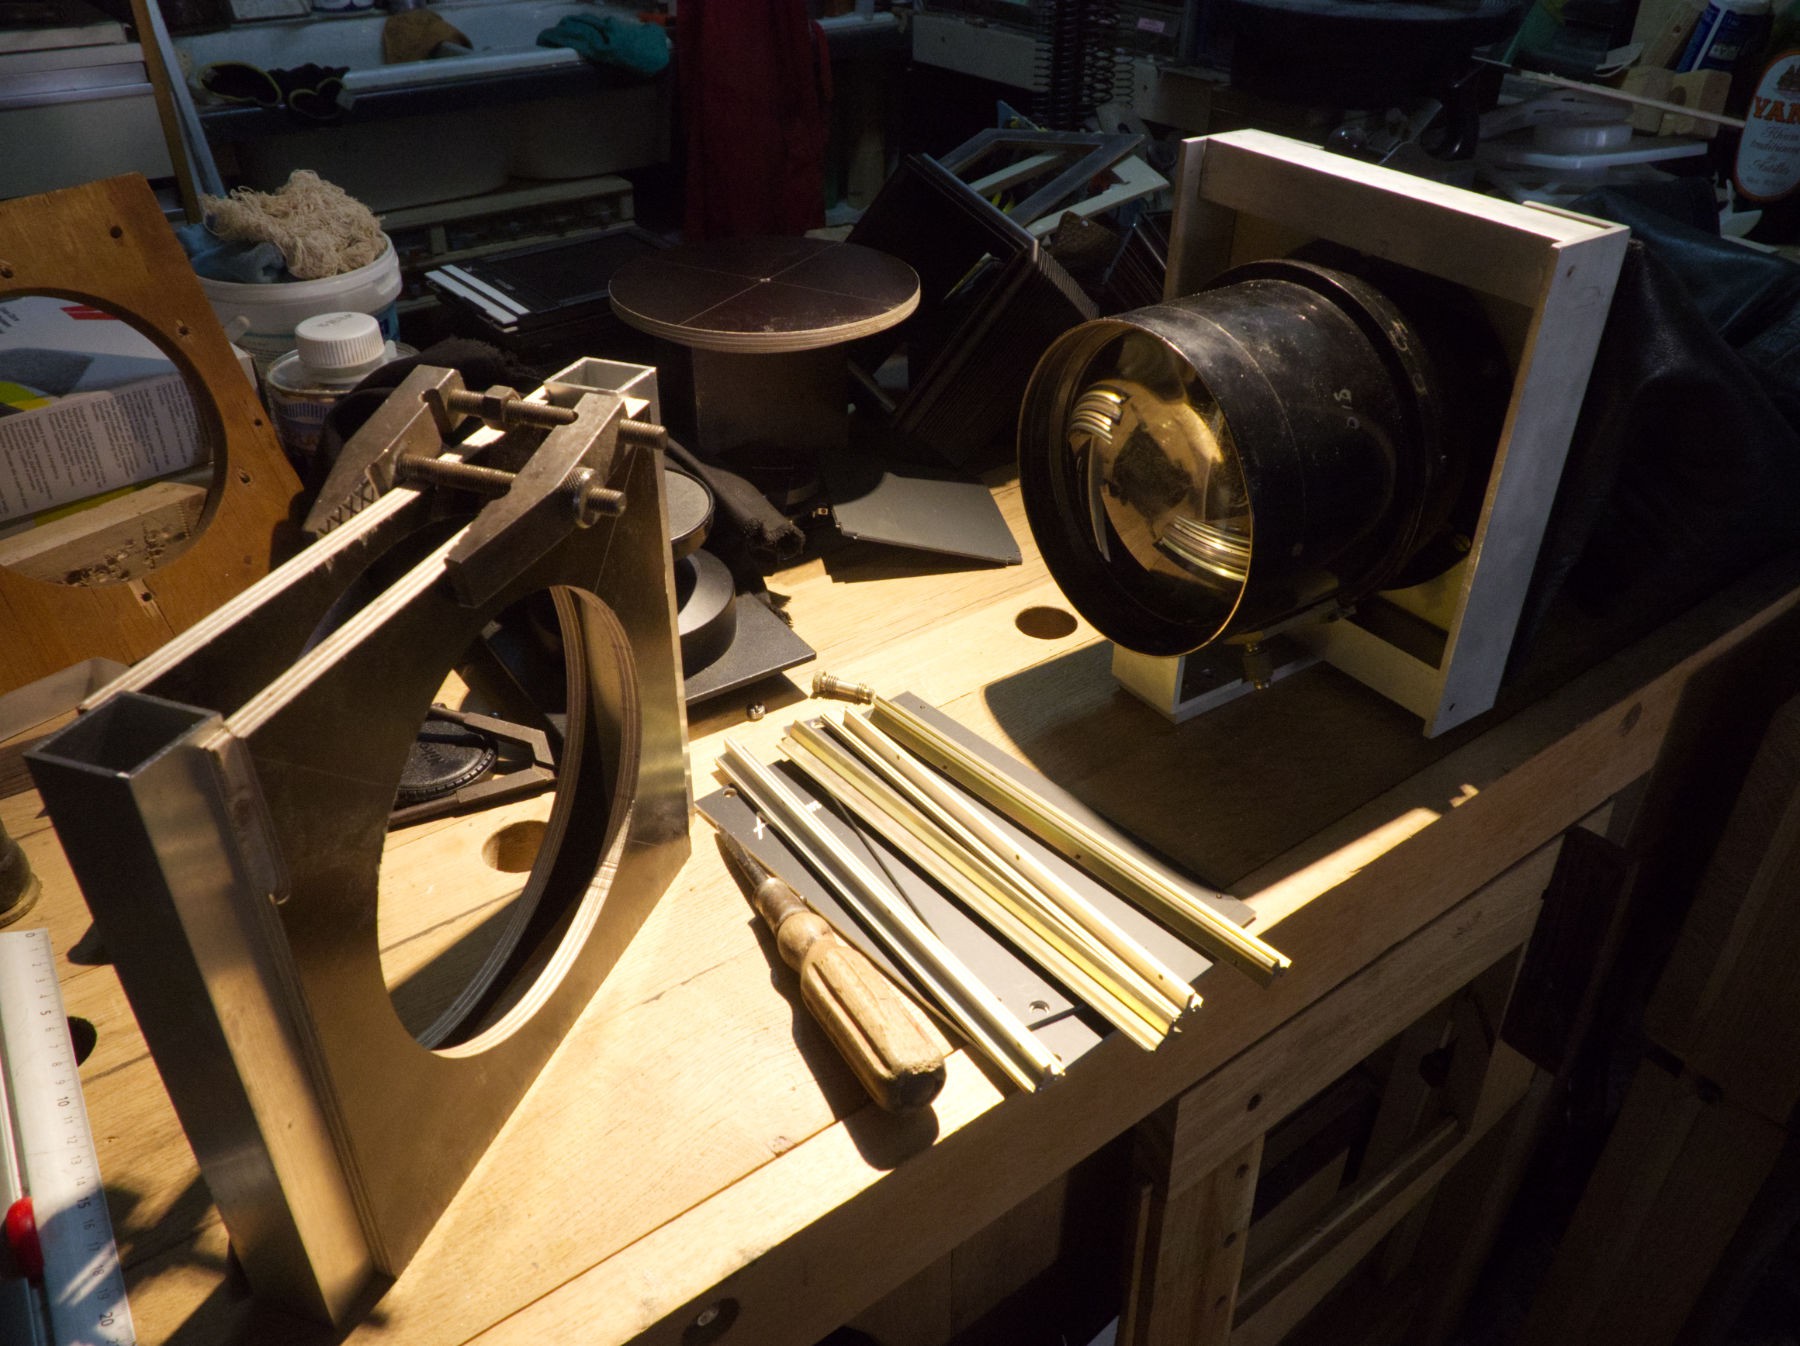
I'm going to use 2 of those gold anodized aluminium profiles (same sidewalk find), they have a V shape, but the outer angle is not sharp, it's rounded so I had a lot of troubles to drill them in position (to be sure the holes will be at the same place on both elements to assemble, I prefer this method when there is going to be more than 2 holes). It's some rack holding side bars, must be very expensive !
 Drilling, and taping for M 3 screws .
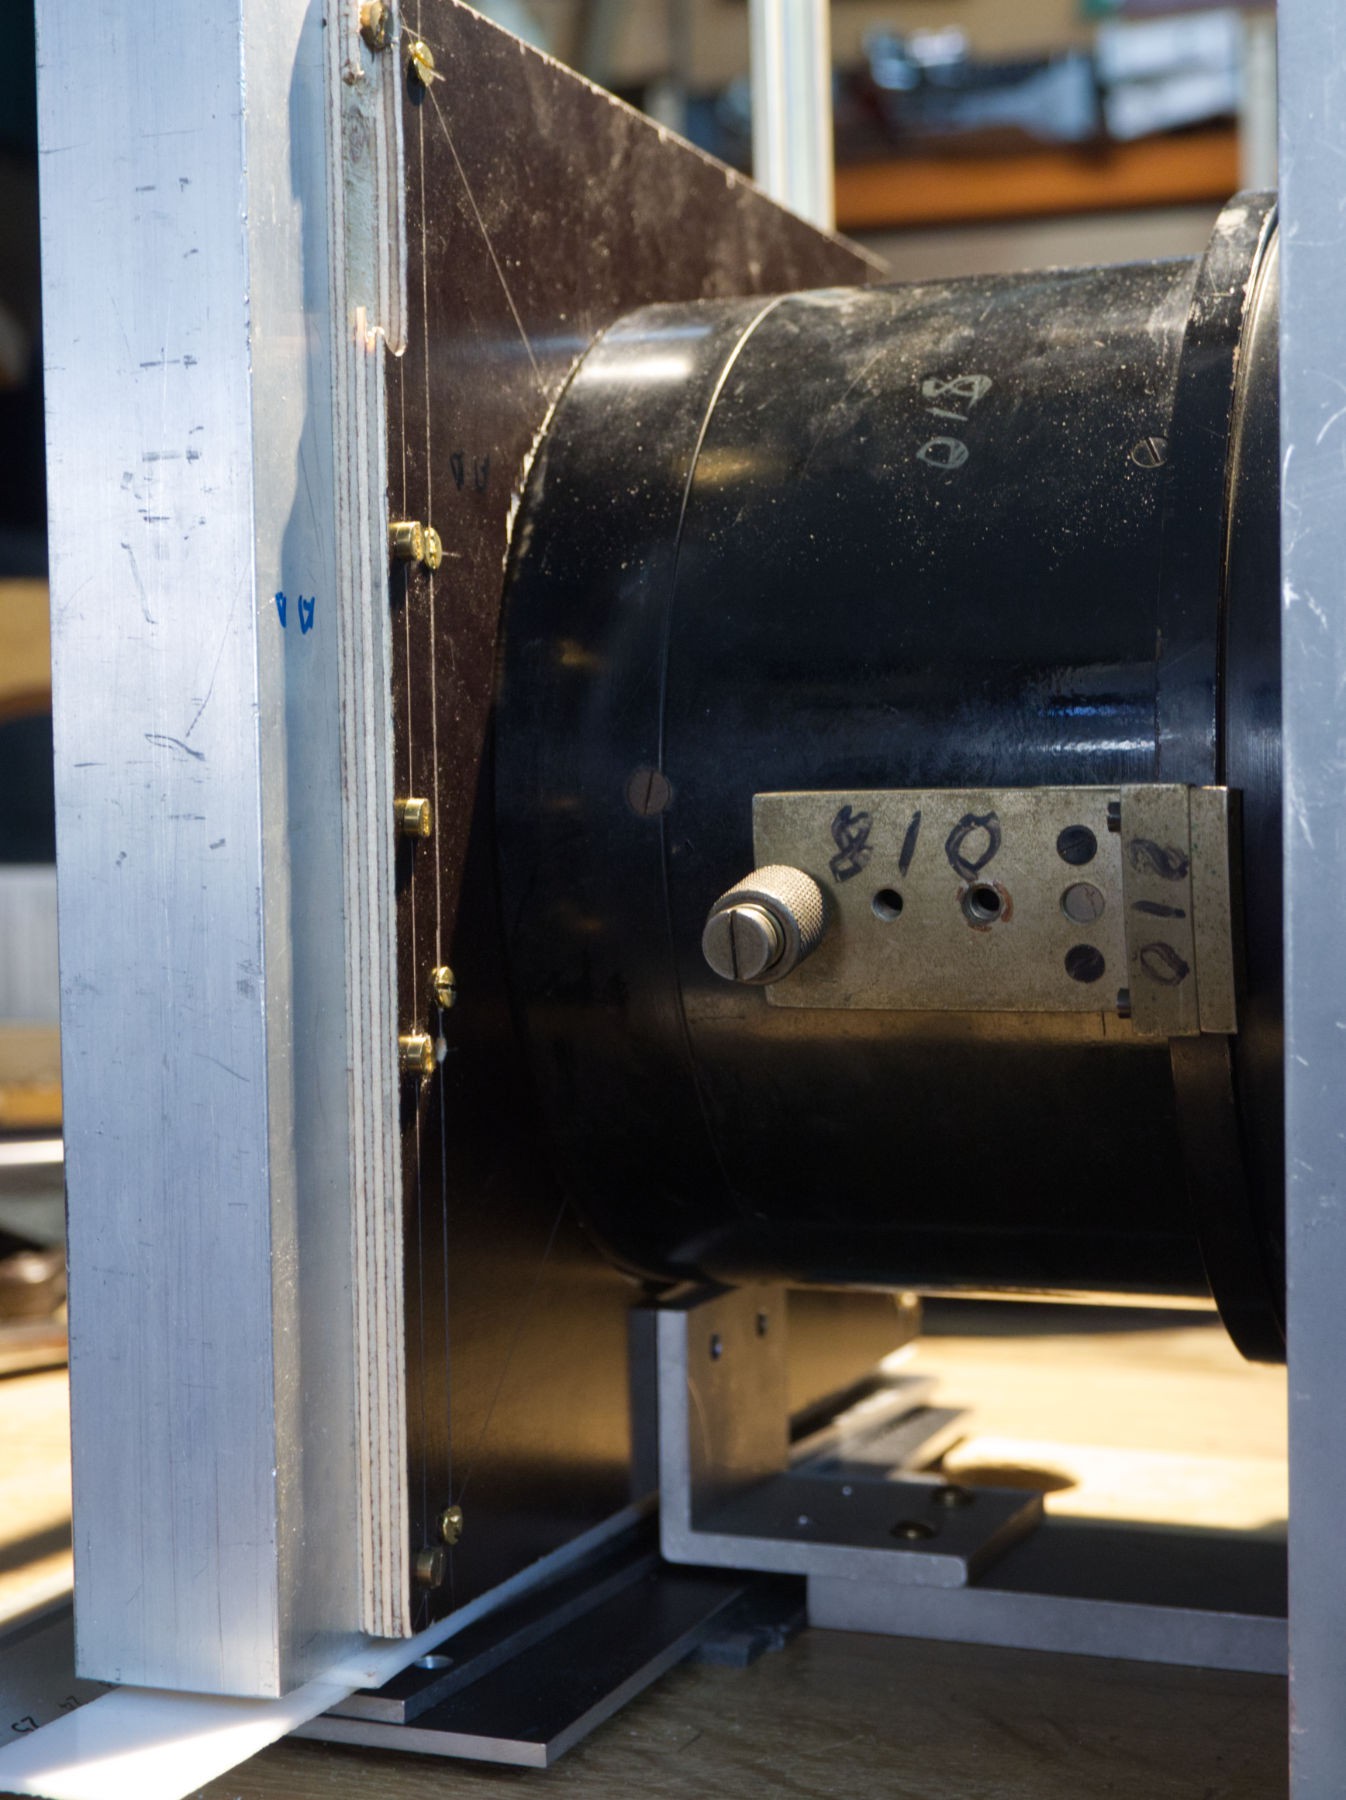 It fits perfectly and I must be very careful to mark the center of the two holes that will make the junction between the lens and the shutter.
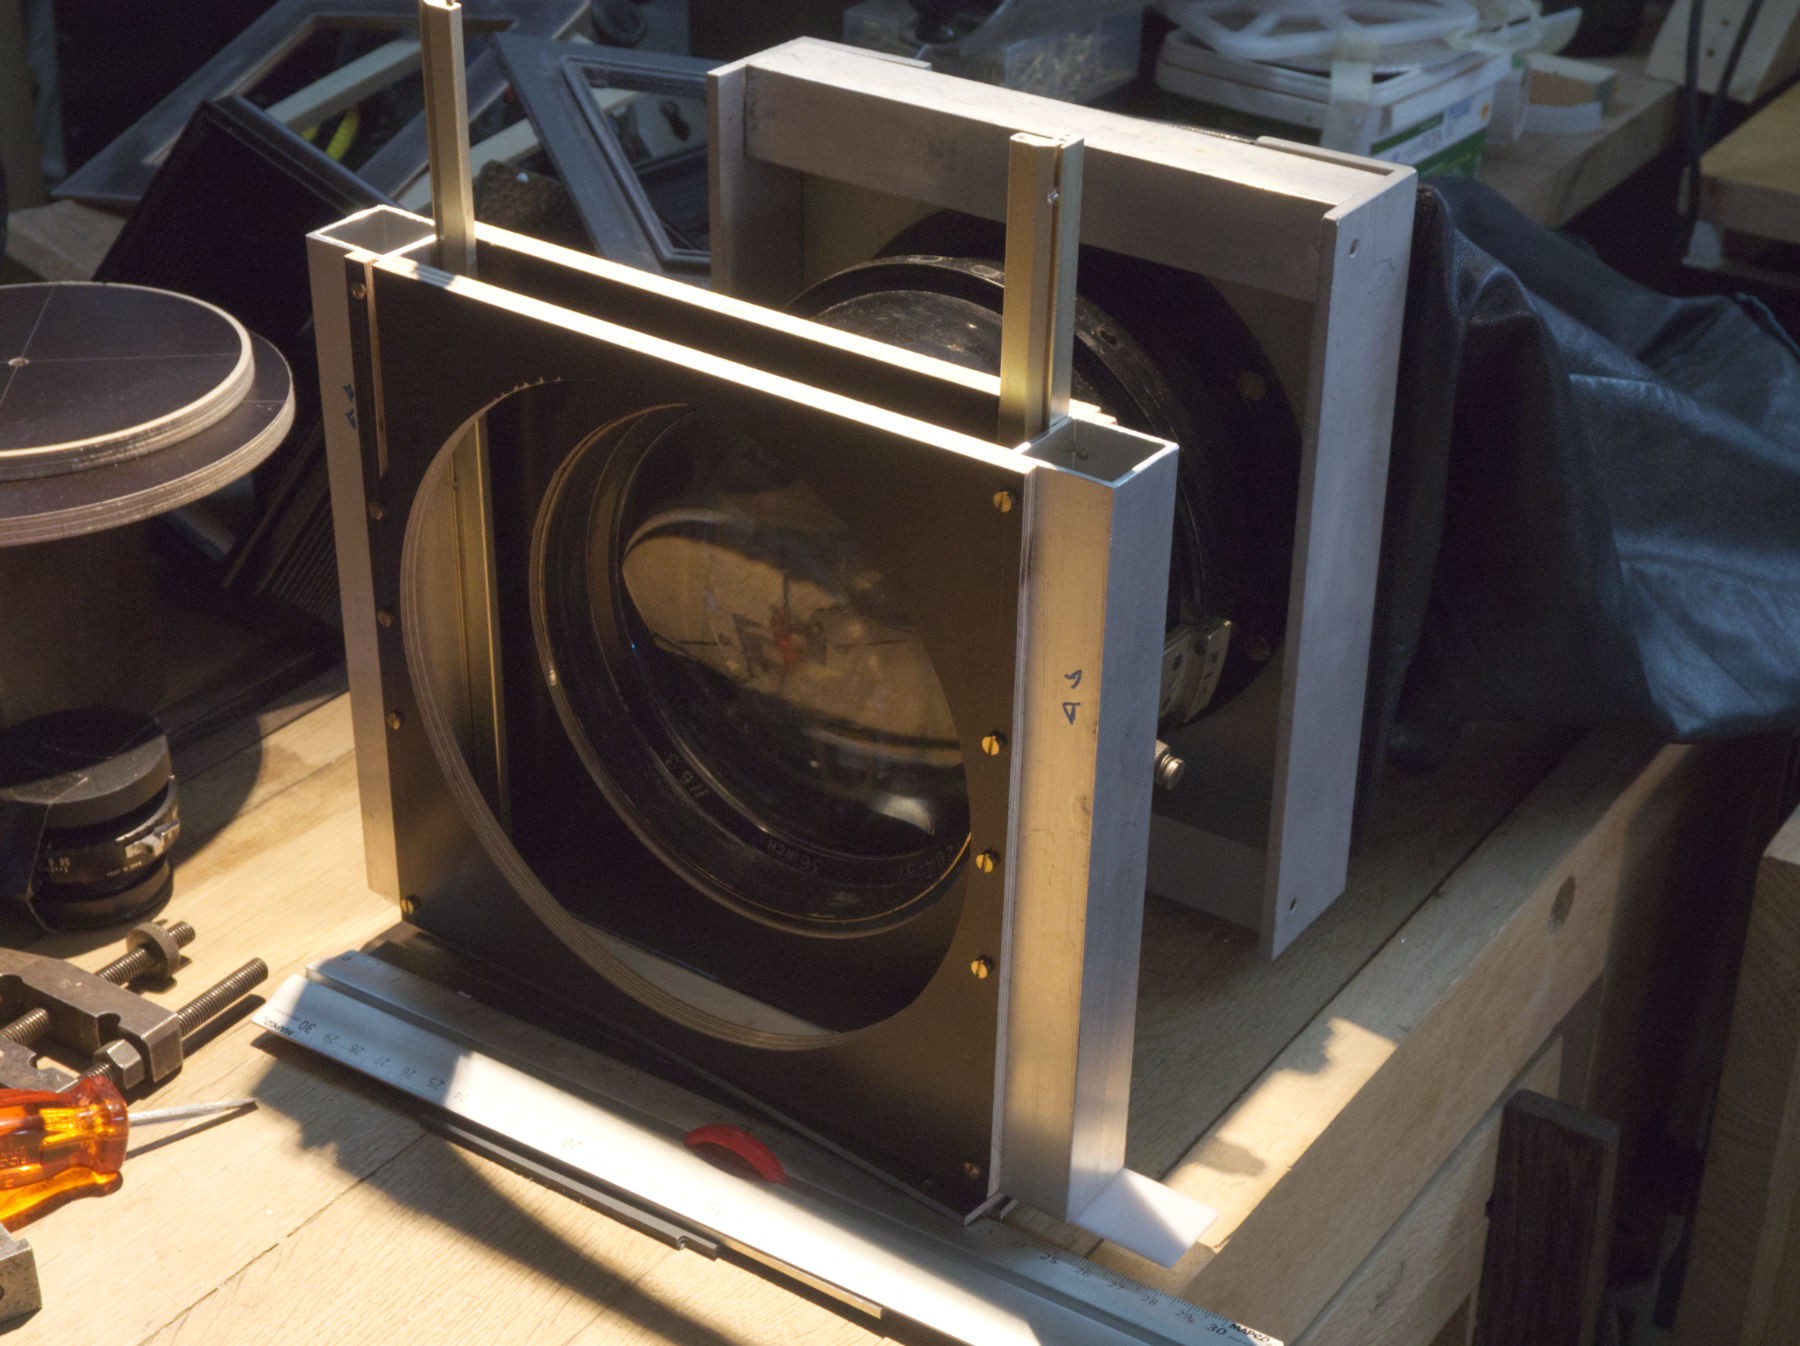 Same view from the front.
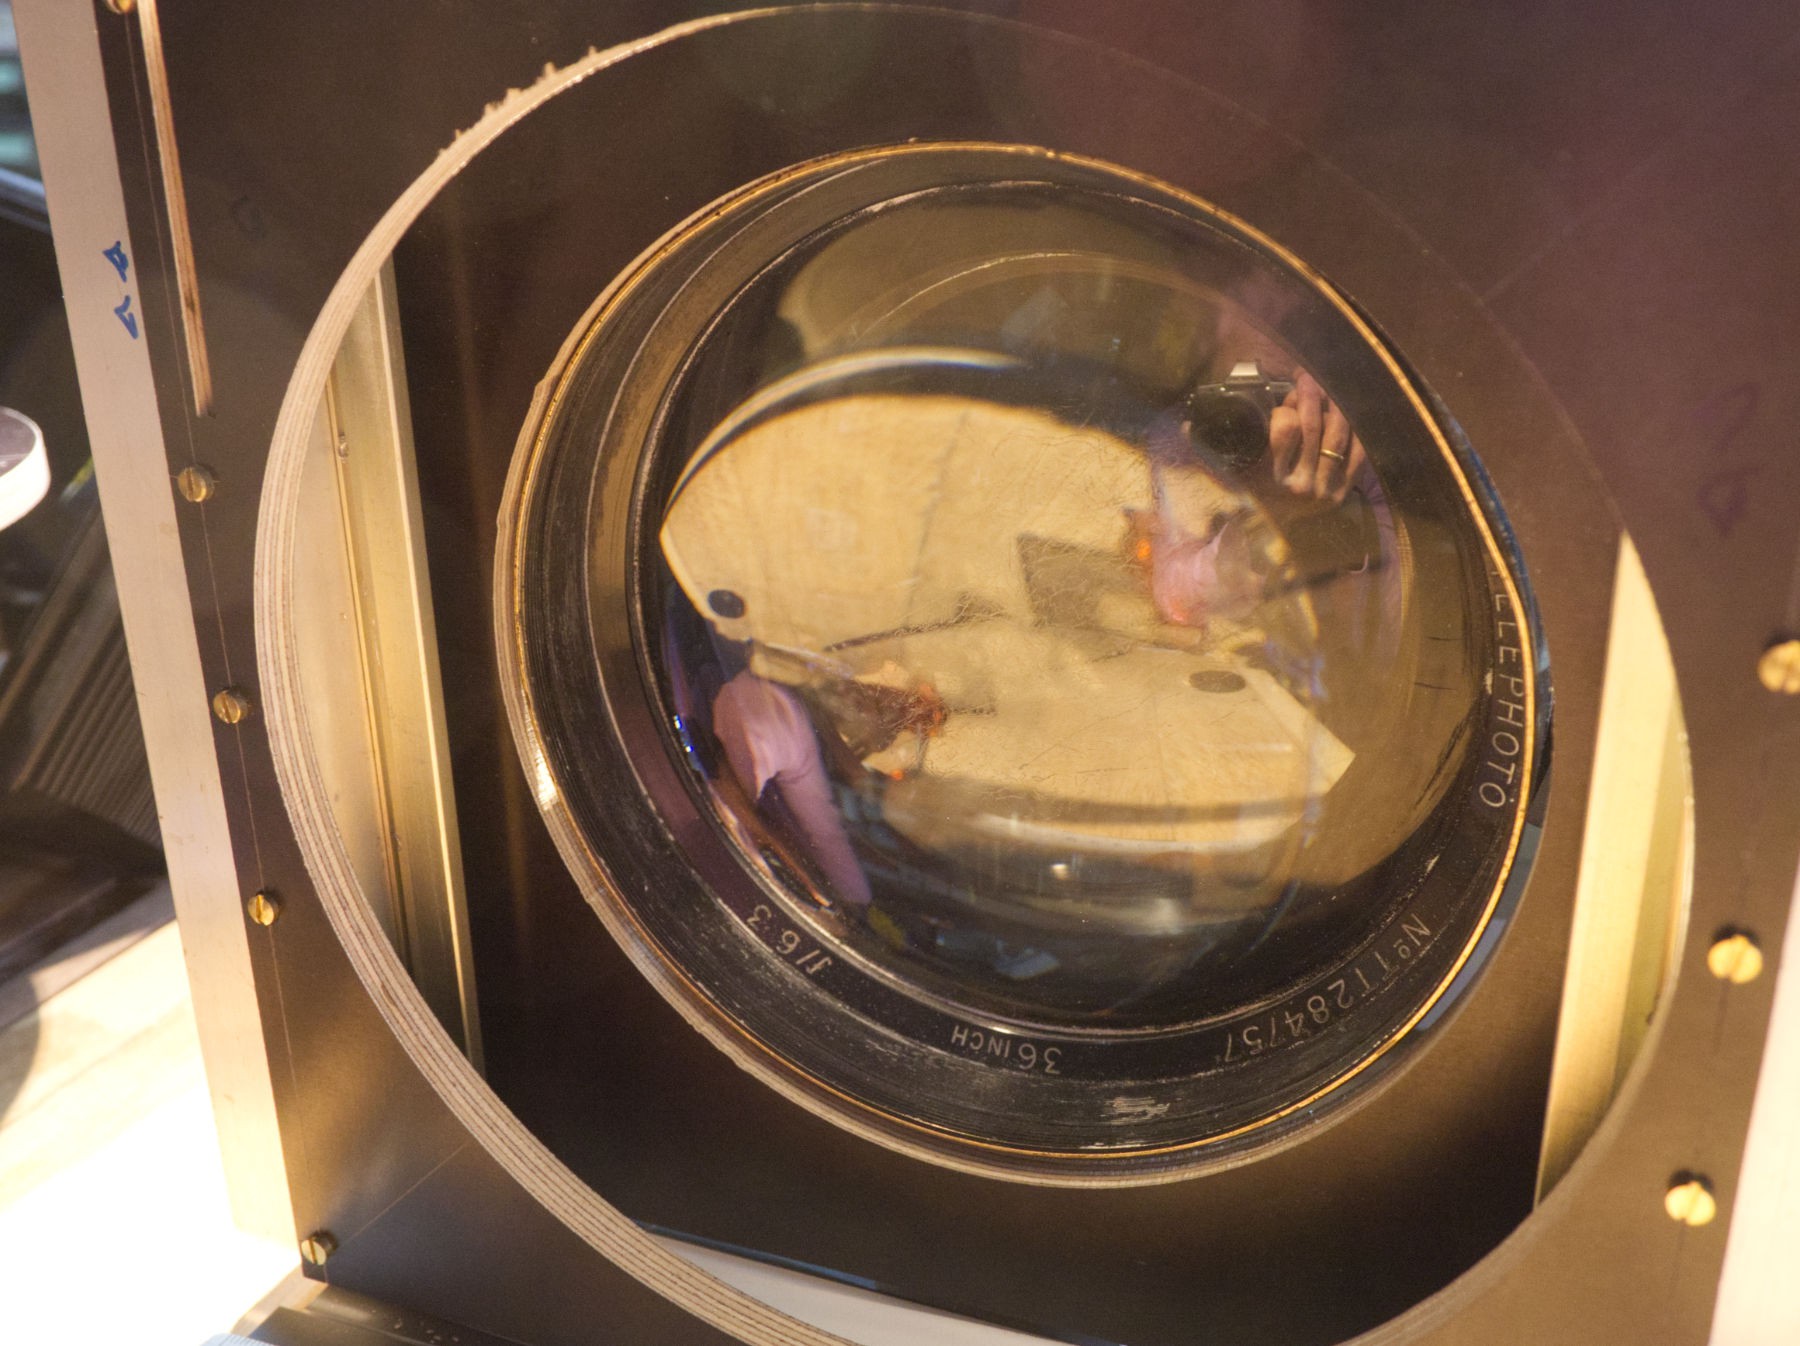 Another autoportrait, the pink cast on the top right is radiosity, a reflection of the light on my pink shirt : don't take me as an assistant when taking photography, as I always wear very colored things that give an ignoble color cast at everything around me ;o).
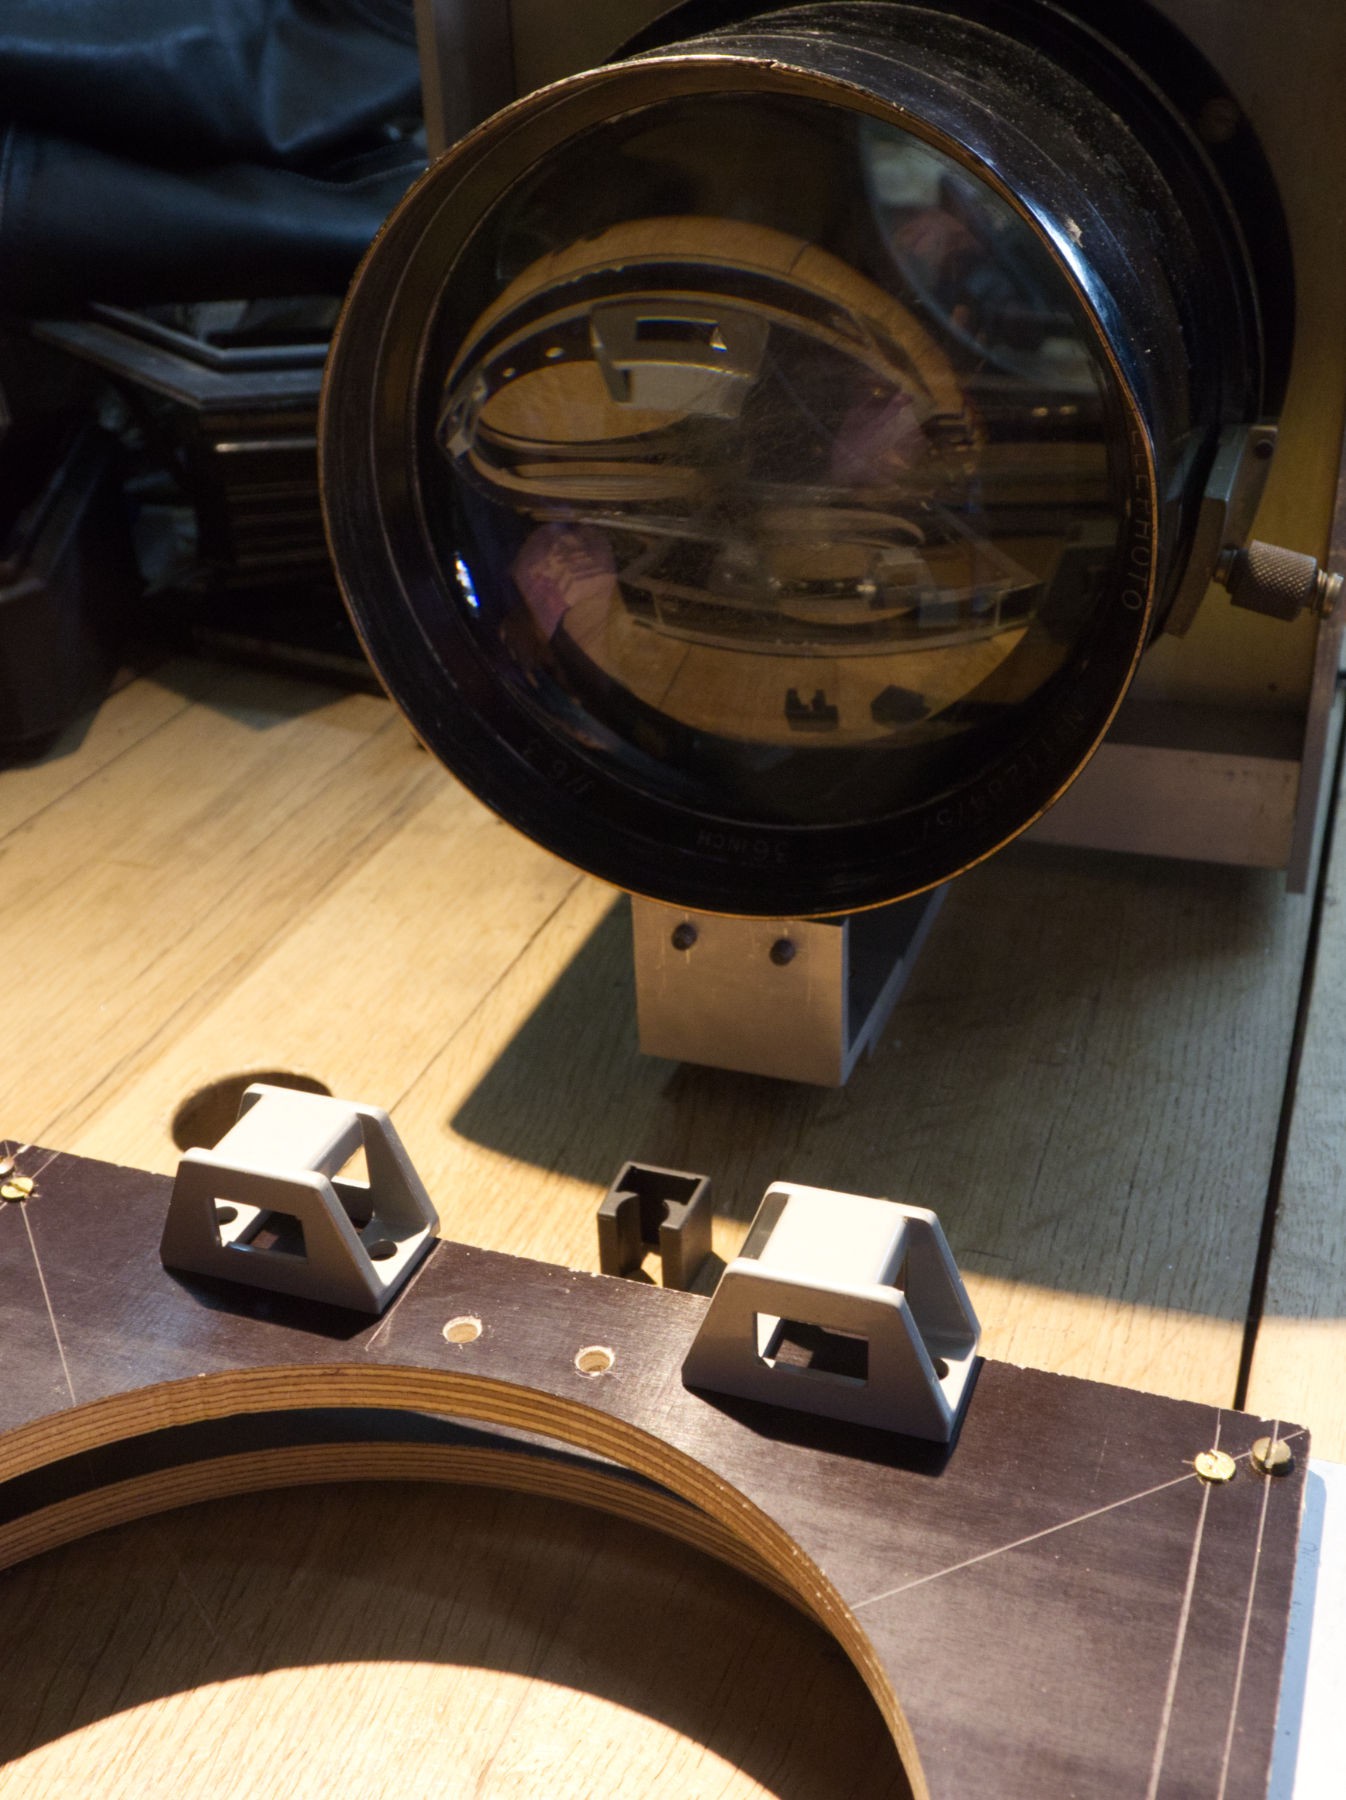
The shutter will be locked in position with the help of those two things, nearly used here in their original purpose : parts of window or door closing system. They come with a plastic part (the black thing just in the center) that can be conveniently put inside the part to change the sliding path, and the sliding thing can be a rod or a flat bar.
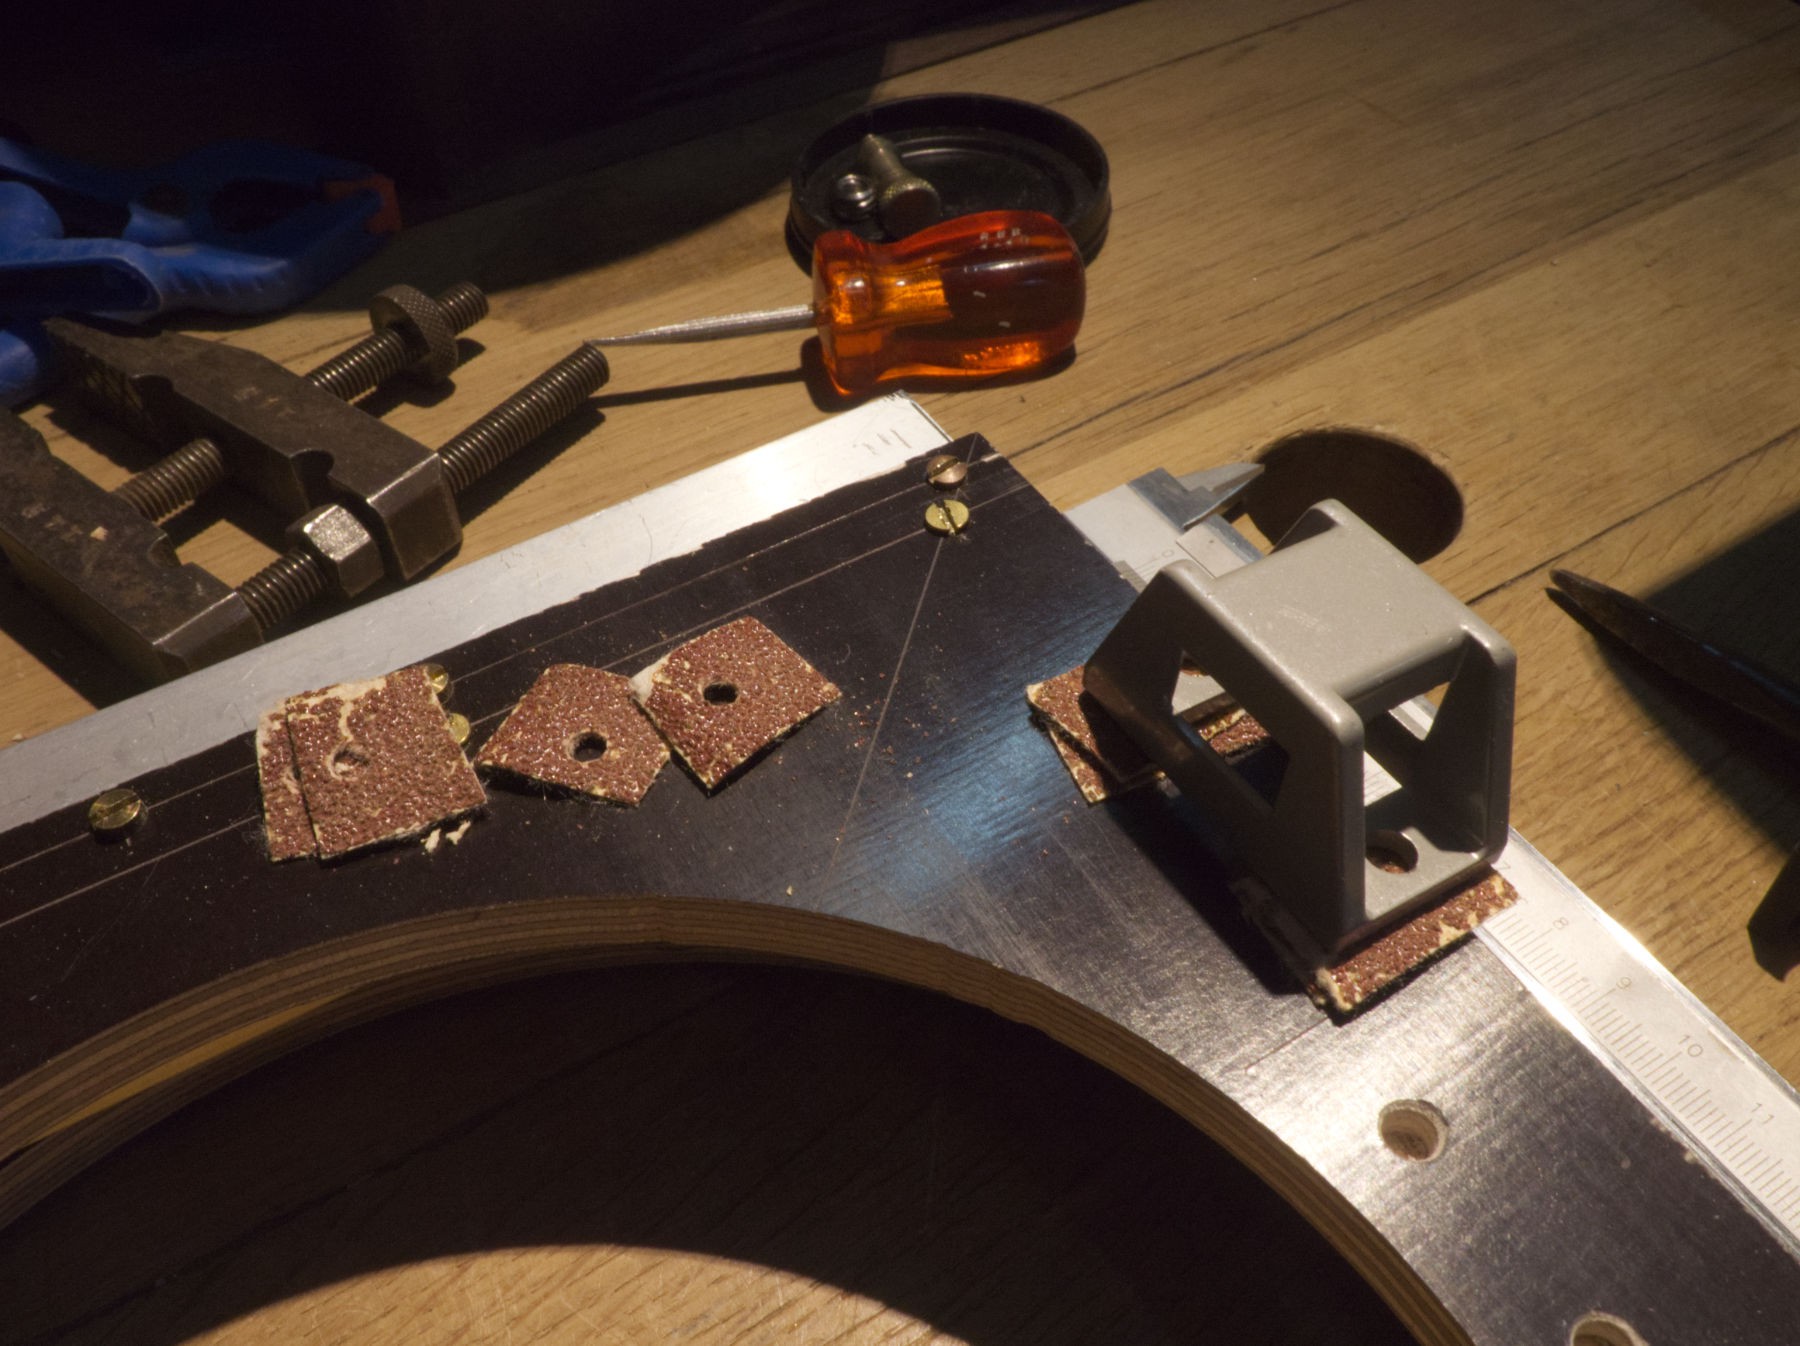 The height must be adjusted with some pieces of worn sandpaper : I don't want to have the 3,5 x 12 wood screw tip on the opposite side.
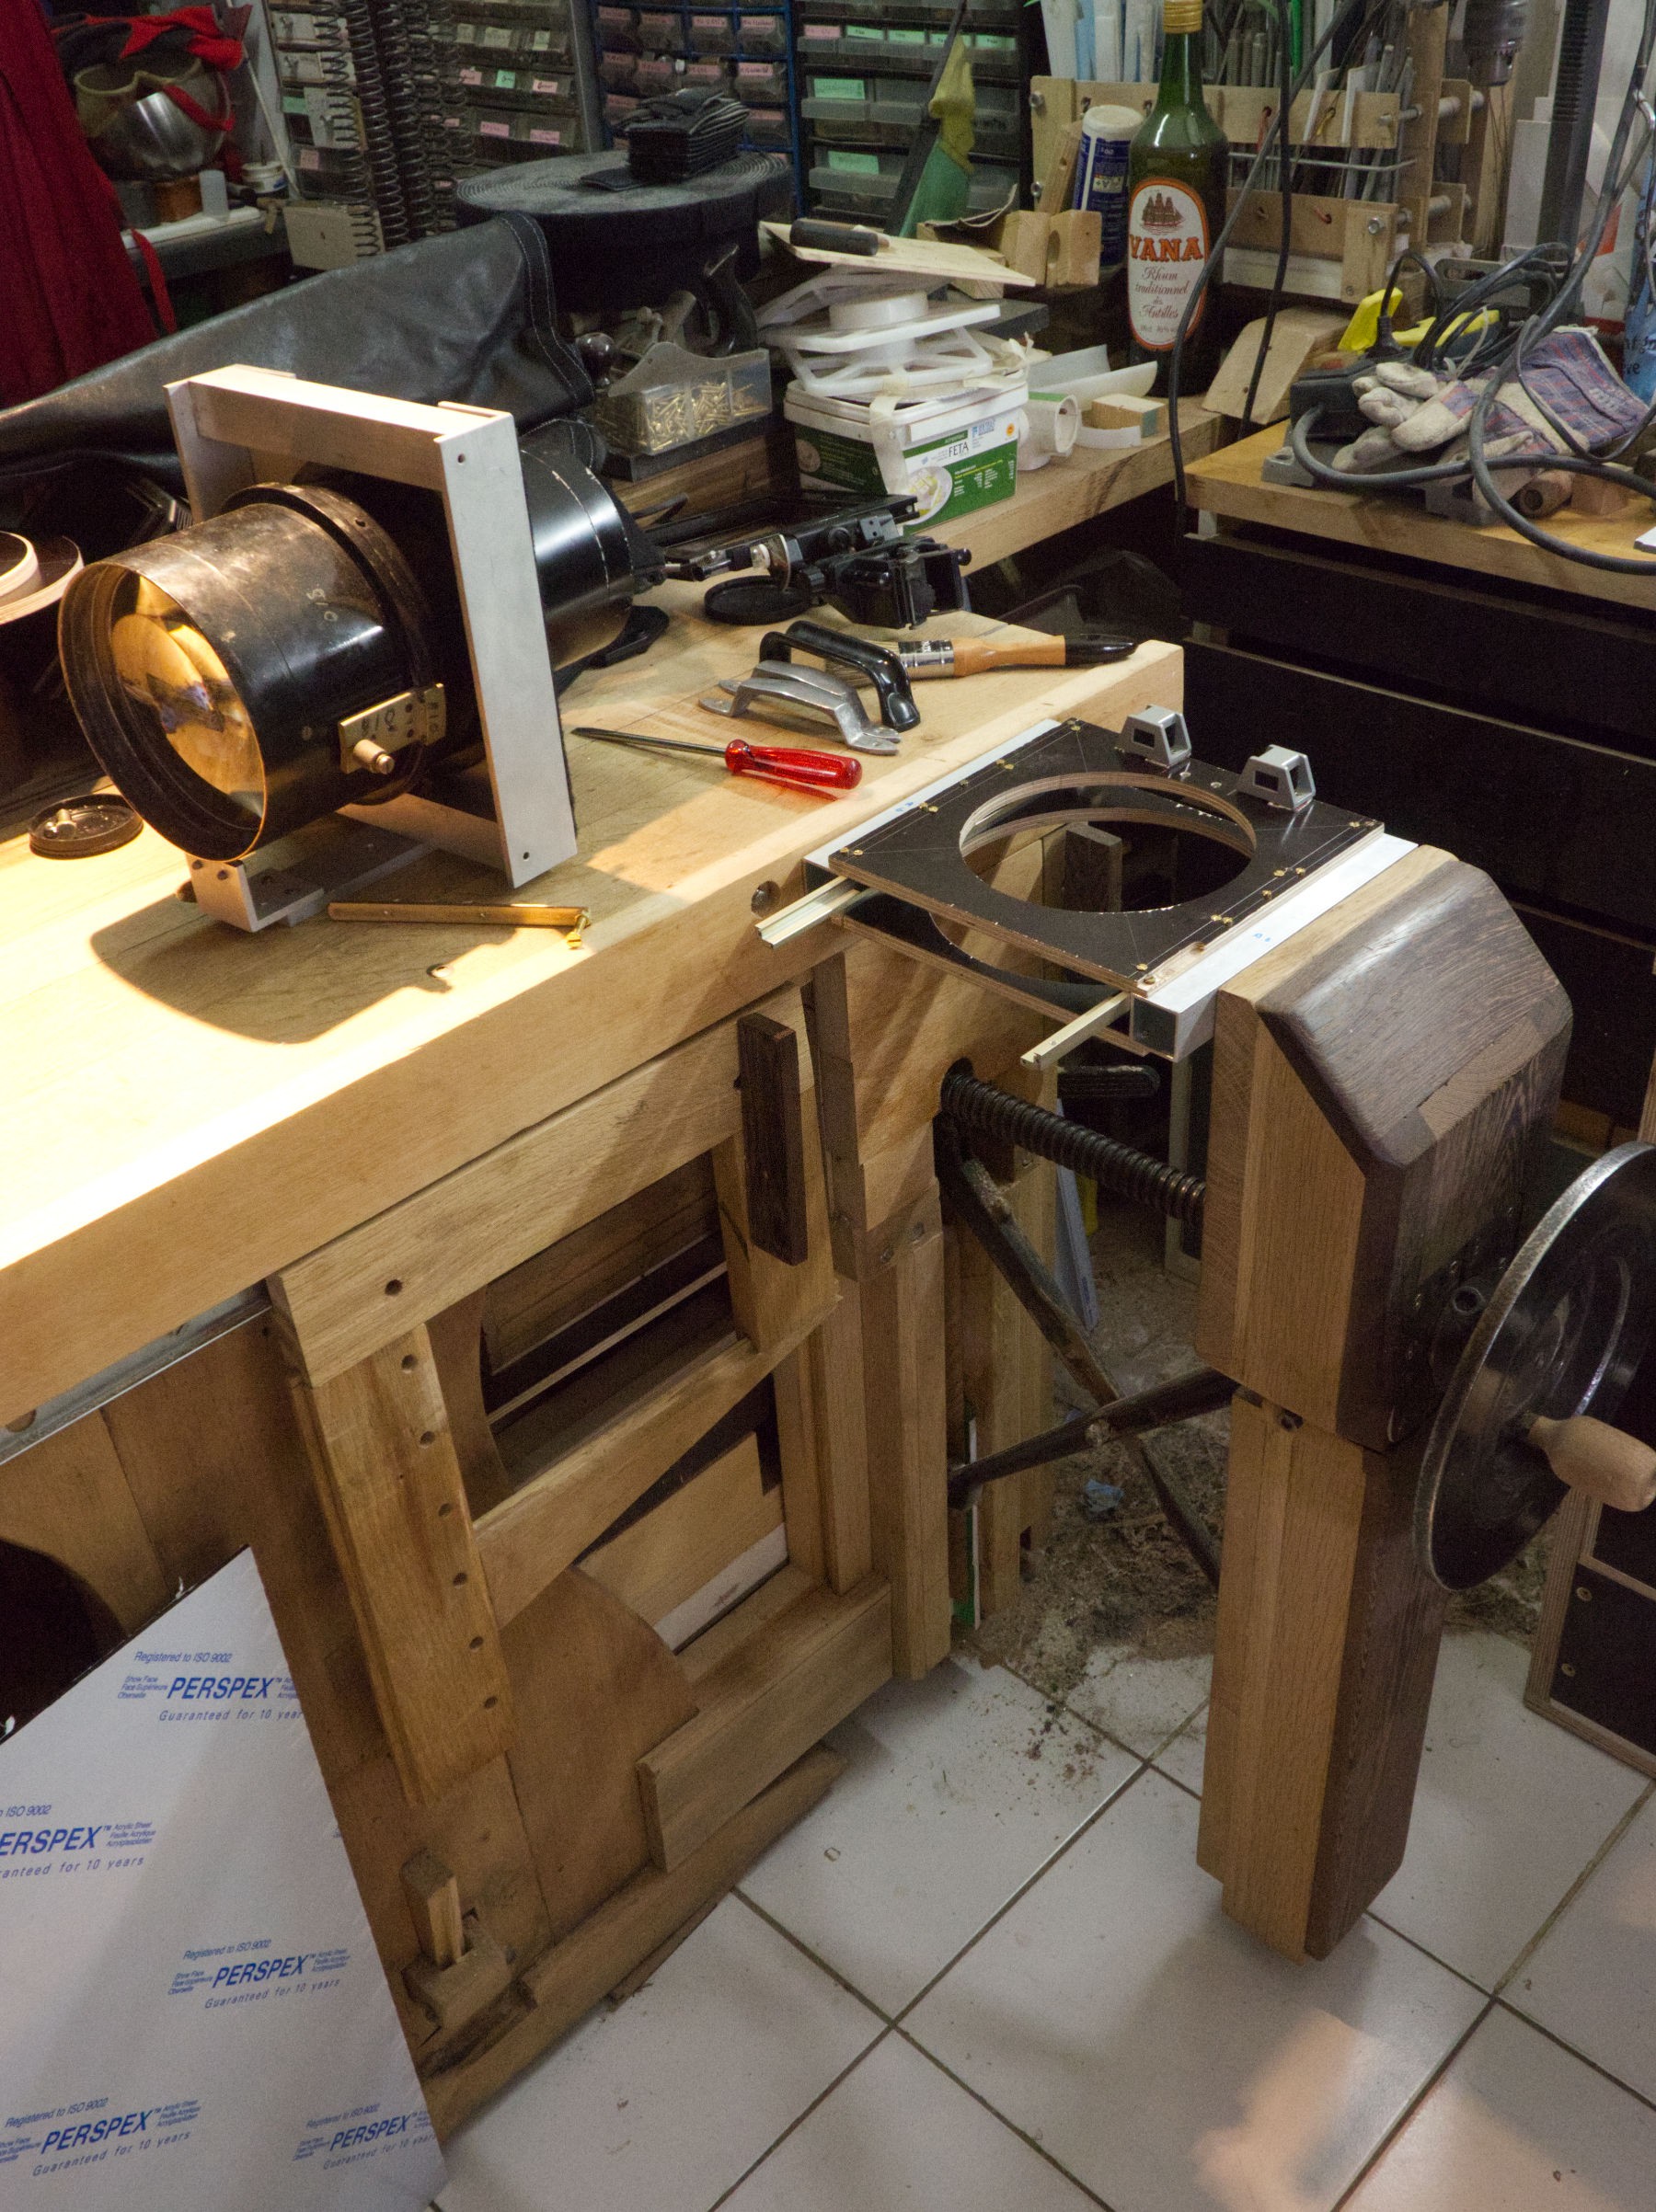
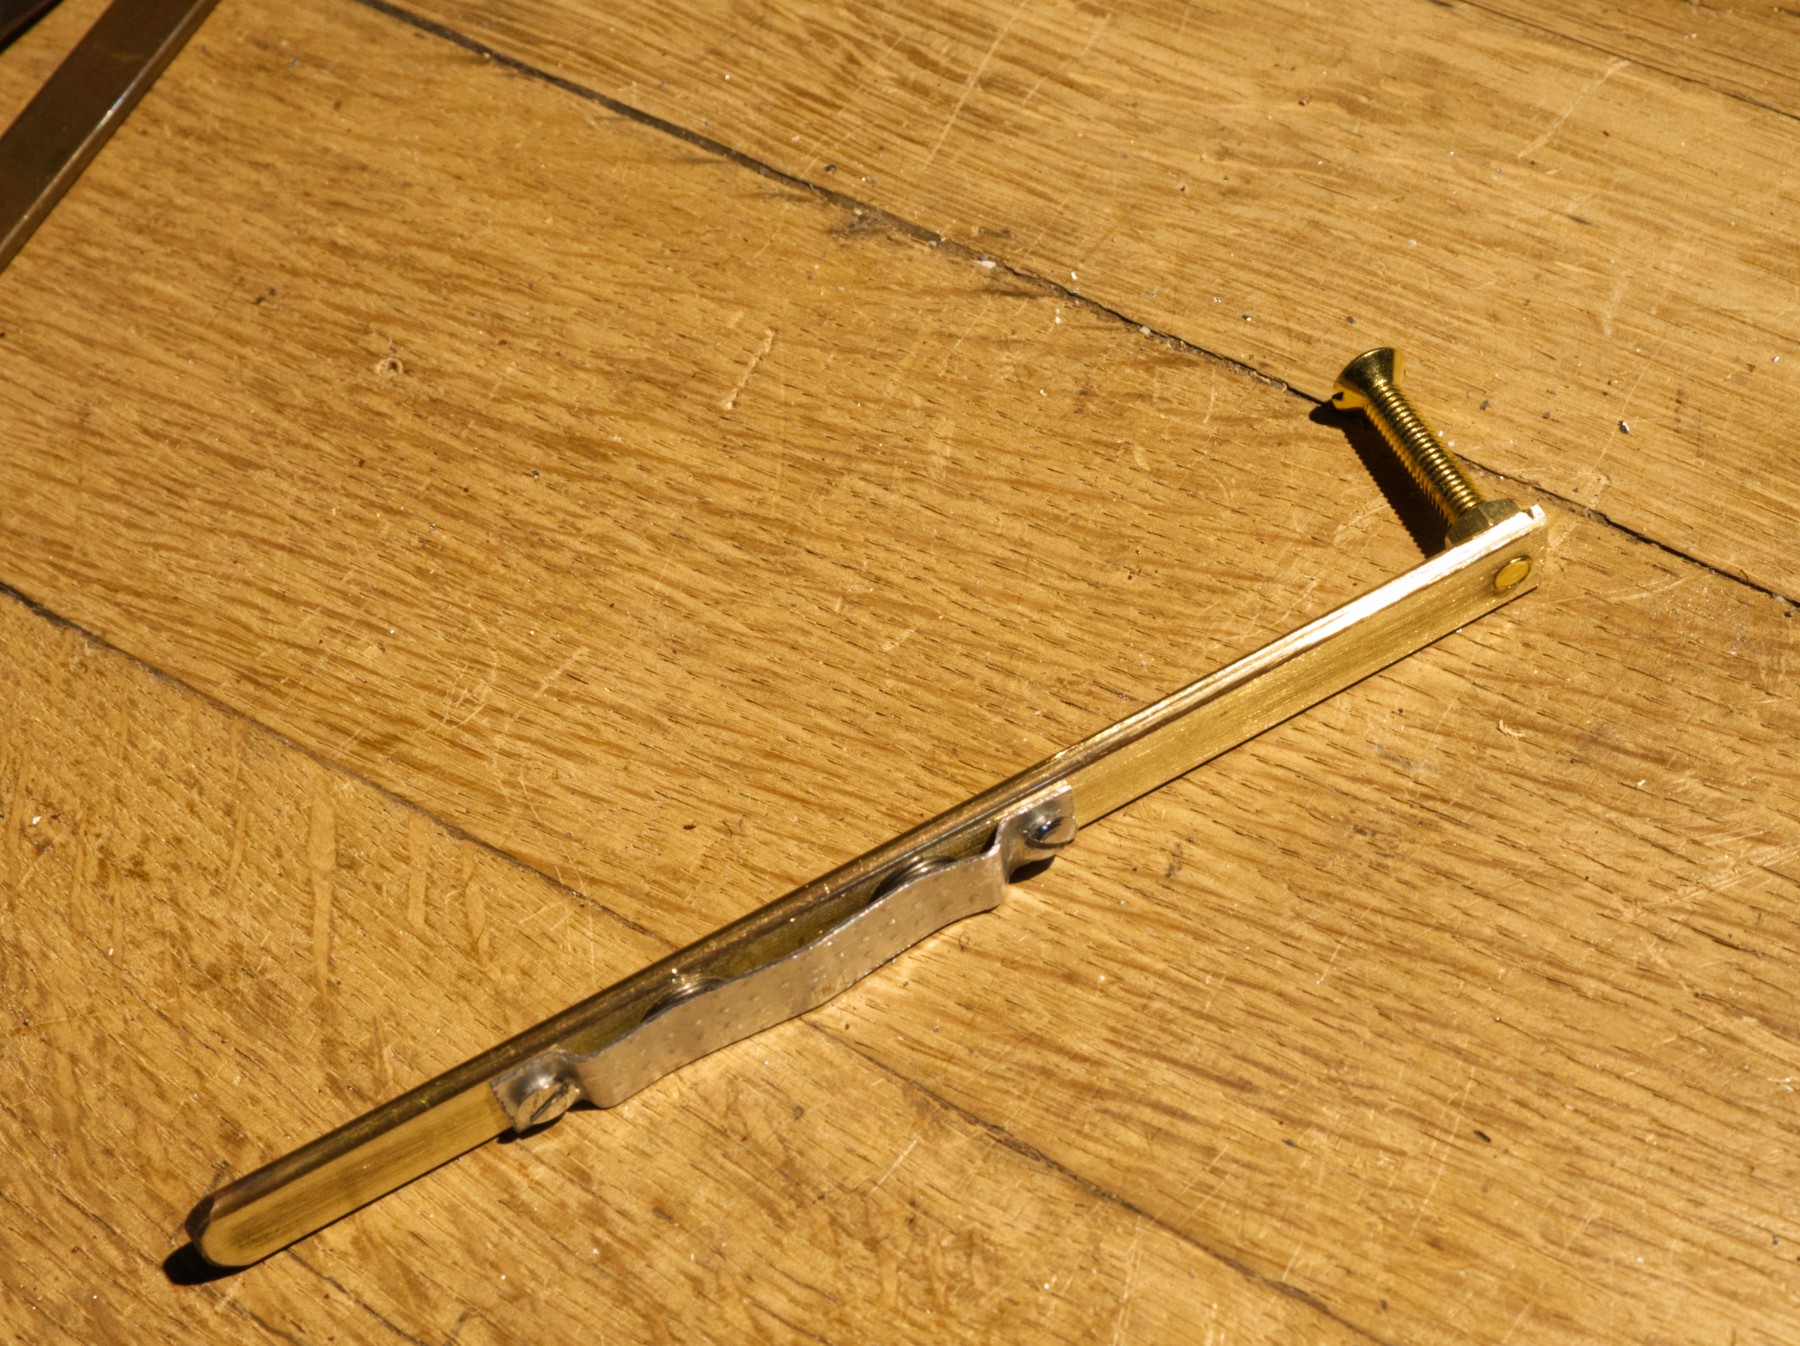
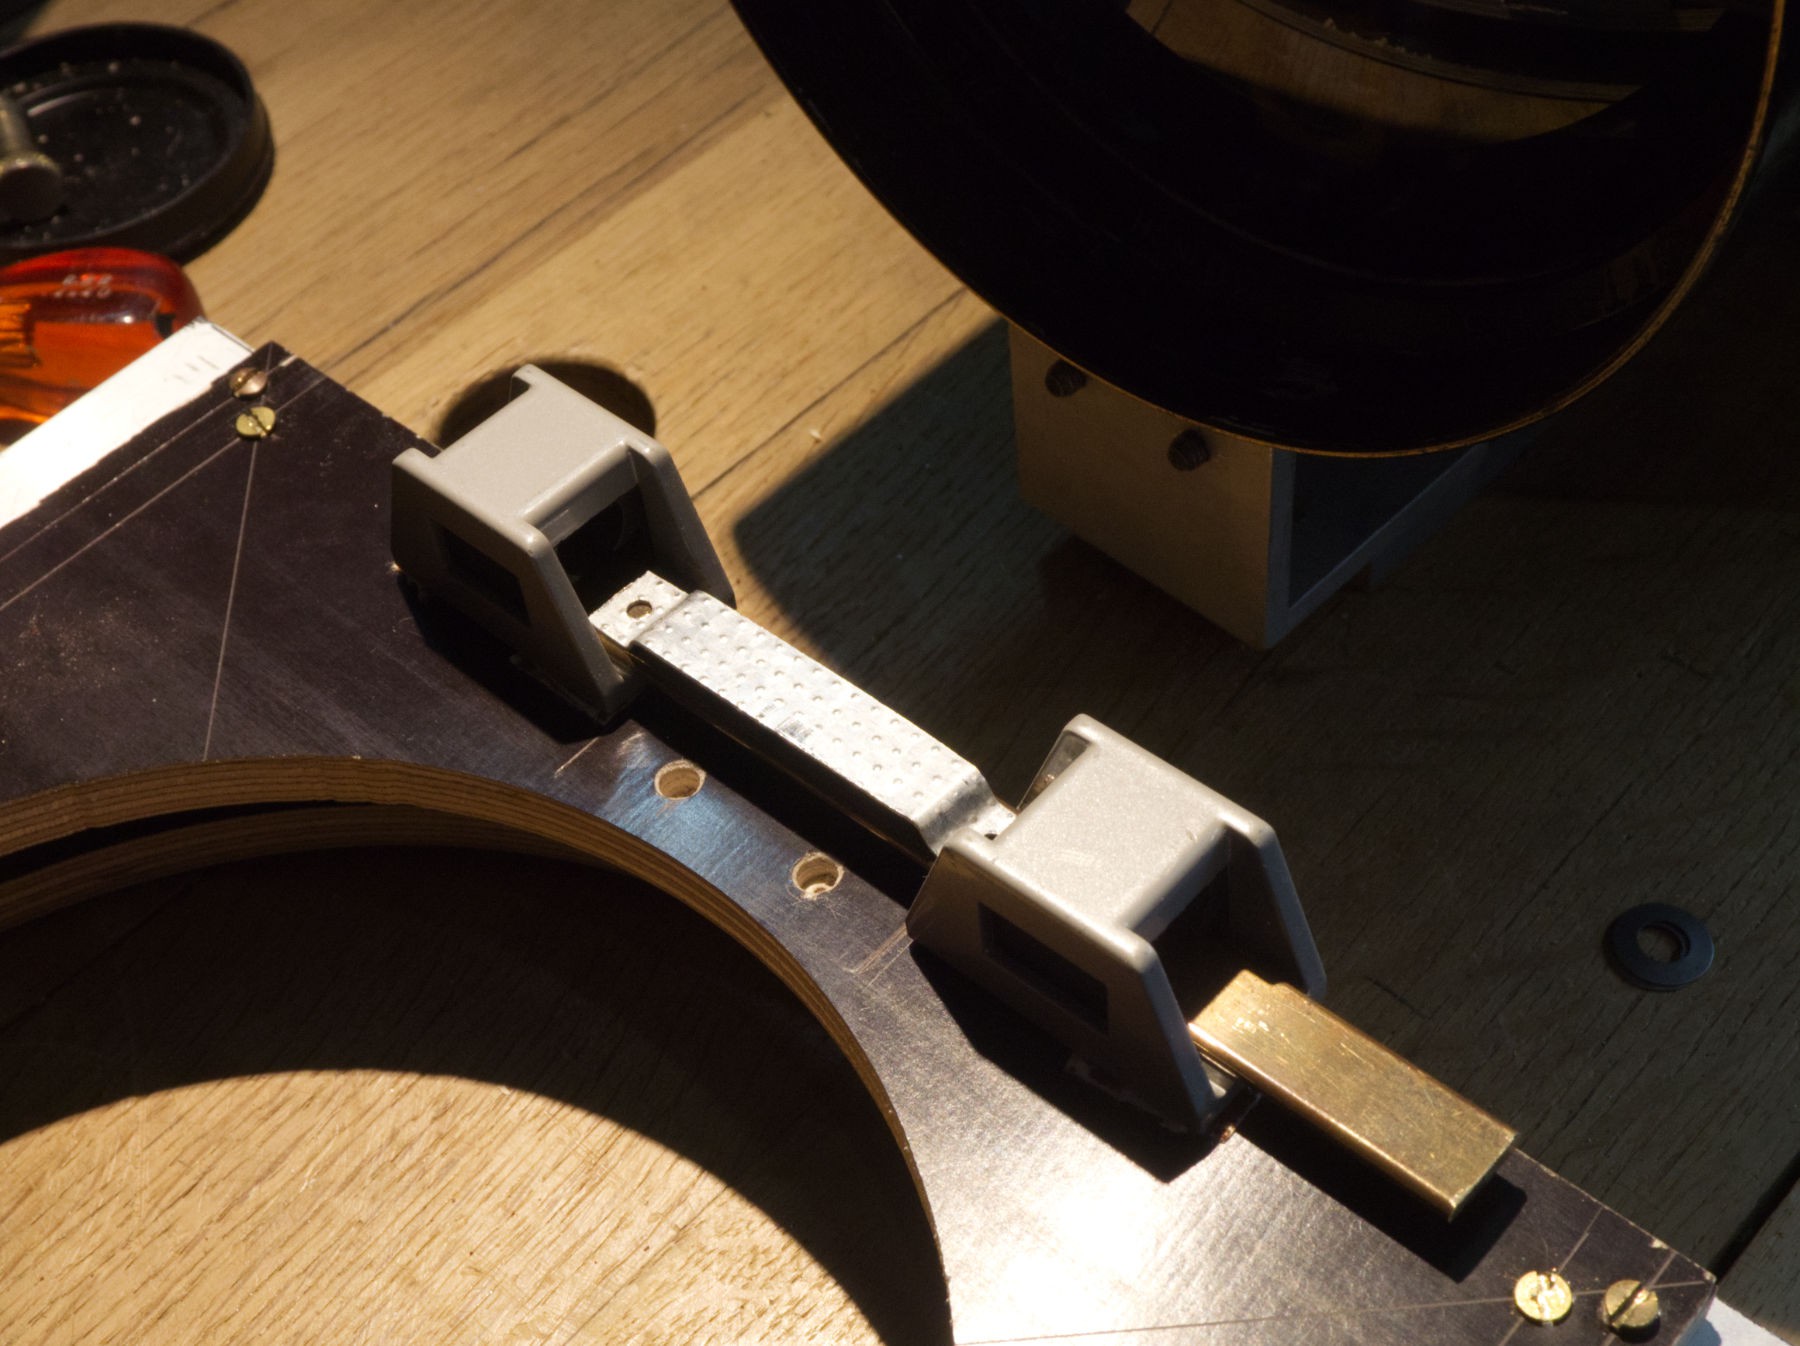 A small piece of drywall galvanized steel frame profile is easily shaped with appropriate pliers and the vise.
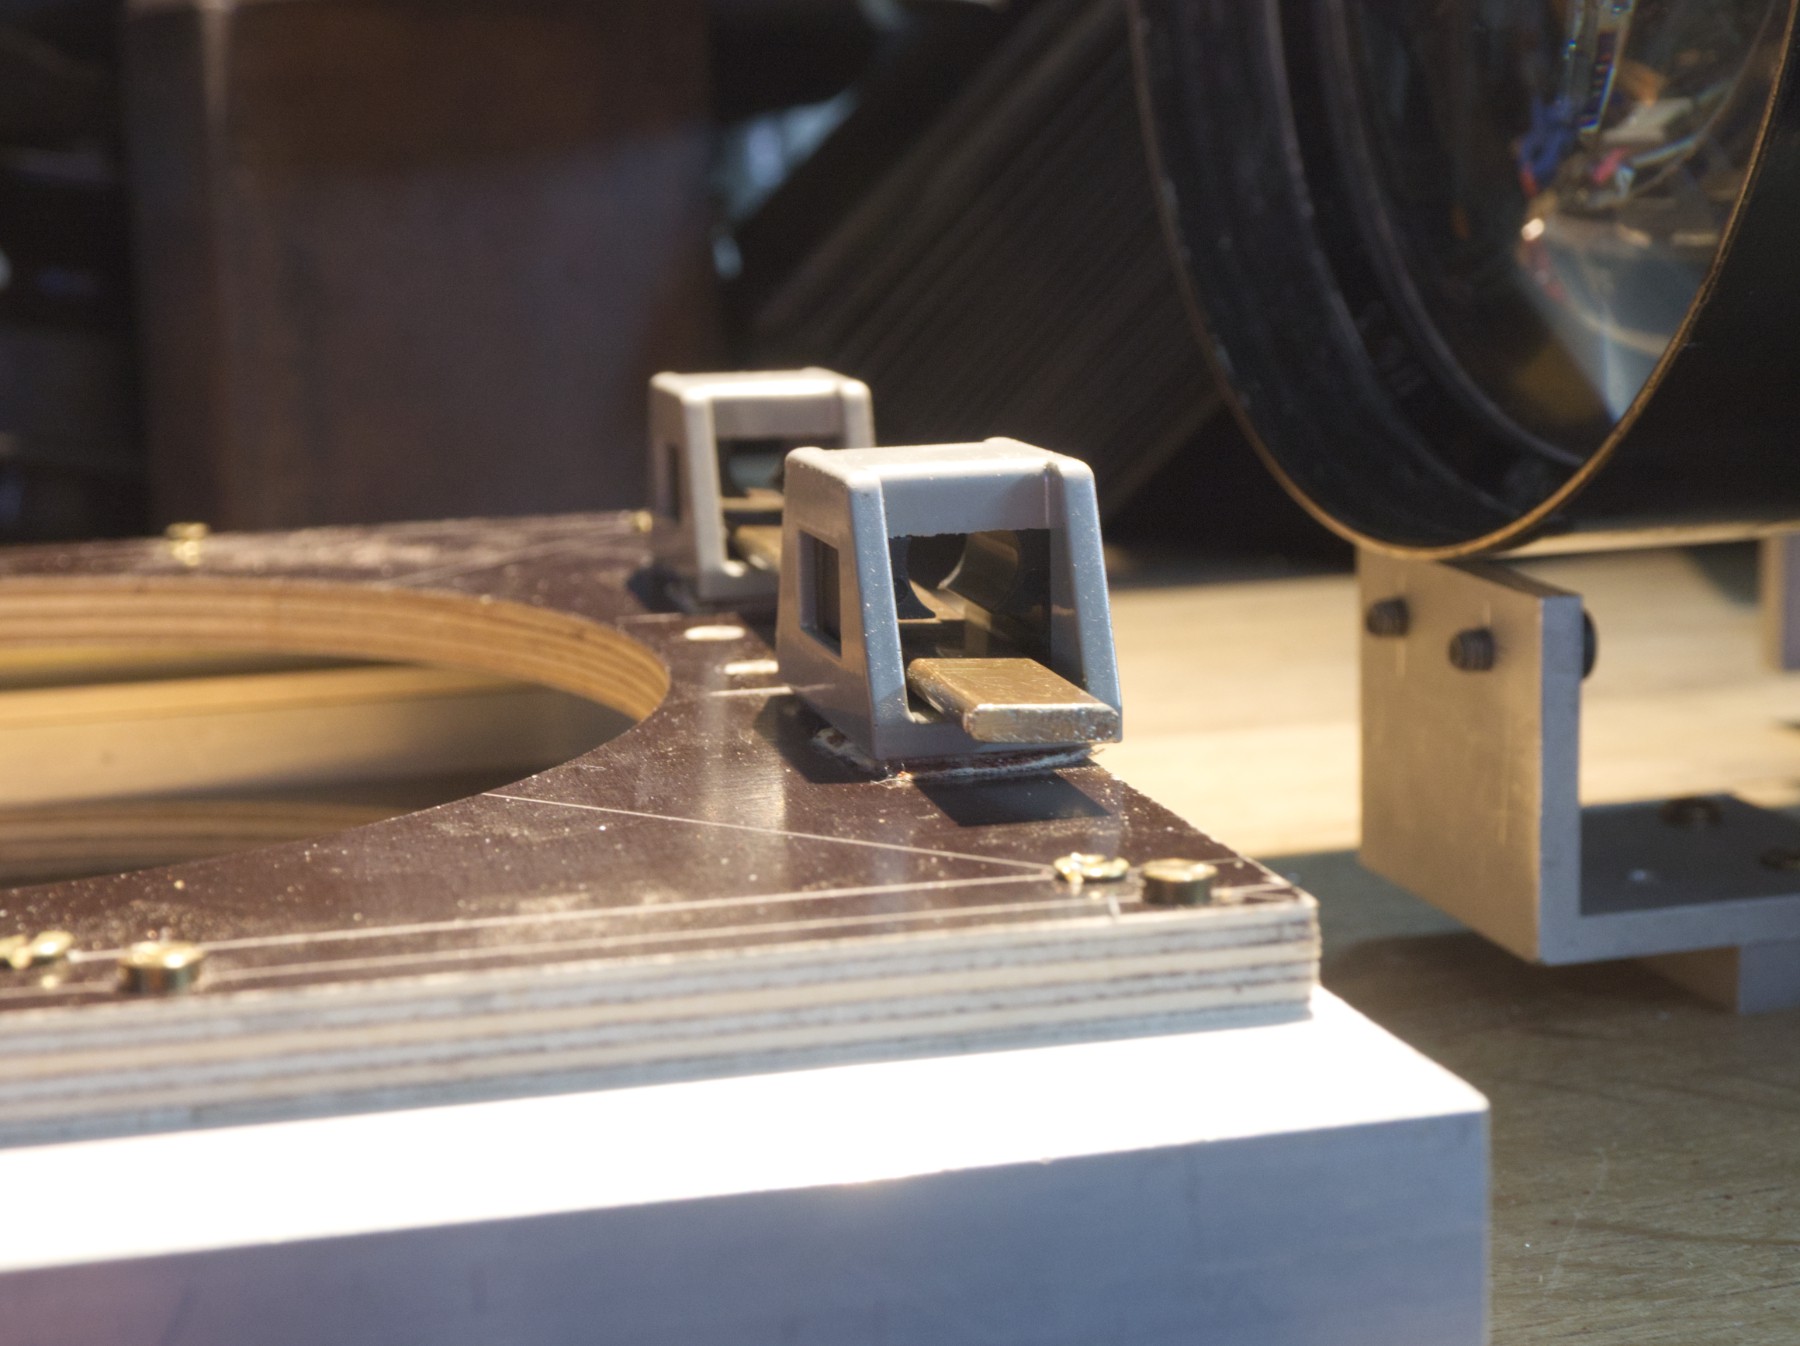 From the side it's possible to see the inner plastic shape that's exactly th right size. Its an interesting part as it can be used in both directions (you can see the other whole at 90 °) and the plastic thing can also be used on both ways, with a choice of the type of thing sliding : I choose a flat bar, but could have used a cylindrical shape as there's a round entrance too.
But for the spring type action needed here, a flat bar is perfect.
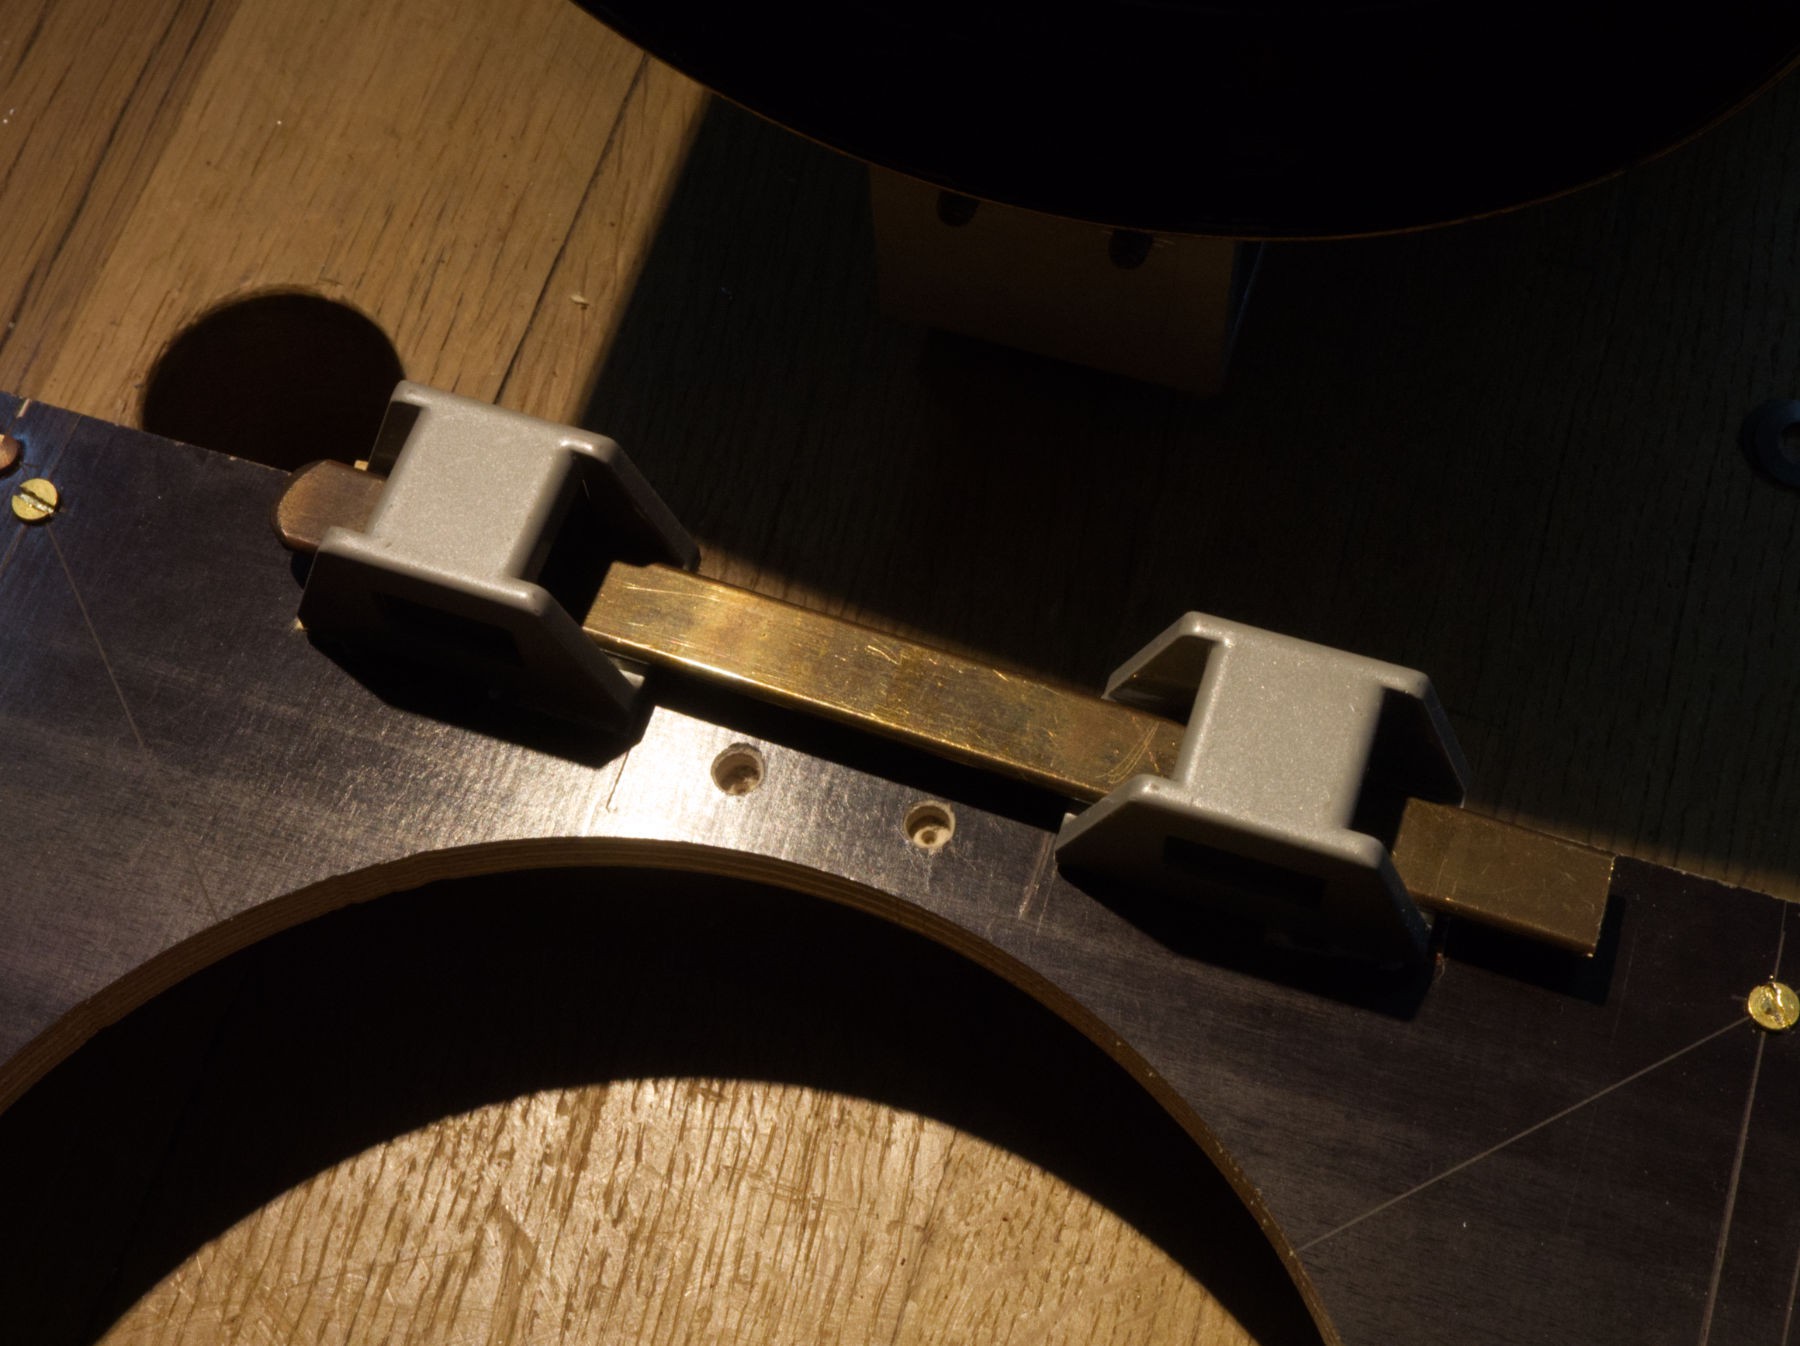
 Here complete with two 4 mm M 3 screws and two little springs for the tension.
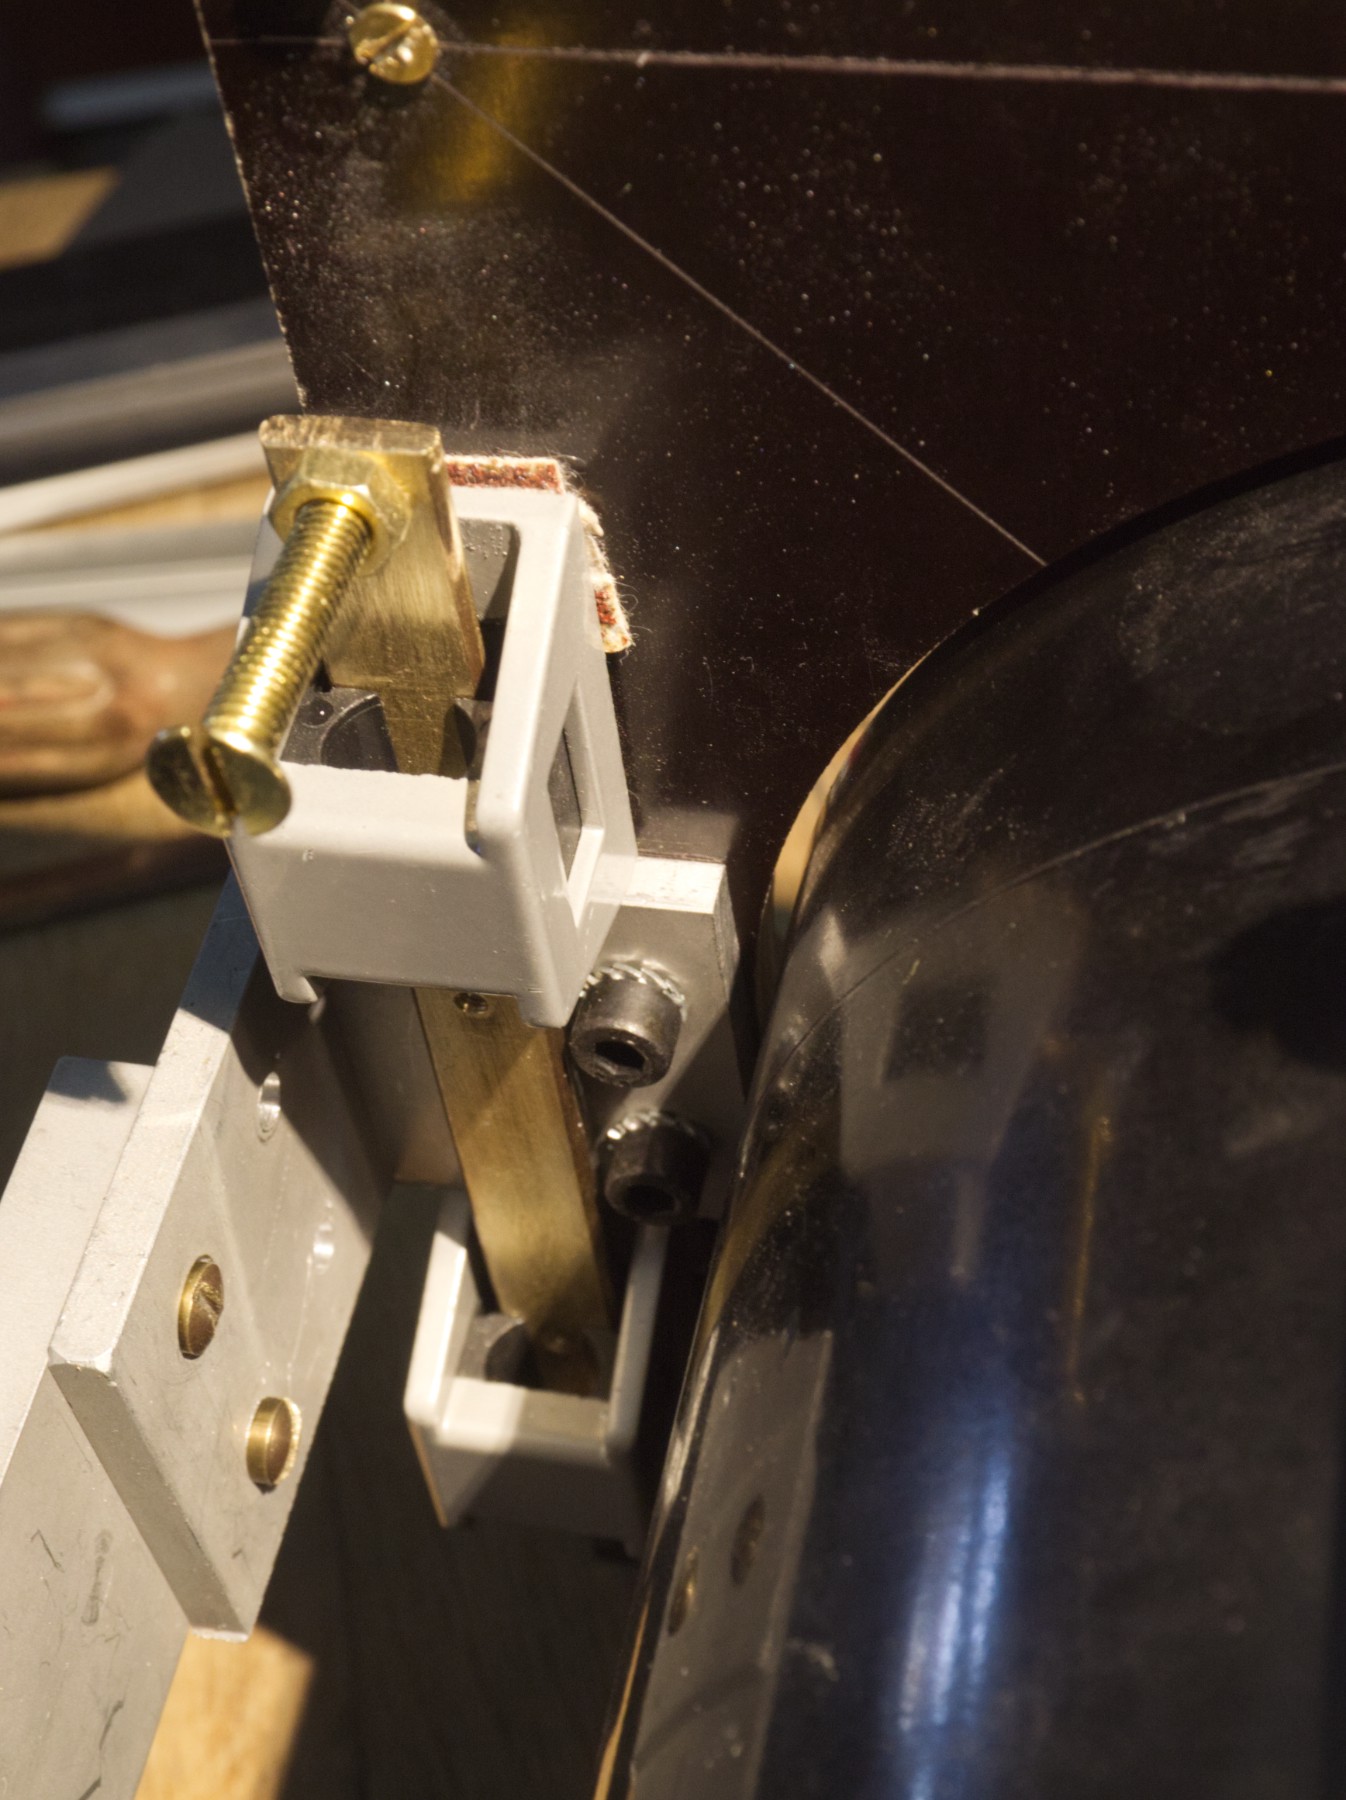
Here in action for the first time, it fits perfectly and doesn't allow any movement.
Other view of under the lens.
I'm very satisfied every time I can use a spring in anything, and this particular mechanism needed exactly that : I don't want to have to use any tools when taking a picture, so everything must be easy to use, fast, and not too many parts I could loose or forget.

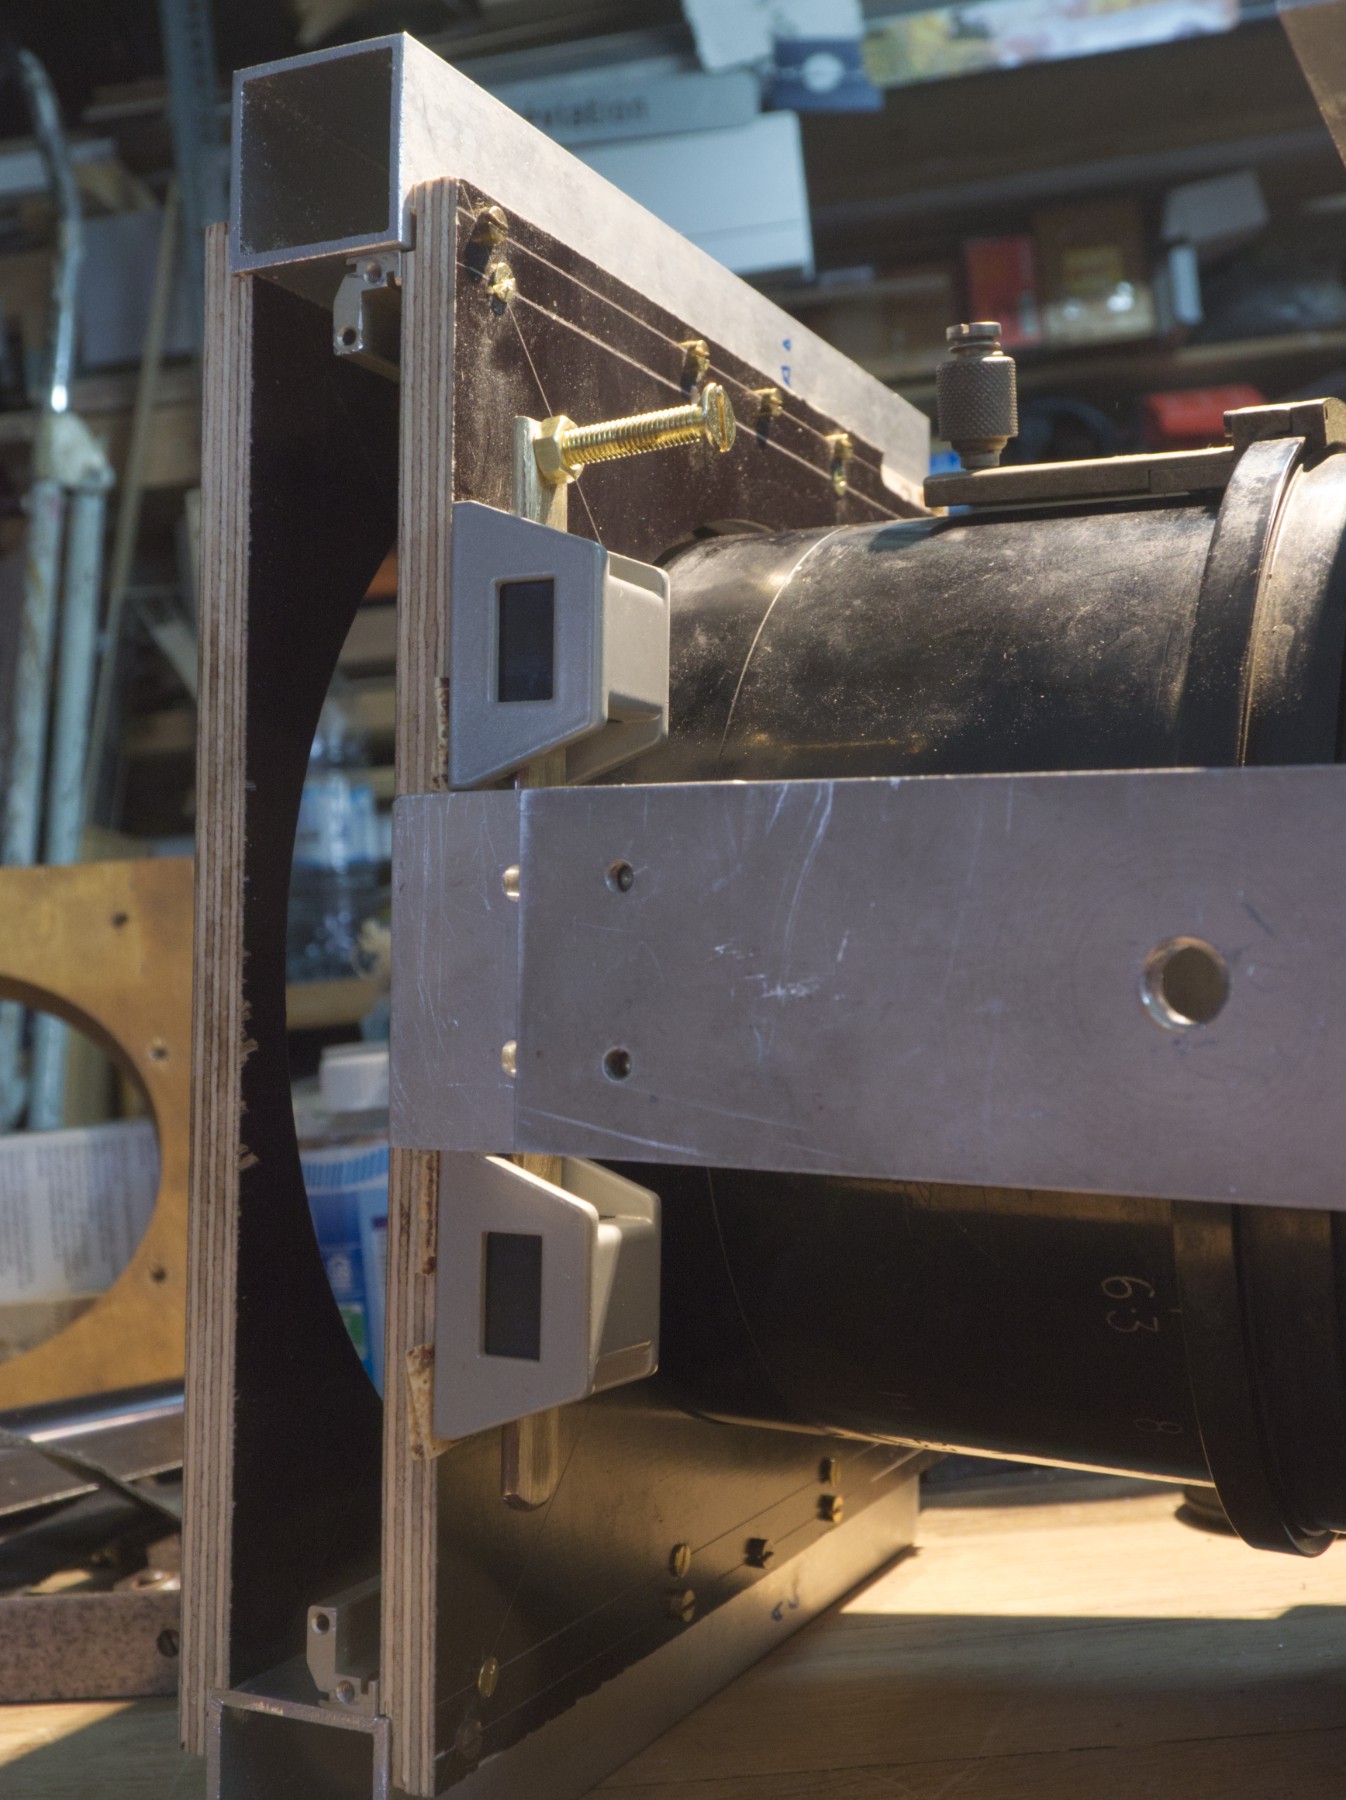
It fits perfectly well and it's firmly attached to the bottom of the lens, but I think my 60 cm long guillotine blade will have a serious speed (I hope so) and the shutter must be secured from the top too, so those 3 mm thick black anodized aluminium sheets (plates ?) are going to be perfect, attached to the top of shutter with the L 2 mm thick aluminium profile.
I first thought those plates could be bended to have the needed 90 ° angle, but after a small try, they're un-bendable, for only 3 mm thickness, I've never met such a hard aluminium (but I'm not in the aviation business).
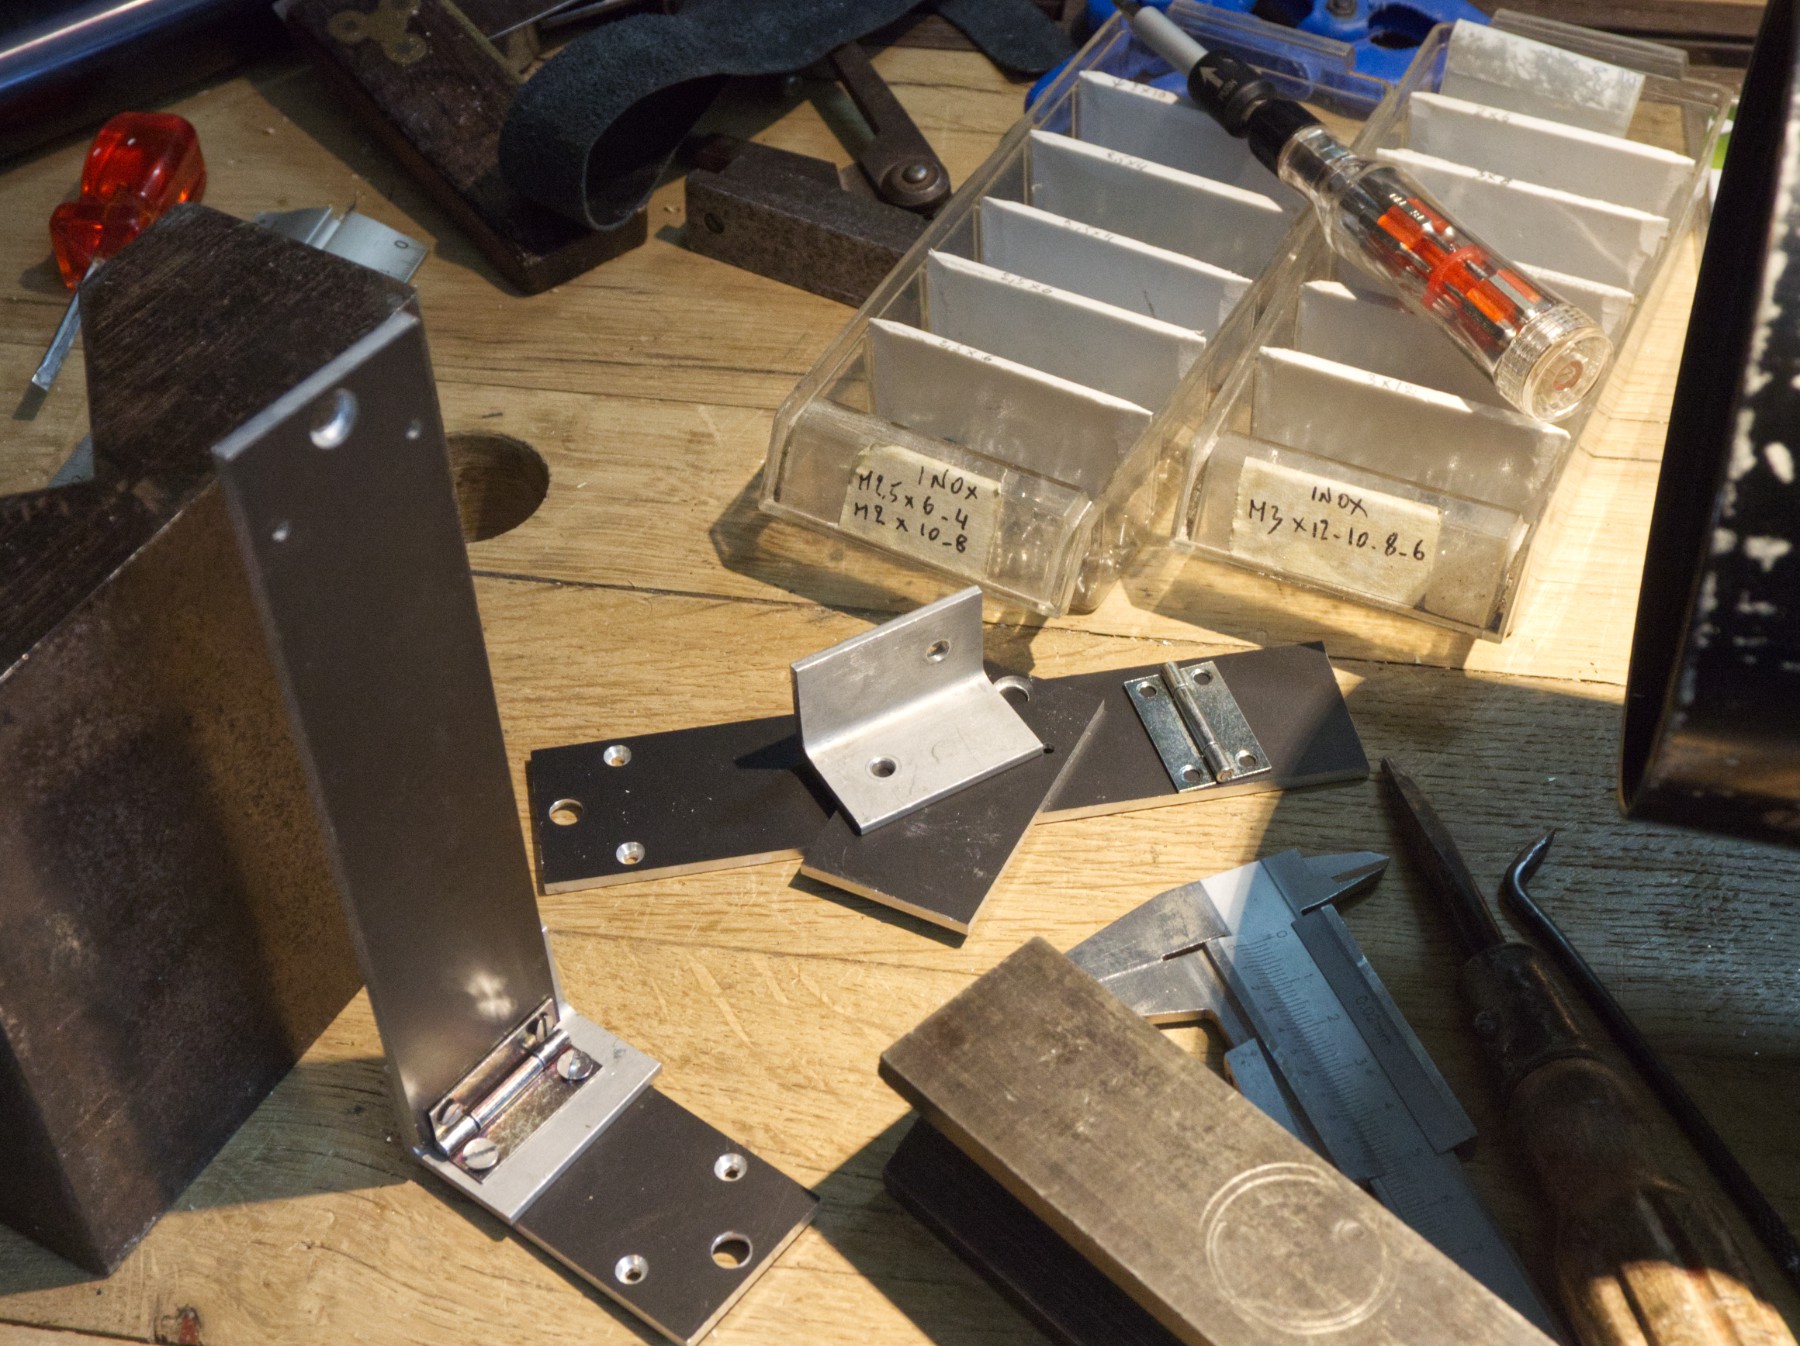
It's going to be assembled with (cheap) steel hinges, so the thing is "foldable" and easier to transport and store.
Then I was very happy to have those awkward stainless steel small screws around (I once brought in a garage sale 2 full bags of those, in bulk, from M 2 , some M 2,5, some M 3, M4 and M5, in very various length and head shape, I took hours, days to sort them all, and when finishing, with the smallest ones, I was thinking that I'd never use those 4 mm long M 2,5 screws...).
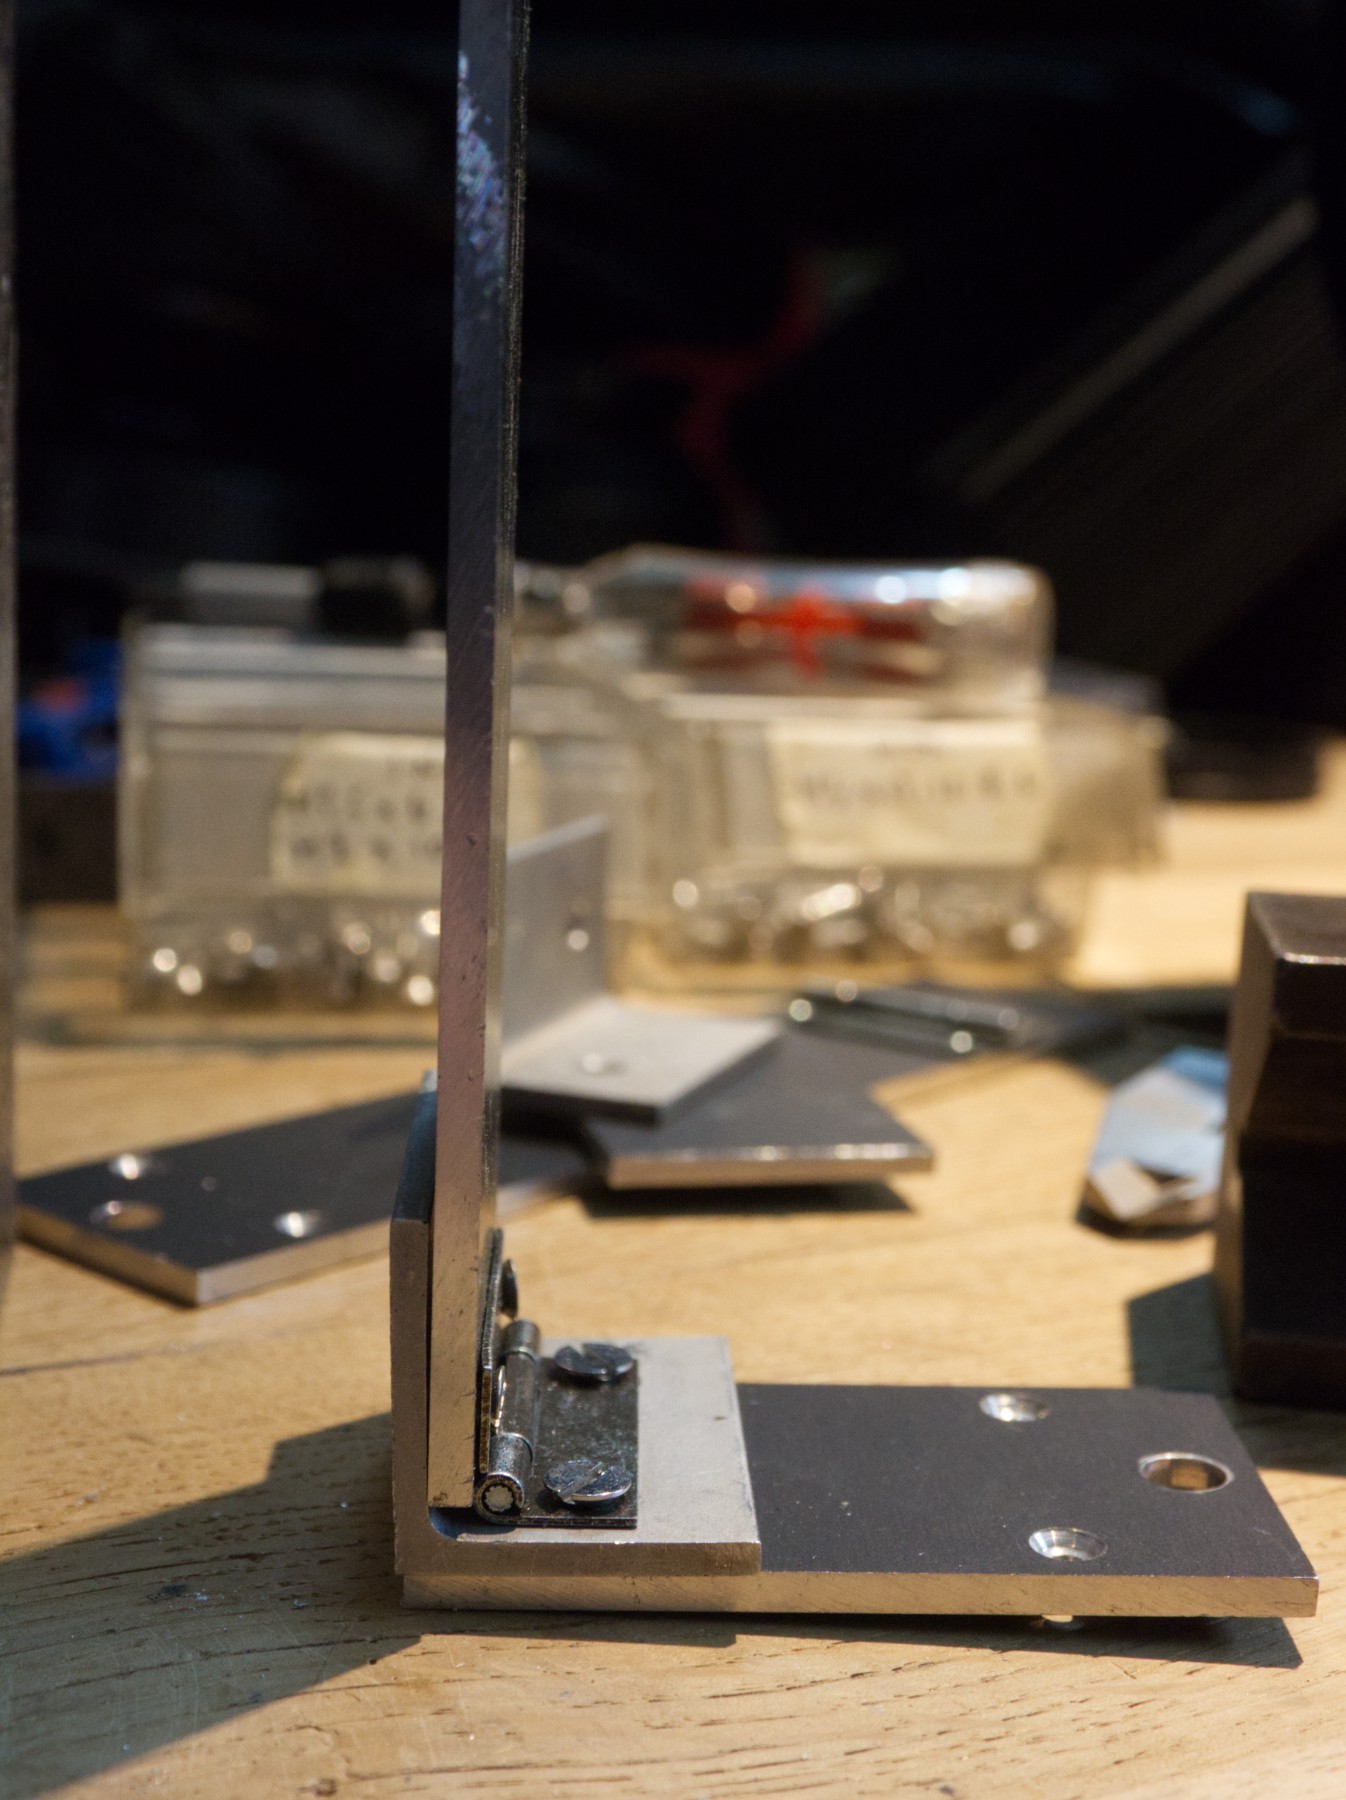
Because to be able to completely close the hinges, the head of the M 3 screws are too big, so I needed some 4 mm long M 2,5 screws because their head is flatter than the M 3 (in fact they're all flat, but the conical part under the head, the counter sink, isn't the same diameter, so the smaller screw penetrates a little more in the hole).
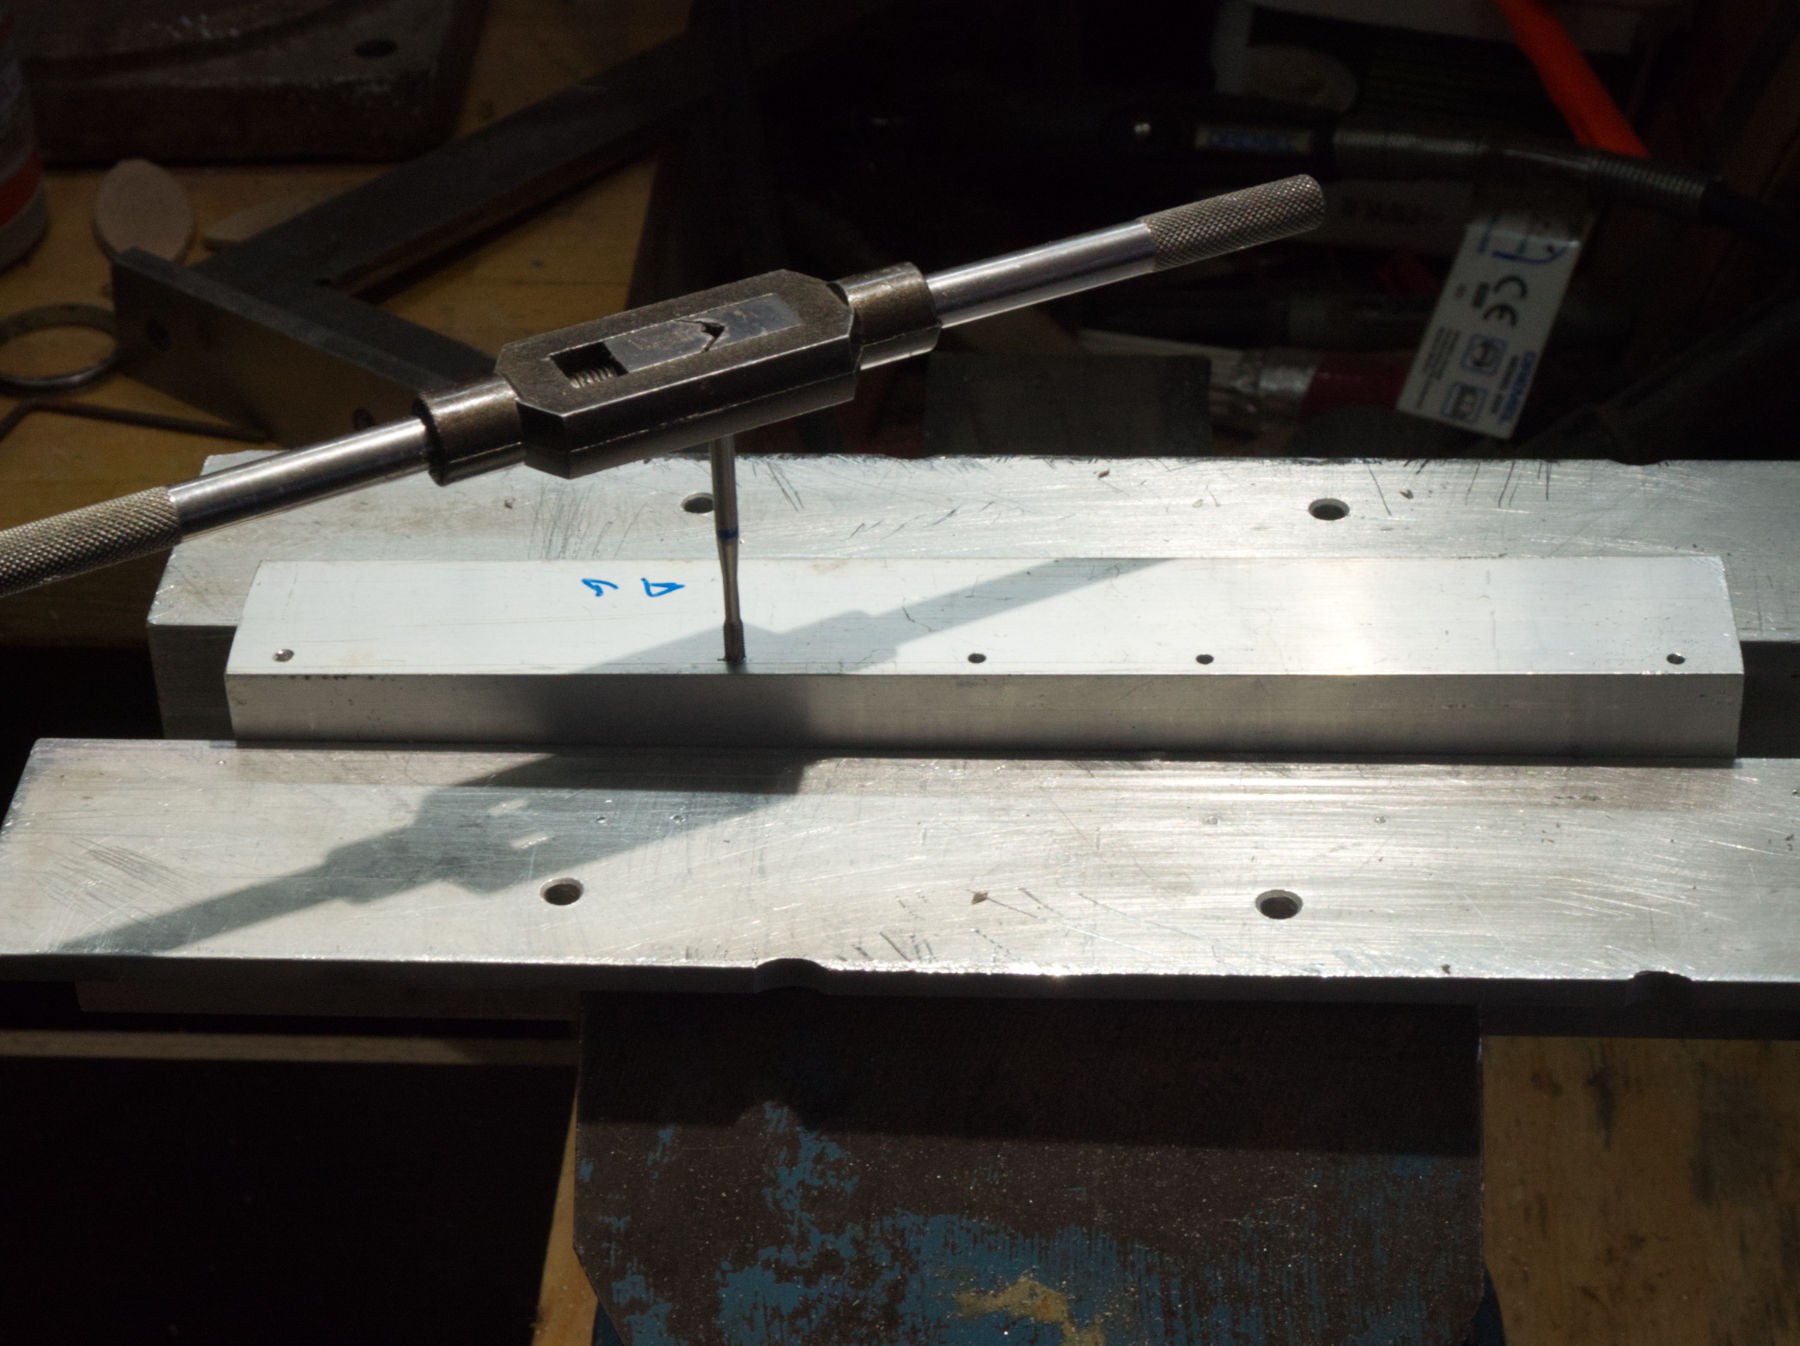
So happy I was to have those M 2,5 screws in their small drawers, and even happier when I found I had the necessary M 2,5 taping tool !
M 3 screws on the right horizontal position, M 2,5 screws vertical, not at all the same thickness when closed.
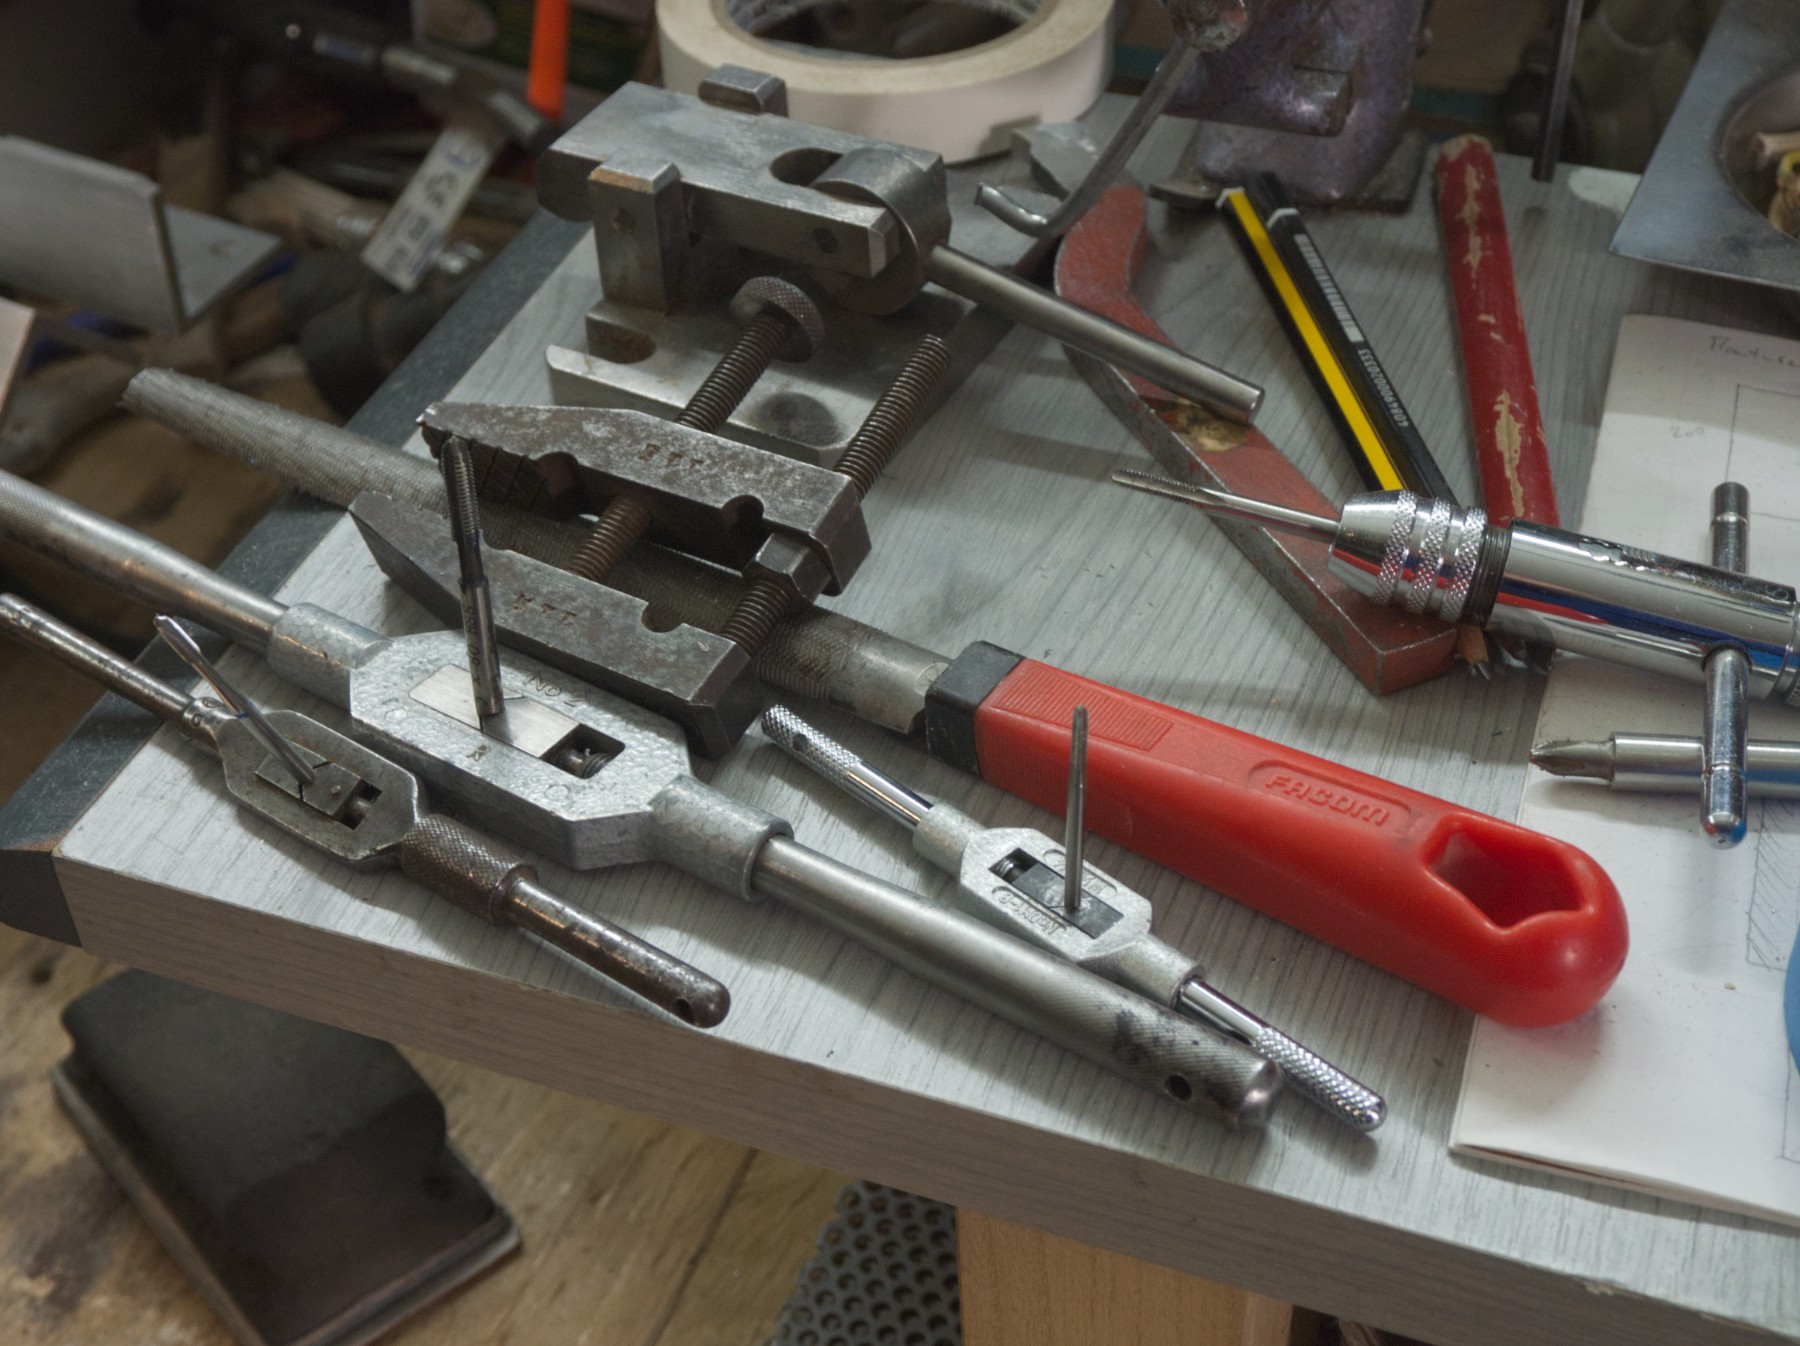
Its good to have various sizes of tourne à gauche (taping tool), of course, the big one have a lot of torque, but it's for minimum M 4 threads, it can't hold the smaller tools, and also its a little too big to be used under the drill press (witch is the very best method to have perfect job : drill and tap without moving the part, and using the drill press to be perfectly perpendicular to the hole while giving strength to the tool).

The brass screws are fixed to the moving part (the black anodized things on top) and they enter in holes directly, without screwing, as the holes are just big enough : I don't want to need any tool when taking a picture.
The fixture isn't very strong as it's possible to take it easily, but it'll have a sturdier system.
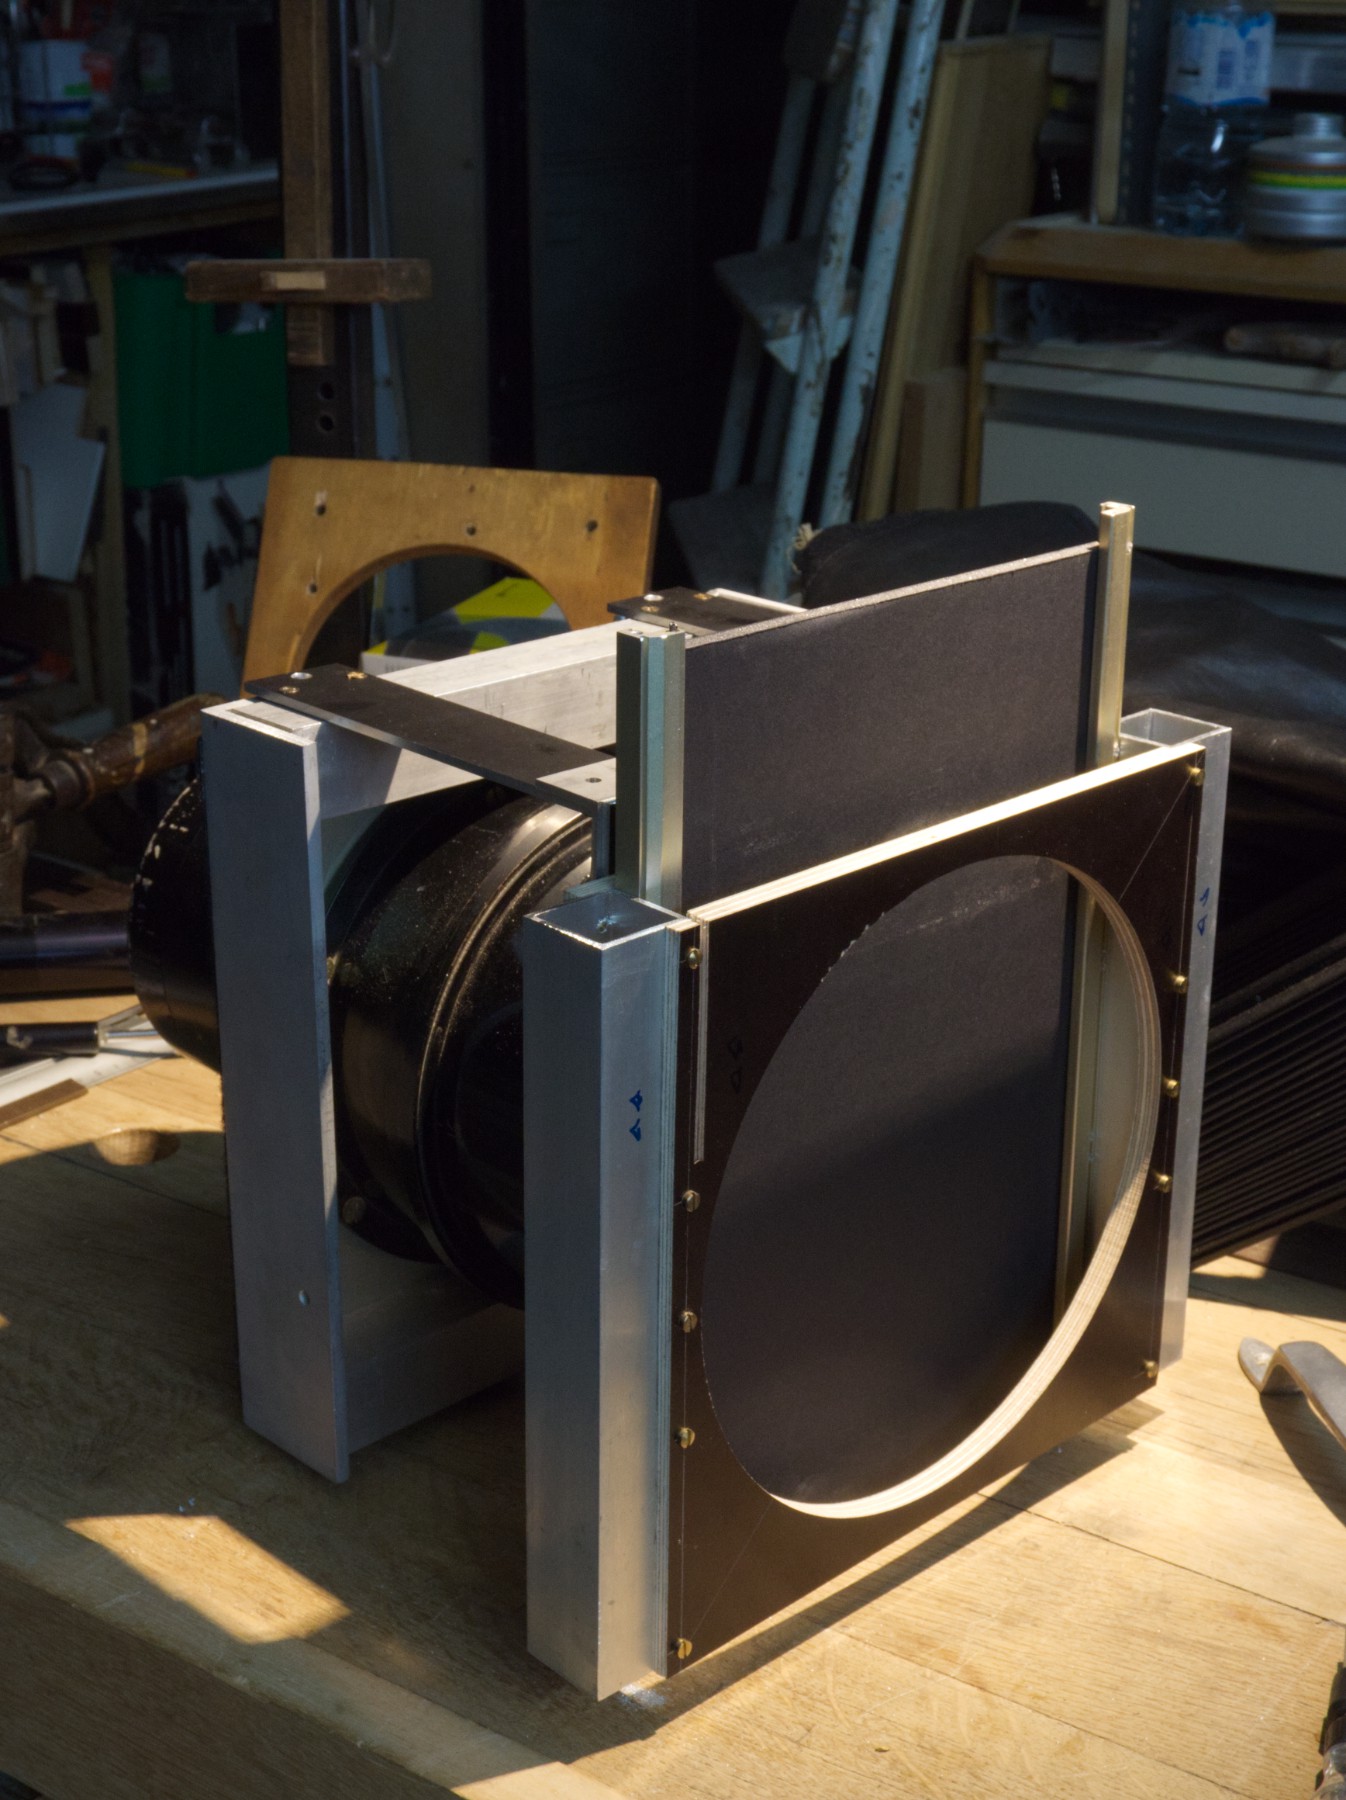
First try of the guillotine with a black 5 mm cardboard that was exactly the right width : it slips perfectly !
Discussions
Become a Hackaday.io Member
Create an account to leave a comment. Already have an account? Log In.