I started off doing some casual searching for other folks’ creations, figuring I could print something up really fast based on another’s design. I ran across some designs using a 4” arcade button, which looked really good and solved the only part of the build that wasn’t 3D-printable (not to mention it was essentially full-scale). It slowly morphed from a standalone prop, to a case for the raspberry pi that’s running my Home Assistant instance to a standalone device CONNECTED to my Home Assistant instance with myriad sensors. I also ultimately chose to design my own case from scratch, as it’s such a simple design to begin with and it would be easier to make my own customizations (plus, sometimes it’s just more fun to make something all yourself).
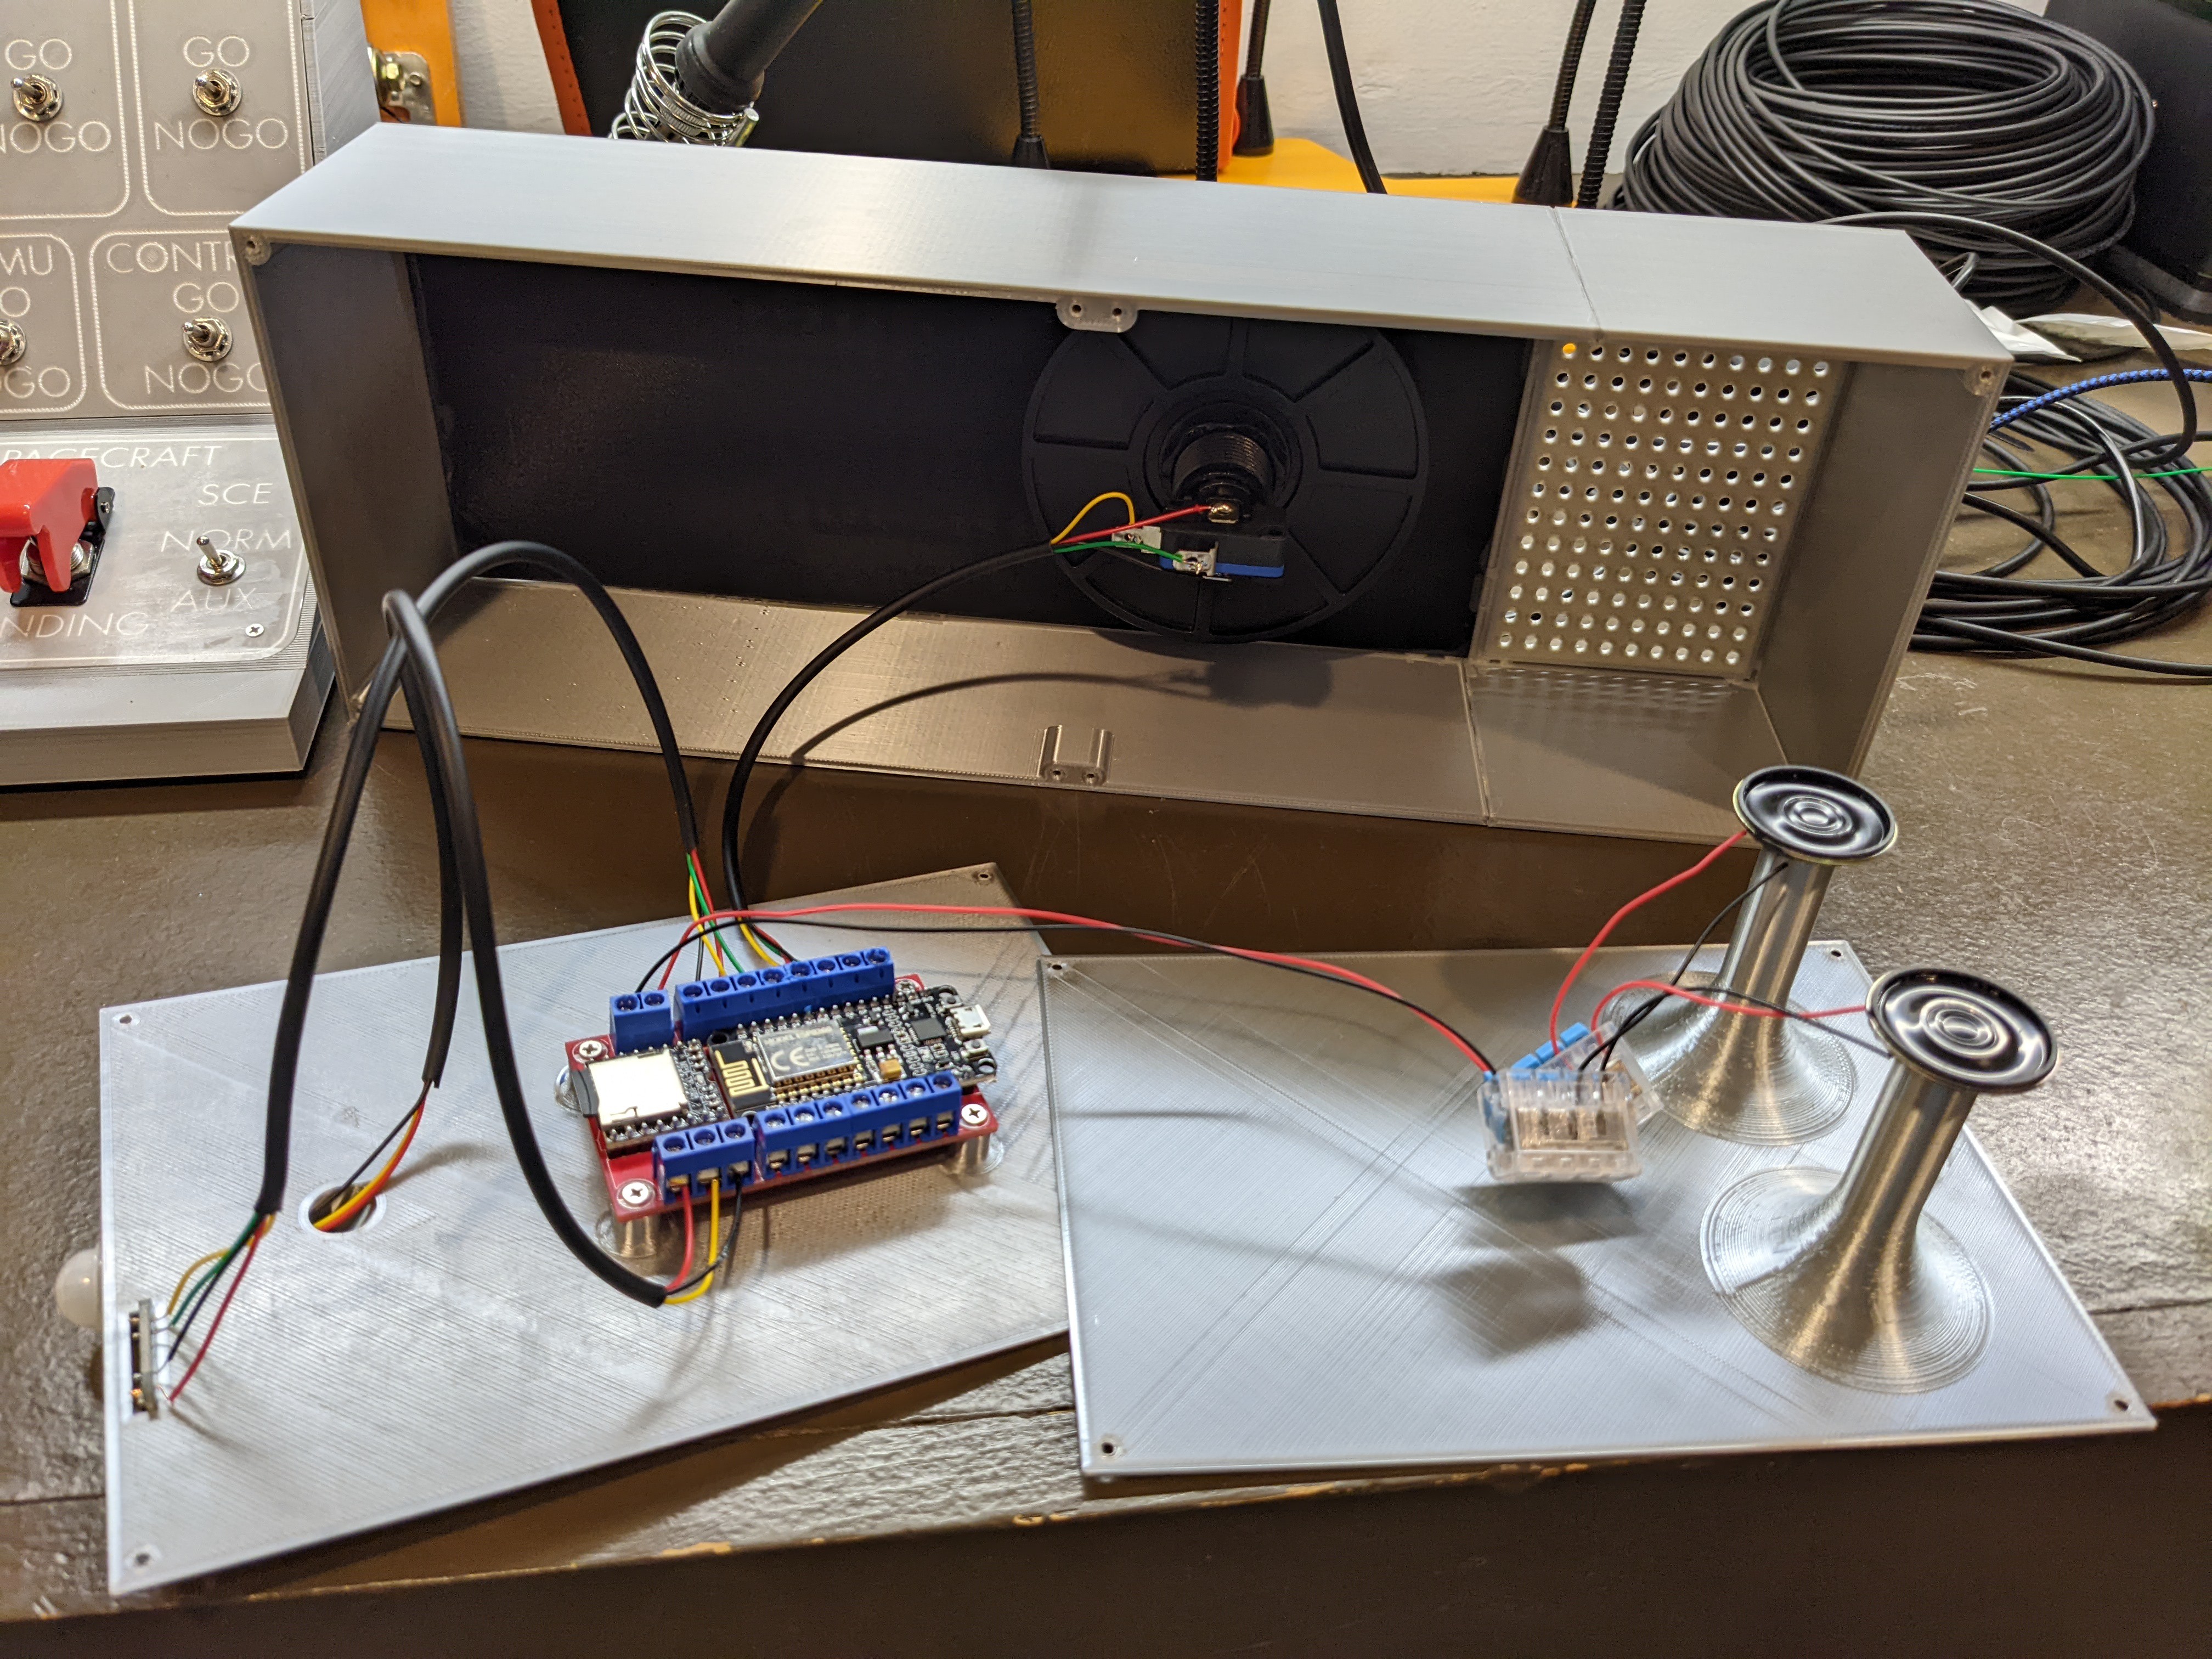
I knew from the beginning that at a minimum I wanted it to be able to play audio clips of HAL and the use of the arcade button made the triggering of that even easier (although I also ended up supplementing this with a motion sensor). I used an ESP8266 as the brains and used ESPHome to ‘program’ it, using a DF-Player Mini for the audio with some small speakers powered directly by it. While I obviously could have done all of this with a non-Wi-Fi board and handled all of the control locally, I SPECIFICALLY wanted everything connected and controlled by my Home Assistant instance (partly to add to the ‘sentience’ of my HAL, but also so I could add all sorts of other sensors for use in other automation projects since he’s located in such a central hub of my home).
For the audio clips I spent some time finding and downloading all the best HAL quotes/clips I could find from the movie and then cleaned up those that had lots of background noise (primarily ones from the end of the movie). After organizing/formatting them as the DF-Player Mini prefers, I popped them on an SD card and had a functional HAL. A few days of printing all of the pieces, a little bit of gluing and painting (the ring around the arcade button required some silver paint), printing the decal and I was more or less ‘done’.
Ultimately, I added a motion sensor to also trigger HAL. Because I’d already printed everything, I started off just having the sensor peak out the top of the back panel (so pointing straight up). This had the partially intended benefit of also making it so it only triggers when you walk RIGHT UP to it, which since it’s in my living room, is a plus (neither me, nor my significant other want it going off ALL the time). Since all of the automation is handled by Home Assistant, I added a condition that motion only triggers HAL when my Chromecast ISN’T playing anything (that way it doesn’t go off when we’re watching something).
I also added a lux sensor. HAL himself doesn’t actually use it, but it’s a convenient location to put it so I can automatically turn my living room lights on when it gets dark in the evening (or it’s just particularly cloudy out). I still have several pins left on the EPS8266 and some potential ideas for adding extra sensors that could be useful to have in my living room; we’ll see what gets added down the line.
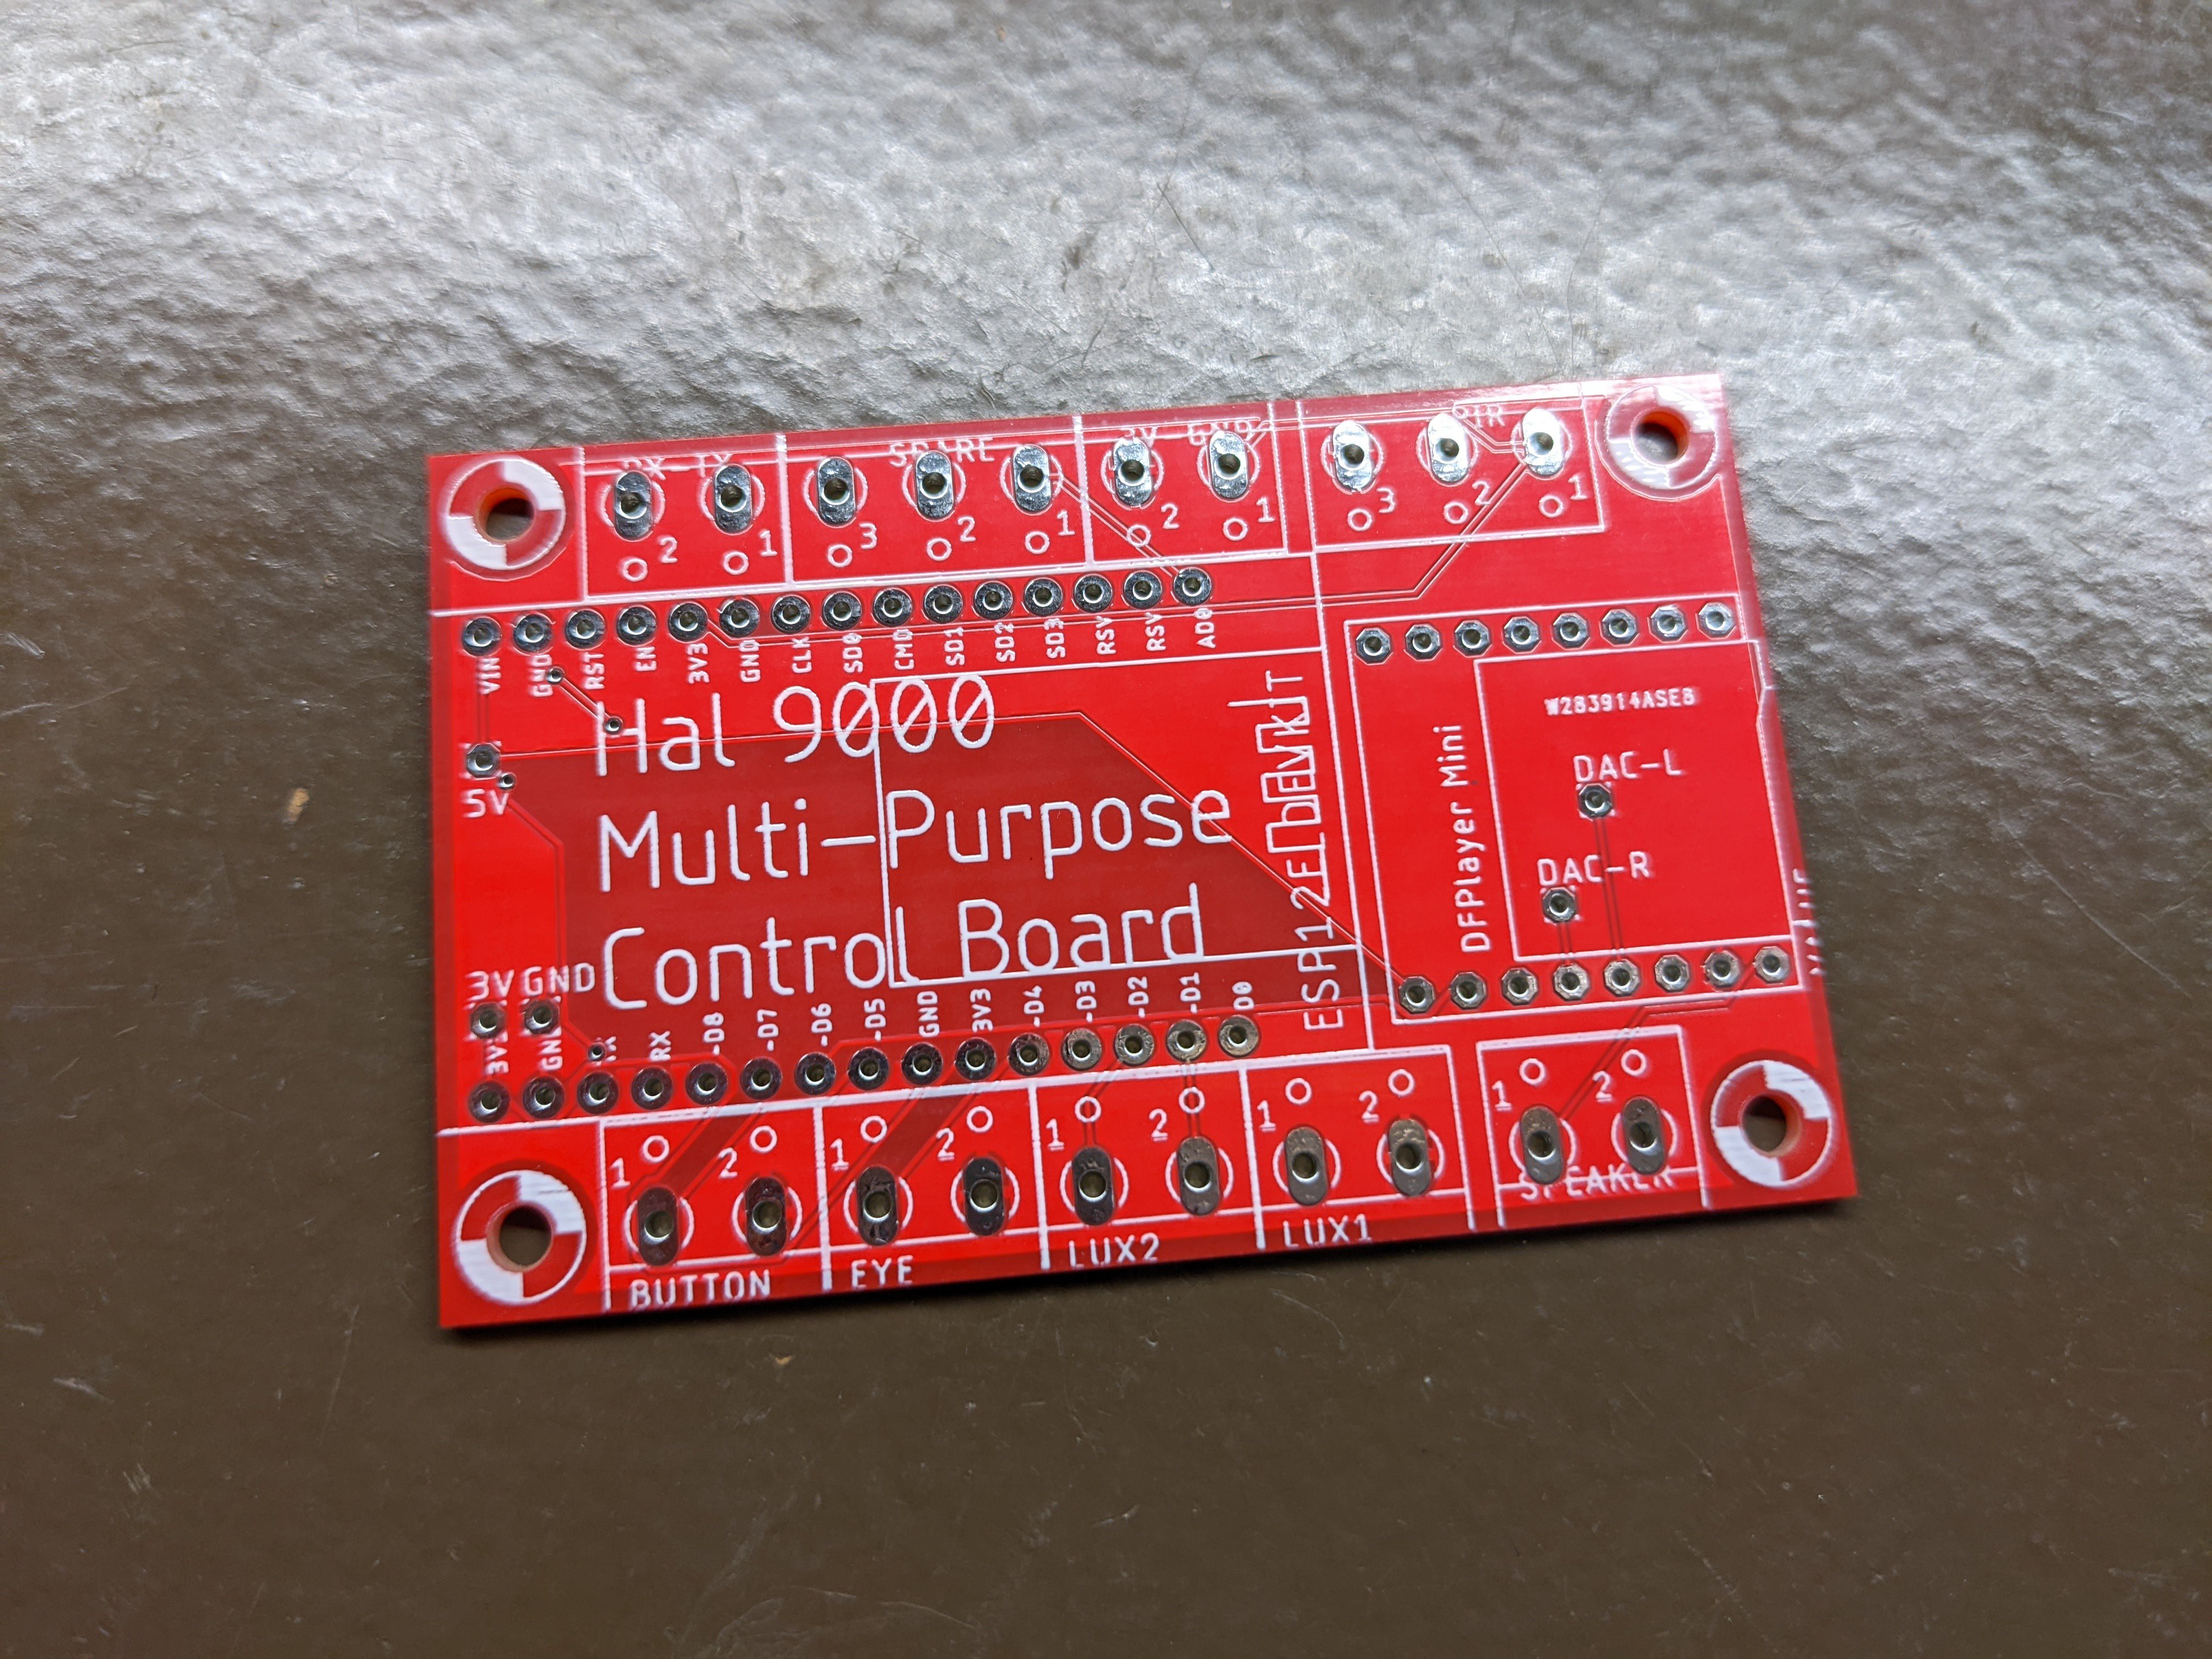
To finish everything up, I modified the back panel to integrate the 2 sensors I’m currently using and designed my own PCB (still waiting for it to make its way around the globe) to make it more permanent. I specifically included screw terminals for all of the ESP8266 I/O pins so that adding additional sensors is easy. It also makes the PCB a little more ‘general-purpose’, so hopefully I can find another project or 2 where it’s ‘good enough’ and quicker than manually soldering something up. Hope you enjoy!
 Ben Brooks



 deʃhipu

 Alex Hunt
Thats looks quiet neat. Do you have any video of it in operation?