 danjovic
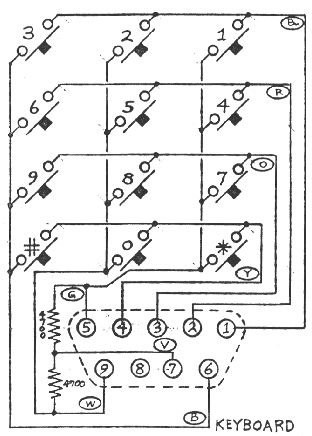
Either one of the three models of Atari keyboard controllers share the same schematic: A keyboard matrix with 4 rows driven by the bidirectional signals (UP/DOWN/LEFT/RIGHT) and read by the FIRE button line along with the two POT(entiometer) lines. The POT lines require pull up resistors (4k7).
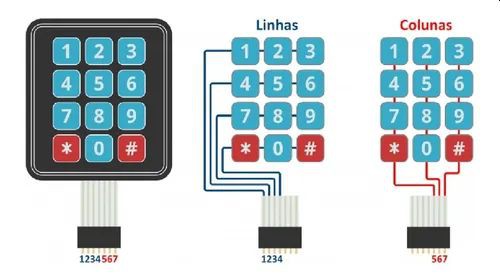
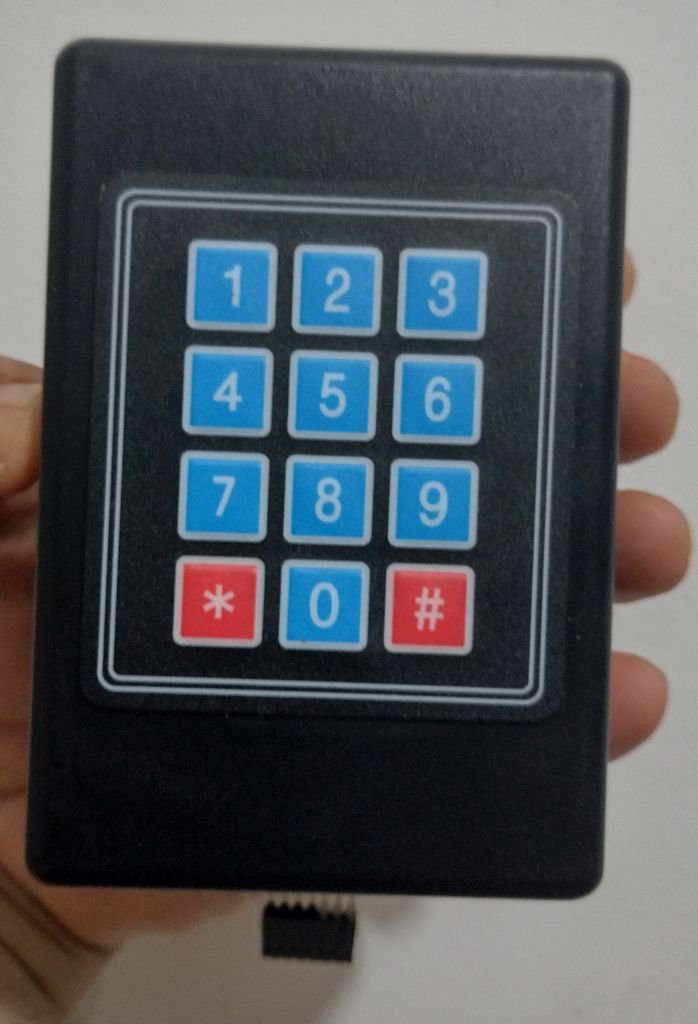
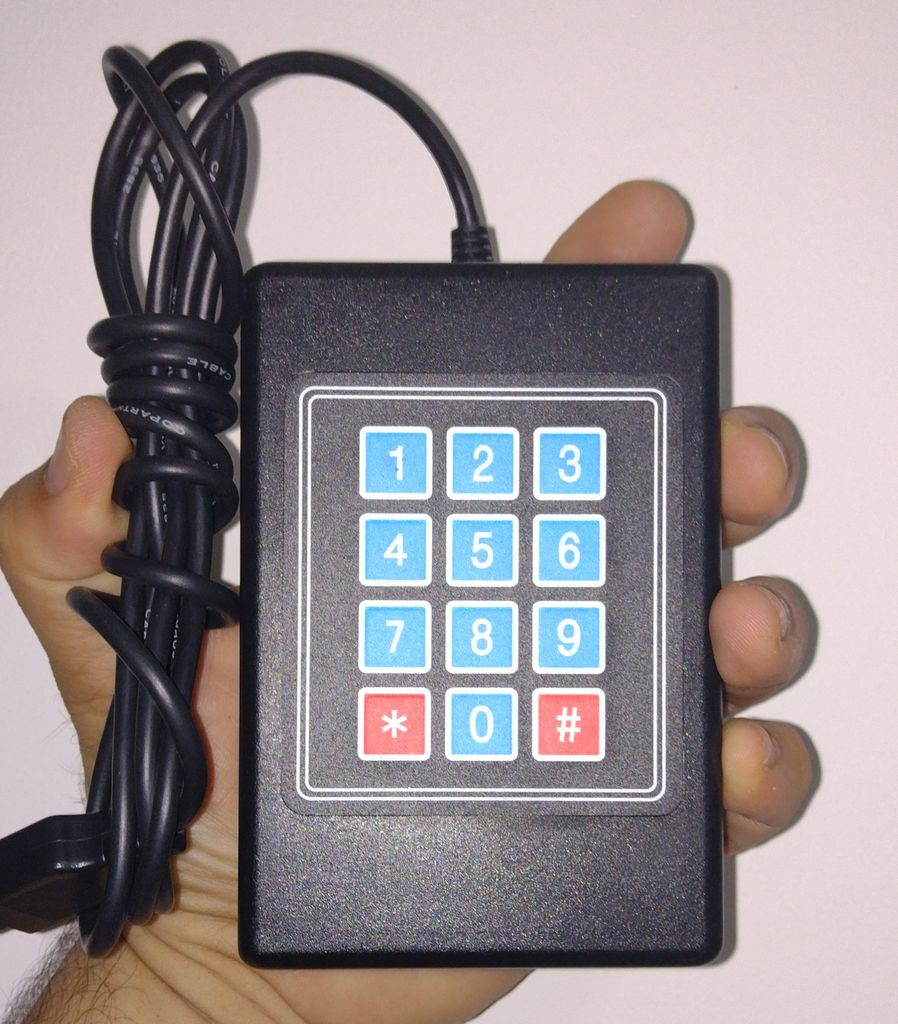
The membrane keyboards are easy to find in Ali express, ebay, etc and are also wired as a 3x4 matrix.
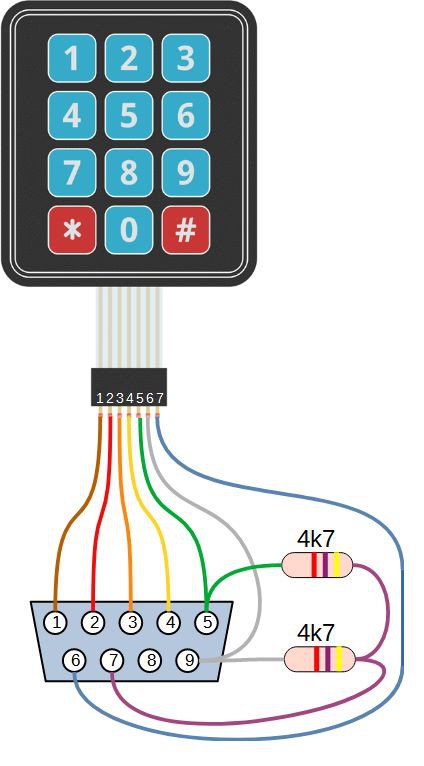
To complete the circuit it is only necessary to add a couple of 4k7 resistors, and we're done!
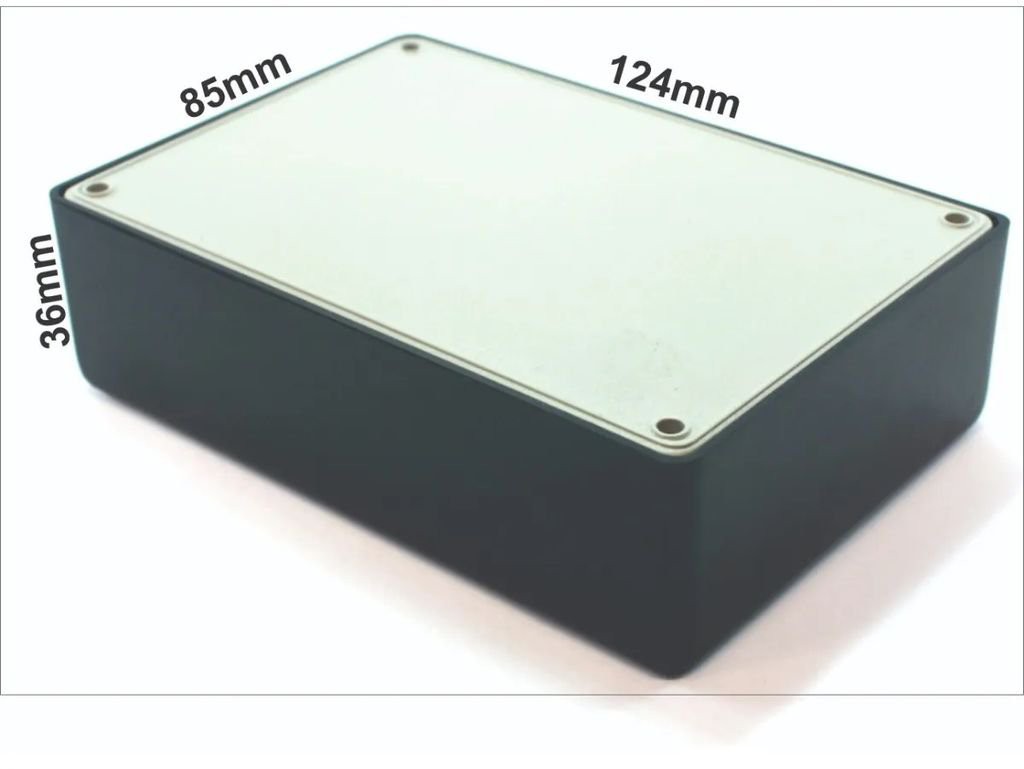
The keyboard membrane provide an adhesive to be glued to a flat surface on the box, that should provide enough space, in this case at least 70 x 77 mm. For this project a Patola PB112/2 was used.
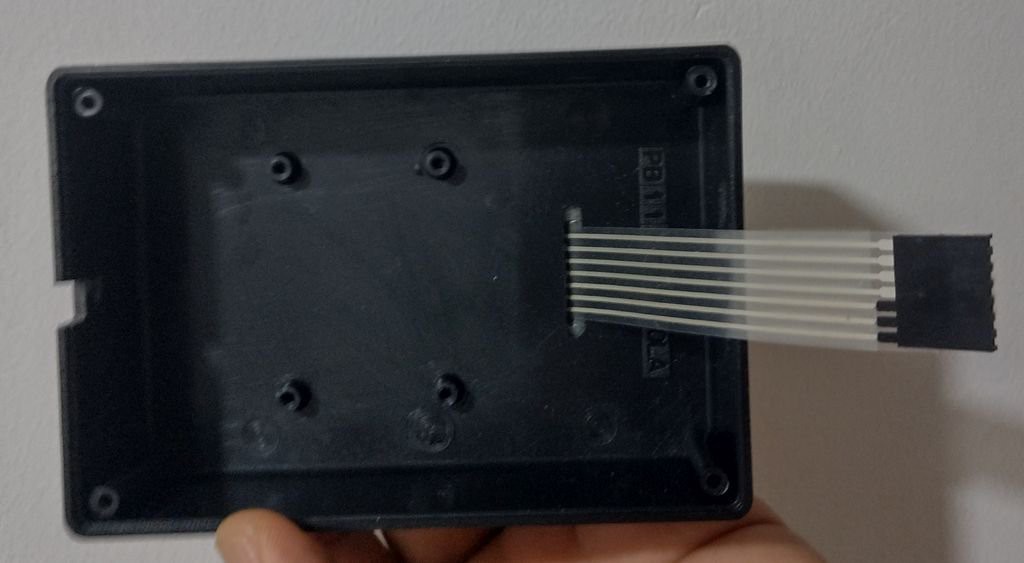
The keyboard was glued on the bottom of the box...
and the flat passes through a slot cut on the plastic
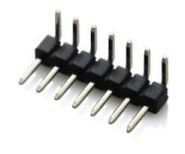
A 90 degree, 0.1" pitch 1x7 header is used to connect the keyboard connector to the perfboard...
which in turn was used mostly by aesthetic reasons;
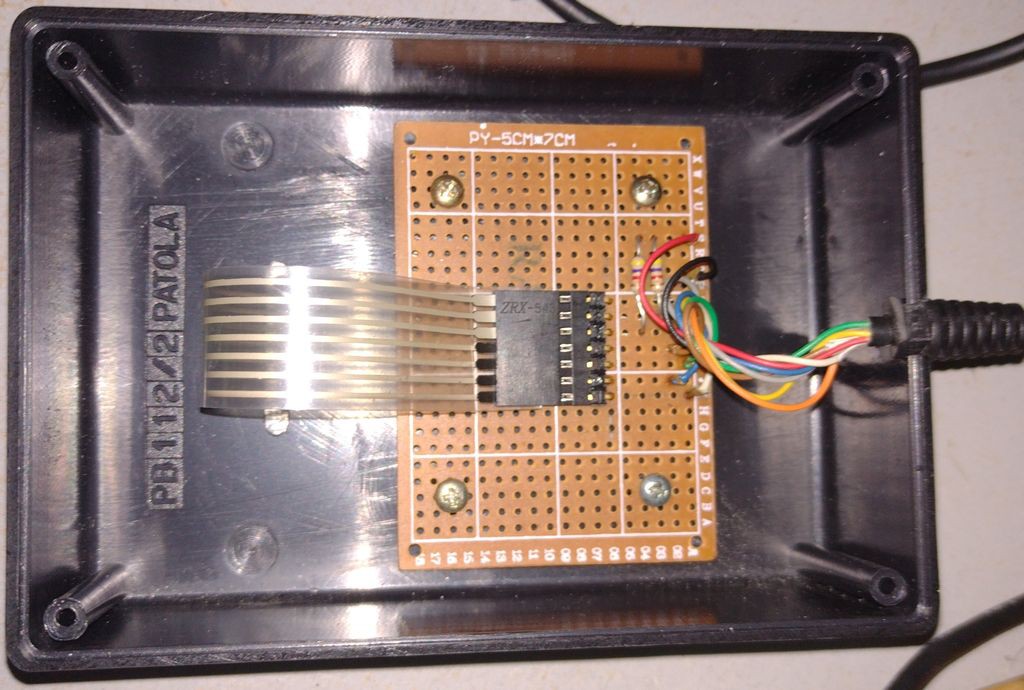
The cable used on this project is a replacement cable, easily found on Ali Express, e-bay, Mercado Livre, etc under the denomination of "sega genesis replacement cord".
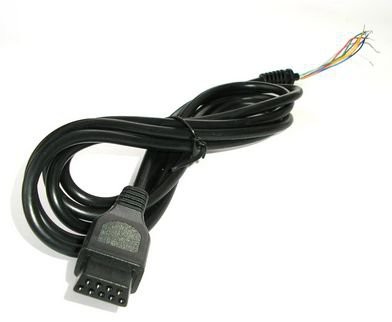
The cable use provides some crimped endings that were used, because the conductors are too thing and fragile to be soldered directly on the board.
Tho avoid short circuits the cable was soldered on alternate rows of the perfboard.

This is the appearance of the DIY keyboard controller after assemble all the parts...

 Alex
Alex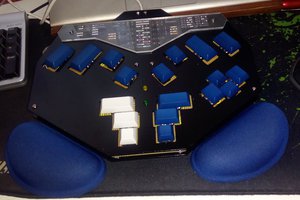
 ptrav
ptrav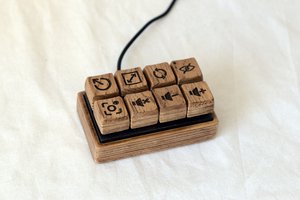
 Tauno Erik
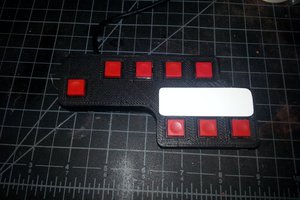
 Servo
Servo