0%
0%
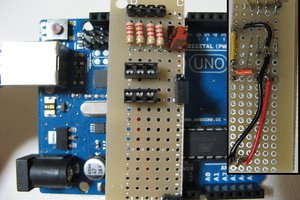
ChibiOS on Teensy 3.6
Using a port of ChibiOS for the Teensy 3 series, my goal is to run it on Teensy 3.6.
 doctek
Become a Hackaday.io member
Already have an account? Log in.
Just one more thing
To make the experience fit your profile, pick a username and tell us what interests you.
Pick an awesome username
hackaday.io/
Your profile's URL: hackaday.io/username. Max 25 alphanumeric characters.
Pick a few interests
Projects that share your interests
People that share your interests


 shlonkin
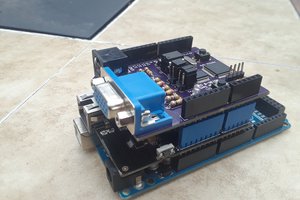
 Dylan Brophy
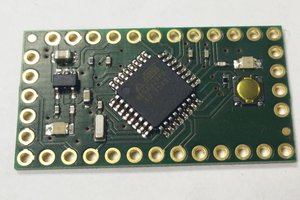
 Ford Sleeman
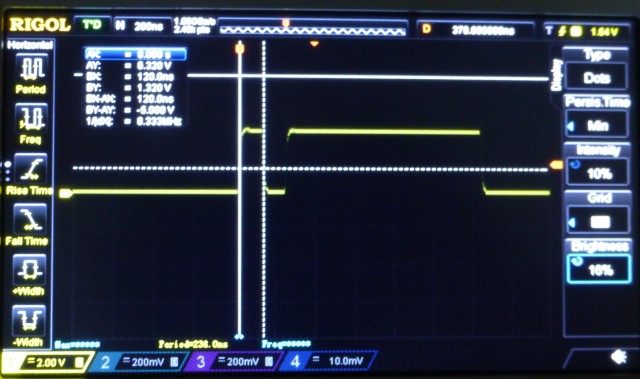
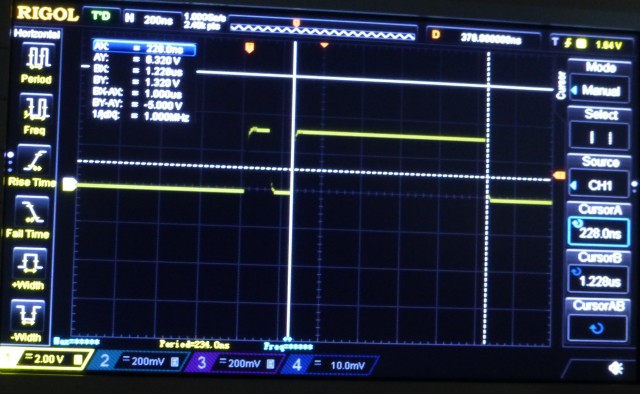
All the necessary changes have been described in the Project Logs I've posted. If you've made the changes and things aren't working, please let me know with a posting.