 scubabear
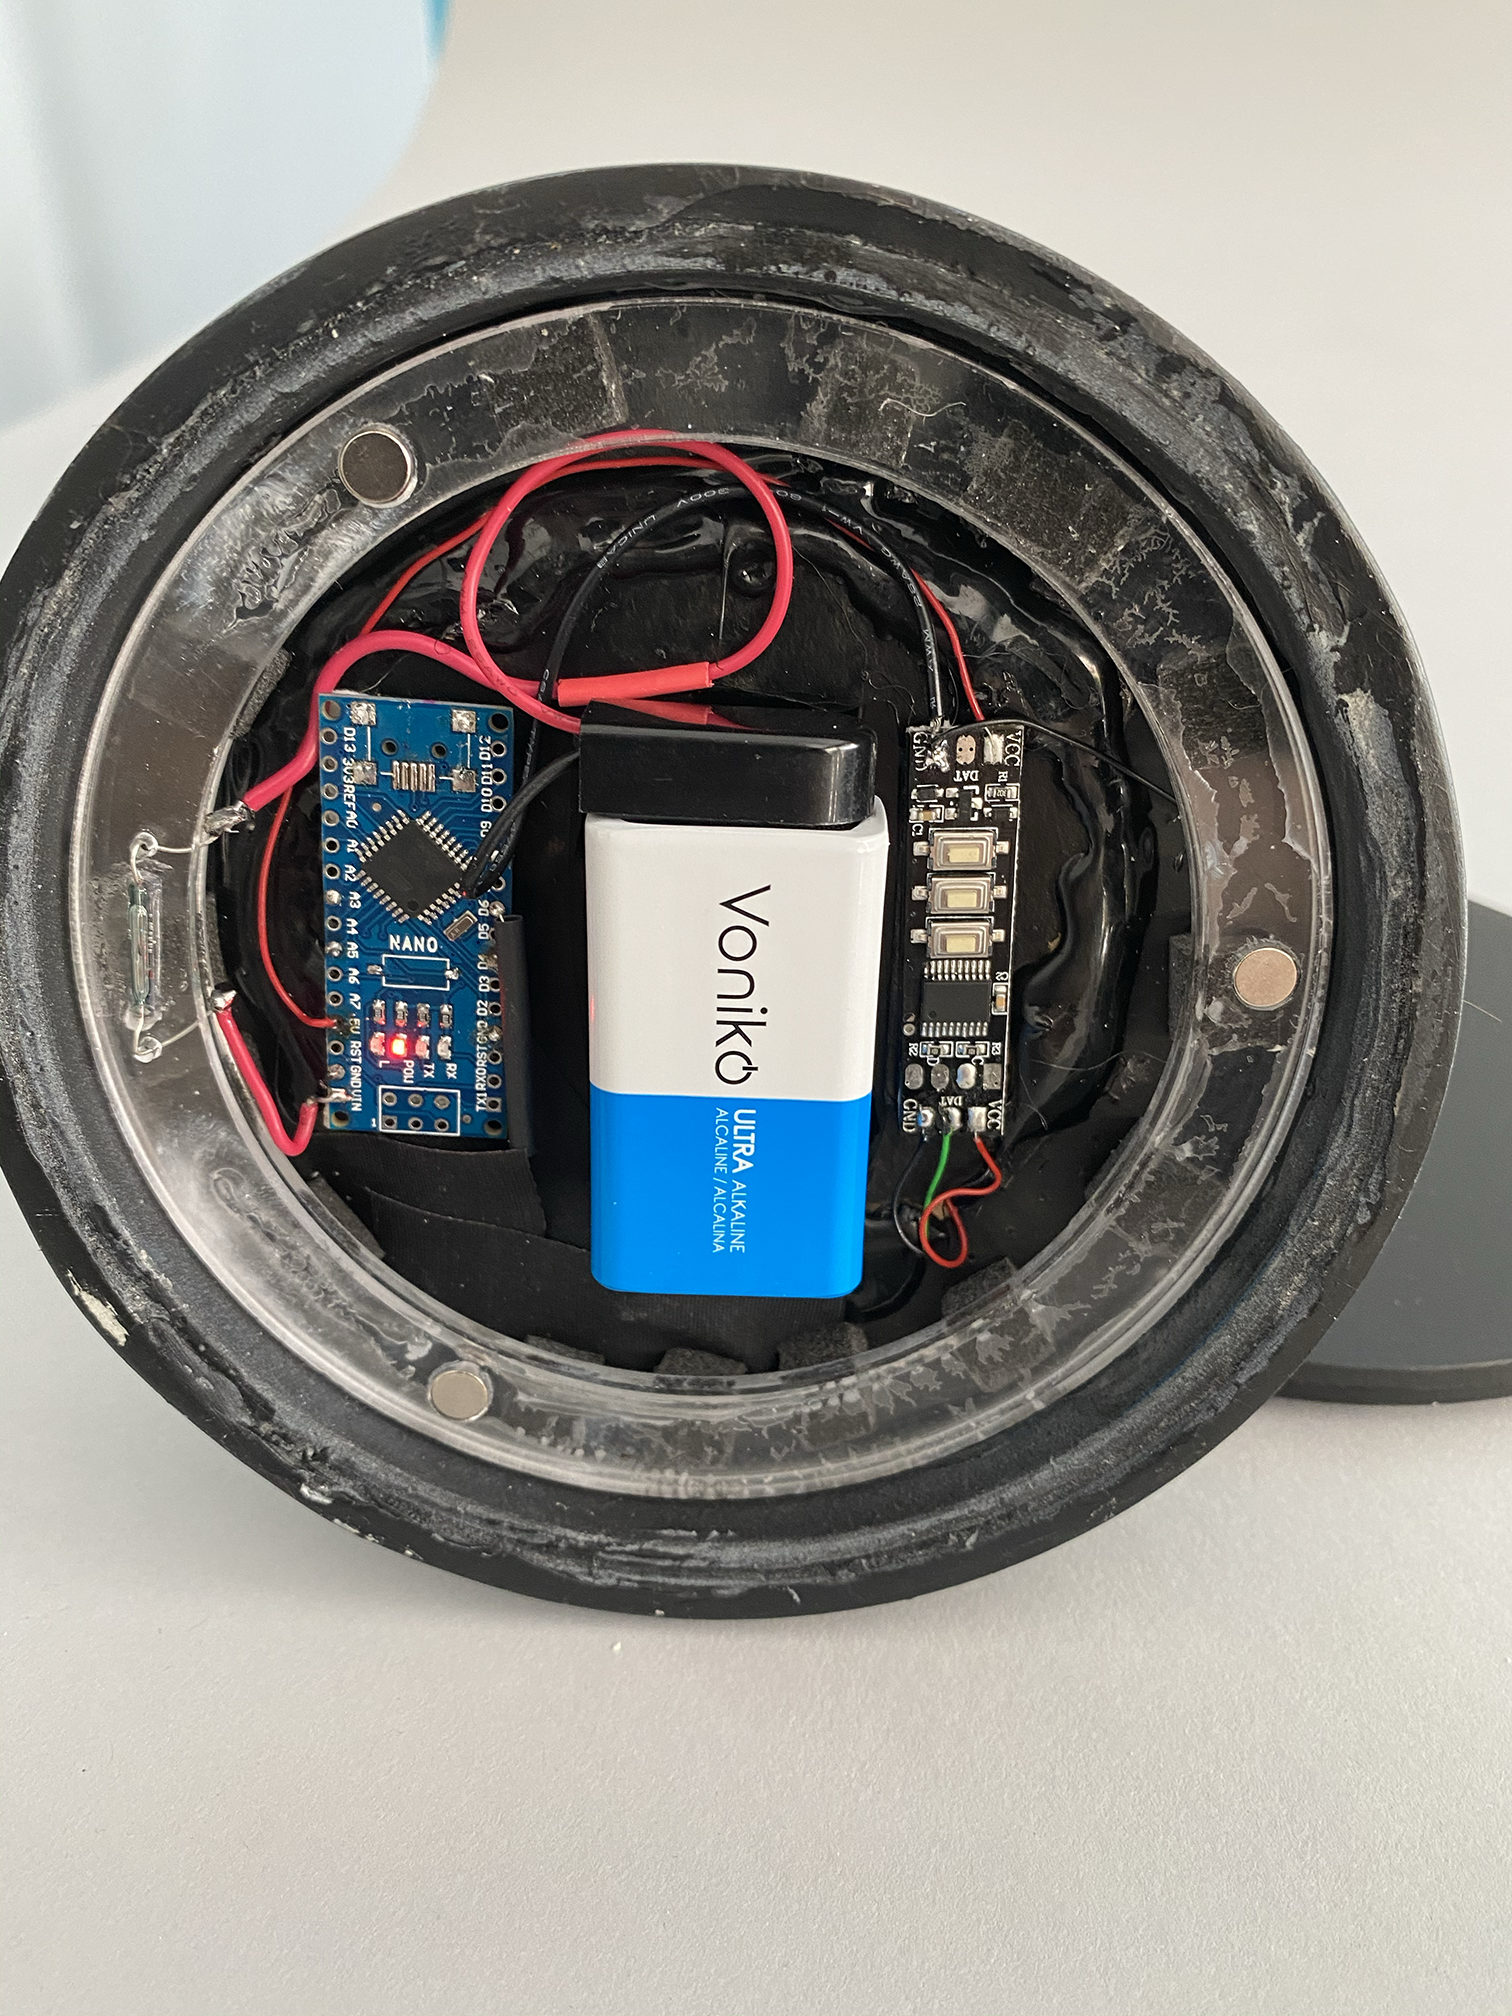
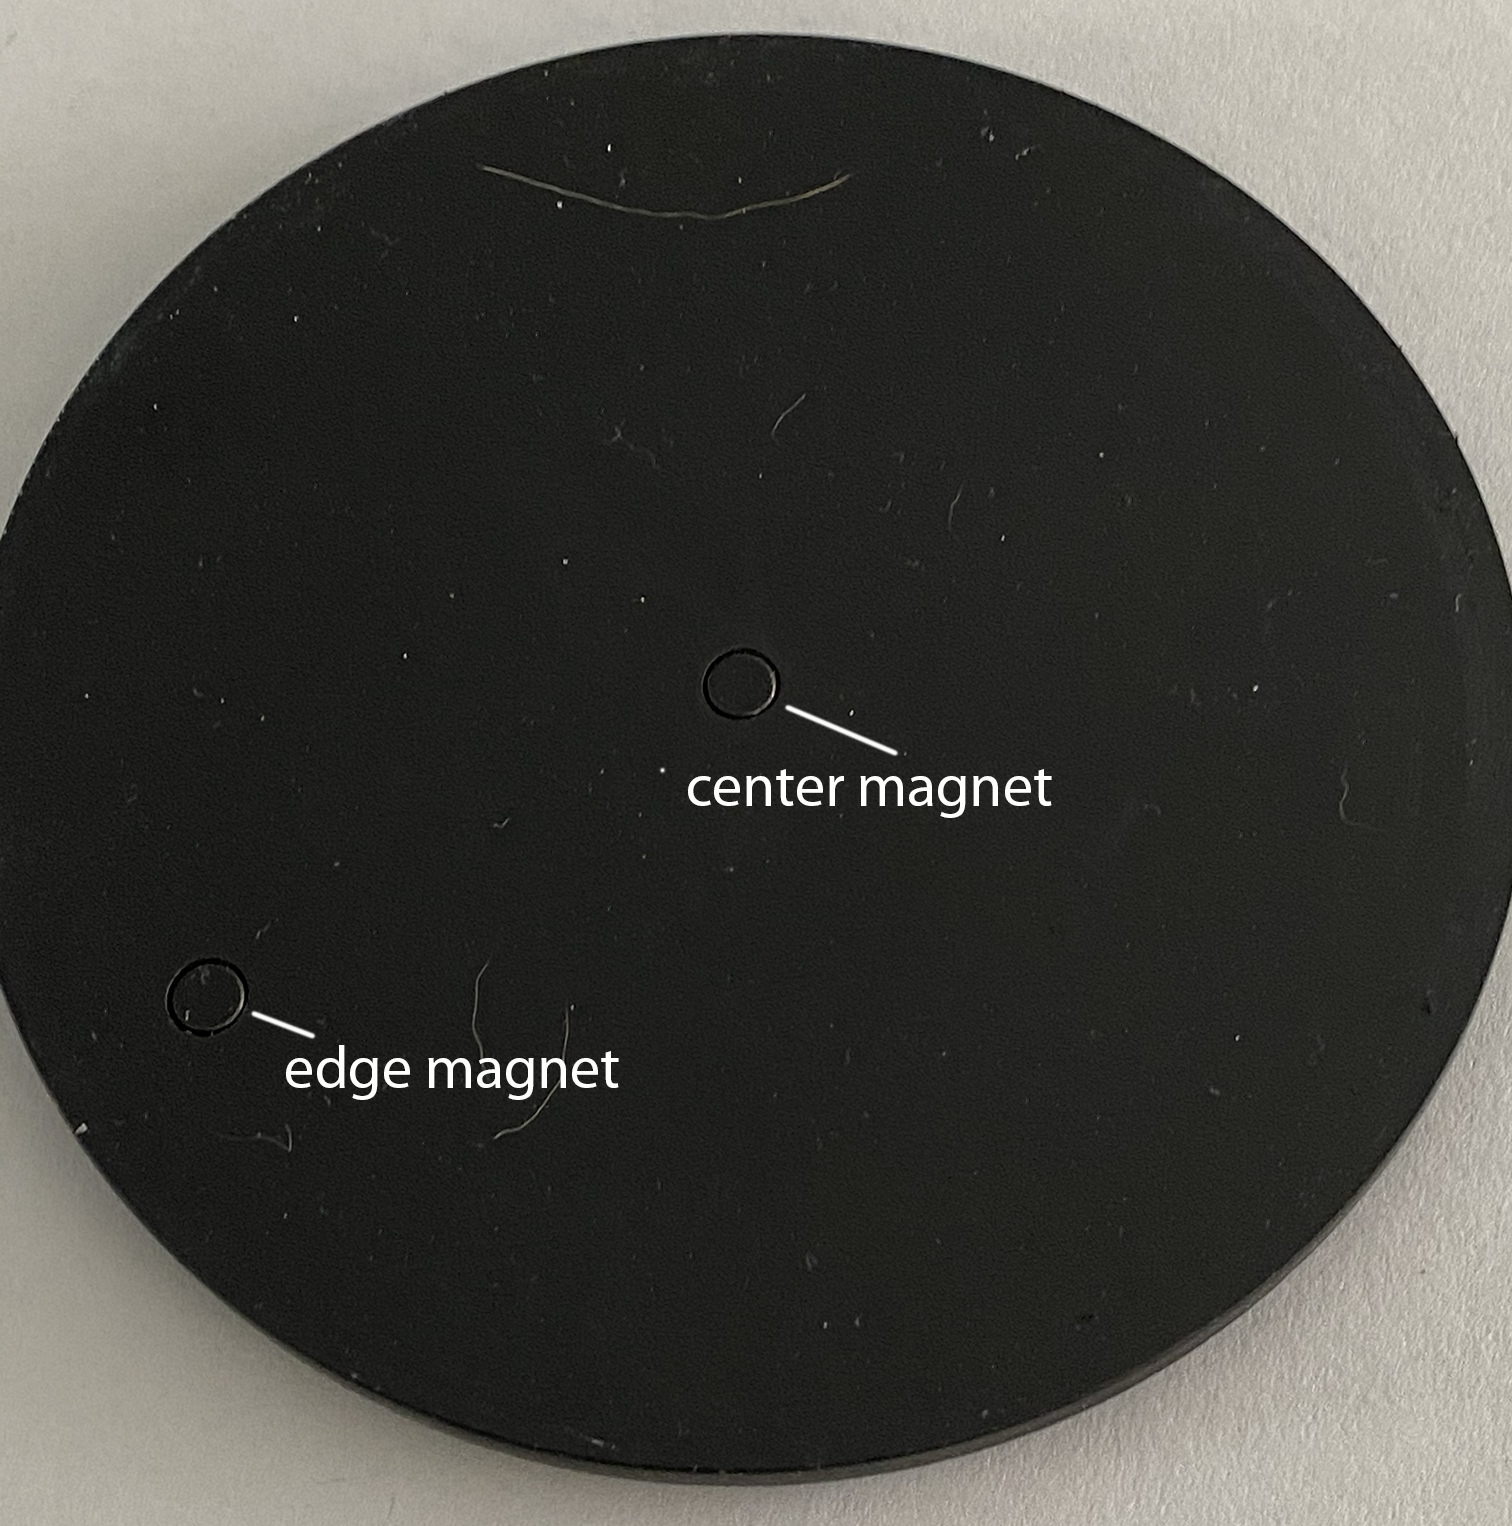
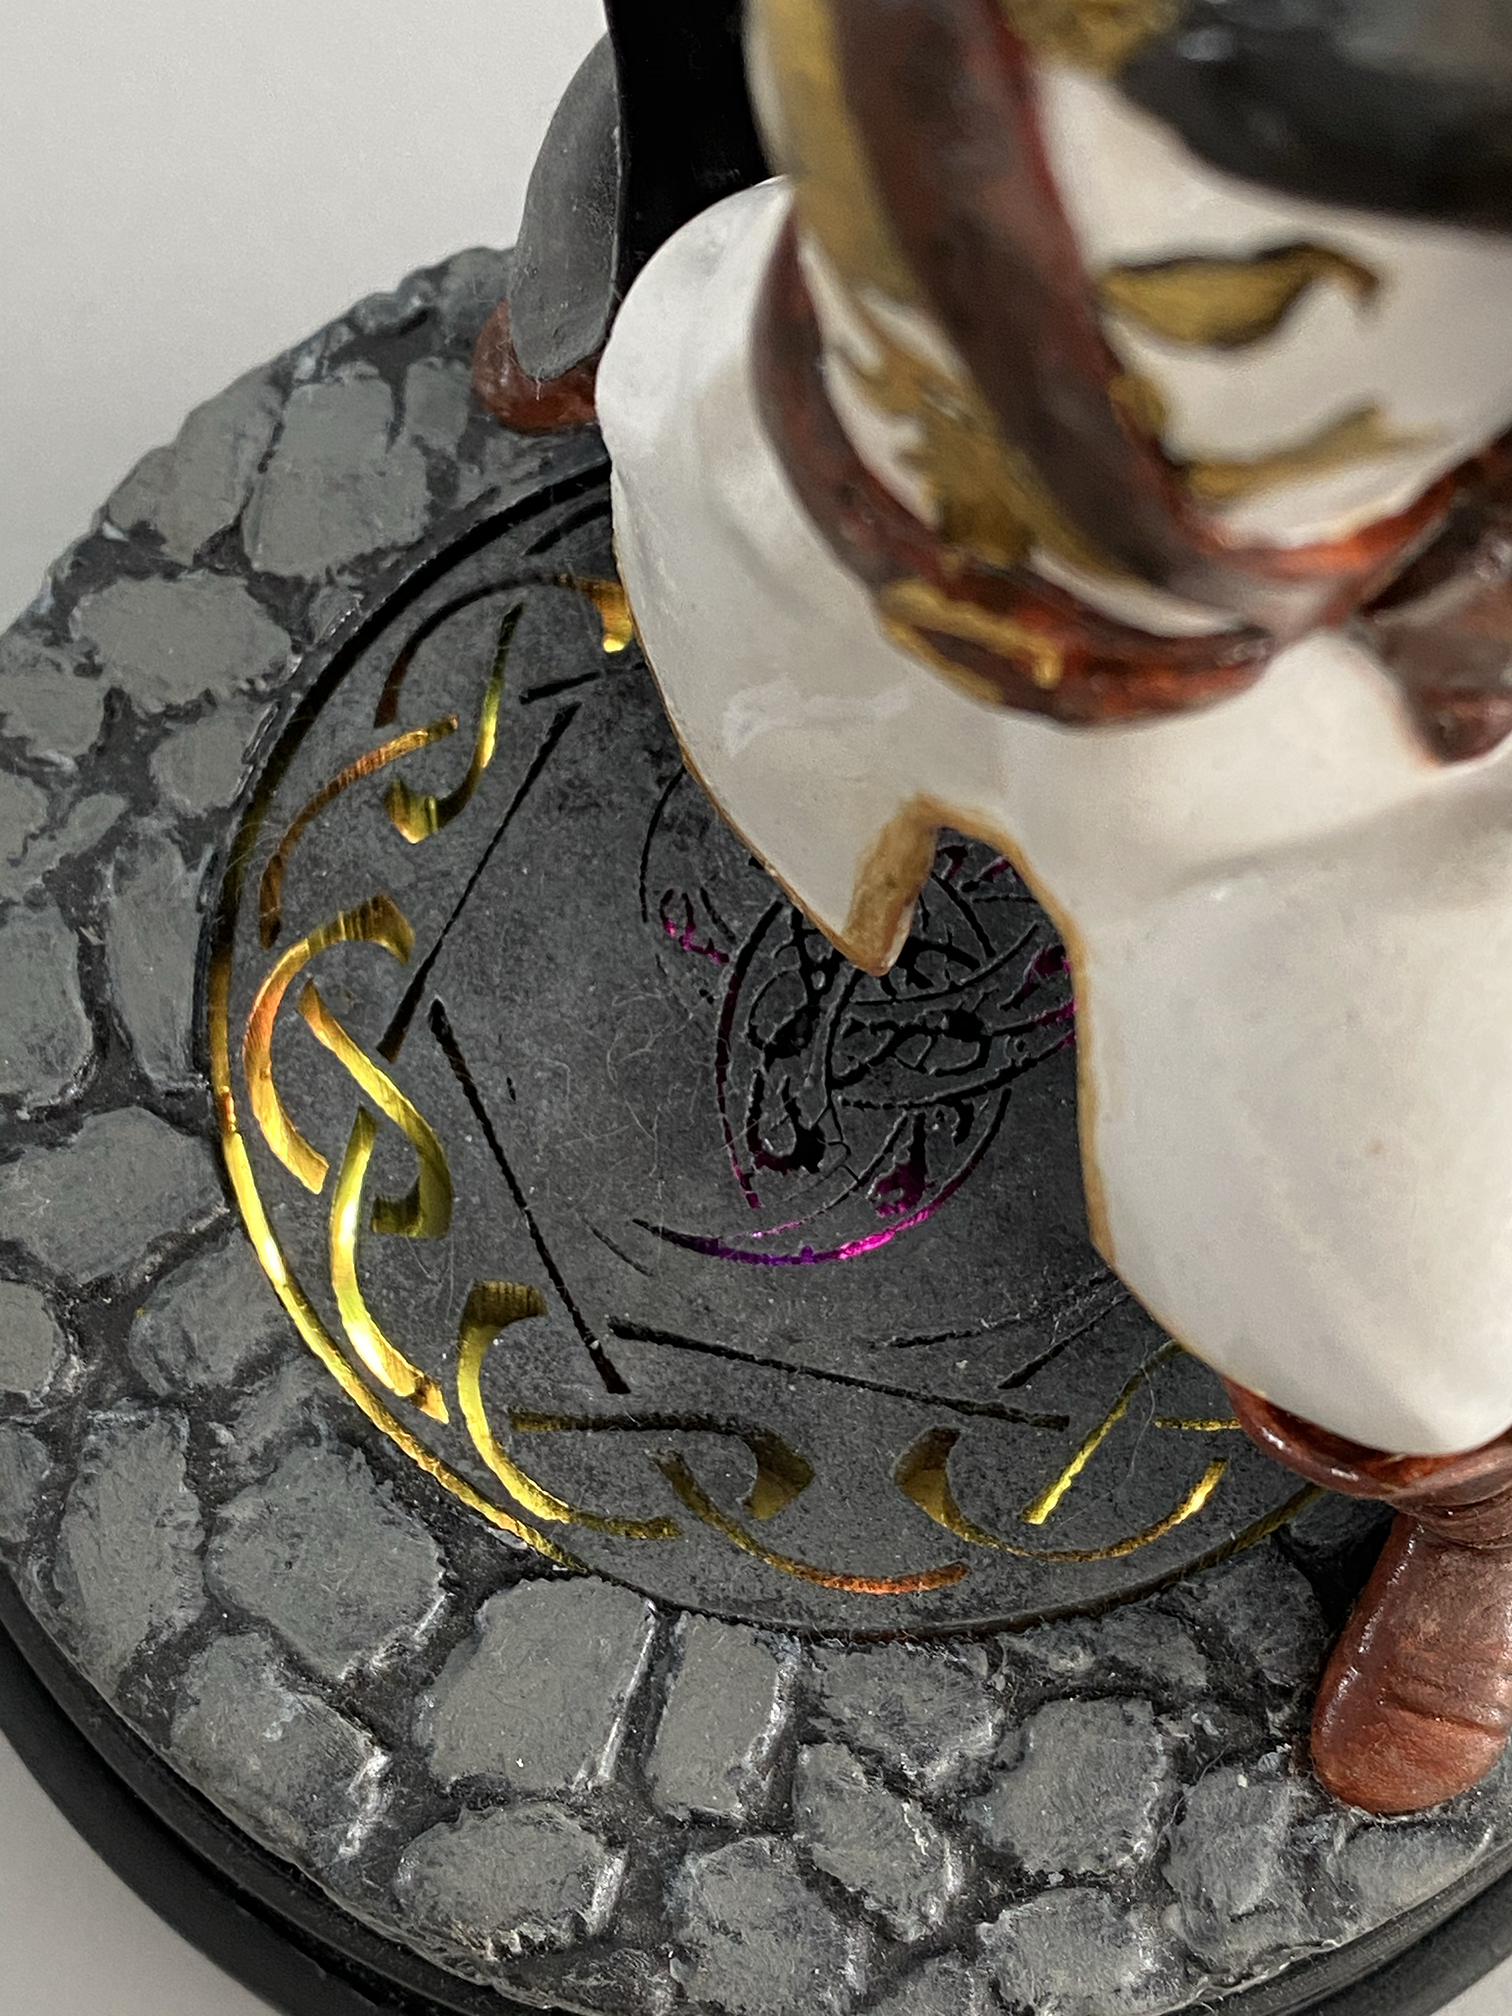
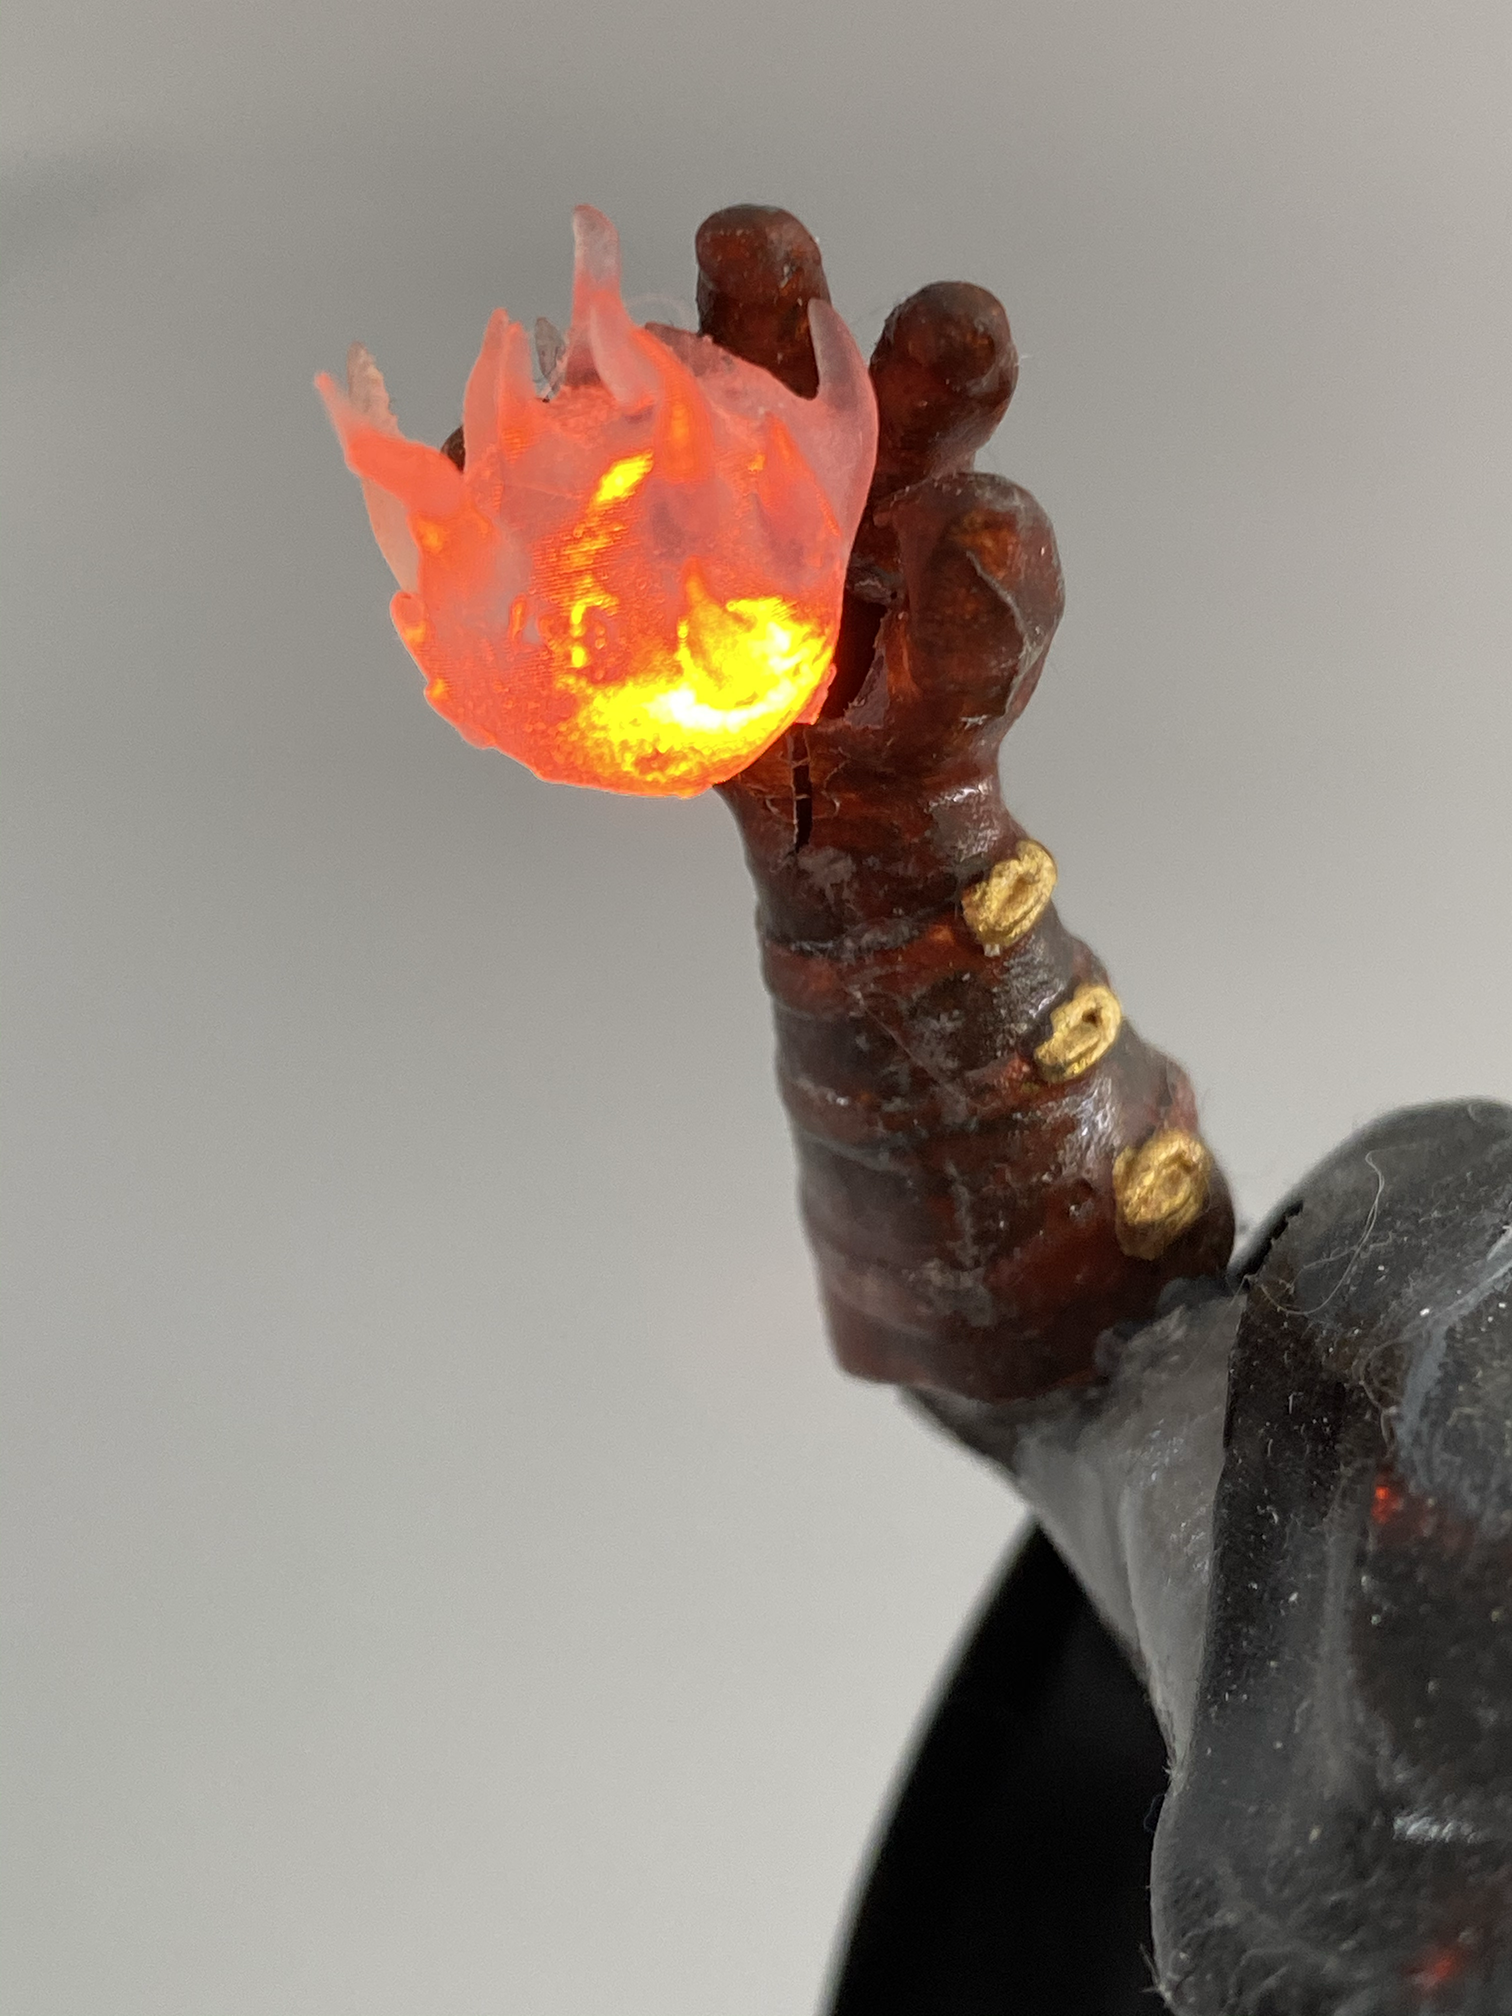
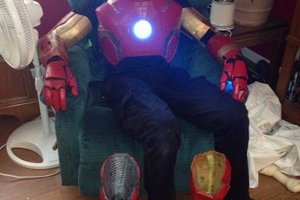
My friend Glenn Ramirez has been working on a sci-fi screenplay for a while and I wanted to encourage him; at the same time my friend Sean Lake was looking for some work and he is a master 3d and real-life model maker, so I commissioned him to create "Braomar", a character from Glenn's story. I did the 3D printing on my Form 2 and created the electronics and designed and laser cut the base.
0%
0%
Bloodletter Maquette
Animated figurine created to encourage a friend's screenplay project
Become a Hackaday.io member
Already have an account? Log in.
Just one more thing
To make the experience fit your profile, pick a username and tell us what interests you.
Pick an awesome username
hackaday.io/
Your profile's URL: hackaday.io/username. Max 25 alphanumeric characters.
Pick a few interests
Projects that share your interests
People that share your interests
 Tom_Neverwinter
 barb
barb
 Eric Moyer
 Colin Russell-Conway