 Benchoff
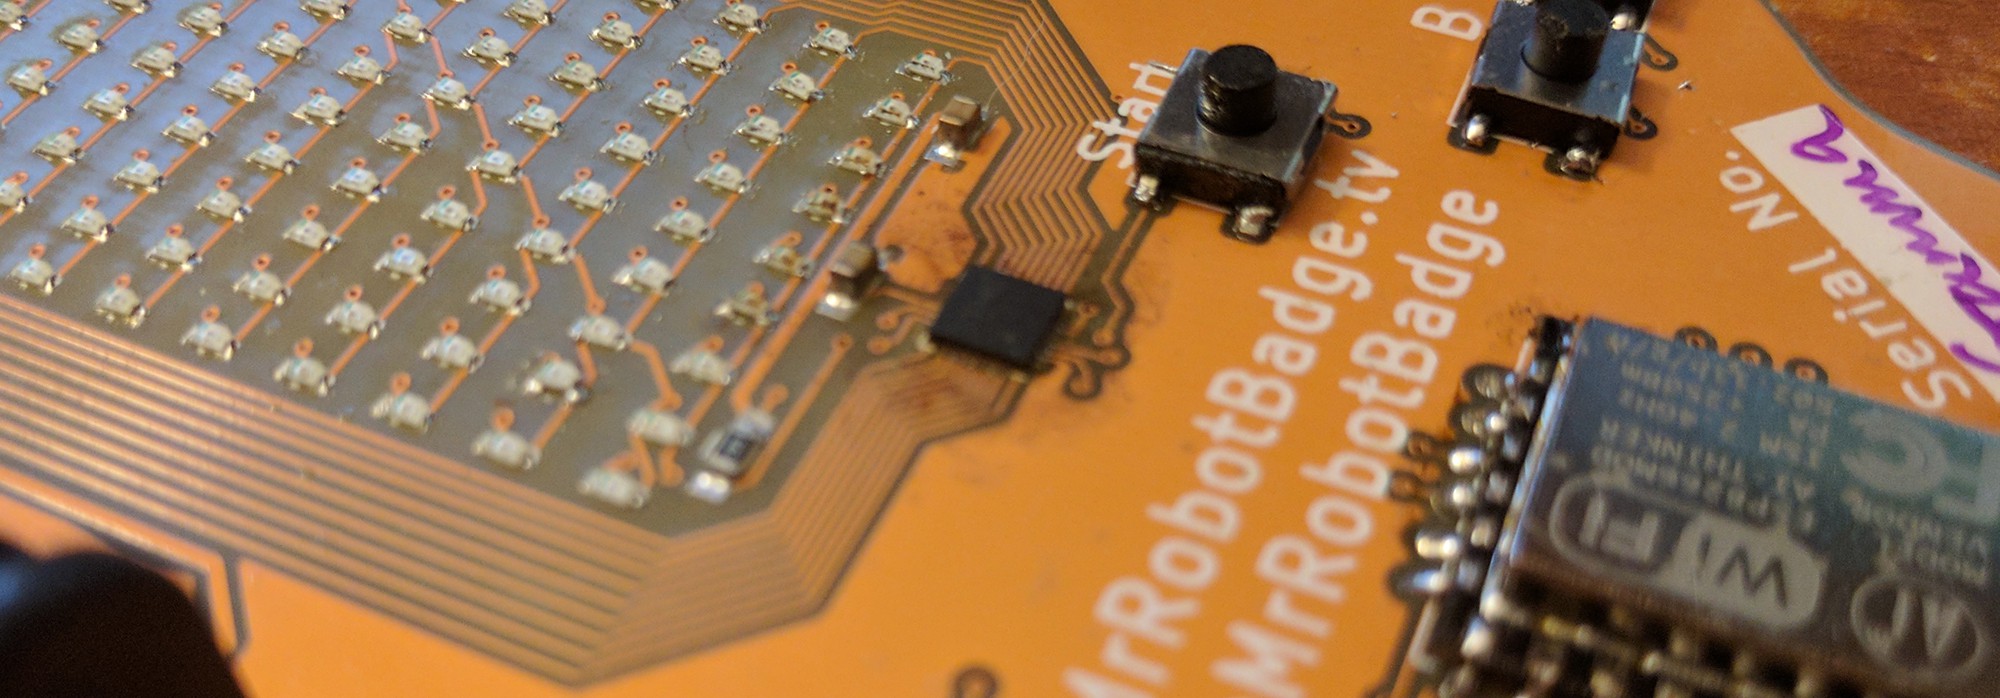
In recent years, 'custom electronic badges' have been a thing at DEF CON. This is #badgelife, or a community based around building hardware on a very condensed schedule, deploying them at a conference that won't wait for hardware problems, and spending thousands of dollars of your own money out of pocket. It's guerrilla hardware engineering, and it's awesome.
Last year, I decided I had to get in on this. This is, effectively, gonzo trade journalism. I'm going to inject myself into #badgelife, build my own independent hardware badge, and describe what the process is like. It's one thing to report on something someone else did, it's another thing entirely to describe what and how you did something.
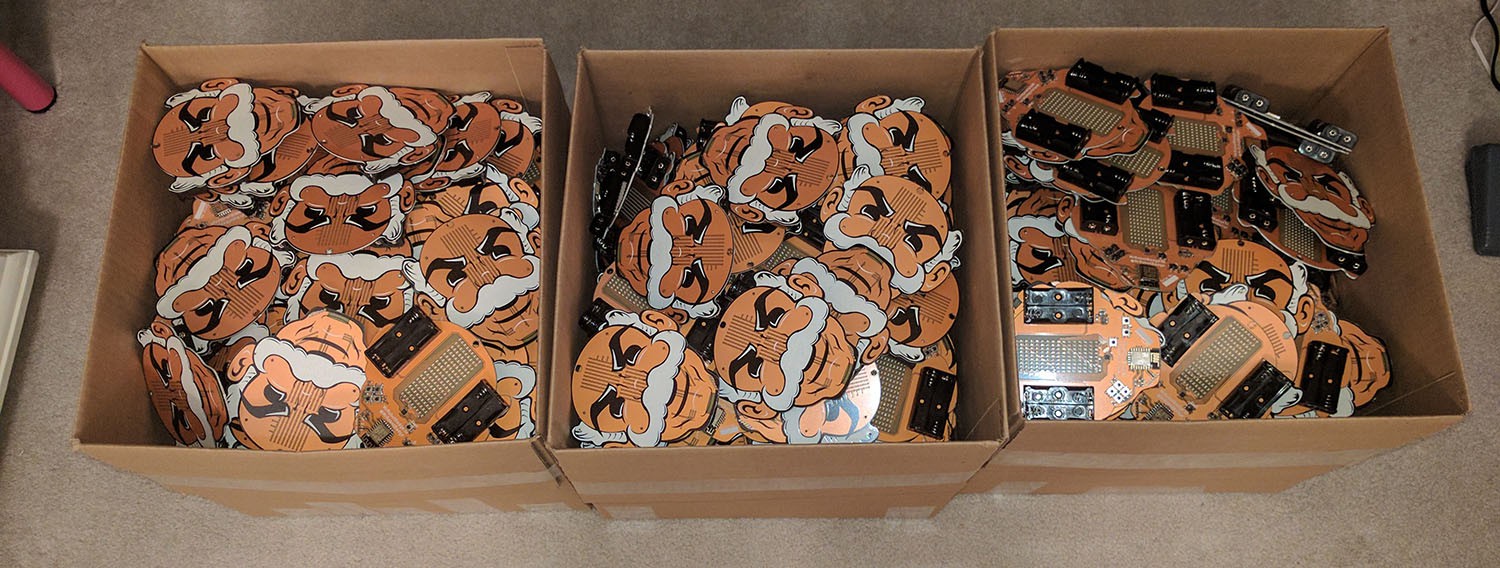
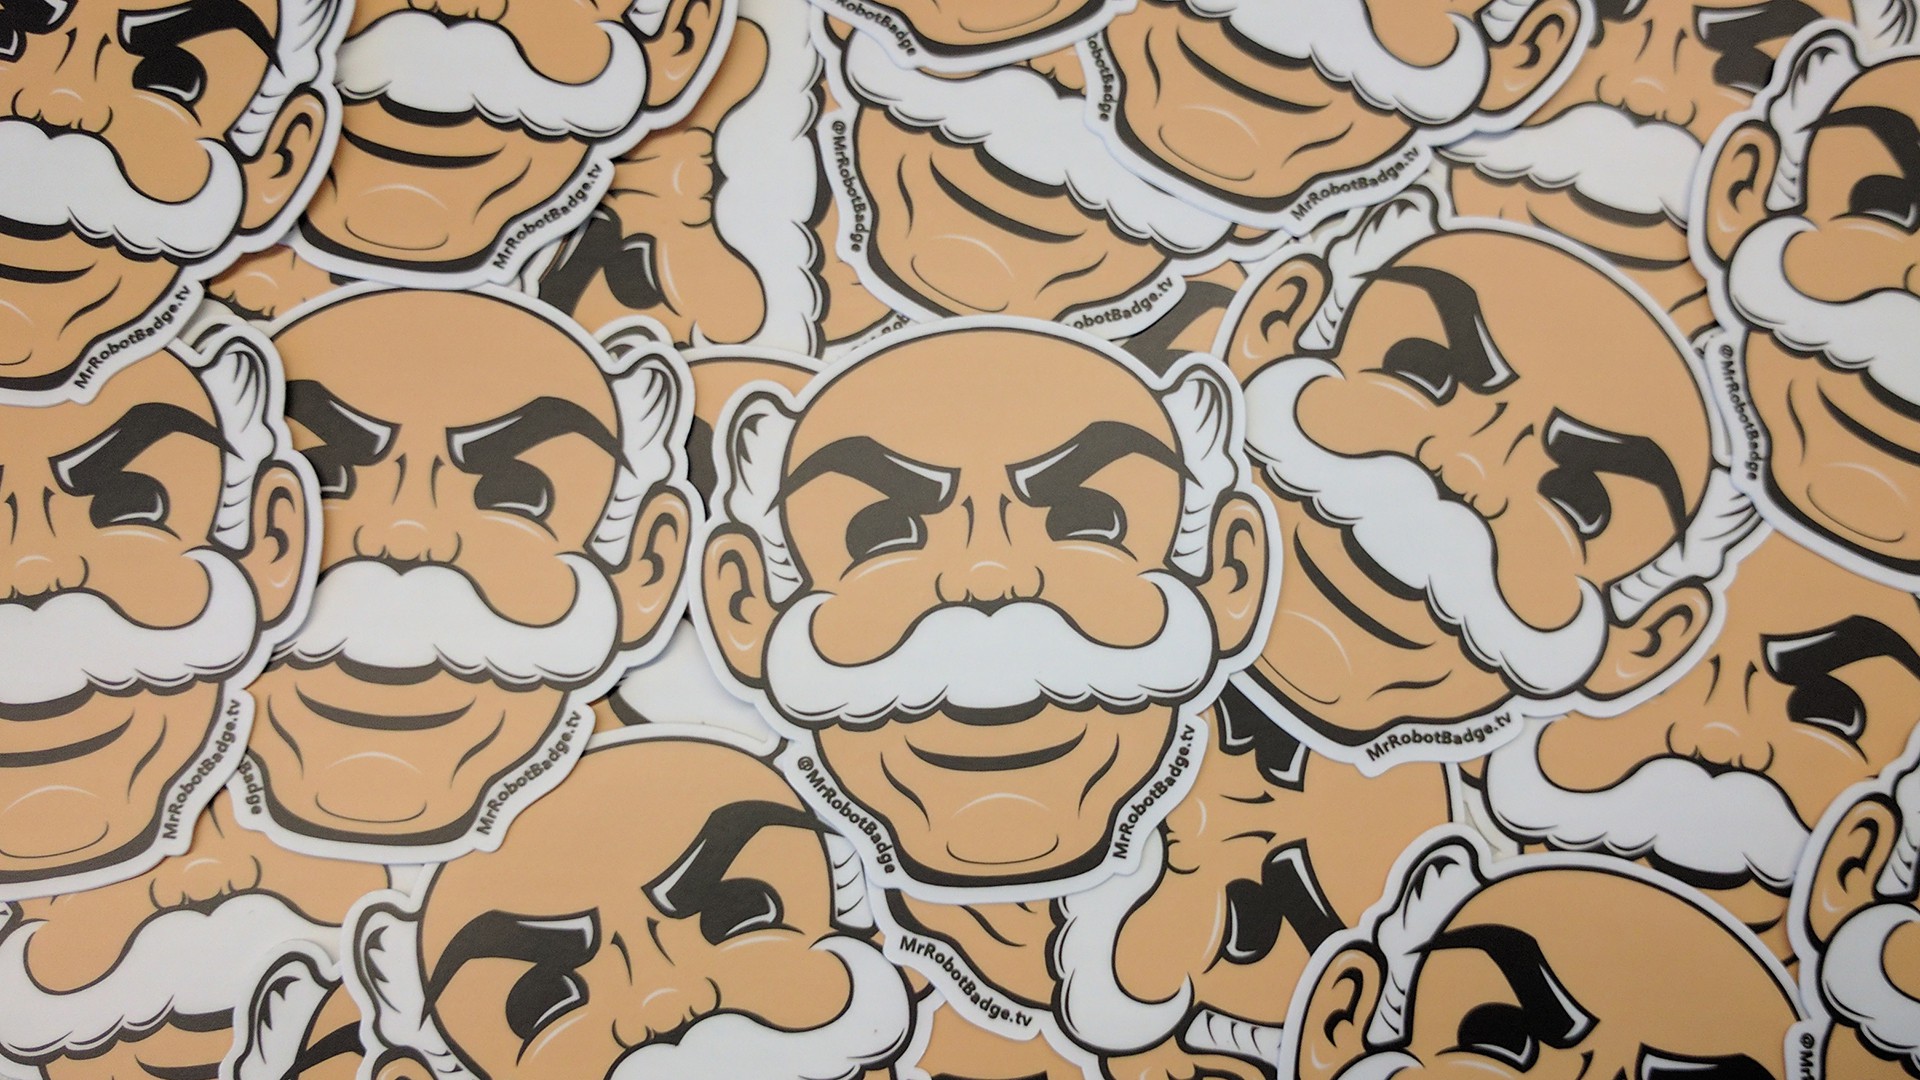
This is the inside story of nine months of work, a few hundred badges, and a single week in Vegas.


 awkward intelligence
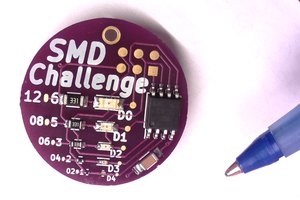
 MakersBox
 Tindie
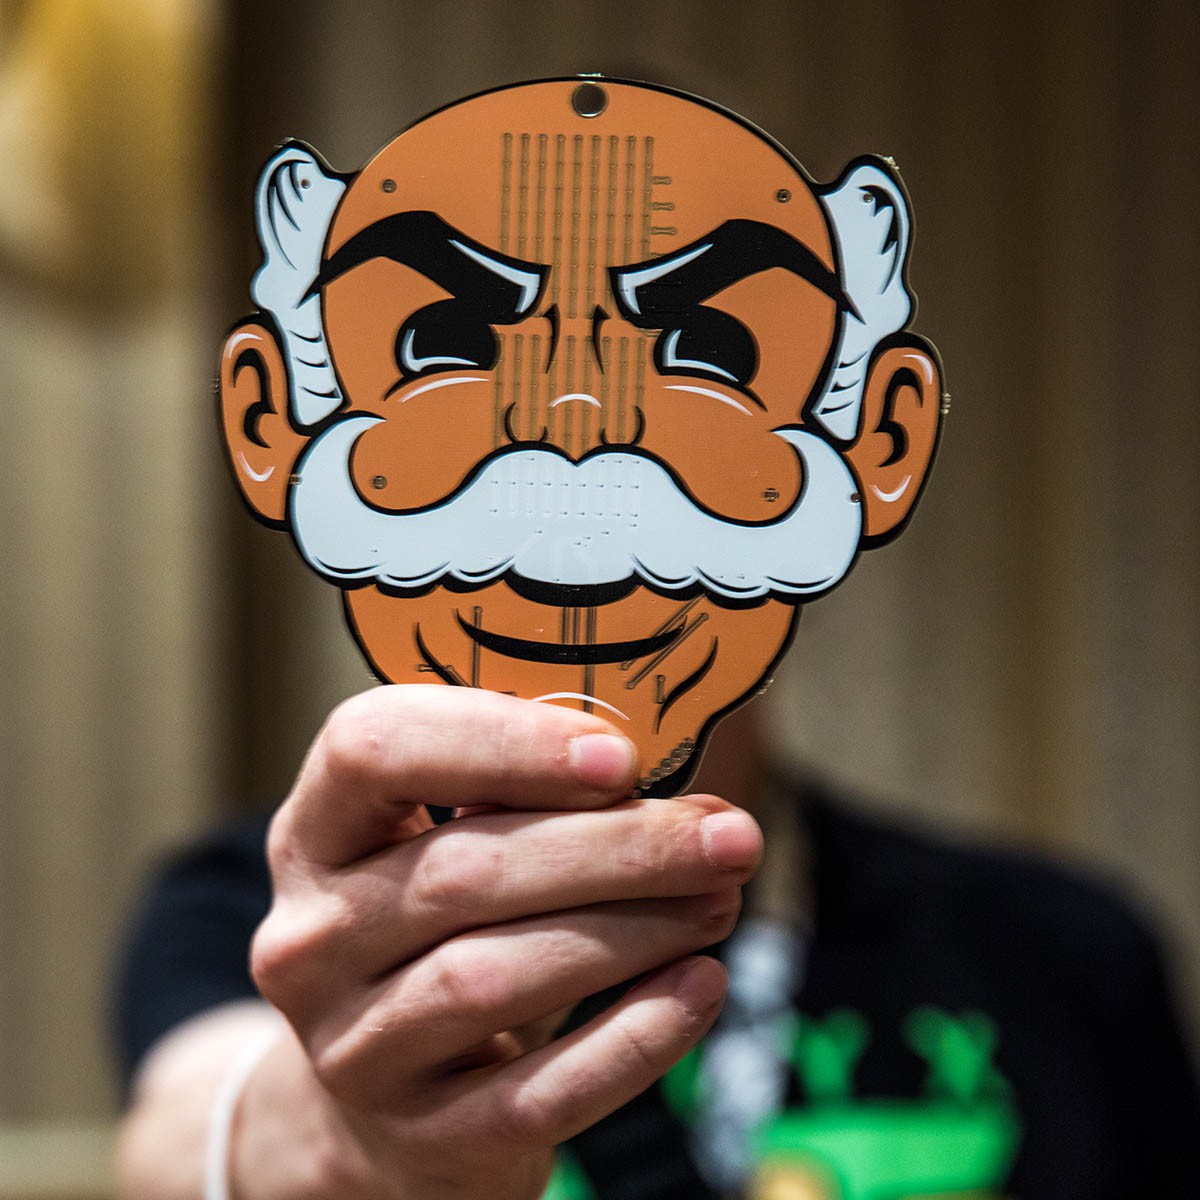
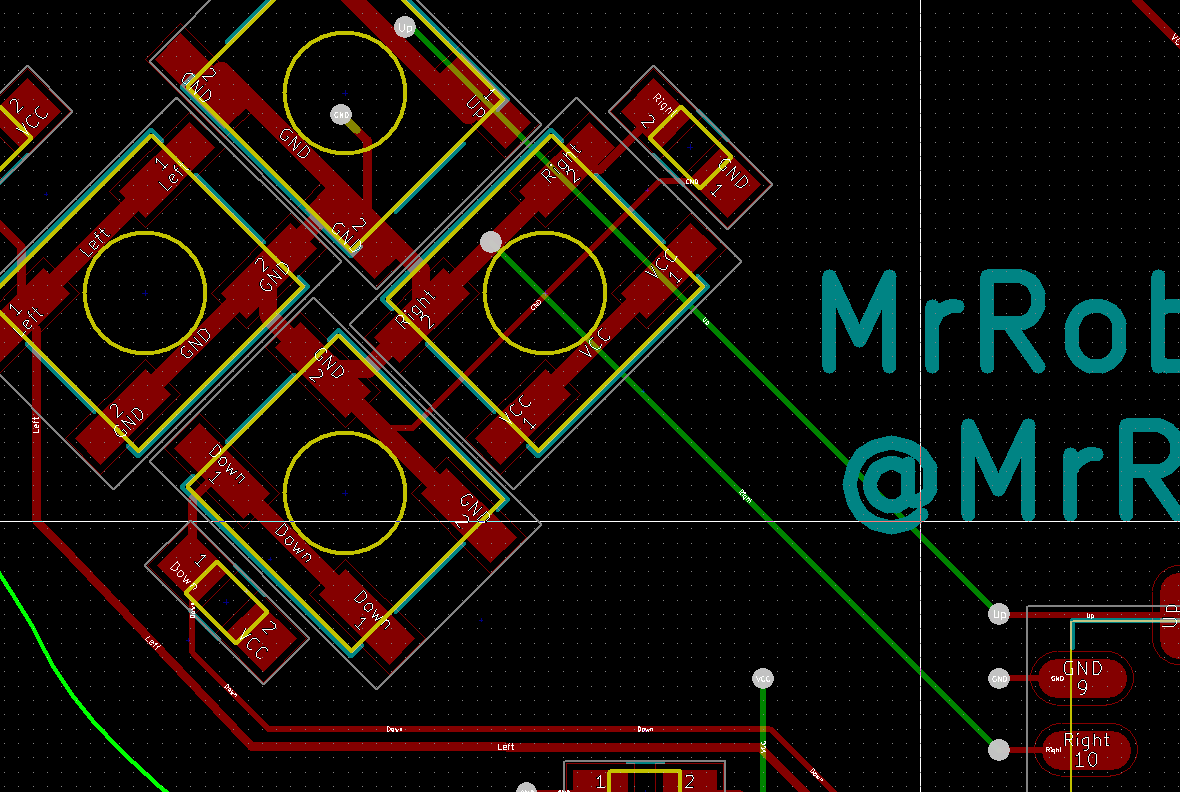
Would you please explain how you applied a second colour of legend notation silkscreen ink to the PCB? I assume the substrate is dull grey, the soldermask white, the notation ink is black, and the second custom colour is beige?