 Roni Bandini
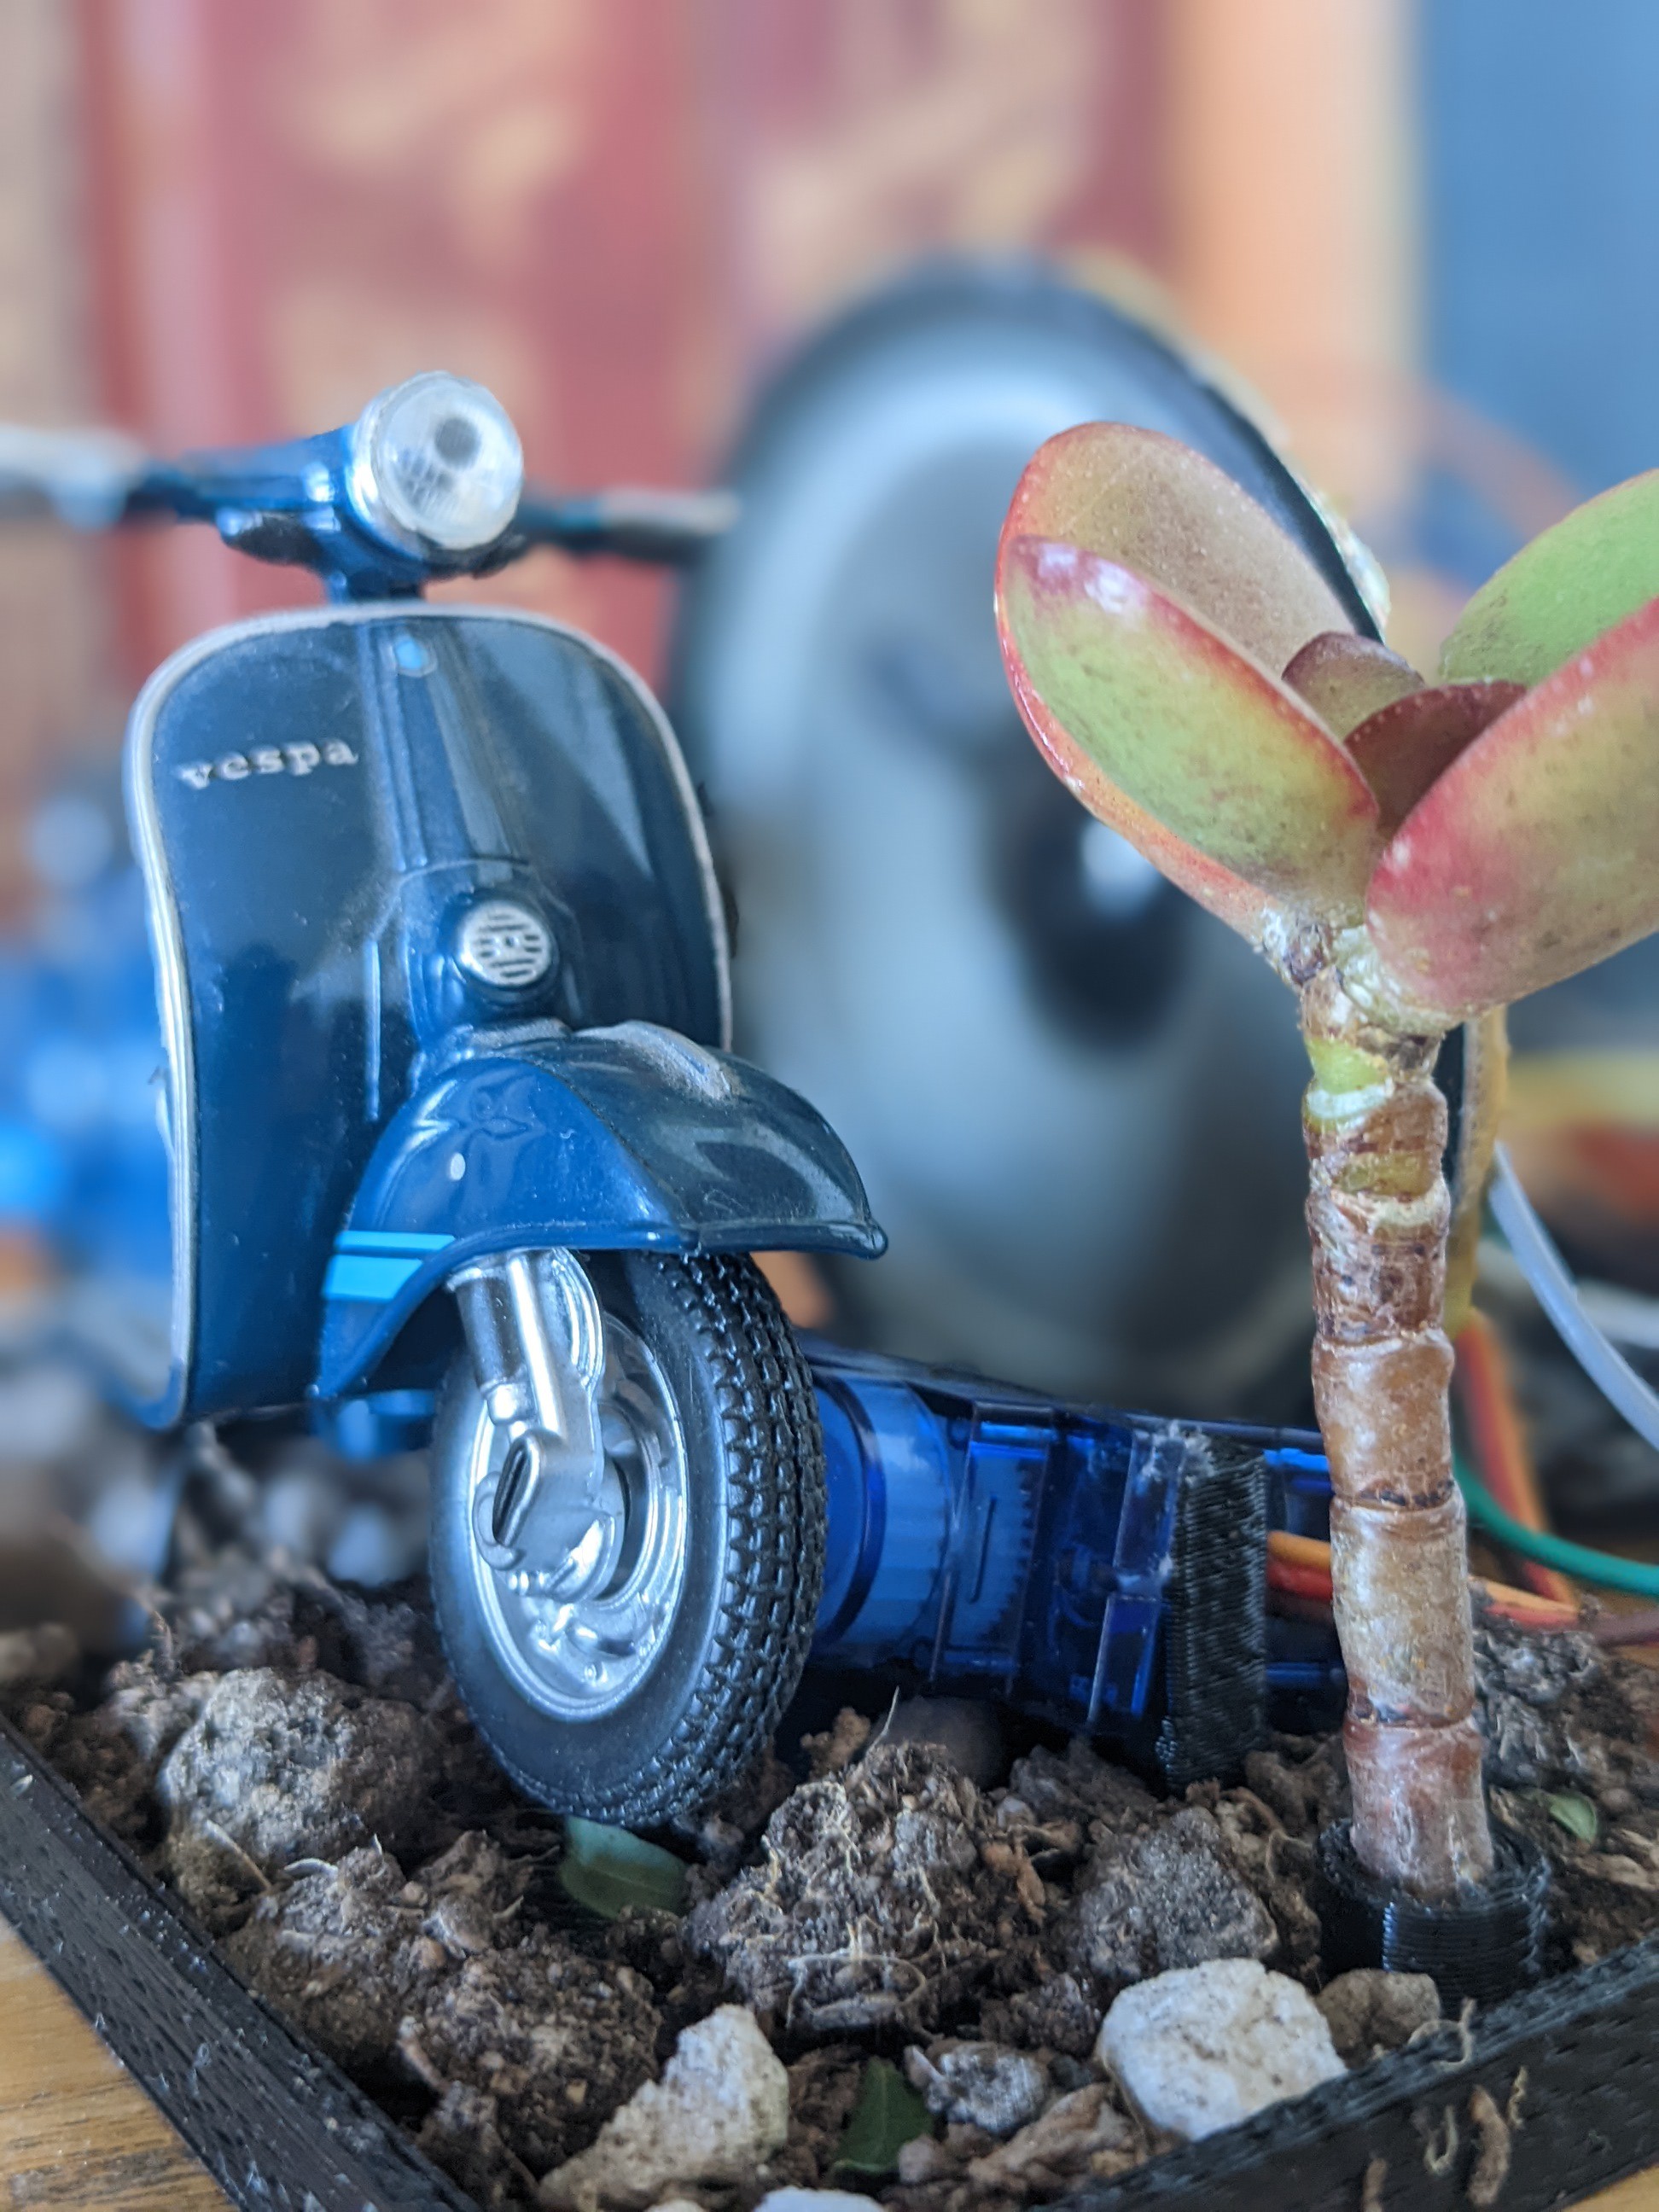
I love Italian motorcycles. I have a Ducati Scrambler, I’ve rided a Guzzi V7 around Europe and I even started with some friends a classic Gilera Motorcycle club in Argentina Of course there is no way to avoid the Vespa. There is something about the design, the use of “hacked” parts - landing gears from Mussolini’s airplanes -, the style and the allure. So I’ve decided to make a small Vespa diorama clock.
A Diorama cuckoo clock?
It is a Diorama, since ir represents a 76 Vespa
Primavera ignition in a bucolic forest scenario. But is also a "cuckoo" sort of clock since
the Vespa engine starts every hour asking
NTP server through WiFi.
How does it work?
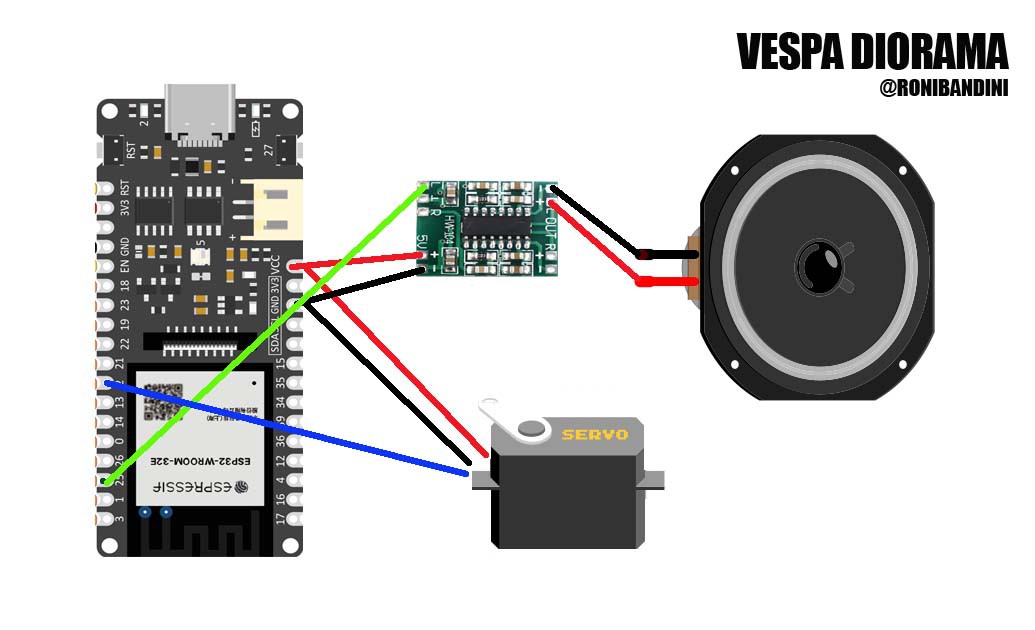
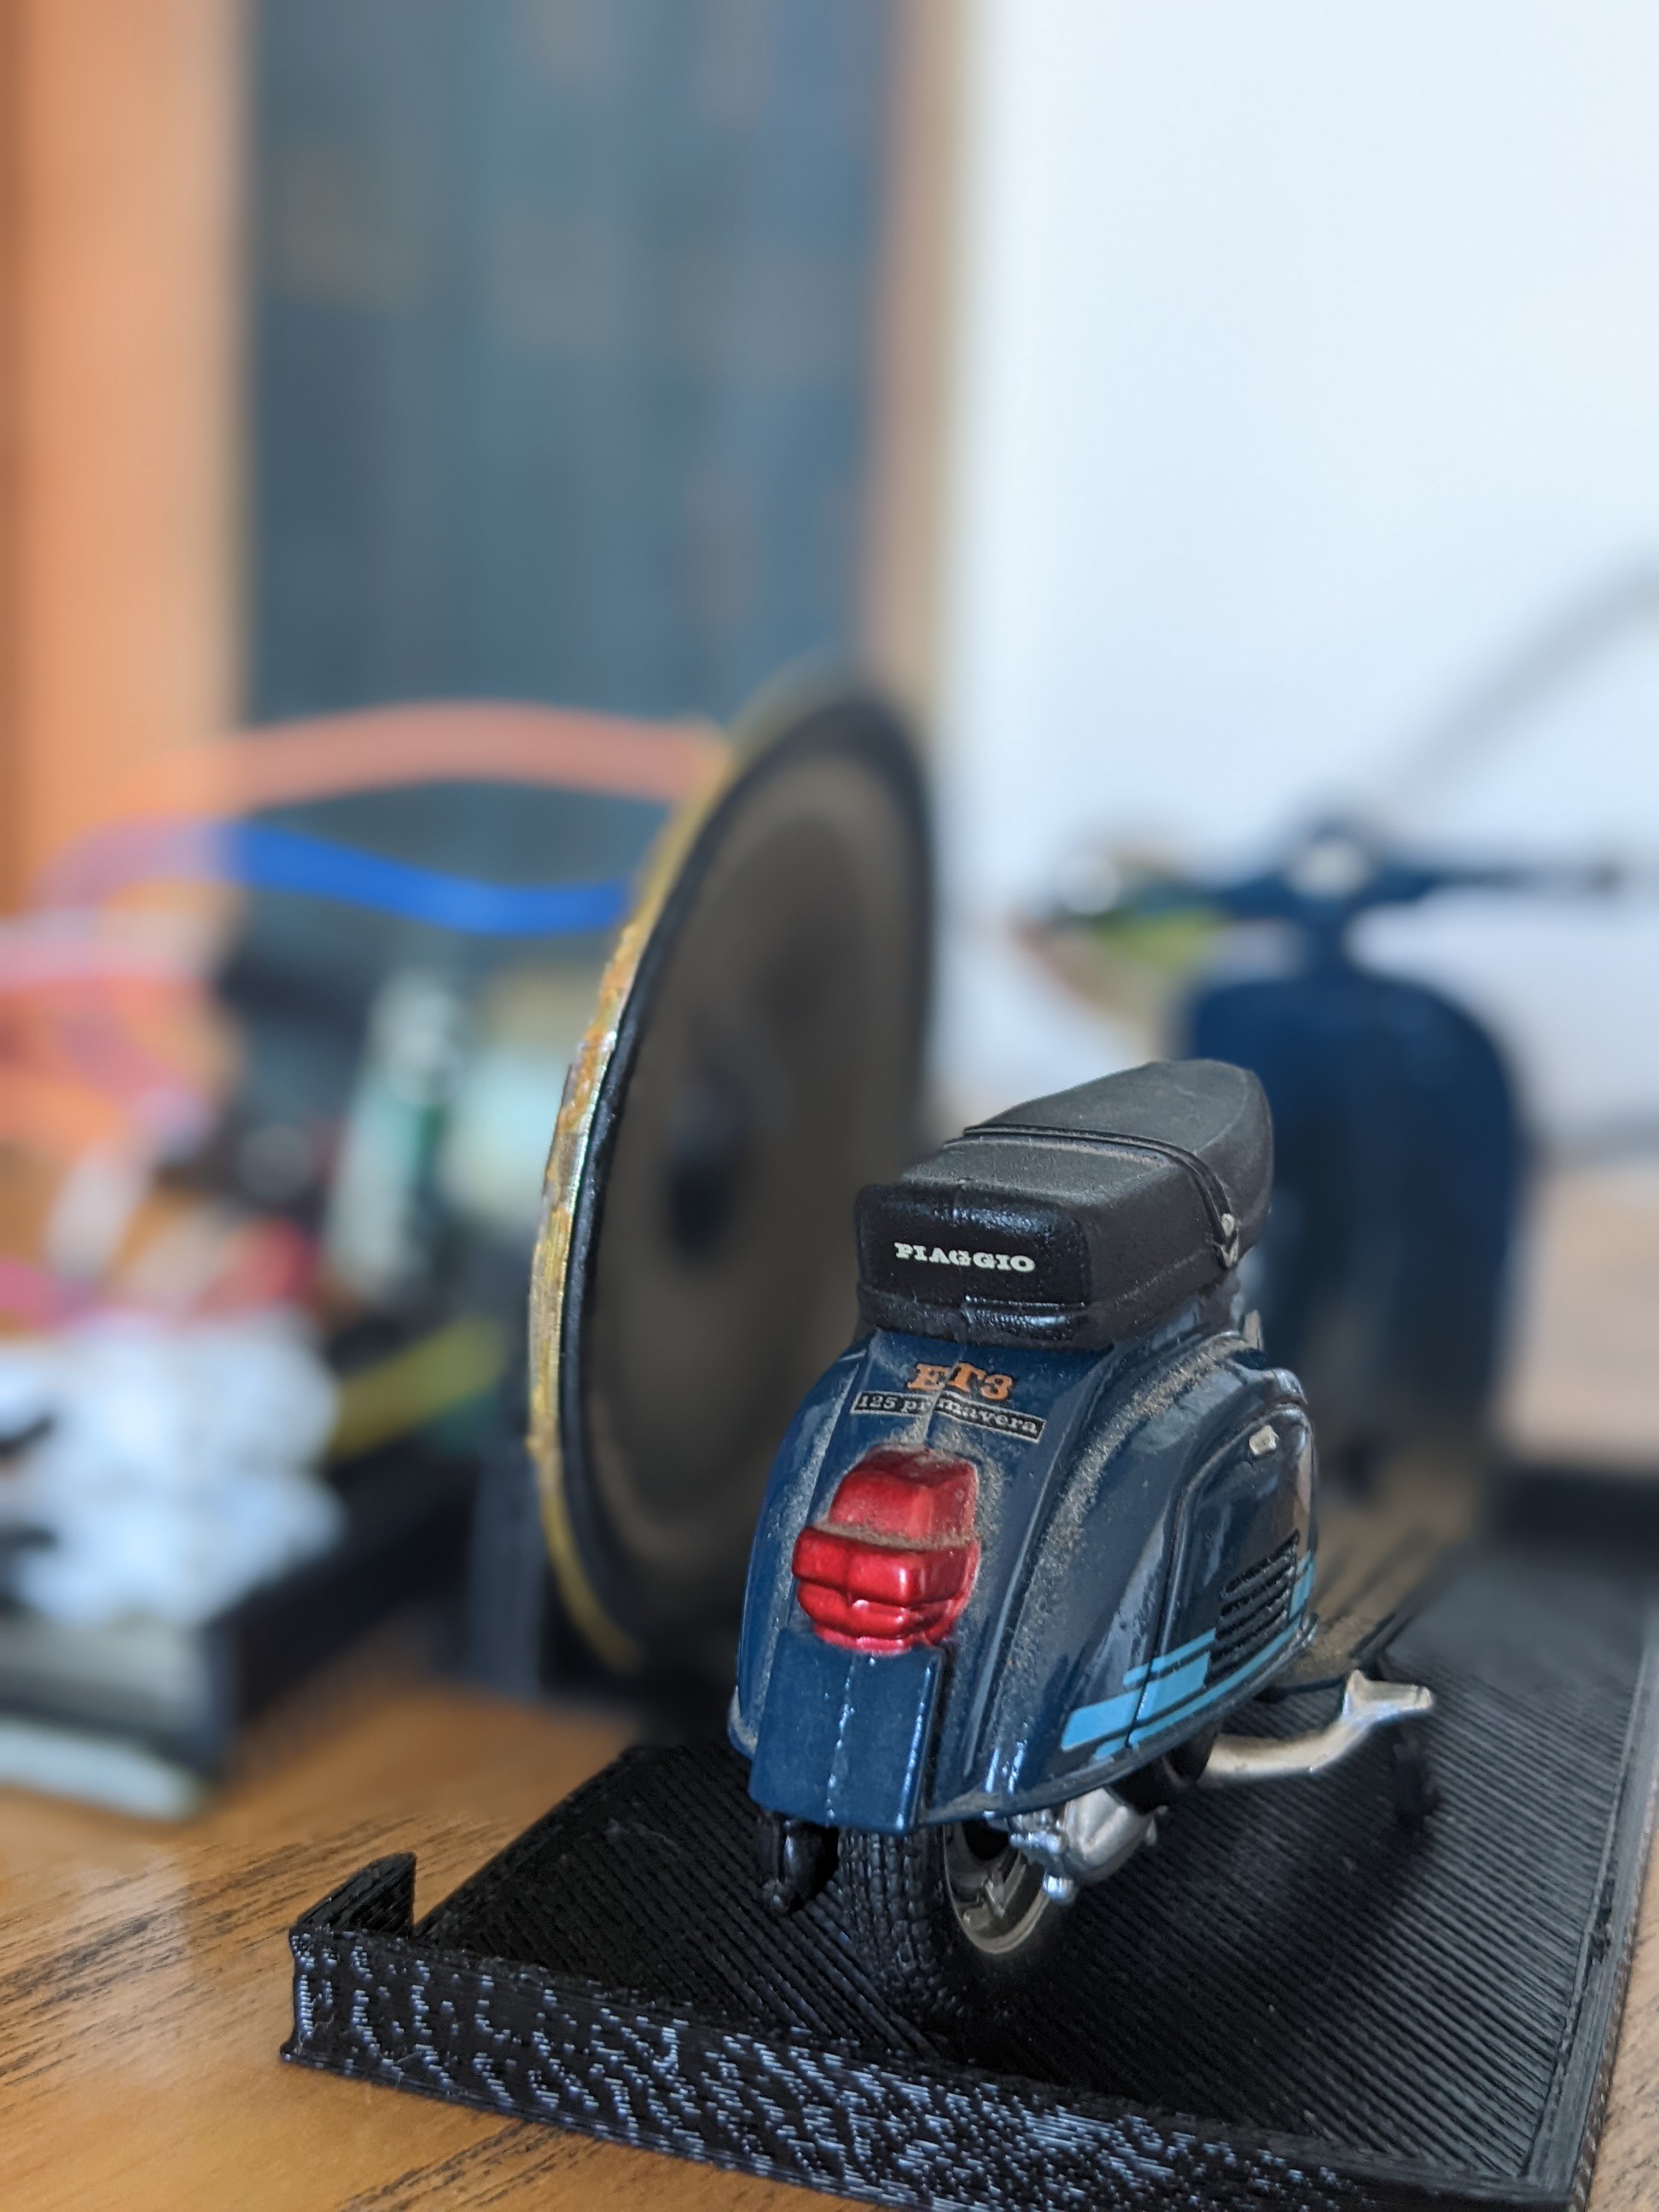
It is based in Fireebeetle, an advanced and powerful ESP32 compatible board made by DfRobot. The board is connected to the WiFi router in order to ask NTP server. Whenever a new hour starts, a .wav is played without any external module. Also an SG90 servo moves the front wheel. The entire device is mounted over a custom made 3d printed base.
Parts used
. Vespa Primavera 1976 model miniature 1/18
. ESP32 Firebeetle. Micro Servo motor
. 3watts 4 ohms speaker
. HW104 Amp
Circuits
How to check the hour using NTP server
NTPClient timeClient(ntpUDP, "pool.ntp.org", utcOffsetInSeconds);
NTPClient timeClient(ntpUDP, "pool.ntp.org", utcOffsetInSeconds);
Off set for Buenos Aires is calculated with:
const long utcOffsetInSeconds = -10800; // -3 GMT x 60 x 60
const long utcOffsetInSeconds = -10800; // -3 GMT x 60 x 60


timeClient.begin();

Inside the loop

timeClient.update();

Serial.print(timeClient.getHours());

Serial.print(":");

Serial.print(timeClient.getMinutes());

if (timeClient.getMinutes()==0){

Serial.print("Hour changed, start Diorama");

...

} // 0 minutes
3d printed base

How
to play WAV sounds in ESP 32
This is the only tricky part of this project. I usually use DFRobot Player Mini to play sounds but ESP boards and DfPlayer mini do not get along well due to serial libraries issues. I’ve decided to play a wav file, converted to hexa without any external hardware. The sound comes out from standard Fireebeetle pin. Then I use a cheap 3W amplifier and a speaker.

First
step is to get a wav file. You can use something like
https://x2download.com/en52
to get an audio from a YouTube video.
Then you can use free Audacity to cut the file and convert to WAV. File should be small to fit ESP RAM so change Project Rate 8000Hz. Then Export as Unsigned 8 bit PCM.
Now you have to open the file with Hex editor like https://mh-nexus.de/en/hxd/ Open the wav, Ctrl + A, then Edit Copy as C into a text file named vespa.h
Install XT_DAC_Audio.h library into Arduino IDE. Then use this code:
#include "vespa.h"

#include "XT_DAC_Audio.h"

XT_Wav_Class Sound(sample);

XT_DAC_Audio_Class DacAudio(25,0);

uint32_t DemoCounter=0;

void setup() {

Serial.begin(115200);

}

void loop() {

DacAudio.FillBuffer();

if(Sound.Playing==false)

DacAudio.Play(&Sound);

}
Thanks to Ashish Choudhary for this info.
How to move the servo
It is better to use a 360 degree servo so you can get continuous wheel movement but since I only had a regular servo at hand, I go forward 180 degrees and then backward slowly those 180 degrees.
int posDegrees=180;
int posDegrees=180;

// forward

while (posDegrees>=0)

{

servo1.write(posDegrees);

posDegrees--;

delay(20);

}
Demo mode
There is a small setting demoMode. If you put a 1 in there, engine will start at every iteration instead of waiting for next hour.
Adding lights
You can easily add lights with led or laser module.
In Setup, add
pinMode(laserPin, OUTPUT);

int lightOn=0;
Then call this function.
void light(){

if (lightOn==0){

digitalWrite(pinLaser, HIGH);

lightOn=1;

}

else

{

digitalWrite(pinLaser, LOW);

lightOn=0;

}

}
Video demo
More about Dioramas
Interested in other projects? https://www.instagram.com/ronibandini/