 Sean Billups
I have managed to safely remove the integrated IR filter in the Google Pixel 3a phone--the method: a heated 3d printer bed, set at 60C, is used to soften the adhesive that holds the lens in place. After about 15-20 minutes, the lens is carefully and slowly twisted with a small set of pliers until it comes out.
To remove the filter, I have been using a small amount of adhesive (superglue or a quick-setting epoxy) on the end of a small section of 3d printer filament. I glue this piece onto the filter itself, allow it to cure, then set the camera back on the printer bed and pull the filter out.
I have broken several filters, though, and have had to carefully remove all traces of broken glass from inside the camera module.
But despite the fact that I need to refine my technique, it works!
The filter wheel is printed in PETG, and designed to house 4 filters that enable up to 7 types of technical imaging: Visible, Raking light, UV fluorescence, UV reflectography, IR reflectography, IR fluorescence, and Polarized.
Painting in visible light
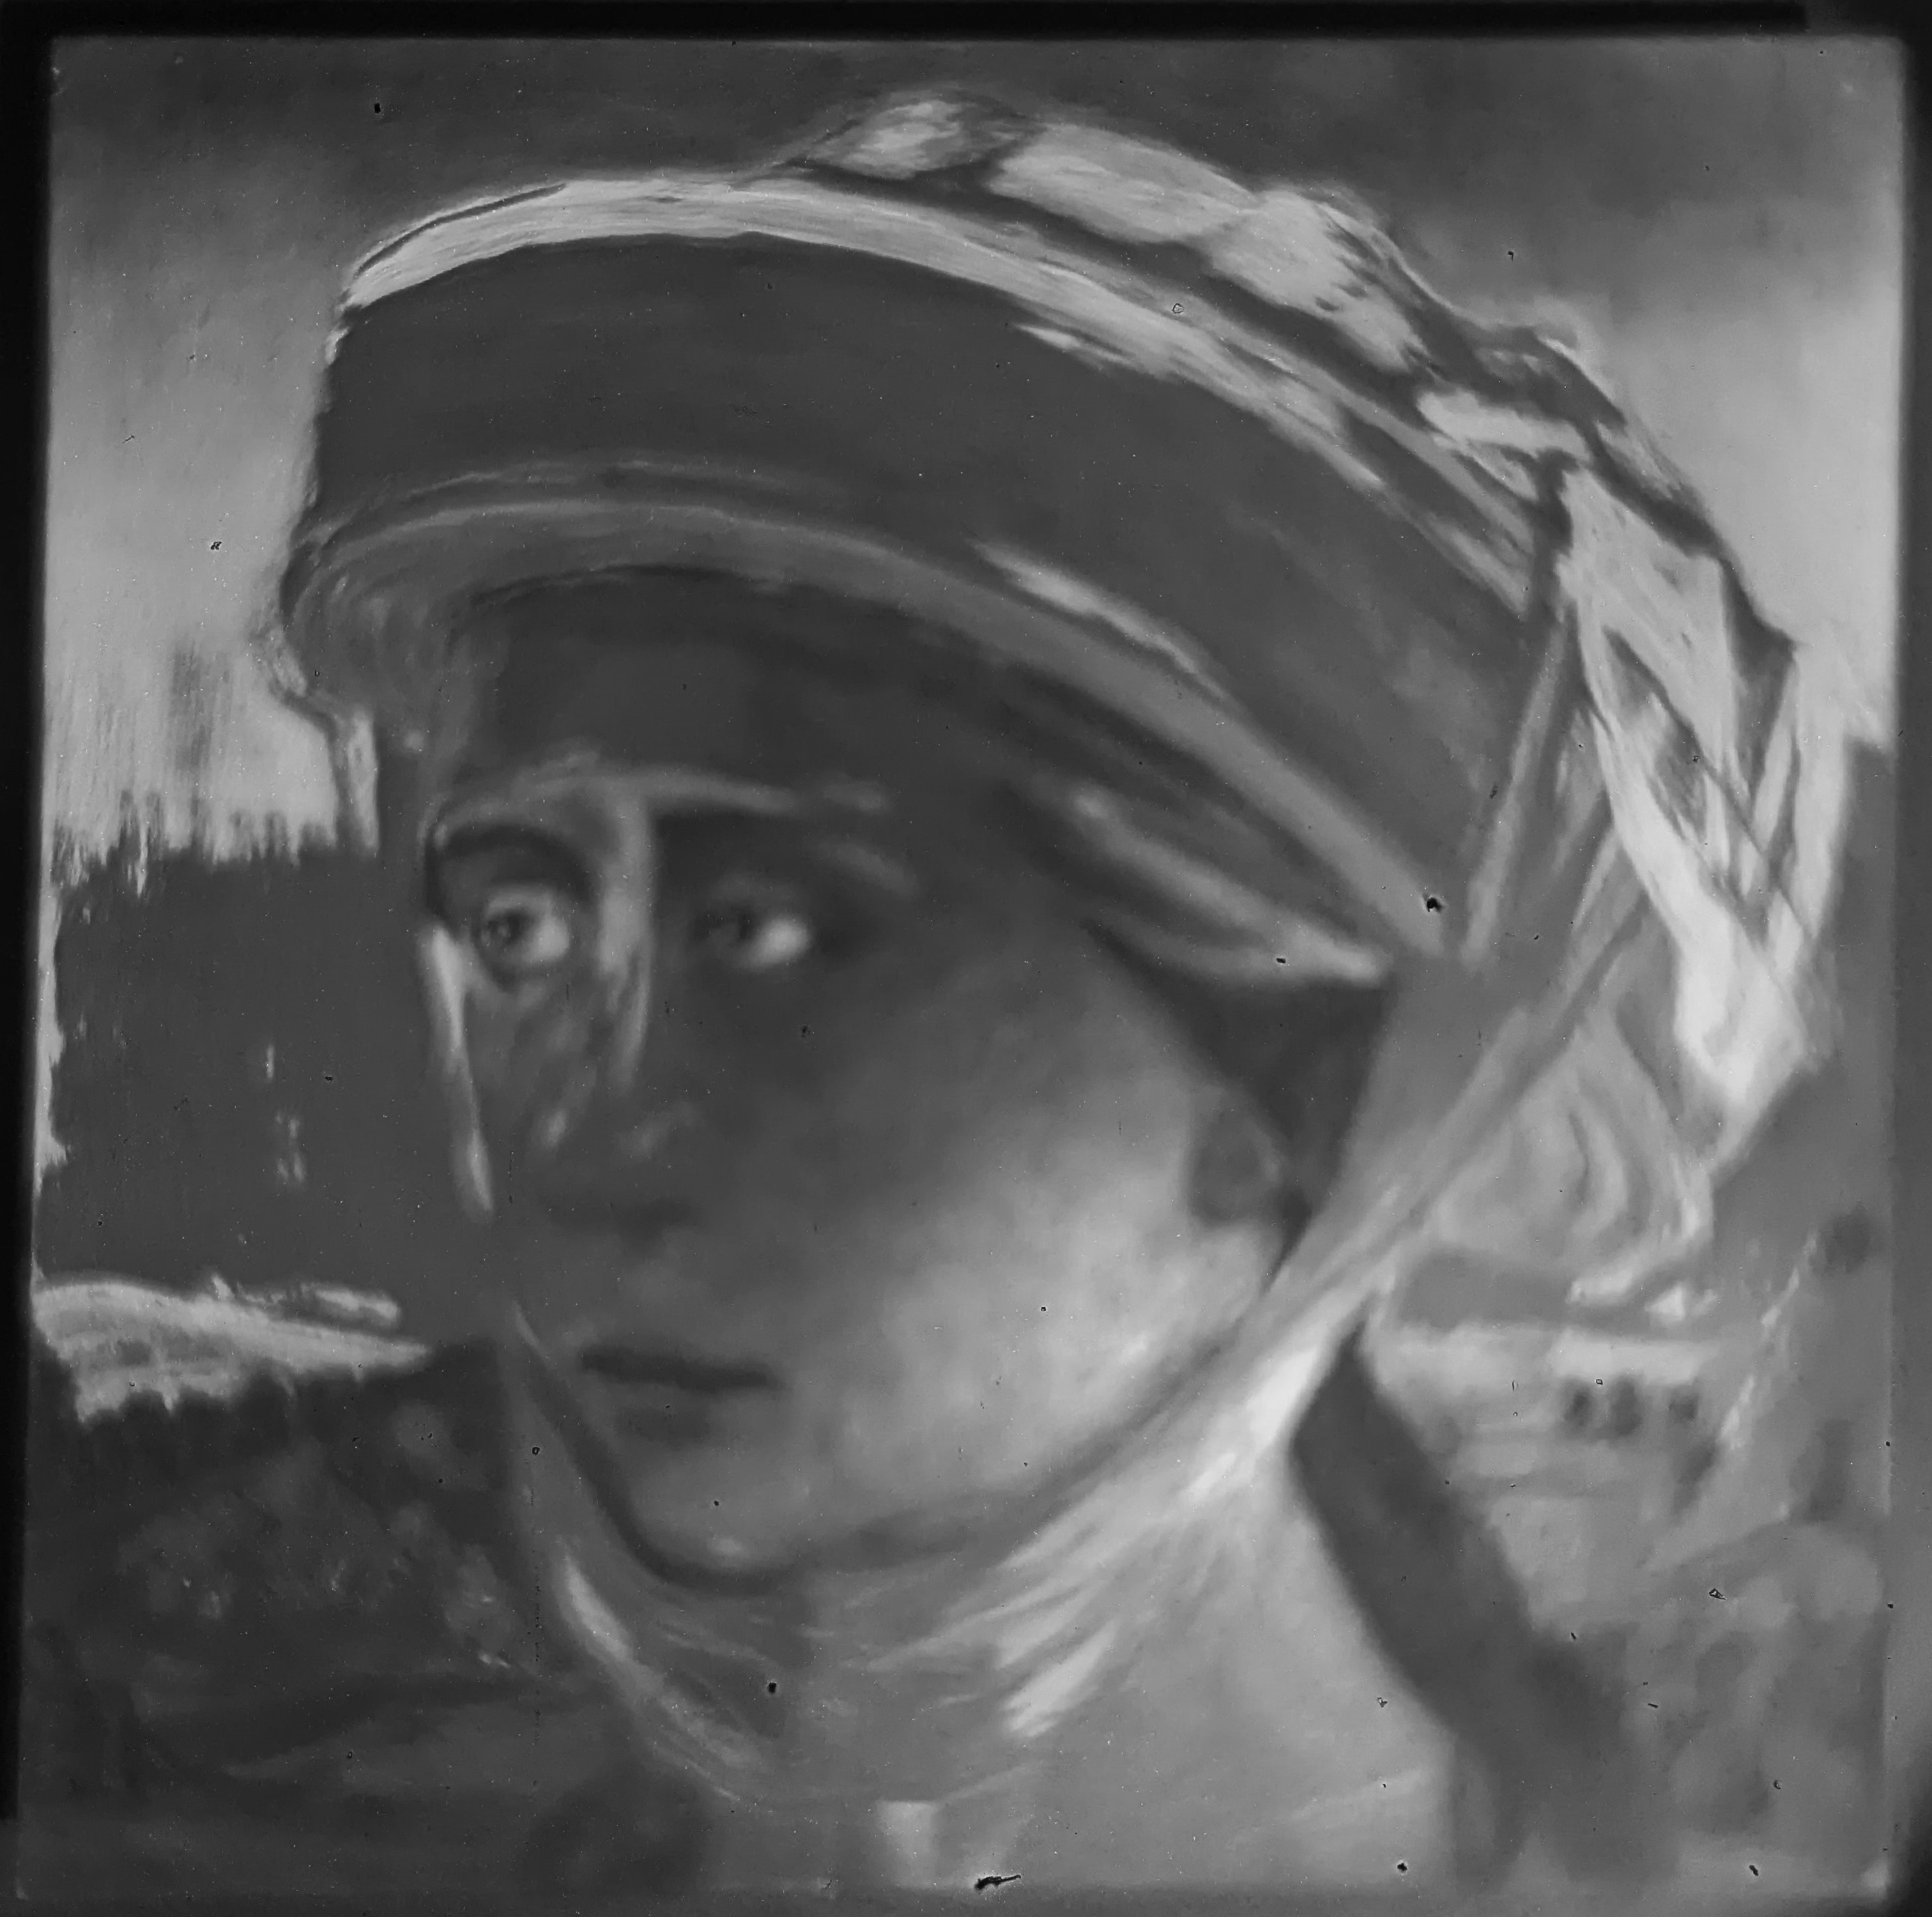
 Same painting in UV reflectography. Note the difference between 2 different white paints.
Discussions
Become a Hackaday.io Member
Create an account to leave a comment. Already have an account? Log In.