Close
0%
0%

PewPew LCD

Learn Python programming with an affordable gaming handheld.

Similar projects worth following

Teaching programming is hard. And it's not made any easier by the fact that before you even start teaching, you have to first do the ungrateful job of an IT support worker and get your students through all the hoops of installing all the necessary software and libraries on their computers. And when you finish, the programs they have written only works on their own computers, unless they go through all the same (and possibly some additional) hoops.

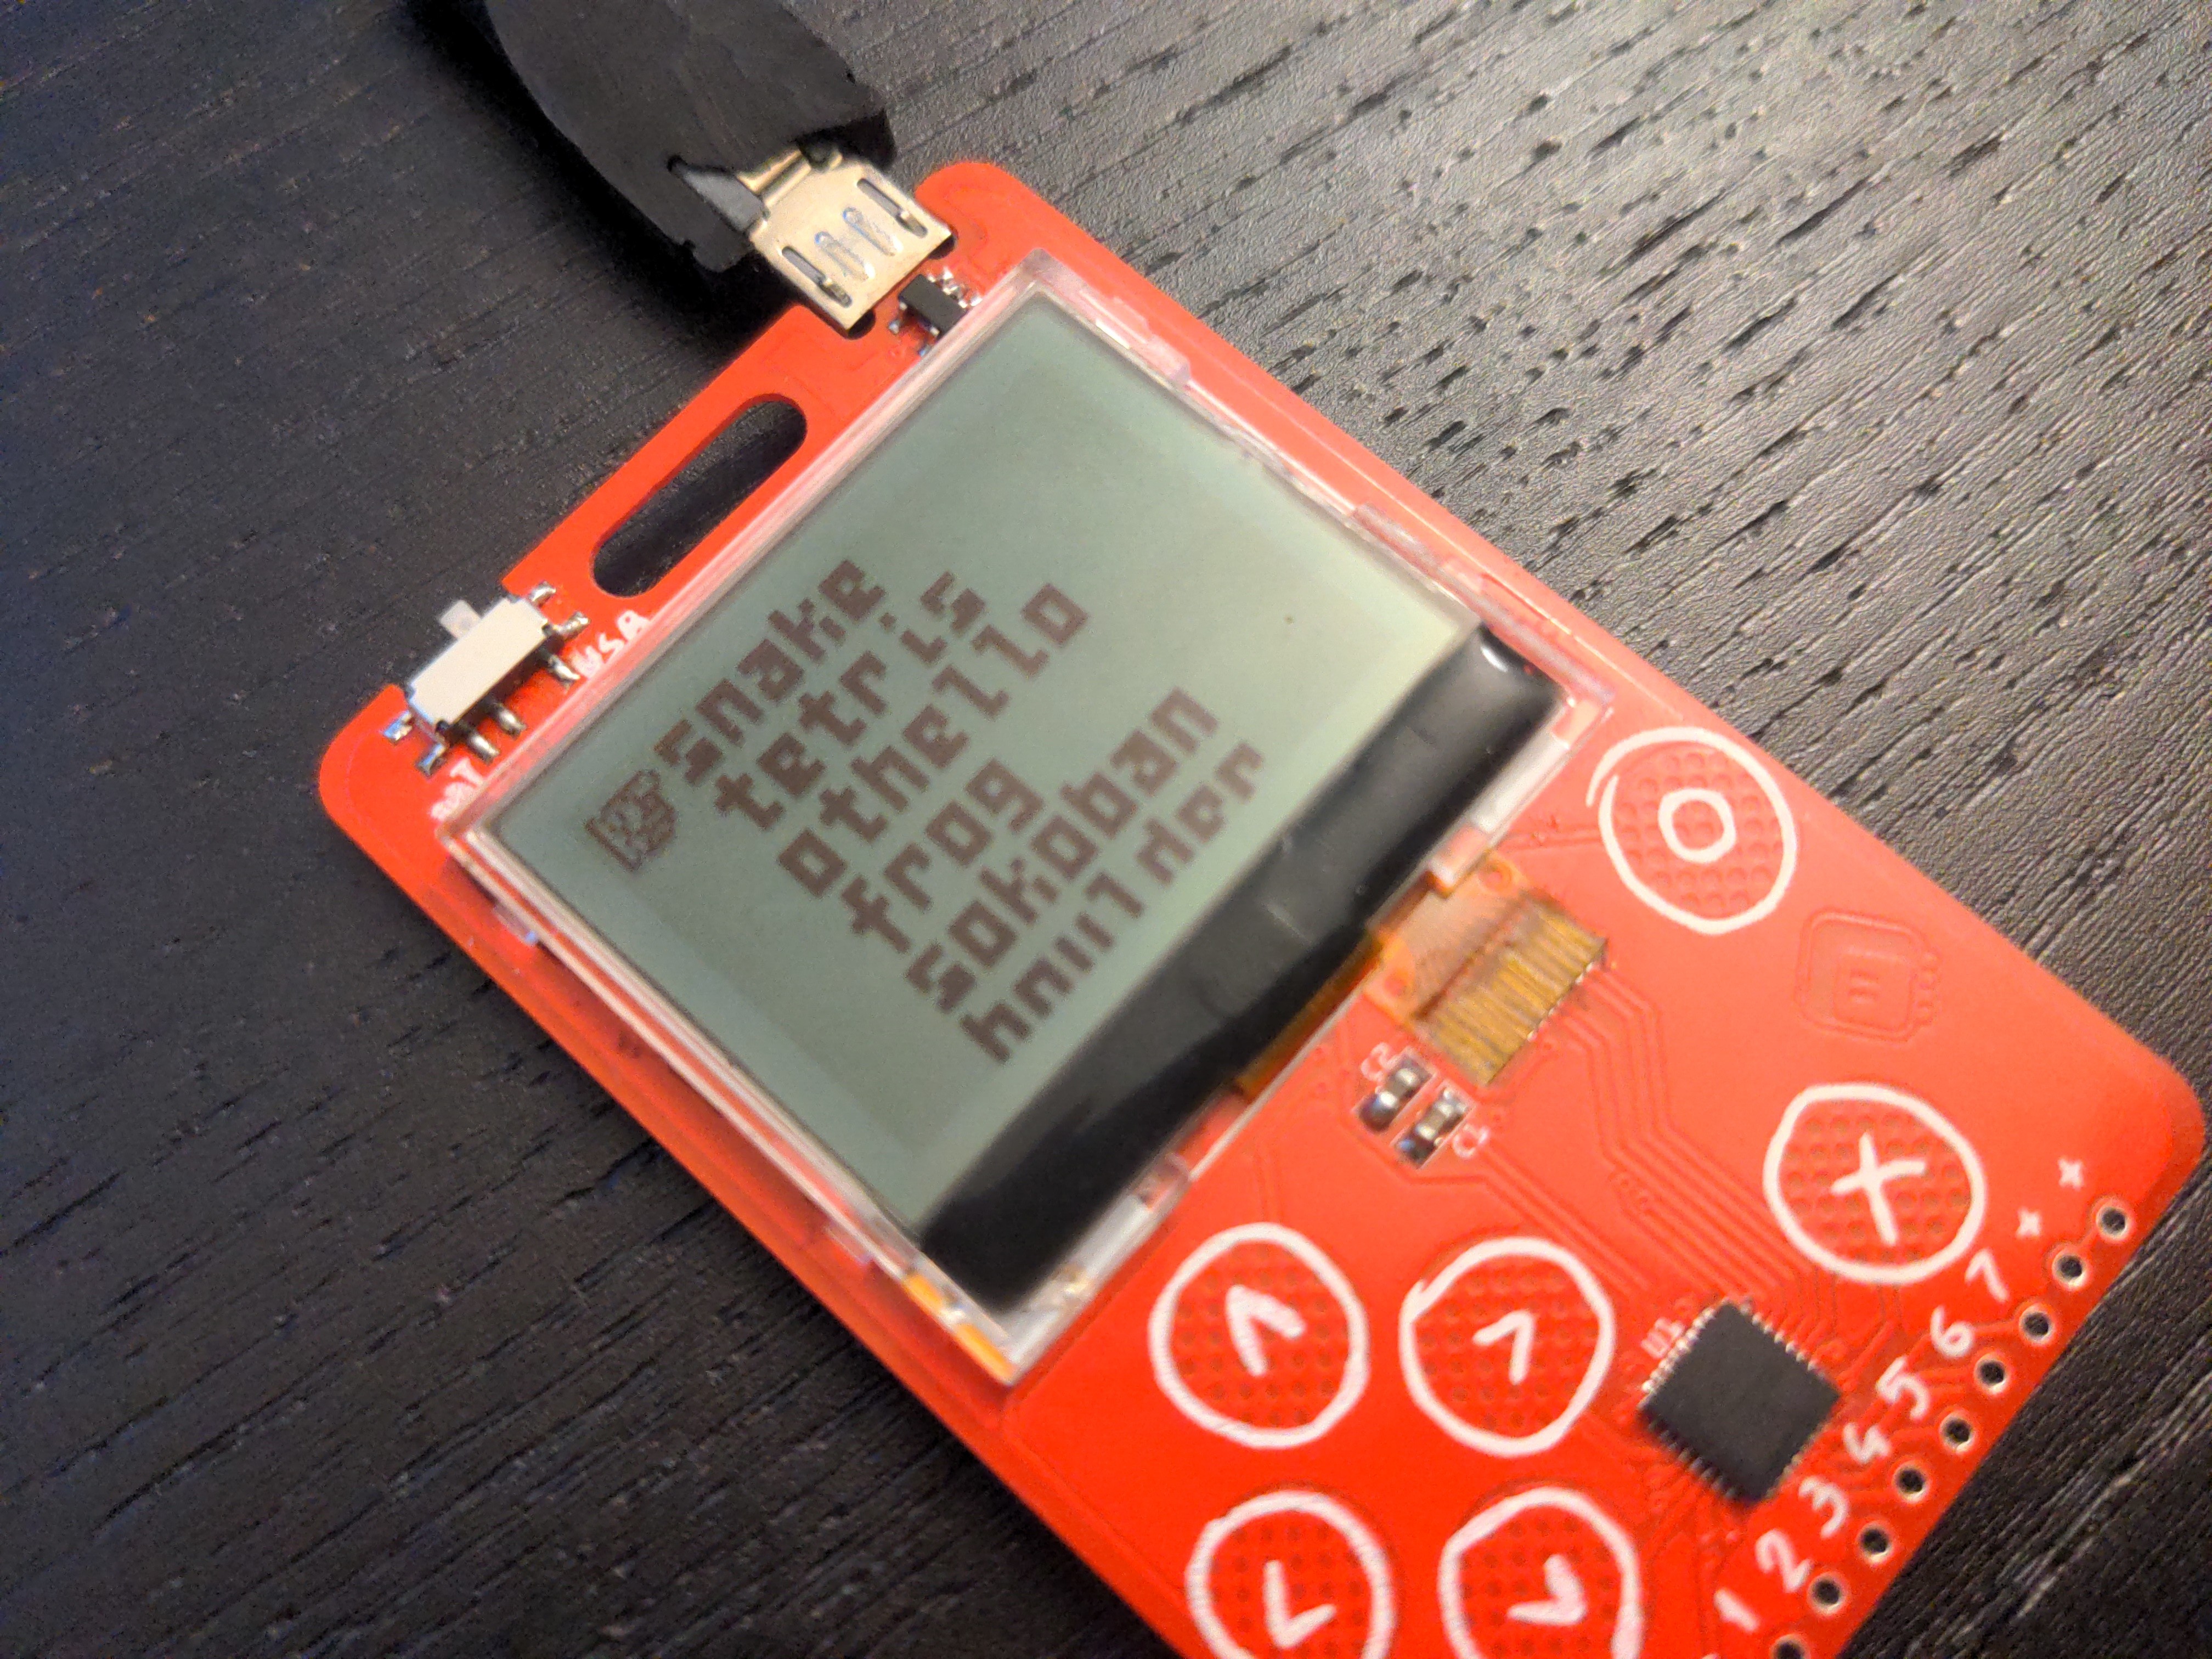
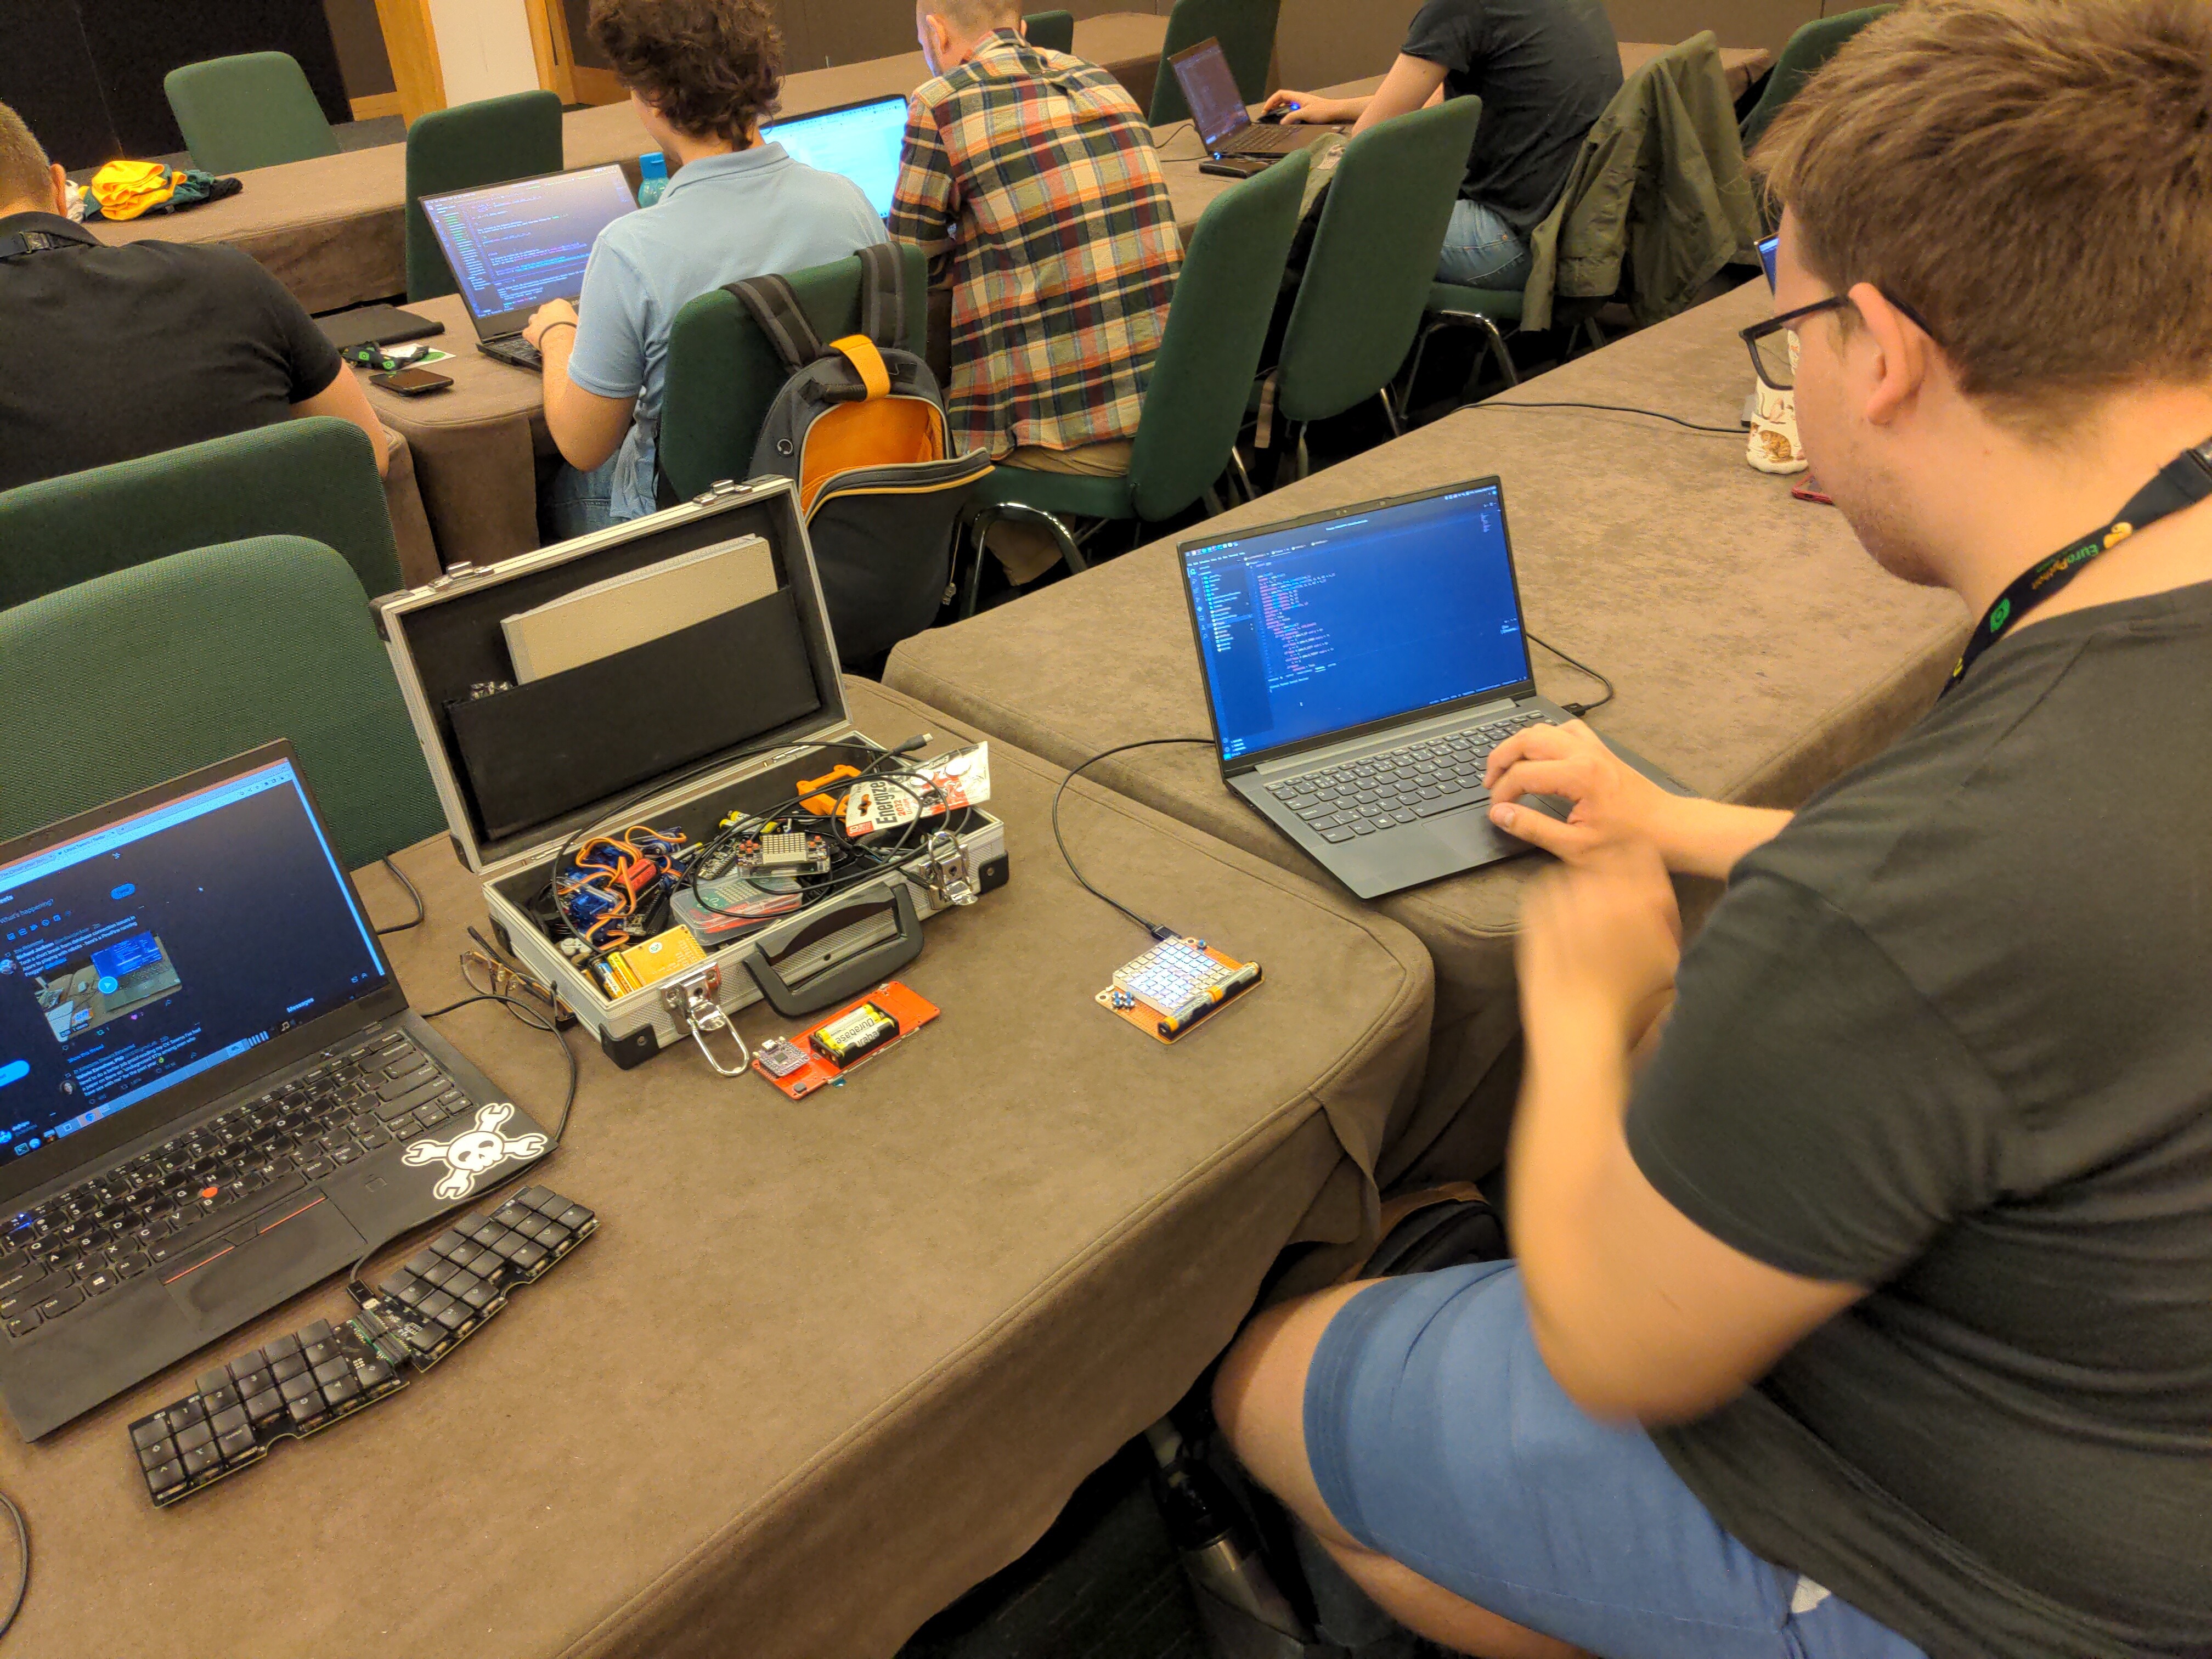
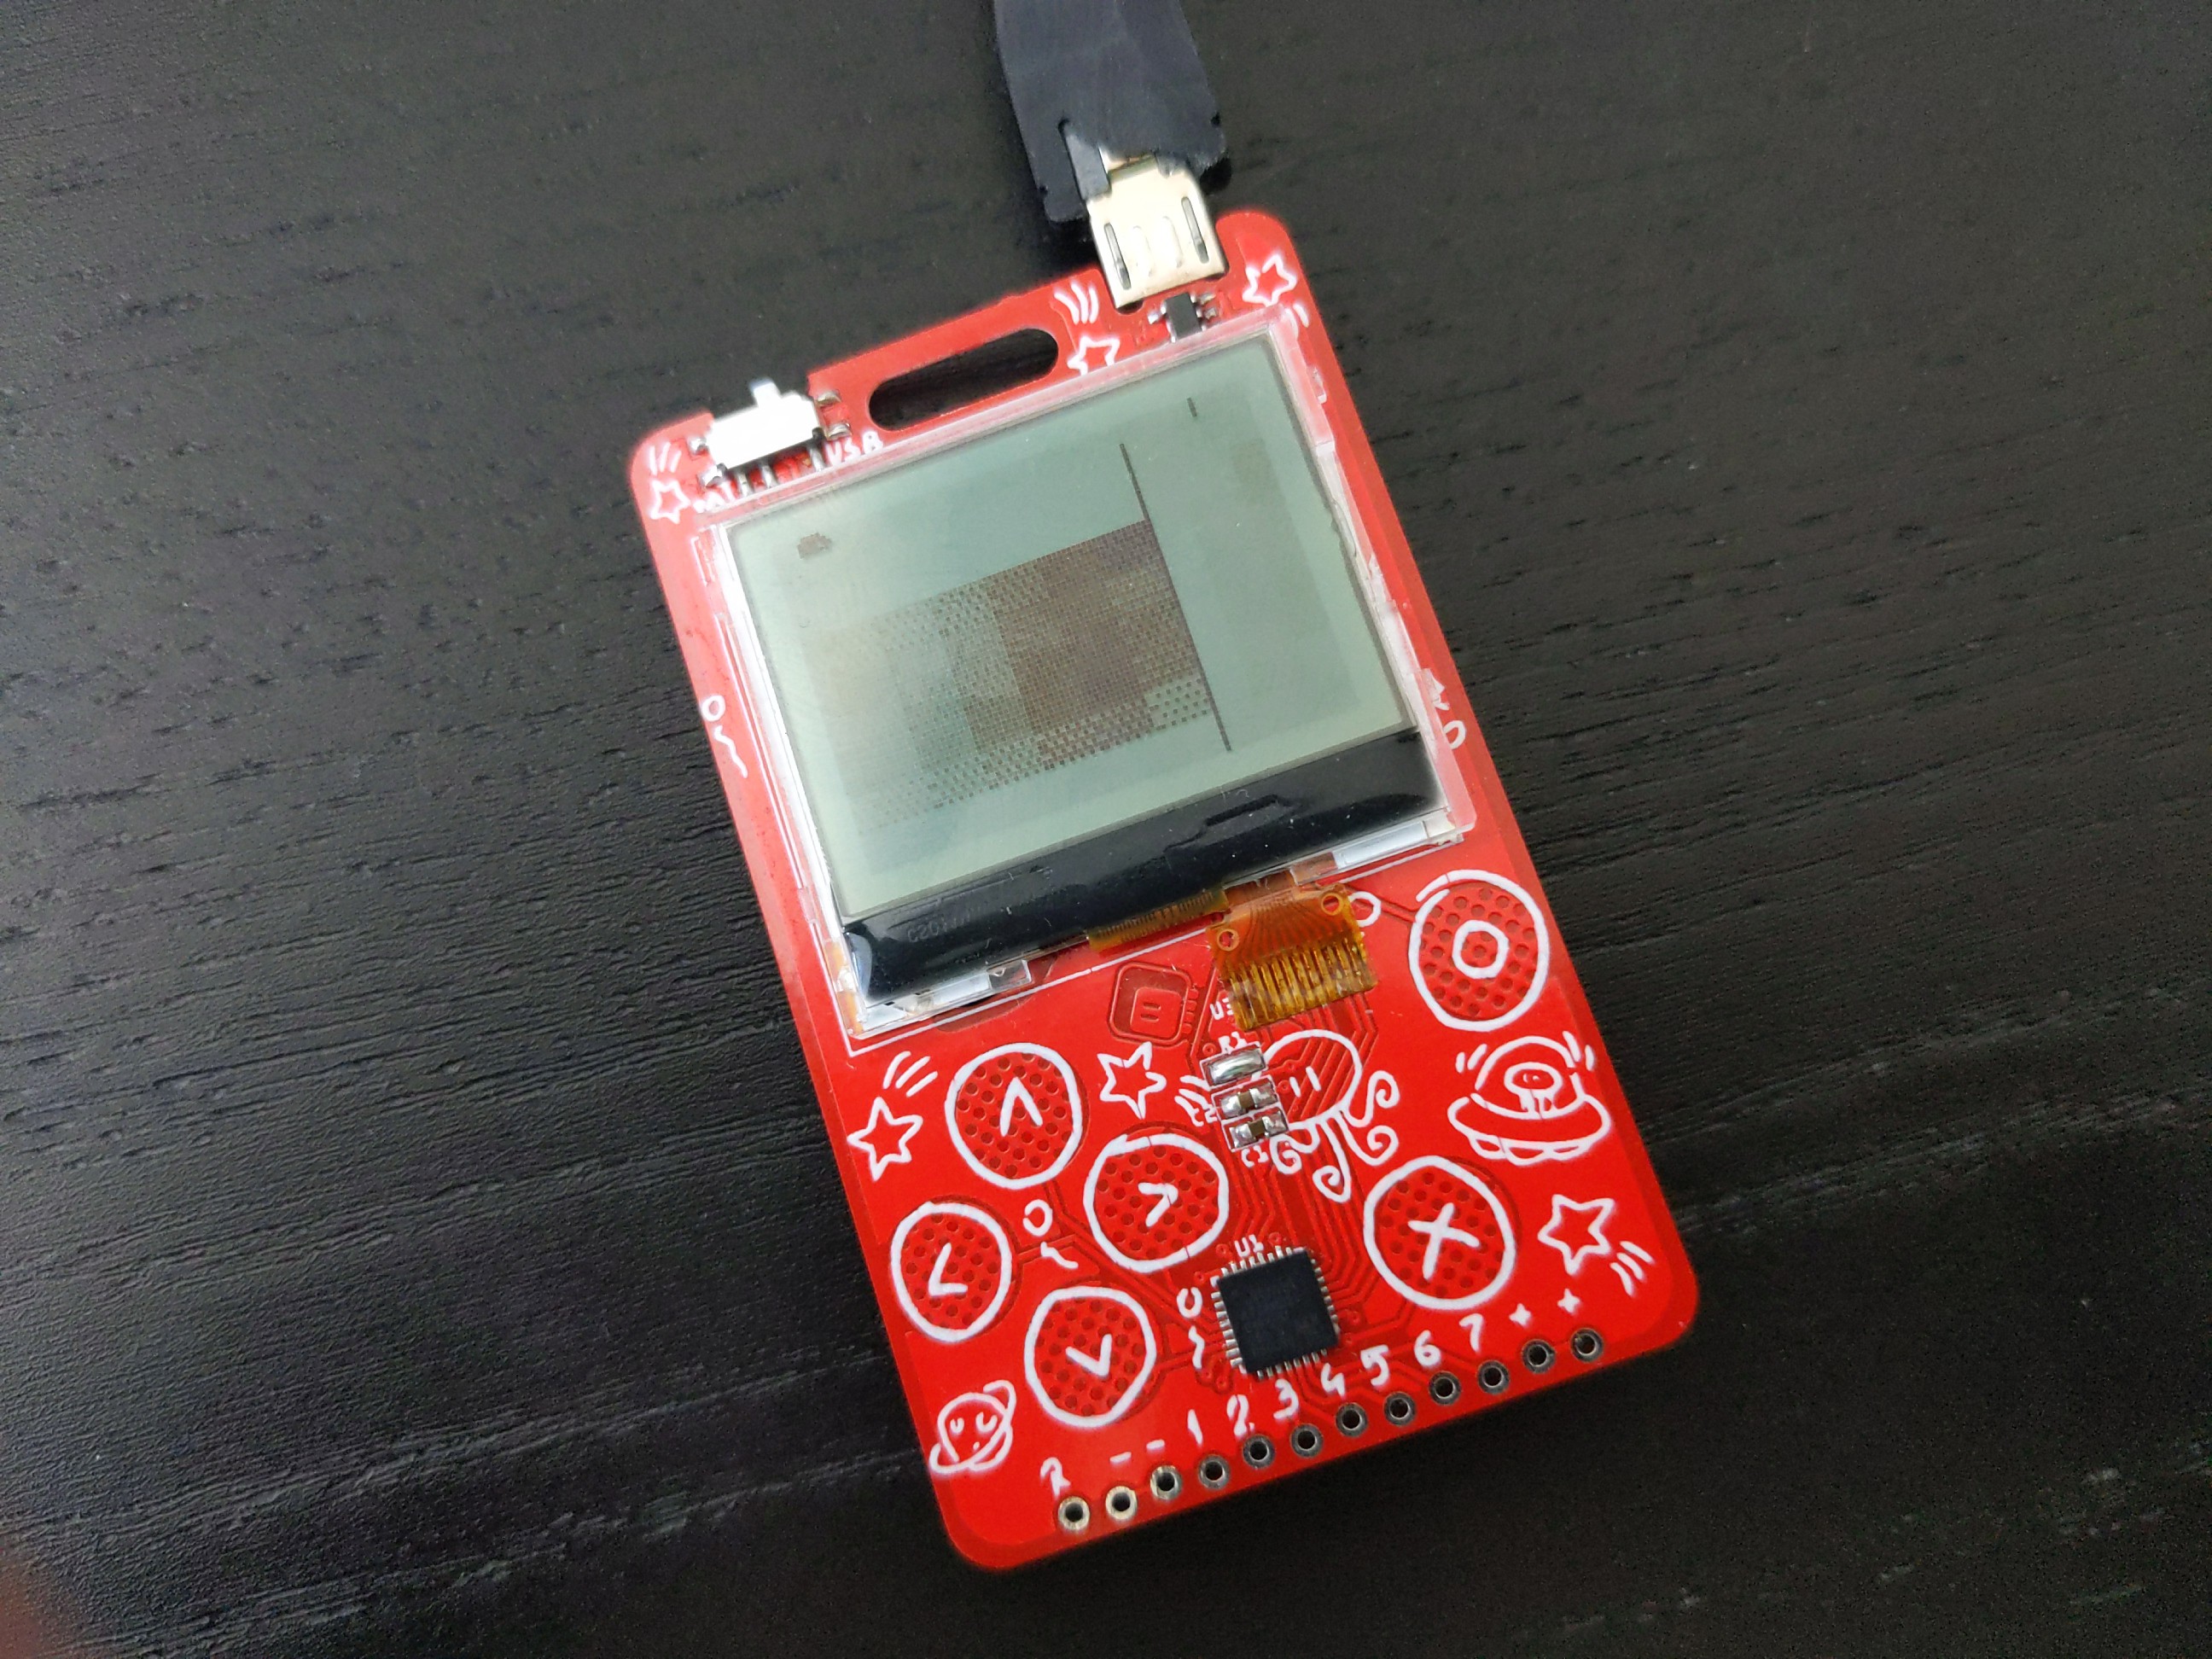
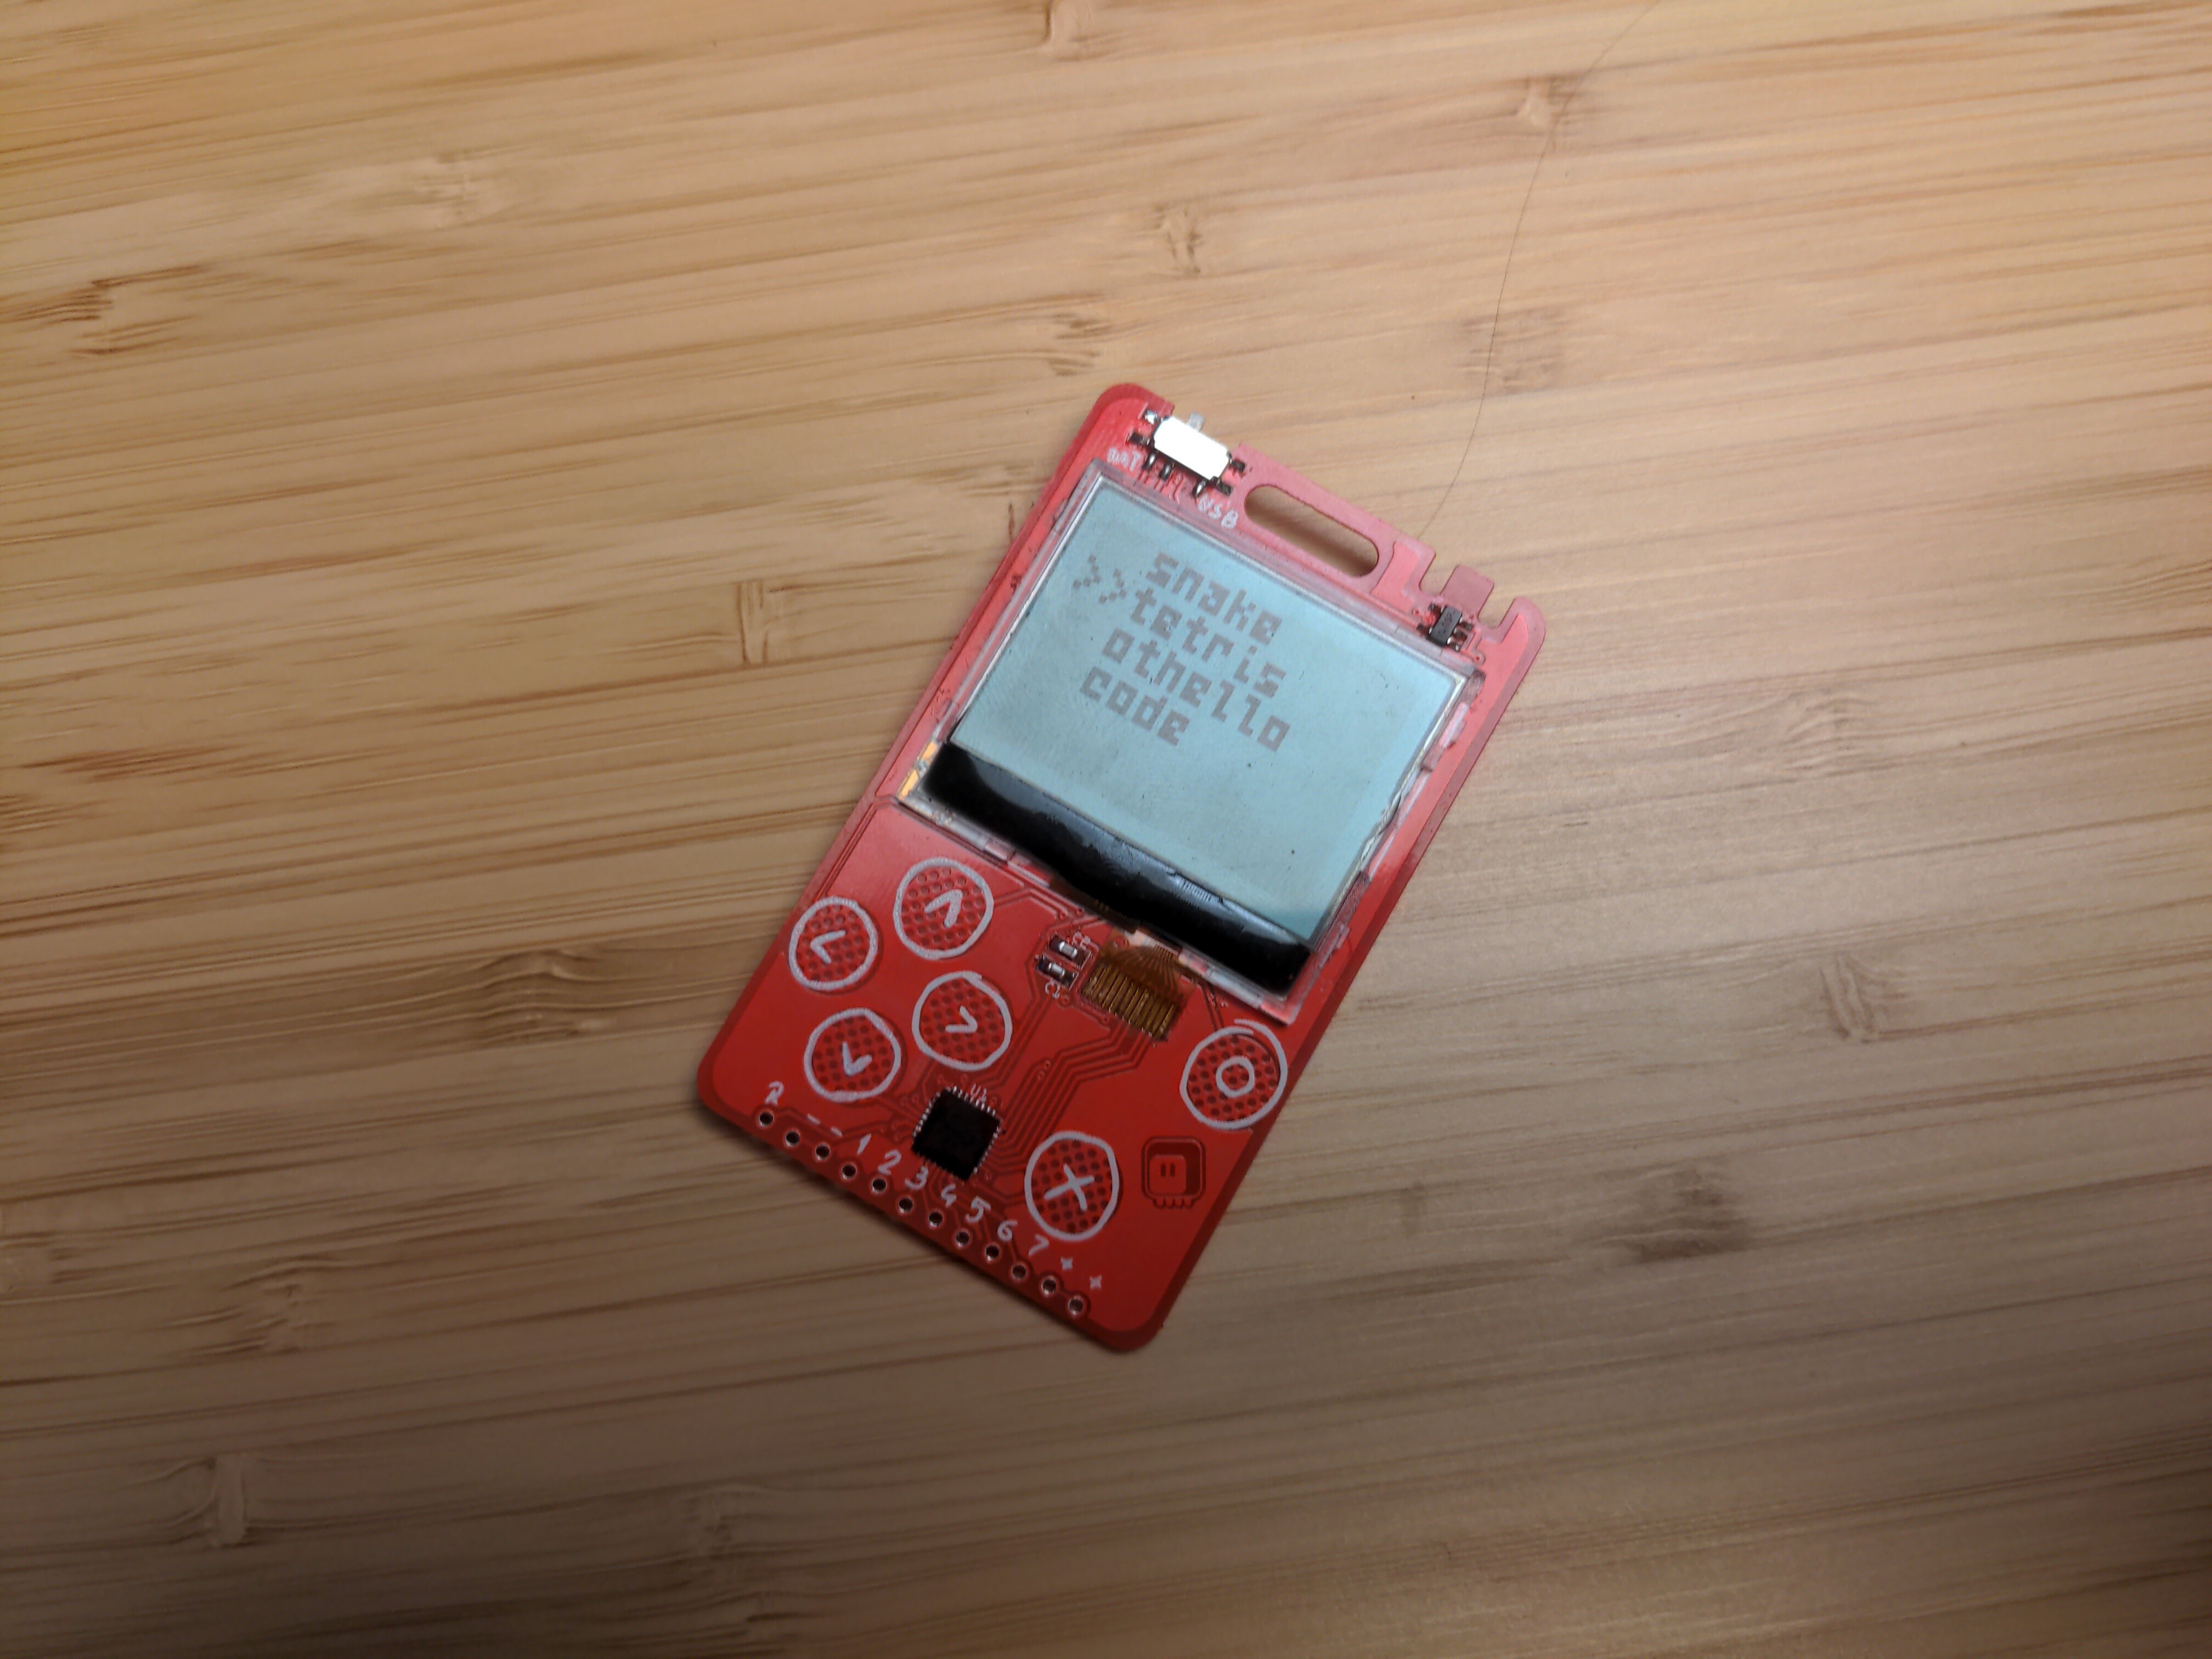
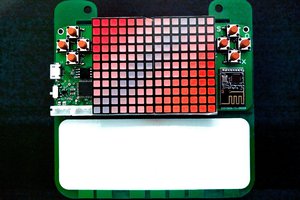
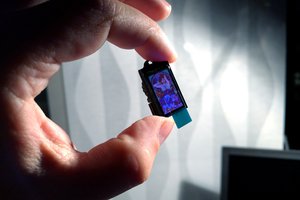
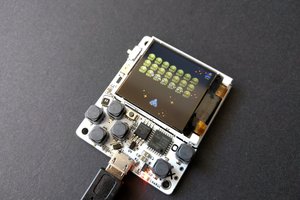
The PewPew family of devices is one possible answer to this. They are designed with one main goal in mind – to remove as many obstacles between your students and the game they want to create, as possible. To achieve that goal, the device itself has Python running on it – a version of Python designed for microcontrollers, called CircuitPython – so all you have to do is edit the files on it, using any text editor, to write your programs. As soon as you save, the device restarts and runs your code. In addition, if you want to show your game to other people, or enjoy it on the bus, you can simply put it into your pocket.

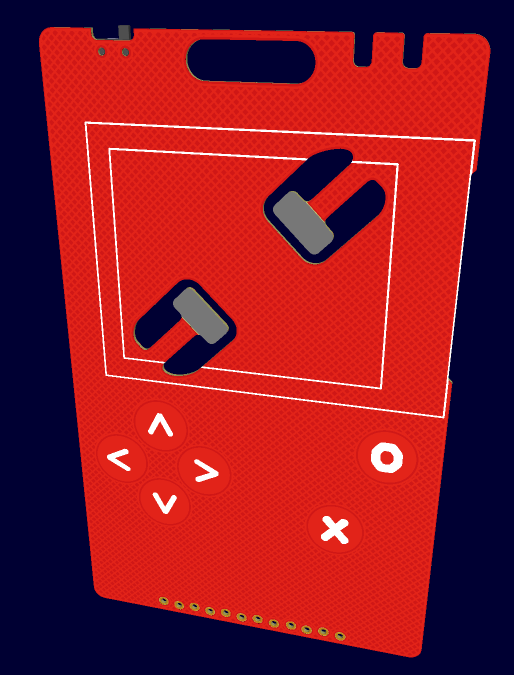
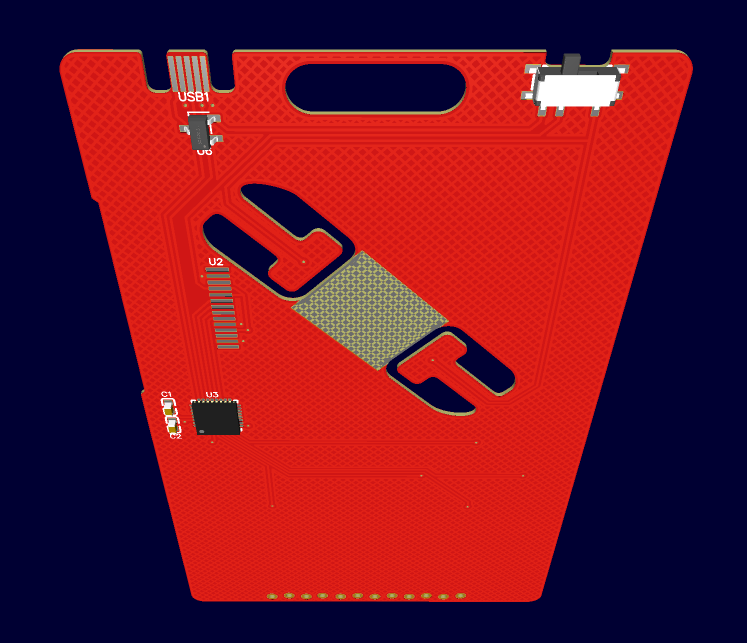
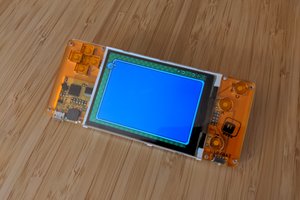
This is one of many devices in the family – I started with #PewPew FeatherWing and as I tried it in different workshops, I refined the design with #PewPew Standalone, #PewPew M4, #PewPew Slim, #PewPew S2 and  #PewPew OLED. So far the standalone version has been the most successful, being simple and affordable, but later experimenting showed me that there is room for improvement.

This time I want to design a device that is even simpler and cheaper than any previous one, while at the same time being more convenient to use, and maybe helping us find a use for some of the old electronic spare parts that lie around.

ste2007.pdf

datasheet for the display

Adobe Portable Document Format - 783.72 kB - 05/24/2022 at 20:36

Preview
Download

  • 1 × ATSAMD21E18A-MU mcu
  • 1 × AP2112K-3.3TRG1 ldo
  • 1 × RH-112 lcd
  • 2 × 10uF 0805 3V cap
  • 1 × 100ohm 0805 resistor

View all 6 components

  • The Challenge

    deʃhipu10/16/2022 at 15:24 0 comments

    This project was submitted to the 2022 Hackaday Prize, and it qualified to semifinals, so let me take some time and talk about the challenge that I am trying to tackle with it.

    Of course, the theme of the round was re-using existing parts, so that they serve a purpose instead of ending up in a landfill, and that is of course an important thing. In case of this project, the part being reused is the display, which used to be produced for a number of very popular phones, and which is still available as replacement part for them, even though those phones are not nearly as popular as they used to be. It's a dated technology, which has long been replaced with OLED screens, but which still has some indisputable advantages, such as very low power consumption, and is more than adequate for this particular use case. So yes, we are re-using a part that would otherwise just pollute our world. Good. I also made some other conscious decisions about what to use, such as settling on a battery type that is practically, in reality, recycled, or a USB connector that works with older hardware.

    But the main goal of this project is not related to protecting the environment, a worthy goal that it is, but rather it looks forward into the future a little bit further, to give a better chance of saving the world to those who come after us. Technical culture is a big thing. You either understand the tools that you use and control them, or they control you. With the tools around us getting more powerful and ubiquitous, and with them having increasing effect on our everyday lives, it's more important than ever to understand and control them. But it is also becoming increasingly harder to do that, as they become more complex, harder to inspect and repair, and more dependent on centralized services. If our successors are going to learn this, they need a stepping stone, something that is easier to understand and learn from, something they can own and control. I hope this project to be that. Or one of such things, anyways, for I hope there will be many more. 

    Obviously they also need teachers and the materials to learn from, but while I do some teaching myself, I'm not an organizer and there is little I can do about encouraging people to teach and write books. What I can do is to give them tools that will make the teaching easier and less challenging. I can design a device that is not only useful in the teaching, but also not tied to any large corporation or government, and not dependent on their sponsorship, like the Raspberry Pi or Micro:bit projects are. Something that is cheap and easy to get because it was designed to be cheap and easy to source, not because someone poured a ton of money into it to subsidize it, and can at any moment change their mind. Something that is truly open source, without any binary blobs or secret sauce, without a trademark or a patent, without strings attached.

    It's not ideal. While the screen is recycled and the battery is recyclable, the microcontroller itself is new, and affected by the global chip shortage at the moment. Using any other chip would make this project more complex and more expensive, and possibly also tie it to one of the organizations that could control it. It was a trade-off. Perhaps in the future there will be a chip that better fits the goals of this project – one that is more open, or that can be recycled from old hardware, while not adding a lot of complexity. But I currently don't see anything like this, and I believe that it's better to make something imperfect now, than to wait for perfection forever. We are not getting any younger.

    I also hope that in the future there will be many more PewPew-compatible devices. The pew library is already ported to pretty much any homebrew console that runs CircuitPython, and some platforms that run regular Python. As new devices are designed, PewPew can be ported to them as well. So maybe you will not need to produce new devices for a workshop anymore, because everyone...

    Read more »

  • PewPew Around the World

    deʃhipu10/13/2022 at 19:06 0 comments

    PewPew is not just the device. It's being used around the world. People make PewPew-compatible devices, such as Christian Walther's PicoPew, they write new games for it, and even publish them online, such as Łukasz and Stanley Langa's DDRez, and most importantly, they run workshops with them, such as the most recent Cheuk Ting Ho's workshop at PyCon Ghana.

    I hope that now with this even cheaper and improved device it will become even more useful for all kinds of educators, from self-taught amateurs, through volunteers, to professional teachers. Of course the most important thing for this to happen is documentation, so that's what most focus will now be on going forward. The hardware seems good enough for now, and the software can use some small improvements still, but is basically usable, but you can never have enough documentation.

  • Swiss Python Summit 2022

    deʃhipu09/29/2022 at 22:39 0 comments

    I was speaking about the PewPew devices, among other things, at this year's Swiss Python Summit, and there is now recording of my talk available. I tried to do some live coding with the #Stage, a Tile and Sprite Engine, but ran out of time very quickly. Oh well, I should have done it with PewPew, it would be much quicker.

  • EuroPython 2022

    deʃhipu07/19/2022 at 20:30 2 comments

    Last week I was in Dublin at the EuroPython conference, and we did a number of PewPew-related activities. There was a whole-day workshop with the #PewPew Standalone devices we had left over from 2019 — I think it mostly went well, except for some Mac users who only had USB-C ports on their computers, and no adapters. I think I will need to get some adapters or C-to-micro cables for the future workshops.

    A few more people played with the PewPews through the conference at the "maker fest" tables, and I also showed off the new PewPew LCD, which seems to be very well received. Then I gave a talk about making games with CircuitPython in general, and about all those handheld game consoles running CircuitPython — the talk wasn't very popular, but I hope that I got the people who came to see it interested in this.

    Finally, after the conference, during the sprints, we worked on some more PewPew games, and I also showed a few people how to contribute to CircuitPython itself. It was great fun.

    At the end of the conference, the organizers decided to give out all the left-over PewPew devices, so we will have a couple hundred more users afterwards! Huge thanks to the EuroPython organizers for making it all possible!

  • Better Game Selection Menu

    deʃhipu06/29/2022 at 19:45 0 comments

    The original #PewPew FeatherWing and #PewPew Standalone only have 8x8 LED displays, so the menu for selecting games amounted to the name of the currently chosen game scrolling on that display horizontally, while up and down buttons would switch to the previous or next game on the list, with a nifty animation. I initially used the same program as the menu for the PewPew LCD, but there is a huge problem with it: that LCD screen is not made for fast scrolling:

    All you get is a smudge, because the pixels don't change fast enough to support this animation. But not a problem, after all with all those pixels we can have a proper menu, similar to that on the #PewPew M4 — with multiple items displayed, and an arrow to choose one of them.

    I've been meaning to write that menu program for a while now, but my day job and life in general kept getting in the way. Today I finally decided to just sit down and do it, and I'm pretty happy with the result so far:

    There are several tricks in here. I used the terminalio library of CircuitPython to use the same text terminal as the REPL uses, but I re-created the TileGrid and the root group to make it all two times bigger — the tiny font is good for printing the errors, because the whole traceback fits on the screen, but it was really too small to comfortably select a game title. For now I'm just using text ">>" for the arrow, but since I re-created the root group, there is nothing stopping me from adding a sprite of a pointing hand in there. I also still need to add scrolling, for the case when there are more than six items to choose from, and perhaps some kind of display for the battery voltage would be nice? In any case, I have the basics functional, so that's a start.

    Oh, and the code is not complex at all:

    import os
    import pew
    import supervisor
    import board
    import displayio
    import terminalio
    
    
    def wait_keys():
        try:
            while True:
                keys = pew.keys()
                if keys:
                    break
            for i in range(5):
                if not pew.keys():
                    break
                pew.tick(0.0625)
            else:
                keys = pew.keys()
        except pew.GameOver:
            keys = 0
        return keys
    
    
    def menu(terminal, items):
        terminal.write("\x1b[2J")
        for item in items[:6]:
            terminal.write("  %s\r\n" % item[:10])
        selected = 0
        total = min(6, len(items)) - 1
        while True:
            terminal.write("\x1b[%d;1H>>" % (selected + 1))
            pew.tick(0.125)
            keys = wait_keys()
            terminal.write("\x1b[%d;1H  " % (selected + 1))
            if keys & pew.K_UP and selected > 0:
                selected -= 1
            if keys & pew.K_DOWN and selected < total:
                selected += 1
            if keys & pew.K_O:
                terminal.write("\x1b[2J")
                return items[selected]
    
    pew.init()
    grid = board.DISPLAY.root_group[0]
    grid = displayio.TileGrid(grid.bitmap, pixel_shader=grid.pixel_shader,
        tile_width = grid.tile_width, tile_height=grid.tile_height,
        width = 12, height = 6)
    screen = displayio.Group()
    screen.scale = 2
    screen.append(grid)
    board.DISPLAY.show(screen)
    terminal = terminalio.Terminal(grid, terminalio.FONT)
    files = [name[:-3] for name in os.listdir()
             if name.endswith('.py') and name != 'main.py']
    game = menu(terminal, files)
    supervisor.set_next_code_file("%s.py" % game, reload_on_success=True)
    supervisor.reload()

  • A Workshop

    deʃhipu06/19/2022 at 10:01 0 comments

    There have been no updates for a while, but that doesn't mean the project is done. There is still a lot of documentation and other materials to be written and I really need a better program for the game selection menu. But it's not as easy work as physically building something, so it takes longer. I'm hoping to do some of it as part of preparations for workshops.

    I'm going to be running a workshop this year at Europython in Dublin, using the PewPew badges from 2019 (sadly, chip shortage doesn't allow us to use newer versions, but luckily there were some badges left over in storage, so we can use that). Apart from the workshop, there are also going to be tables for makers available throughout the conference, and I'm sure I will be spending a lot of time there, so if you are around and interested in PewPew, drop in.

    There are also going to be sprints at the end, and I hope we can get some CircuitPython development done on them.

  • Power Switch

    deʃhipu06/01/2022 at 22:19 0 comments

    Today I had a bit of a discussion about the design of this device, and I realized that I have written here about removing various components to slim down the design and lower the costs, but I never really wrote about why I didn't remove the power switch, even though I could do it, with some compromises.

    But first let me explain what the power switch actually does here. On most normal electronic devices, the power switch would be labeled "on" and "off", but in here, just like on the #PewPew M4, the labels say "bat" and "usb". What does it mean? This is because it's not really a switch that switches the power on or off, it's a switch that switches between two power sources: the battery and the USB socket. Of course, when the device is not connected to the computer, switching it to "usb" effectively switches the device off. When it's connected, you can't really switch it off, because switching it to "bat" will just make it run on battery power (even though it's still connected to the computer, it will use up the battery then).

    This a bit quaint setup actually lets me avoid a lot of complexity. Normally, a device that can be powered both from battery and from USB has to, at the very least, protect those two power sources from each other — either using some low-voltage-drop diodes, a "perfect diode" circuit, or some kind of power management chip. This of course adds to the complexity,  and in case of the simple diodes, wastes some of the energy from the battery. A simple mechanical switch can easily make sure that the two power sources never touch.

    But what about removing the power switch? It could be done if I decided to also drop one of the two possible power sources. In fact, I did just that in the #PewPew Slim, which can only be powered from USB, since being a business card, it's too thin for a battery.

    I could also go the other way, and remove the USB power option. This would not only let me remove the power switch, but also the 3.3V LDO that converts the 5V from USB to a voltage the device needs. The early versions of #PewPew Standalone were like that, even though they had the switch for cutting the battery, they didn't work with USB power.  Later I added the LDO, because testing on living humans during actual workshops proved that it's really needed for this particular use case. But if it wasn't, I could drop the switch too, and since CircuitPython has now deep sleep support, and you can wake up SAMD21 from deep sleep on a touch event, I could make it simply wake up when any of the touchpads are pressed, and go to deep sleep (also disabling the display) if they are not pressed for some time.

    In the end the switch turns out to be an optimization that lets me use both power sources without needing additional components for power management.

  • More Battery

    deʃhipu05/28/2022 at 15:35 3 comments

    We have talked a little bit about the choice of batteries before in terms of the use cases, practicality and environment. But what if you need to this device to last longer than the two or three days you would normally get, and don't want to have to swap the batteries?

    Well, turns out that using a cutout in the PCB in place of a regular battery holder has an unexpected advantage — it fits more kinds of batteries! Instead of your regular CR2032 cell you can fit a fat CR2450 cell in there, and it still works!

  • The PewPew Ecosystem

    deʃhipu05/27/2022 at 14:45 0 comments

    PewPew LCD is a very simple device: just a display and a microcontroller. The real power for it comes from the whole PewPew ecosystem, that has been growing over the years witch each new workshop.

    There is a lot of documentation, starting with the pew library reference, through the basic bouncing ball tutorial, to the more advanced sokoban tutorial.

    There is documentation for all the hardware devices, and also pewmulator, a program that lets you run PewPew games on your computer with regular Python.

    And for those who want to extend the PewPew devices, there is a whole section on connecting various electronic components to the expansion connector, and controlling them from code. This lets you not only add additional effects to your games,  or use non-standard ways of controlling them, but also lets you reuse the device for your electronic projects, whether it's a plant monitoring system, a smart home controller, or some kind of remote control for a robot.

    Finally there is a community page, that links to the mailing list for the project, the repositories with code and hardware designs, and the CircuitPython Discord server, where you can get help.

    Finally, in the repositories you can find all the games:

    They can both give you inspiration and serve as starting points for your own games.

    Hopefully, with further workshops and with more people discovering the joy of making simple games this ecosystem will continue to grow and improve.

    However, on the PewPew LCD you are not limited to just the PewPew ecosystem! Because it comes with CircuitPython's displayio, you can use the display for anything, not just 8x8 pixels for simple games. And if you really want to, you could it even program it with Arduino or any other environment available for SAMD21, to really leverage the power of that  tiny microcontroller — there is, however, no ready support for this, so you would be mostly on your own.

  • Version 2.1 Assembled

    deʃhipu05/27/2022 at 13:49 0 comments

    The PCBs from @Elecrow arrived today, so it's time to assemble the new version. There were absolutely no surprised, and everything seems to be exactly as it should be:

    The display aligns with the silkscreen properly now, and the traces for the buttons no longer get in the way of touching them, so there are no misclicks.

    On the back there is room for your name:

    Unless I'm missing something very bad, this is the final version of the device. Now it's just a question of the software for it.

View all 23 project logs

  • 1
    Fabricate the PCB

    Use the provided gerber files to get the PCBs fabricated. Use 0.6mm thickness of the PCB. Lead-free or gold coating recommended, as the device will be touched by hands.

  • 2
    Populate the PCB

    Solder all the components. The QFN chip can be soldered by drag-soldering the edges, though a hot-air gun or hot-plate are recommended for convenience. All the other components are easily soldered by hand.

  • 3
    Flash the Bootloader

    Get the UF2 bootloader from the link in the hardware repository readme, and flash it onto the microcontroller using a JLink programmer or compatible. The SWD and SWC pins are marked 1 and 2 on the connector at the bottom of the device. VCC is marked + and GND is marked -. Use a 12-pin male header to friction-fit it into the connector and a breadboard for a reliable connection while programming. Power can be provide through the USB connector, make sure the switch is in the USB position.

View all 6 instructions

Enjoy this project?

Share

Discussions

Dmitry wrote 05/18/2022 at 17:55 point

Well done, shows your high professional level

  Are you sure? yes | no

Tillo wrote 05/10/2022 at 05:20 point

I saw you went down the car industry route of cost optimization here.

  Are you sure? yes | no

deʃhipu wrote 05/10/2022 at 07:47 point

I really don't want this to be a toy for the rich kids, so some decisions had to be made.

  Are you sure? yes | no

Similar Projects

Does this project spark your interest?

Become a member to follow this project and never miss any updates