After a part is printed on a 3DP printer, it needs to be processed to make it strong. The easiest way is to use CA, but this uses fairly harsh components. The first set of treatments tested were waxes.
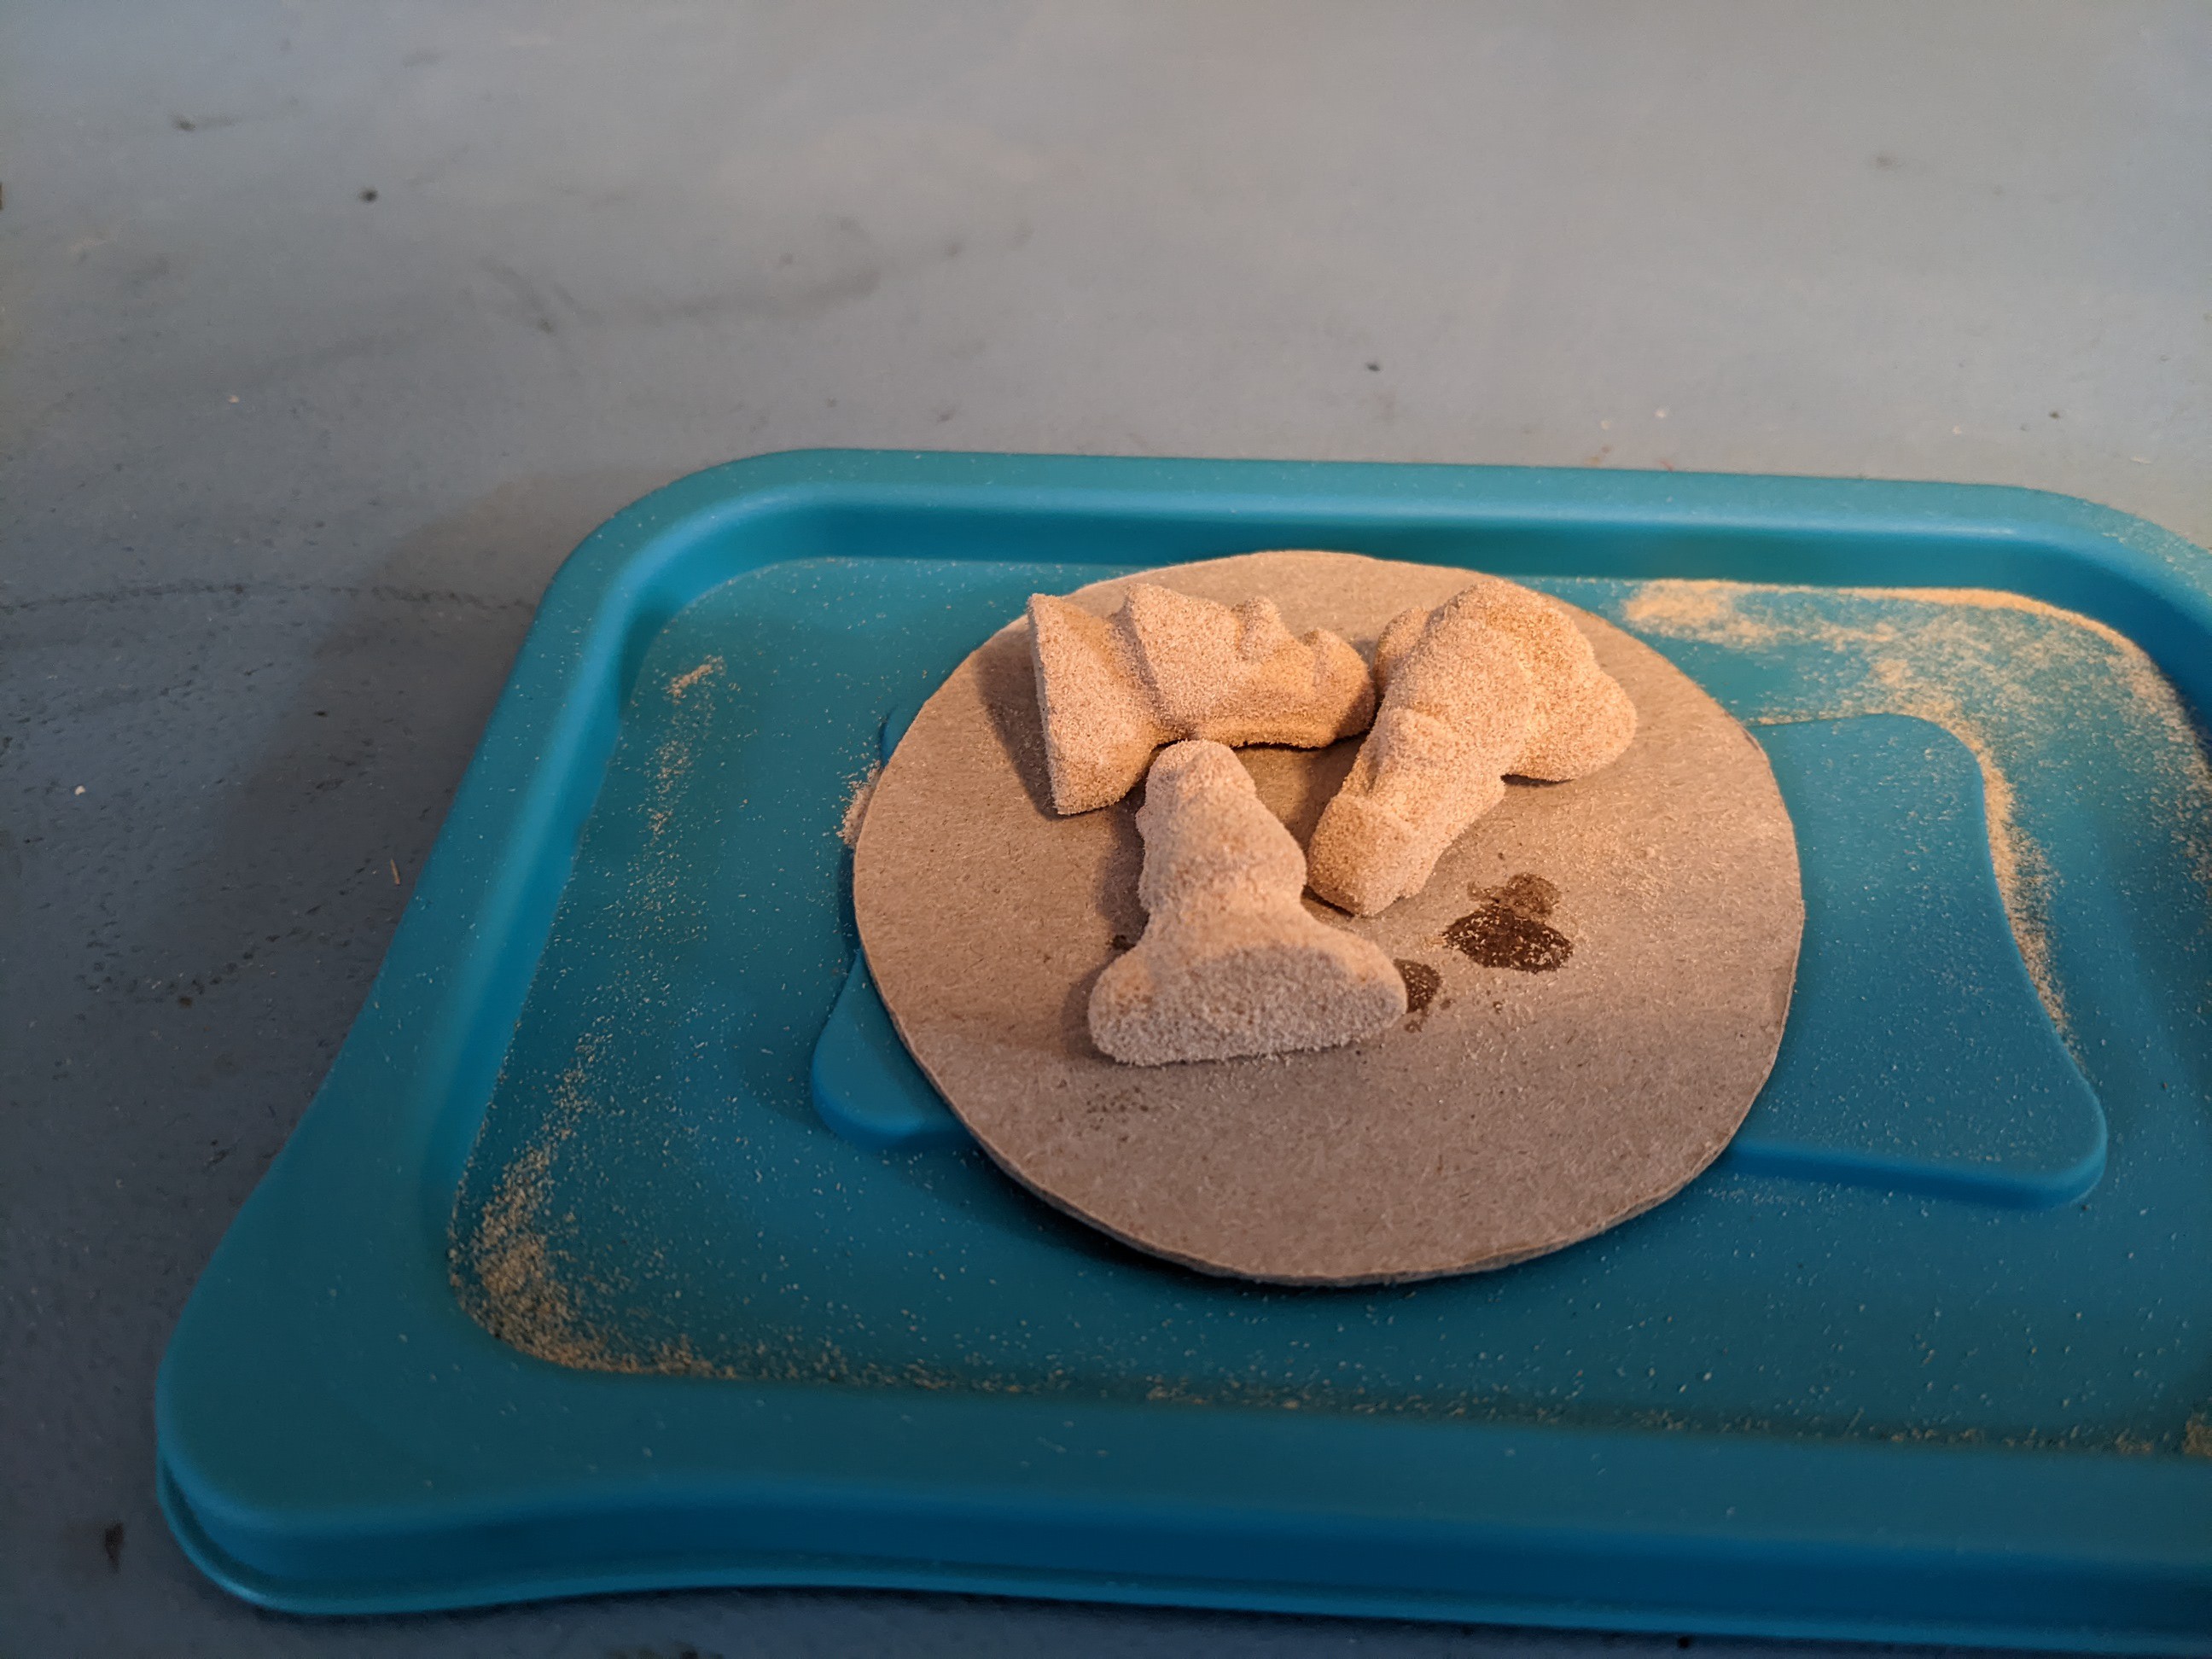
I used beeswax, carnaubawax and shellac to try and infiltrate 3 easter island heads I printed.
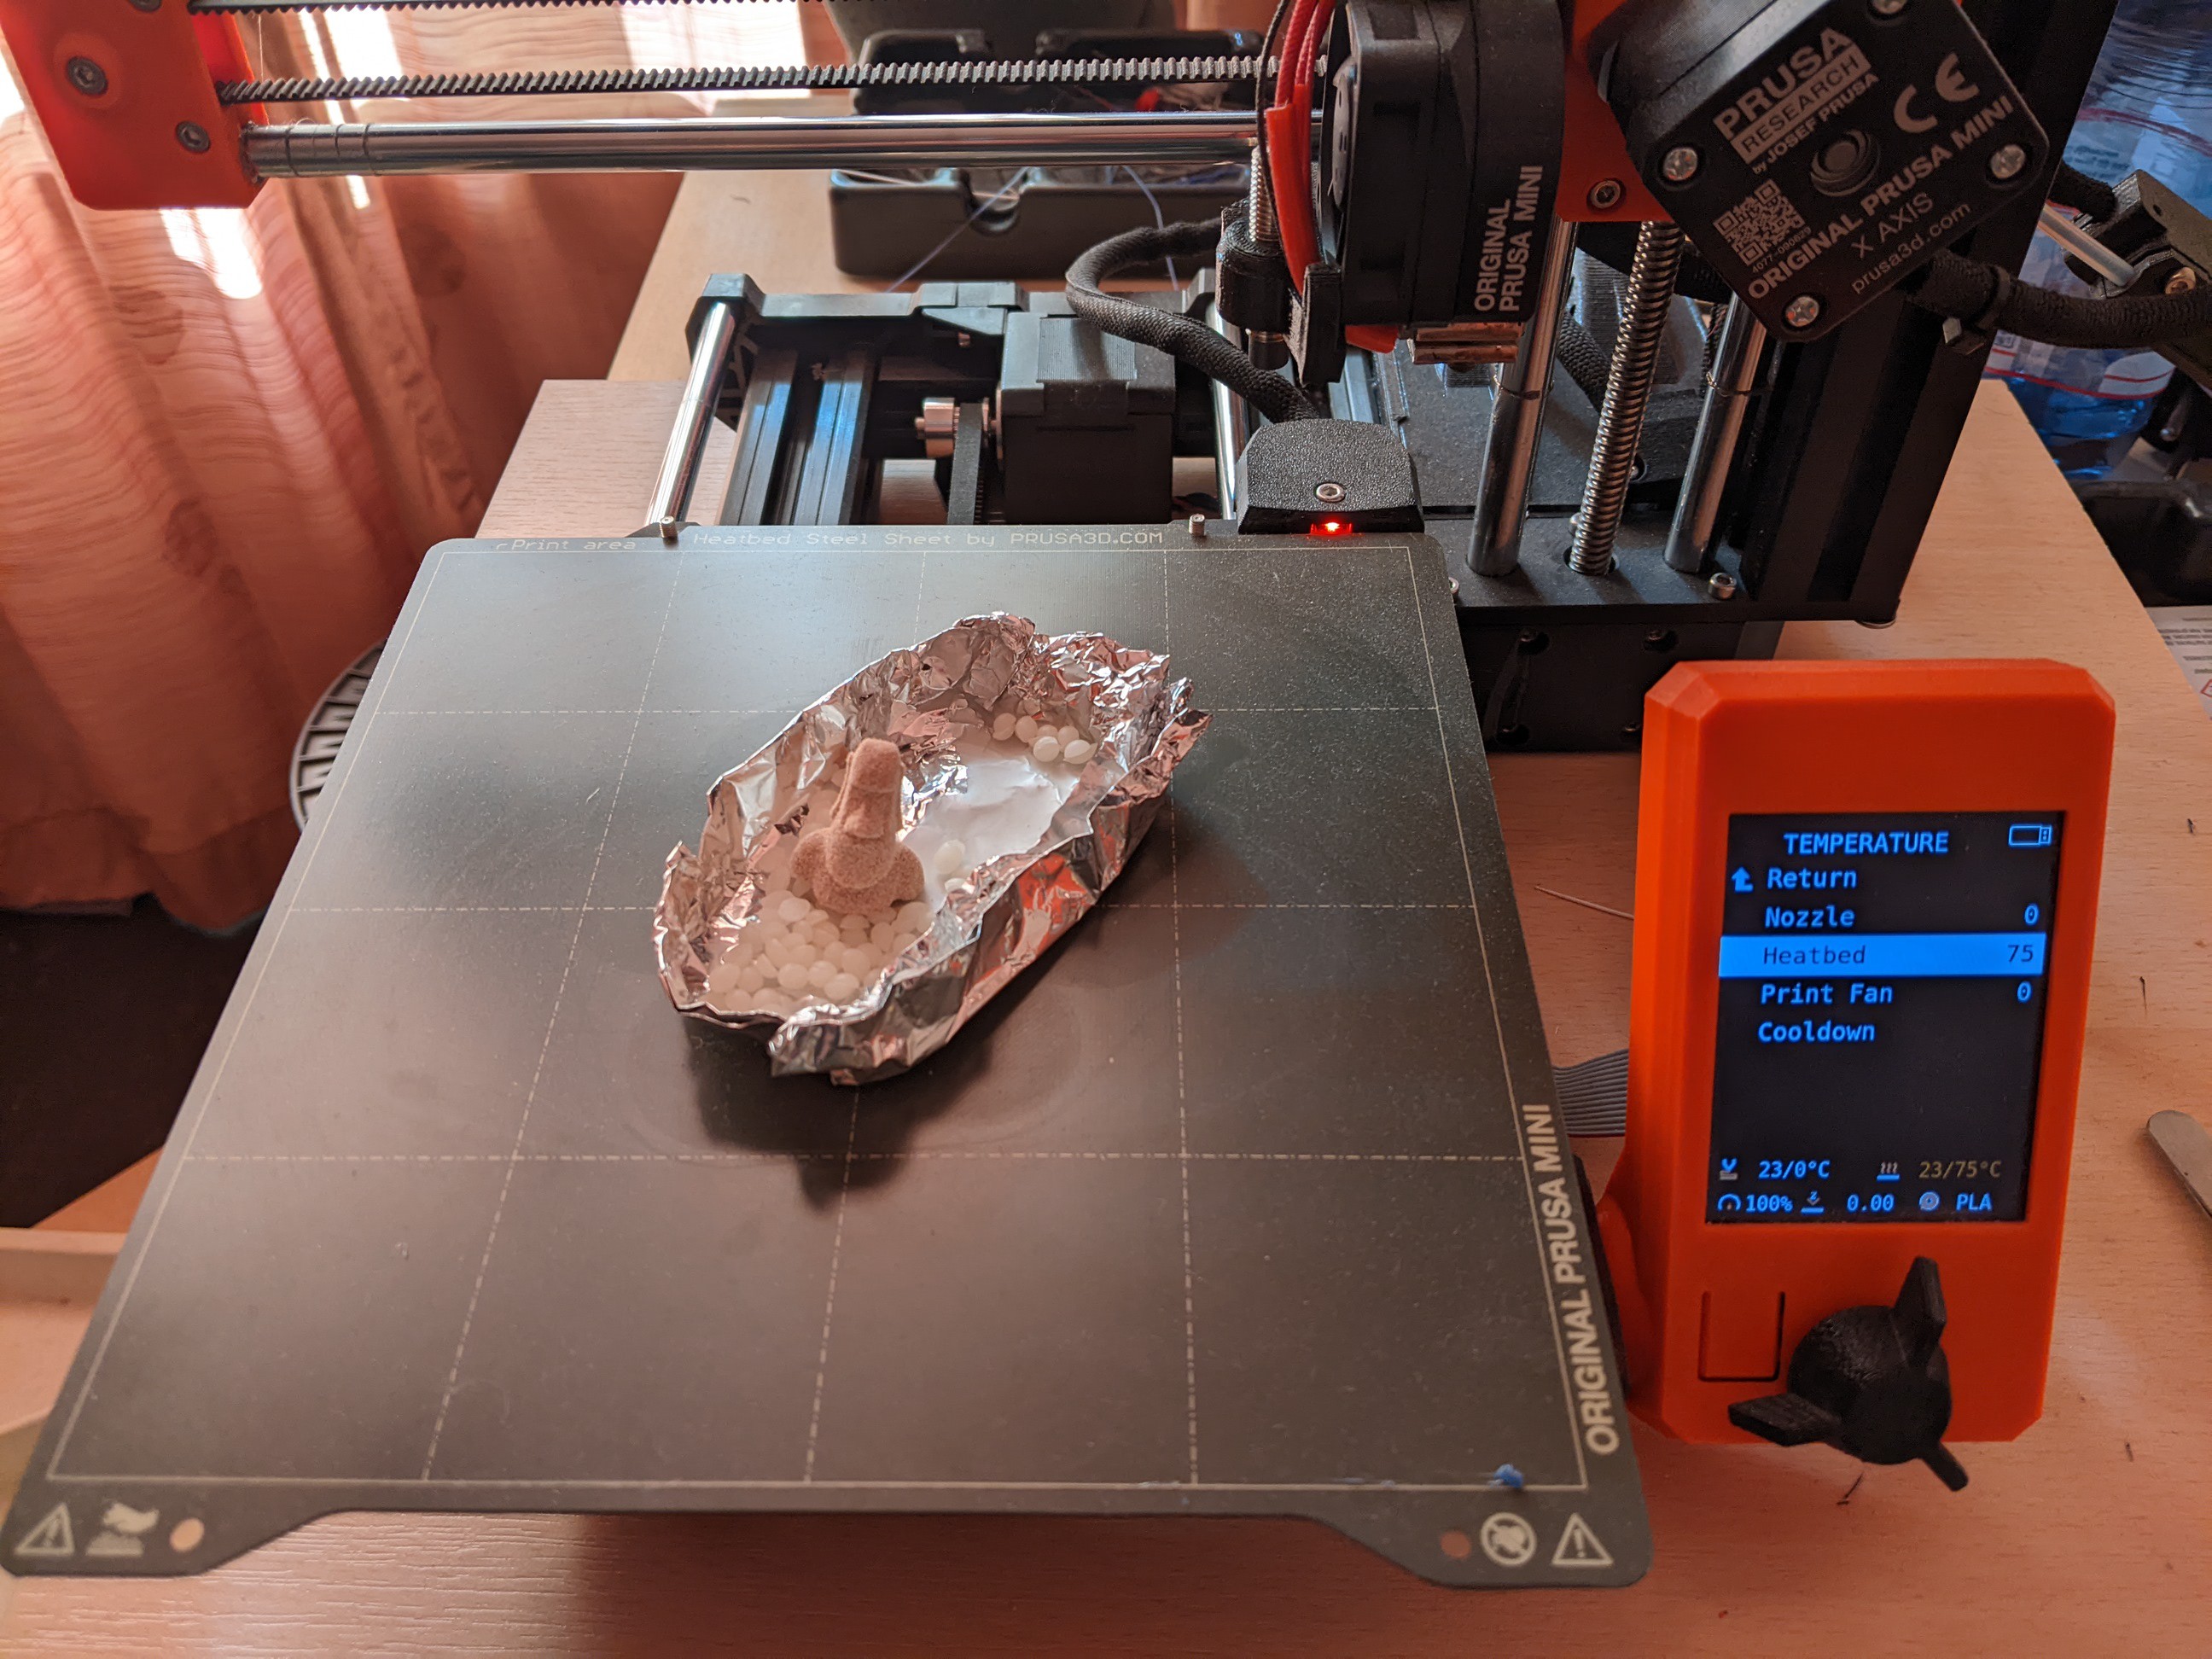
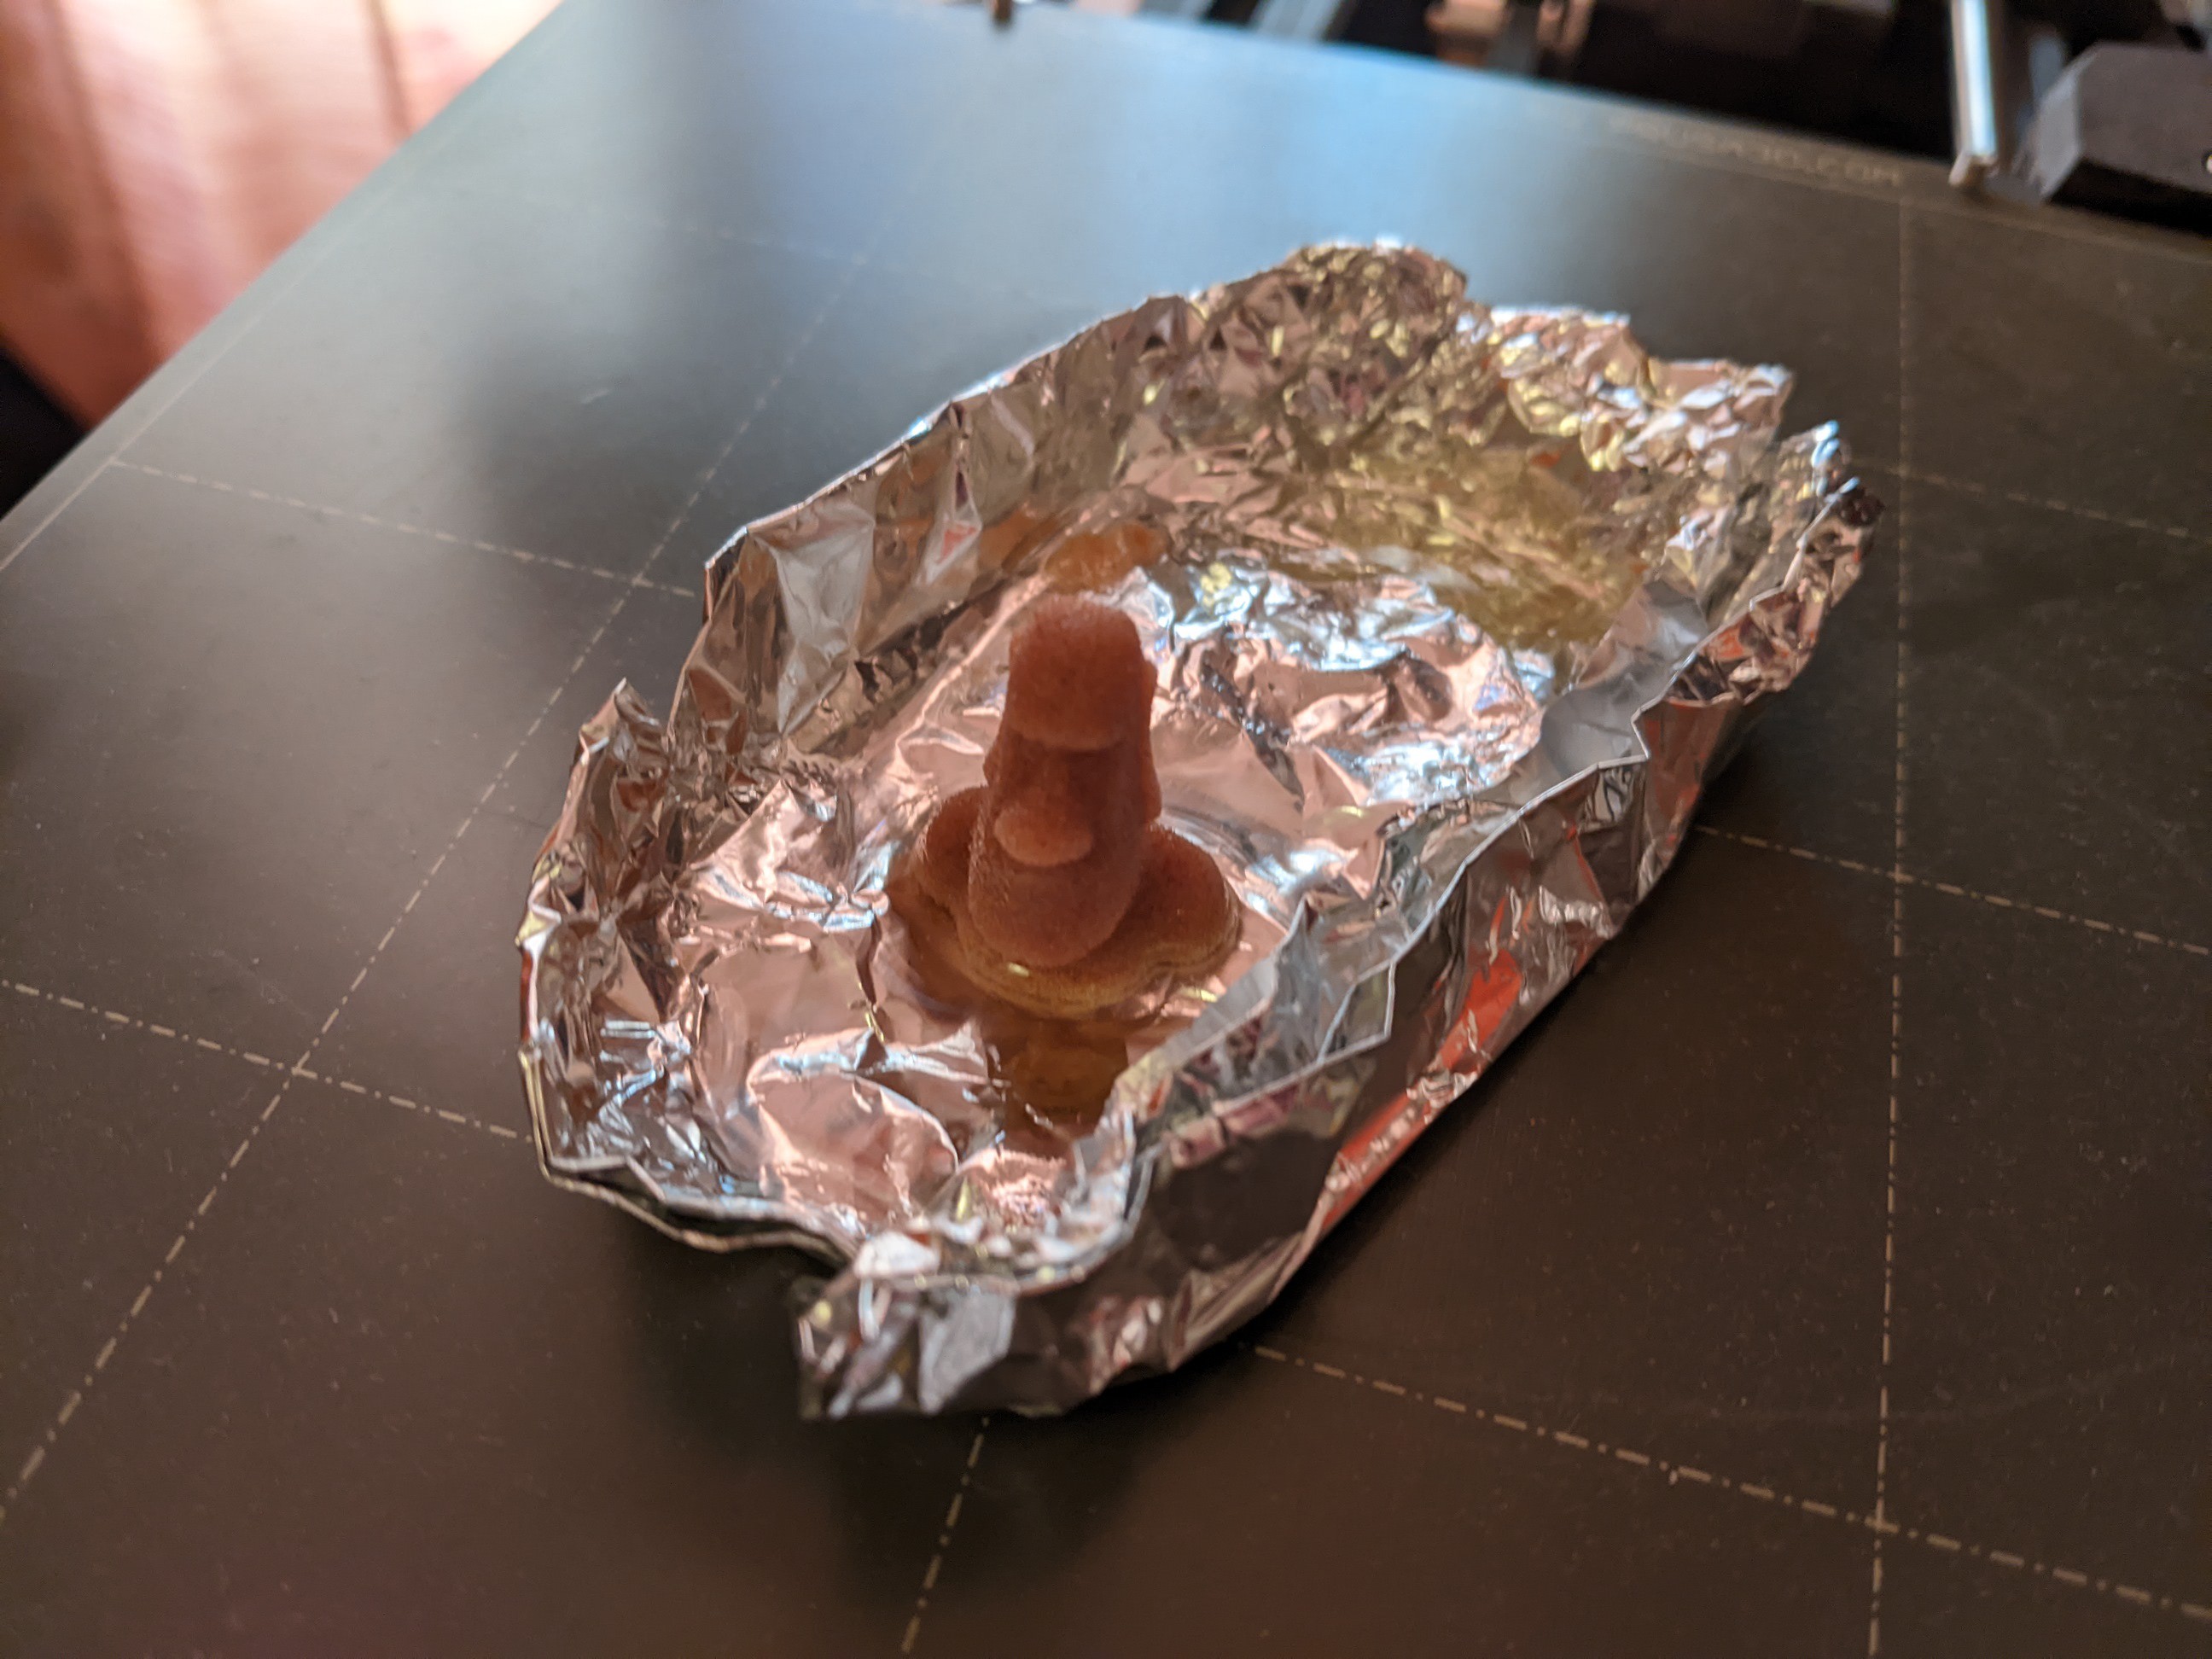
Beeswax was placed in an aluminium foil cup together with the 3D print. This was placed on the heated bed of a 3D printer to heat it past the melting point of around 64C. The wax wicked into the part nicely. After the part was completely full of wax it was placed on a surface to drip dry and cool.
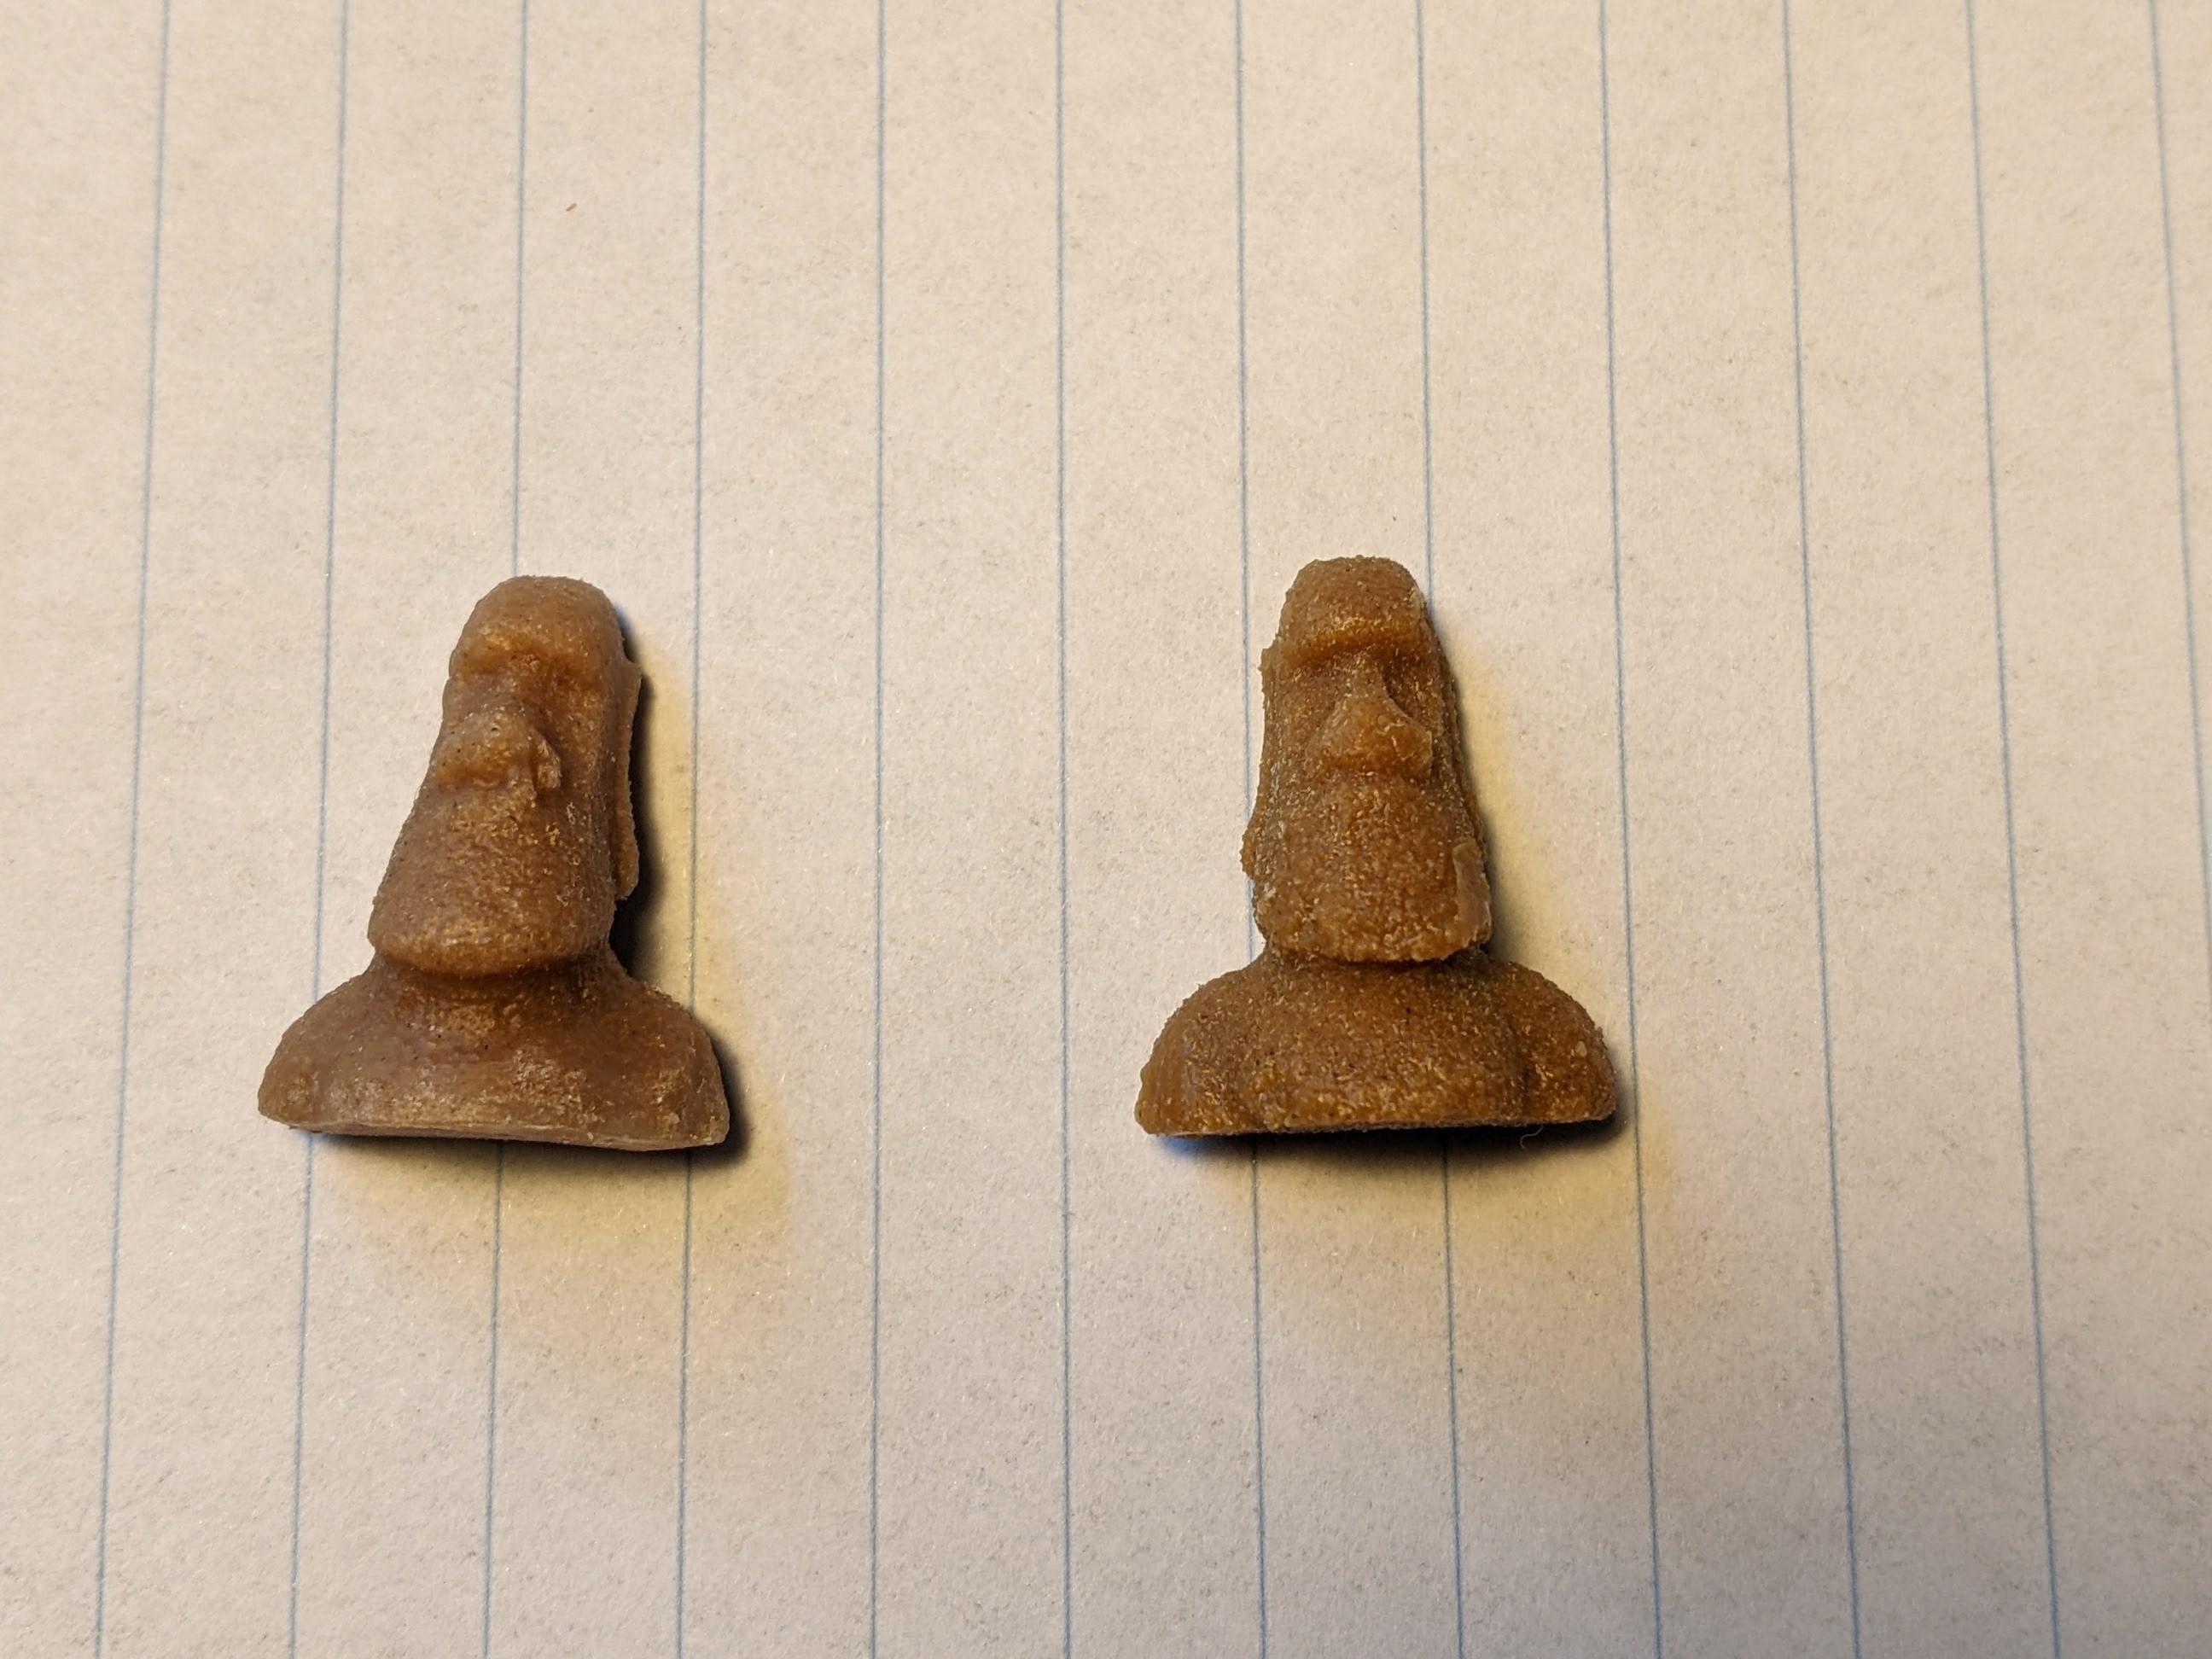
The beeswax creates a fairly durable layer and the part is significantly stronger, but beeswax is fairly soft, and with force the part can be deformed permanently.
Carnaubawax was used in the same process. The heated bed of the printer struggled to melt the wax (melts at 86C), so an oven was used instead. The wax wicked into the print easily, but the heat did slightly deform the 3D print. After the part was left to cool, the print turned strong. It cannot be deformed by hand.
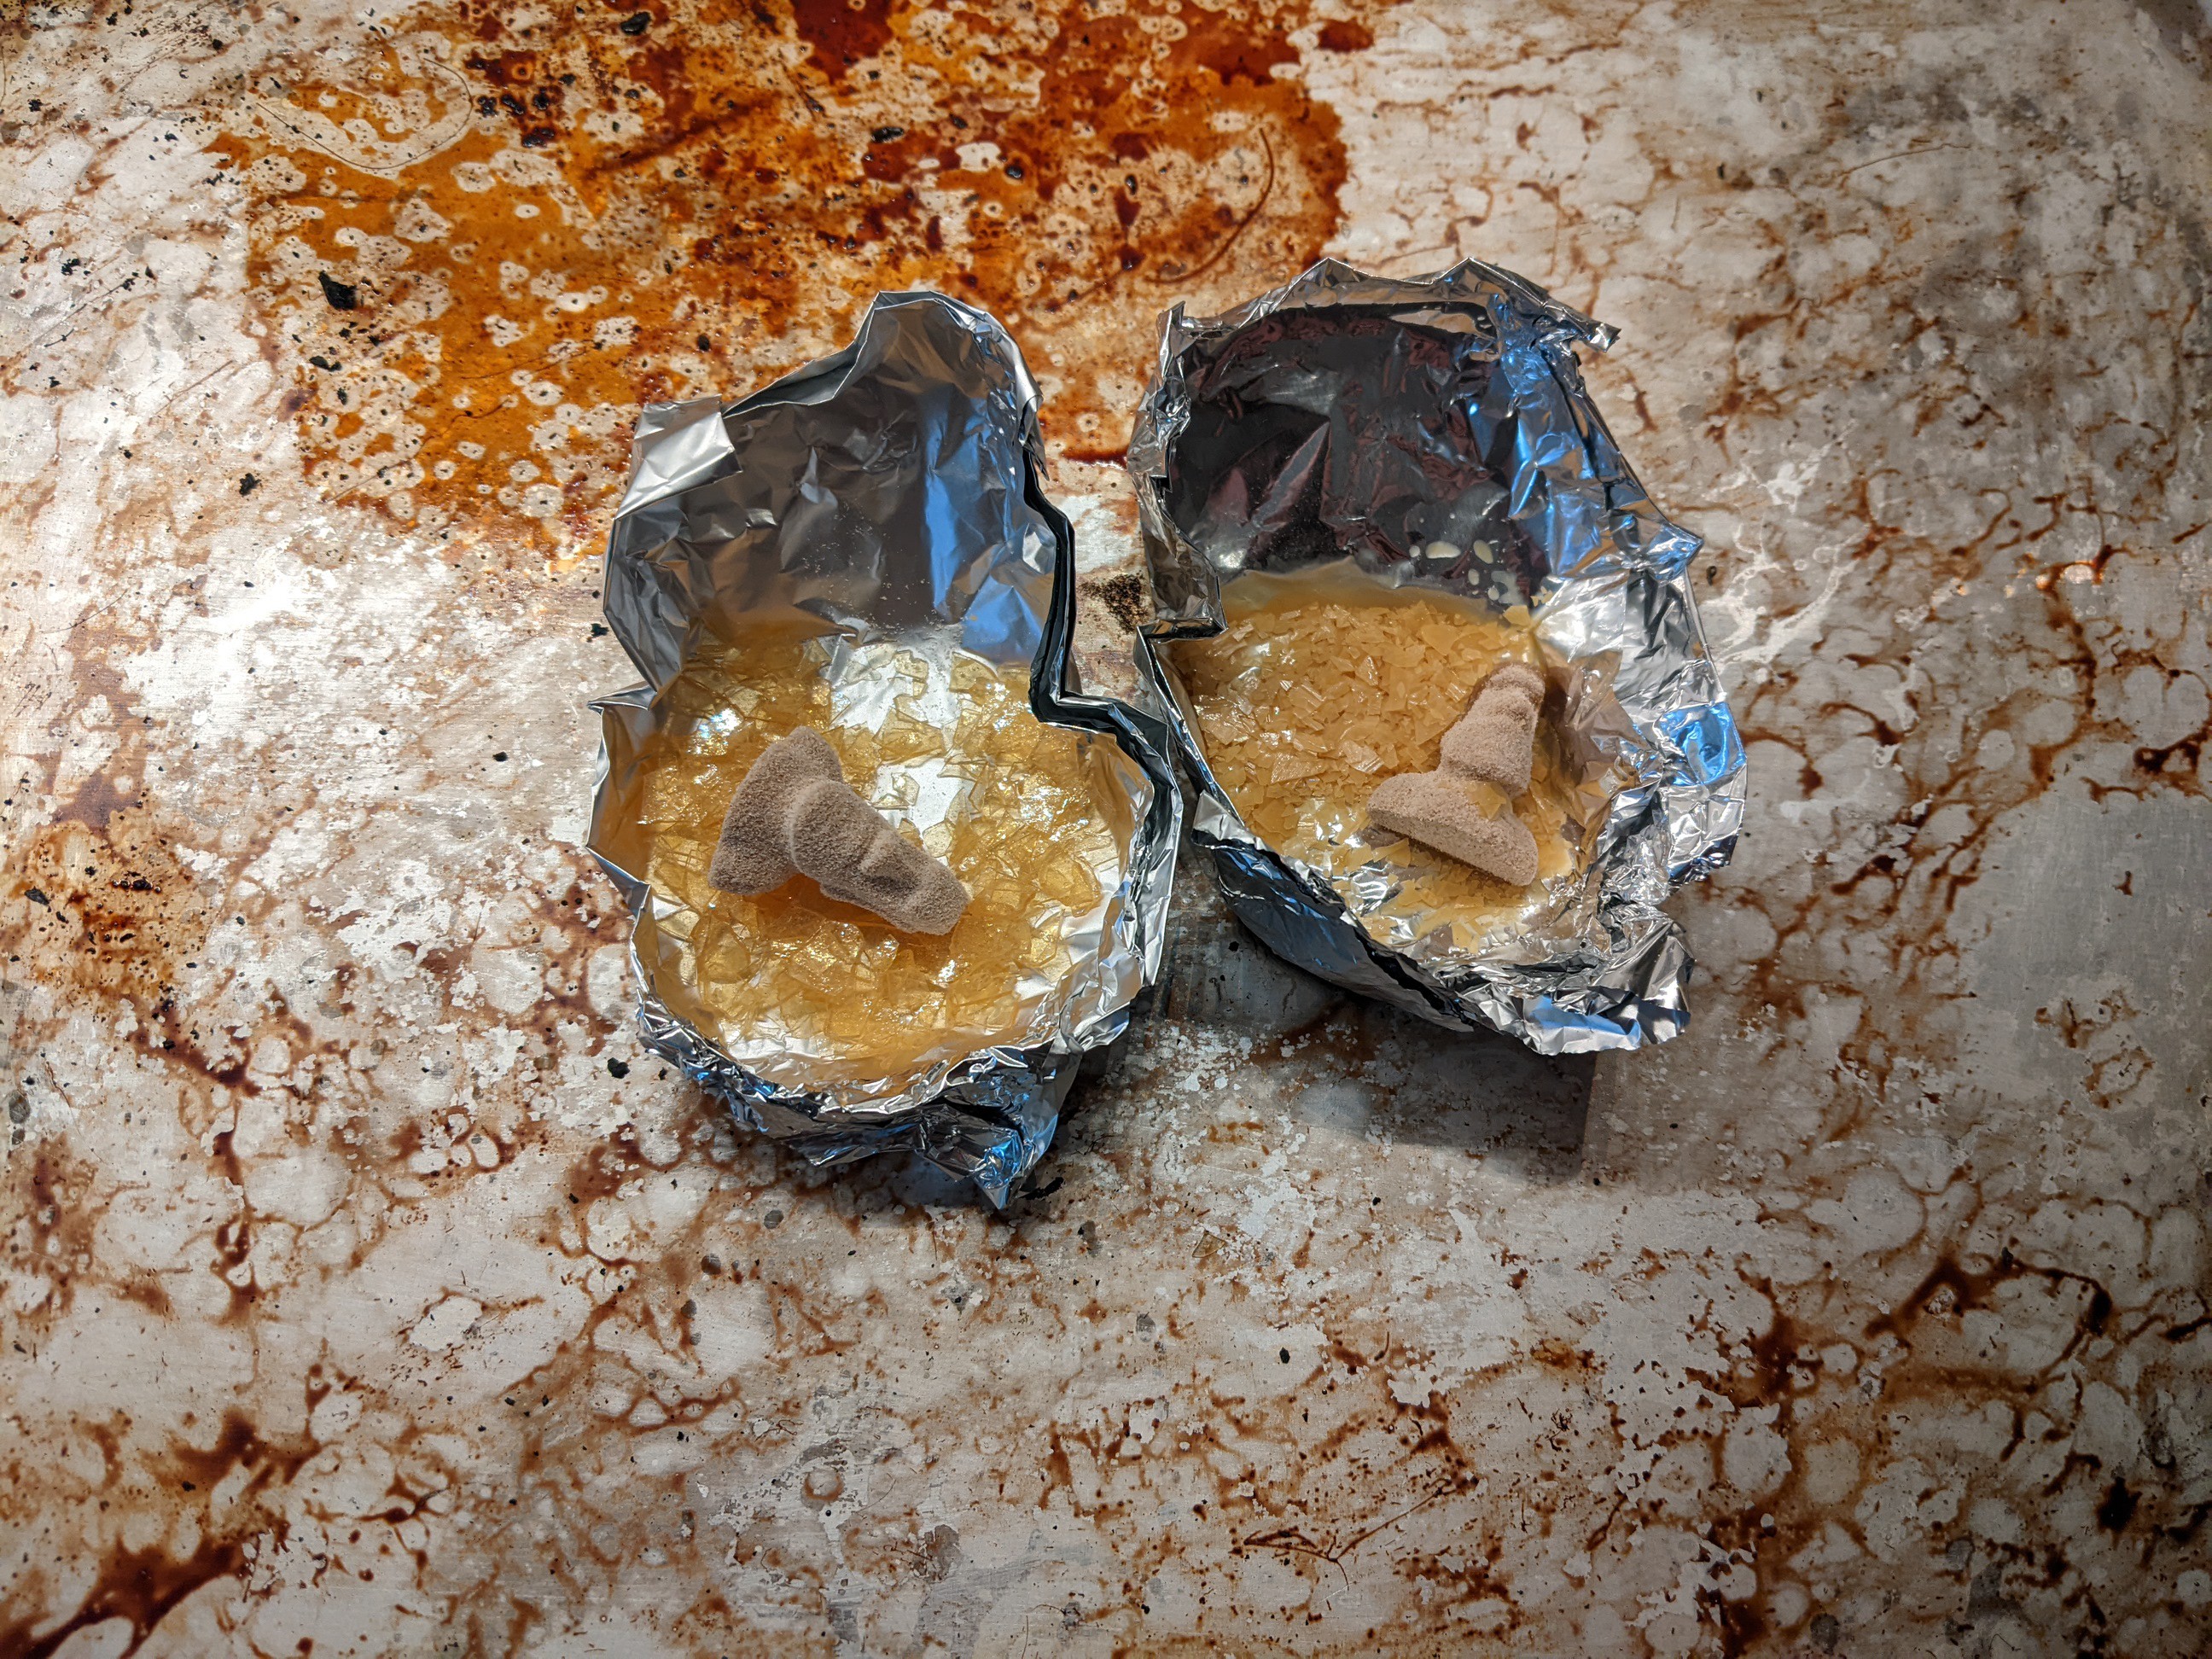
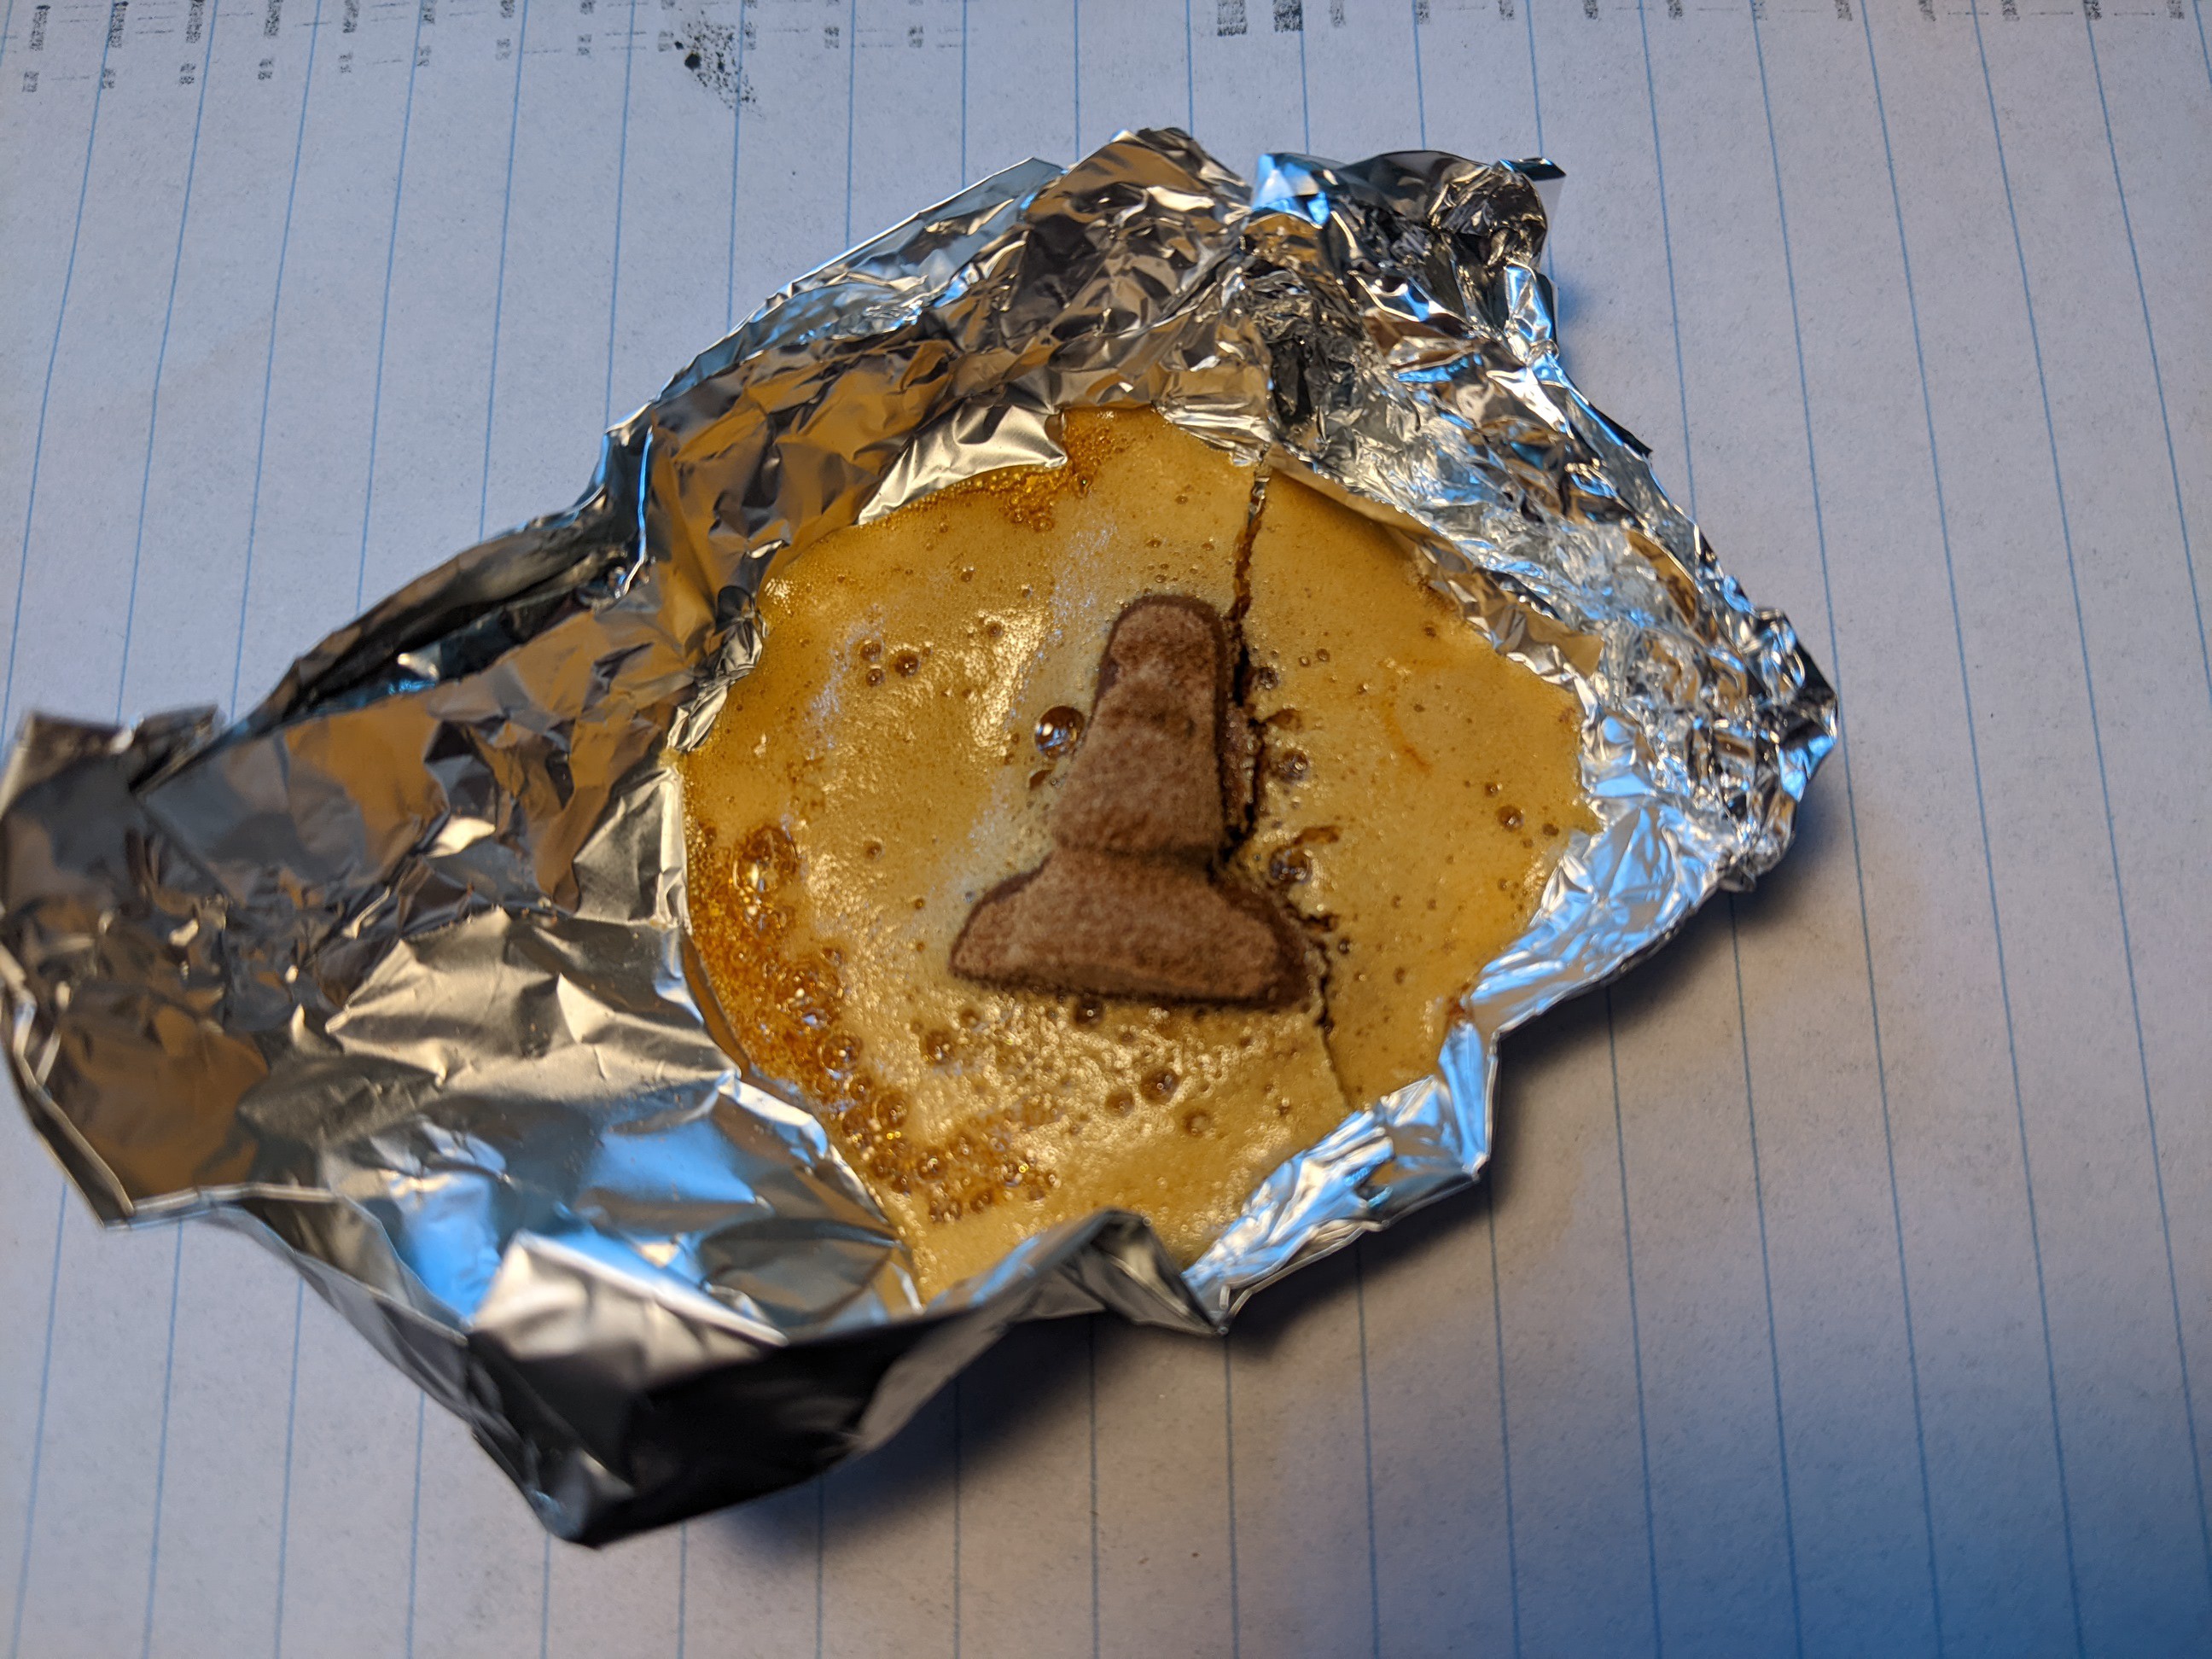
Shellac was tested last. It should melt at around 75C. It did melt in the oven, but it was almost like honey. It did wick into the part slightly, but not enough to completely infiltrate the part. Increasing the heat only caused the shellac to foam. This left me with a wood powder part surrounded with a shellac puck. Shellac infiltration with only heat does not seem to work that well.
Both beeswax and carnauba wax can be used to infiltrate printed parts. Beeswax remains softer but is easier to apply, carnauba wax is more of a hassle but becomes a lot harder. Shellac needs another process to apply it.
Discussions
Become a Hackaday.io Member
Create an account to leave a comment. Already have an account? Log In.