 Guillermo Perez Guillen
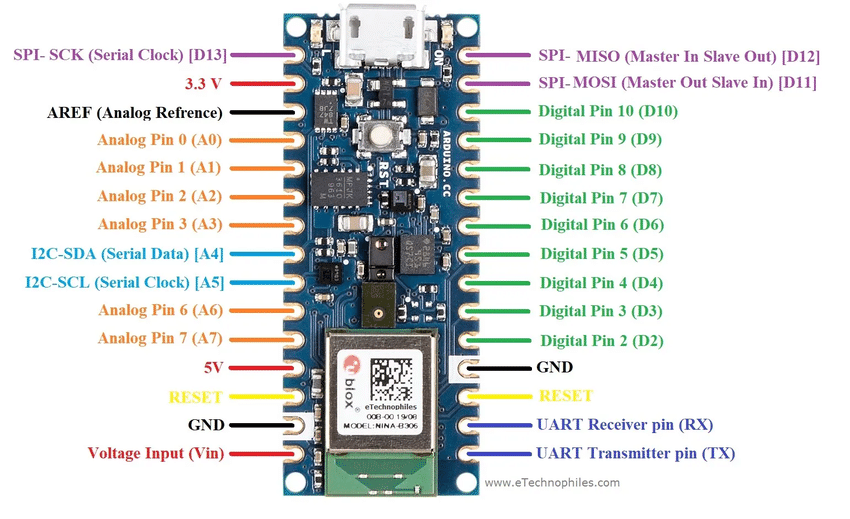
To programming the Arduino NANO 33 BLE Sense, I have used next code: robot-arm-arduinonano.ino
#include <Servo.h>

Servo myservo1;  // create servo1 object to control a servo1
Servo myservo2;  // create servo2 object to control a servo2
Servo myservo3;  // create servo3 object to control a servo3
Servo myservo4;  // create servo4 object to control a servo4
Servo myservo5;  // create servo5 object to control a servo5
Servo myservo6;  // create servo6 object to control a servo6

#define RED 22
#define BLUE 24
#define GREEN 23
#define LED_PWR 25

int pos1 = 90;    // variable to store the servo1 position - front
int pos2 = 90;    // variable to store the servo2 position - vertical
int pos3 = 90;    // variable to store the servo3 position - vertical
int pos4 = 150;   // variable to store the servo4 position - vertical
int pos5 = 90;    // variable to store the servo5 position - vertical
int pos6 = 20;    // variable to store the servo6 position - gripper close

const int buttonPin1 = 4;     // the number of the pushbutton pin
const int buttonPin2 = 7;     // the number of the pushbutton pin
const int buttonPin3 = 8;     // the number of the pushbutton pin
const int buttonPin4 = 12;    // the number of the pushbutton pin
const int buttonPin5 = 13;    // the number of the pushbutton pin
const int buttonPin6 = 2;     // the number of the pushbutton pin

int buttonState1 = 0;         // variable for reading the pushbutton status
int buttonState2 = 0;         // variable for reading the pushbutton status
int buttonState3 = 0;         // variable for reading the pushbutton status
int buttonState4 = 0;         // variable for reading the pushbutton status
int buttonState5 = 0;         // variable for reading the pushbutton status
int buttonState6 = 0;         // variable for reading the pushbutton status

void setup() {
  myservo1.attach(3);  // attaches the servo on pin 3 to the servo object
  myservo2.attach(5);  // attaches the servo on pin 5 to the servo object
  myservo3.attach(6);  // attaches the servo on pin 3 to the servo object
  myservo4.attach(9);  // attaches the servo on pin 3 to the servo object
  myservo5.attach(10); // attaches the servo on pin 3 to the servo object
  myservo6.attach(11); // attaches the servo on pin 3 to the servo object

  pinMode(buttonPin1, INPUT);
  pinMode(buttonPin2, INPUT);
  pinMode(buttonPin3, INPUT);
  pinMode(buttonPin4, INPUT);
  pinMode(buttonPin5, INPUT);
  pinMode(buttonPin6, INPUT);

// intitialize the digital Pin as an output
pinMode(RED, OUTPUT);
digitalWrite(RED, LOW);

pinMode(BLUE, OUTPUT);
digitalWrite(BLUE, LOW);

pinMode(GREEN, OUTPUT);
digitalWrite(GREEN, LOW);

pinMode(LED_PWR, OUTPUT);
digitalWrite(LED_PWR, LOW);
}

void loop() {
  // read the state of the pushbutton value:
  buttonState1 = digitalRead(buttonPin1);
  buttonState2 = digitalRead(buttonPin2);
  buttonState3 = digitalRead(buttonPin3);
  buttonState4 = digitalRead(buttonPin4);
  buttonState5 = digitalRead(buttonPin5);
  buttonState6 = digitalRead(buttonPin6);

  // check if the button is is HIGH:
  if (buttonState1 == HIGH) {
    // MOVE THE OBJECT (BOX)
    digitalWrite(LED_PWR, LOW);
    digitalWrite(GREEN, LOW);
    digitalWrite(BLUE, LOW);
    digitalWrite(RED, HIGH);


  } else  {
    // END
    digitalWrite(RED, LOW);
    digitalWrite(GREEN, LOW);
    digitalWrite(BLUE, LOW);
    digitalWrite(LED_PWR, HIGH);
    delay(10);
  }
}
You can get the codes on the download section or the github account of the main post.
Discussions
Become a Hackaday.io Member
Create an account to leave a comment. Already have an account? Log In.