 Paige Niedringhaus
Story
Recently, I joined the IoT startup Blues Wireless as a staff software engineer. I had no Internet of Things experience prior to this - sensors and microcontrollers and breadboards were not the kind of development I'd been doing.
But when I learned about how Blues is making cellular connectivity easy for IoT developers - and all the positive implications that has, I was hooked. Imagine being able to have IoT anywhere there's a cell signal - no Wi-Fi ranges, no Ethernet cables, if you've got one bar of cellular service, your IoT app can share the data it's collecting. That's what Blues is enabling.
And so I've begun my IoT learning journey, because although I don't program the Notecards, I want to understand and use the products we sell every day.
And along that vein of IoT virtually anywhere: one thing that's always interested me are the trackers where you can see something going from one place to another, and the steps in between. Packages, pizzas, vehicles - it's cool to be able to see their progress along the way to their final destination.
So when I learned that Blues has products with both cellular and GPS capabilities built-in, I wondered how easy it might be to make my own vehicle tracker, and test out our developer documentation at the same time.
Part of what makes Blues unique is the developer website, which has detailed tutorials to help people (like me) get started using our products.
This tutorial covers building a portable asset tracker recording GPS coordinates, sending that data to a cloud via a cellular module, and displaying that data on a map with the help of a low-code IoT platform.
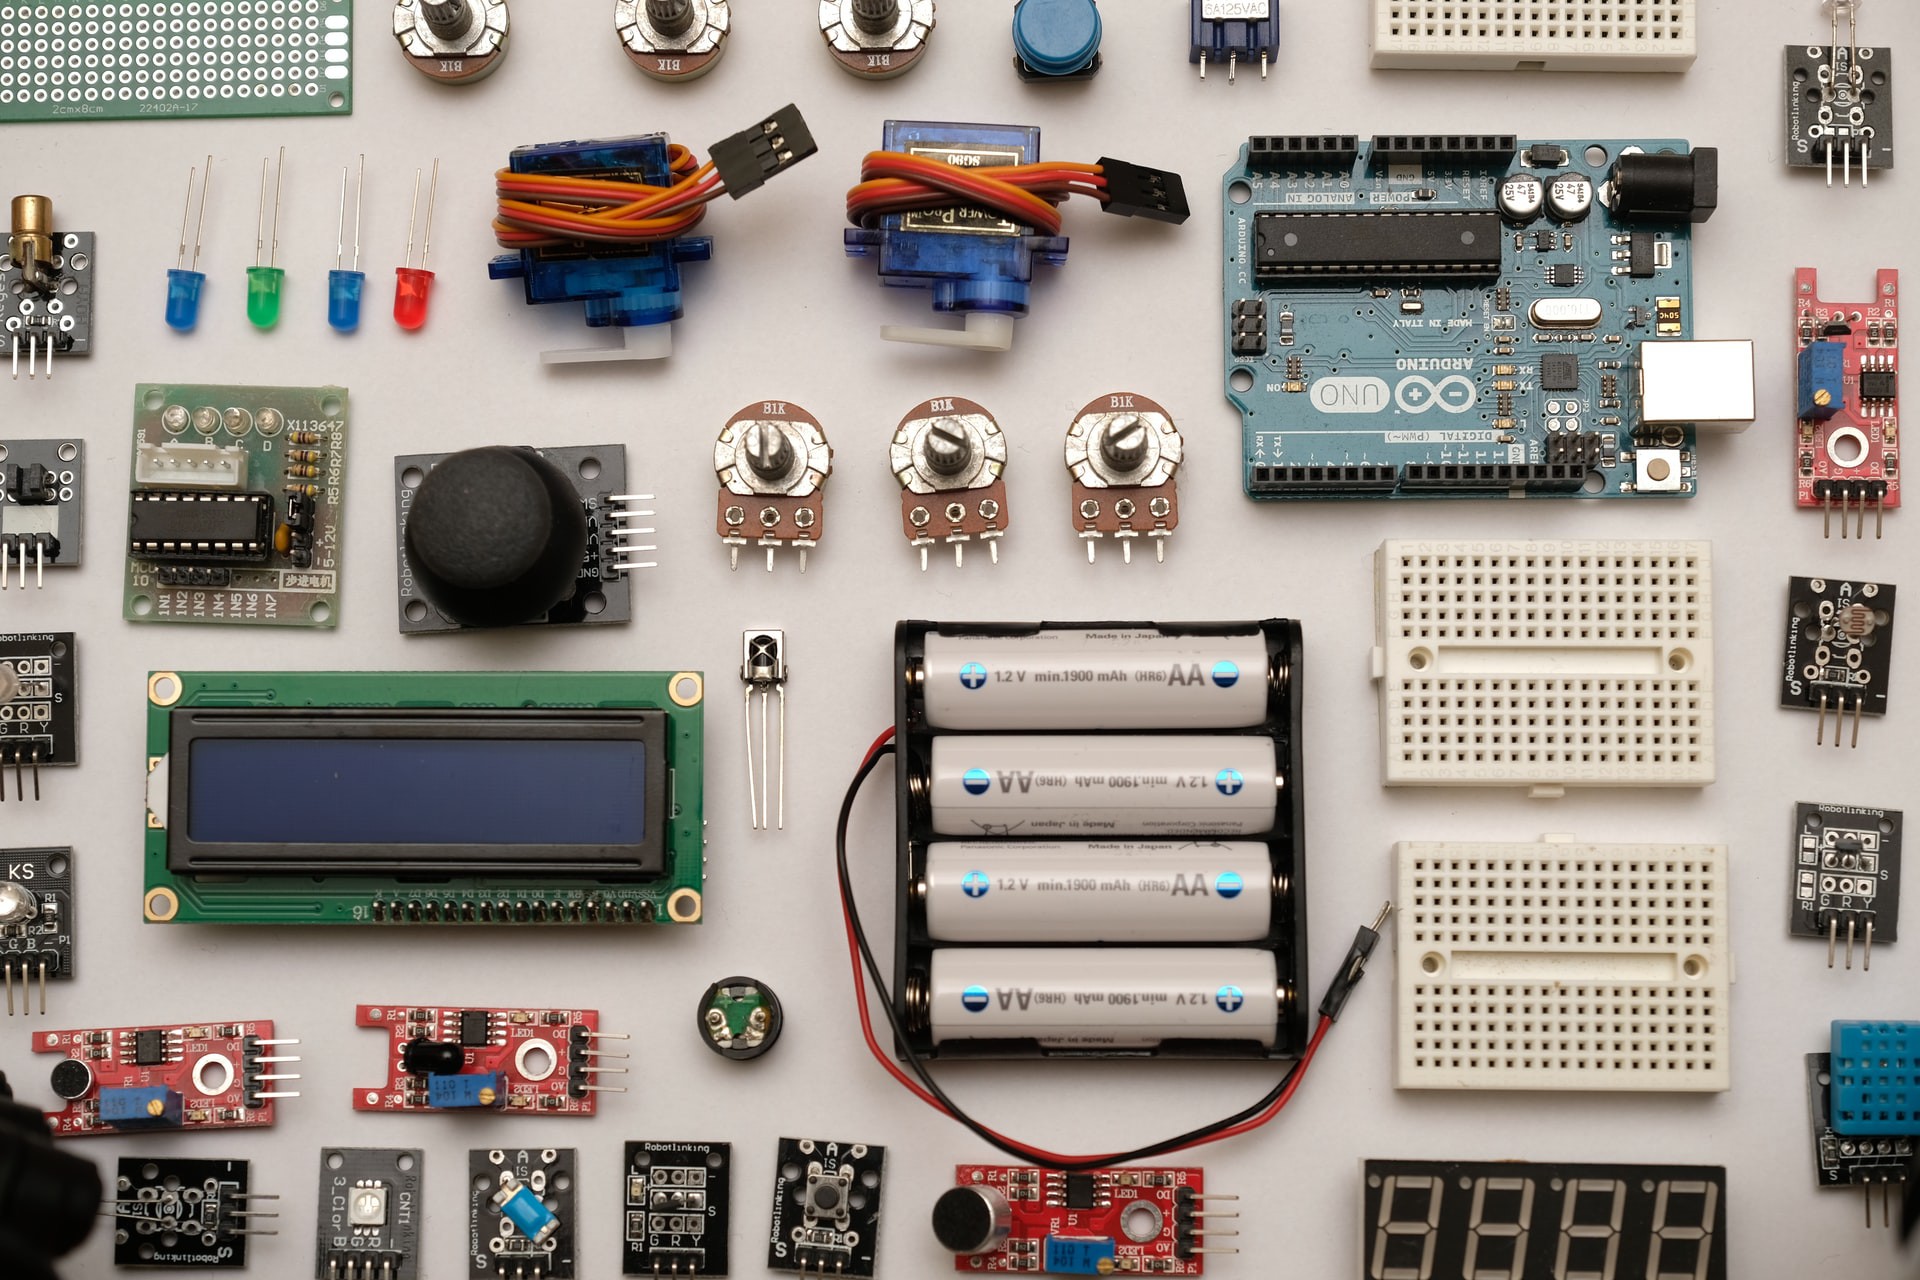
Why choose a Notecarrier-AF?
The first thing I needed to do for my asset tracker project was decide which Blues Wireless product would best fit my needs of cellular connectivity and GPS location tracking, and I ended up choosing the Notecarrier-AF.
I chose this product for a couple of reasons.
1. The Notecarrier-AF (included in the Feather Starter Kit) is the easiest way to get started with the Notecard and a microcontroller, and even comes with an Adafruit Feather ESP32 HUZZAH. It has 500 MB of data and 10 years of cellular service starting at $99. No activation charges, no monthly fees, just configure it upon arrival and you're ready to go.
2. It's designed to operate on battery power, be "always-on" to maintain time & location, and typically draw less than 8µA, when idle. The Notecard that attaches to the Notecarrier is ultra-low power, which is critical for portable IoT projects like this one that will rely on battery power instead of steady state power supplies.
Here's a snapshot of the bells and whistles this little development board boasts right out of the box (it's just slightly larger than a deck of playing cards).

Notecarrier AF specs from the Blues website.
In addition to the Notecarrier-AF, I also bought an Adafruit Lithium Ion Polymer Battery - 3.7v 2500mAh (LiPo battery), to power this board as it roams around with me in my car.
When the Notecarrier is connected to a computer via the micro-USB port, as it will be for the initial configuration, the computer can power the board, otherwise it needs its own standalone power source.
There is a LiPo battery JST connector on the side of the board (which can recharge a battery when the board's connected to a computer via the micro-USB power port), and right next to that is a solar panel JST connector. If need be, this tracker can run entirely via solar power and never needs to be plugged in to recharge.
With my Notecarrier-AF in hand, my cellular and GPS wires correctly connected to the board and the Notecard, and a LiPo battery to power the whole thing, it's time to set up the cloud project that will initially receive the data collected.
Note: For this project, don't install the Adafruit Feather microcontroller - it will drain the...Read more »
 jan.marcinowski
 Rémi Bèges
 Henryk Plötz