 Involute
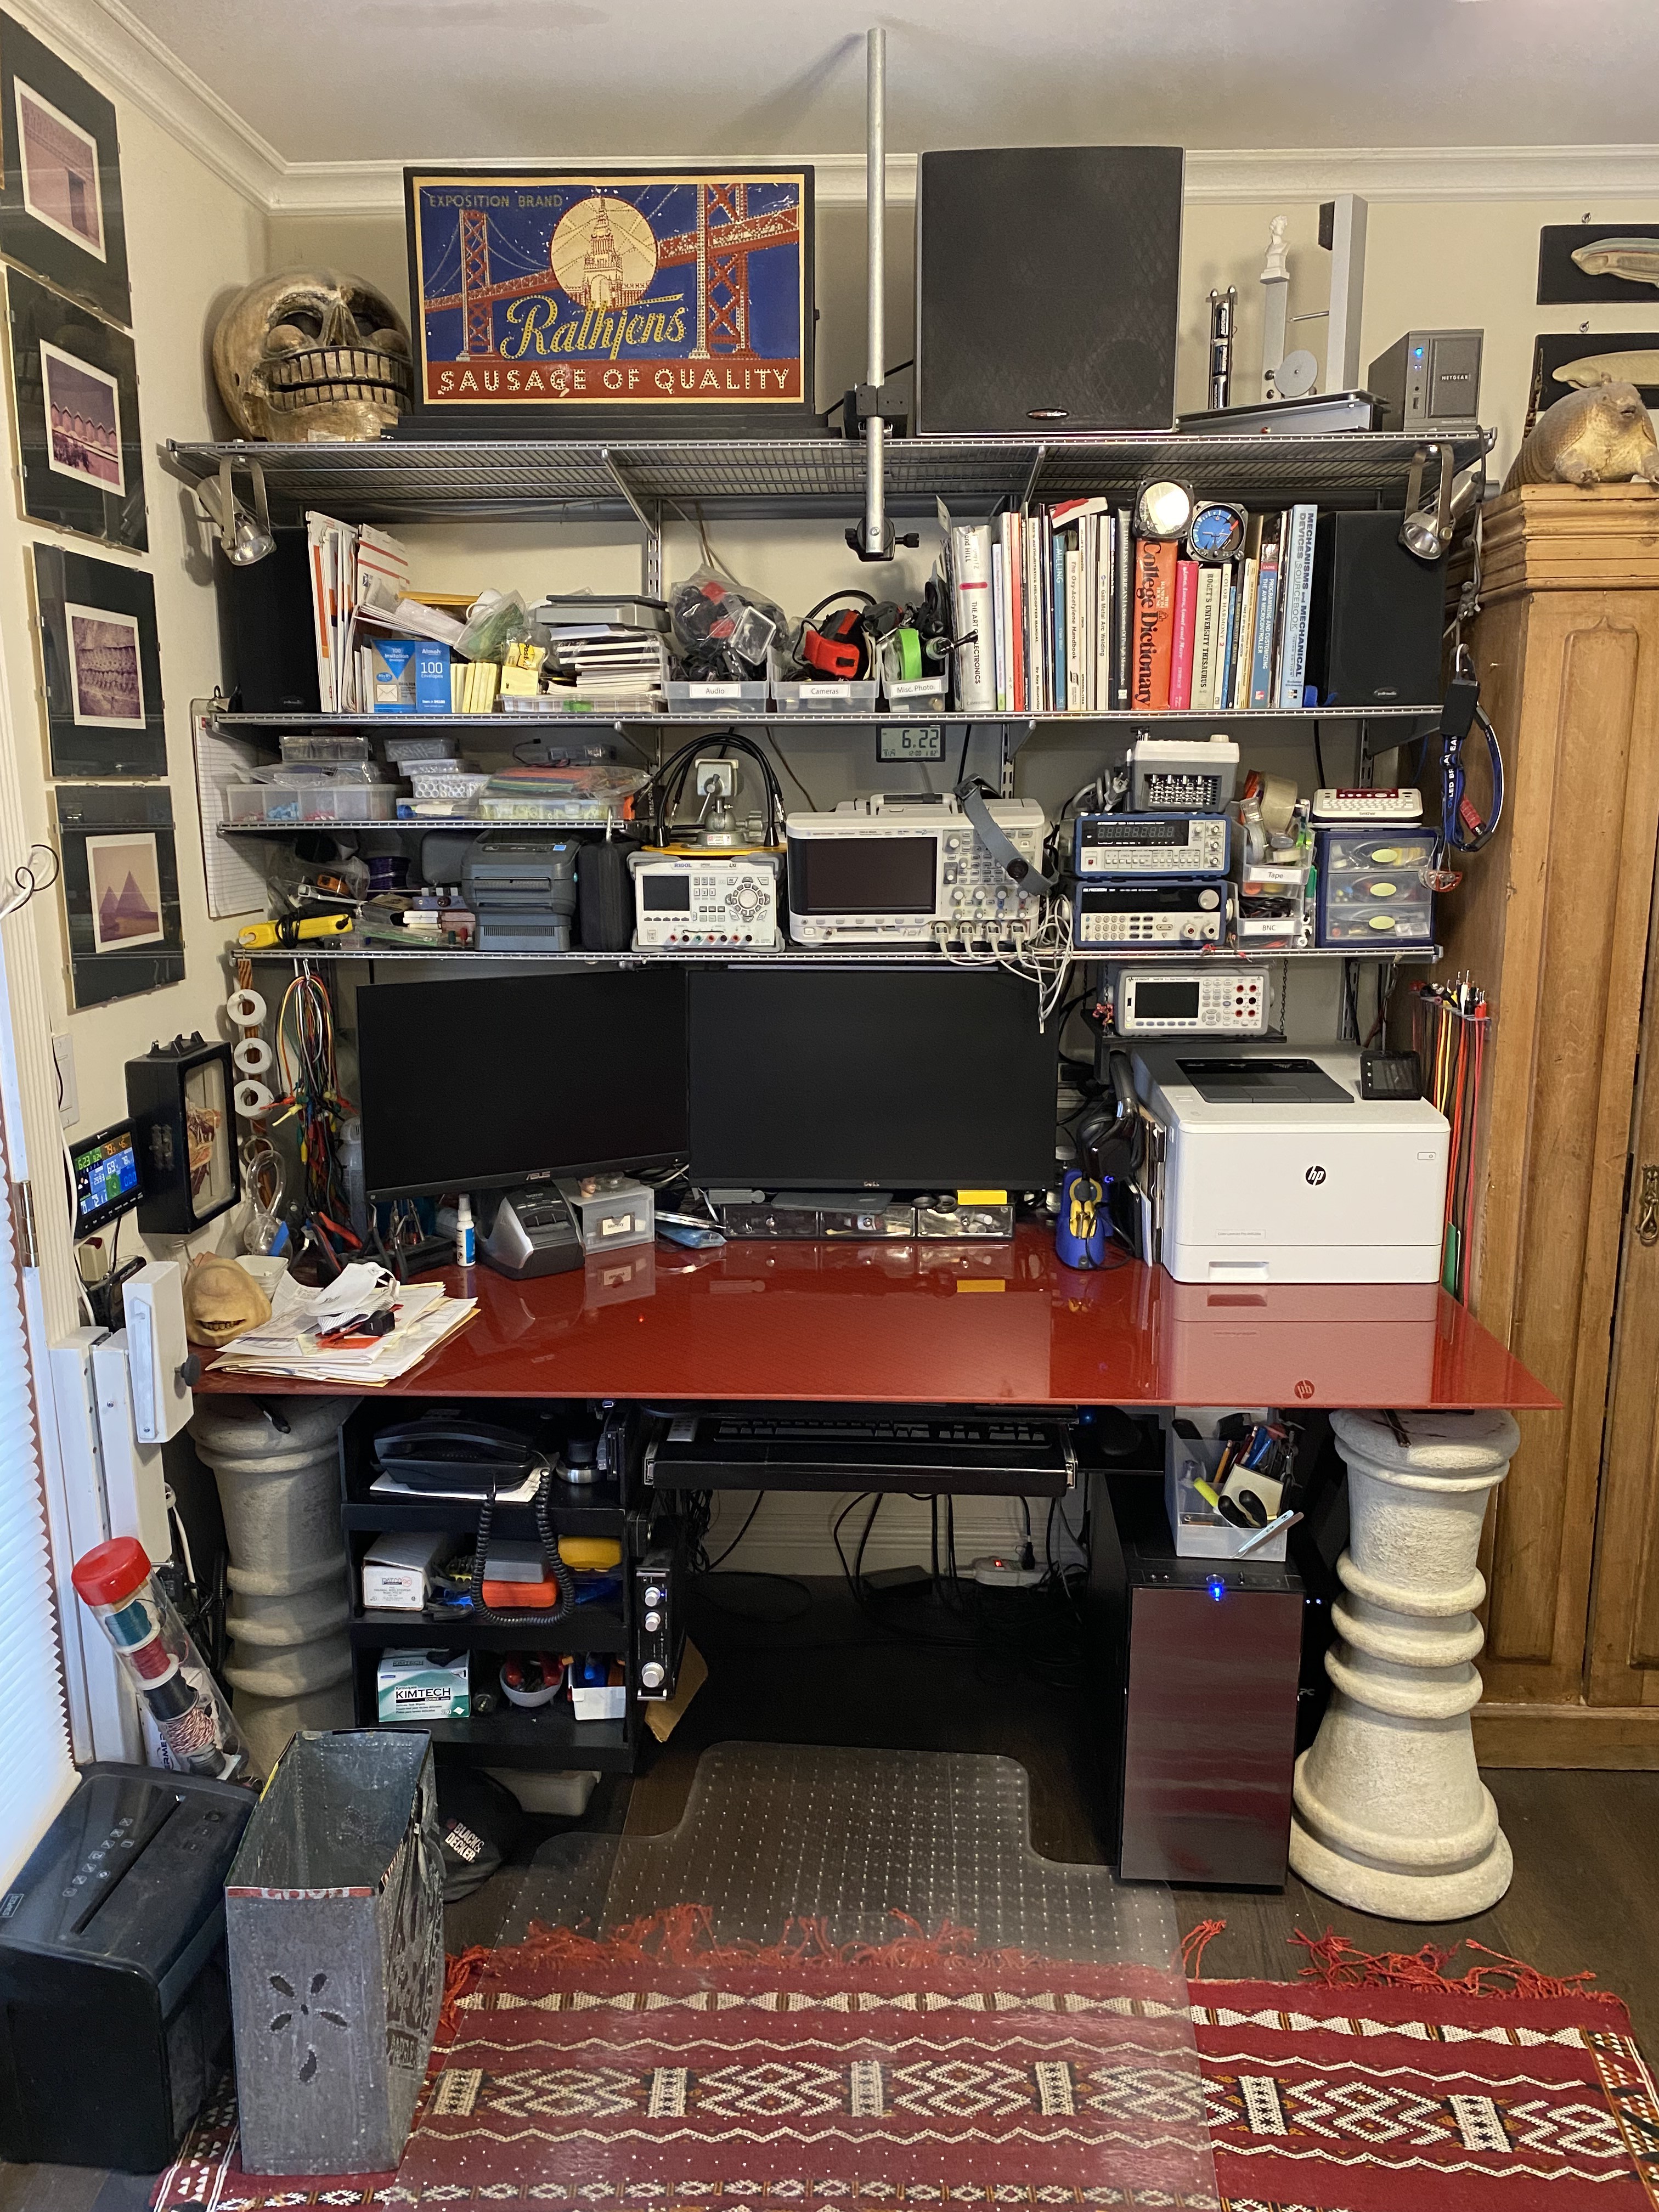
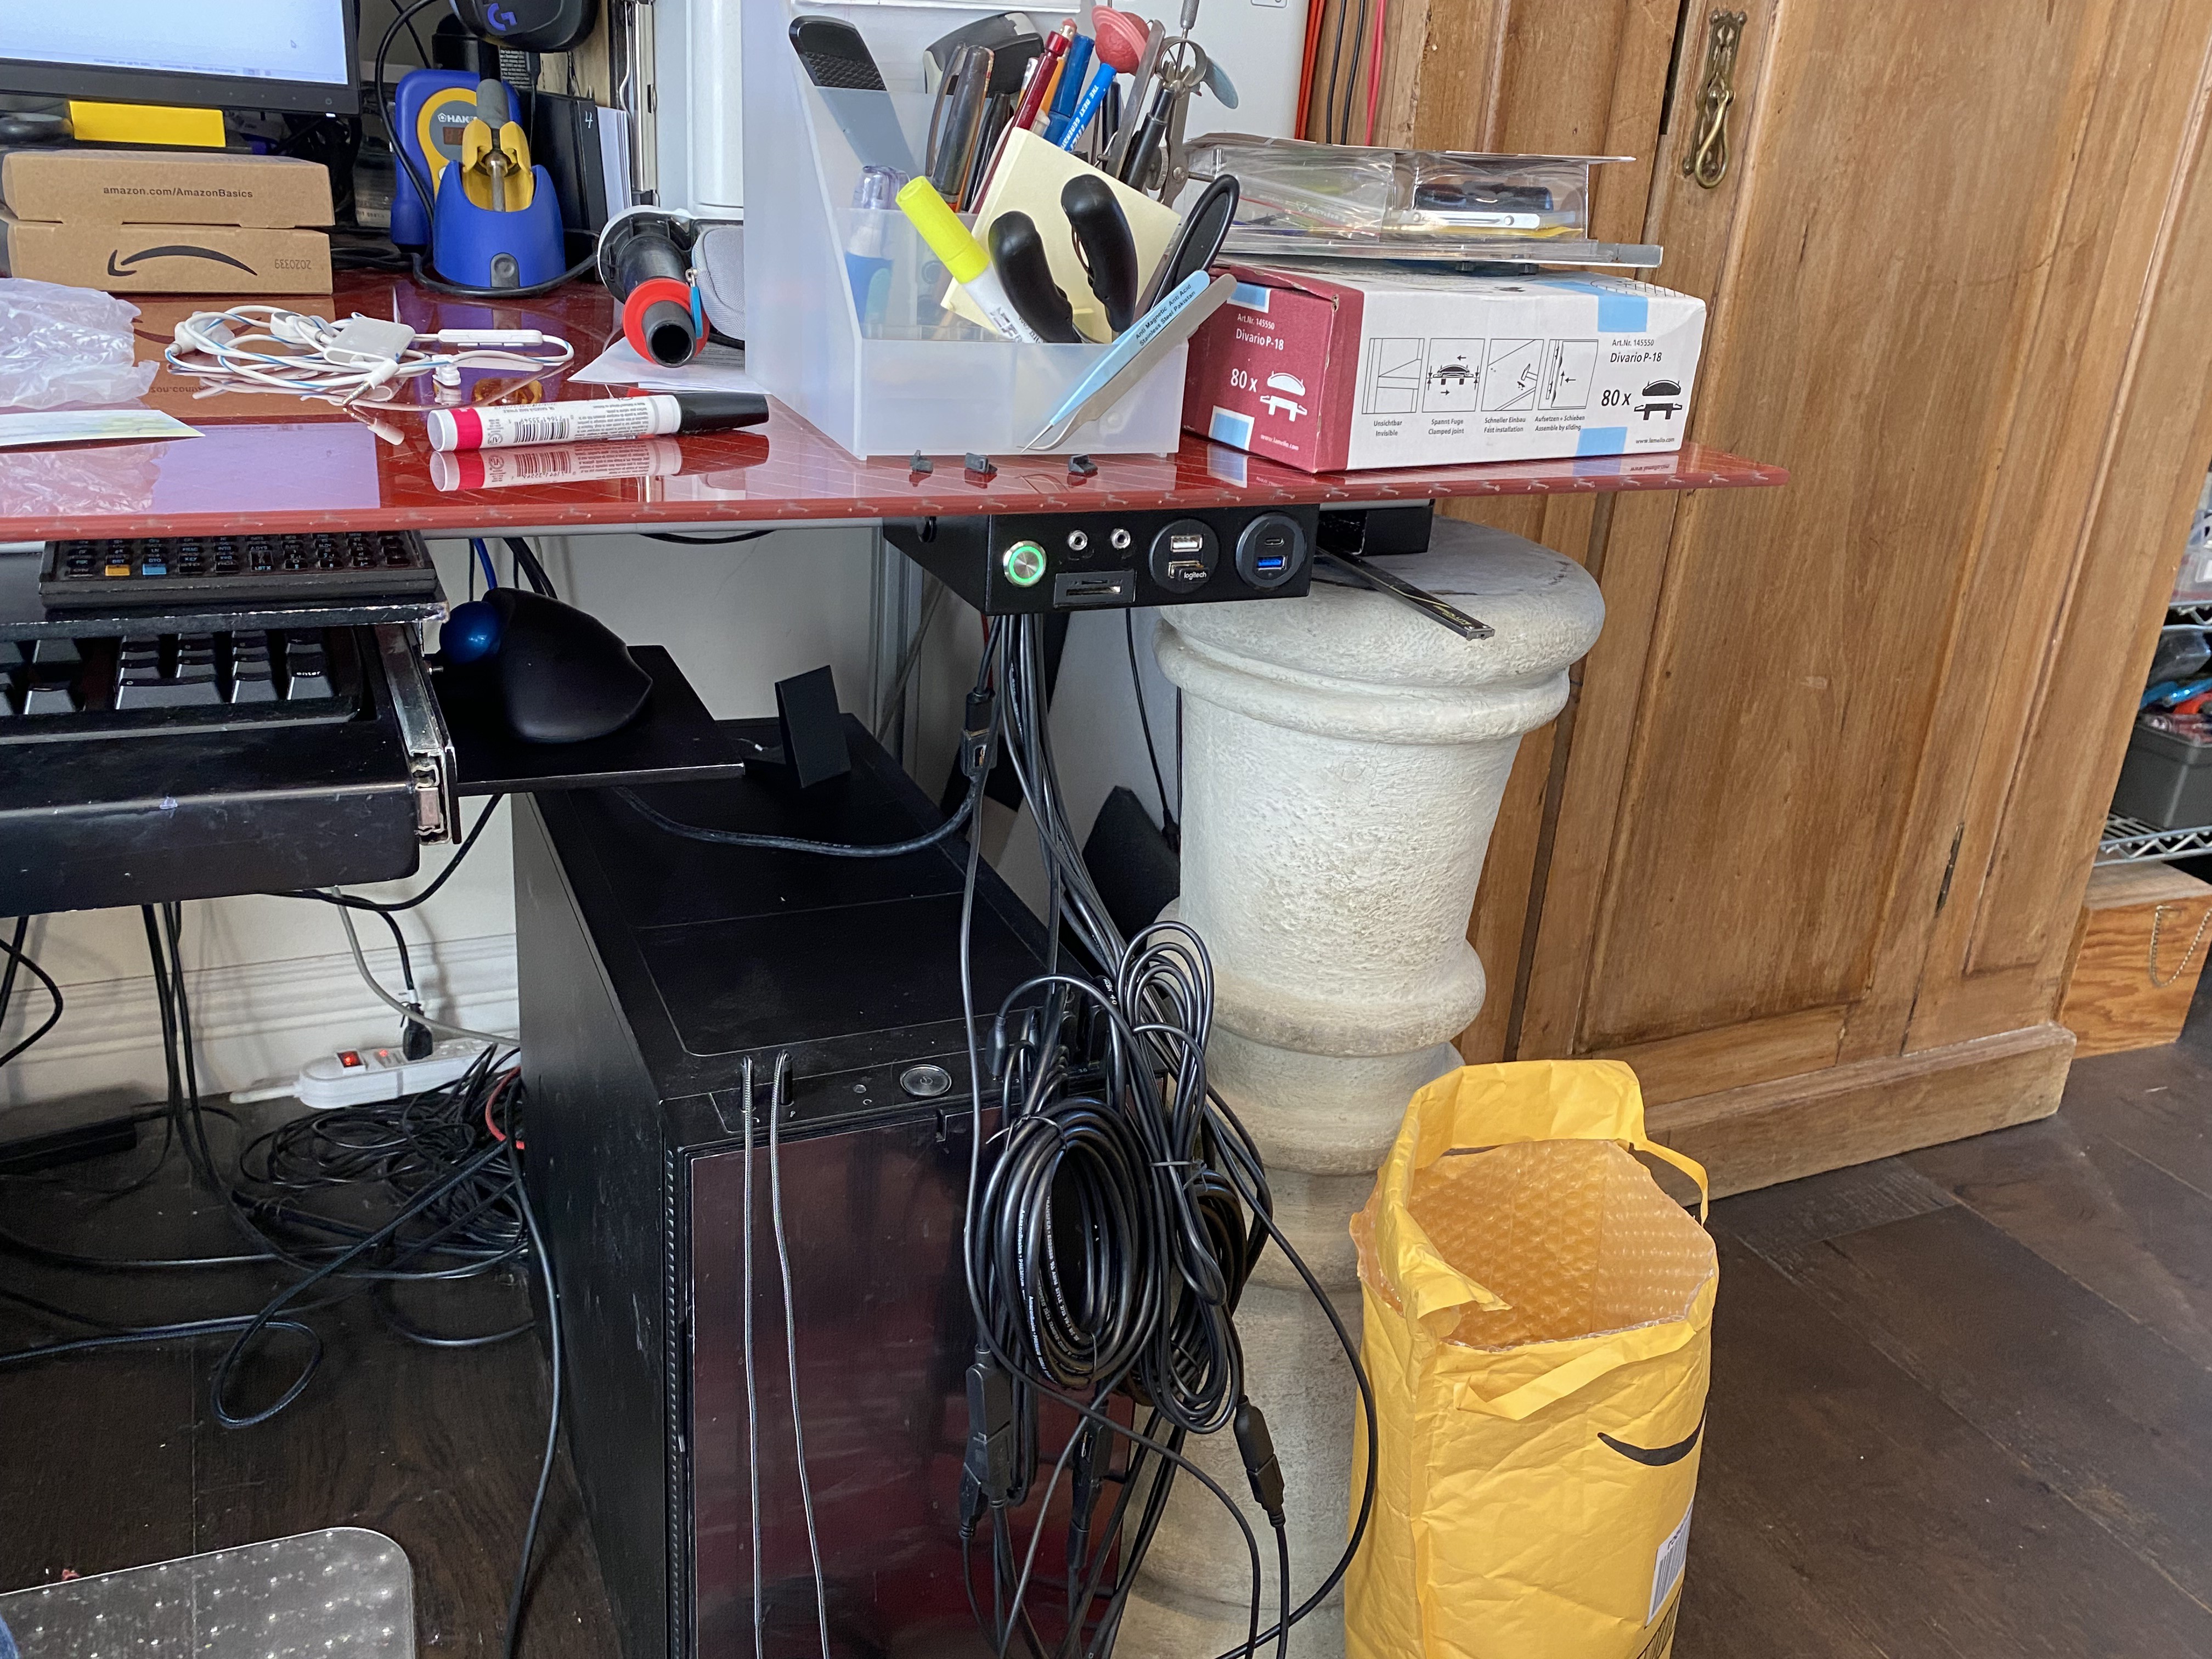
I pack a lot of functionality into my workspace, and I've grown increasingly frustrated by the size and location of the volume my desktop PC takes (you can see it in this photo under the right side of the desk):
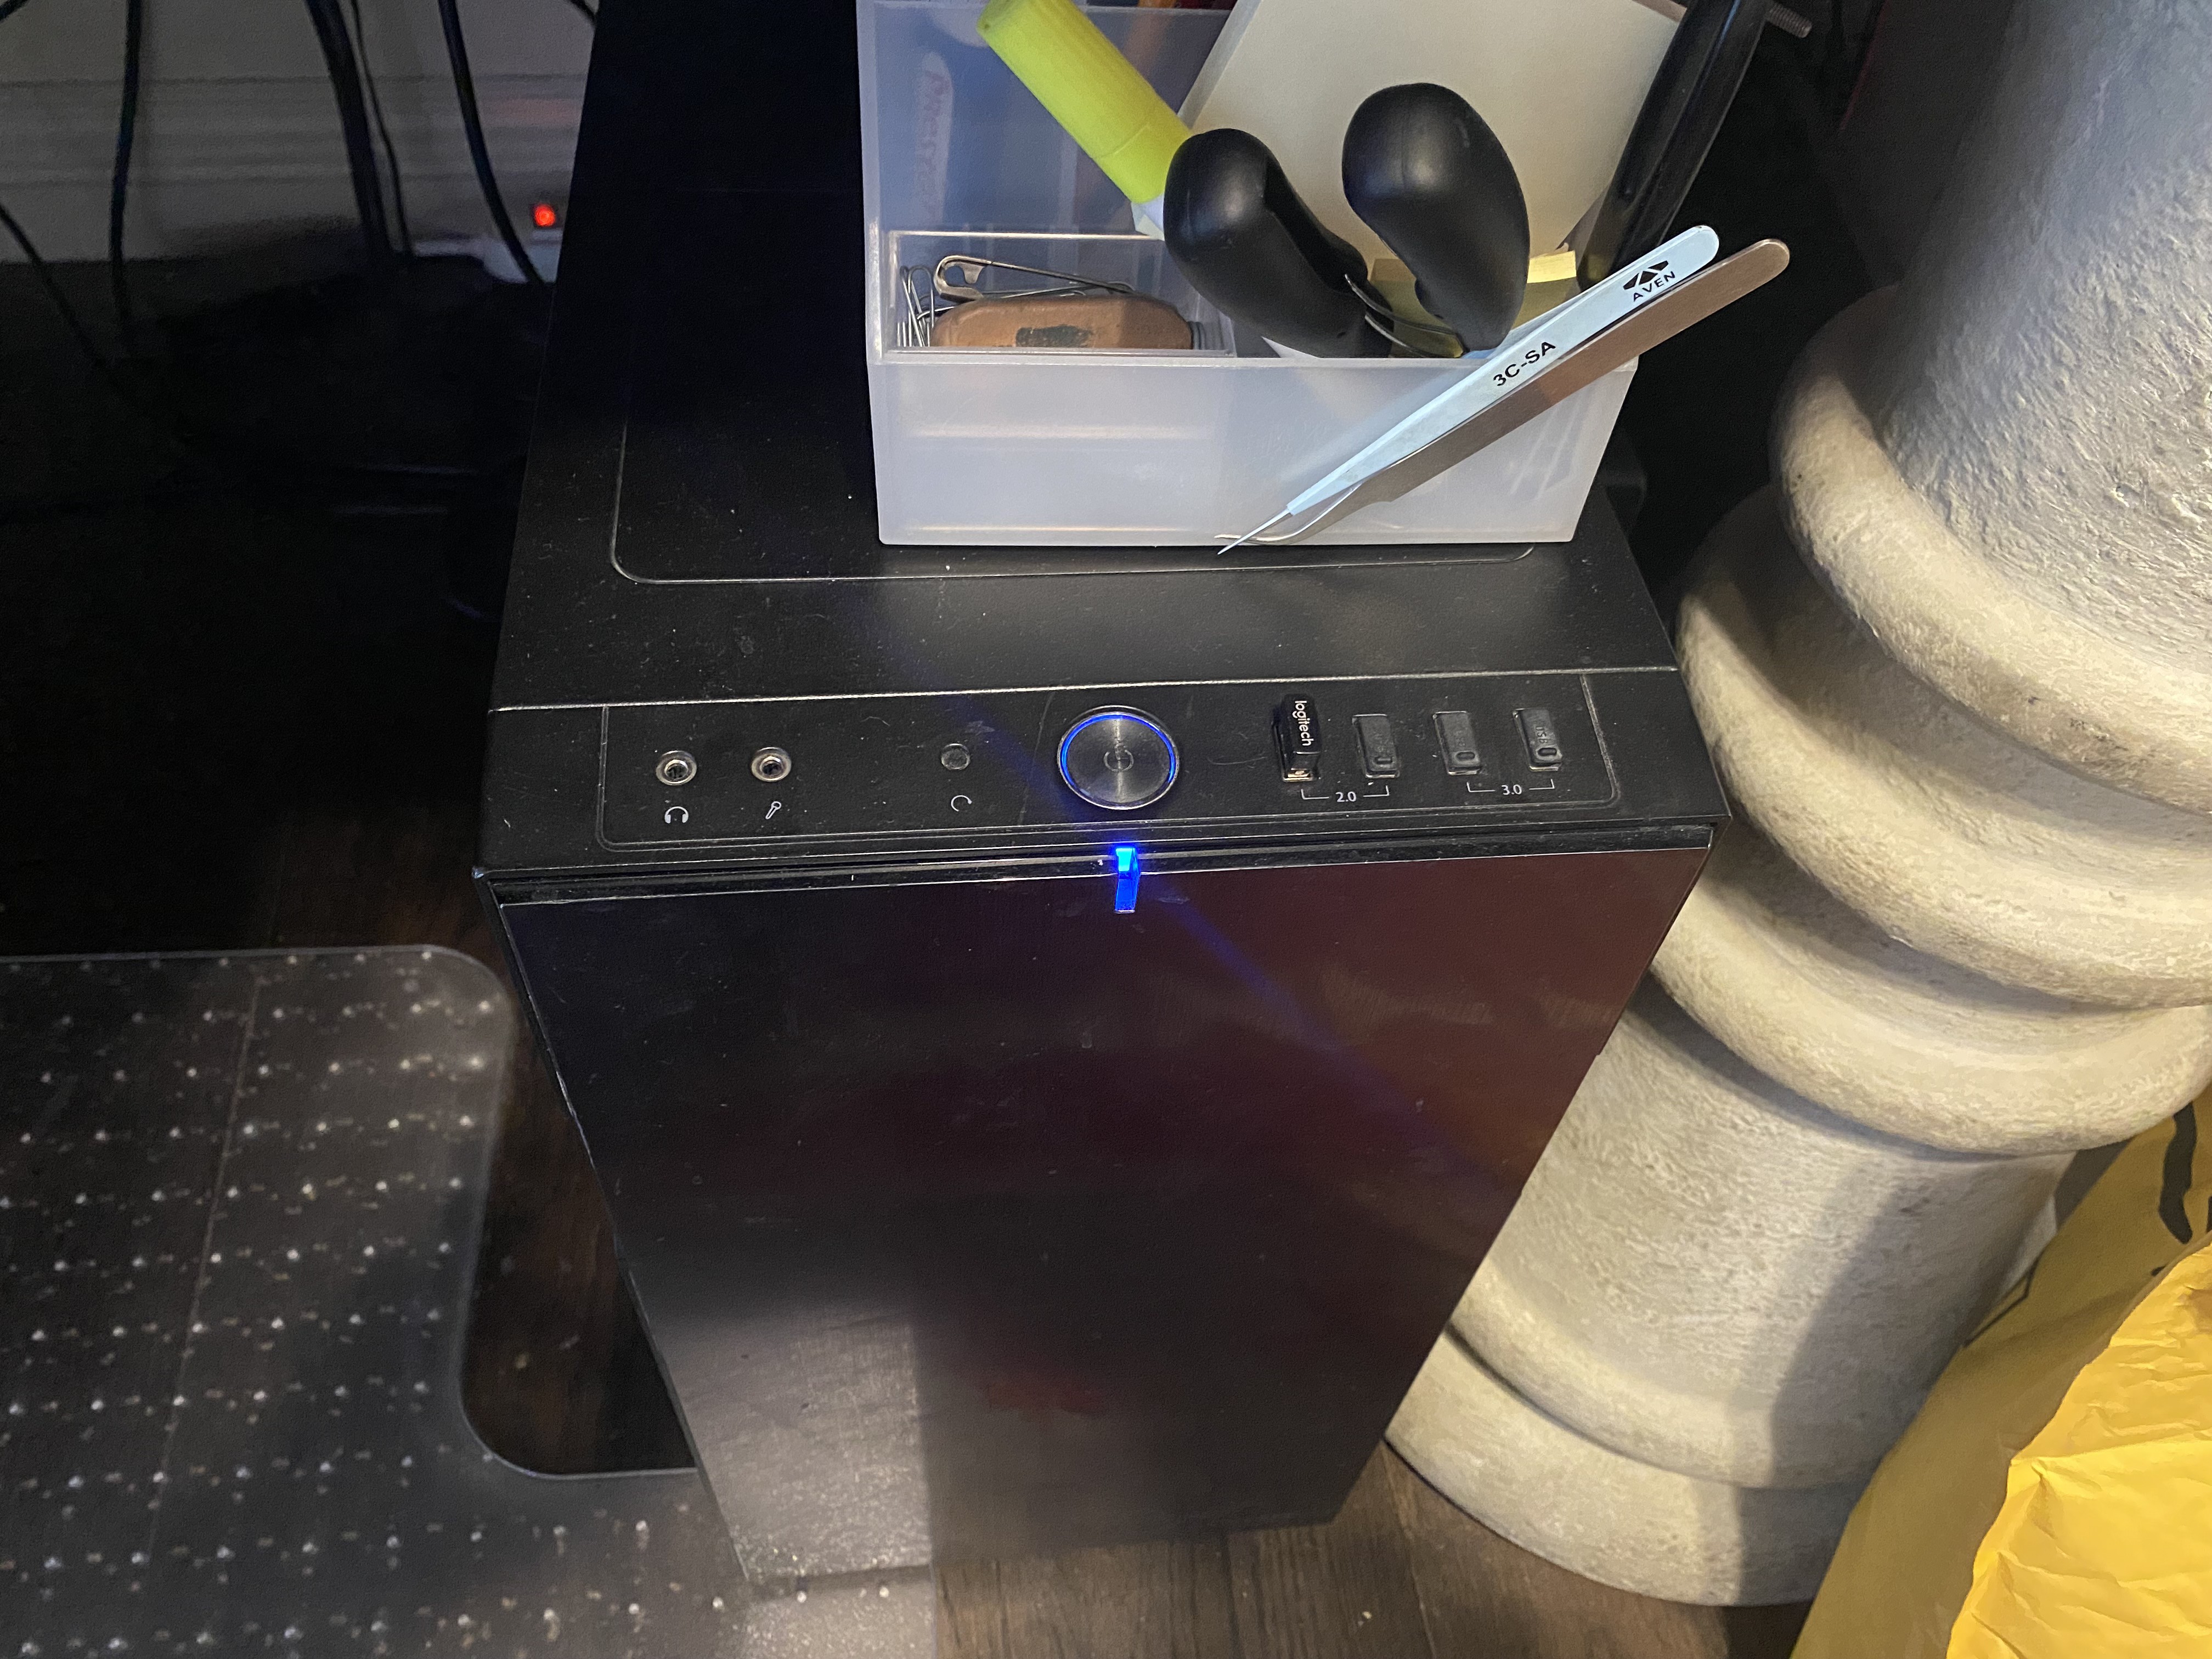
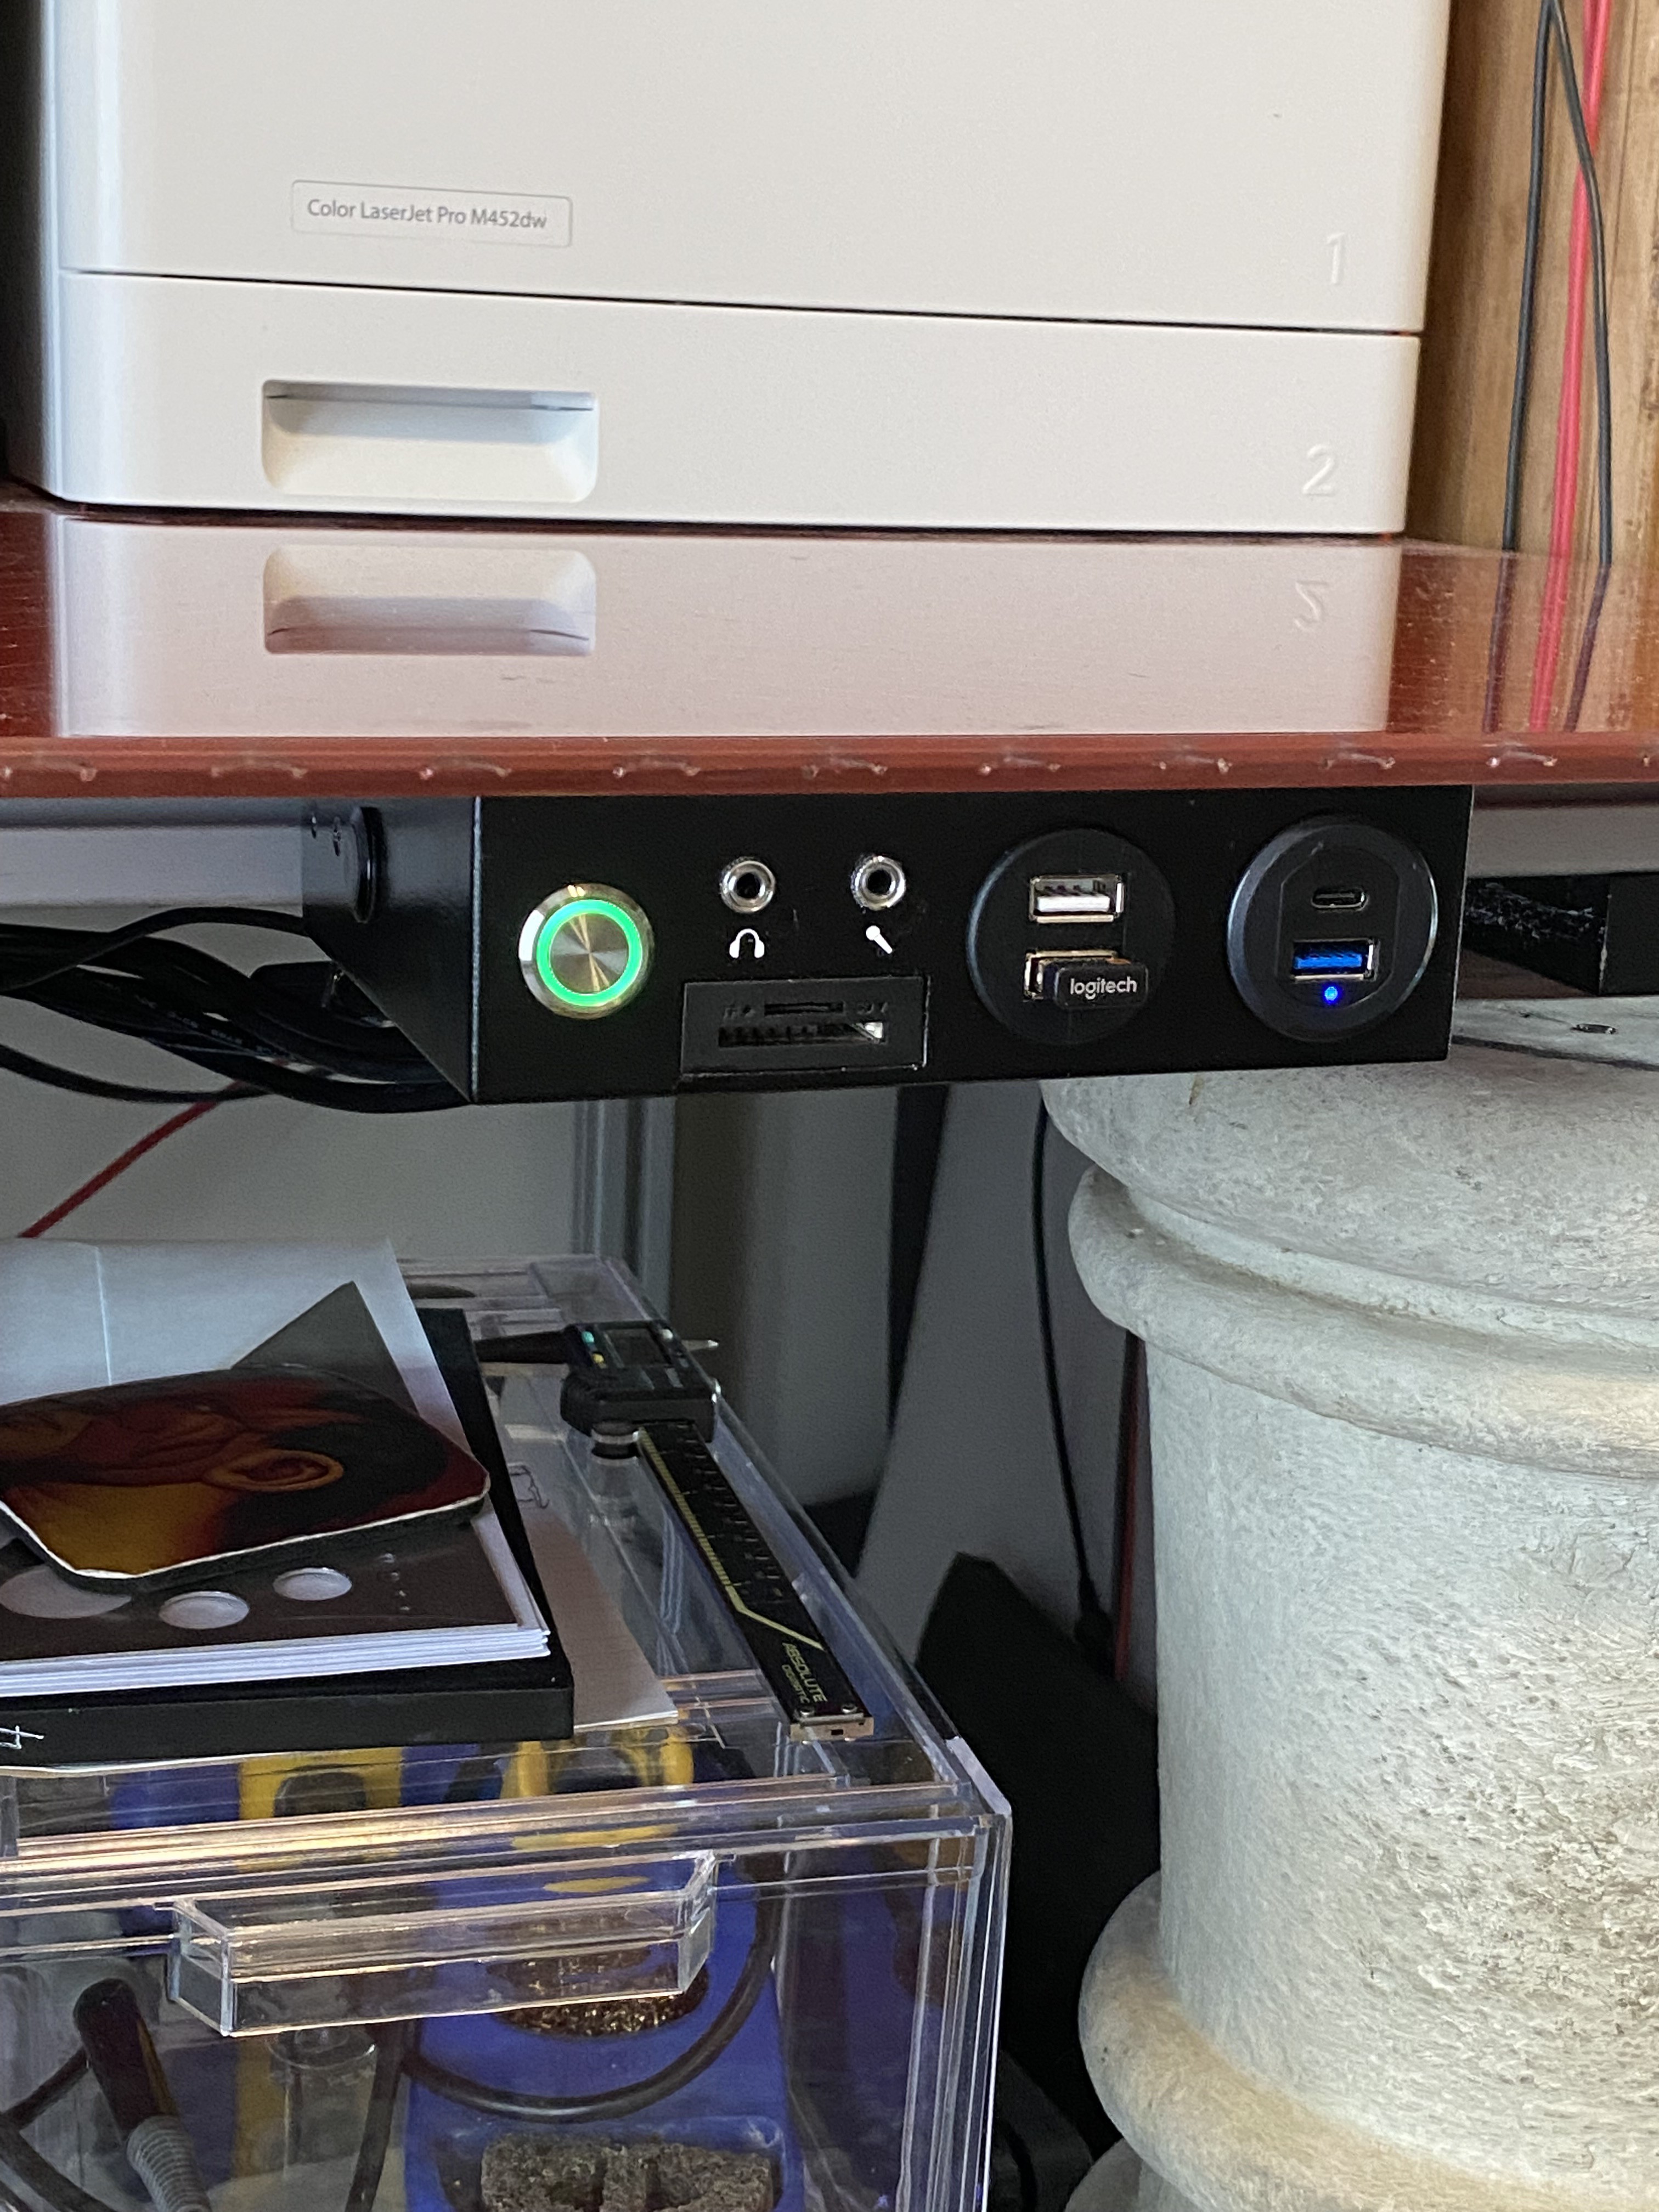
The only reason it needs to be there is so I can access the power button and, occasionally, the USB and audio ports, which are on the top of the case:
It gradually dawned on me that I could put those into a smaller box, mount it on the underside of the desktop, and connect them to the PC via cables. This would allow me to move the case to less valuable real estate at the back of the desk (still on the floor), and either enjoy more space when I'm sitting at the desk, or put some storage there that would be more useful than the PC.
Such things already exist commercially, but I couldn't find one with all the features I wanted:
- Power button
- Reset button
- 2 x USB 2.0 ports
- 2 x USB 3.0 ports
- Headphone jack
- Microphone jack
- SD/MicroSD card reader (this isn't built into my current PC, but I decided it would be nice to have as part of this build).
This "Remote Control Head" (RCH) could be quickly and easily assembled out of COTS (commercial off-the-shelf) components. The only speed bumps would be the enclosure (which would have to be designed and 3D printed) and the power and reset buttons (which would require connections to the PC's motherboard and, therefore, penetration of the case):
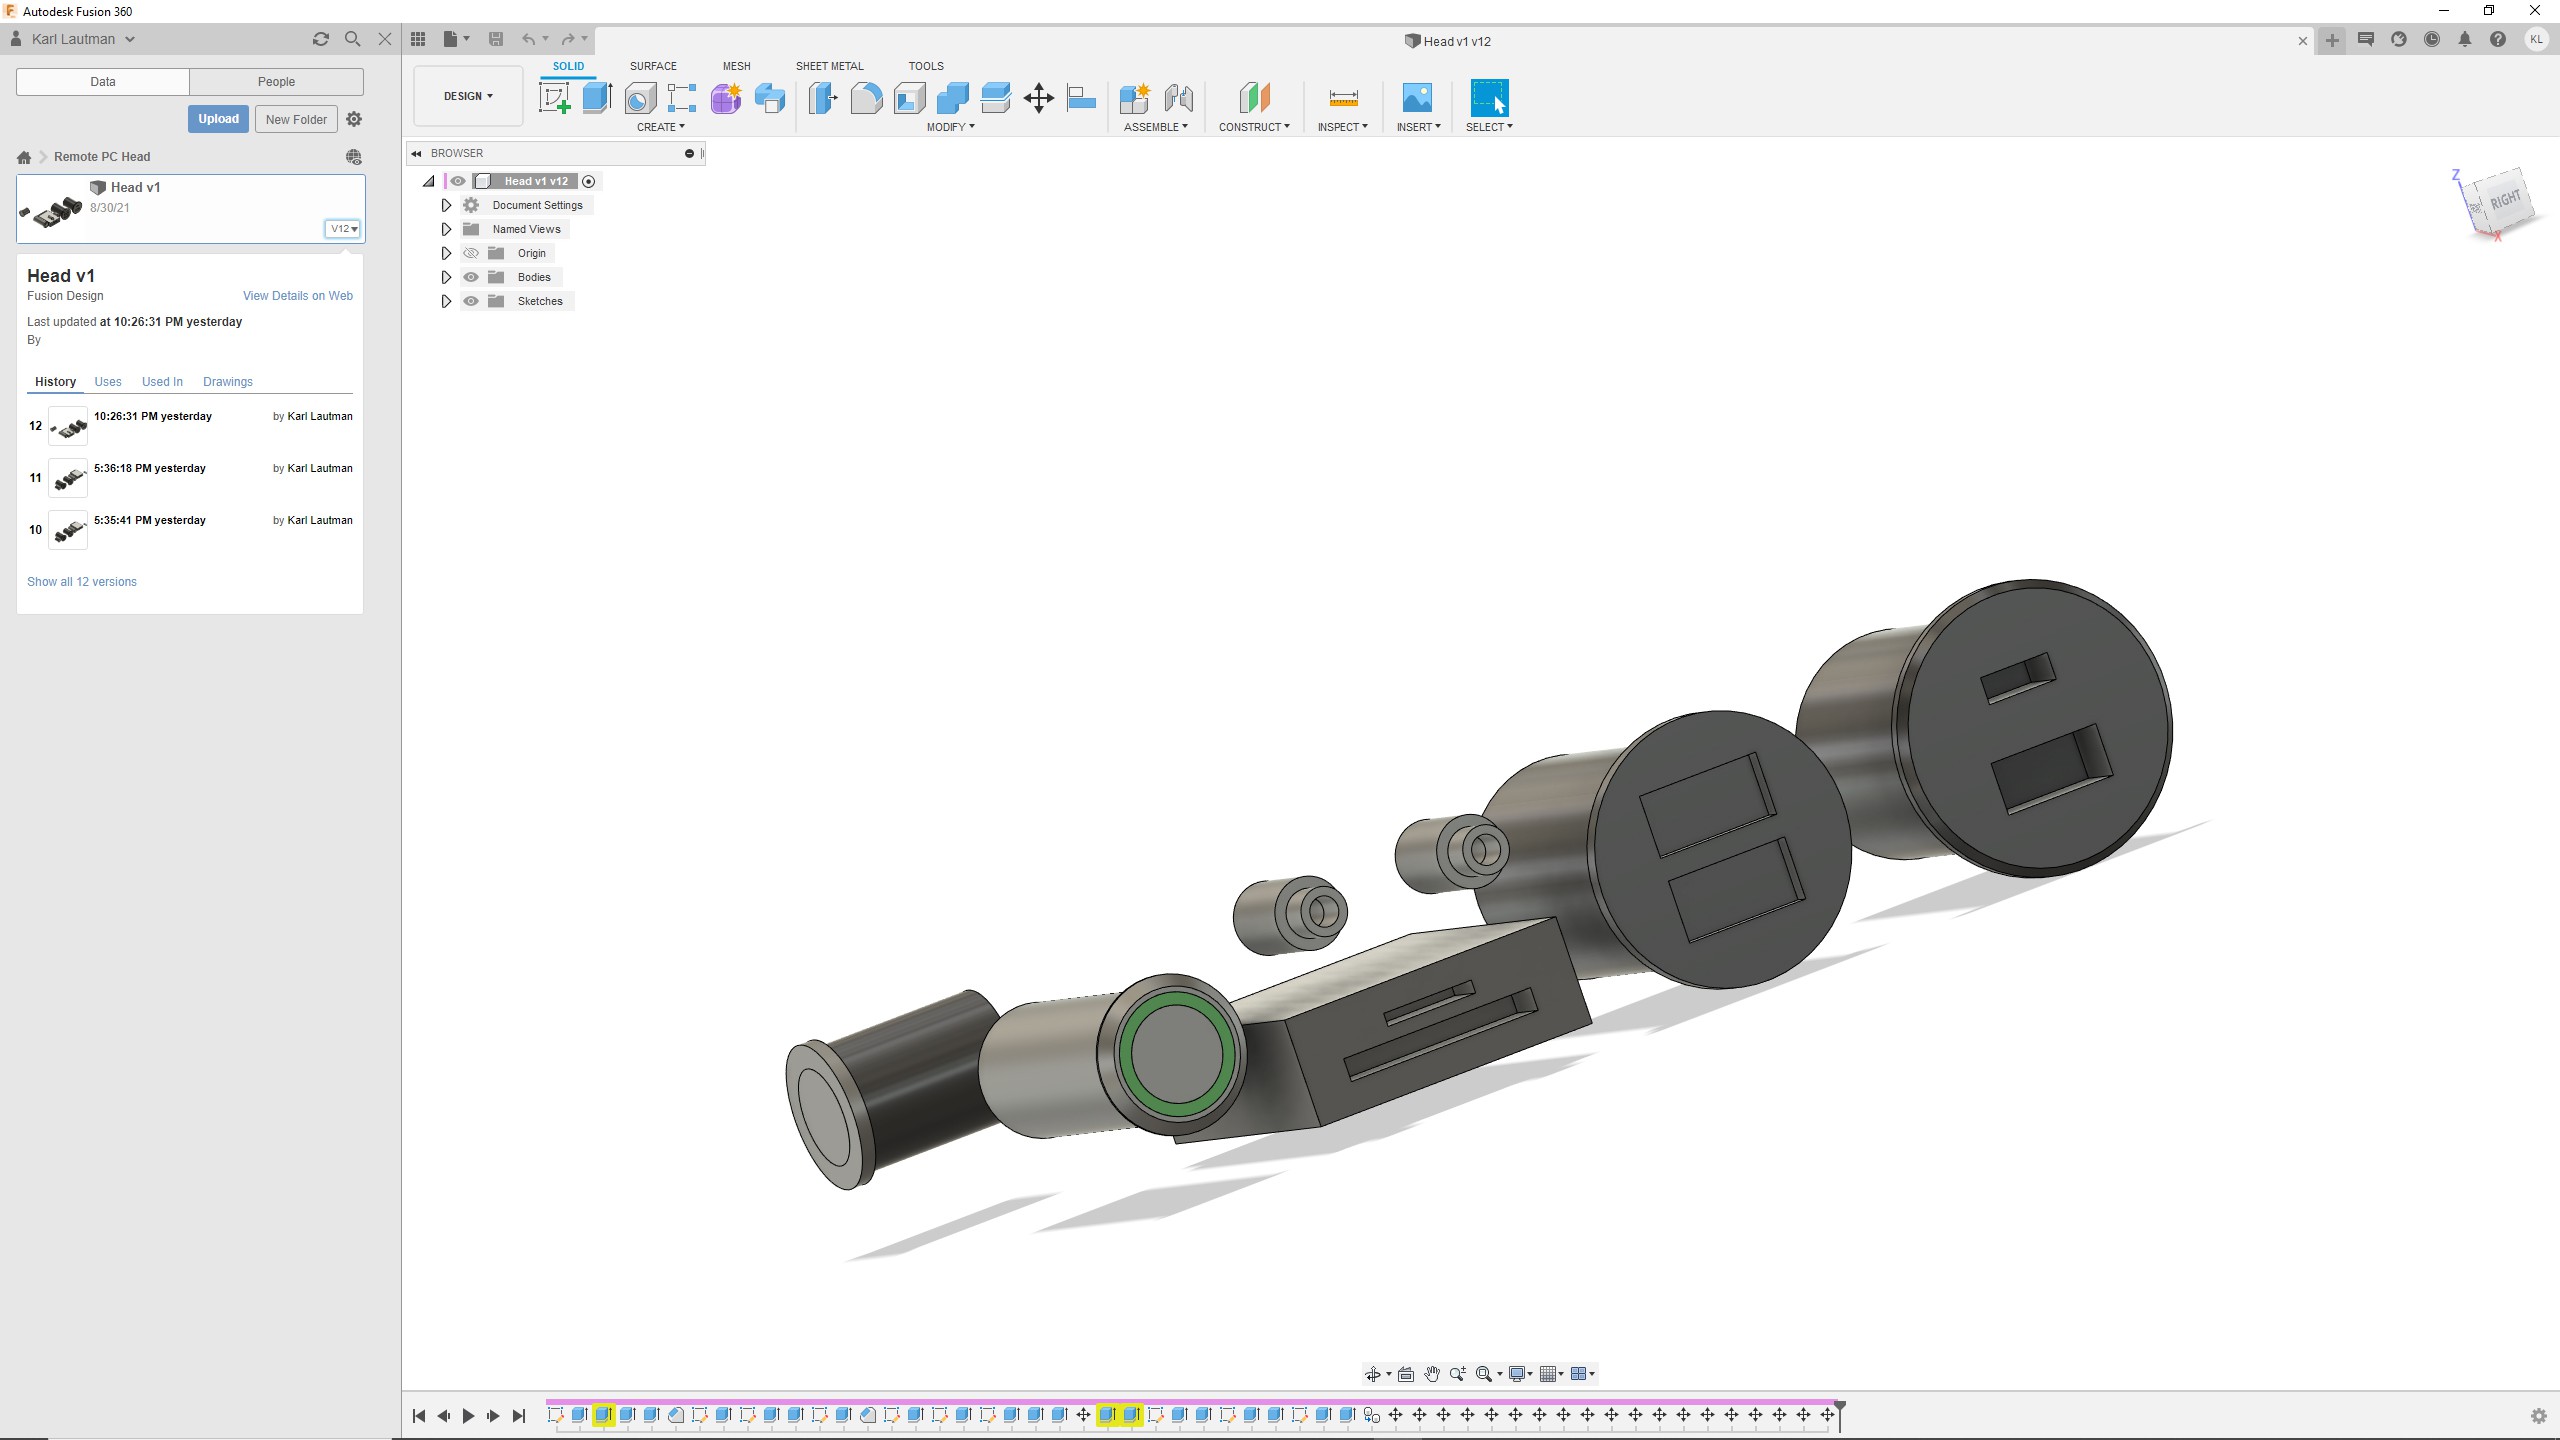
After settling on the specific components, I created models for all of them in Fusion 360 and began moving them around to find an optimal configuration:
I then drew a box around them and used them to cut their own mounting holes. Here's a render:
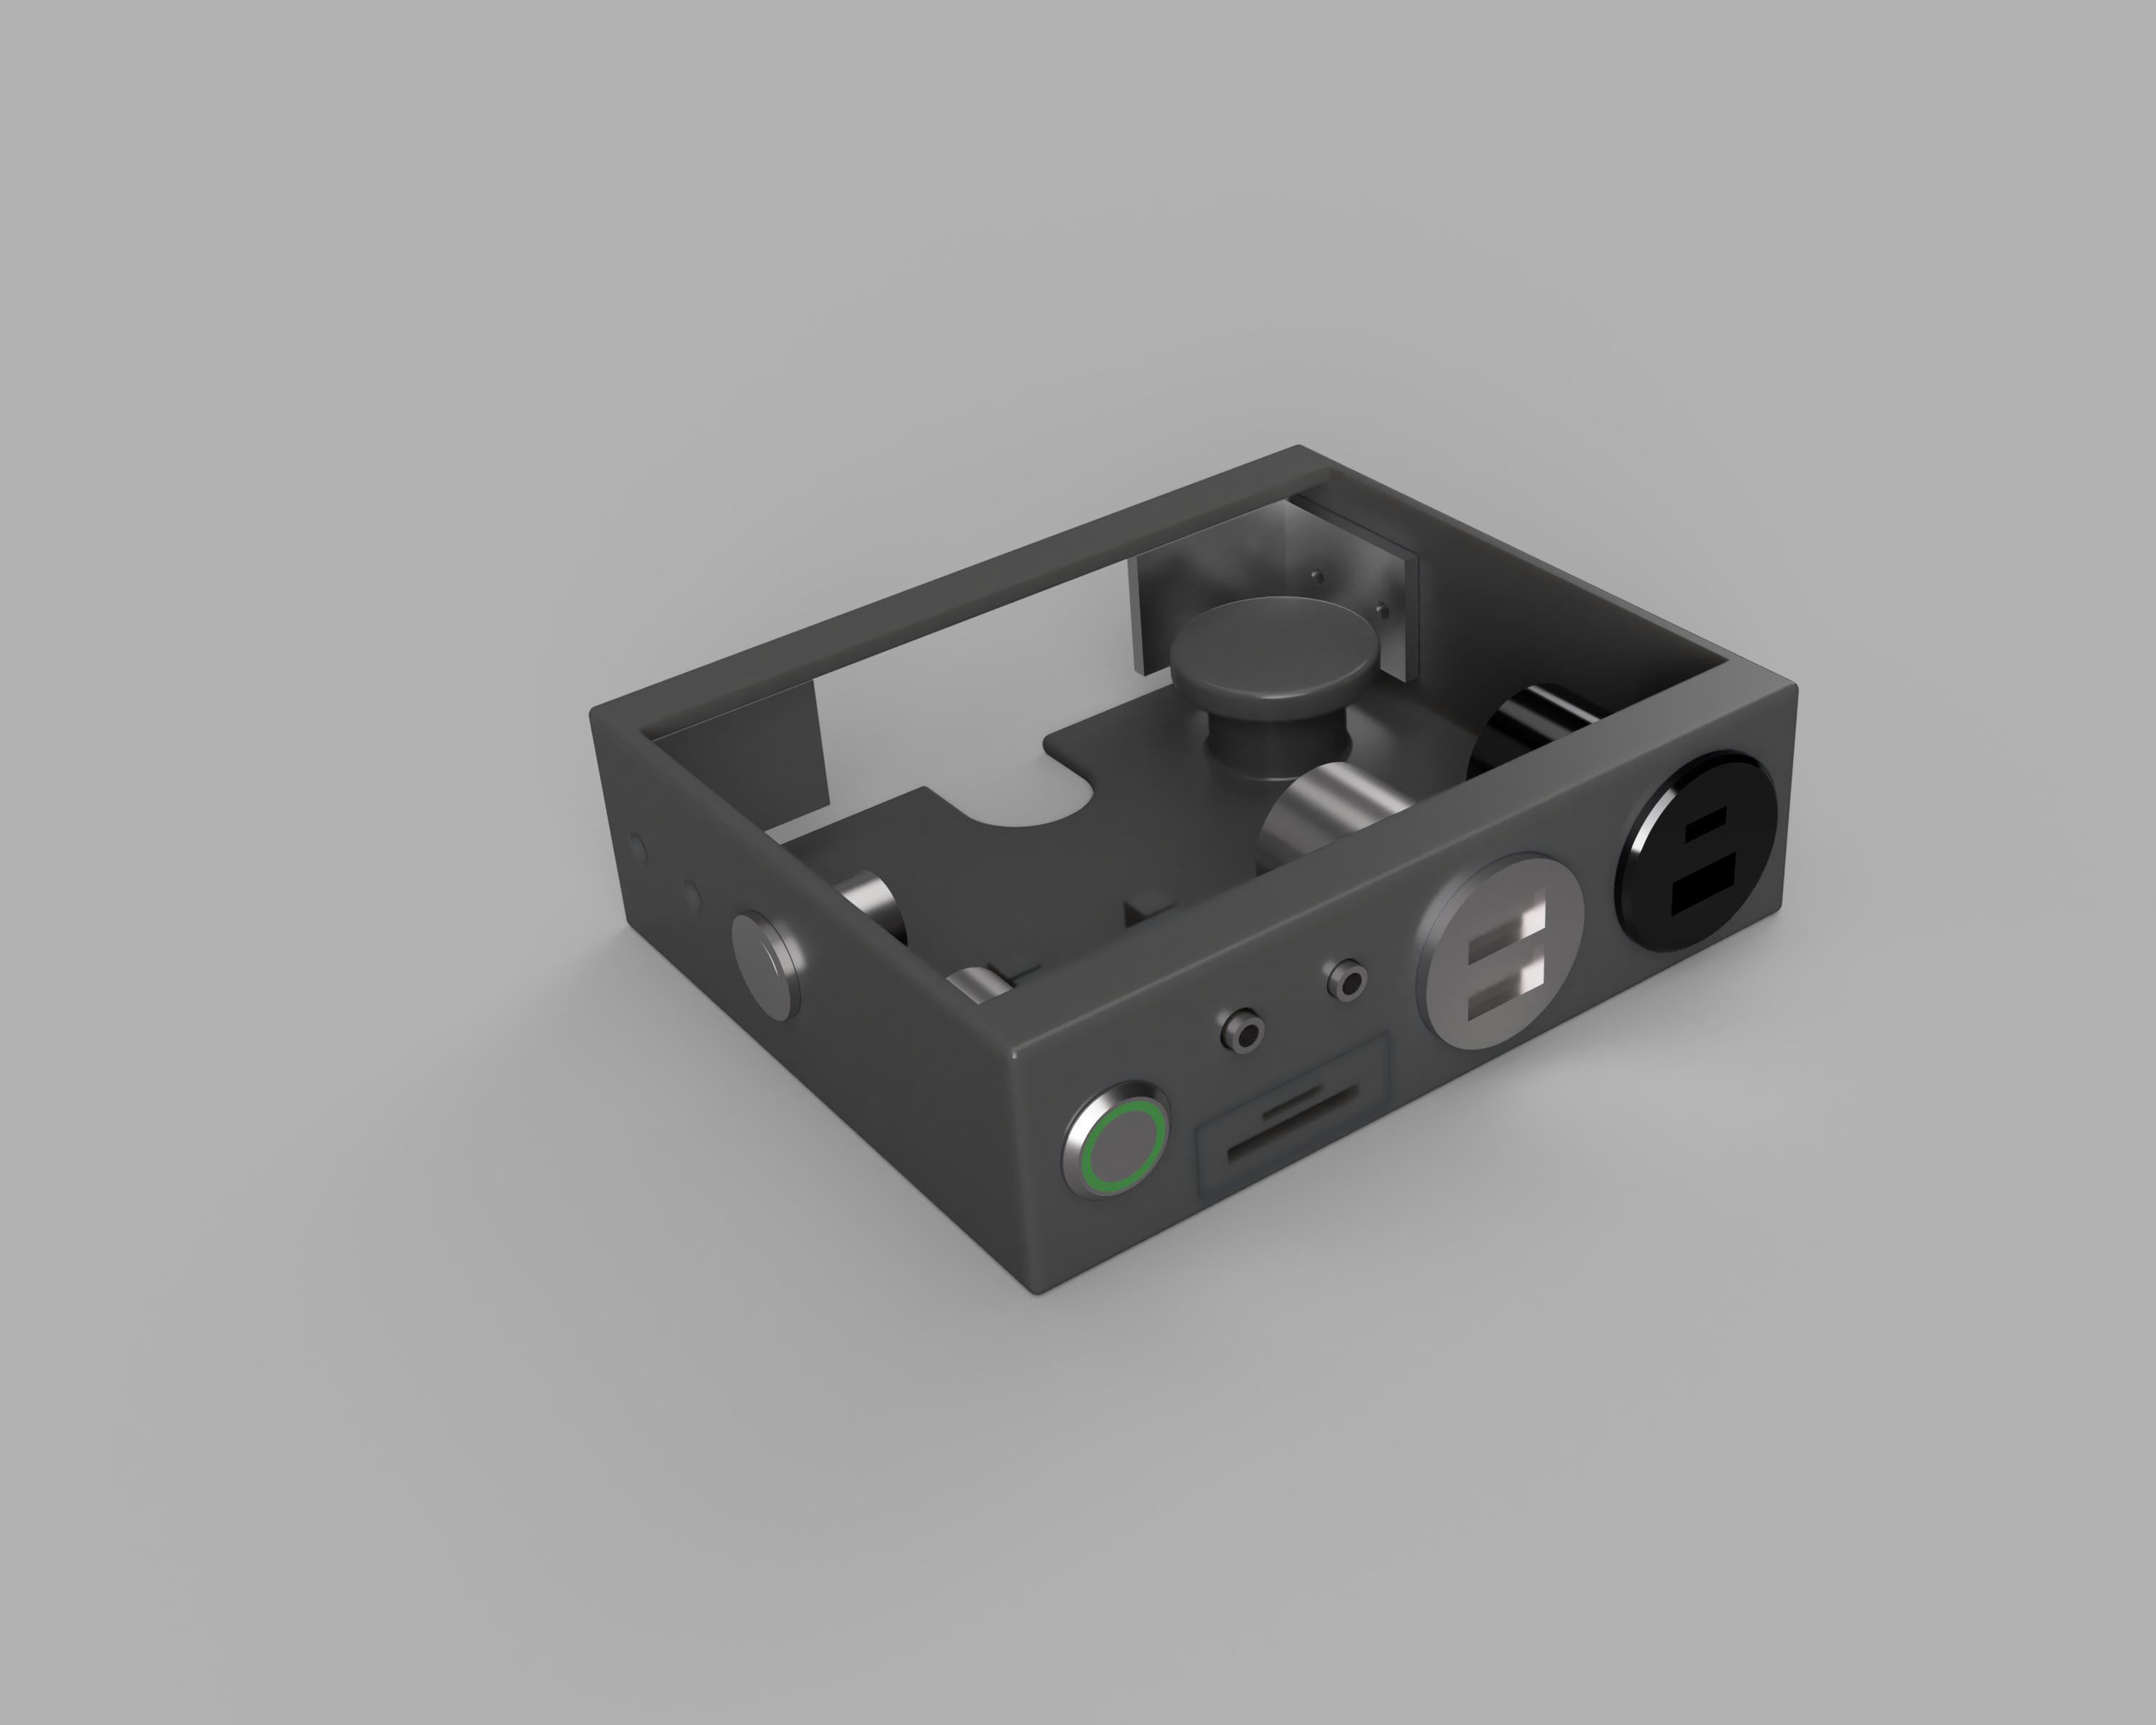
That mushroom-like object is for strain-relief. The cables could be wrapped around it (or lashed to it) to prevent any tugs from stressing or disconnecting the connections.
I designed the desk as a sheet of wire-reinforced glass resting on a frame of 80/20 aluminum extrusions. The RCH was designed to mount to the front face of one of these extrusions via brackets, which you can see at the rear of the box in the render (two screws pass through each side of the box into the corresponding bracket). Here's what the brackets look like attached to the extrusion:

Since the extrusion effectively seals the rear of the box (and the glass seals the top), the U-shaped cutout at the bottom-rear of the box provides egress for the cables.
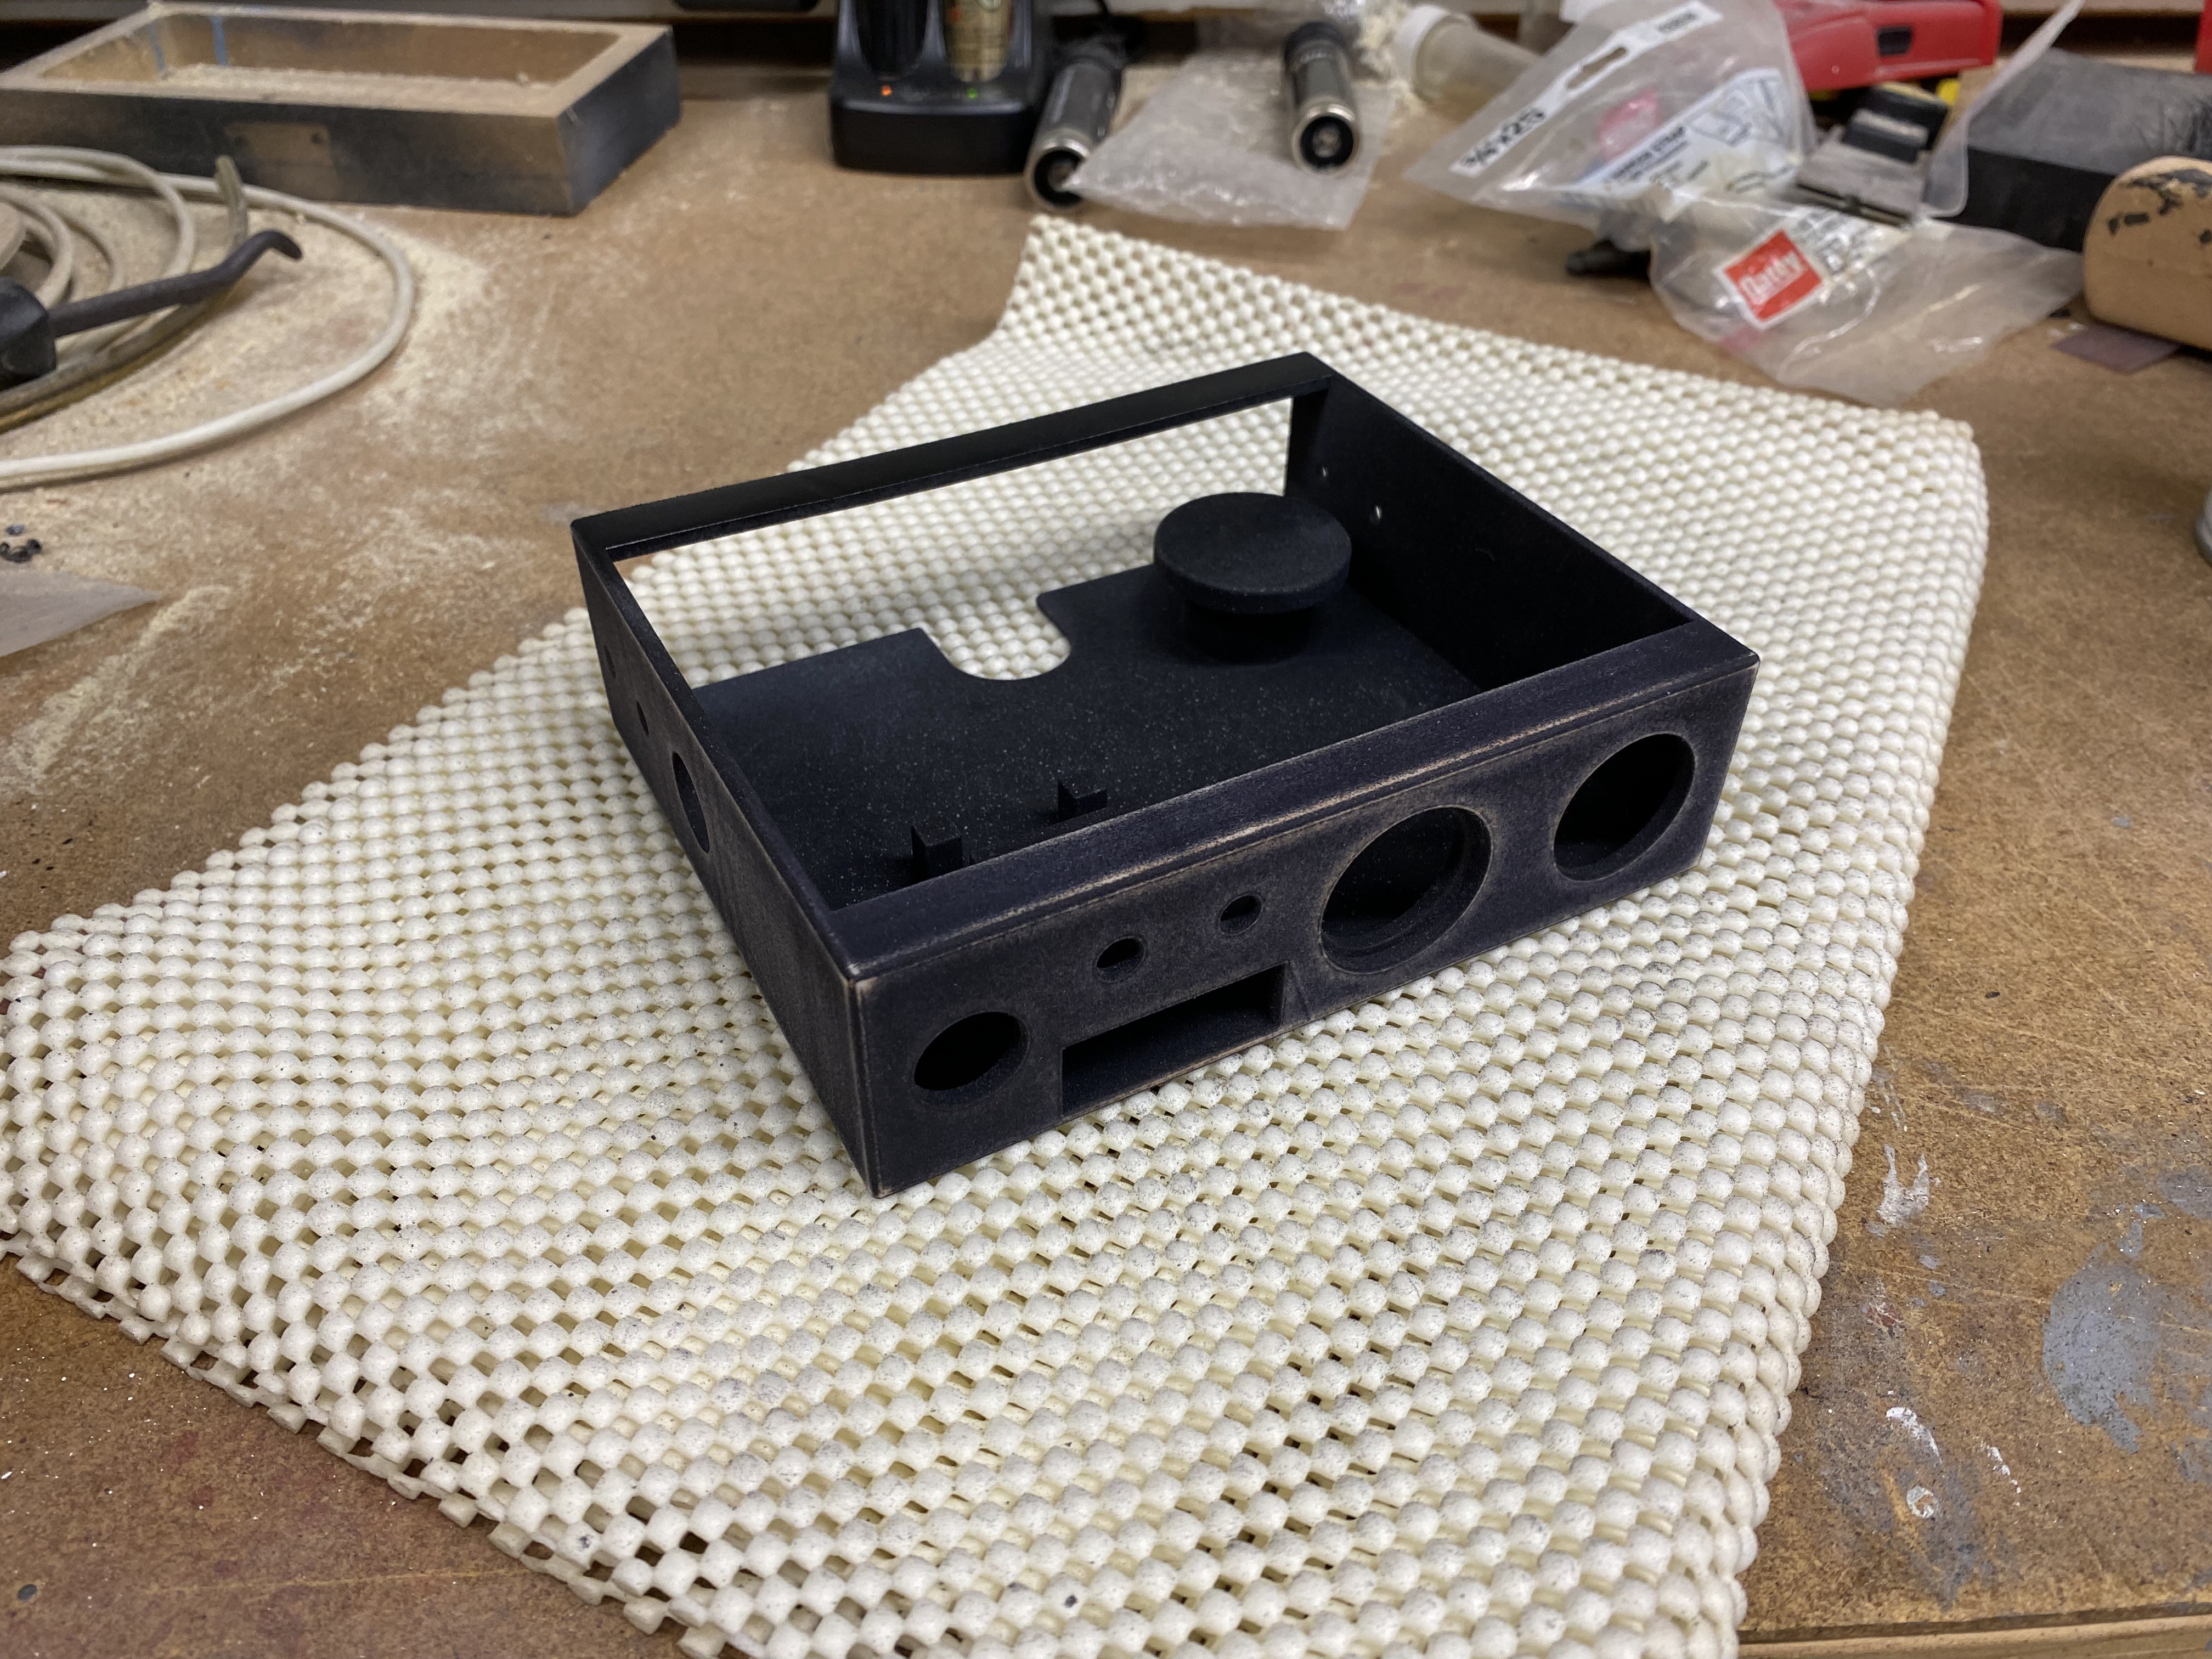
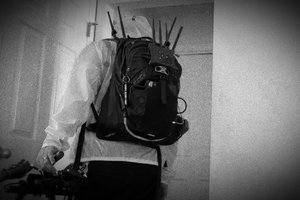
I knew I wanted the box to be black, so I ordered it from Shapeways in their least-expensive black material, with no finishing, optimistically hoping I'd be able to use it as-is. No such luck:

It wasn't actually fuzzy the way it looks in that photo; that's an artifact of cranking up the contrast to show the roughness. I didn't really mind the texture, except that it would collect dust and be hard to clean. I wanted something smoother, which called for some sanding (why does black plastic turn white when you sand it?),
priming,
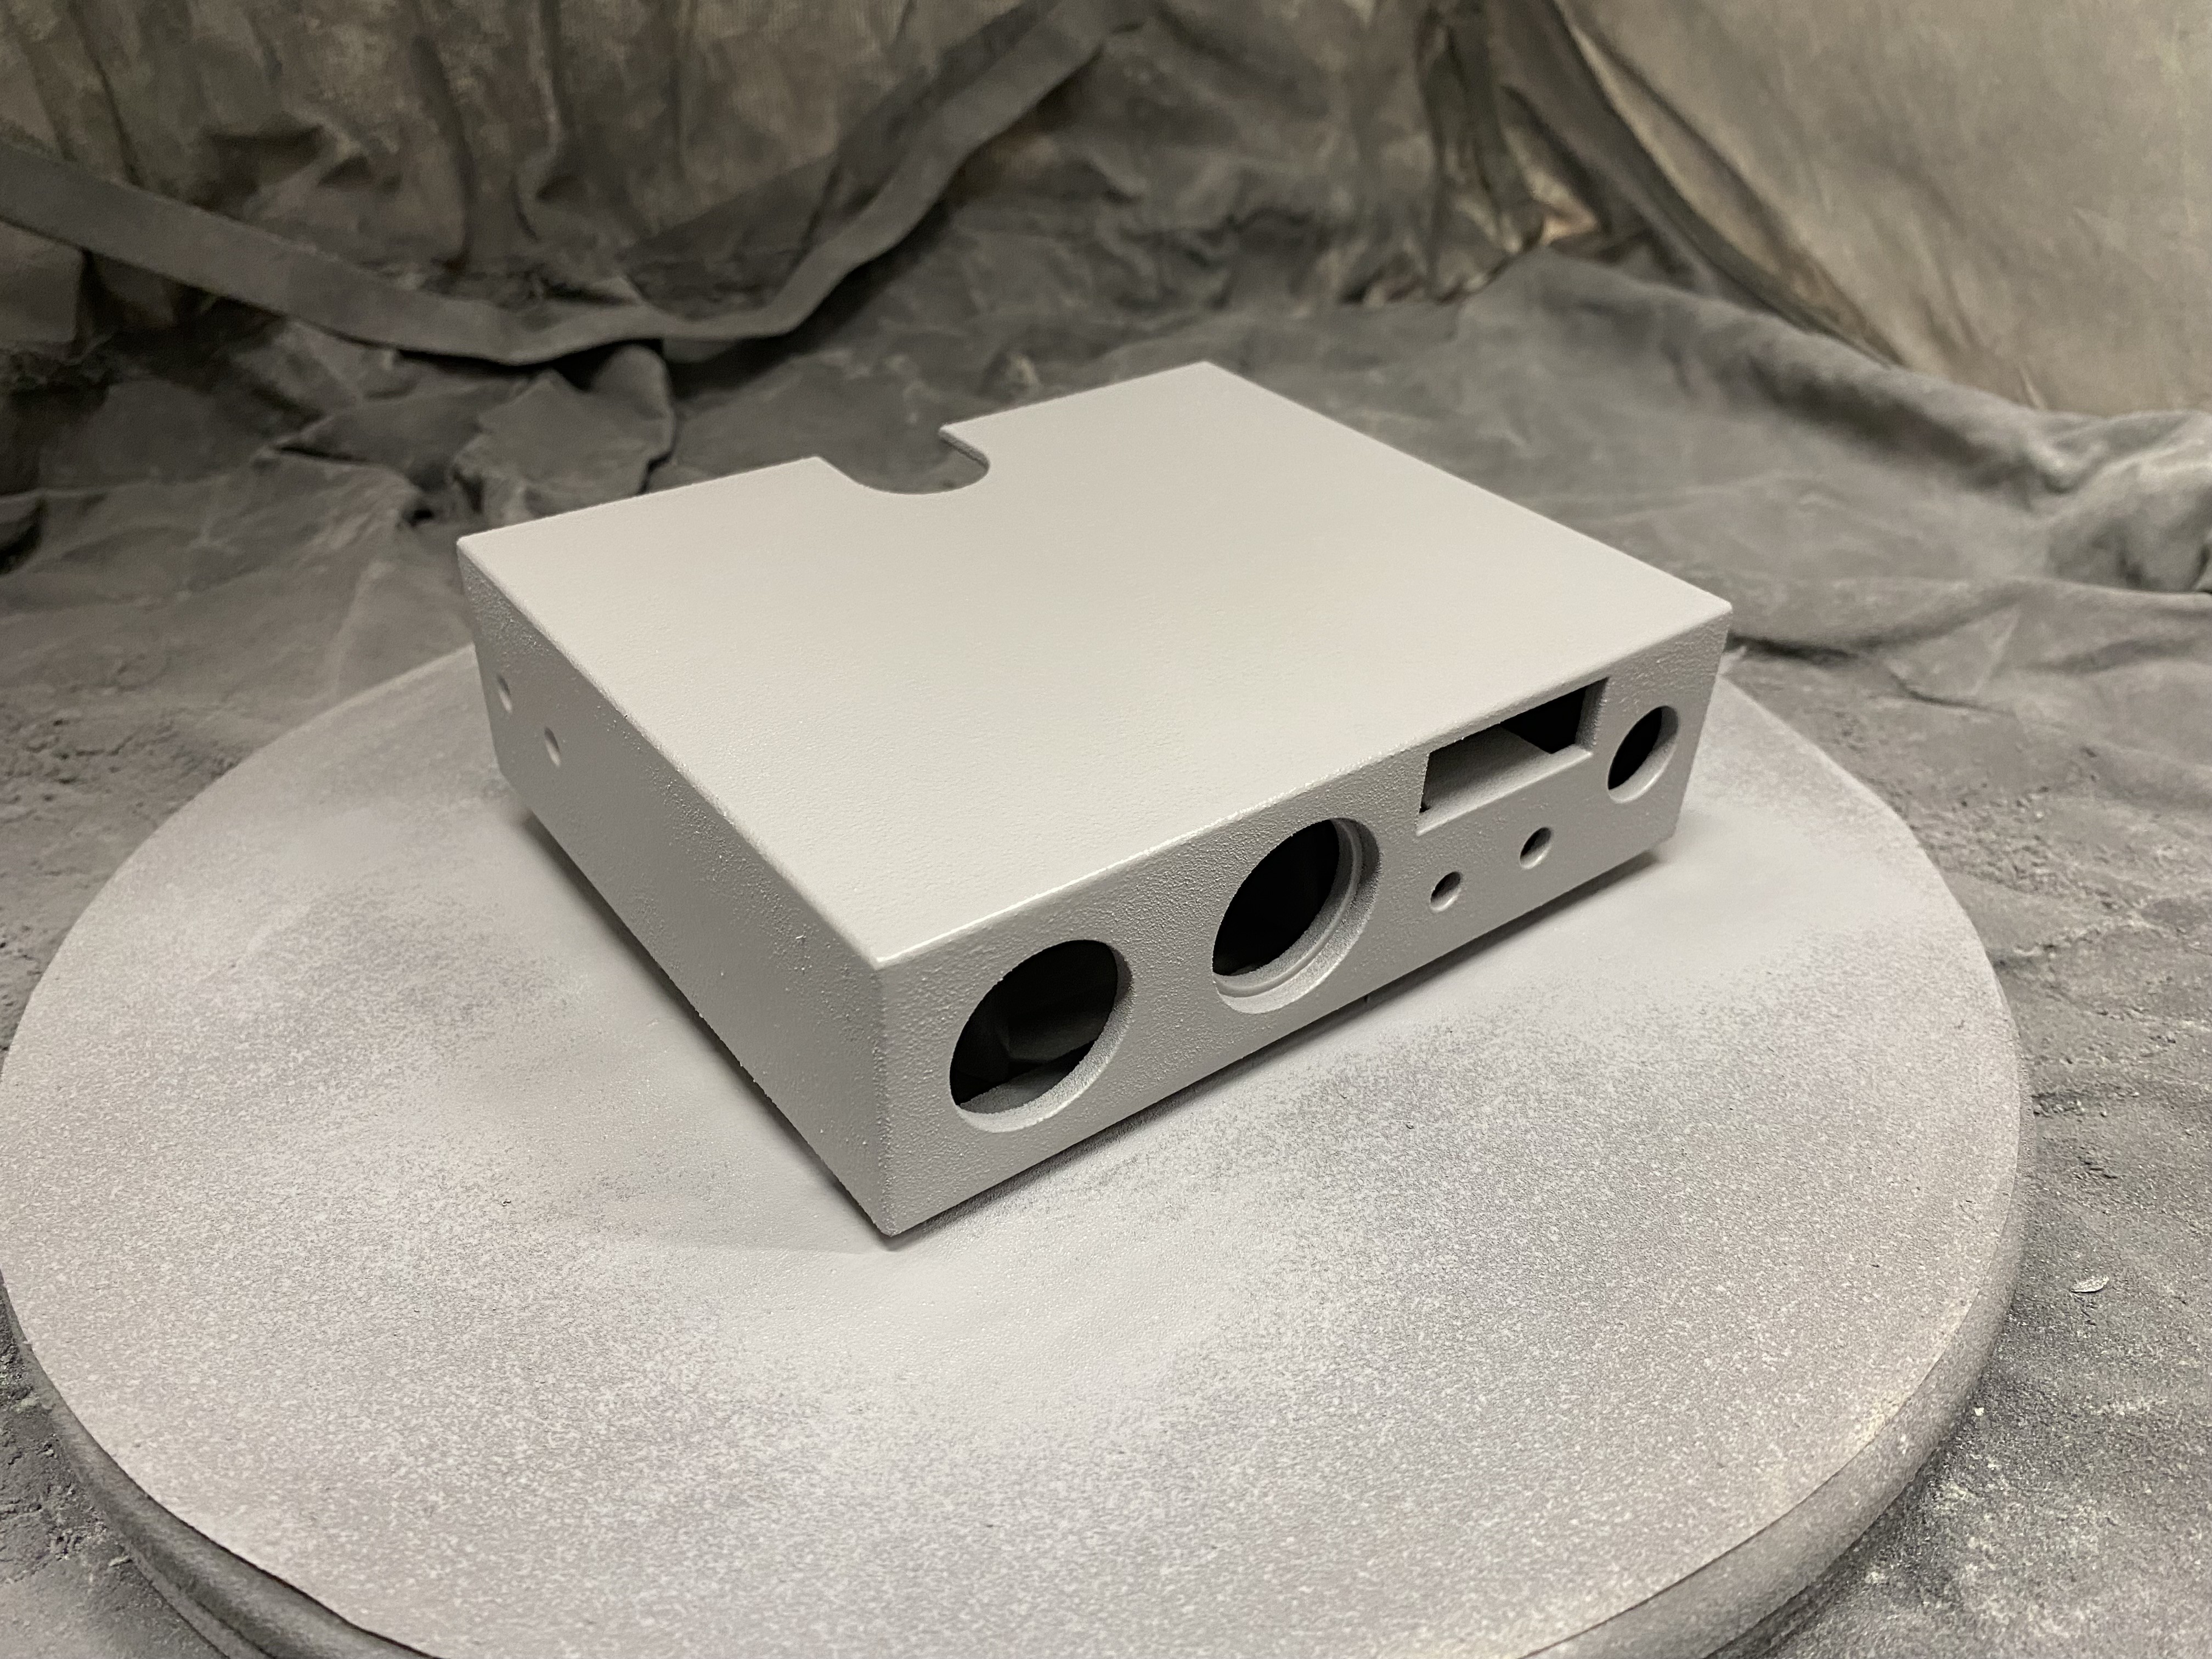
and, painting:
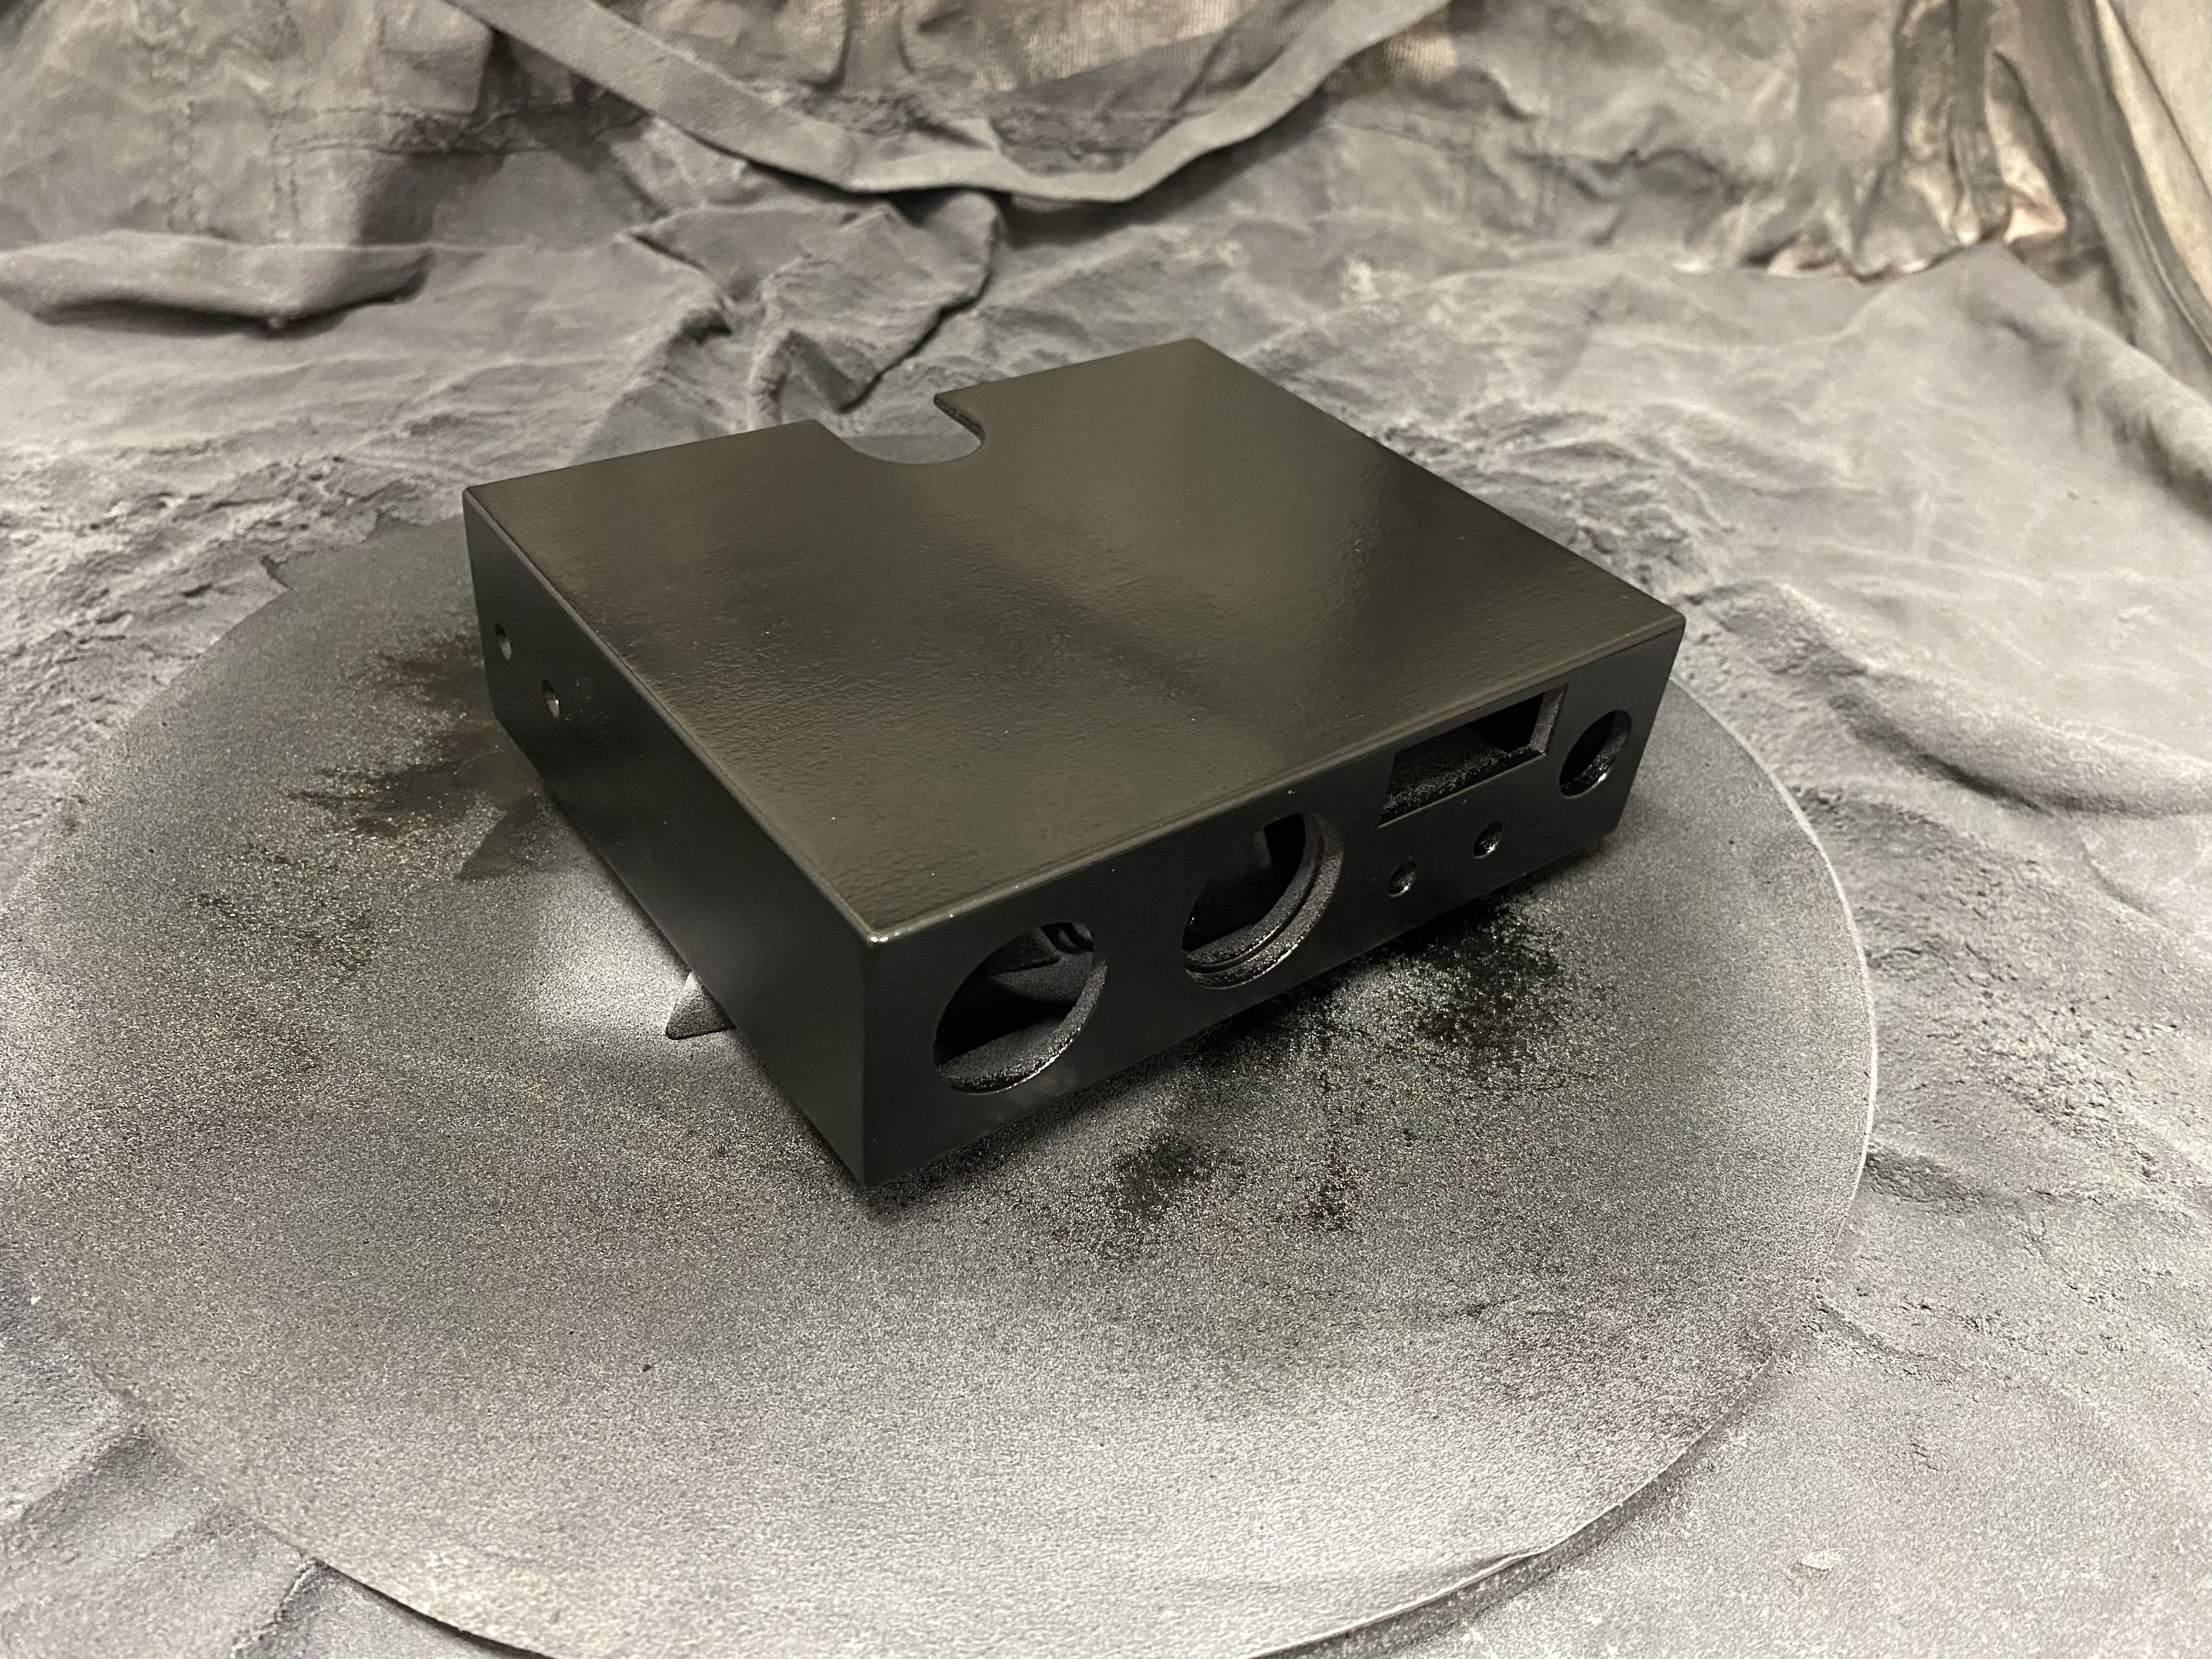
Here's what it looks like with the components installed:

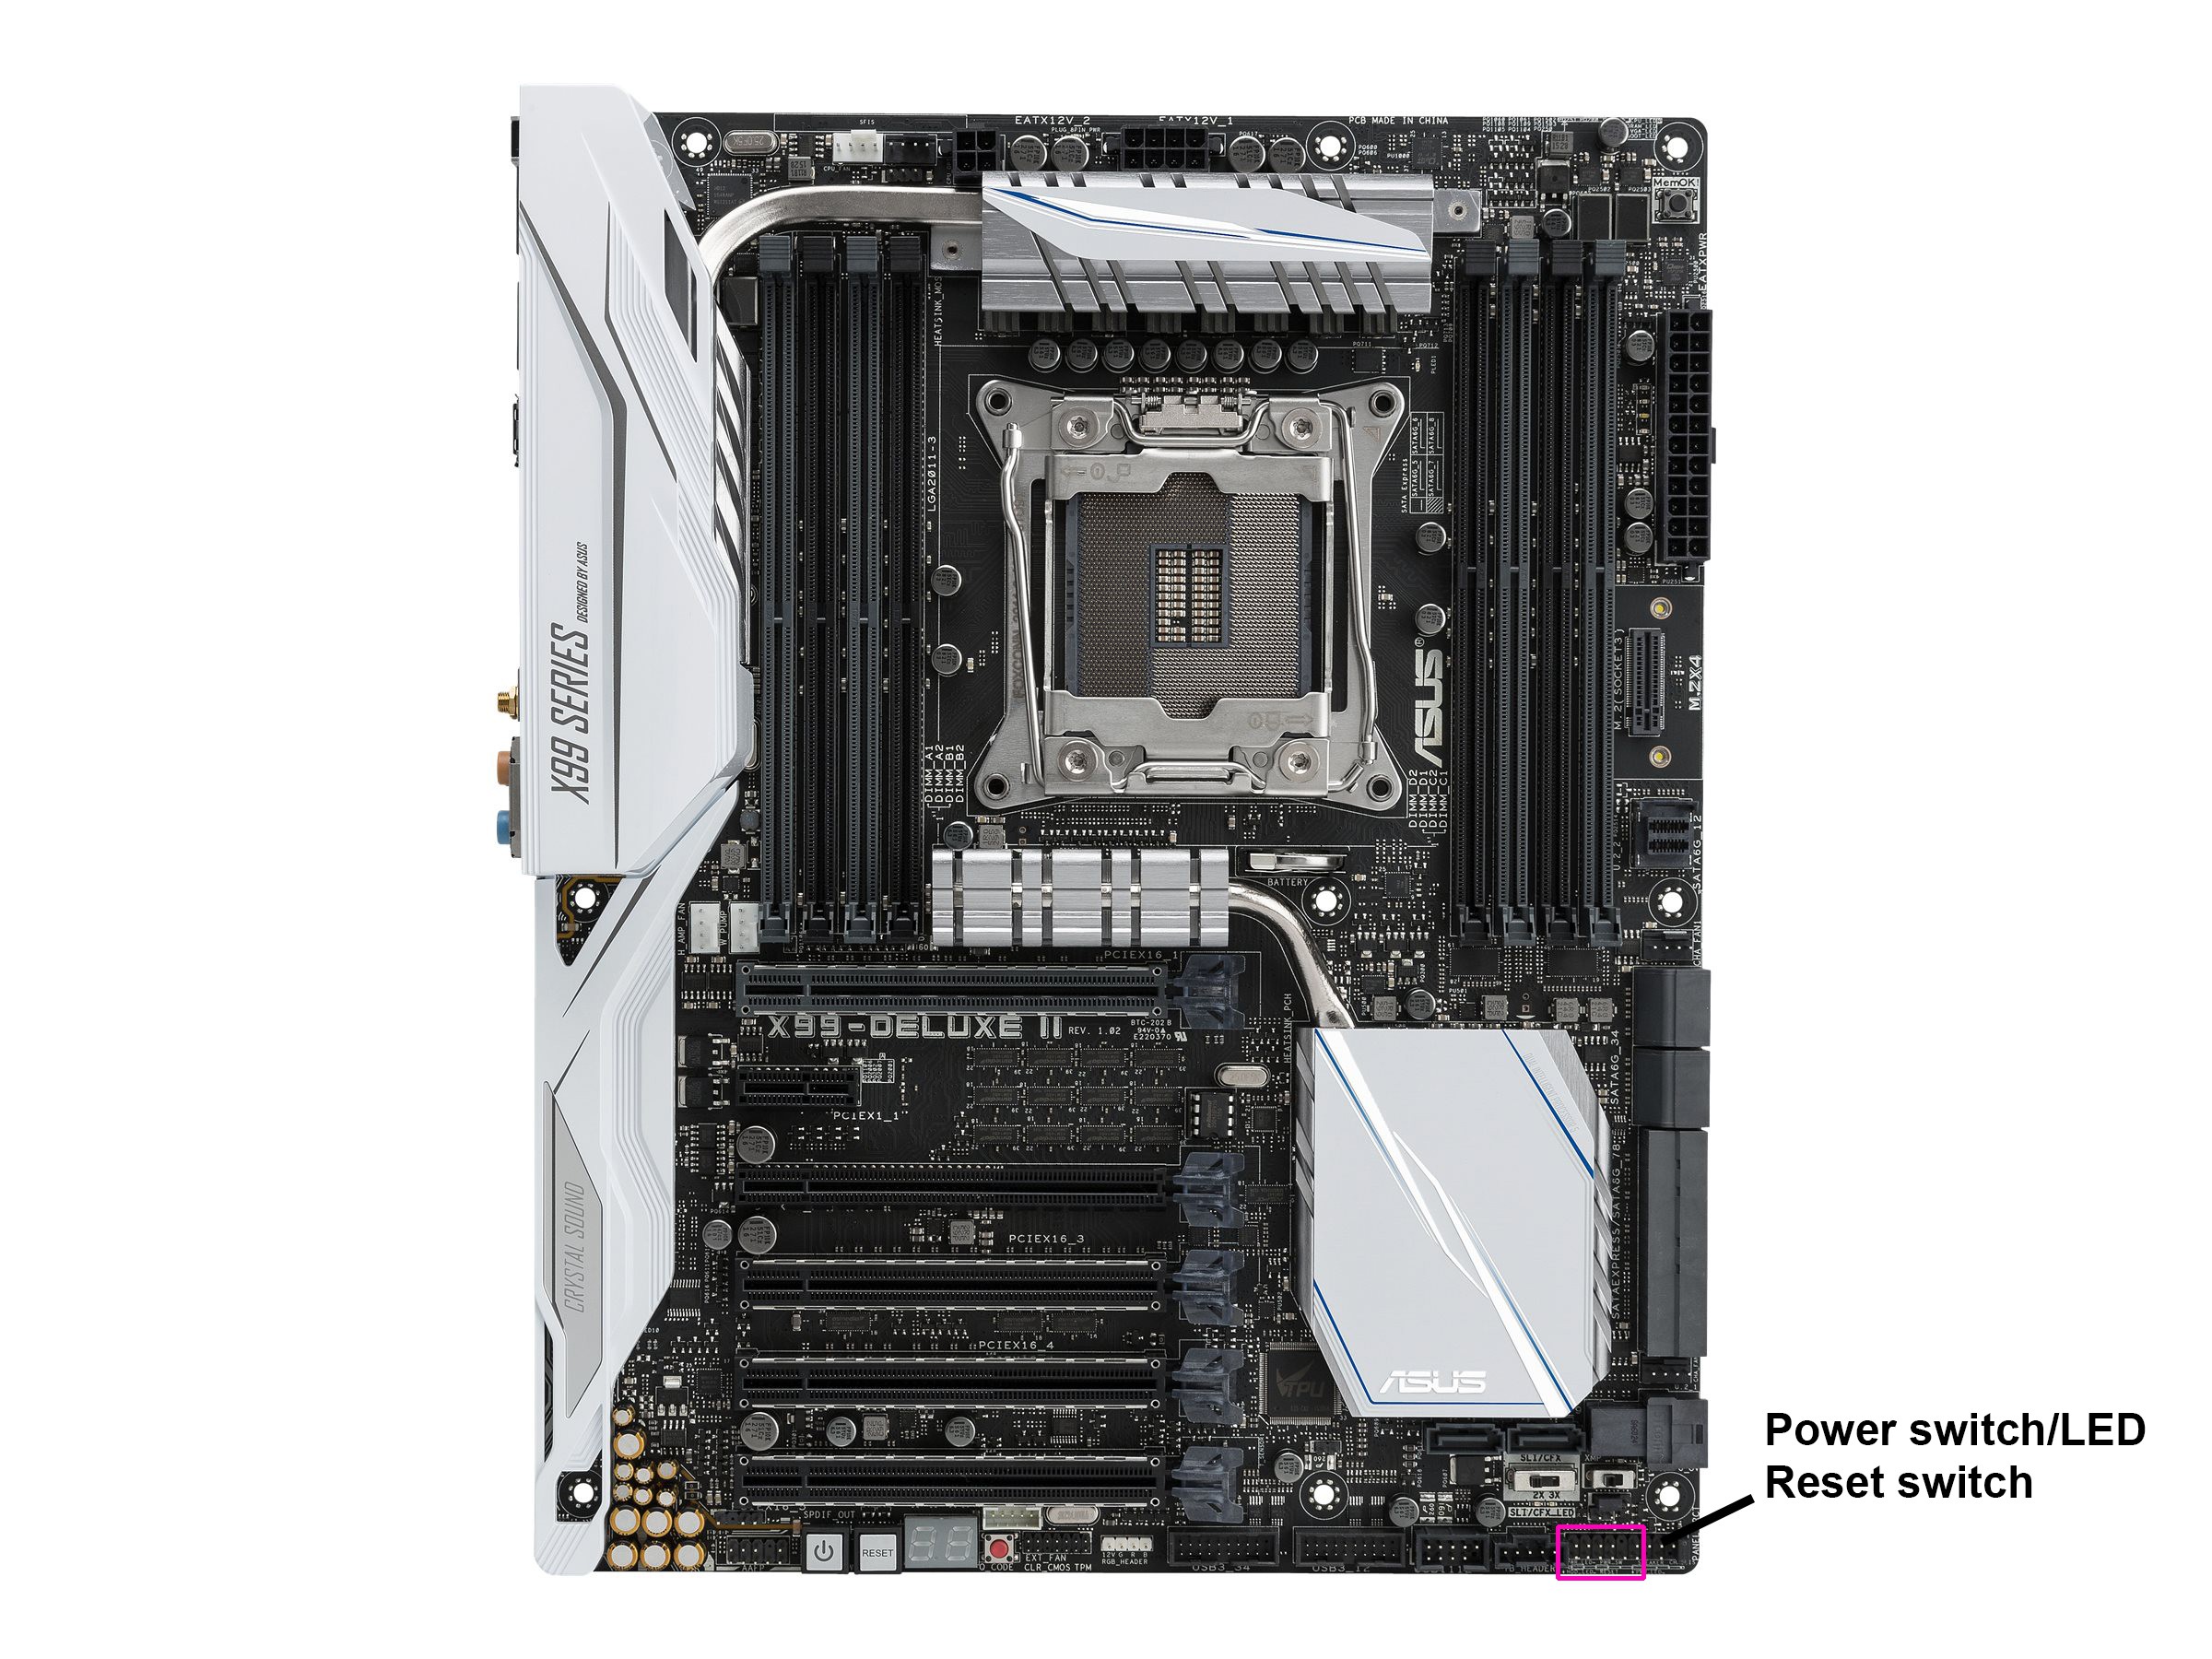
To pass the power switch, power LED, and reset switch connections to the motherboard, I bought a couple of blank PC brackets and milled a DB9 cutout into one of them:

This received the female end of a 9' DB9 cable. I cut the cable a foot or so from the connector and attached an 8-pin Dupont connector to mate to the motherboard:
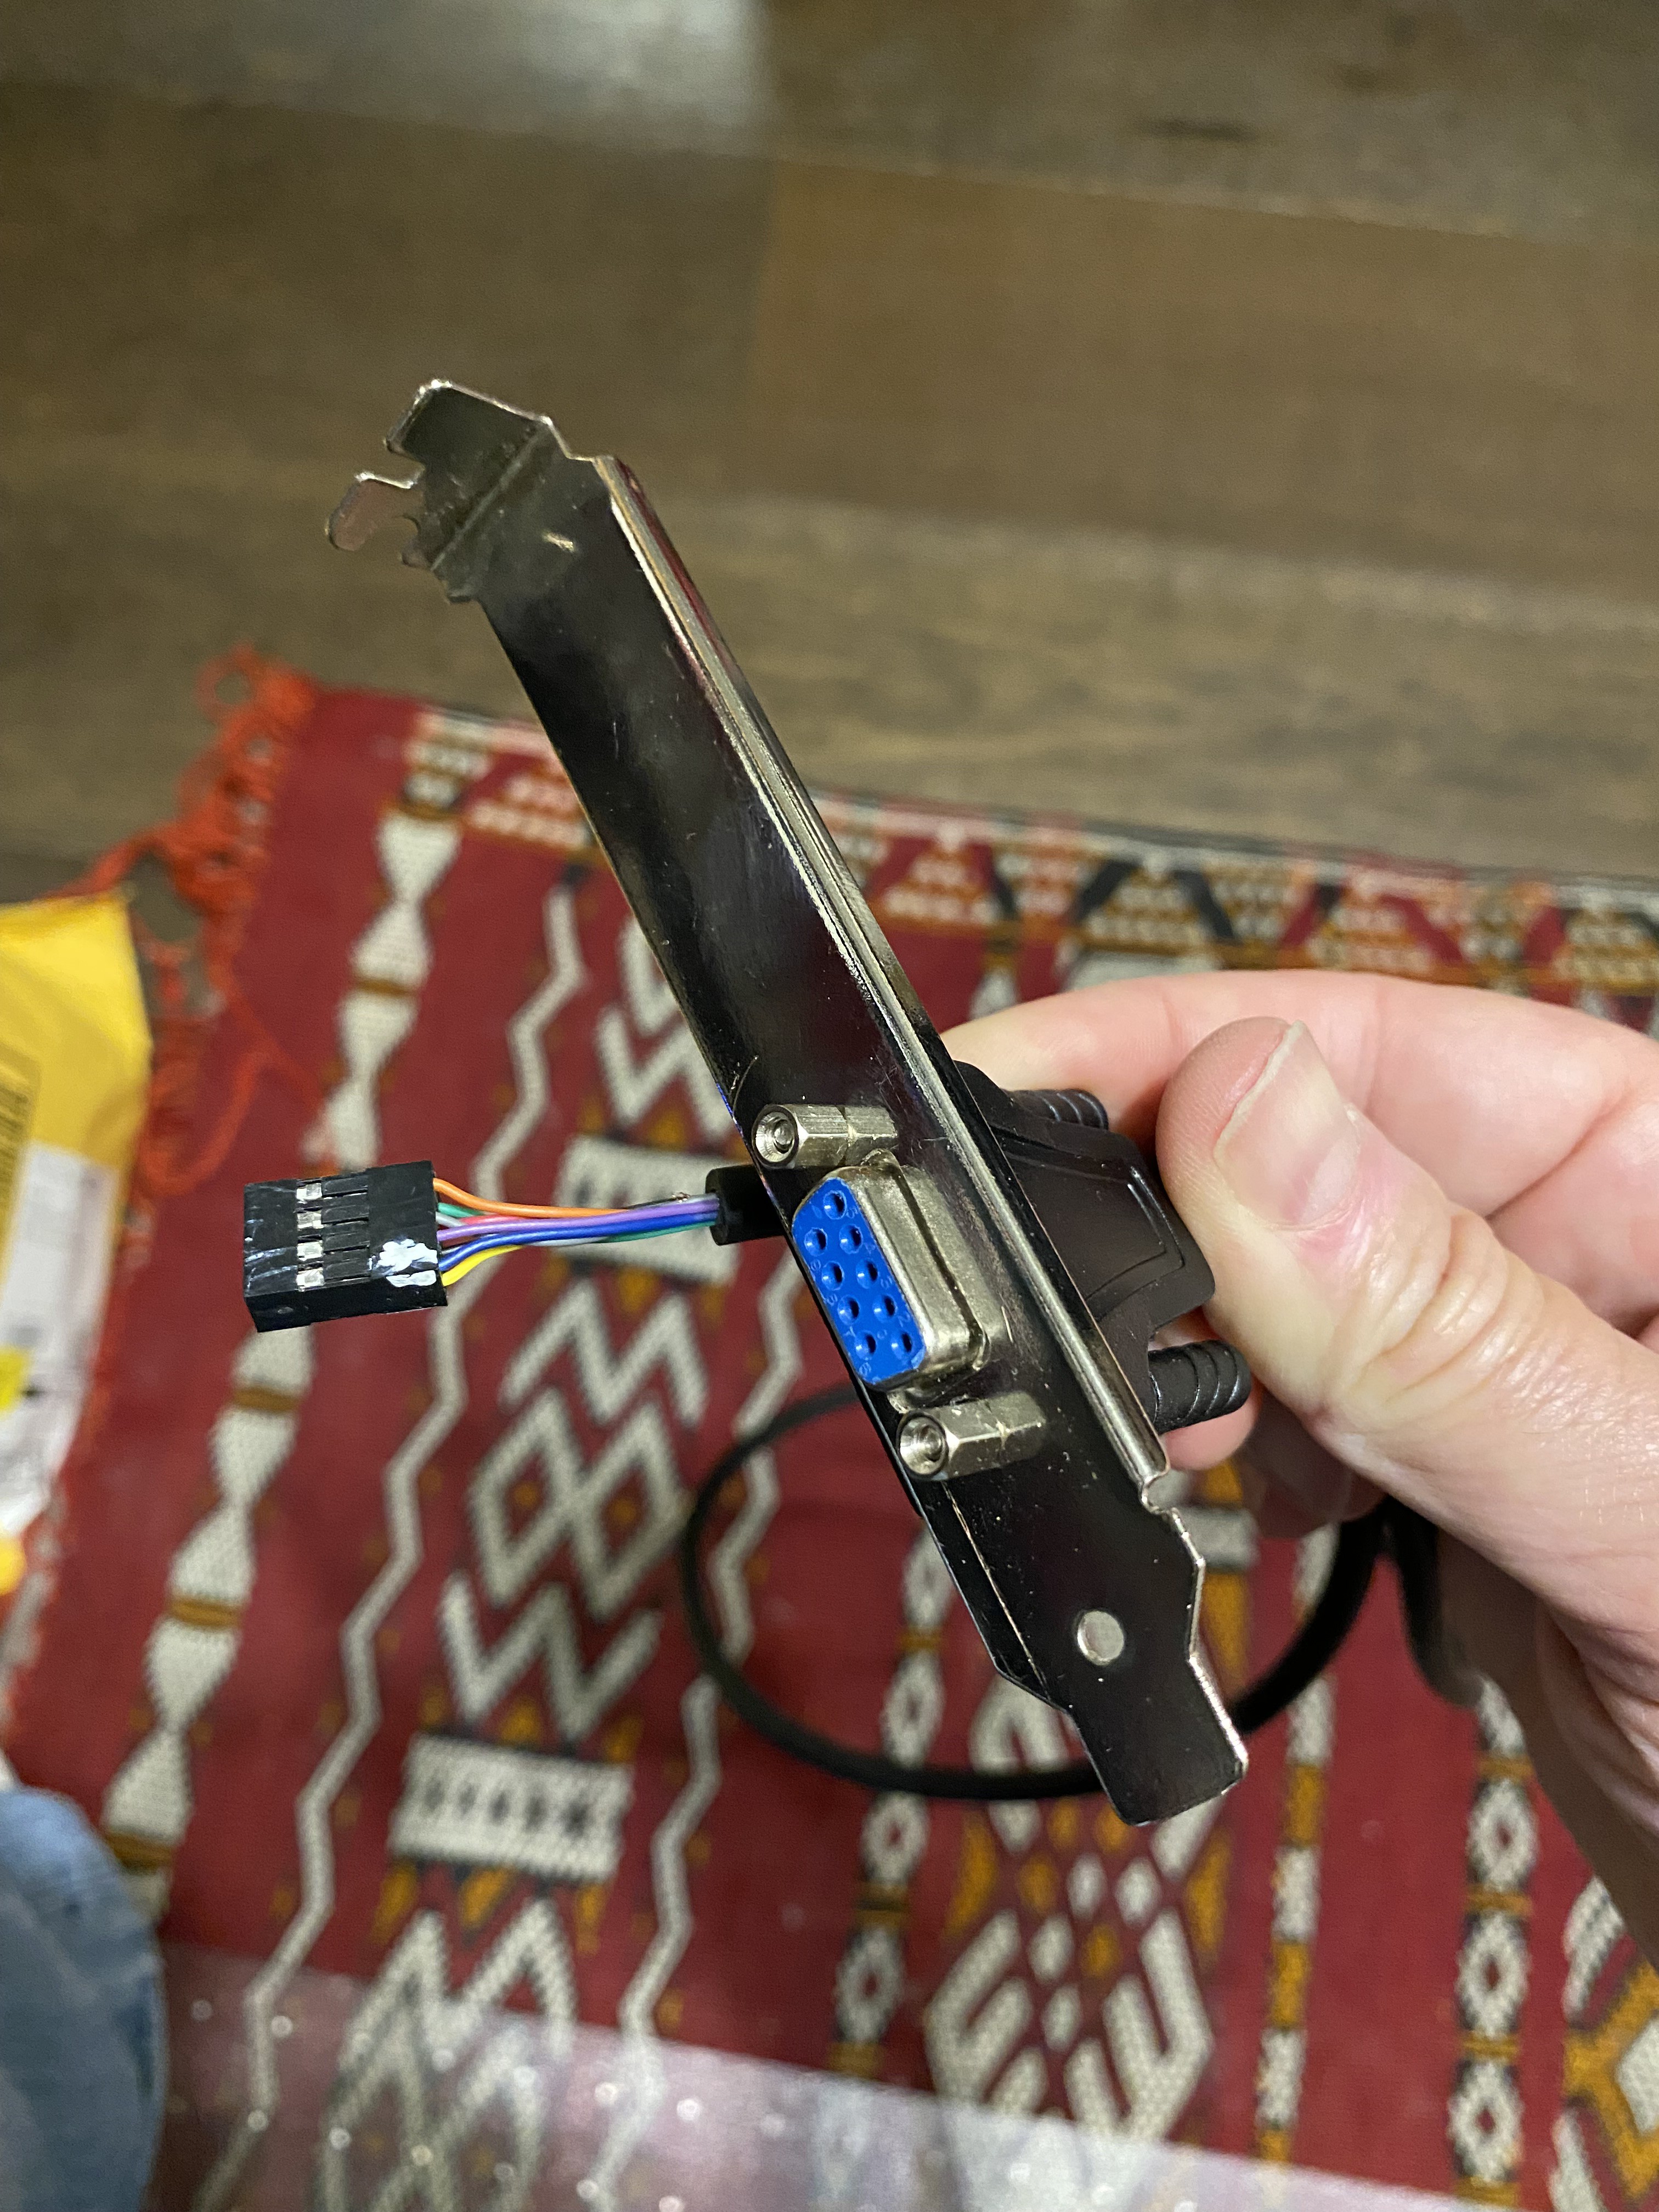
The remaining cable had a male DB9 connector on one end, to connect to the bracket. The other end was prepared to connect to the buttons and LED back in the RCH. Here's a picture of the test mount:
On seeing this, it occurred to me that I might not always remember which of those 1/8" jacks was the headphone jack and which was the mic. So I found someone on etsy who makes custom dry transfers and ordered some appropriate icons:
I replaced the PC with some stackable drawers (you can see a bit of the PC peeking...
Read more »
 Magic Robots
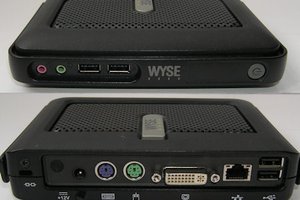
 matthewkleinmann
 Patrick
 MostlyAwol
Cool idea. I was looking for something like this.