This is a drinks can transformer (CanTran).
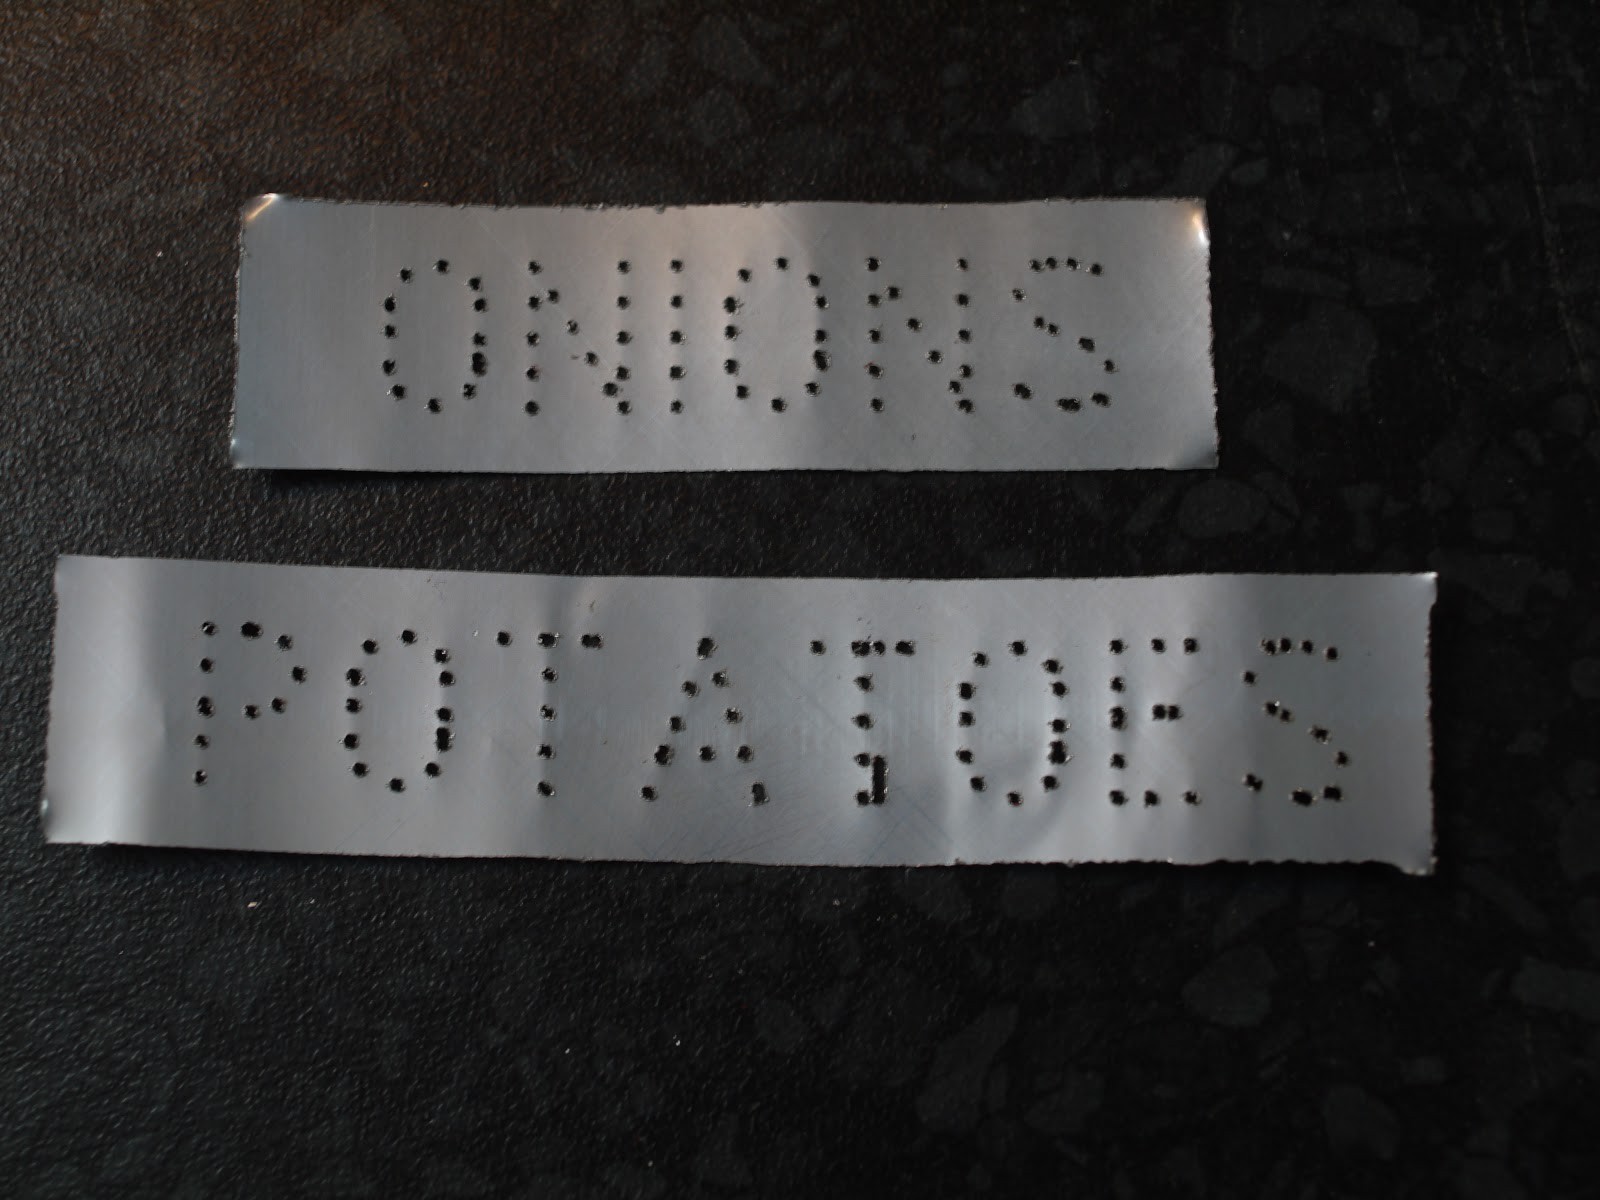
OK, it's a CNC lathe that has been designed specifically to cut drinks cans into bits. Drinks cans are recycled but they can also be re-used. They are a source of sheet metal which has many uses, the bottoms of the cans can be cut off and made into parts holders, or the entire can can be prforated and used as a lamp or display.
The can transformer been designed to cut standard 330ml cans. It uses a Proxxon rotary tool as a spindle and I use the Duet electronics as a gcode interpreter and stepper driver.
There are some parts that are not 3D printed.
Post-Printing
Putting it together
Putting the cantran together is pretty simple.
Frame
The frame is two flat plates with holes for 12mm ground rod
Z carriage
Can Top Holder
This part is a bit tricky. There's a thrust bearing that needs to go the correct way round. One hole is larger than the other, this goes in first. The edge of the printed part will need trimming to allow the smaller thrust bearing end to fit. The bearing should rotate freely in the printed part. The 'catch' that engages in the can top hole screws in to the part that holds the thrust bearing. This is so you can change it for different can tops or if it wears out without having to print a whole new top.
An 8mm bolt holds the can top engager, and the MXL gear together. the sequence I used is:
Bolt in top part
M8 washer on bolt
51105 Thrust bearing in top part
M8 45mm bolt (through bearing)
Two M8 Washers on bolt
The MXL belt will have to go on the pulley when it is fitted, it's deliberately a tight fit. The idea is that the thrust bearing is under load as the can rotates.
Parts List
1x NEMA11 Stepper motor
2x NEMA17 Stepper motor
1x M8 Nut
3x M8 washer
1x 51105 thrust bearing (three part)
8x M1.5 countersunk cross head 10mm long screw
1x 93 tooth MXL pulley (I used a part similar to this one, or a derivative: https://www.thingiverse.com/thing:343343/files)
1x B106MXL MXL belt
3x M3 35mm bolt
2x MXL pulley ( I used Fisher 3D printer pulley from reprap ltd:https://reprapltd.com/shop/pulley-aluminium-18-tooth-mxl-plus-grub-screw/)
1x M8 45mm Bolt
2x 12mm ground rod 170mm long (different lengths give different size machines)
1x M8 60mm Bolt
1x Spring 8mm ID 30mm long
2x M3 35mm bolt
2x LM12UU linear bearing
2x 6mm ground rod 150mm (could be shorter for less Z axis travel)
4x LM6UU linear bearing
6x M3 cross head screws
2x M3 45mm bolt
2x M3 nut
2x small microswitch (Like this: https://www.ebay.co.uk/itm/Ultra-Mini-Lever-Actuator-Microswitch-SPDT-Miniature-Micro-Switch-1A-2A-125V/283165781217?hash=item41edfeece1:m:mKJ-nfFCp2LAJ-qDhiJW8Fw)
4x M2.5 countersunk screws
2x M3 countersunk crosshead
1x Flexible coupling 3mm/5mm (https://www.ebay.co.uk/itm/273418300073?ViewItem=&item=273418300073&var=572800394176&ppid=PPX000608&cnac=GB&rsta=en_GB(en_GB)&cust=40699392E8096314B&unptid=51309e24-5201-11e9-8b48-441ea14e7558&t=&cal=dda0318858274&calc=dda0318858274&calf=dda0318858274&unp_tpcid=email-receipt-auction-payment&page=main:email&pgrp=main:email&e=op&mchn=em&s=ci&mail=sys
3 to 5mm version)
2x M3 nut
1x M3 threaded rod 150mm long (matches Z axis travel)
1x 500mm MXL cut belt (reprap ltd has this) 6mm wide
4x M3 x 20mm cap head screws
3x 608 bearing
1x M3 45mm bolt
1x M3 nyloc nut
1x M3 45mm hex head bolt
4x Base mounting screws.
I hope I've got everything in there.
Hopefully the photos are enough to go on to put it all together.
If there's more interest then I'll do more detailed instructions
https://trochilidae.blogspot.com/2019/04/can-transformer-i-was-thinking-about.html


 Eric Hertz
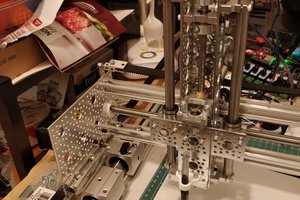
 Ted
Ted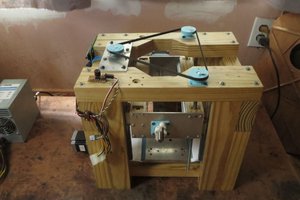
 dekutree64
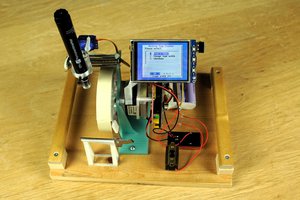
Ha! I knew there was probably a better name than I had managed to think up!. I thought about 'cantran' but that's a thing already (there is also a cansformer, if you google it, but not as much of a problem, I think). The only thing after cantran was can transformer, but I like cansformer though. :-)