 Timo
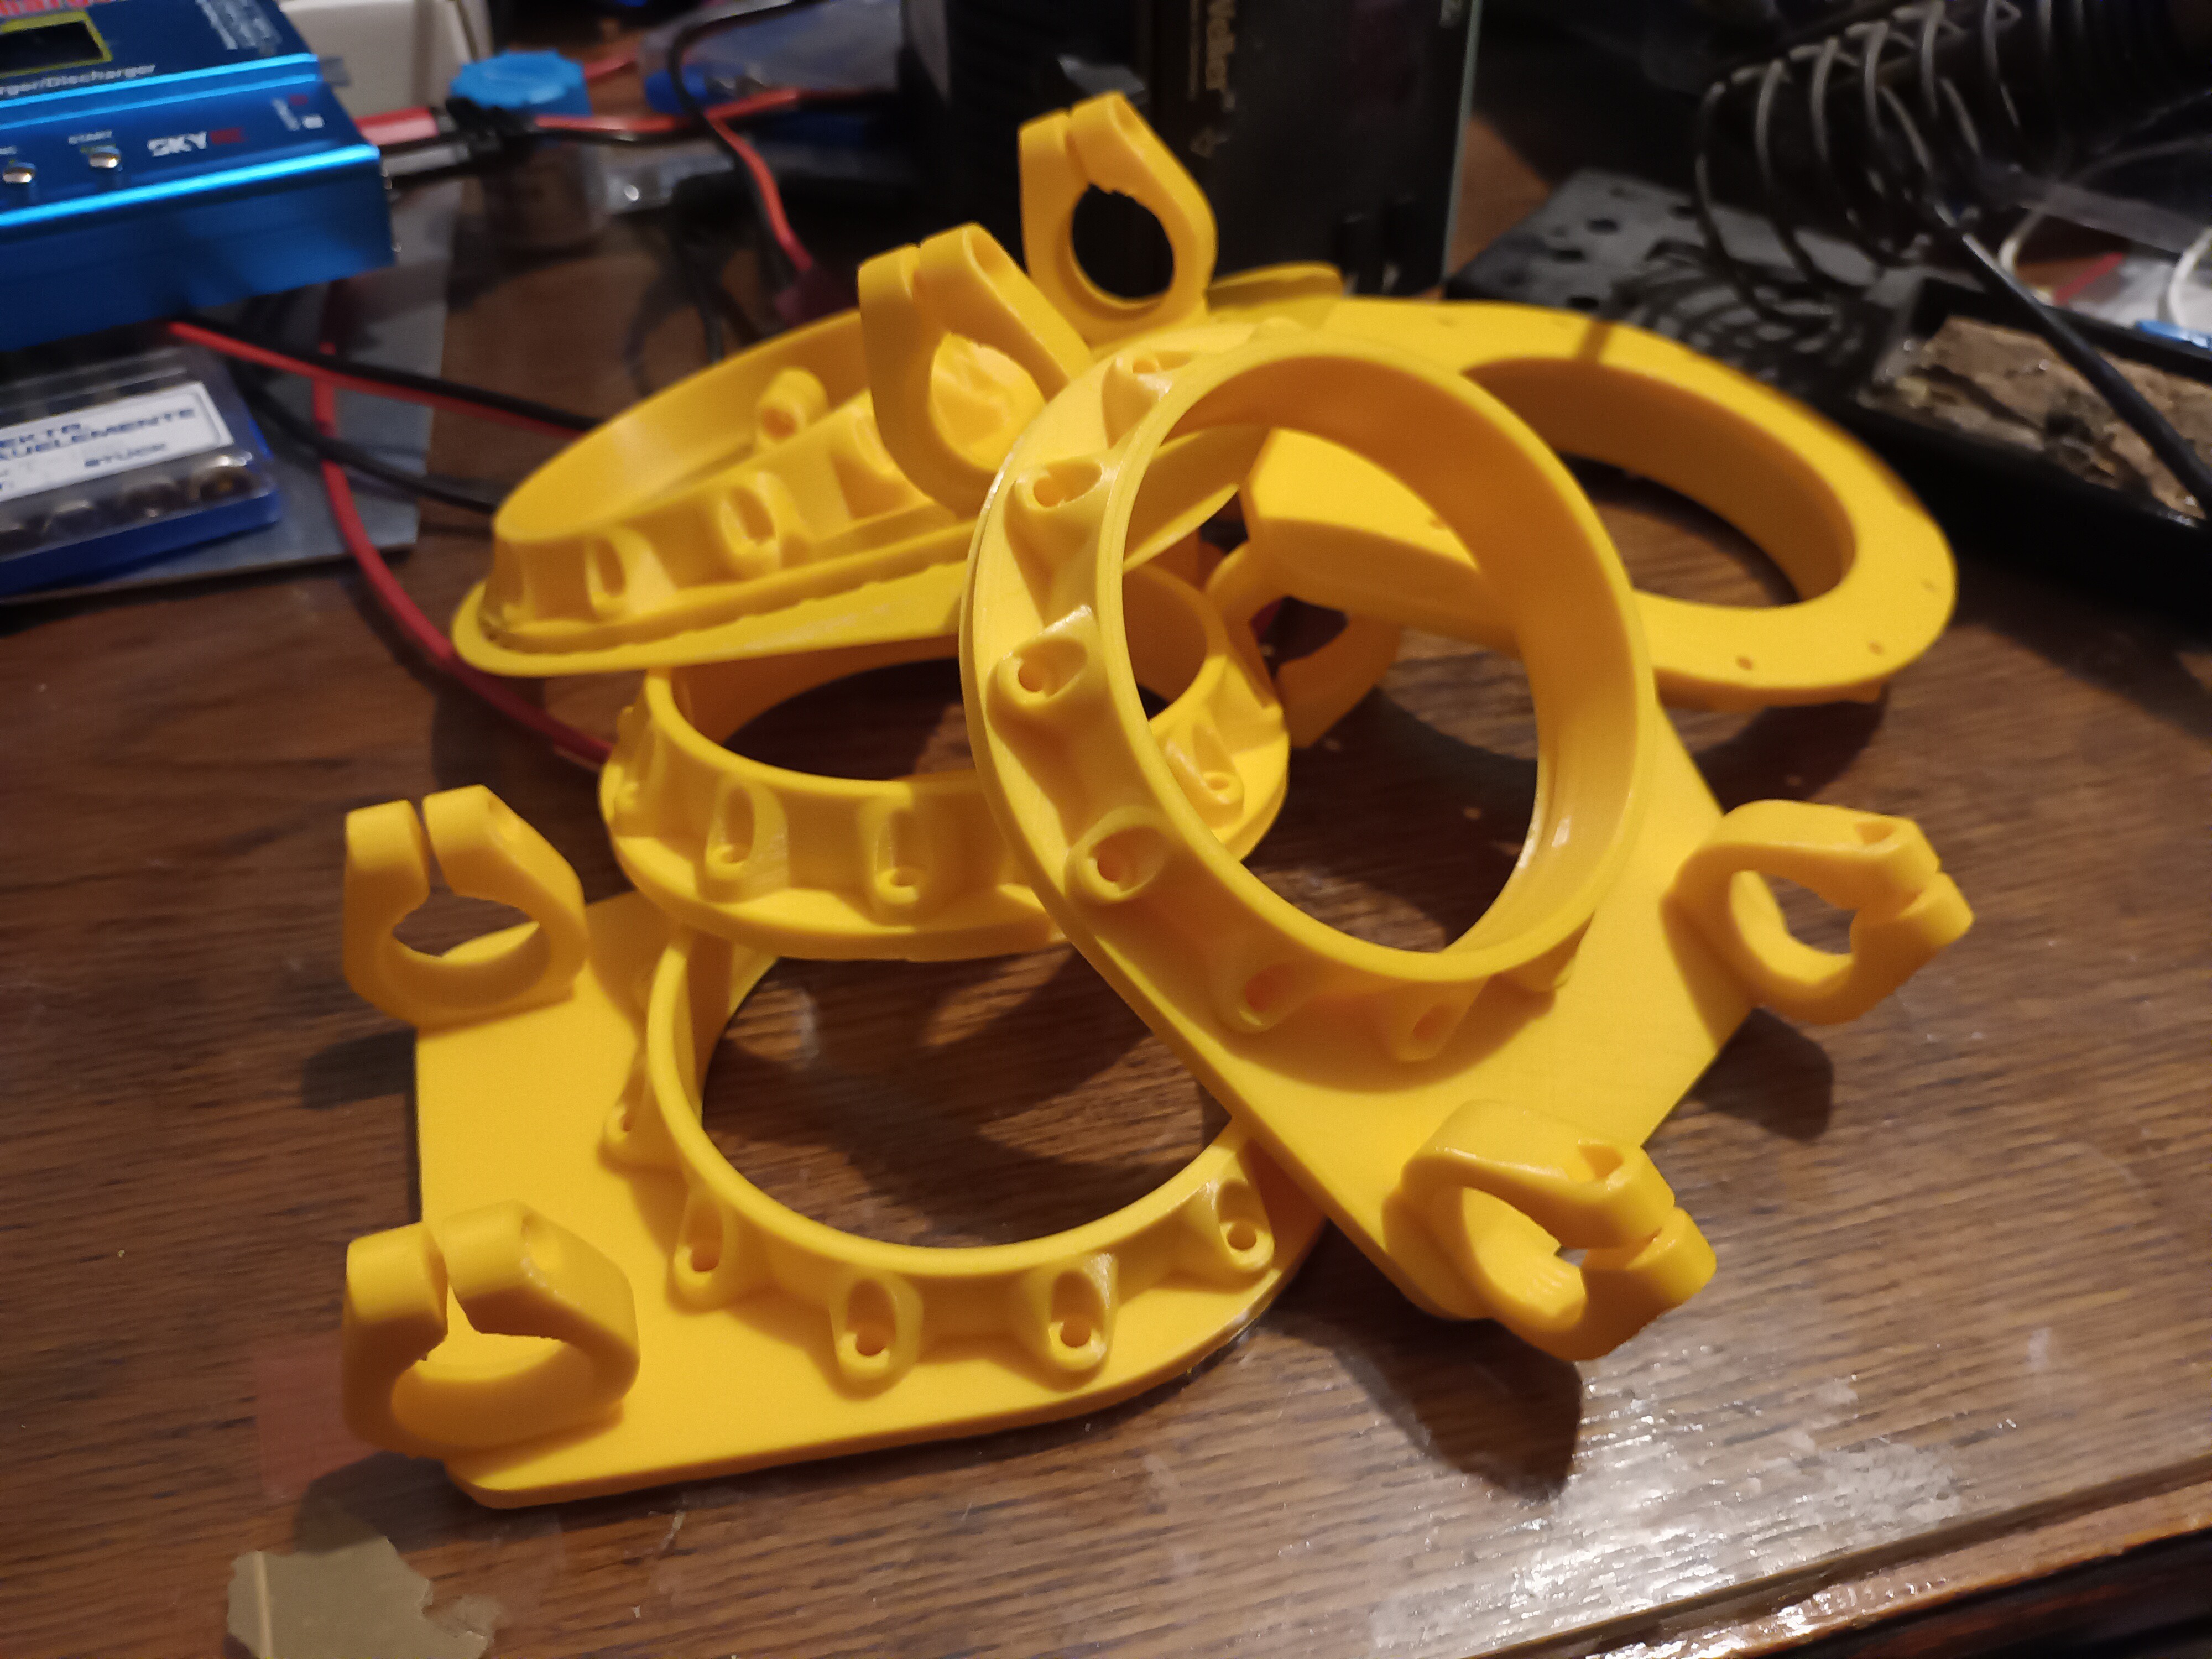
TimoFor the last weeks i tried and tried to make this damn thing water tight. TLDR: All parts i 3D printed fail during testing or the print fails due to warping. I had enought and gave up, at least for the moment.
After that i did something productive and switched my focus to the rest of the electronics and software. As i wrote in my first log, the ROV will consist of two parts. The ROV itself and a Control Station above the water, which controls the robot via a tether. A block diagram can be seen in Fig. 2.
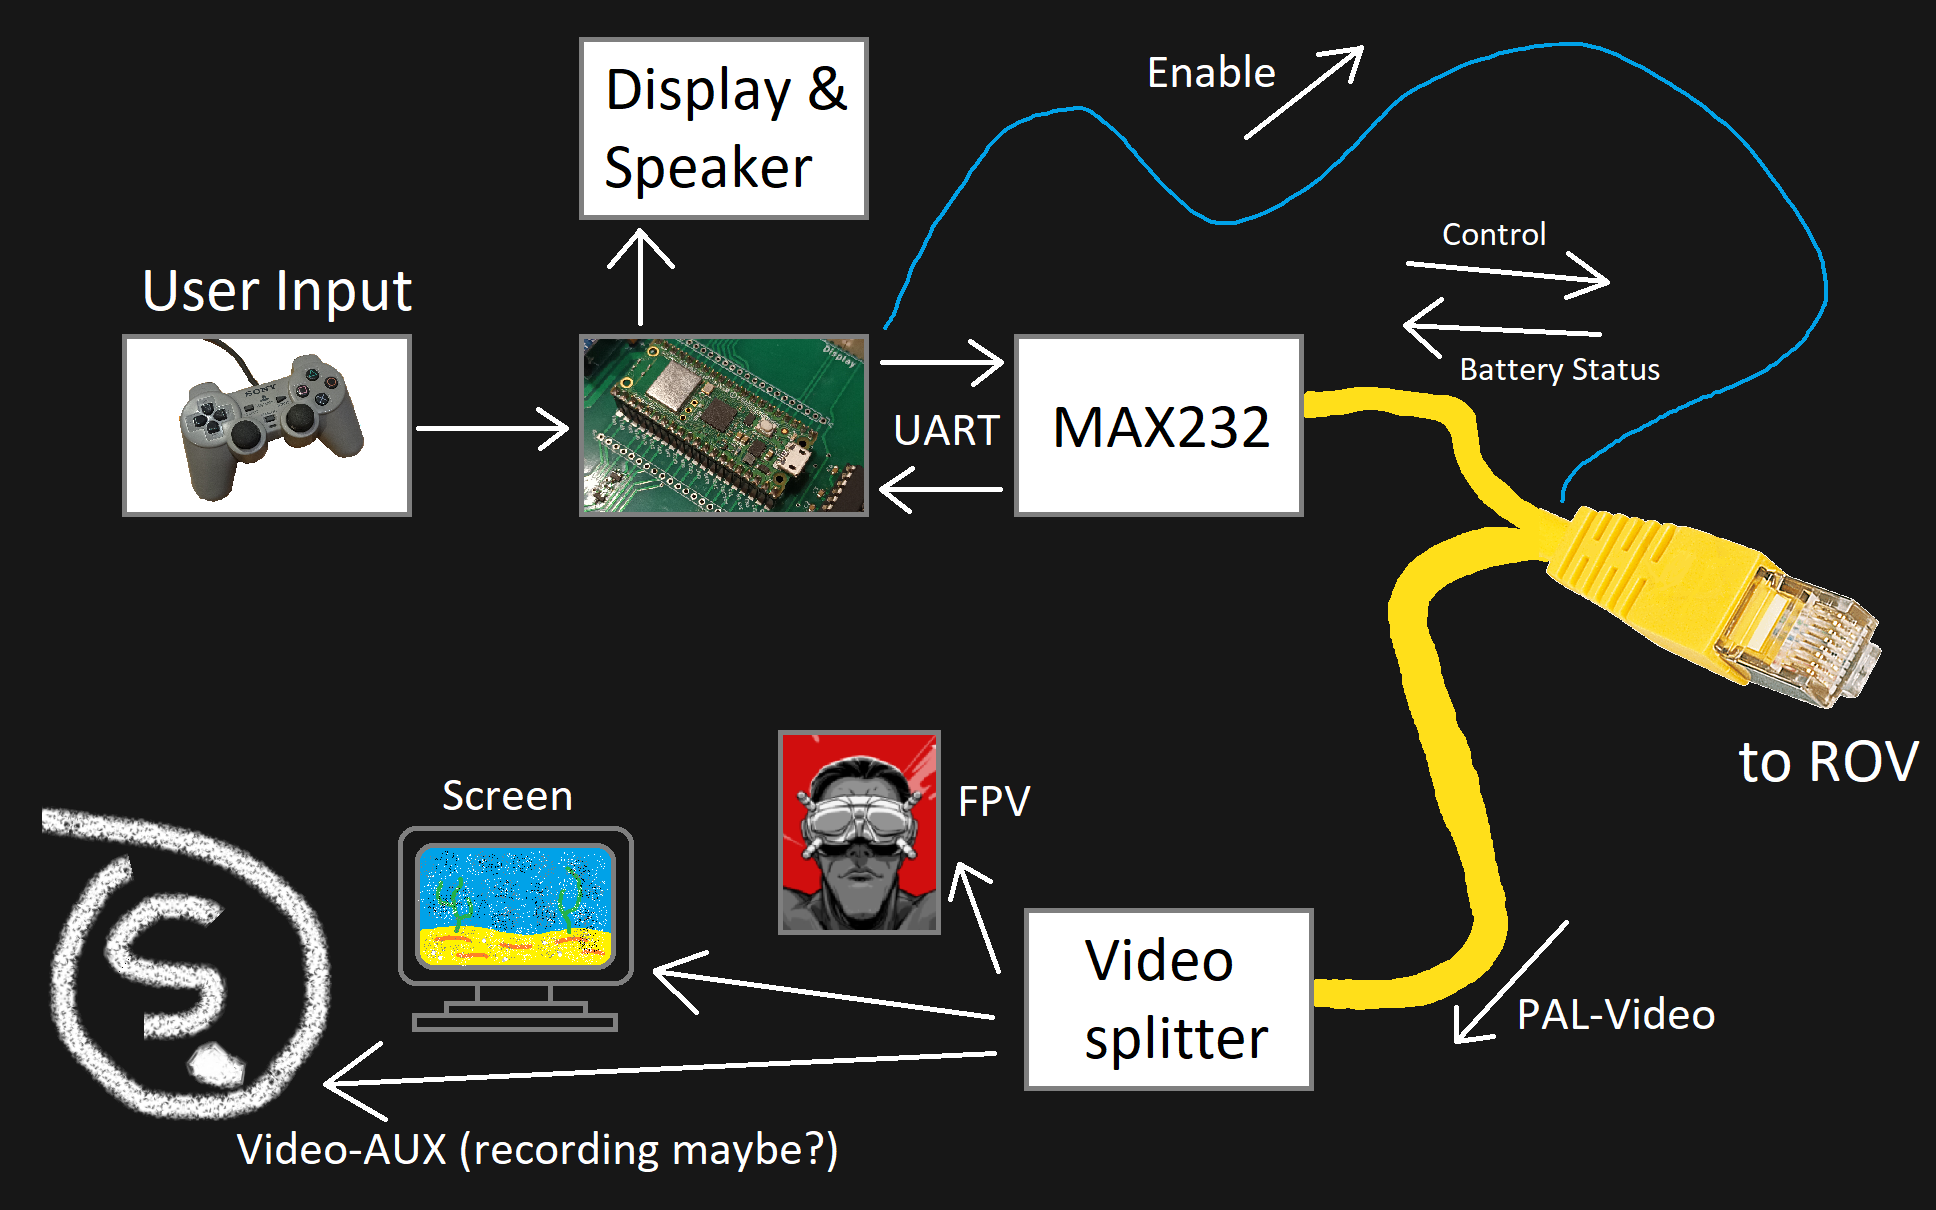
Ok, what happens here? The User controls the ROV with a PS1 controller (no butchery required, i got the connector). The ROV steers via tank control, can point the camera in all directions and turn the light and camera on and off.
A RPi Pico reads the user input and sends it via UART to the ROV. To only consume power when the ROV is operating, the TTL signal "Enable" is used to turn the ROVs battery off when the ROV is not operated. The ROV senses the battery voltage and sends it back via UART. So the user gets a rough estimate off how much power is left. The data will be presented on a small OLED display and a small piezo speaker will provide low battery warning.
Additonally the ROV sends back an analog video signal from the camera. The signal is buffered by a video splitter which can drive up to three different video receivers. A screen at the Control Station will show the video. Additonally an FPV transmitter (TS5828) will be connected which will send the video to FPV goggles. A third video output might be used for other purposes.
The hardware can be seen in Fig. 3.
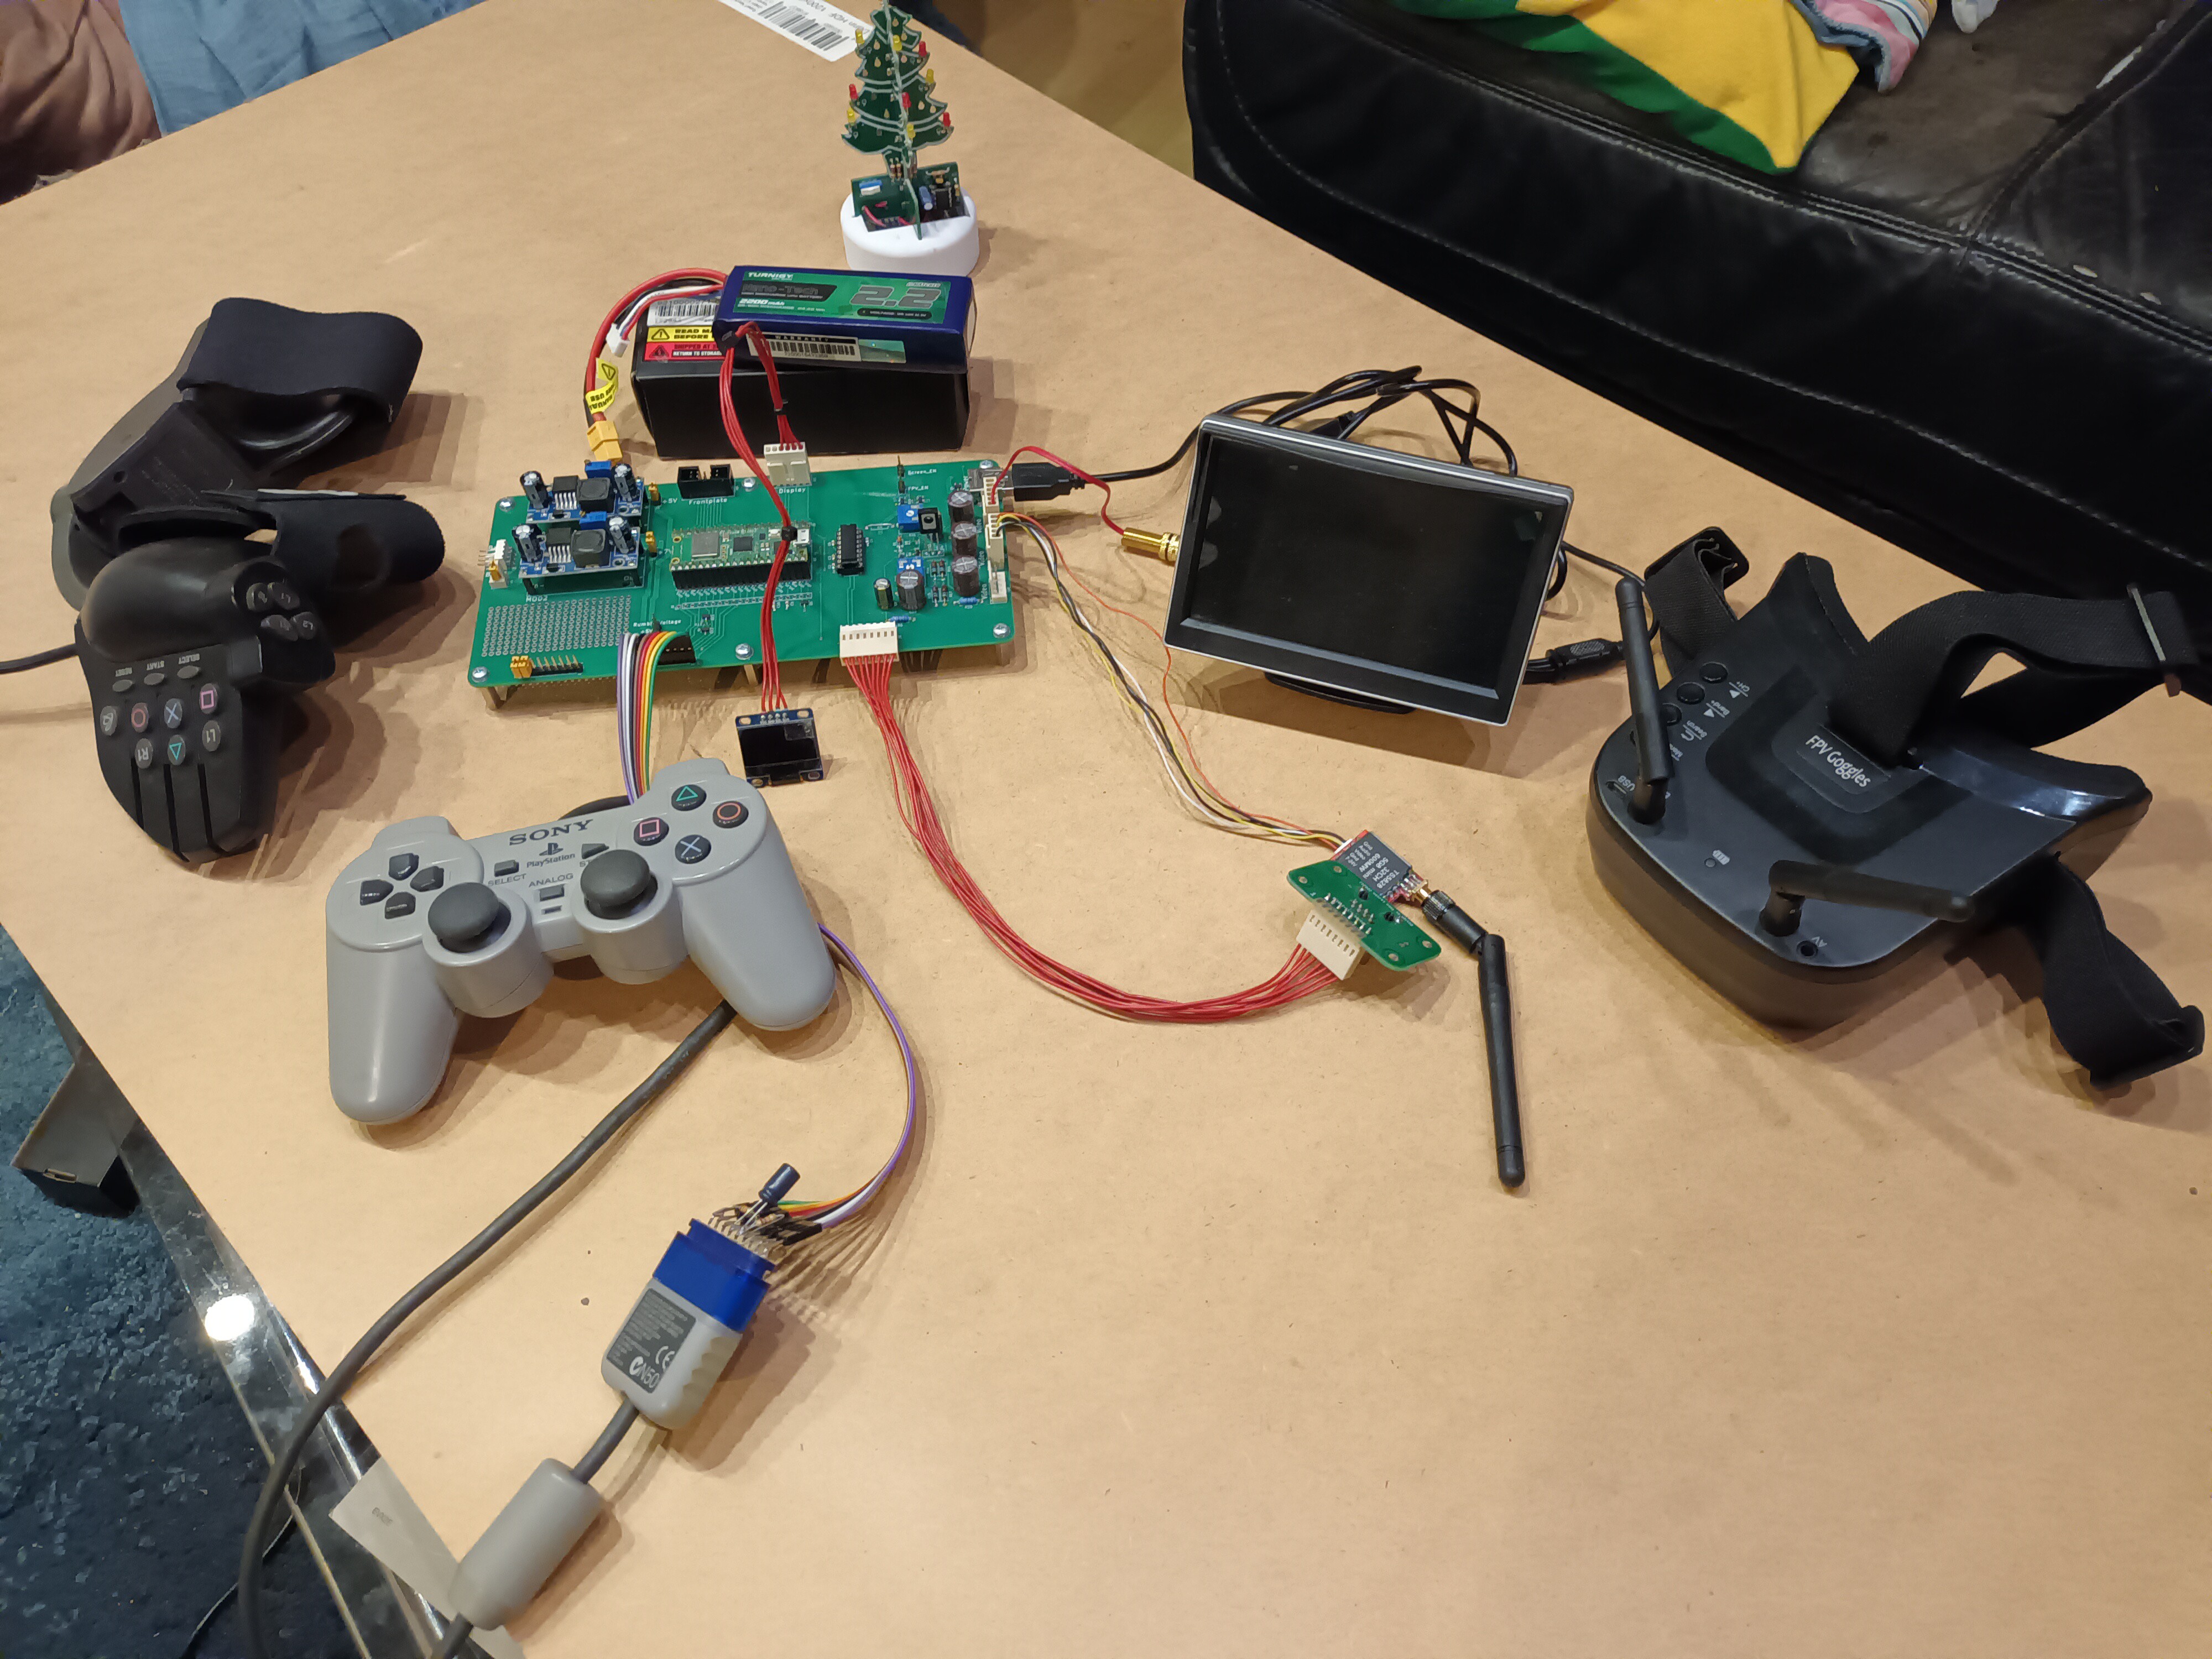
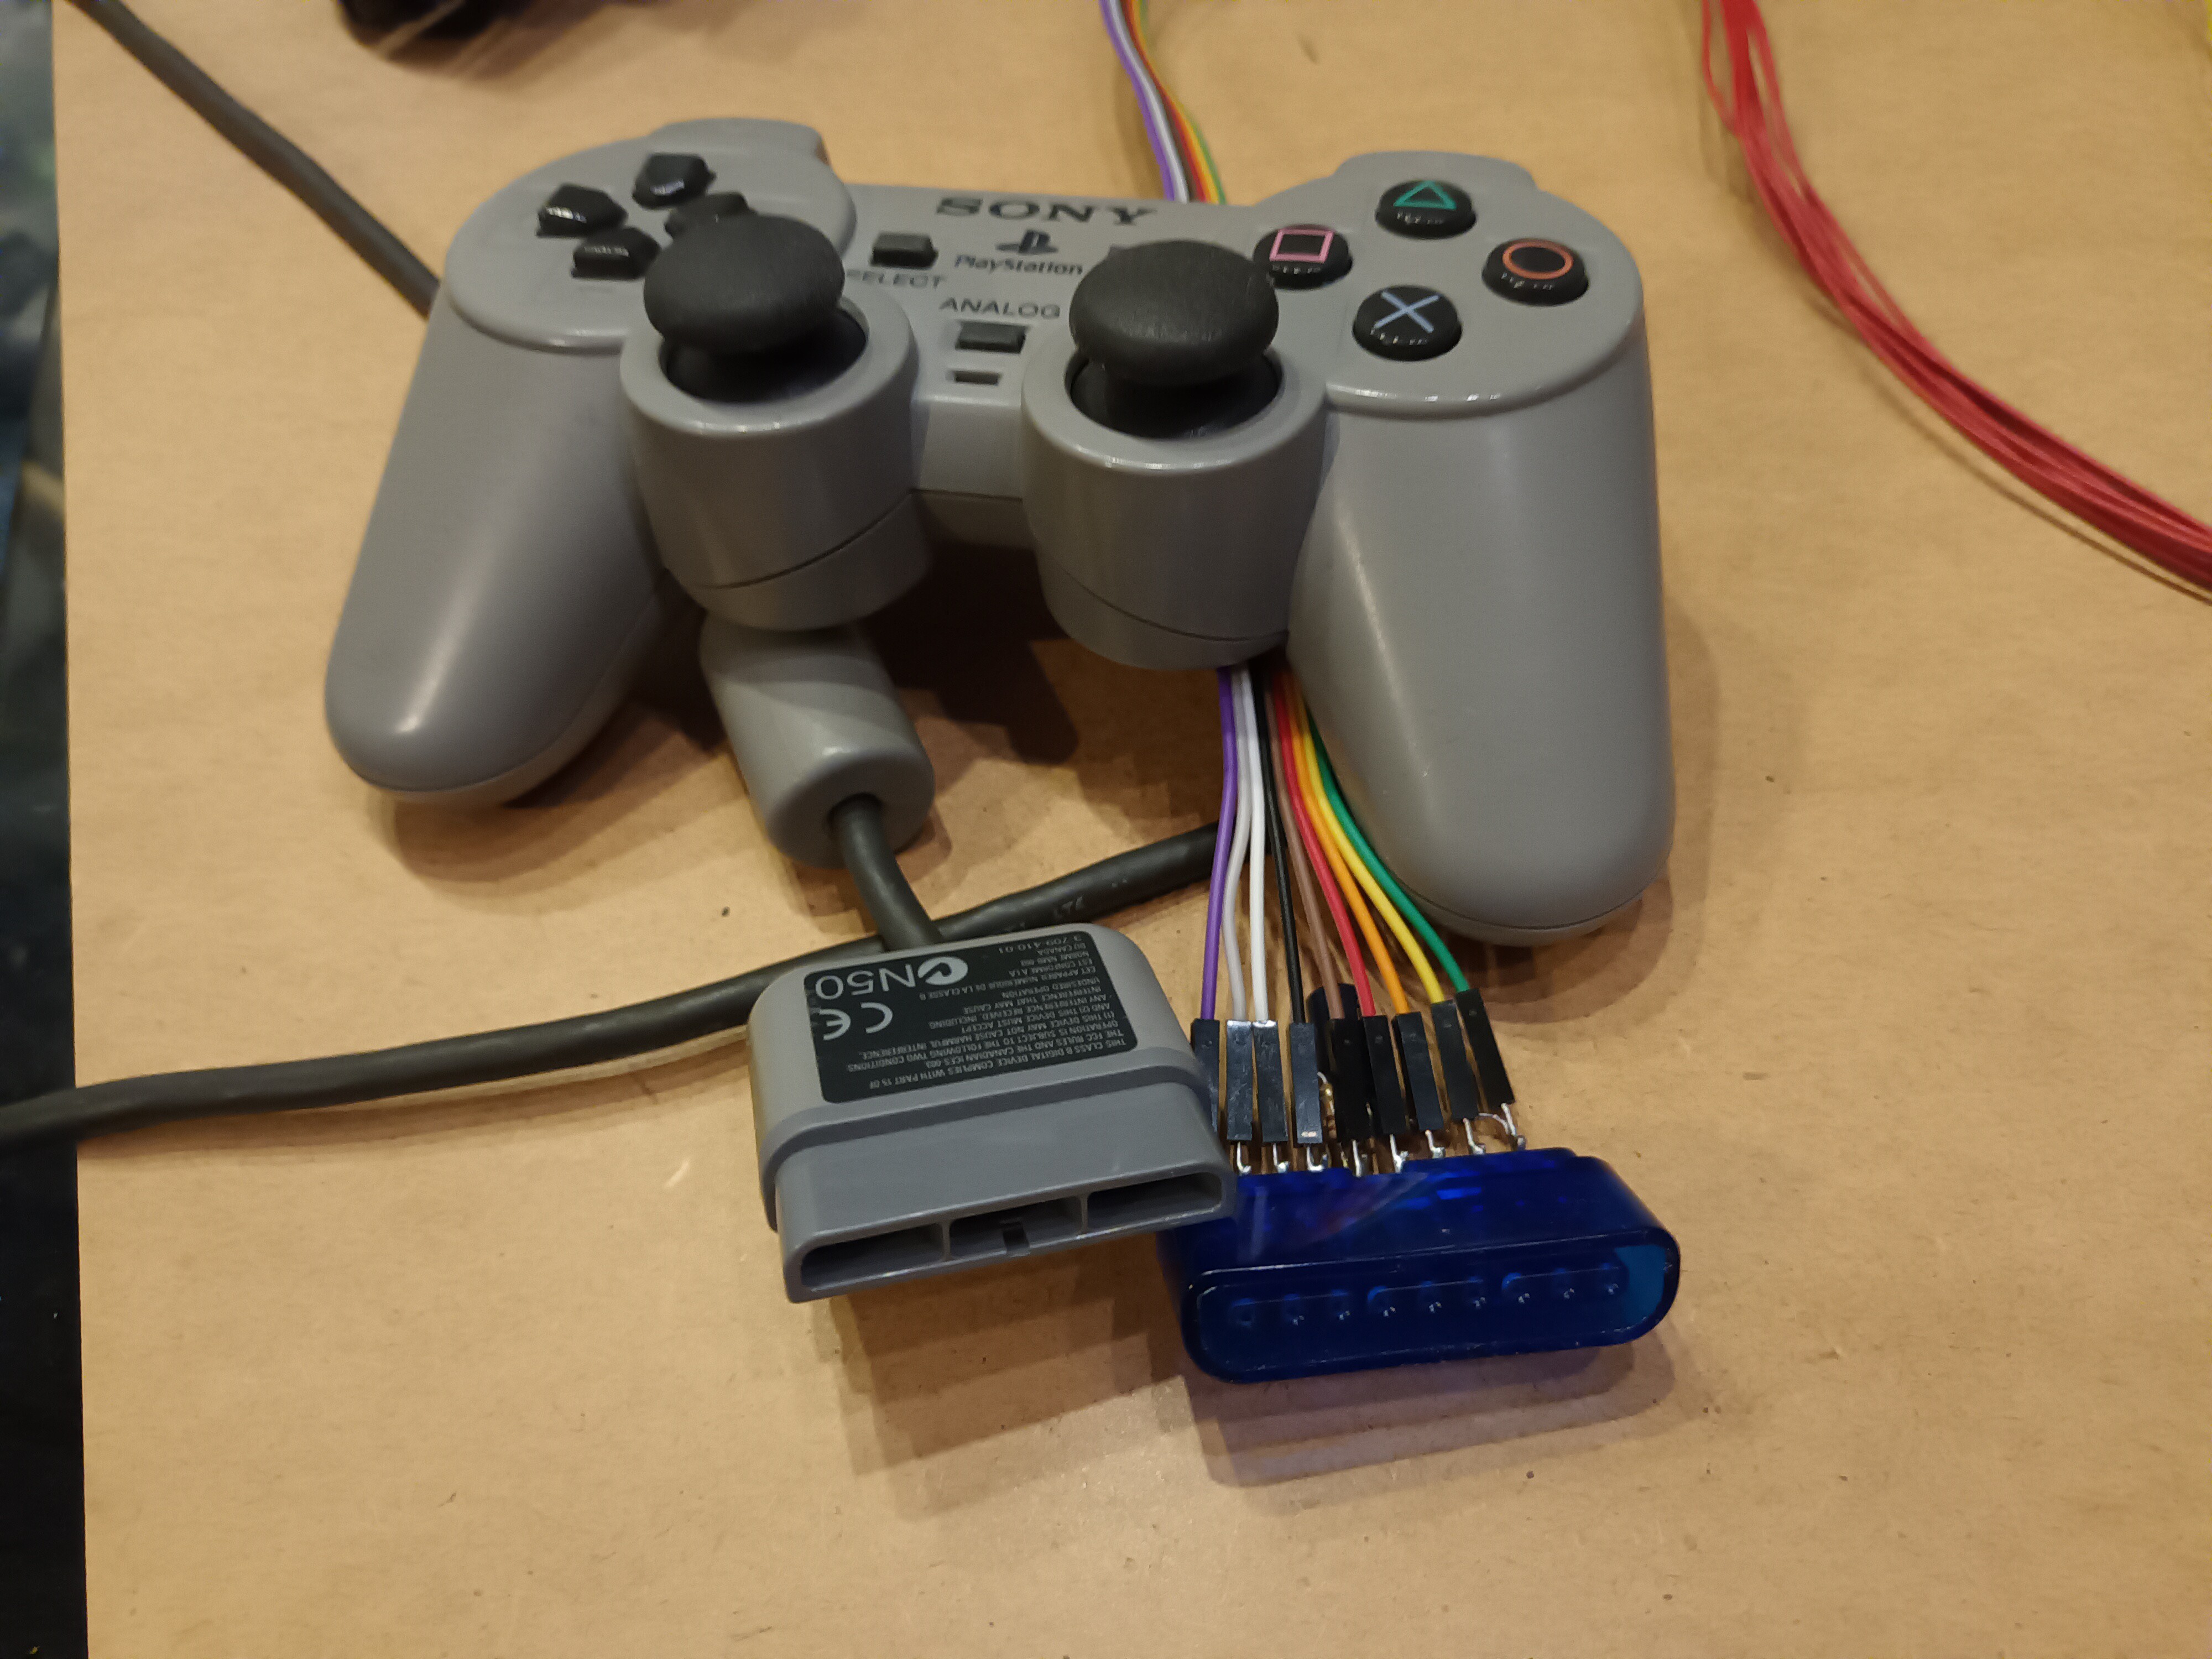
Fig. 3. shows the whole Control Station. On the left you can see the PS1 controller. Instead of hacking of the connector or brutally violating an innocent PS1 like a heartless butcher, i was able the "aquire" a proper connector from a cheep PS1 to USB adapter.
Therefore i am able to change the controller and connect what ever type of obscure 90's gaming hardware i can dig up. One posibility can be seen in the picture.
On the left is the "PS1 glove" TM and i am not afraid to use it. It is sort of the answer to the NES "Power Glove". It is way cheaper and therefore If you want one, you can get it for 20 bucks on ebay. But there are also other possibilities, dance mat, flight stick, steering wheel and gas pedal, arcade stick.... some more suitable than others.
On the right you see a small CCTV screen and the chee.... most sophisticated FPV goggles i could get from AliExpress.
Power is provided via LiPo battery which is checked in the same way as the ROV's battery.

In Fig. 4. you can see the pcb of the Control Station. The power supply generates +5V (digital) and +7,5V (analog). The Pico generates +3,3V for himself, the OLED display and the PS1 controller. There will be a main power switch, but at the moment it is replaced with a jumper.
In total there are two connectors for PS1 controllers, but at the moment only one is in use. For future updates it might be possible to have a teacher-student-mode or something. But only the right controller can rumble. Yes, i connected that as well ^^.
The video splitter has three identical outputs, so it is not important what is connected to which connector, so there are no special markings.
The CCTV screen needs +5V power which is provided via a (power only) USB connector. The screen can be turned off to save power if it not needed. Same goes for the FPV transmitter who is greedy and power hungry.
The Software for the ROV and the Control Station are written in Micro Python. A short demonstartion is given in this video. It is not perfect, or good, or acceptable... The gimbal is moving in a stuttering motion due to "creative number handling".
Also some part of the comunication between ROV and Control Station is mixed result, when the 3 cell Lipo is suposed to have 22V. But the basic function is there.
Discussions
Become a Hackaday.io Member
Create an account to leave a comment. Already have an account? Log In.