 Alpenglow Industries
Is there a story behind "Sunny Surprise"?
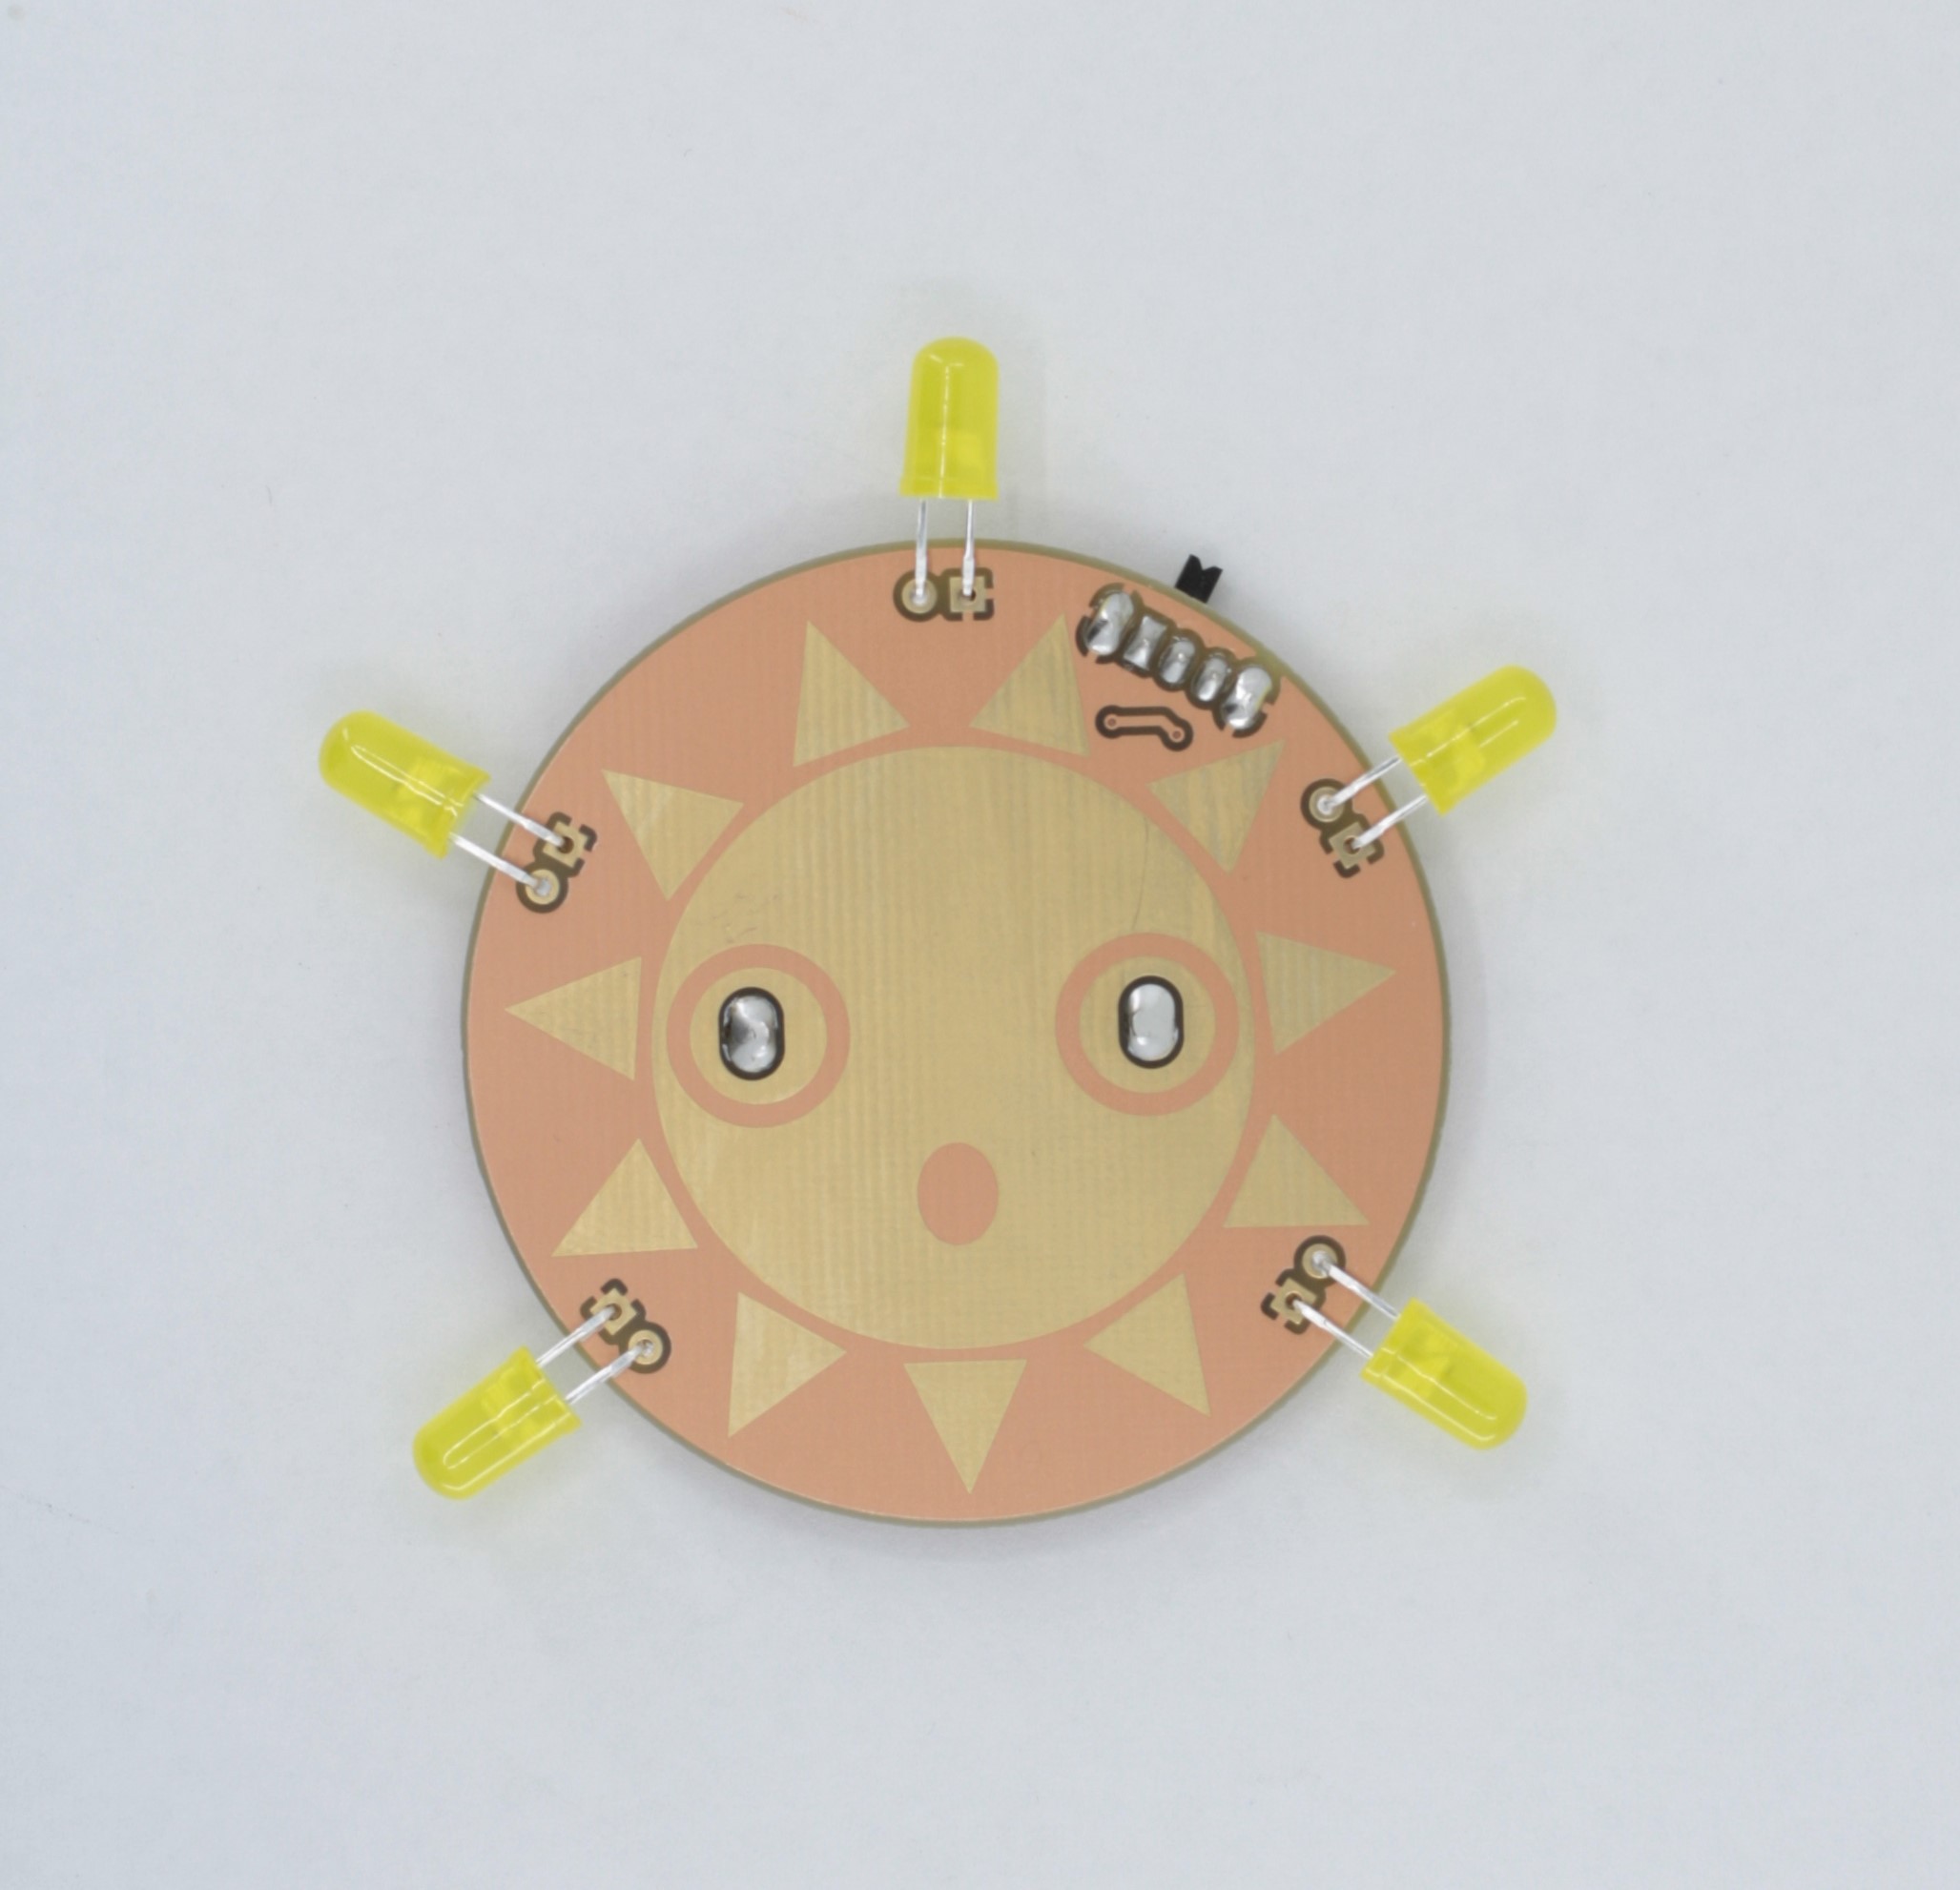
Indeed there is! Back when Carrie was in college (Harvey Mudd), there was a crew of miscreants that lived in a corner room on West Dorm. As students were walking back from their morning classes, they'd pass underneath this corner of the dorm. Unwary folks whose brains were full of Science would suddenly hear a delighted and somewhat maniacal falsetto voice yell "Sunny Surprise!!!" and find themselves blinded by a mirror reflecting the morning sun straight into their eyes. Now, some people were really Not in the Mood and were a bit grumpy about this. But Carrie always thought it was kind of hilarious. While our Sun isn't quite as shiny and blinding, we gave it a fun little surprised face so that you can experience your very own Sunny Surprise, and retain your eyesight.
0%
0%
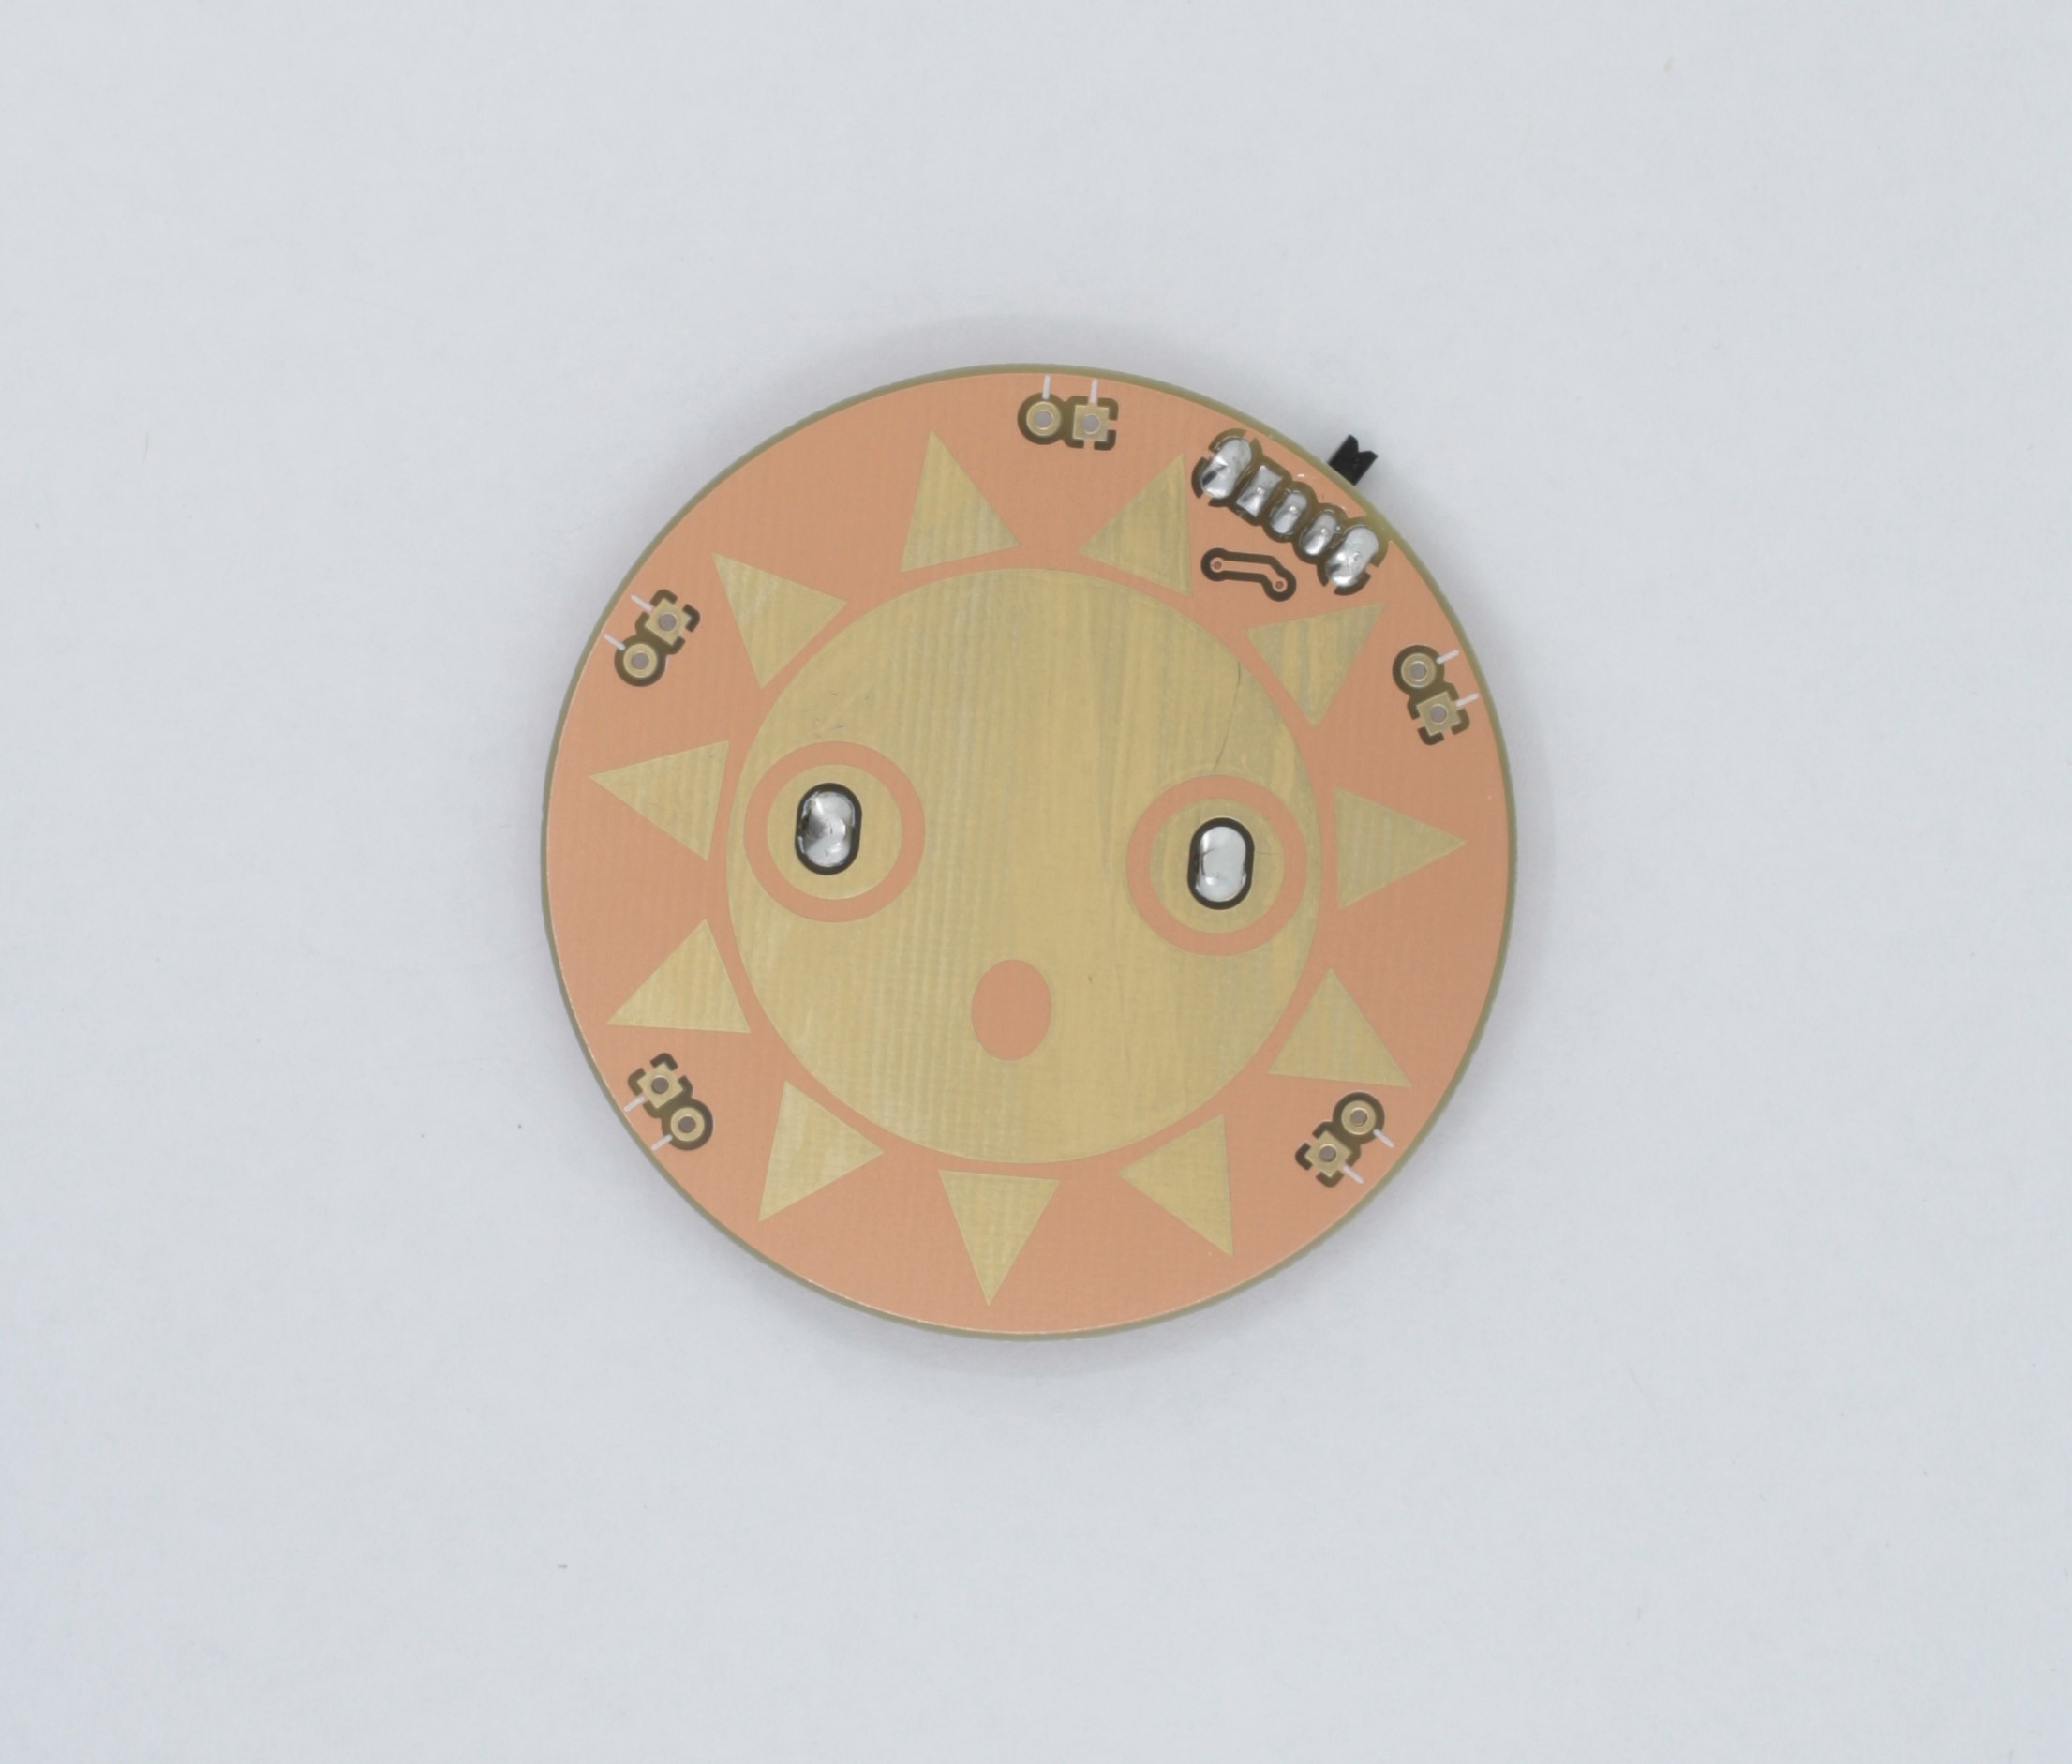
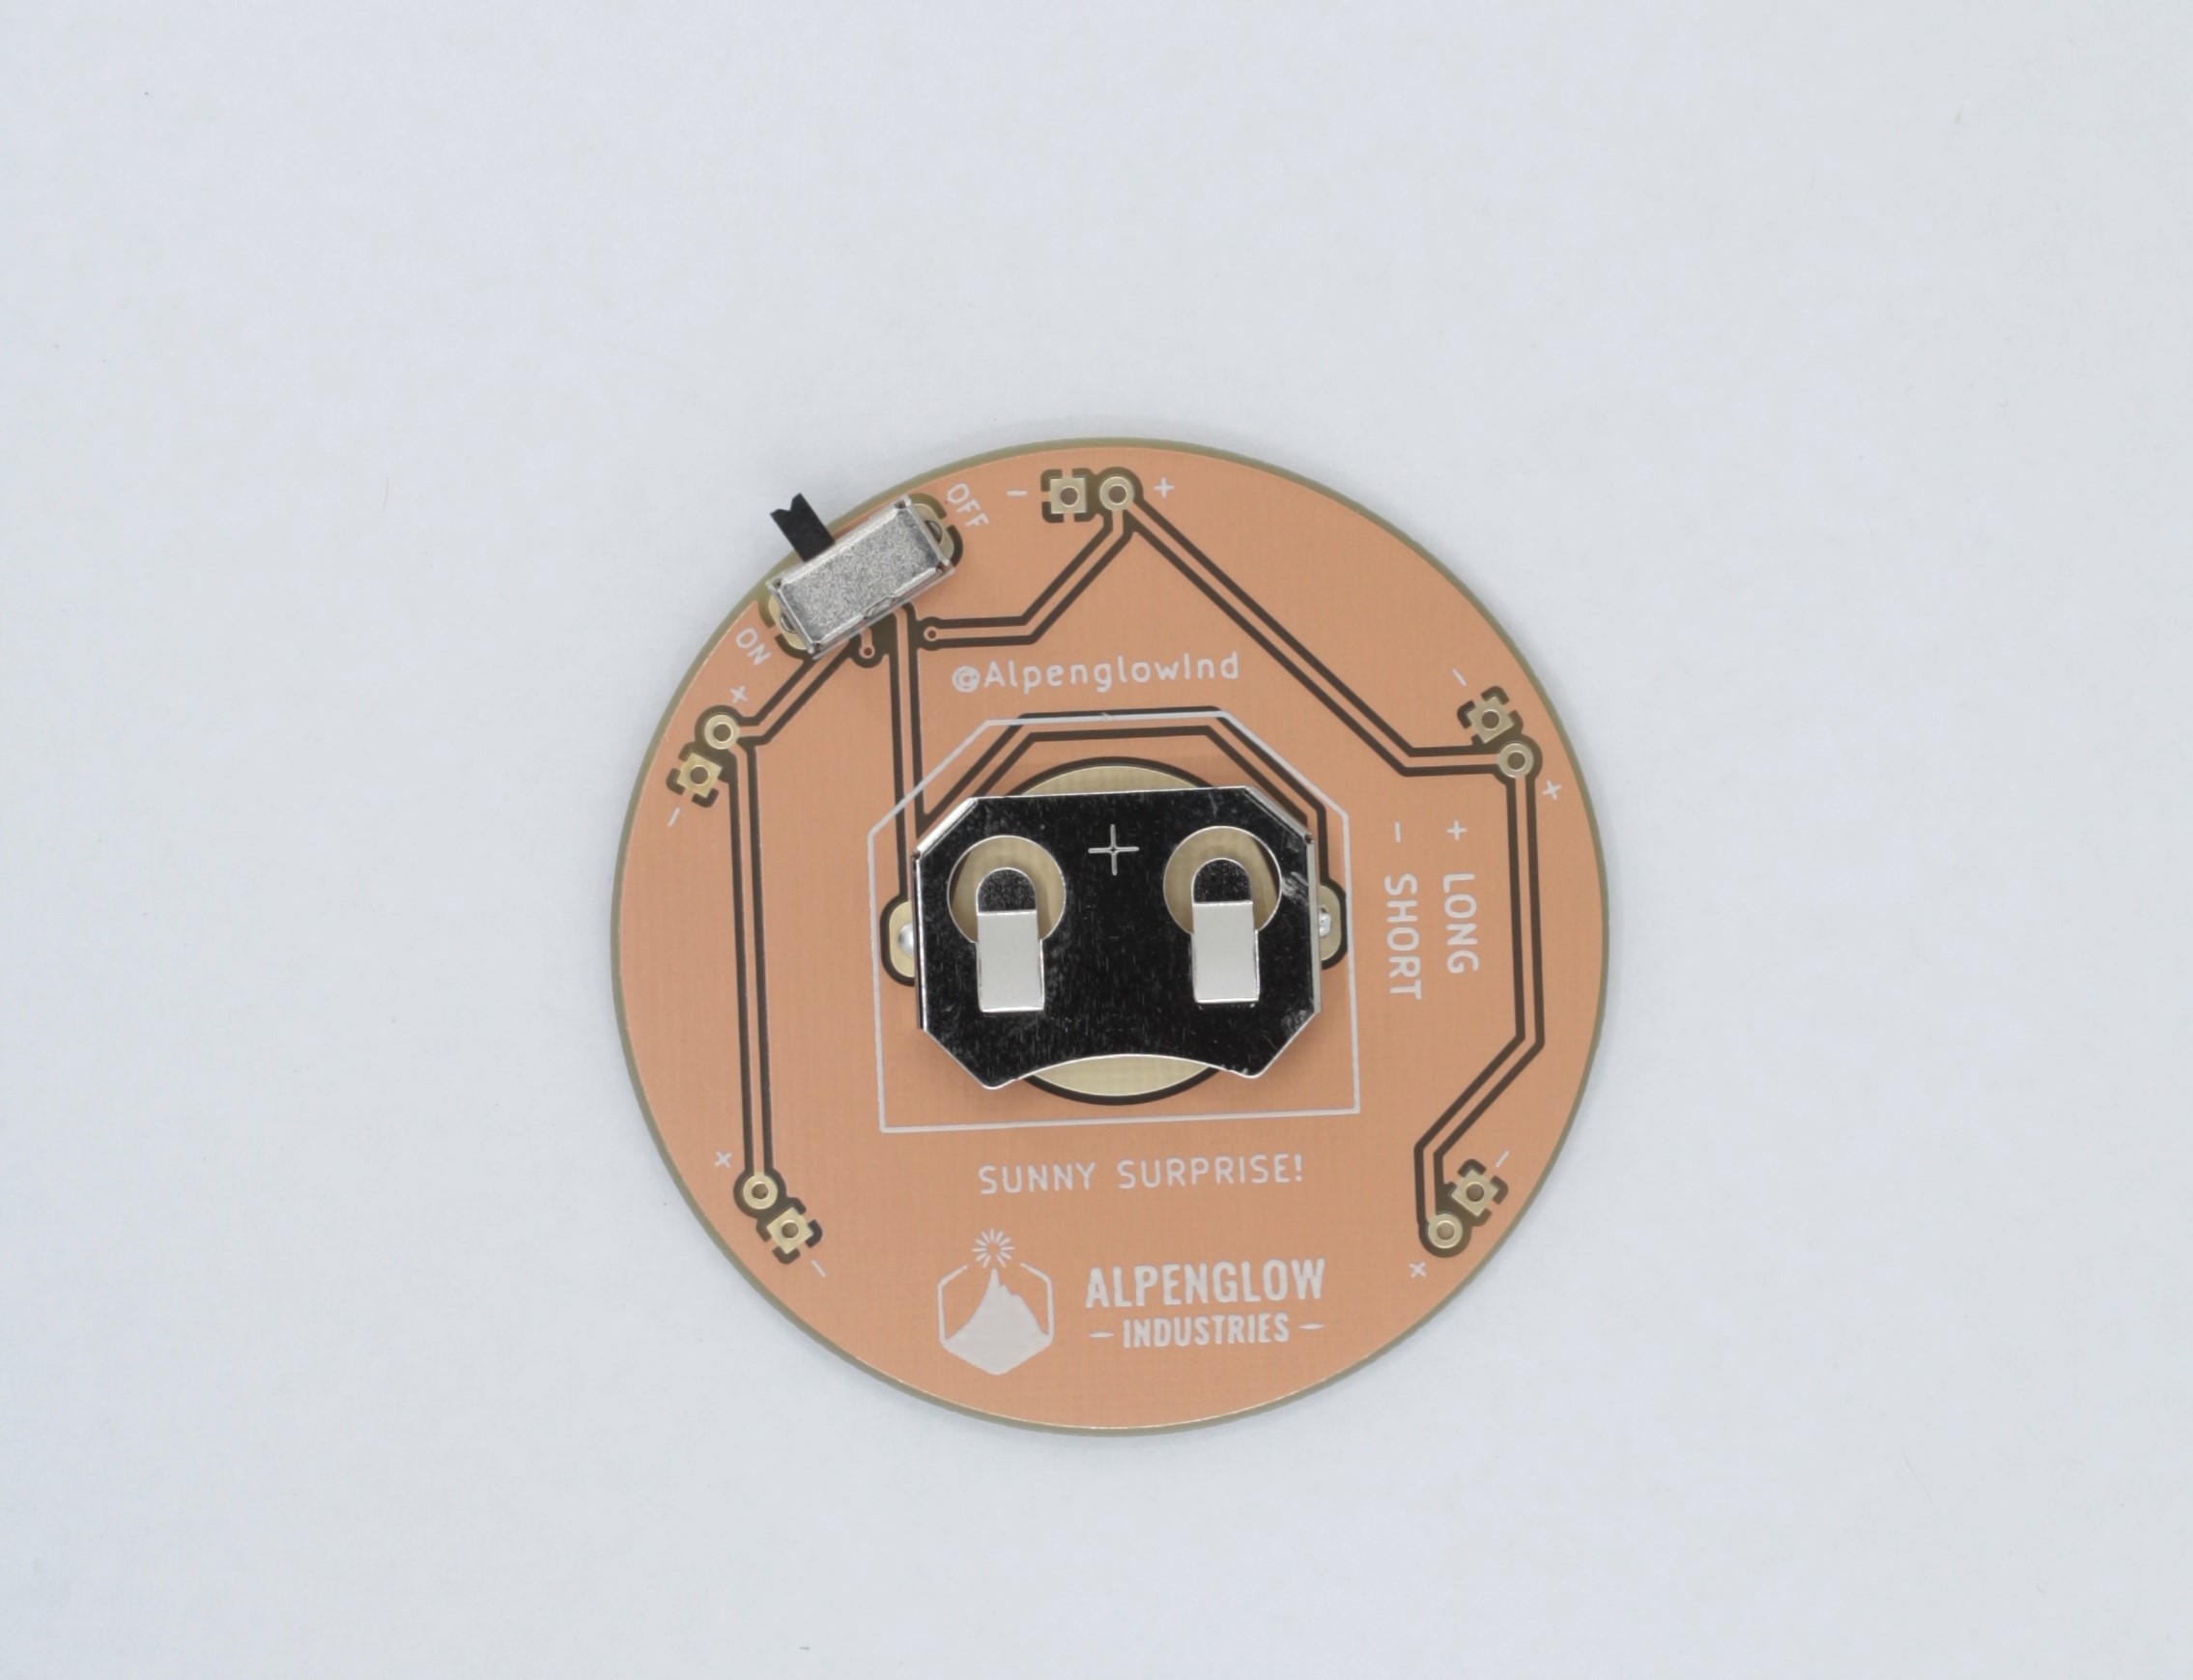
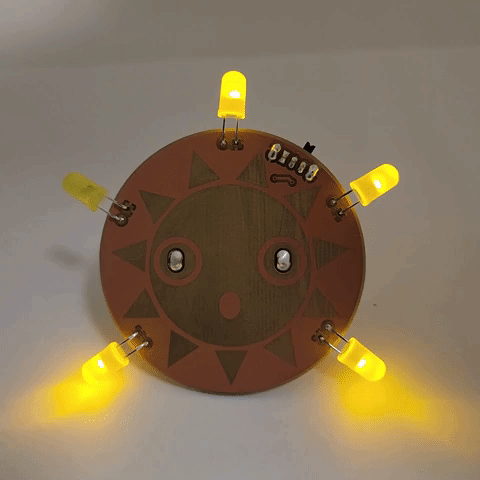
Sunny Surprise
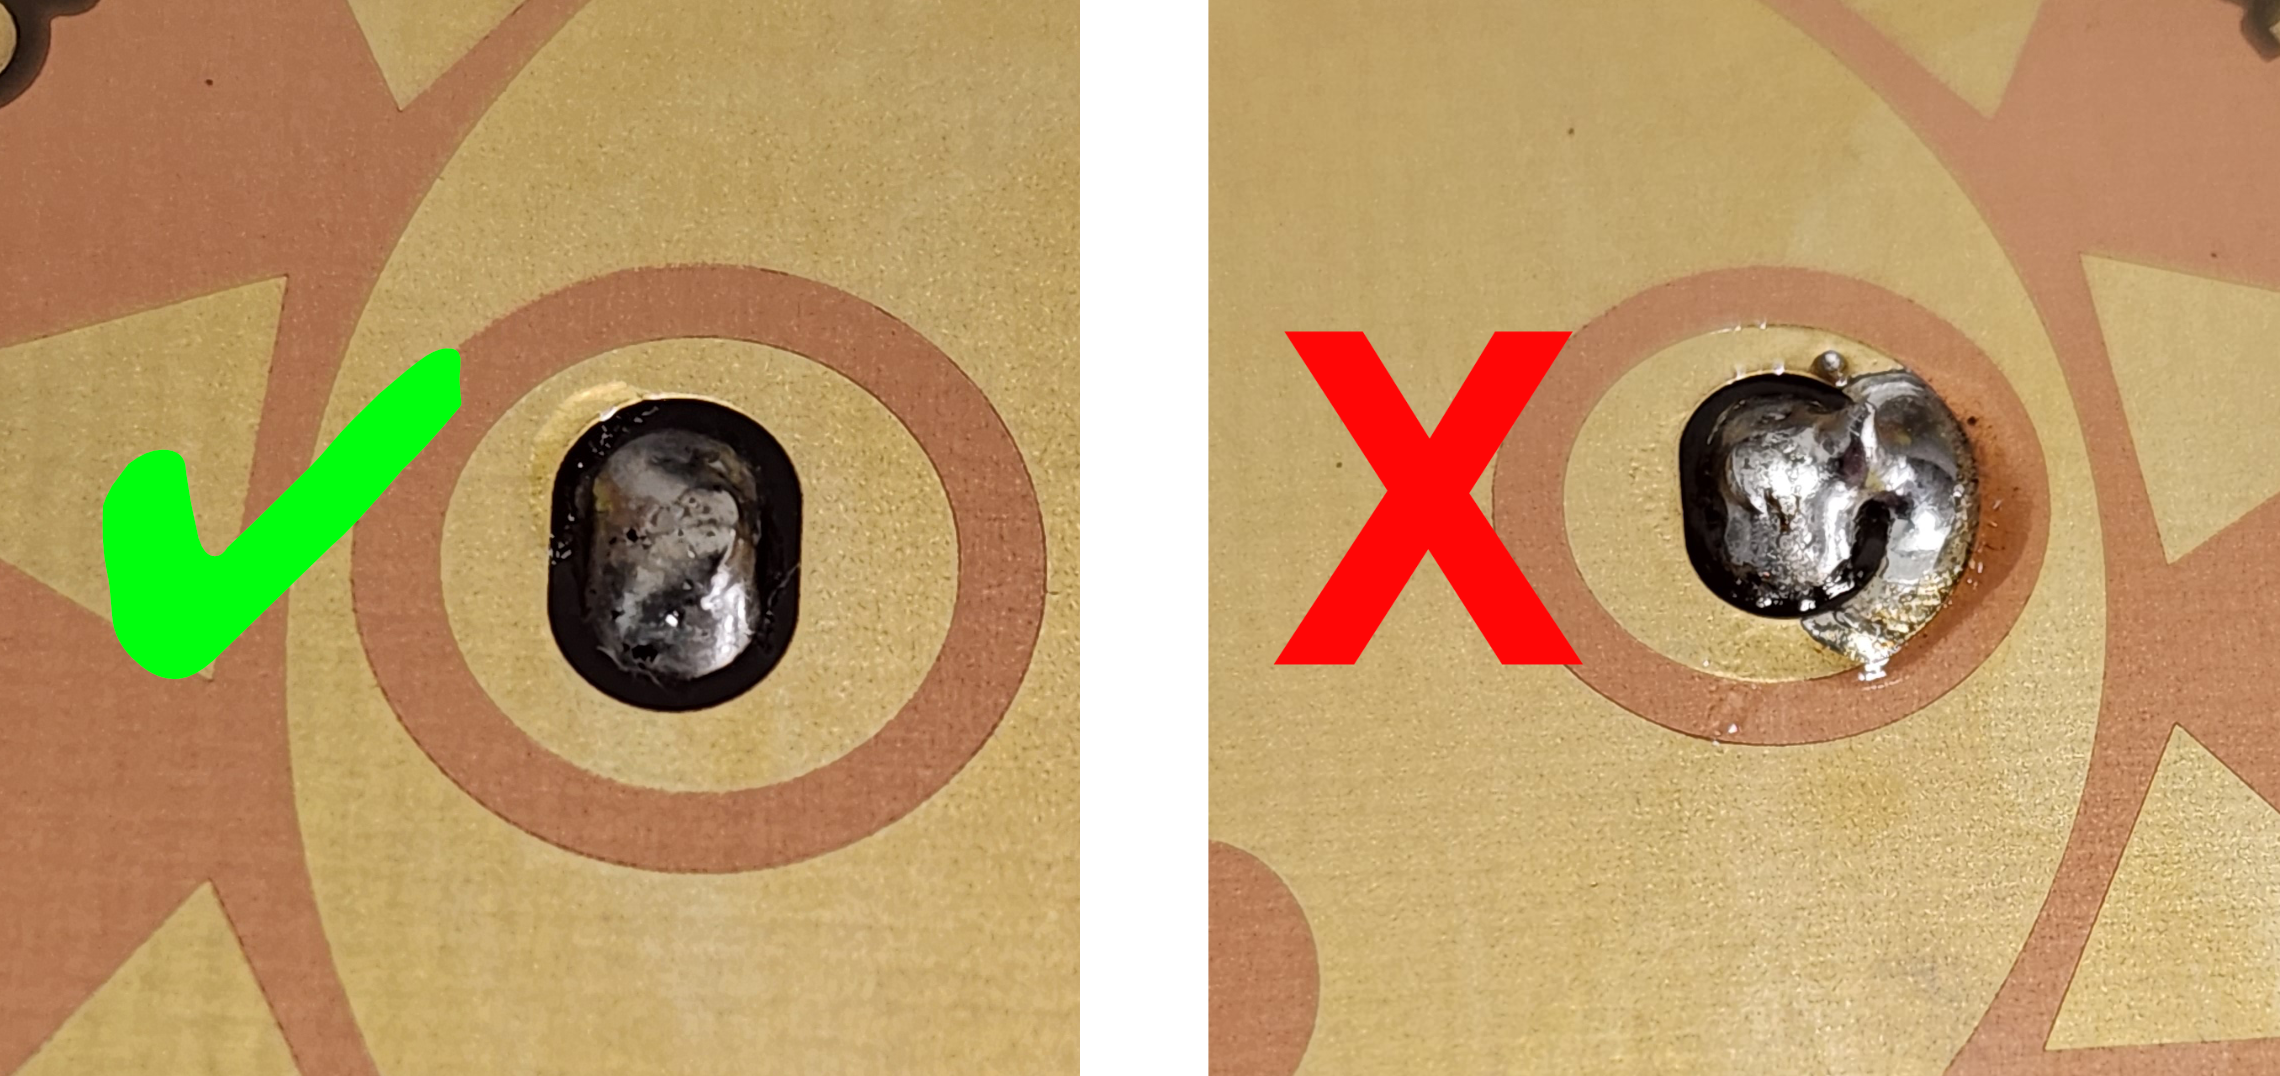
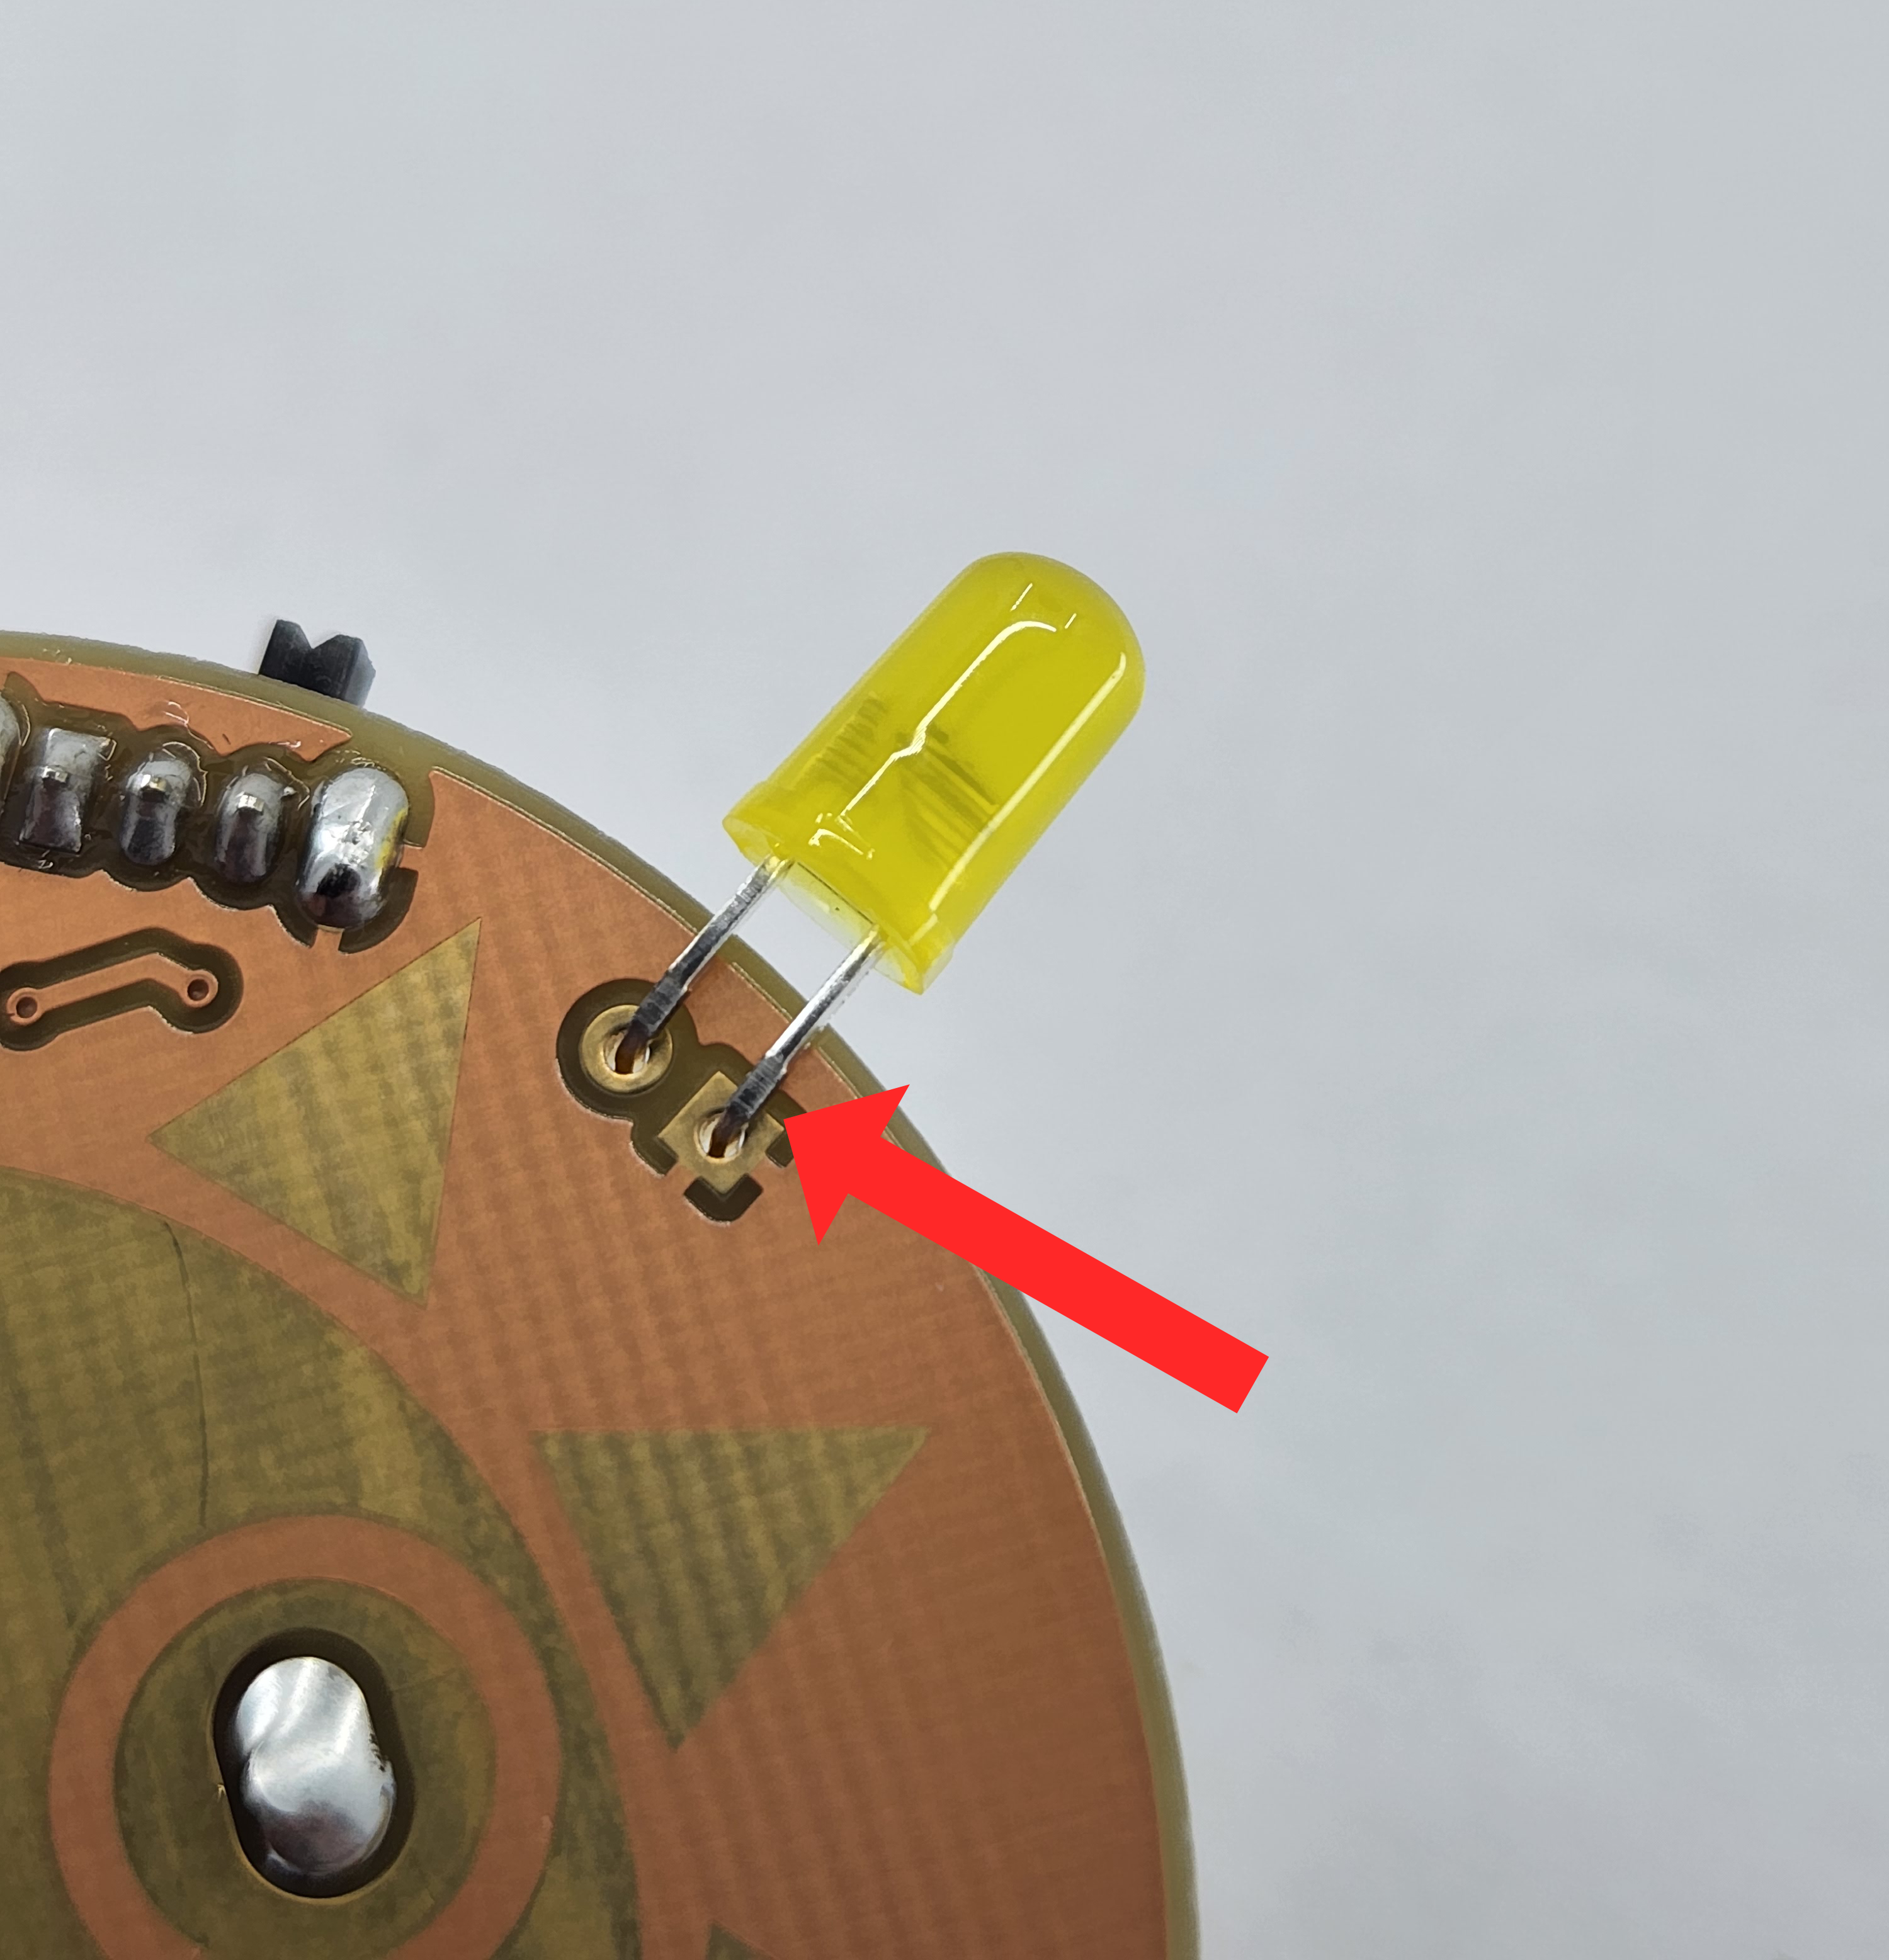
A fun learn-to-solder kit, comes with a cheerful idsposition
Become a Hackaday.io member
Already have an account? Log in.
Just one more thing
To make the experience fit your profile, pick a username and tell us what interests you.
Pick an awesome username
hackaday.io/
Your profile's URL: hackaday.io/username. Max 25 alphanumeric characters.
Pick a few interests
Projects that share your interests
People that share your interests


 Jeremy Gilbert
 deʃhipu
 Ian Dunn