 Mrinnovative
DIY-SMD-Resistor-cutting-machine

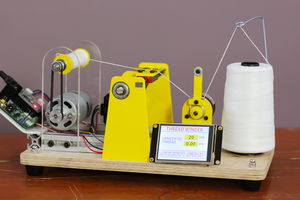
Hello friends in this video I will make a Automatic SMD resistor cutting machine. those who daily deals with smd components knows the struggle of cutting such small resistors. and if you need to cut them in bulk them job is even harder.
for that reason I made a mini compact machine that can cut n numbers of resistors for you.
Components used
Nema 17 Stepper motor High torque 12V DC motor linear rails 6mm Acrylic sheet 20 x 20 Alu. profile 8mm cutter blade shaft 3D printed parts Custom PCB
CIRCUIT & CUSTOM PCB
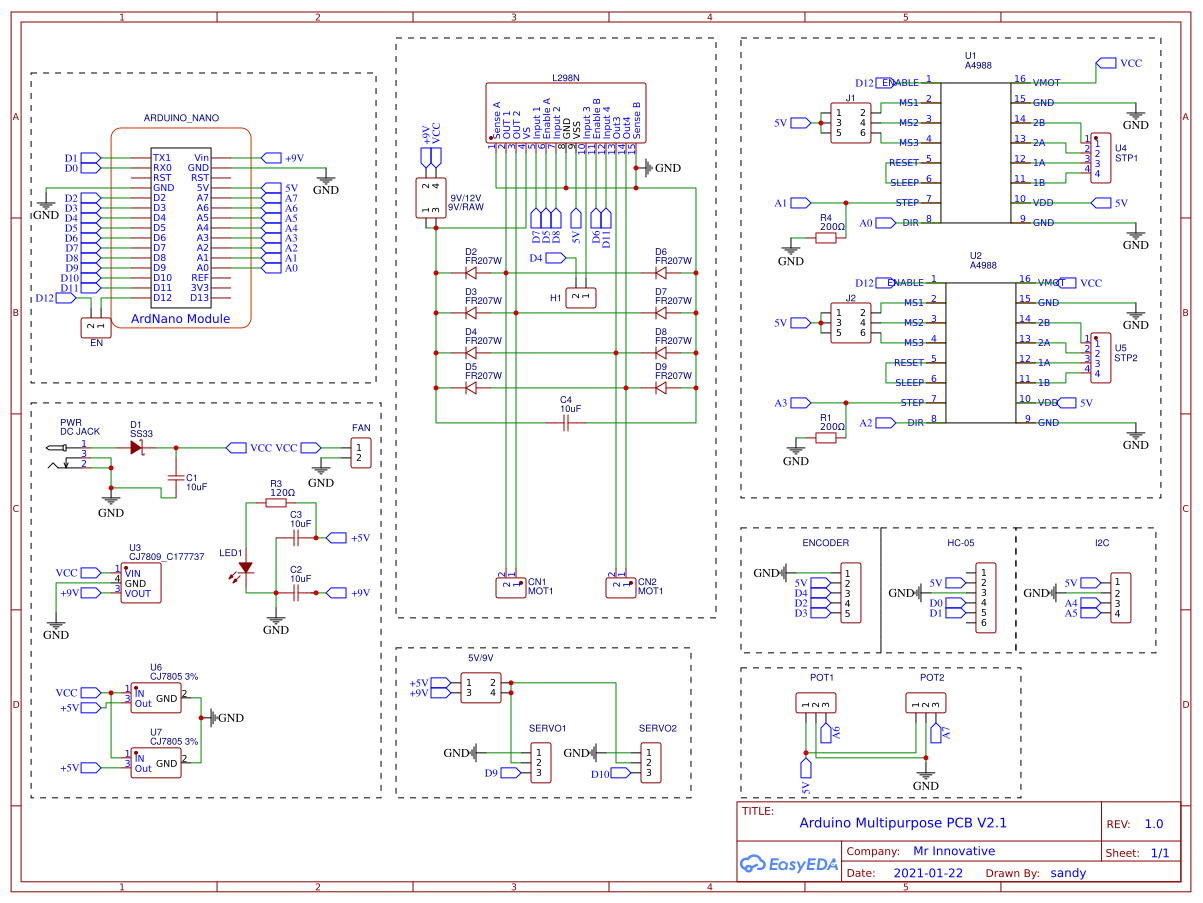


I have design circuit and PCB in easy EDA and ordered PCB from JLCPCB.com
JLCPCB.com are the world leader in PCB manufacturing there PCB production rates are very much affordable and they have world class PCB production unit results fast PCB production.
I have provided the link of circuit design so that you can modify it as per your need if you need to change any thing.
https://oshwlab.com/sharmaz747/multipurpose-pcb_copy_copy_copy
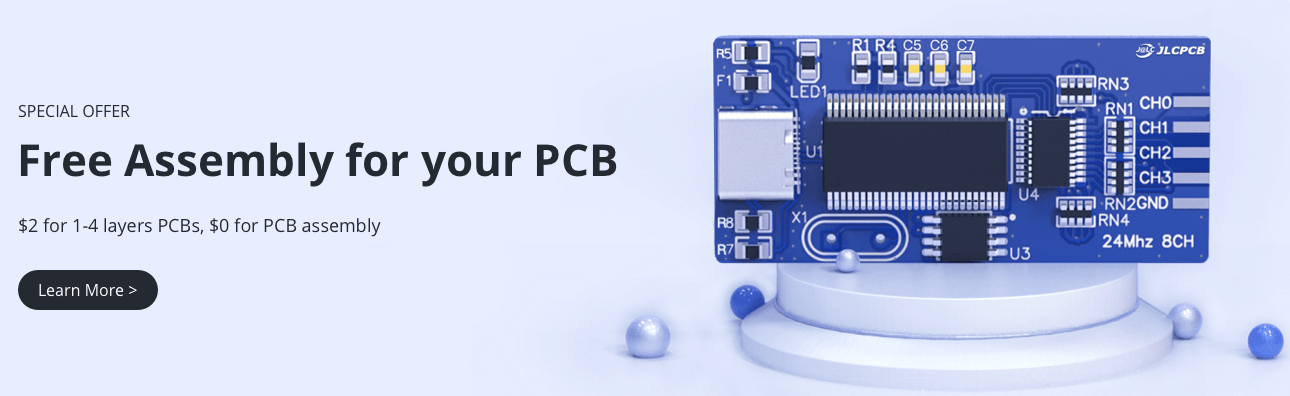
SMT Assembly service of JLCPCB.com is cherry on top now get your PCB fully assembled and save your time and money Select components for your PCB from there Parts Library of 200k+ in-stock components they are offering $30 valued New User coupons & $24 SMT coupons every month $8.00 setup fee, and $0.0017 per joint
Now no need to order components separately for you PCB and get free from stress of soldering them on PCB just try PCB SMT assembly service and get you PCB with components pre assembled and ready for the project
👉 Try PCBA service of JLCPCB.com and save your time and money, get PCB ready for project, 200K+ components in library of JLCPCB.com as well as 3rd party parts to choose from. Assembly will support 10M+ parts from Digikey, mouser
👉 $30 valued New User coupons
👉 $24 SMT coupons every month
For more detials & offers please visit JLCPCB.com
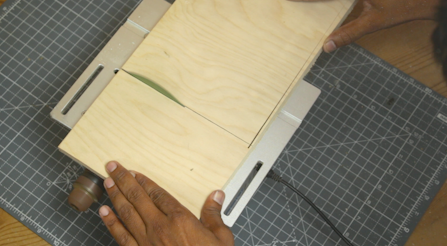
First i have used my homemade CNC router machine to cut the acrylic parts.
I have used 6mm cast Acrylic sheet because they are router friendly and easy to machine. I made two parts here one for stepper motor mount and one for DC gear motor mount.


Then I cut the 12mm wooden sheet to make the based of machine. I also attached 4 rubber legs the the base to reduce any mechanical vibration here I have used two 20x20 Alu. extrusion profile. one I place horizontally and one vertically.
On horizontal one I will attached stepper motor and on vertical one Resistor reel has been attached.

Stepper motor attached to the smaller acrylic part and DC gear motor is attached to the bigger acrylic part.


Now here I have chosen the MGH9N means 9mm linear rails which the best option for such purpose I have screw the rail vertically to the DC gear motor acrylic part.


This are some 3D printed parts used to slide the resistor reel to the cutter blade and to hold cutter blade along with linear rails.


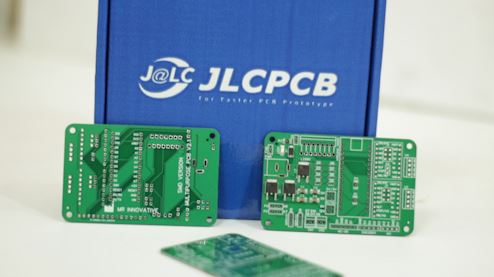
At last I completed the wiring thanks to the custom pcb is very quick and neat and clean also.
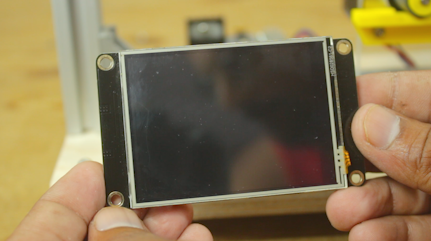
I attached stepper motor DC motor and HMI to its ports and now we are ready for the action

Arduino Code
#include <Stepper.h>
#include <Arduino.h>
#include "BasicStepperDriver.h"
#include "L298N_MotorDriver.h"
#include <SoftwareSerial.h>
SoftwareSerial mySerial(2, 3); // RX, TX
int A = 0;
int B = 0;
int state = 0;
int EN = 12;
String message;
int QTY, numMessages, endBytes;
byte inByte;
int flag = 0;
volatile long temp, counter = 0;
float MTR = 0;  int K = 1;
int sens = A4;
L298N_MotorDriver motor(5,7,8);

#define DIR  14
#define STEP  15
#define MICROSTEPS 16
#define MOTOR_STEPS 200
#define RPM 60

int count = 0;
BasicStepperDriver stepper(MOTOR_STEPS, DIR, STEP);


void setup()
{
  pinMode(sens,INPUT);  pinMode(EN,OUTPUT);
motor.setSpeed(255); // Sets the speed for the motor. 0 - 255 // Turns the motor on numMessages, endBytes = 0; Serial.begin(115200); mySerial.begin(115200); stepper.begin(RPM,...
Read more »


and maybe the CNC router files..