Mrinnovative
How-to-create-a-Morse-code-system

Morse Code, either of two systems for representing letters of the alphabet, numerals, and punctuation marks by an arrangement of dots, dashes, and spaces. The codes are transmitted as electrical pulses of varied lengths or analogous mechanical or visual signals, such as flashing lights.
One of the systems was invented in the United States by American artist and inventor Samuel F.B. Morse during the 1830s for electrical telegraphy. This version was further improved by American scientist and businessman Alfred Lewis Vail, Morse’s assistant and partner.
Soon after its introduction in Europe, it became apparent that the original Morse Code was inadequate for the transmission of much non-English text, since it lacked codes for letters with diacritic marks.
To remedy this deficiency, a variant called the International Morse Code was devised by a conference of European nations in 1851. This newer code is also called Continental Morse Code.

Material Required
1 10K resistor (R1)
1 22K resistor (R2)
4 100nF capacitor (C1, C3, C5, C6)
2 100uF capacitor (C2, C4)
1 1n4148 diode (D1)
1 1n5817 Schottky diode (D2)
Morse code has its origins back to the first telegraph as a method for communicating. Since the only data that could be transferred was either the presence of electrical current or not, all letters and numbers were encoded in such a way that all could be interpreted with either a long pulse or short pulse.
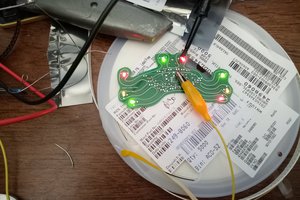
In this series of projects, I will show you how to create a Morse code system that you can use to communicate with others at distance! This project will start with the most basic of systems and you will transmit Morse code via a switch and a transmitter/receiver pair.
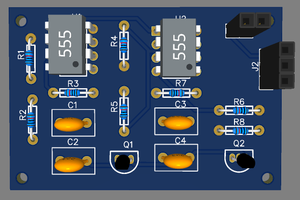
Transmitter Schematic


Receiver Schematic


Before moving fuurther I would like to tell you something about PCB
Yes PCB are the heart of the electronics based project usually we hesitate to try custom PCB and opt to homemade solutions
like breadboard or Zero PCB earlier I also was in the same boat, I hesitate to try custom PCB my belief was they are much expensive.
but then I came to know about JLCPCB.COM and I was totally surprised how low price PCB's are they offering
there PCB quality is best in market, now I always go with PCB for my project and JLCPCB.COM is my trusted
If you planing to order any PCB for your projects so you can consider JLCPCB.com because
I always prefer JLCPCB.com for my PCB needs, JLCPCB.com have best deals for their customers $2 for 1-4 Layer PCBs, free SMT assembly monthly.
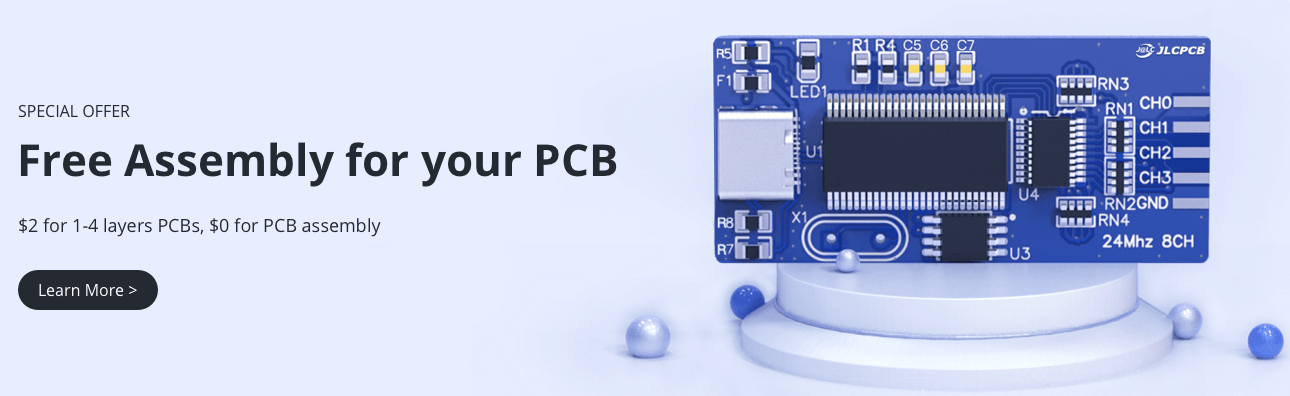
If you seriously need quality PCB quickly in your hand then you must have to try JLCPCB PCB manufacturing service. They have Special offer of $2 for 1-4 Layer PCBs, free SMT assembly monthly. If new user signup today from this link JLCPCB.com you will get welcome coupons from JLCPCB.
SMT Assembly service of JLCPCB.com is cherry on top now get your PCB fully assembled and save your time and money Select components for your PCB from there Parts Library of 200k+ in-stock components they are offering $30 valued New User coupons & $24 SMT coupons every month $8.00 setup fee, and $0.0017 per joint
Now no need to order components separately for you PCB and get free from stress of soldering them on PCB just try PCB SMT assembly service and get you PCB with components pre assembled and ready for the project
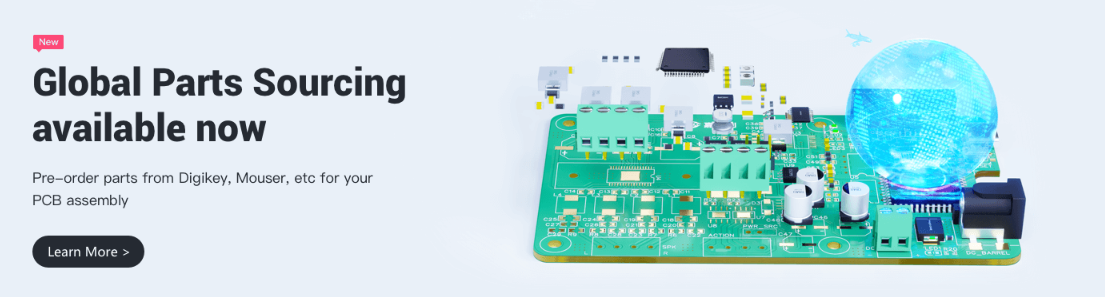
👉 Try PCBA service of JLCPCB.com and save your time and money, get PCB ready for project, 200K+ components in library of JLCPCB.com as well as 3rd party parts to choose from. Assembly will support 10M+ parts from Digikey, mouser
👉 $30 valued New User coupons
👉 $24 SMT coupons every month
For more detials & offers please visit JLCPCB.com
How Does the AM Transmitter/Receiver Work?
The heart of both the transmitter and receiver is the use of premade modules that help...
Read more »
 ElectroBoy
 sandy
sandy