 Dimitar
To make use of vape pens, first we have to know what we are working with. And the best way to do that, is to take a few of them apart. They come in variety of shapes, colors and sizes, but in essence they have the same parts and operate the same way. It is quite amazing how everything is build to optimize the cost. There are no screws and no glue, everything is snapped or taped in place. The only exception is in the electronics part, where the wires are soldered together.
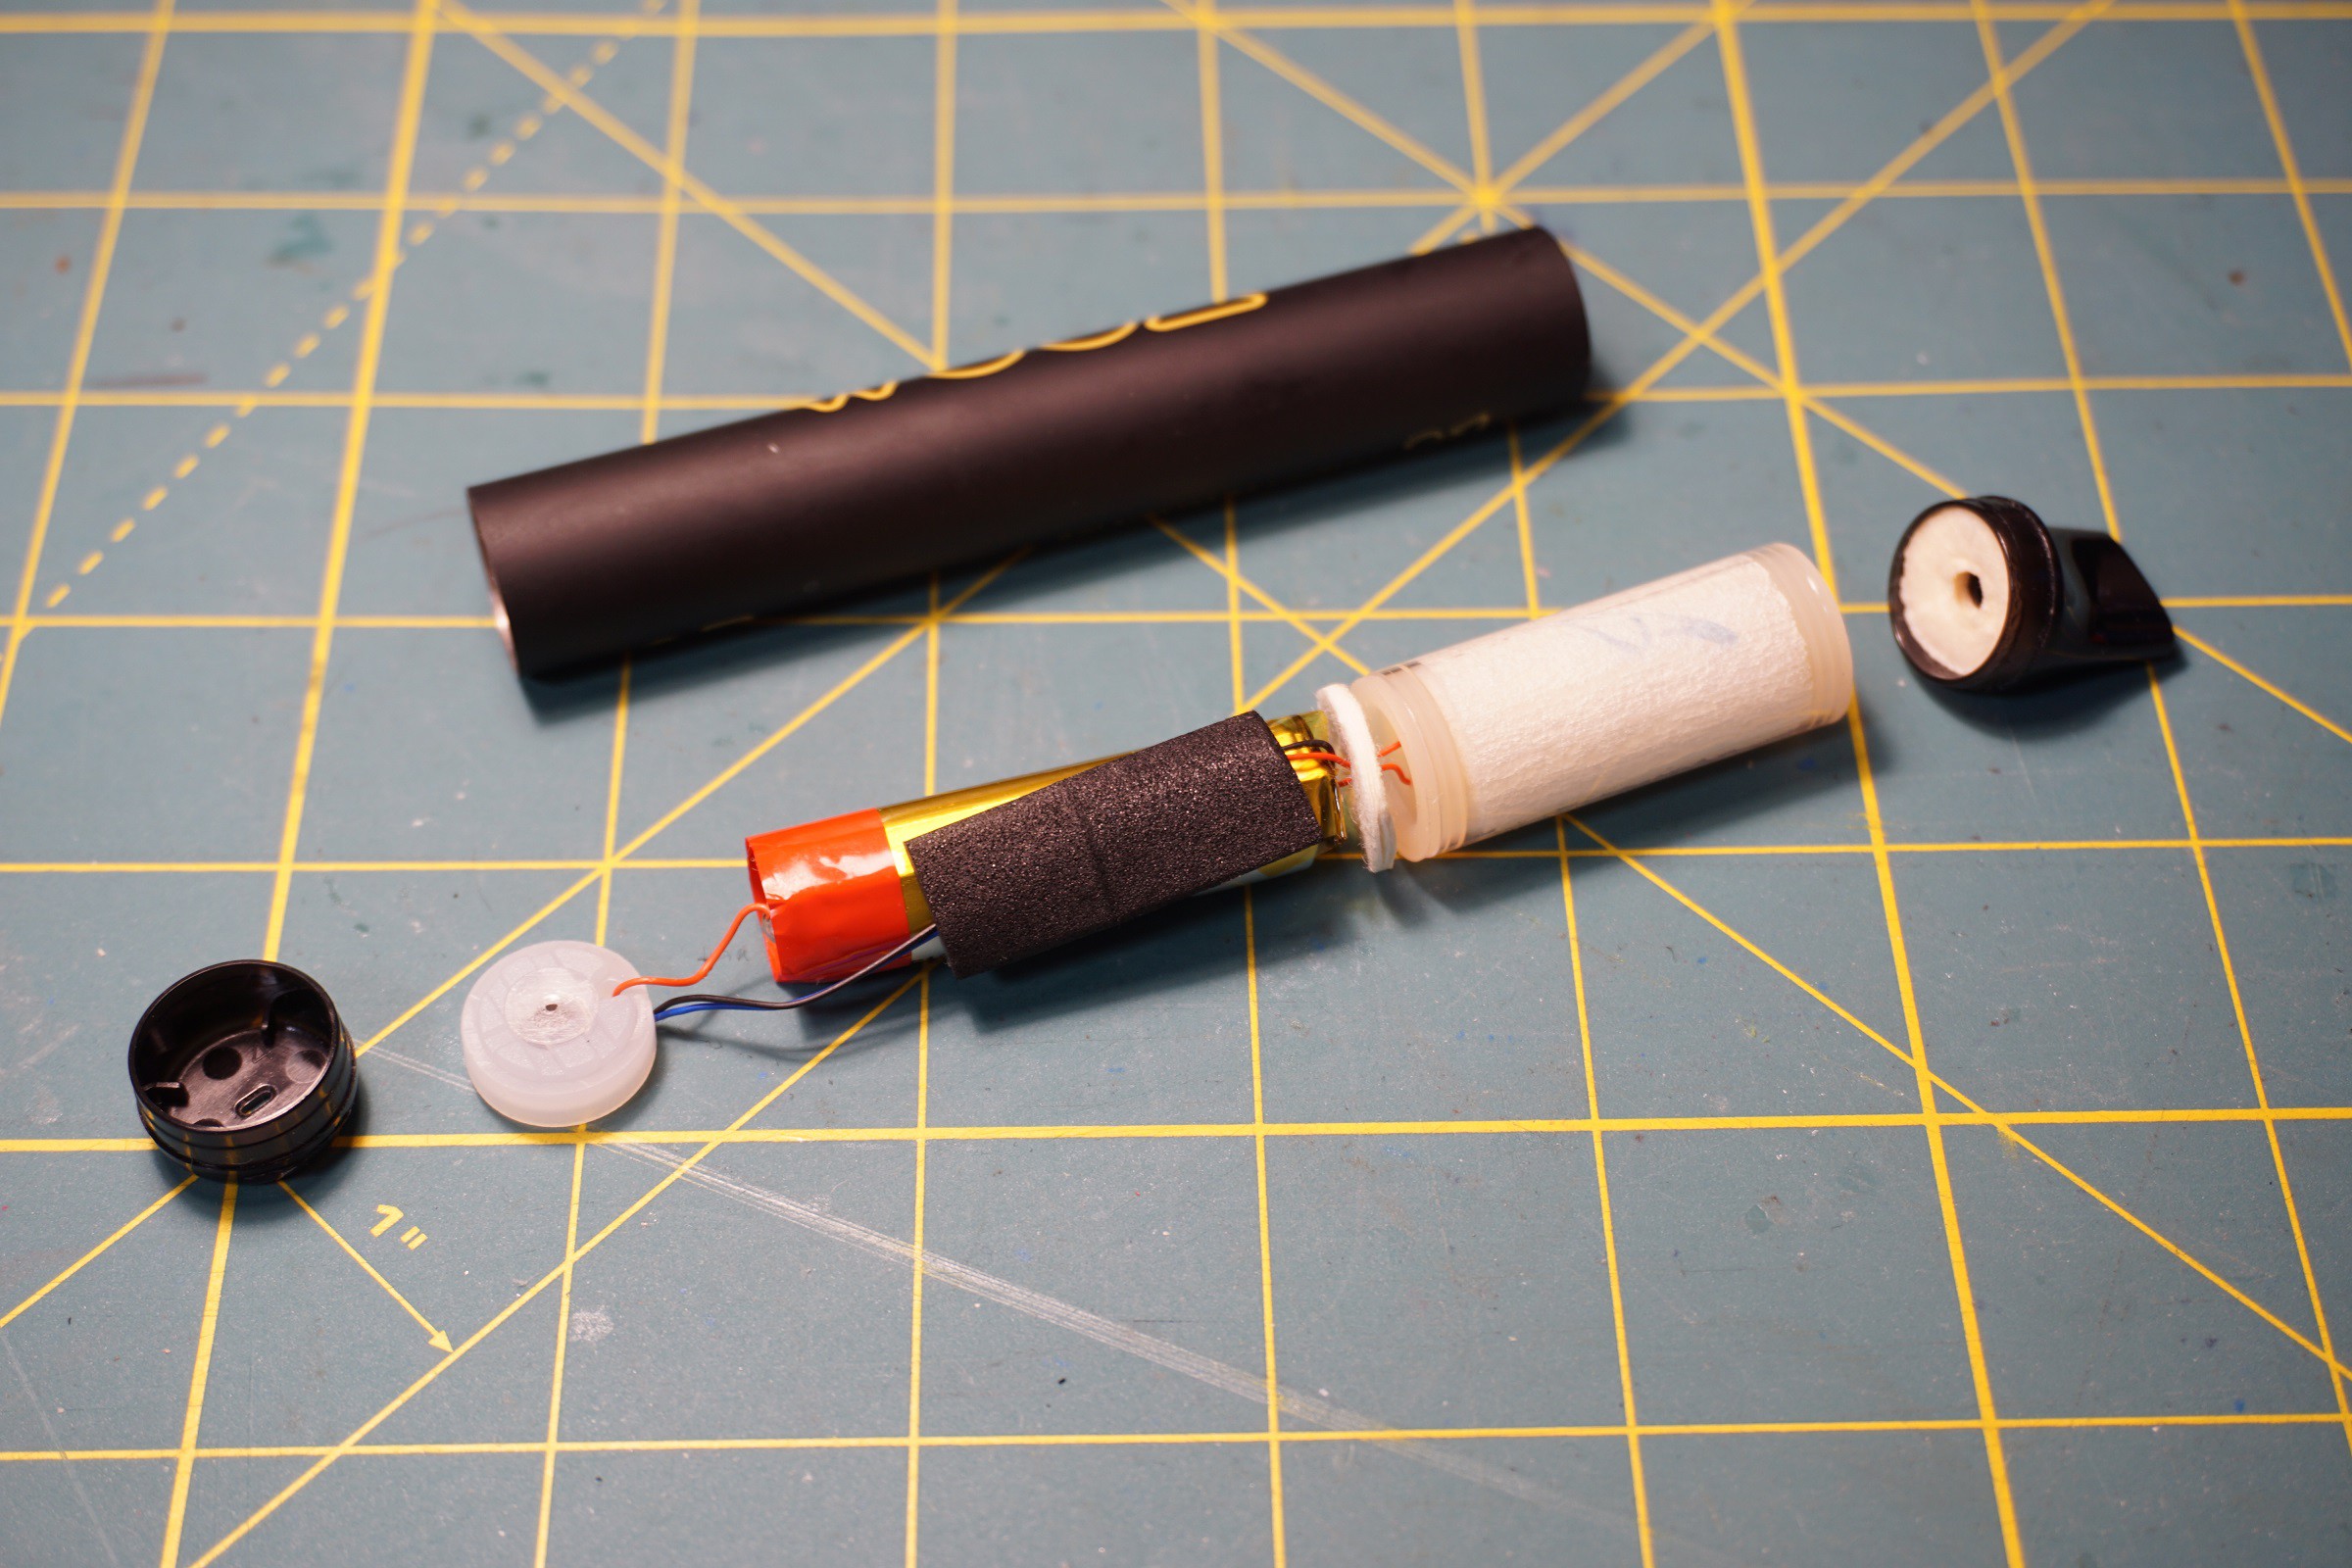
The outer shell.
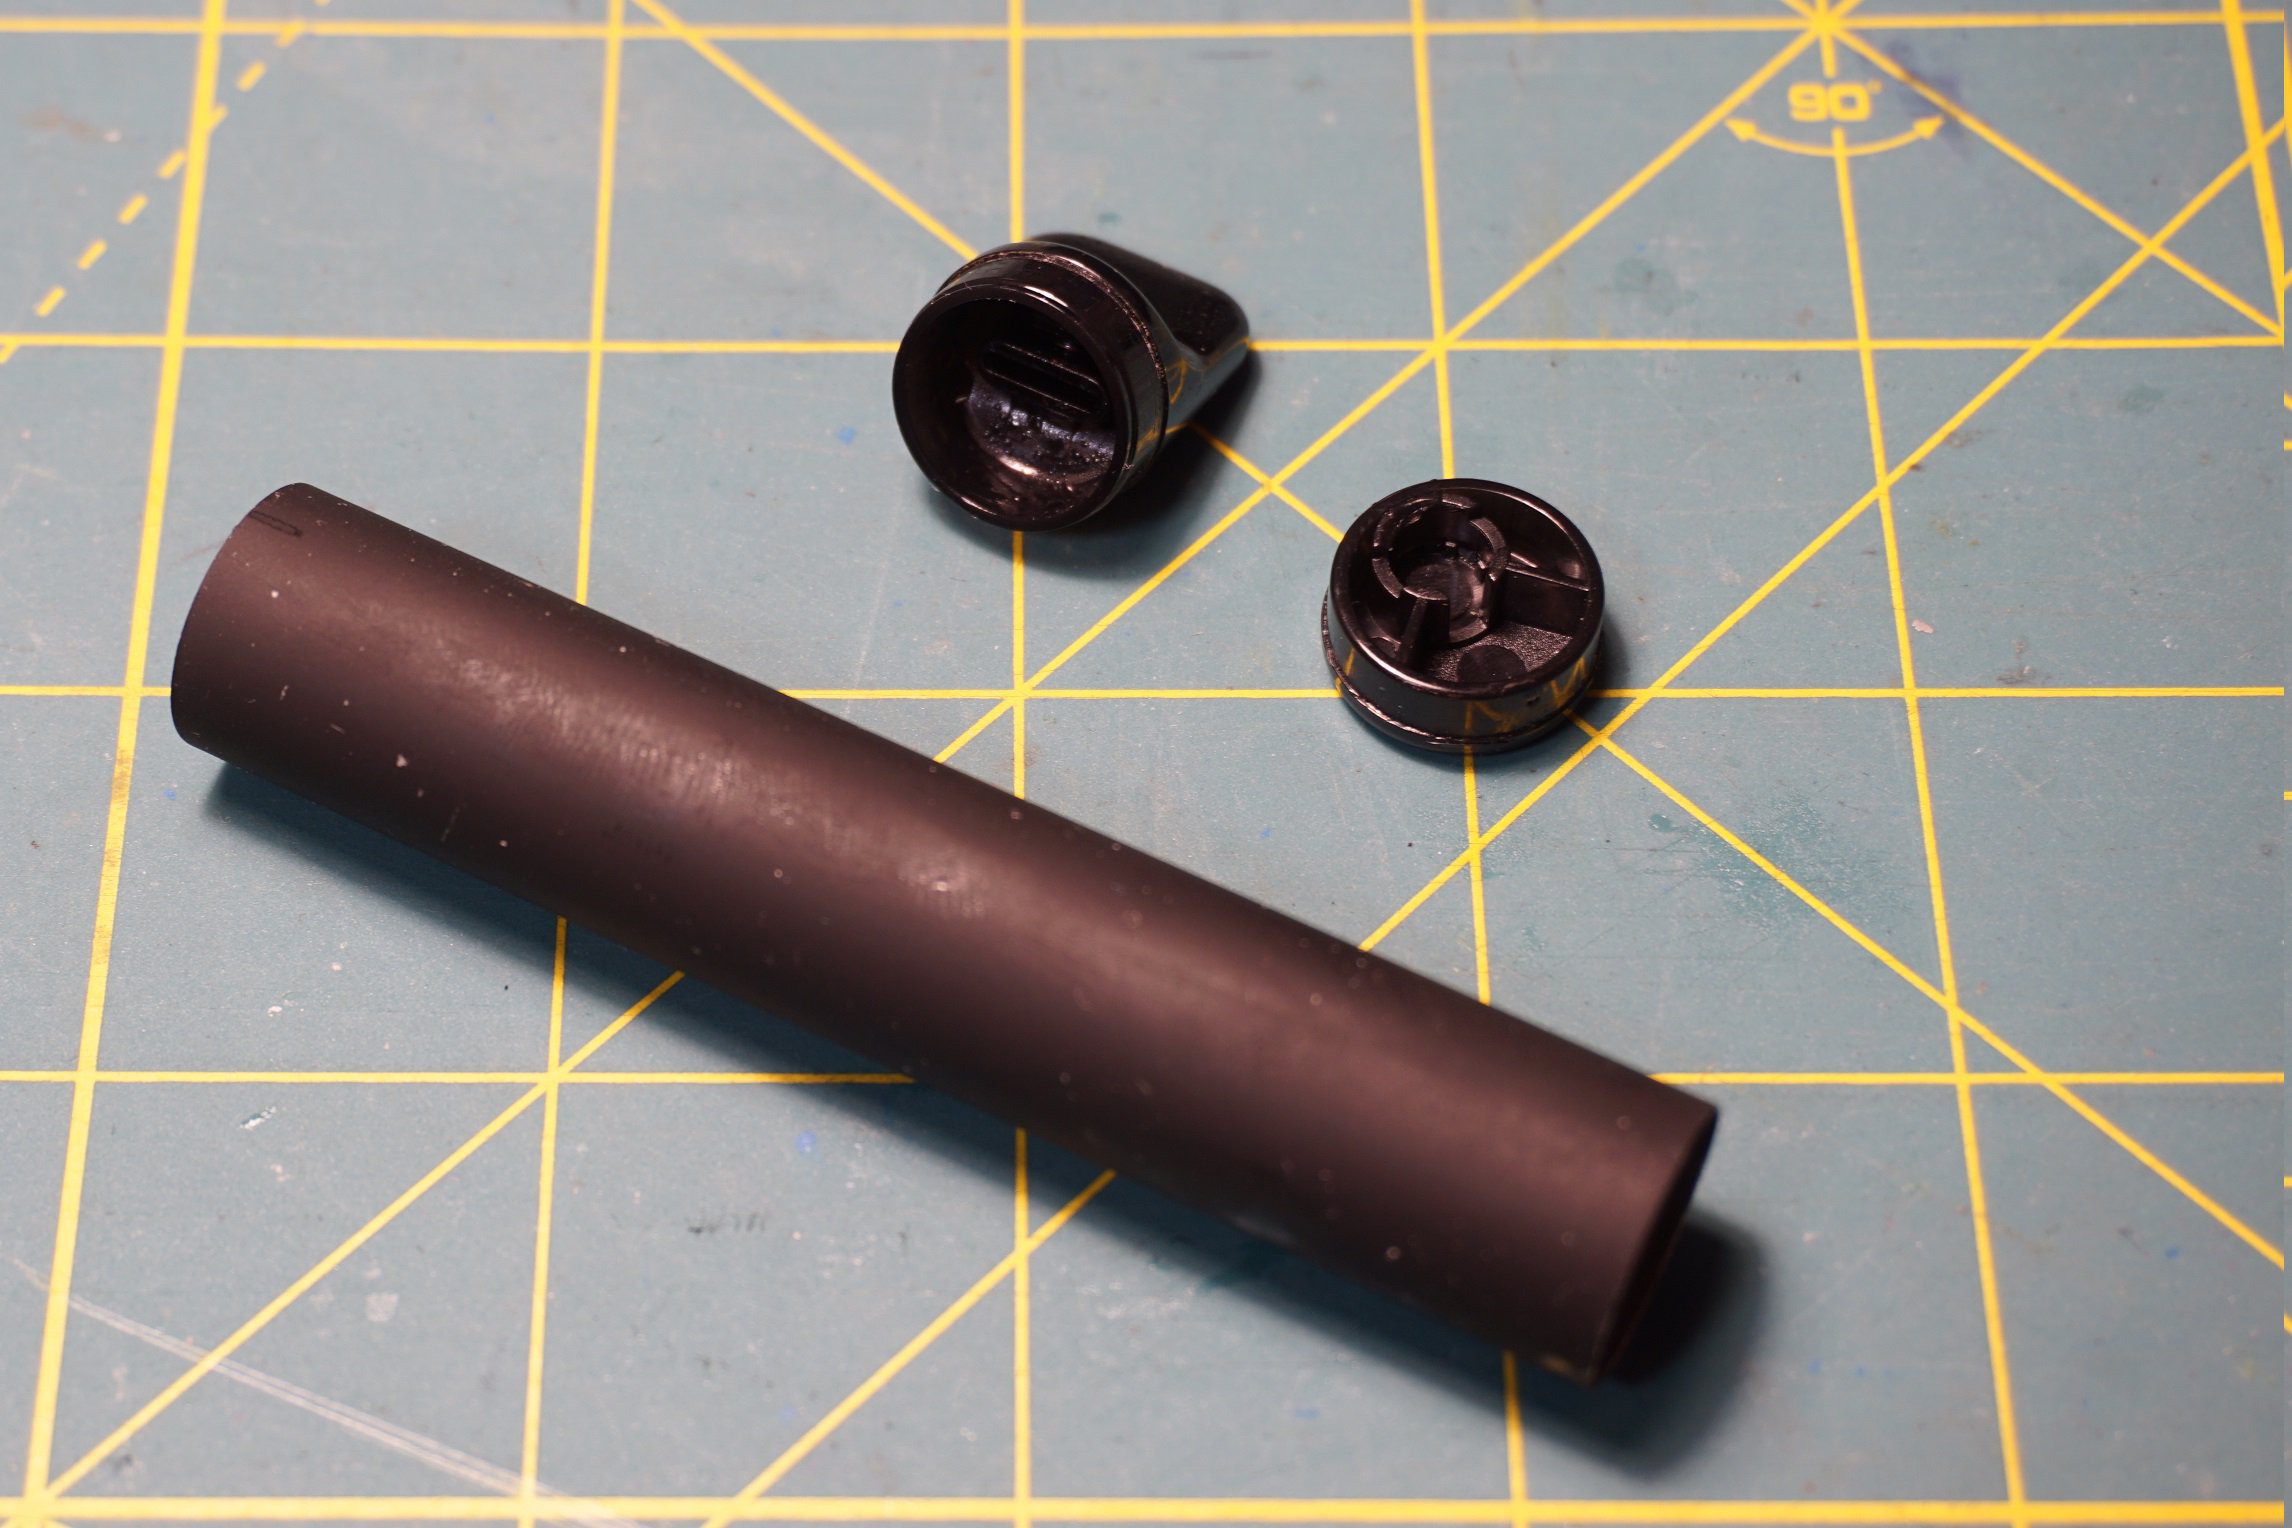
It consist of aluminum extrusion, in our case with a round profile, but it could be square or elliptical. The length of it is 85mm, diameter is 16mm and it comes at 8 grams. It is simple to make, light and somewhat durable. Usually information is printed on it using a silkscreen method. Luckily for us it comes off even when you scrape it with your fingernails. Aluminum is easy to cut and makes for a wonderful project case.
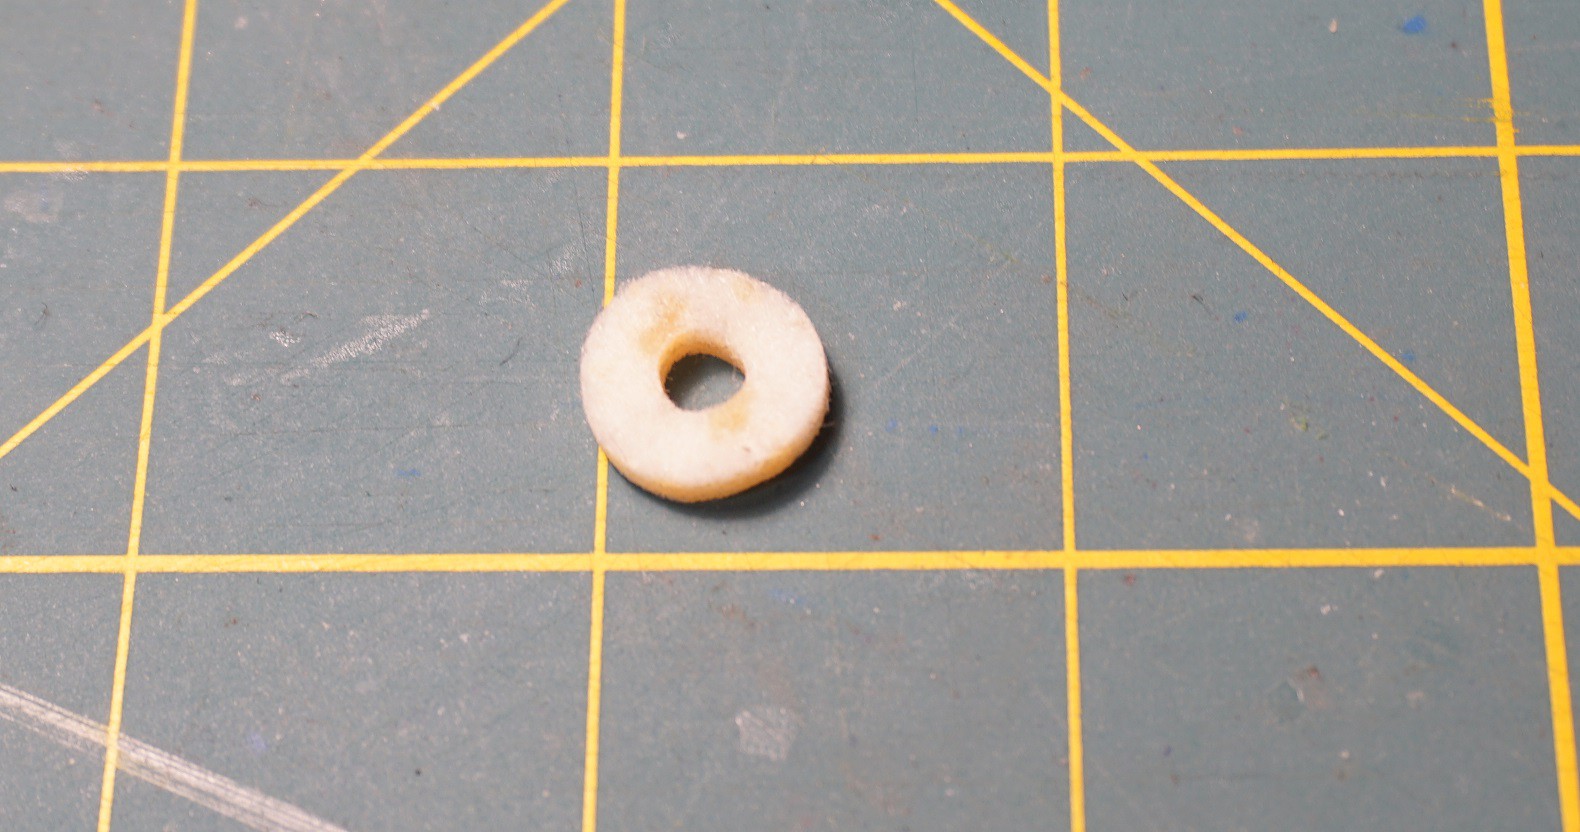
The bottom cap and the mouth piece are both injection molded plastics. They have multiple roles to fulfill. Since this is single use item the designers did not want to waste money making a perfect container for the vape fluid. They knew it is going to leak, especially when the pen is carried in a pockets or bags. The mouth piece has an additional role of keeping the leaking vape fluid inside. To do so, there is a round sponge. Also the shape is made, so it collects the fluid using a lip around the hole. The same kind of sponge can be found on the bottom of the container holding the vape fluid, but not on all models. So far I have not found any use for it.
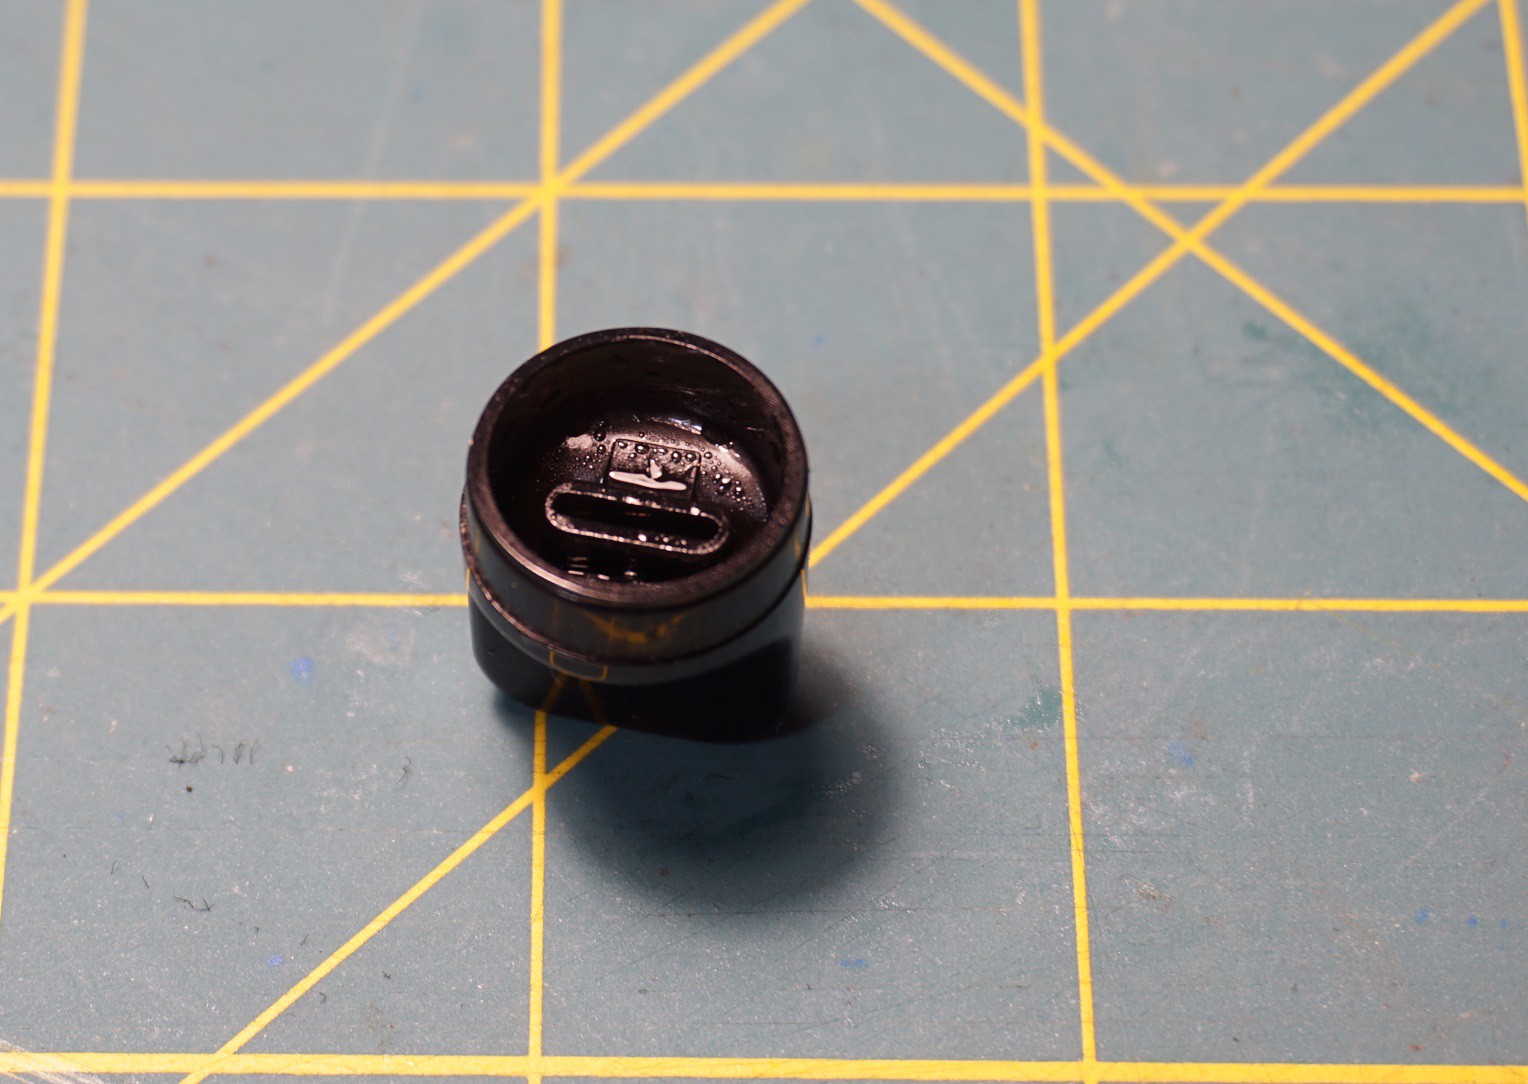
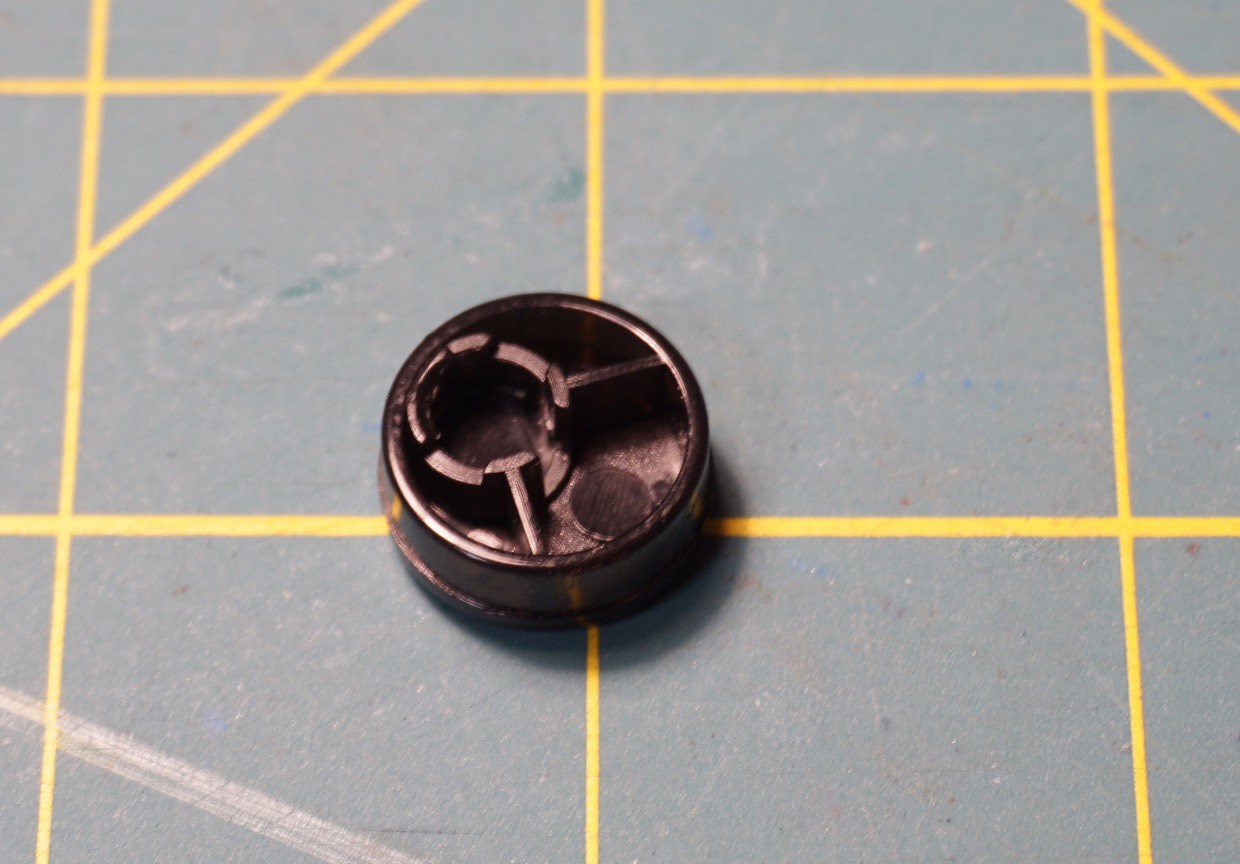
The bottom cap also has two roles. The primary one is to hold the end of the tube shut and the other one is to hold the sensor. You should keep the caps, because later we can use them to hold our projects inside the body of the vape pen.
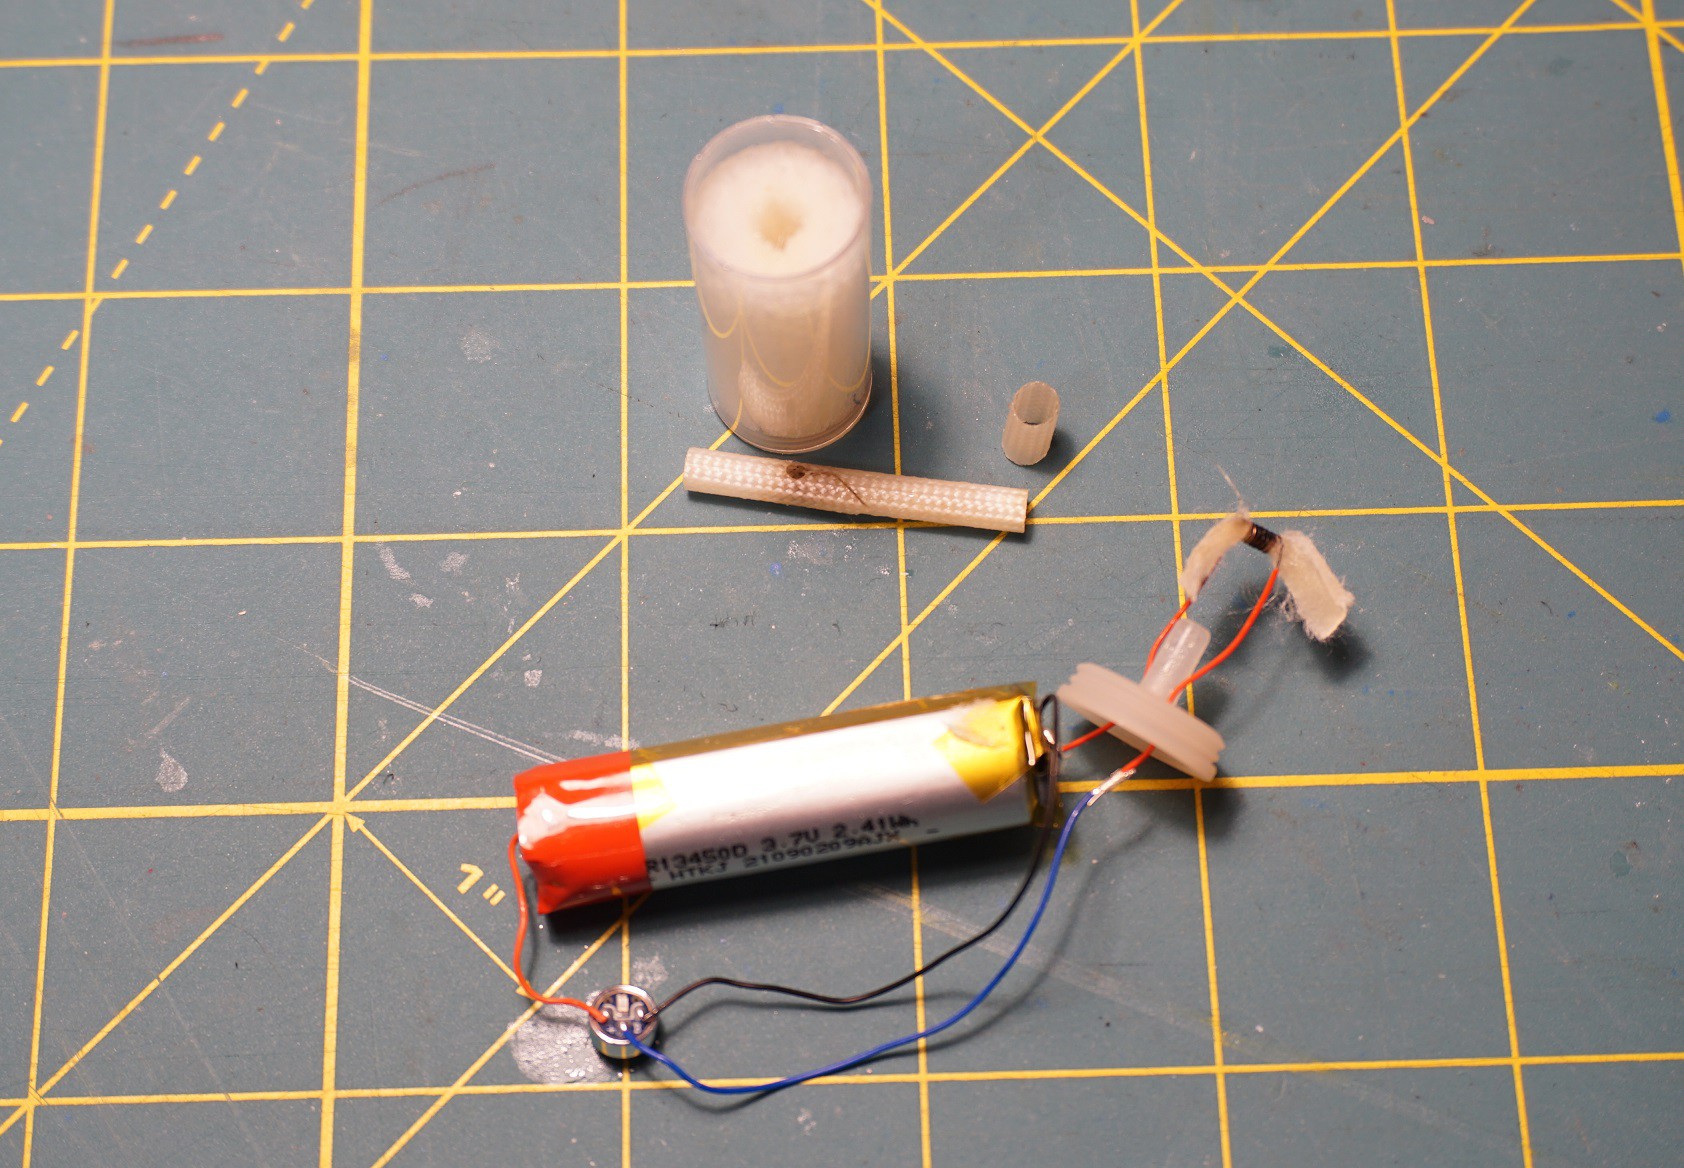
Next part gets messy. All of the guts of the vape pen get coated with fluid, so some ethanol and a paper towels are required.
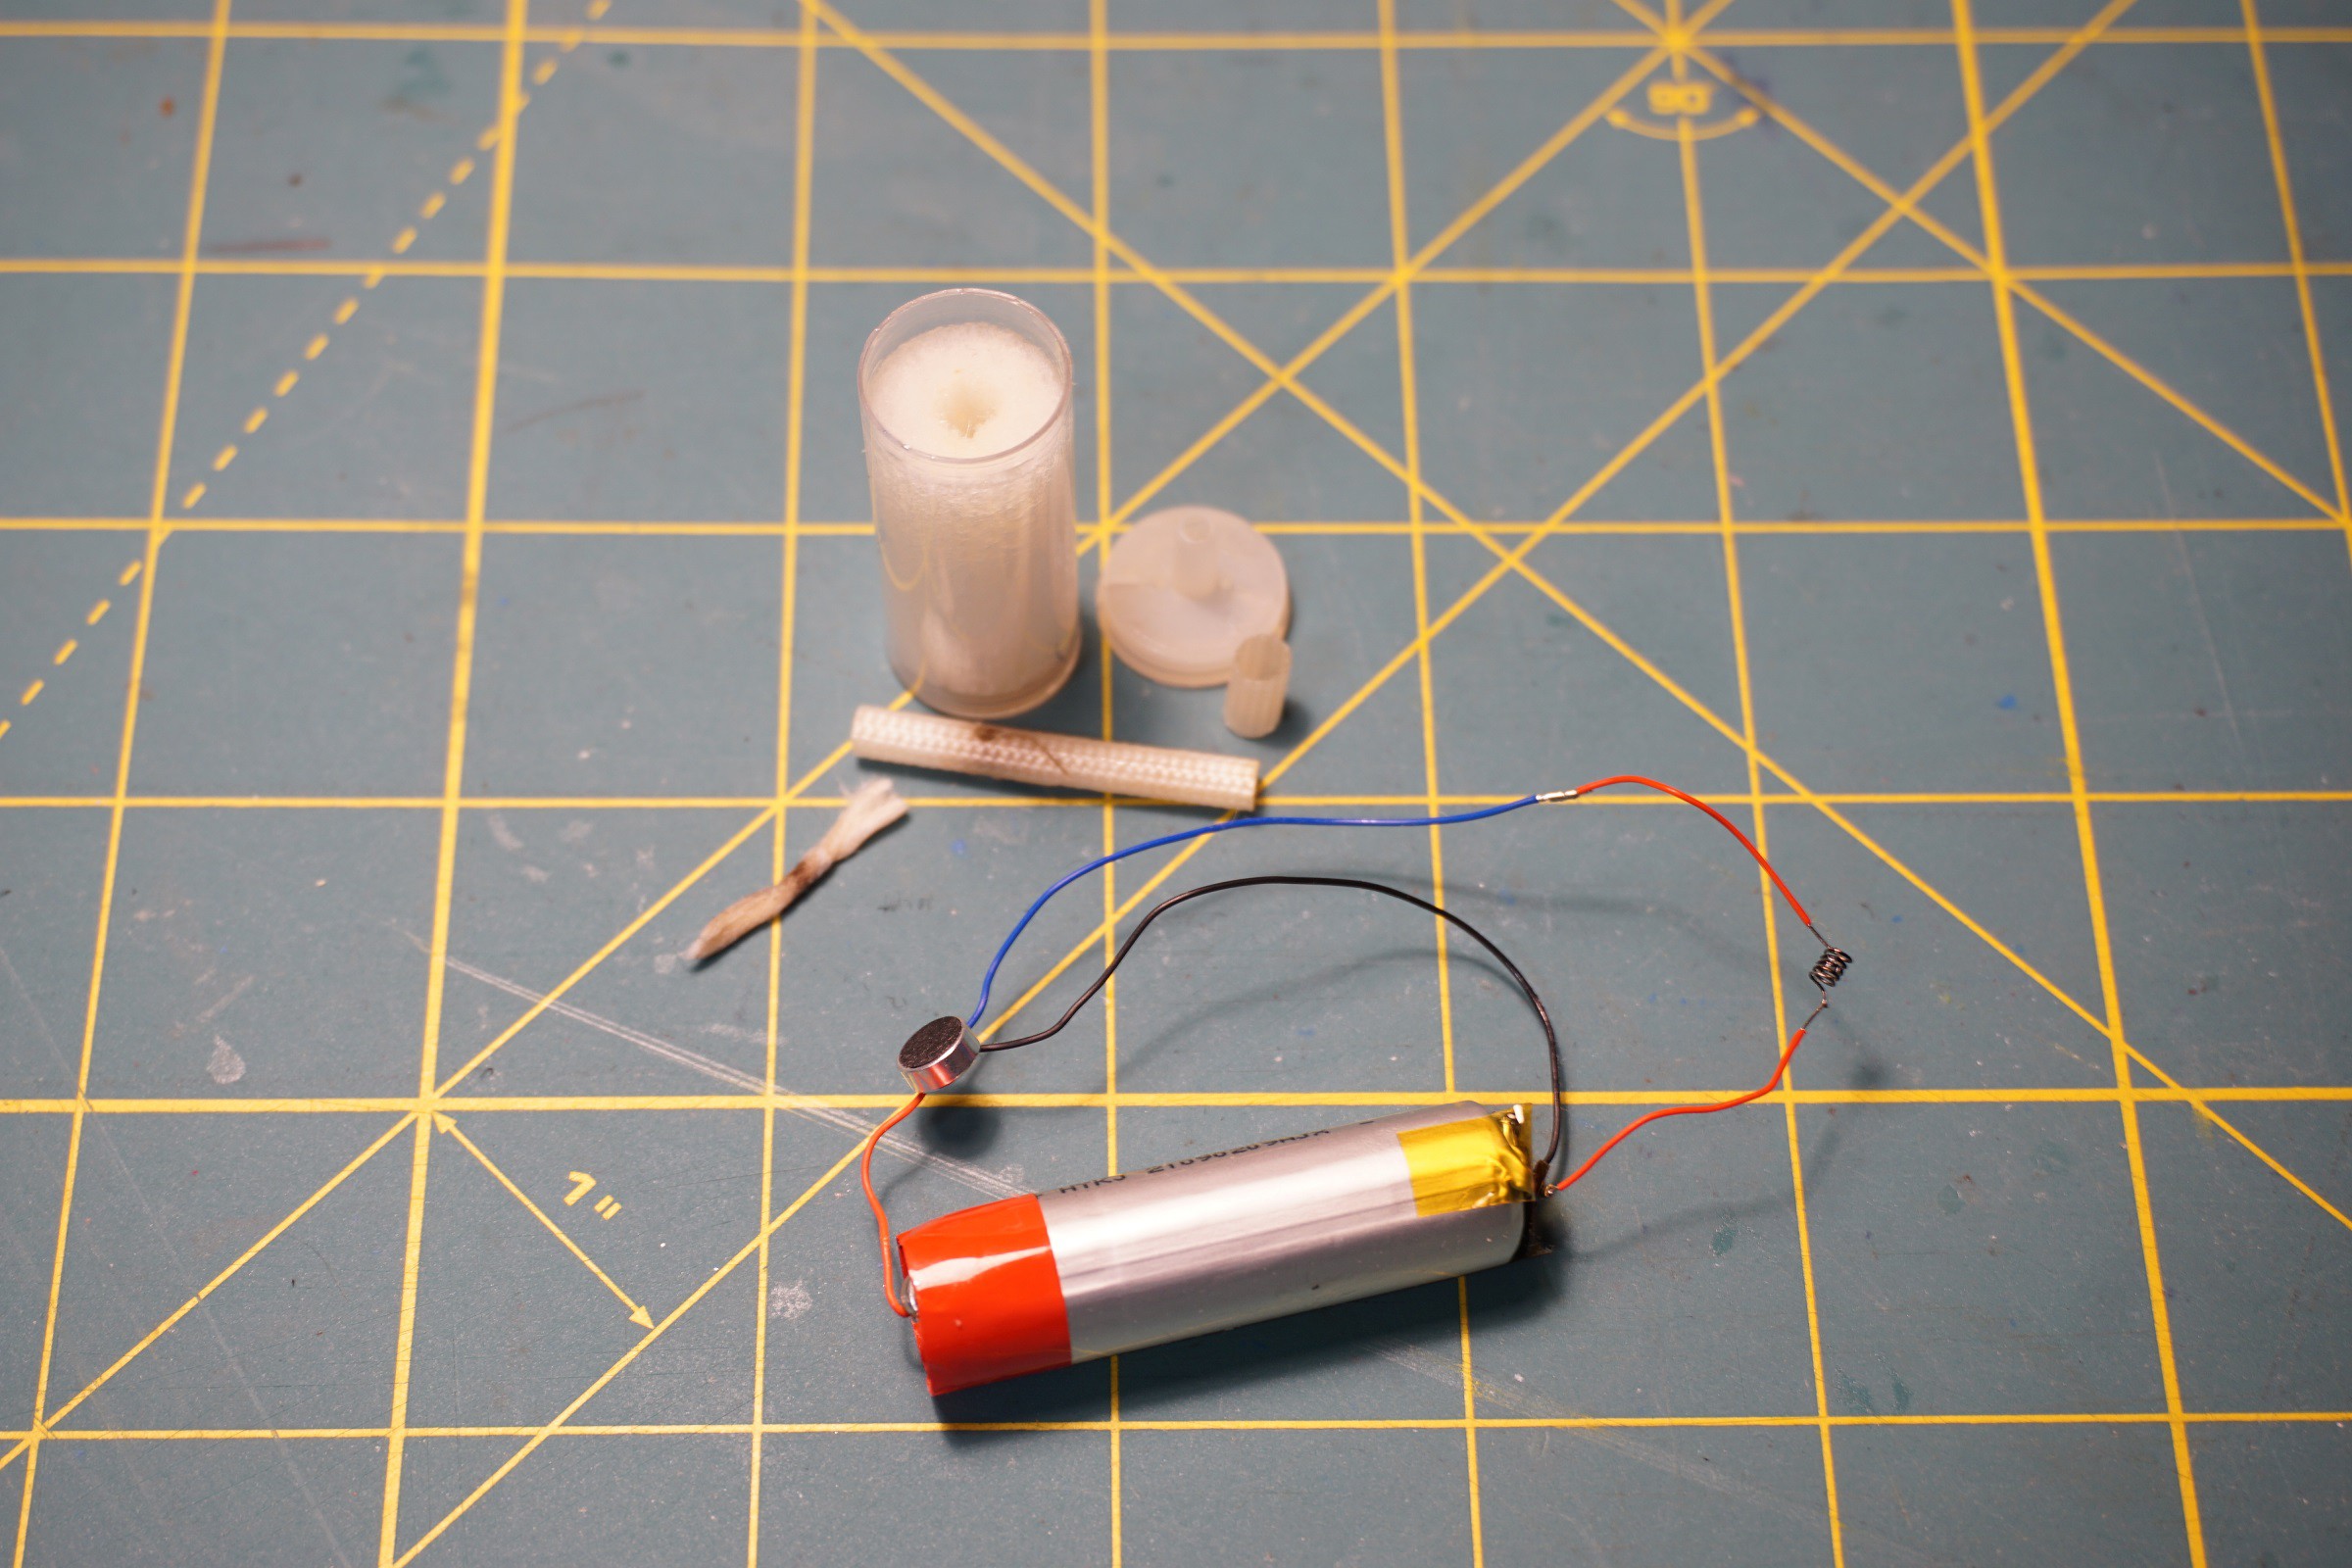
The container holding the vape fluid is composed of a transparent plastic tube, with a sponge inside. It has silicone caps on both sides. The heating element is in the center of this construction and it is isolated with a high temperature glass fiber insulation sleeve to protect other stuff from the heat. This assembly is from seven parts. The wires have to pass through the tiny holes in the silicon cap. That would not be a great job to have in the factory.
The brains
The circuit is quite simple. It contains of a sensor, battery and a heater. The sensor is always power on. This should be taken into account when disassembling, to prevent fires or burns.
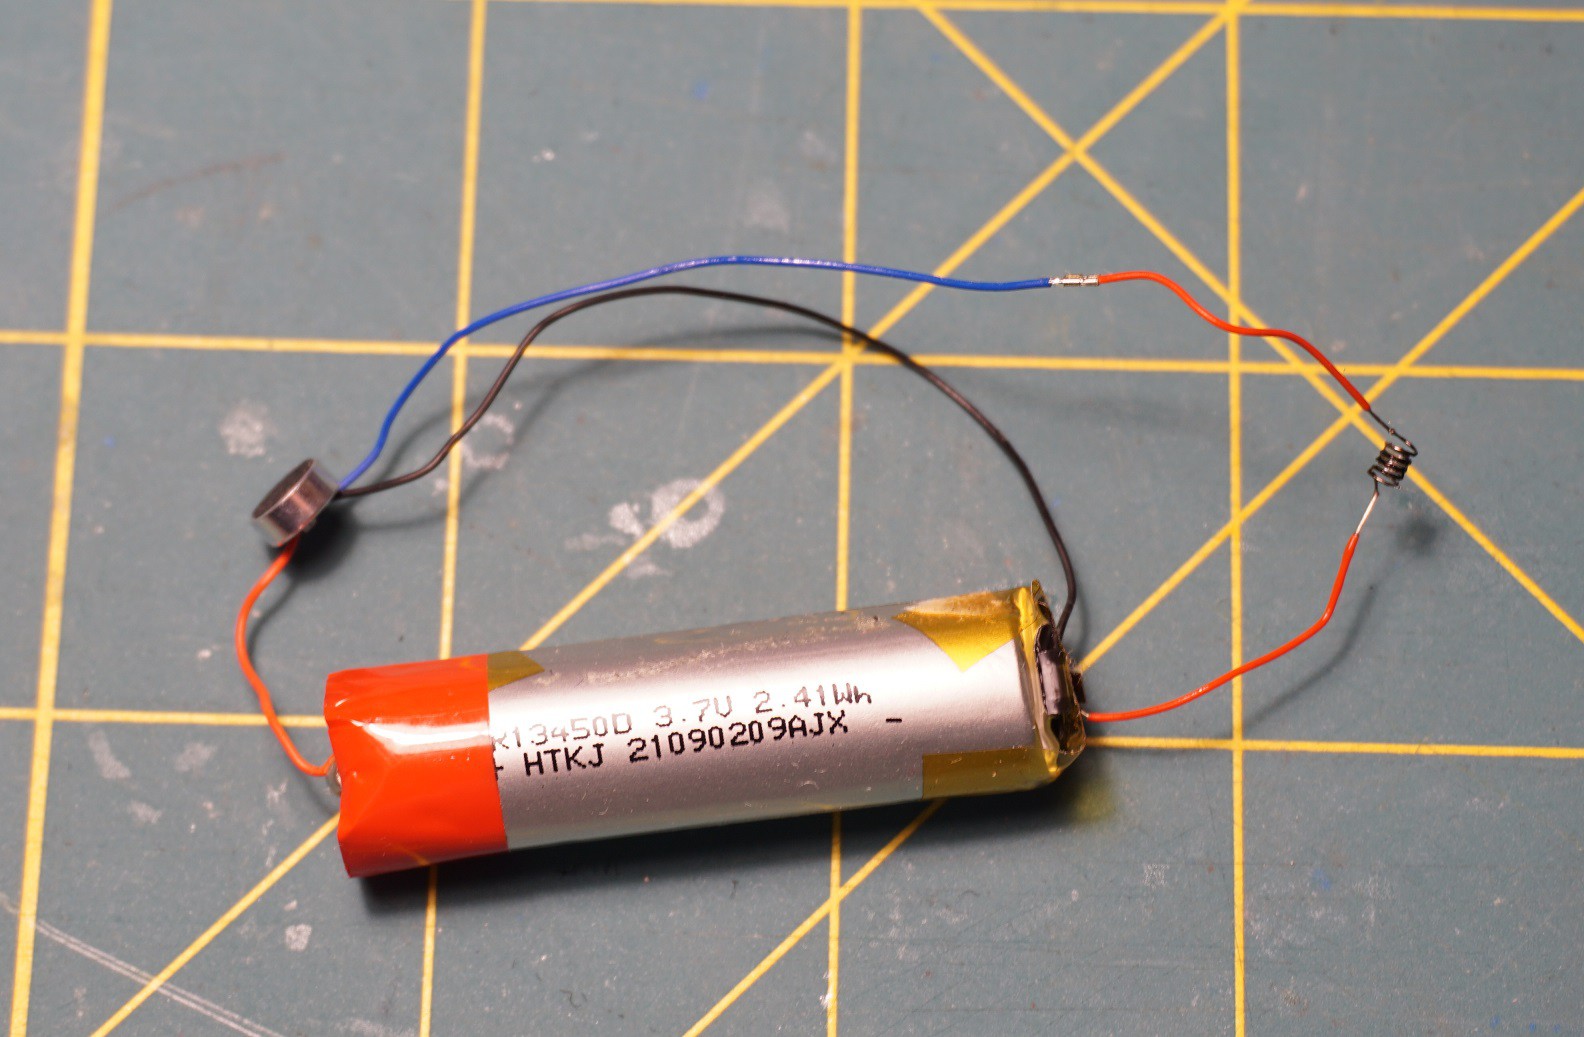
I have drawn the circuitry to make it clearer. The sensor acts as a high side switch in the system
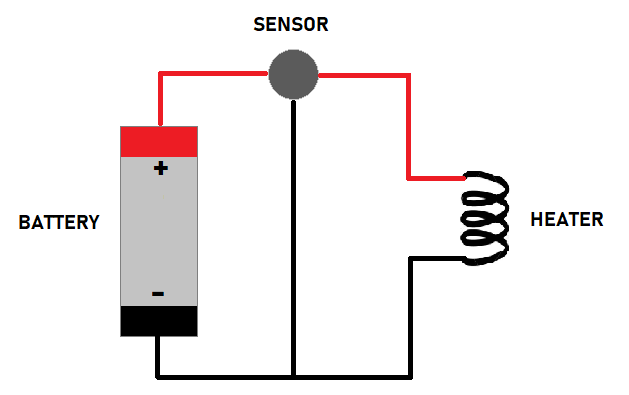
The gem here is the battery. It is a LiPo rechargeable battery, usually between 200 and 600 mAh. So quite nice to have. It is small, but great for sensor nets etc.
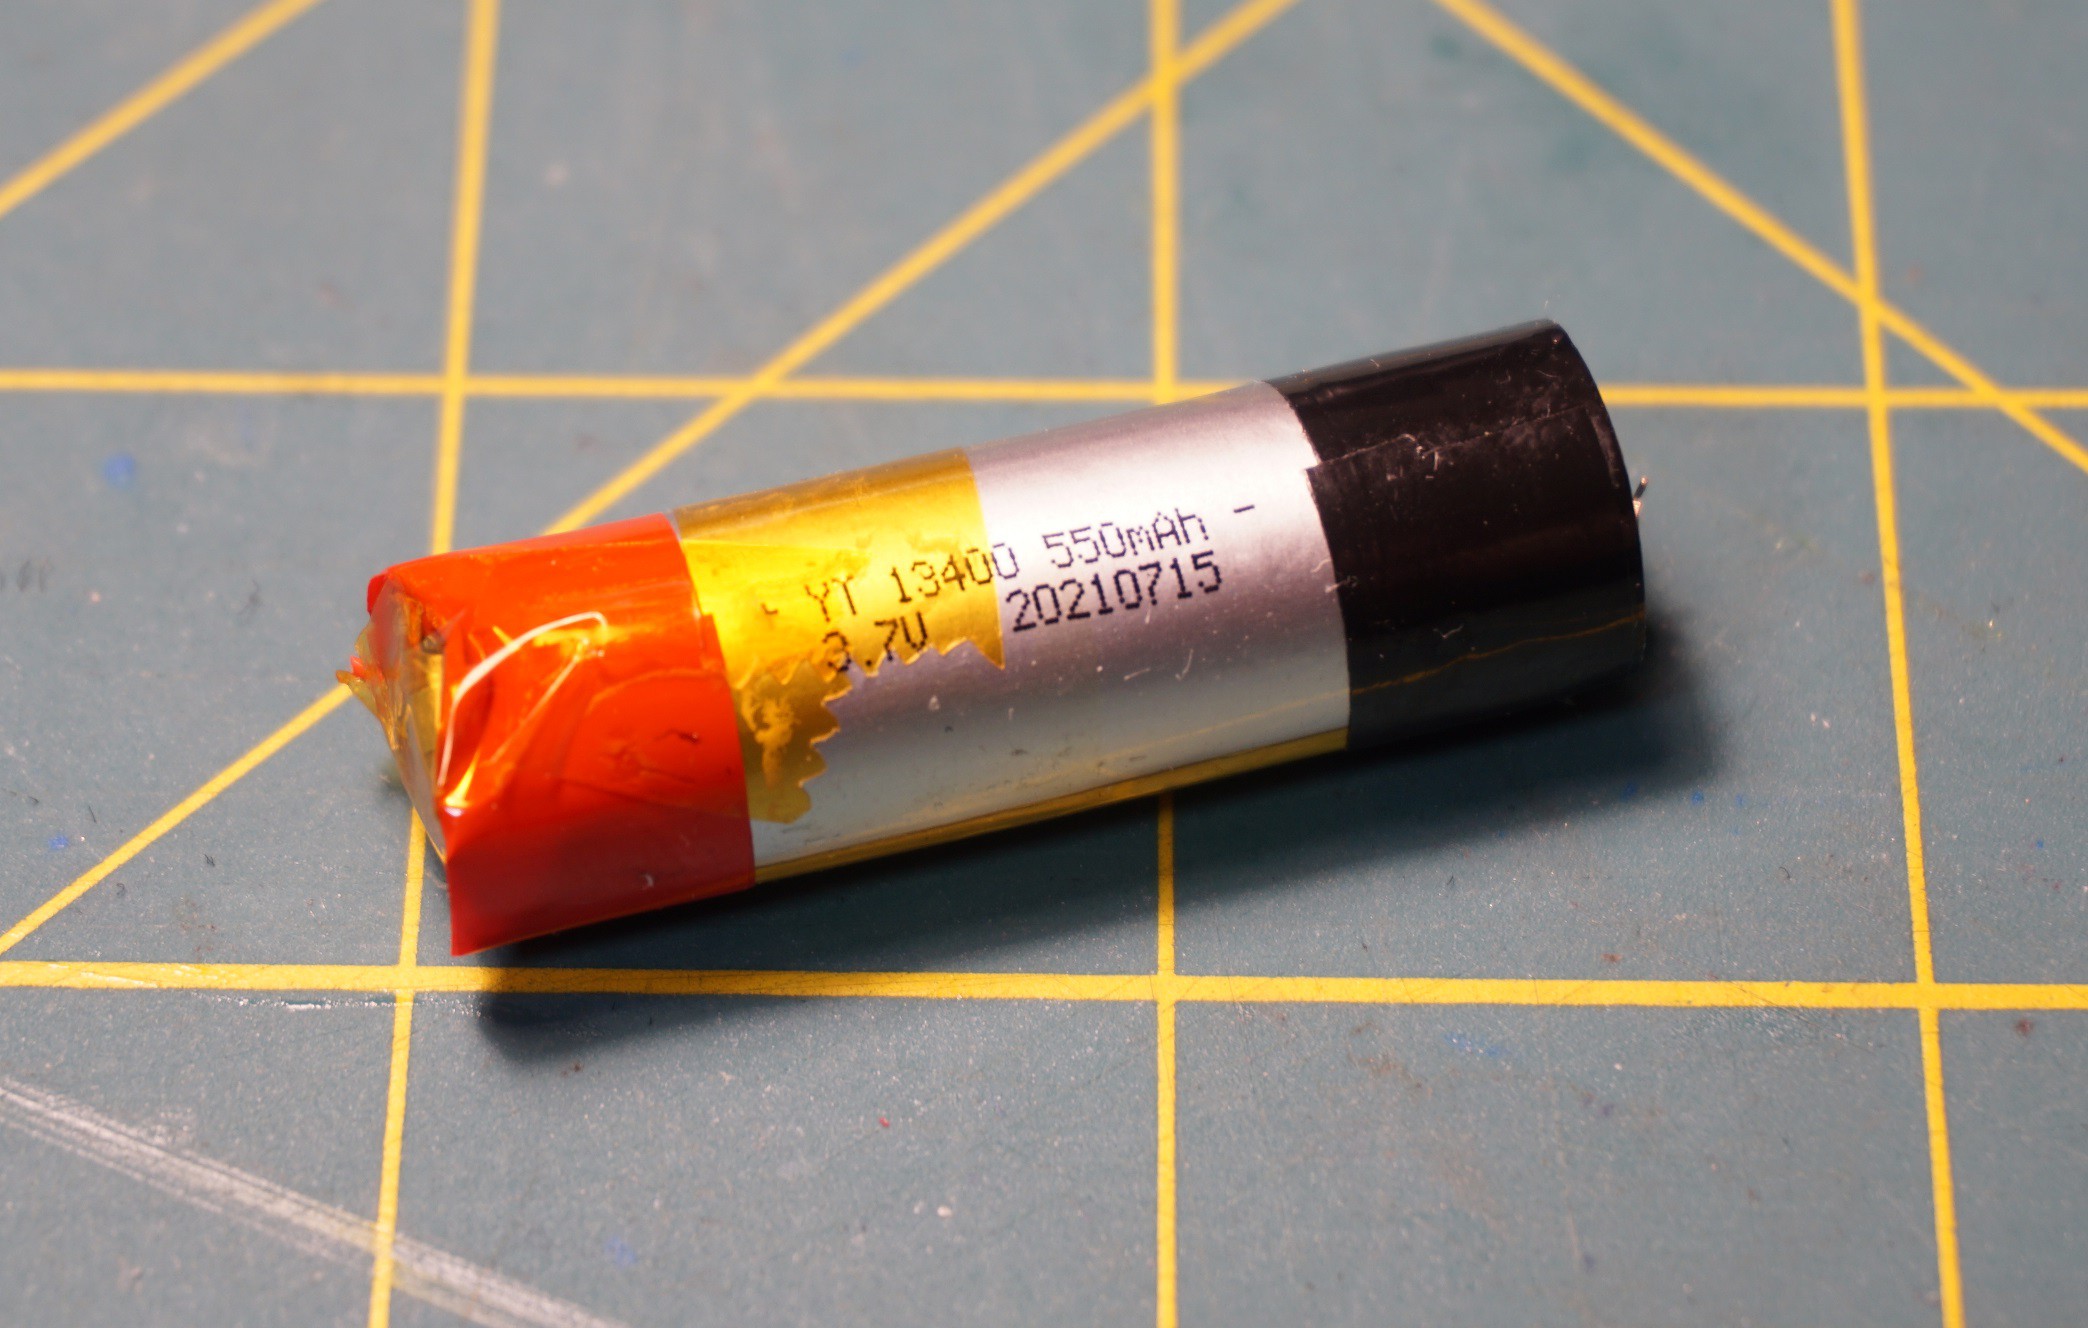
Unfortunately it has no circuitry to protect this battery from overcharge or over discharge. Obviously for the use it has in this devices it does not need this, but for it's new life it will.
This will be the topic of a future post.
Next we come to the the ASIC or the sensor. It looks like a condenser mic but it is not :)

There is a YouTube video for you on the subject and a way to reuse this sensor.
And we complete our tour with the heater.
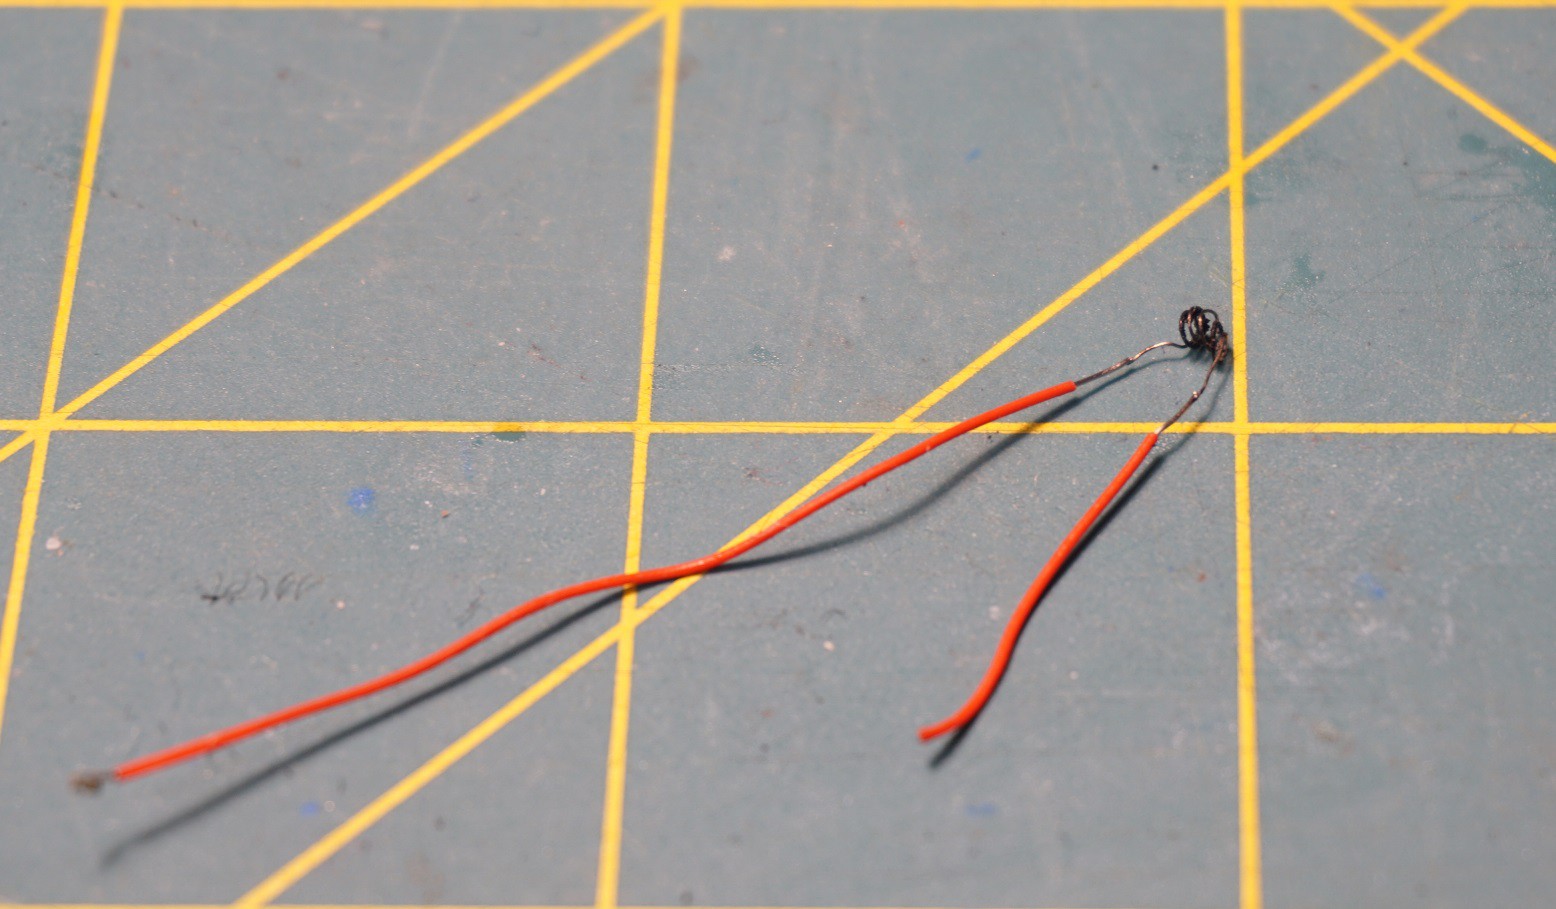
My guess it is a nichrome wire. When the vape pen runs it gets as hot as 150 degrease Celsius. It's resistance is 2.4 ohm. I did figure a use for it as well.
More or less the reservoir for the liquid is useless. Every other part I could figure at least one other applications.
Please comment and like the project. There is more to come!
Discussions
Become a Hackaday.io Member
Create an account to leave a comment. Already have an account? Log In.