 Dylan
DylanIn the class ELEC_ENG 327 at Northwestern University run by Prof. Ilya Mikhelson, my partner Alain and myself were tasked with building a product that encompasses a few different requirements, such as server communication and analysis, using an ESP32 module, and using at least 2 sensors. After deliberating on projects for a few days, we decided on iPlant, a device that measures values important to a plant’s growth: temperature, soil moisture, humidity, and light intensity. We then put together a bill of materials, ordered the needed sensors, and individually tested them. Once each sensor was confirmed to work, we interfaced them together and created a device that read out sensor readings to a serial port. Once that was complete, we shifted to the software side of things and developed a Tornado server coded in Python that our ESP32 could communicate with, send arbitrary data, and have it queried in a database using SQLite. These two sides were then linked together and created our initial prototype, which sent sensor readings on a defined time interval to a primitive website. We then split duties as I worked on reducing power consumption by using the ESP32 deep sleep mode in between data transfers as well as powering the device with batteries. Alain worked on improving the user experience with a website that had pleasant styling, an informative home page, and a page where sensor data could be seen. Once these two sides were complete, they were again merged and our first revision was created. We planned on our final prototype including a PCB and 3D printed enclosure, but unfortunately we did not have time for the PCB design and our 3D printed enclosure did not print as expected, and our final product was done. We then worked on fixing bugs, improving sensor accuracy, and finalizing our report.
0%
0%
iPlant
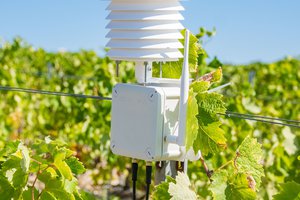
A battery-powered device that sticks into the ground next to your plant and measures important variables related to the plant's health
Become a Hackaday.io member
Already have an account? Log in.
Just one more thing
To make the experience fit your profile, pick a username and tell us what interests you.
Pick an awesome username
hackaday.io/
Your profile's URL: hackaday.io/username. Max 25 alphanumeric characters.
Pick a few interests
Projects that share your interests
People that share your interests
 Slaven Damjanovic
 Manoj kumar
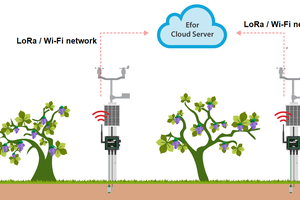
 ssla-couk
 Vignesh Ravichandran