 Neil Lambeth
For the first X-PC, I reused the original laptop power switch PCB. This worked but it required quite a bit of effort to make it fit and I also had to design and 3D print a button to make it usable.
For the X-PC 2 I didn't want to have to redesign any parts of the case or create custom buttons, so I needed a more universal solution. I started researching illuminated buttons and found these (shown with the laptop switch PCB):
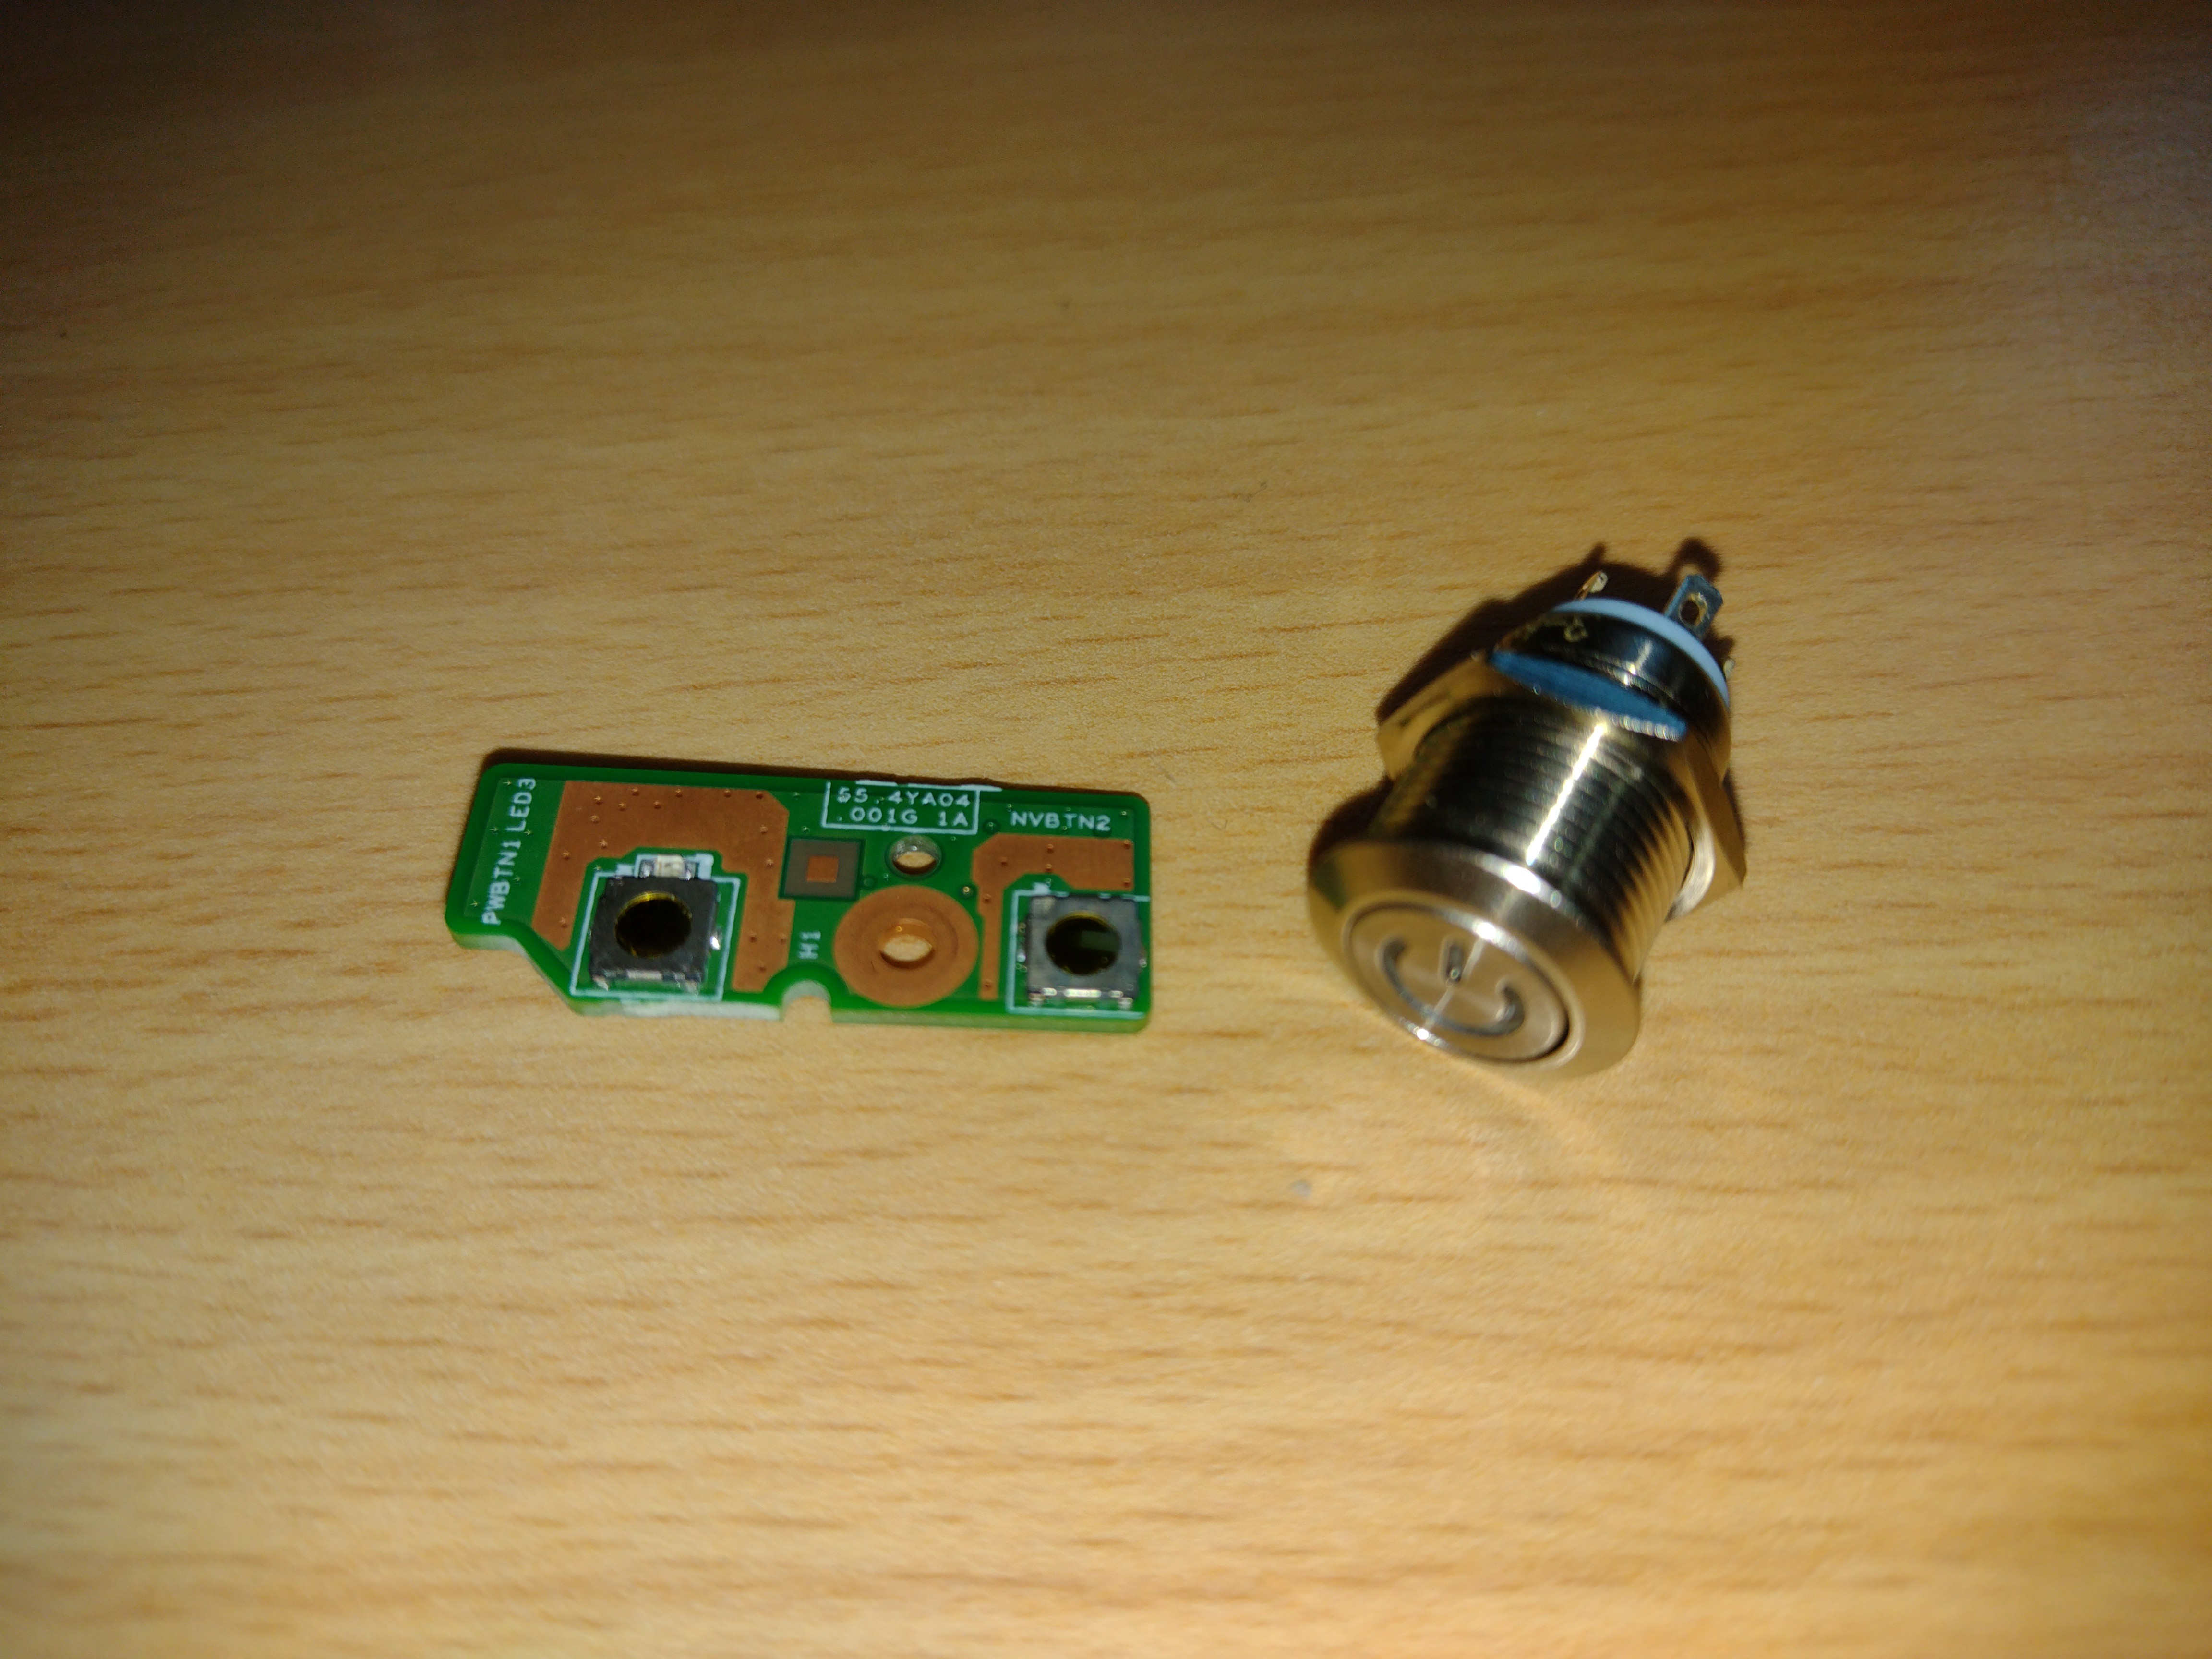
This switch is for custom PC builds and has a built-in 3v LED, so it was perfect for my needs. I ordered these ages ago but they only just turned up. I'd already designed the case with this switch in mind, so I'd already put the 12mm mounting hole in the front of the case.
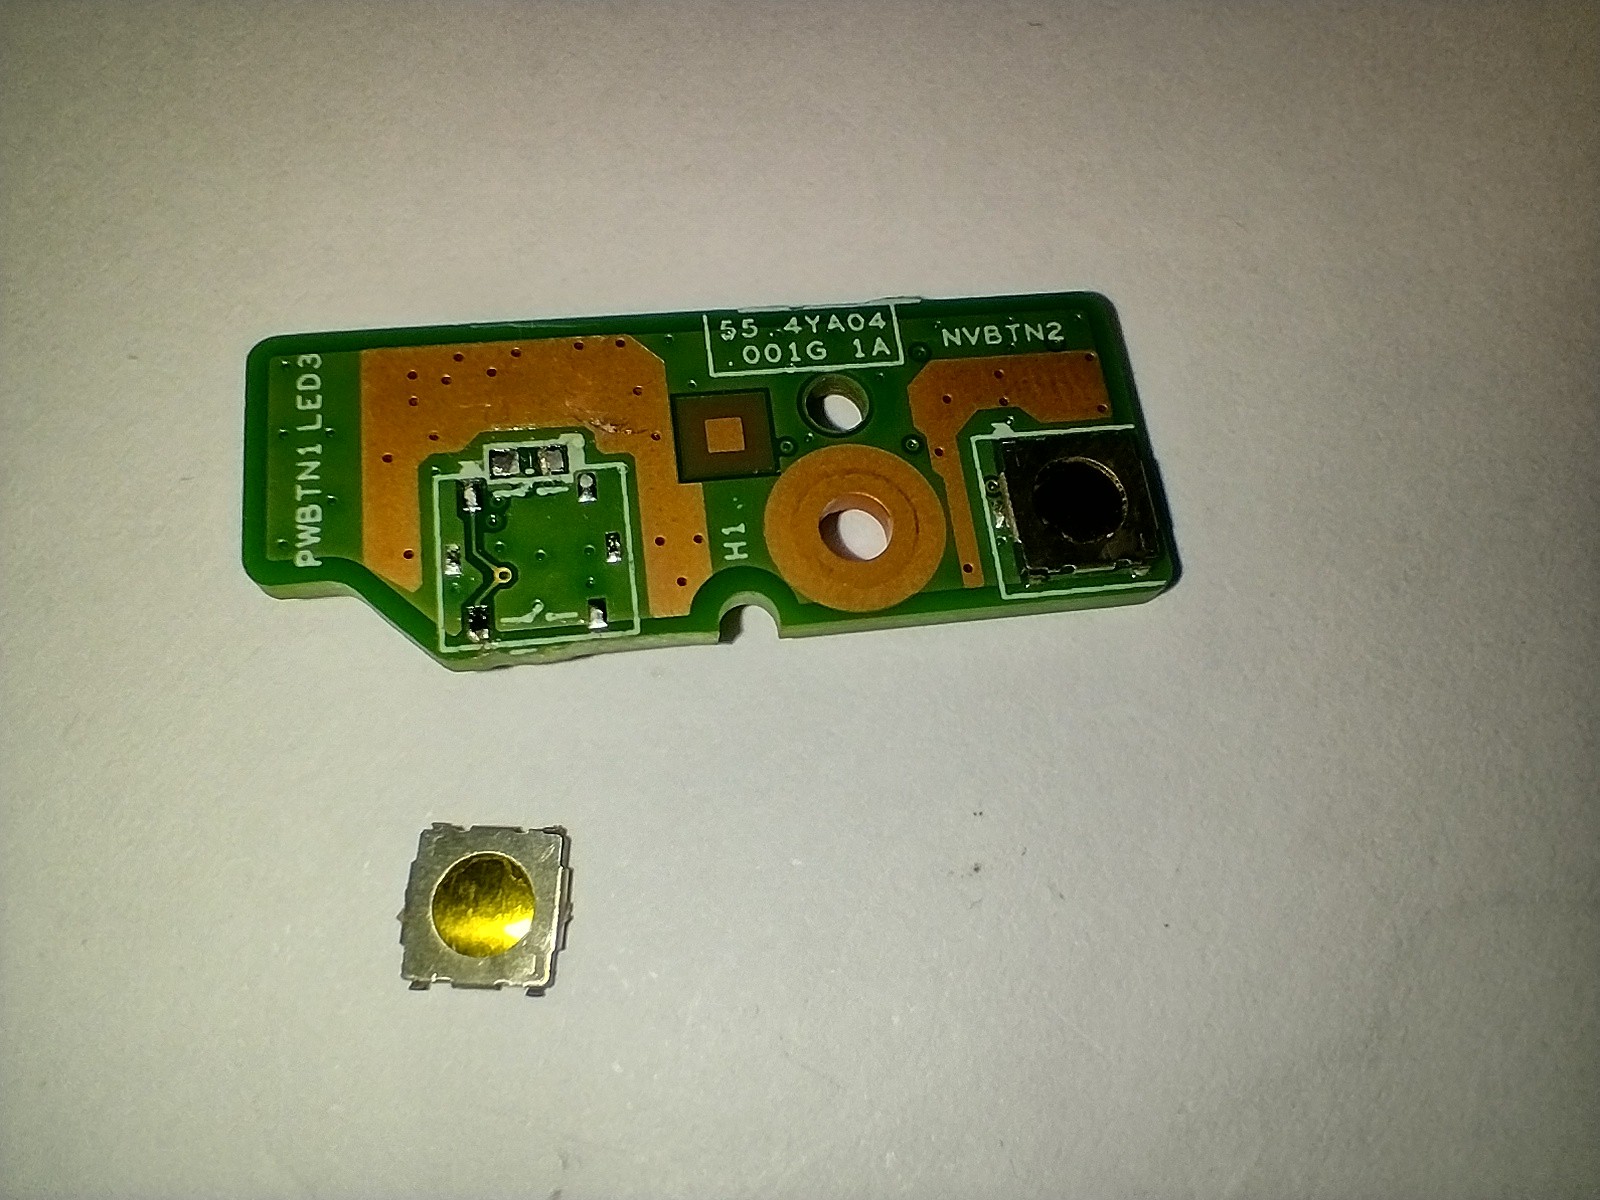
The first job was to remove the existing switch and LED. I did this with an SMD hot air gun.
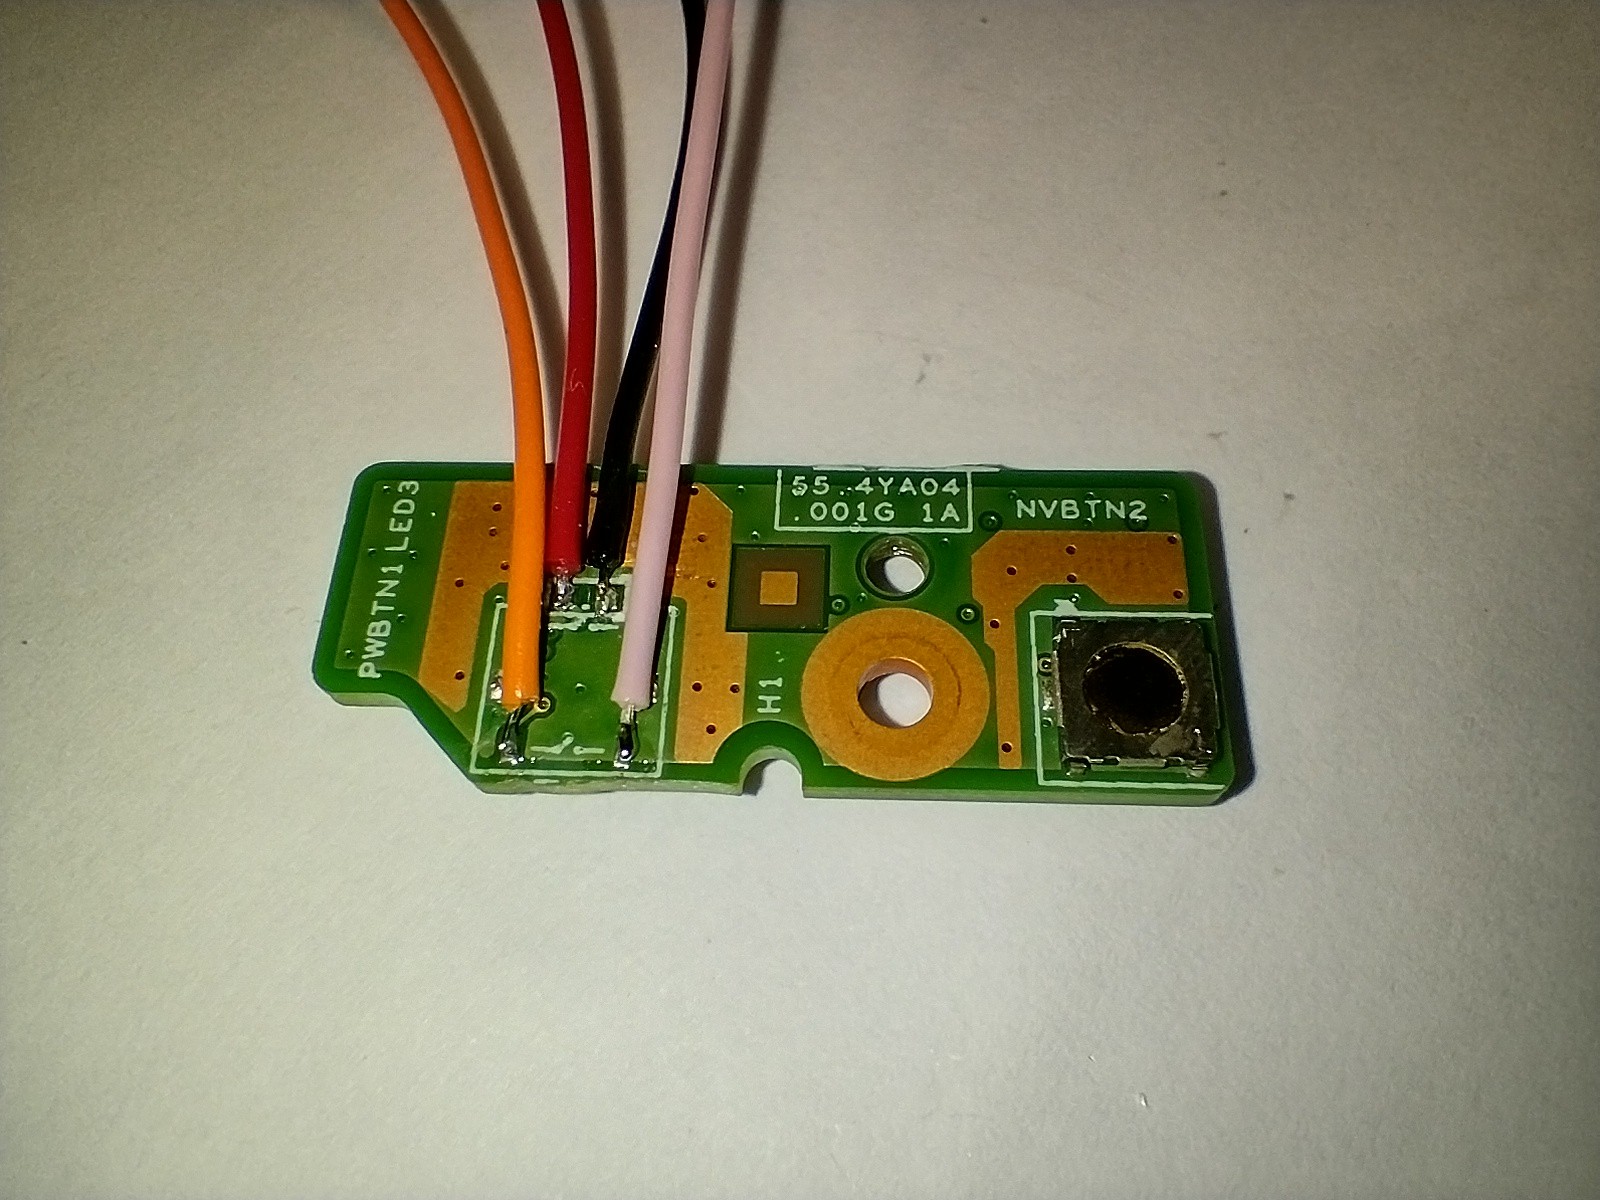
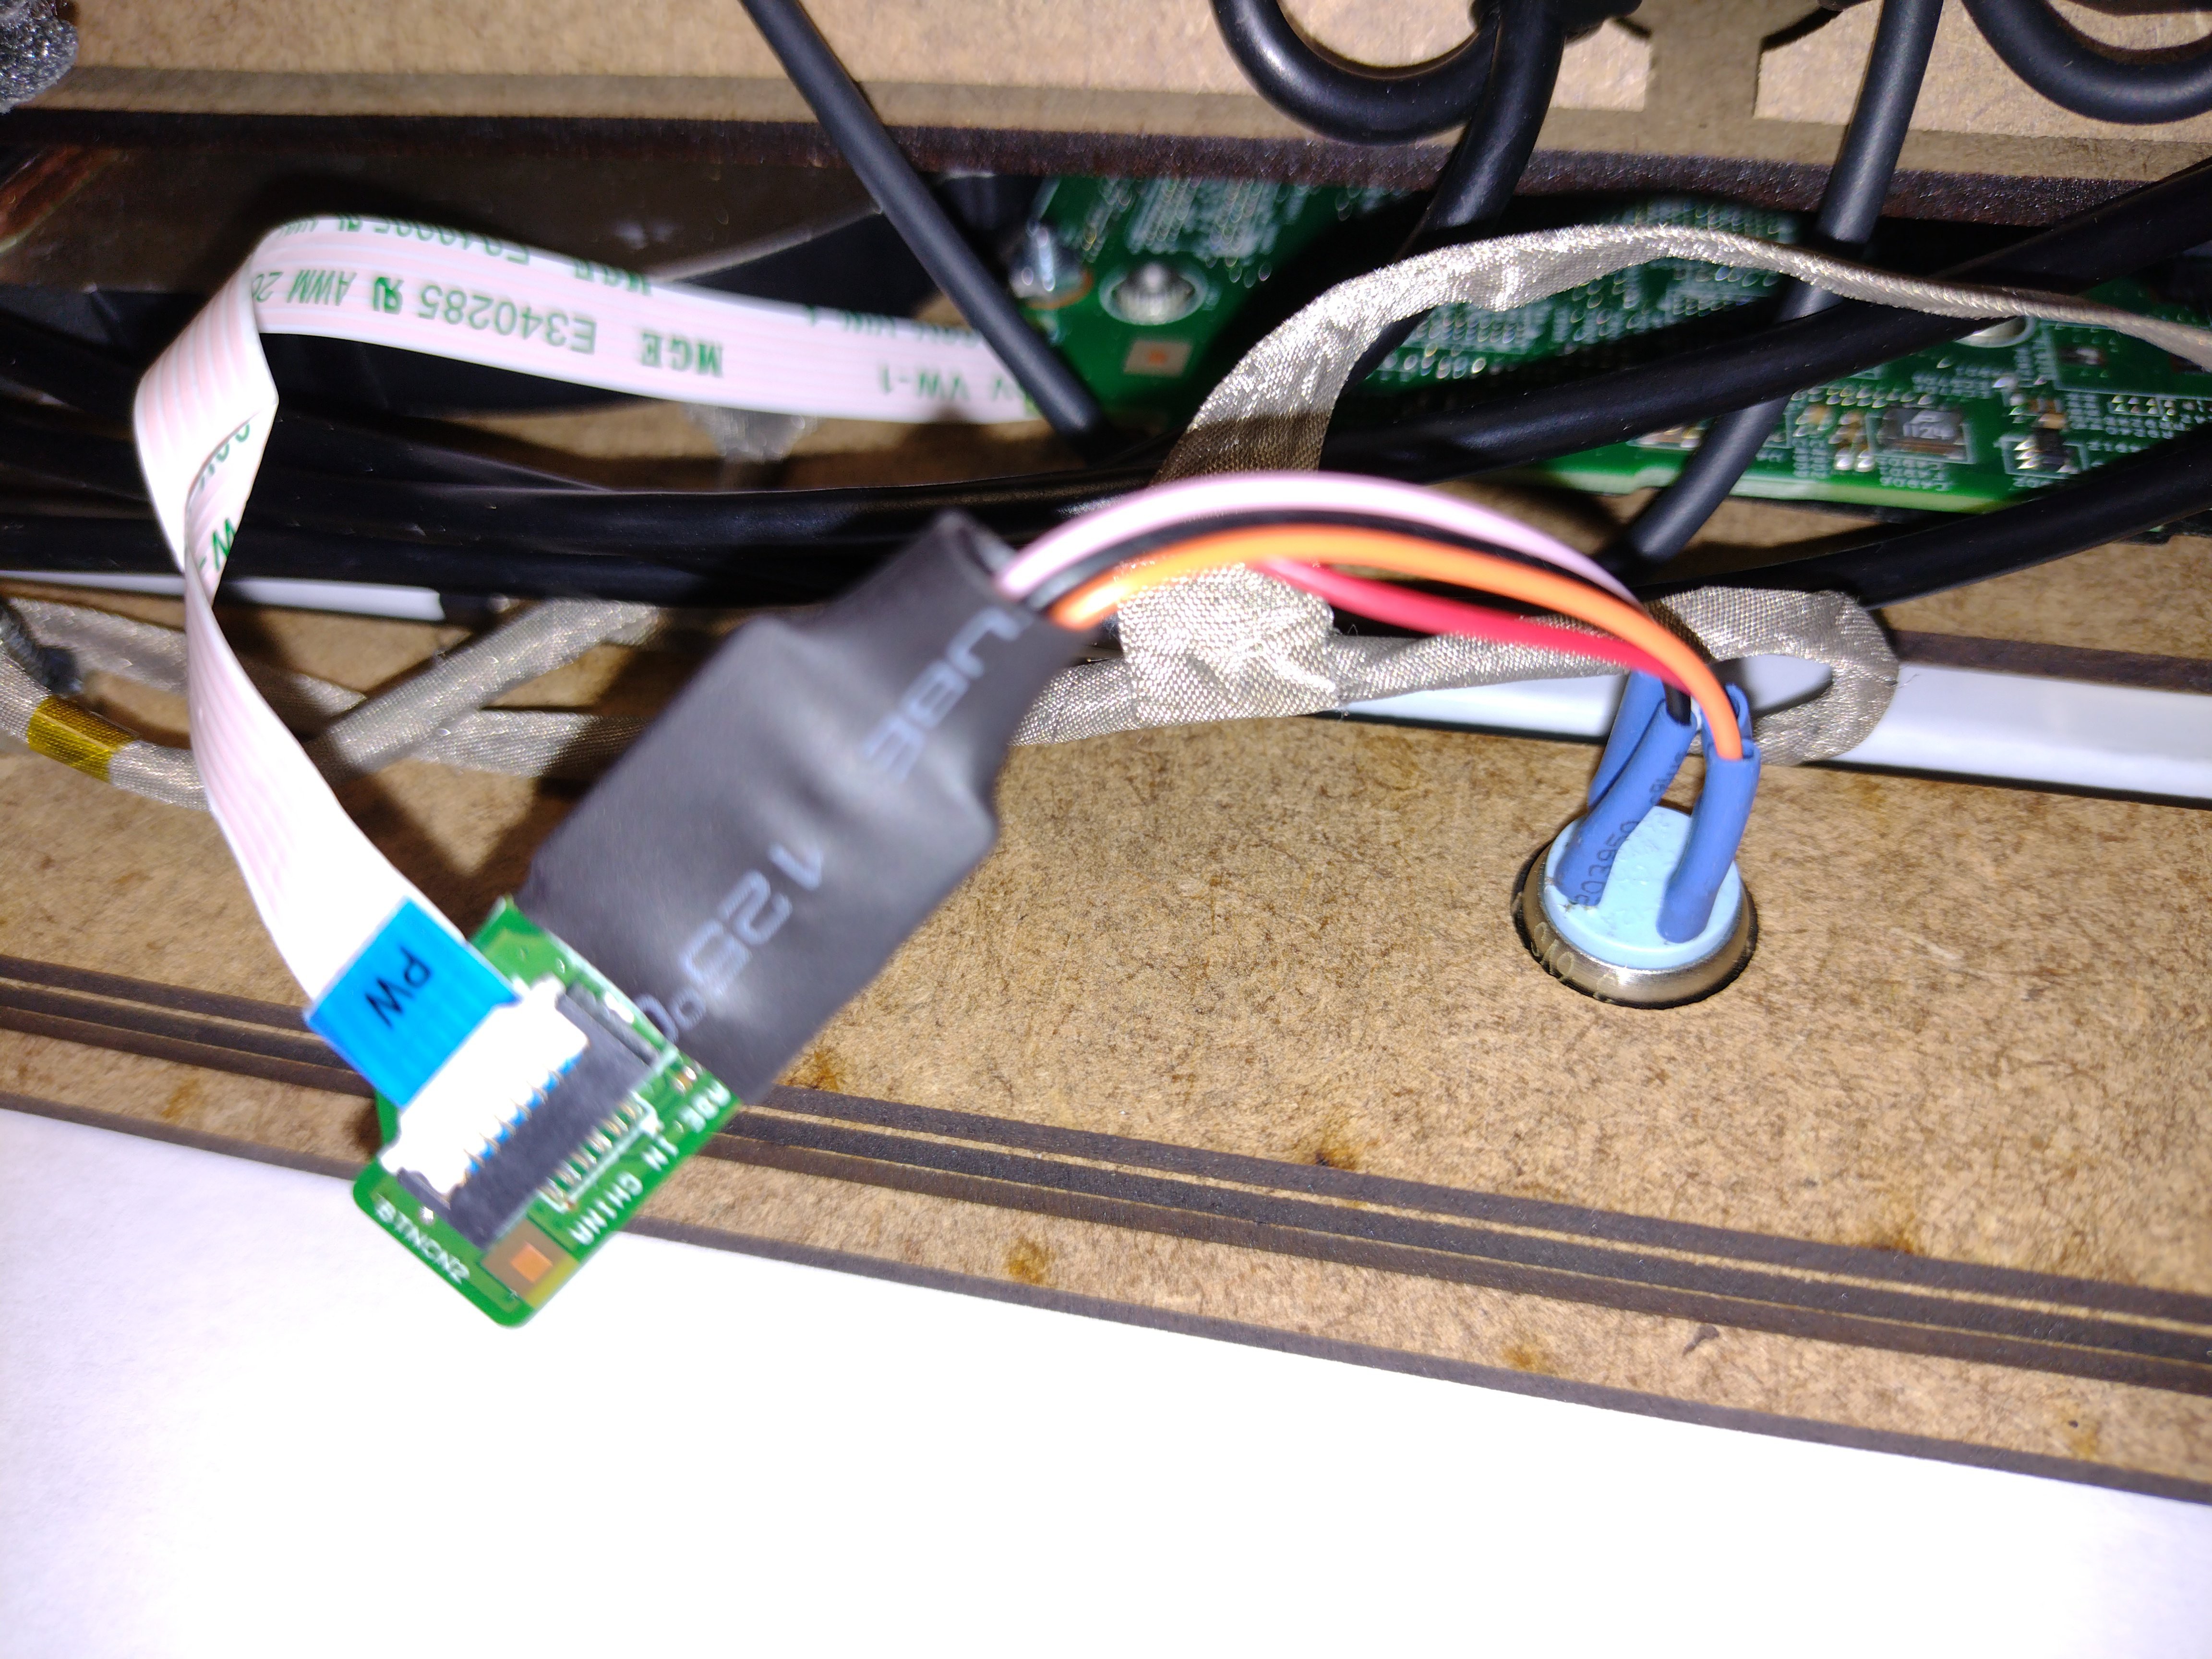
I then soldered wires to the pads, the black and red wires go to the - and + for the LED and the pink and orange are for the switch.
Next, I soldered the wires to the switch terminals (push on connectors would probably be better here, but this is just to see if it works!).
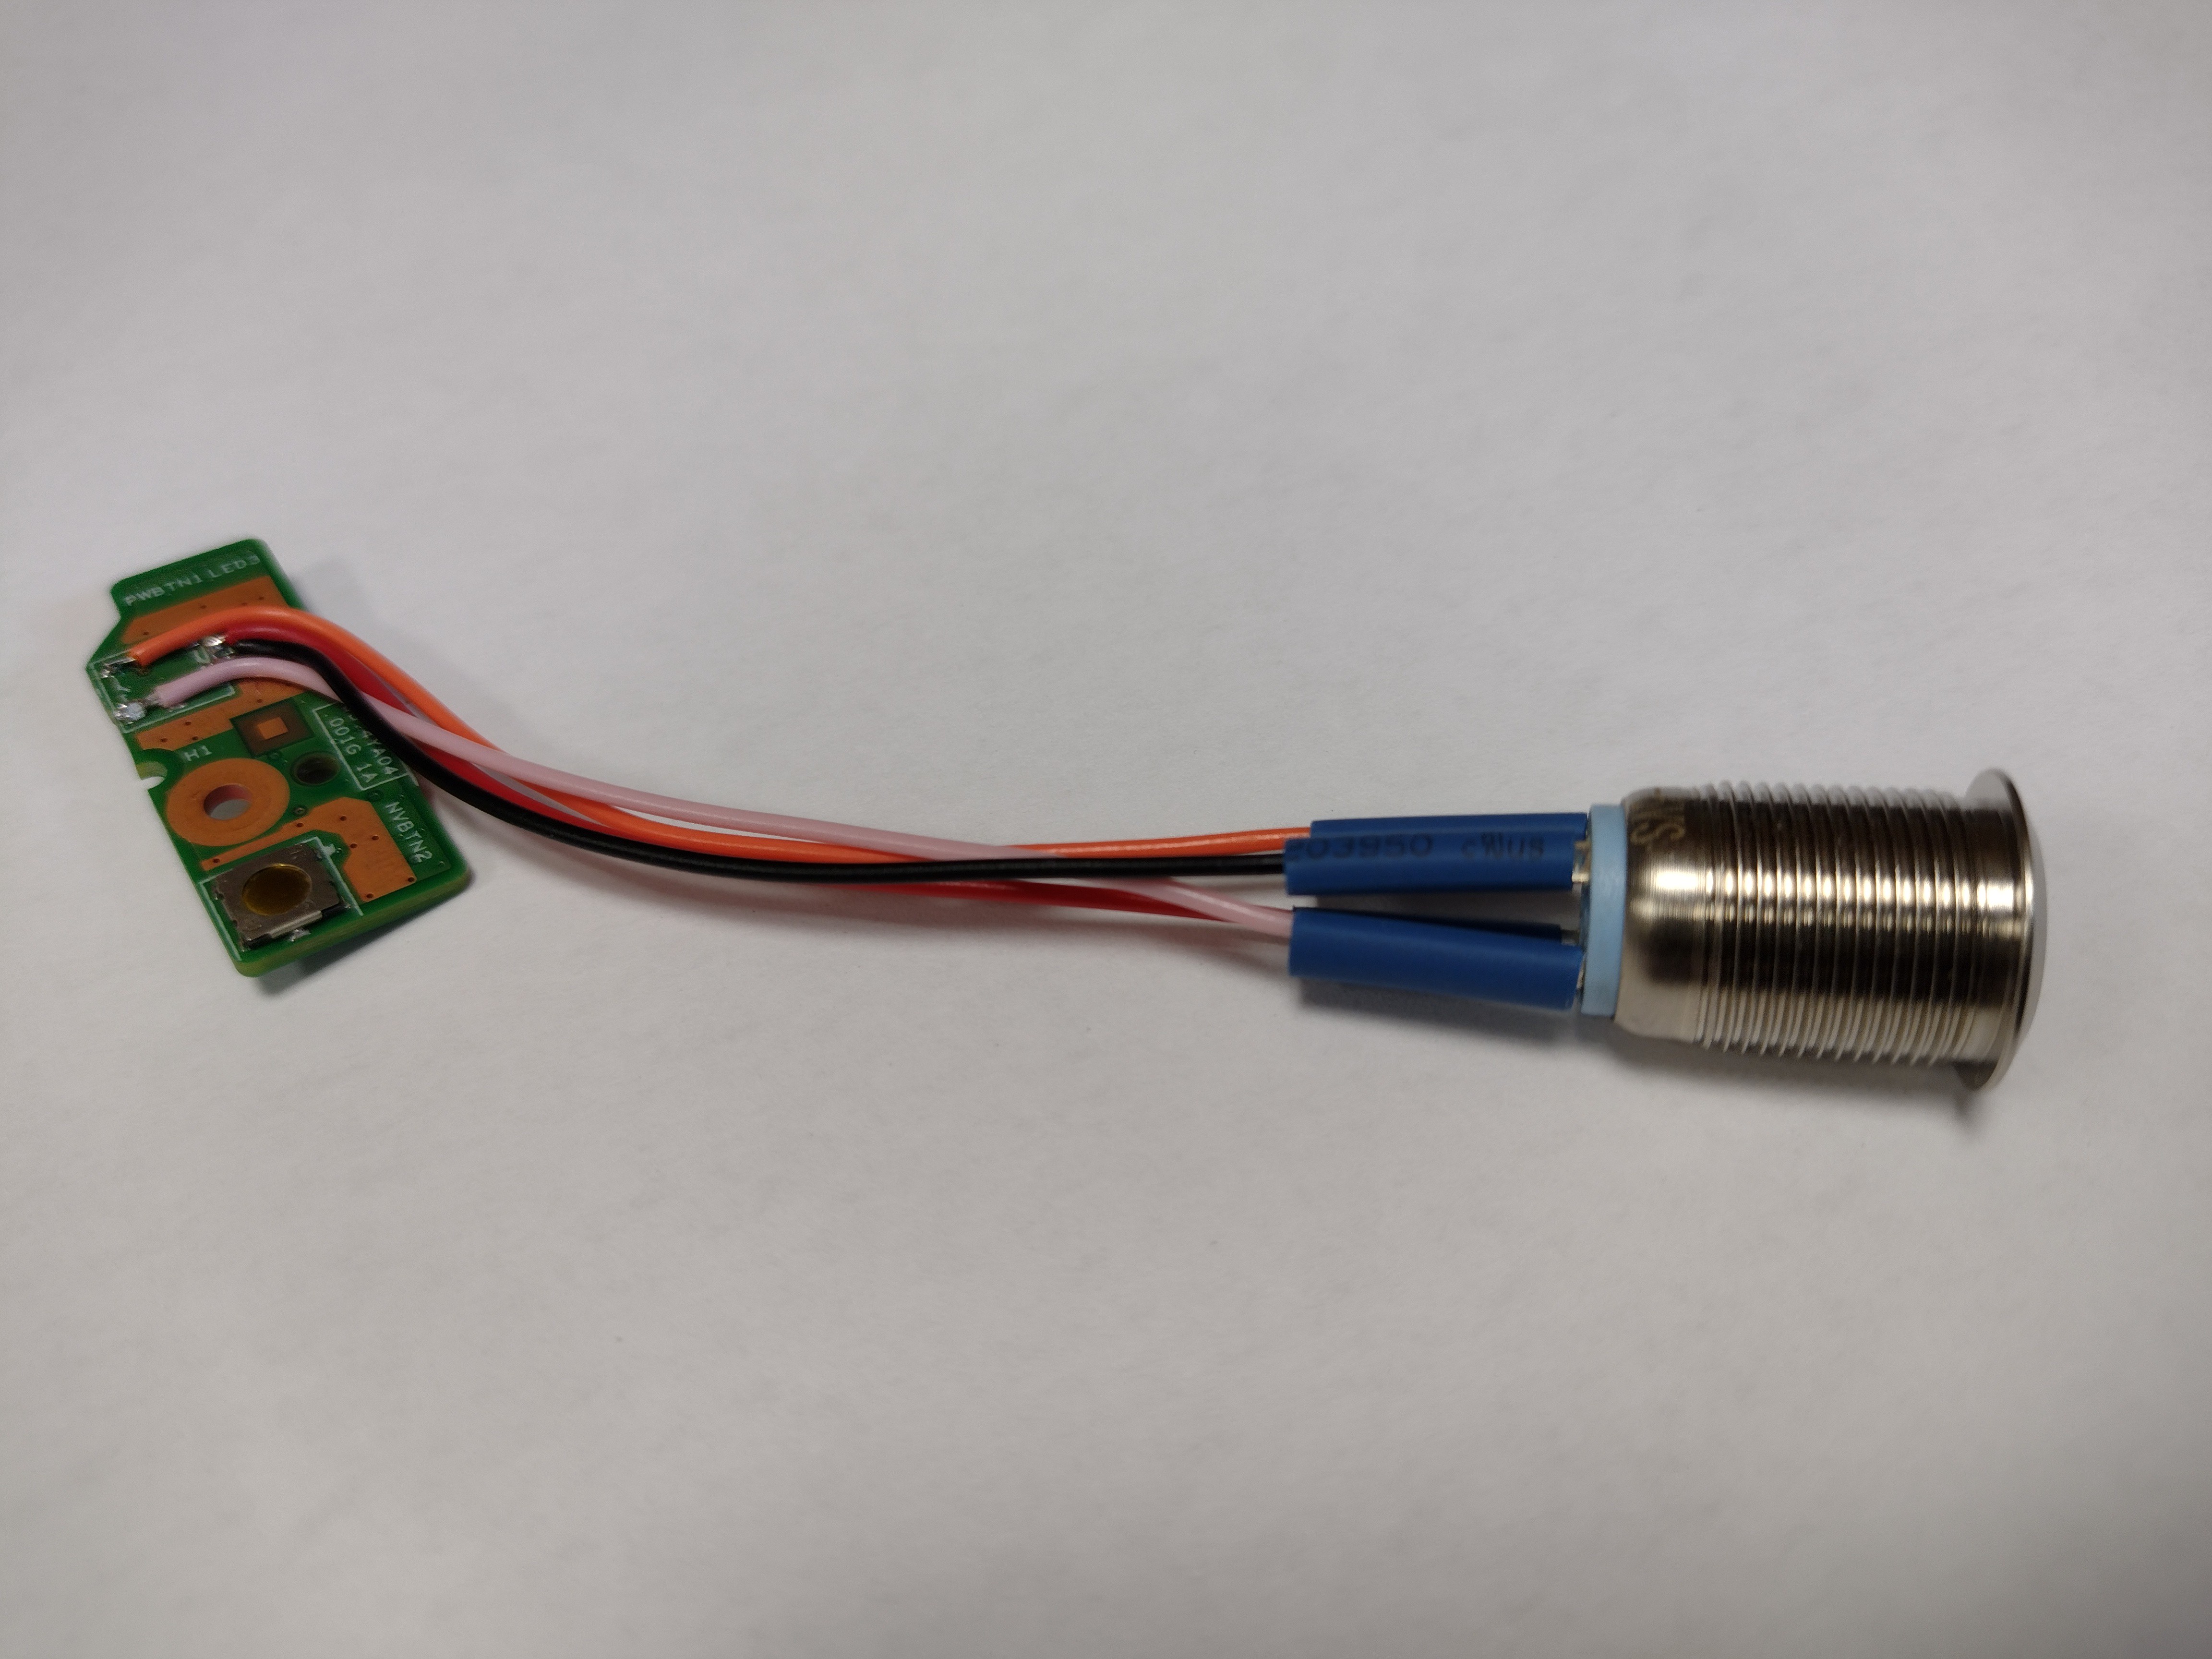
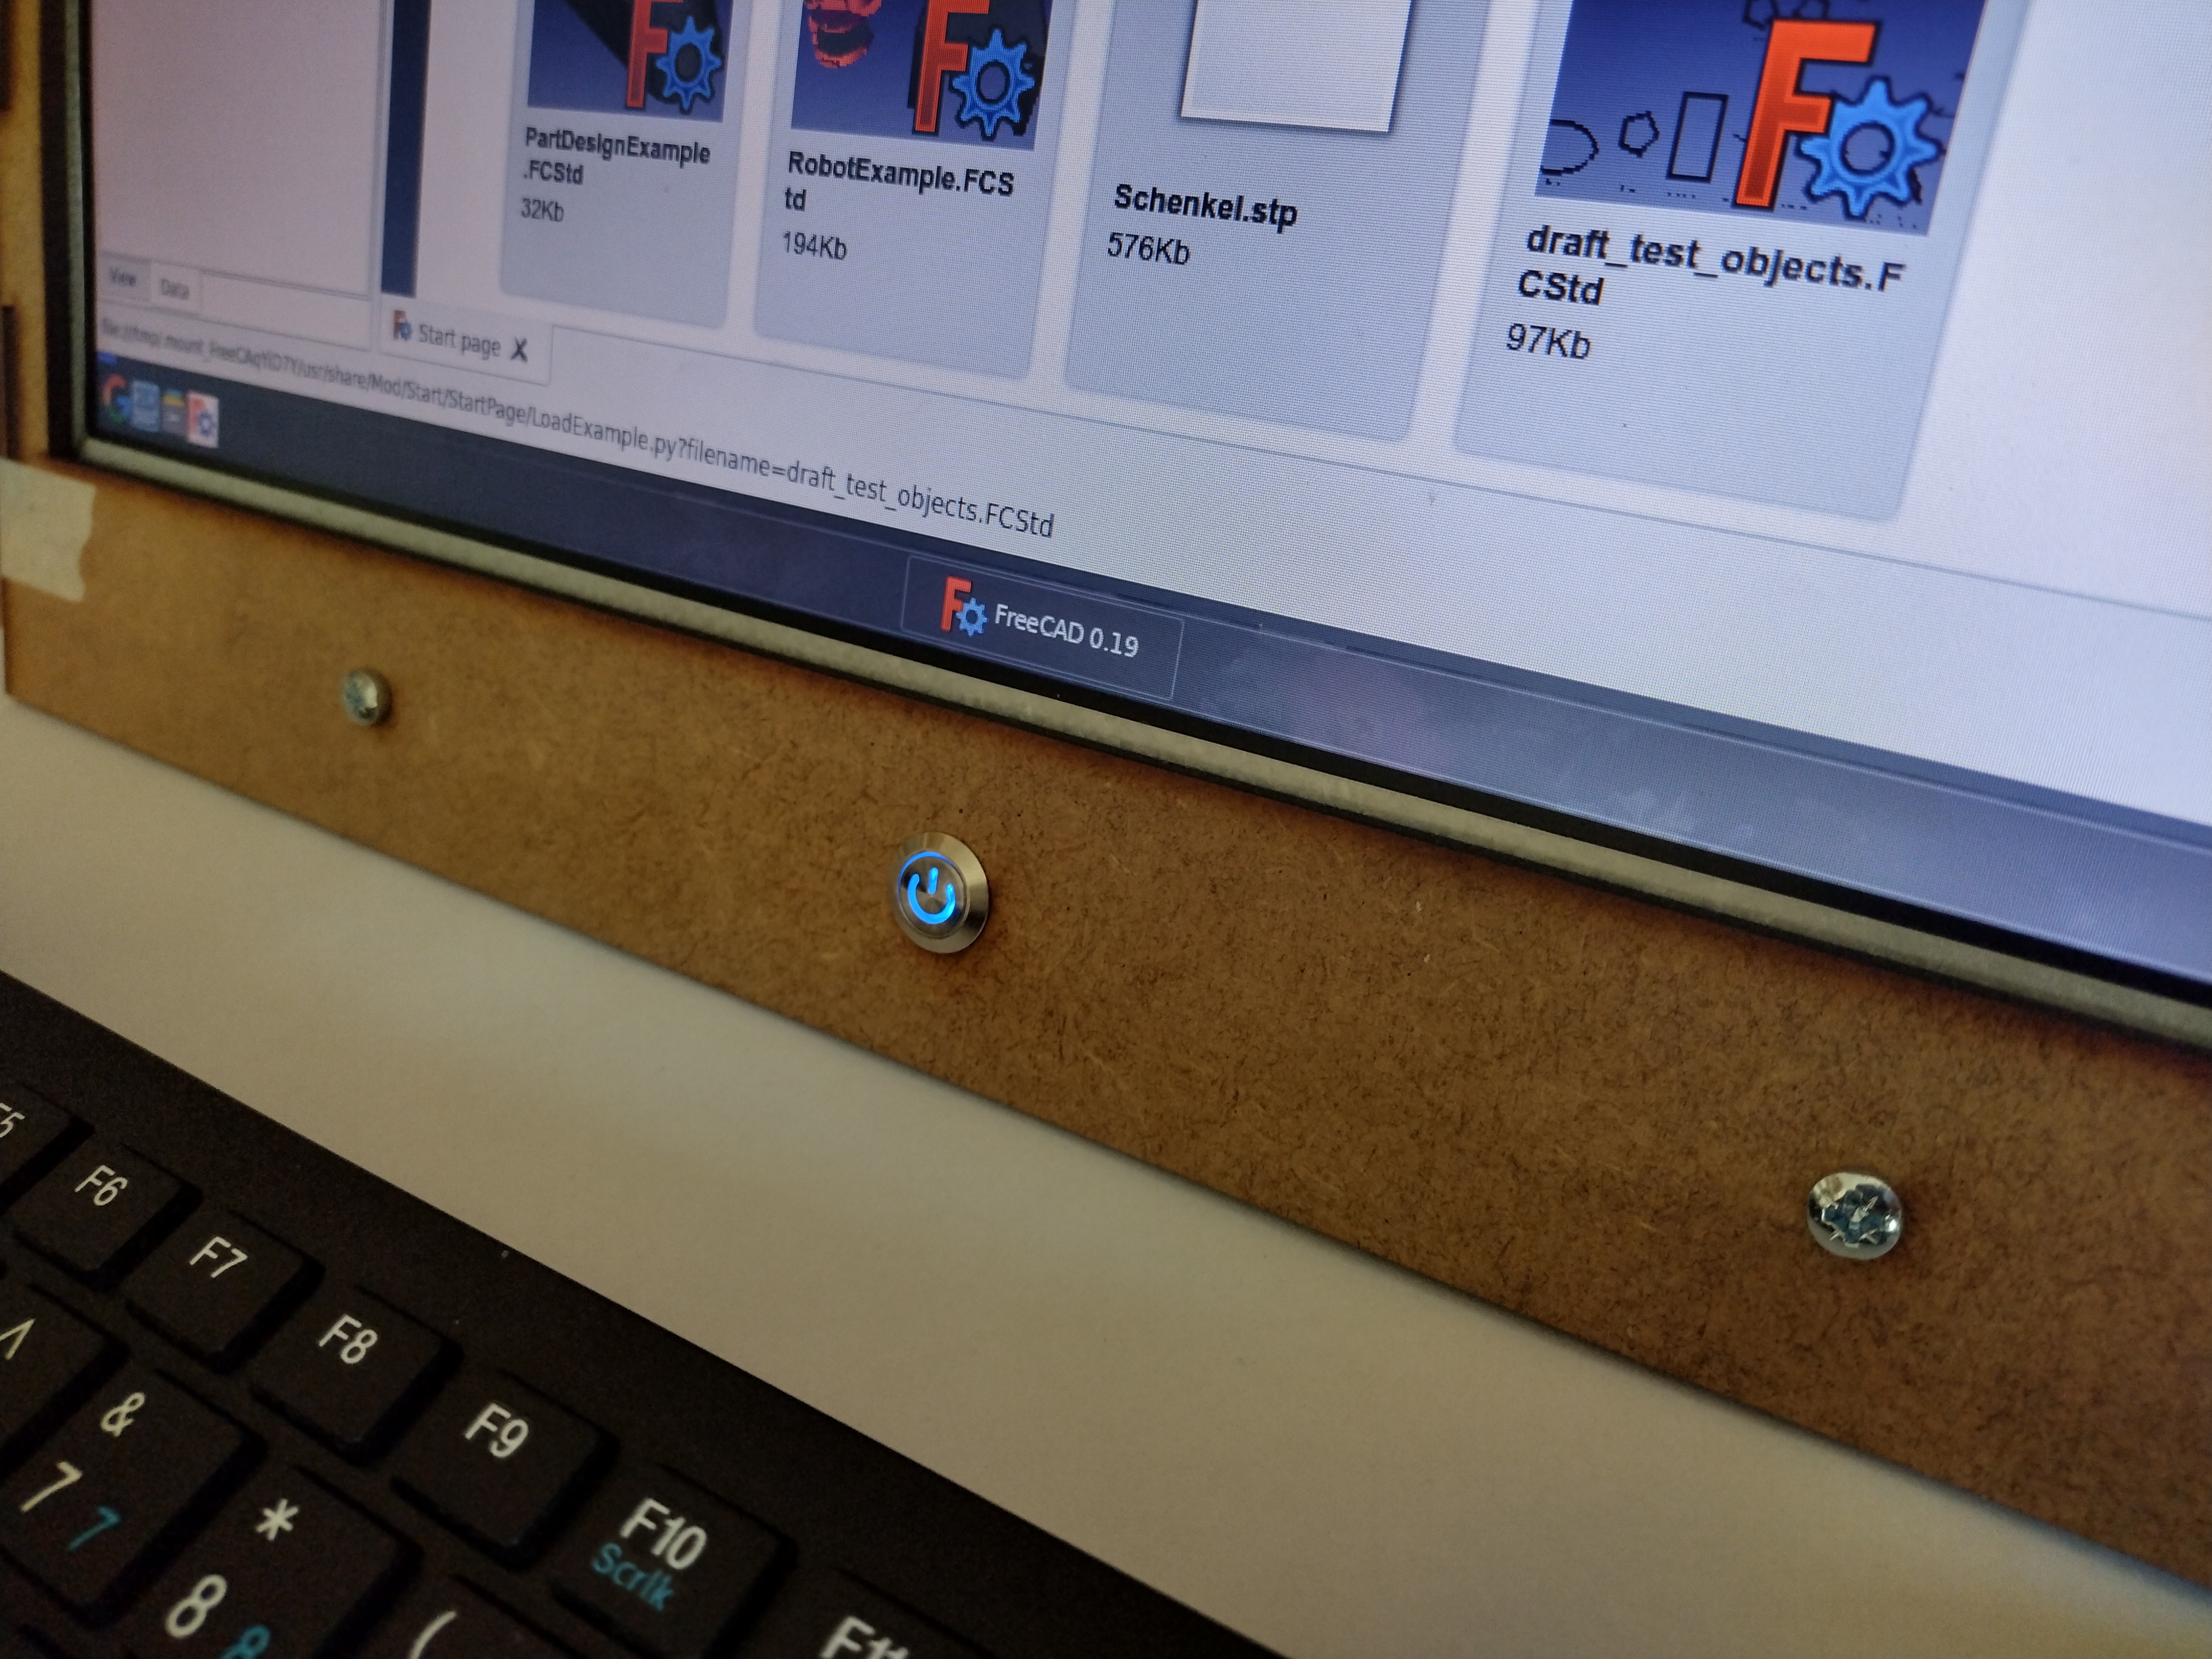
Here's the switch mounted through the case. I just need to make a bigger hole in the back panel to get the nut on. I also added some heat shrink around the PCB to protect the wires.
Add here's the finished button working and lit up. Perfect!
Discussions
Become a Hackaday.io Member
Create an account to leave a comment. Already have an account? Log In.