 Rahul Khanna
Hardware Build
First of all, I would like to thank Avnet, Octonion, and Microsoft for supporting this project with the amazing SmartEdge Agile with Brainium portal, I really felt informed using this board and able to achieve some of the complex projects integrated within a PCB.

Packed and Sealed parcel

The Kit
You can purchase the SmartEdge Agile for $110 from Avnet.
Step 1: Getting Started with SmartEdge Agile (Content from Avnet)
With SmartEdge Agile, you can use the same solution for all stages of your IoT project from proof of concept and value to pilot and production—with confidence that constant software and firmware updates along with reference designs and related BOMs keep you on the edge of the cloud and the cutting edge of development.
This SmartEdge is made with the following architecture.
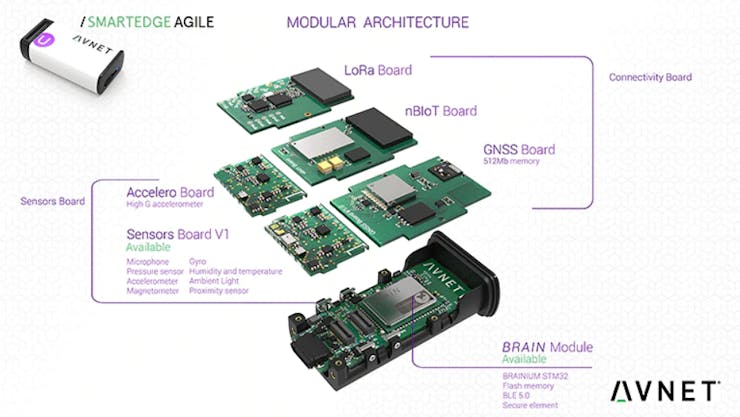
Image from Avnet
SmartEdge Agile is powered by an STM32 controller, and consists of Flash Memory, BLE 5.0, Accelerometer with High G measurement, a microphone, Gyroscope, Pressure sensor, Humidity Sensor, Temperature sensor, Ambient light, Magnetometer, Proximity Sensor, LoRa board for com, GNSS Board and with LiPo battery.
That's a huge list of peripherals within a highly portable and lightweight Edge device.

Image from Avnet
Now, this is how the device is used.
First we build a data set. i.e Then we train the model and test it. And Finally we deploy the model generated to the edge device.
Step 2: Creating a Brainium Portal
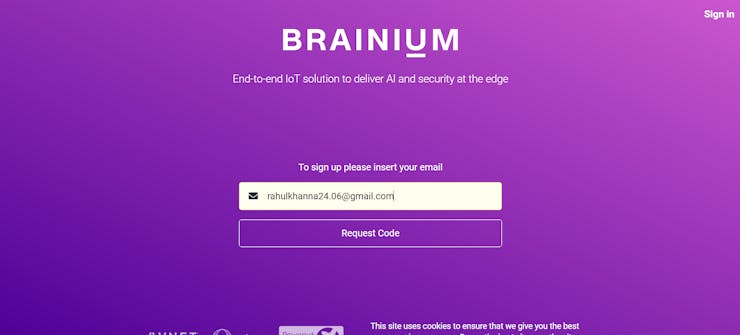
Visit https://www.brainium.com/ and enter your email ID to create a free account
Once you receive the request code, you will be directed to a web page where you need to fill in your personal details and password.
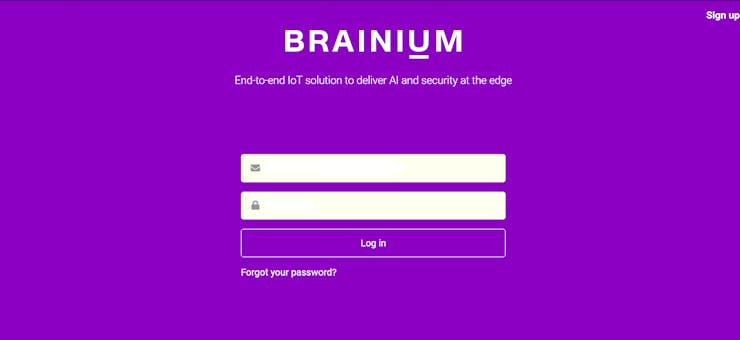
If you had registered successfully, enter your credentials to log in to your brainium portal.
After logging into your brainium portal, you can find a studio like this.

Download the Brainium Gateway Application on your device and pair the device with your mobile.

In my case, I had installed it on an Android mobile
Open the Projects tab and click on the "Create Project" icon to create a new project

Type a "Name" for the new project and click on the "Create Project" button

Now the project is created successfully and click on the project. A new window appears

Since I had created an Application for the first time and the SmartEdge is not connected to the Gateway, the primary step is to connect the Edge device to the Brainium gateway.
To connect the Edge device to the Brainium gateway, press the push button on the device and the color of the led changes, which means the device is ready to pair with the Gateway.
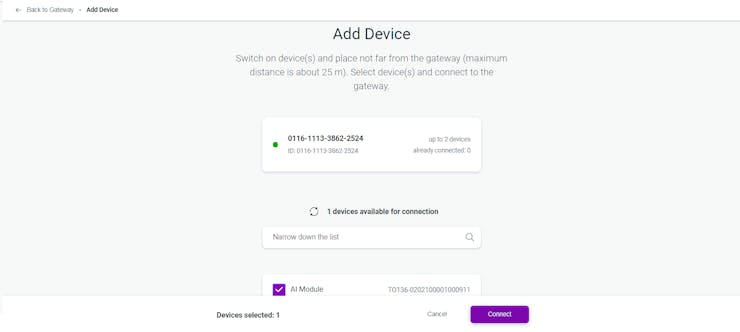
Now, open the android app and pair it with the edge. Once it is done, click on Add device on brainium portal and a new page opens.
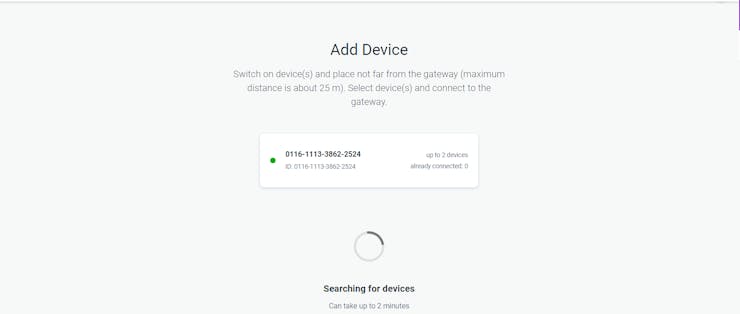
After few minutes, you can find your edge device in the list.

Select the device from the list and click confirm button.
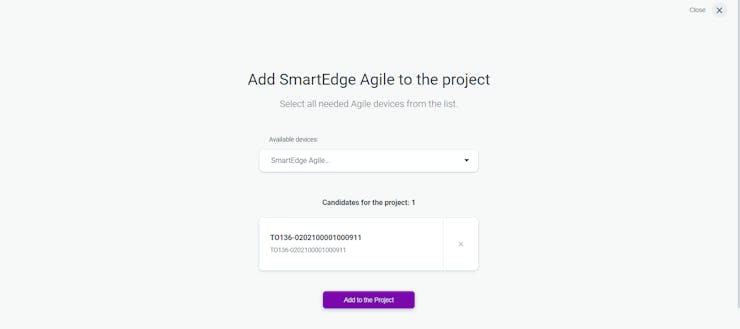
Now the device is added to your brainium portal.

Add the device to our project as shown below
On the dashboard, you can find the device name, version, gateway and the projects to which the device is assigned to and other parameters.

Click on the update button to update the latest firmware on the device.

Now the setup is complete and the device is connected to the brainium gateway. Next, we can try to interface the sensors present on the edge device.
Step 3: Interfacing with SmartEdge Agile (Project Dashboard)
The Edge device is connected to the Brainium gateway. What's next?
Now we can test the connection by publishing various sensor data to the Portal which can be displayed using widgets.
Click on Create Widget button on the project created.

Select the Widget and the type of the widget from the drop-down list on the Create New Widget tab. Here I had chosen an Air humidity sensor and the type of data will be displayed as plain data.

After selection click the...
Read more »
 kutluhan_aktar
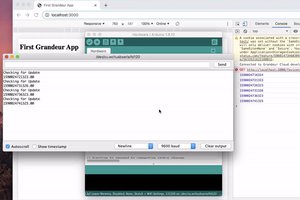
 Grandeur
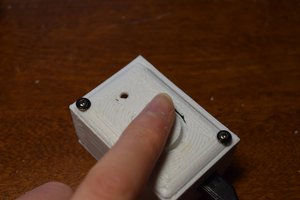
 having11
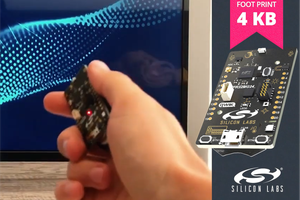
 alex.miller
I'm kinda confused. Apart from buying a thing, sponsored or not, where is the stuff where I can replicate this input device? Where is the code? This really looks like a commercial to me. And selling some cloud thingy also does not sit right with me.
What did you "make"?