 Dylan
DylanThis project is the final project for my microcontroller class at my university. It is a robot that has simple object avoidance capabilities with use of an Ultrasonic sensor, as well as IR ports for some laser tag action. This is a work in progress, but will be finished in upcoming weeks as the semester is almost over. The brains is an ATMega328P but without arduino libraries. For the peripherals, it is using a L293D H-Bridge to control two DC motors, Ultrasonic Sensor for obstacle avoidance, IR LED and IR Receiver for the laser tag, LDR with LM741 as a comparator for detecting opposing robots, of course numerous indicator LEDs, LM7805 for voltage regulation, and a servo port for panning the Ultrasonic sensor.
0%
0%
Laser Tag Robots
Why not combine two of the best things in one?
Become a Hackaday.io member
Already have an account? Log in.
Just one more thing
To make the experience fit your profile, pick a username and tell us what interests you.
Pick an awesome username
hackaday.io/
Your profile's URL: hackaday.io/username. Max 25 alphanumeric characters.
Pick a few interests
Projects that share your interests
People that share your interests

 AdityaPrakash23
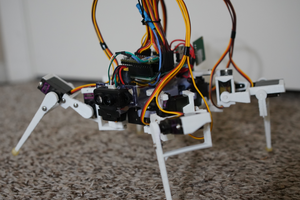
 Jacob David C Cunningham
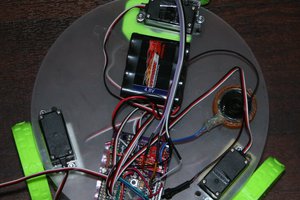
 Walt Perko
 Shifty