 Steve Hernandez
One tool that I've wanted in my lab for a long time is a scanning electron microscope. https://en.wikipedia.org/wiki/Scanning_electron_microscope . Now that I'm building a semiconductor fabrication lab - it seems to be the time to build my very own SEM.
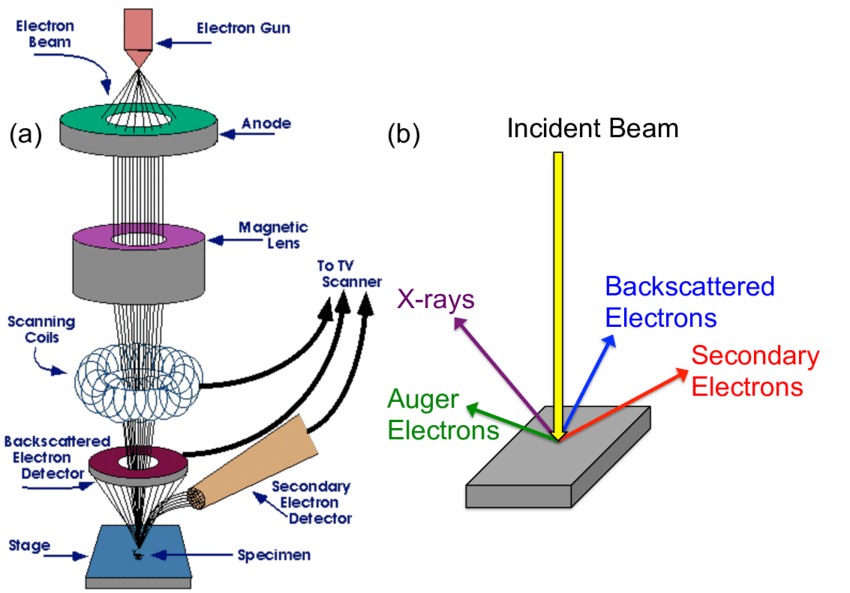
Here's a basic diagram of a SEM:
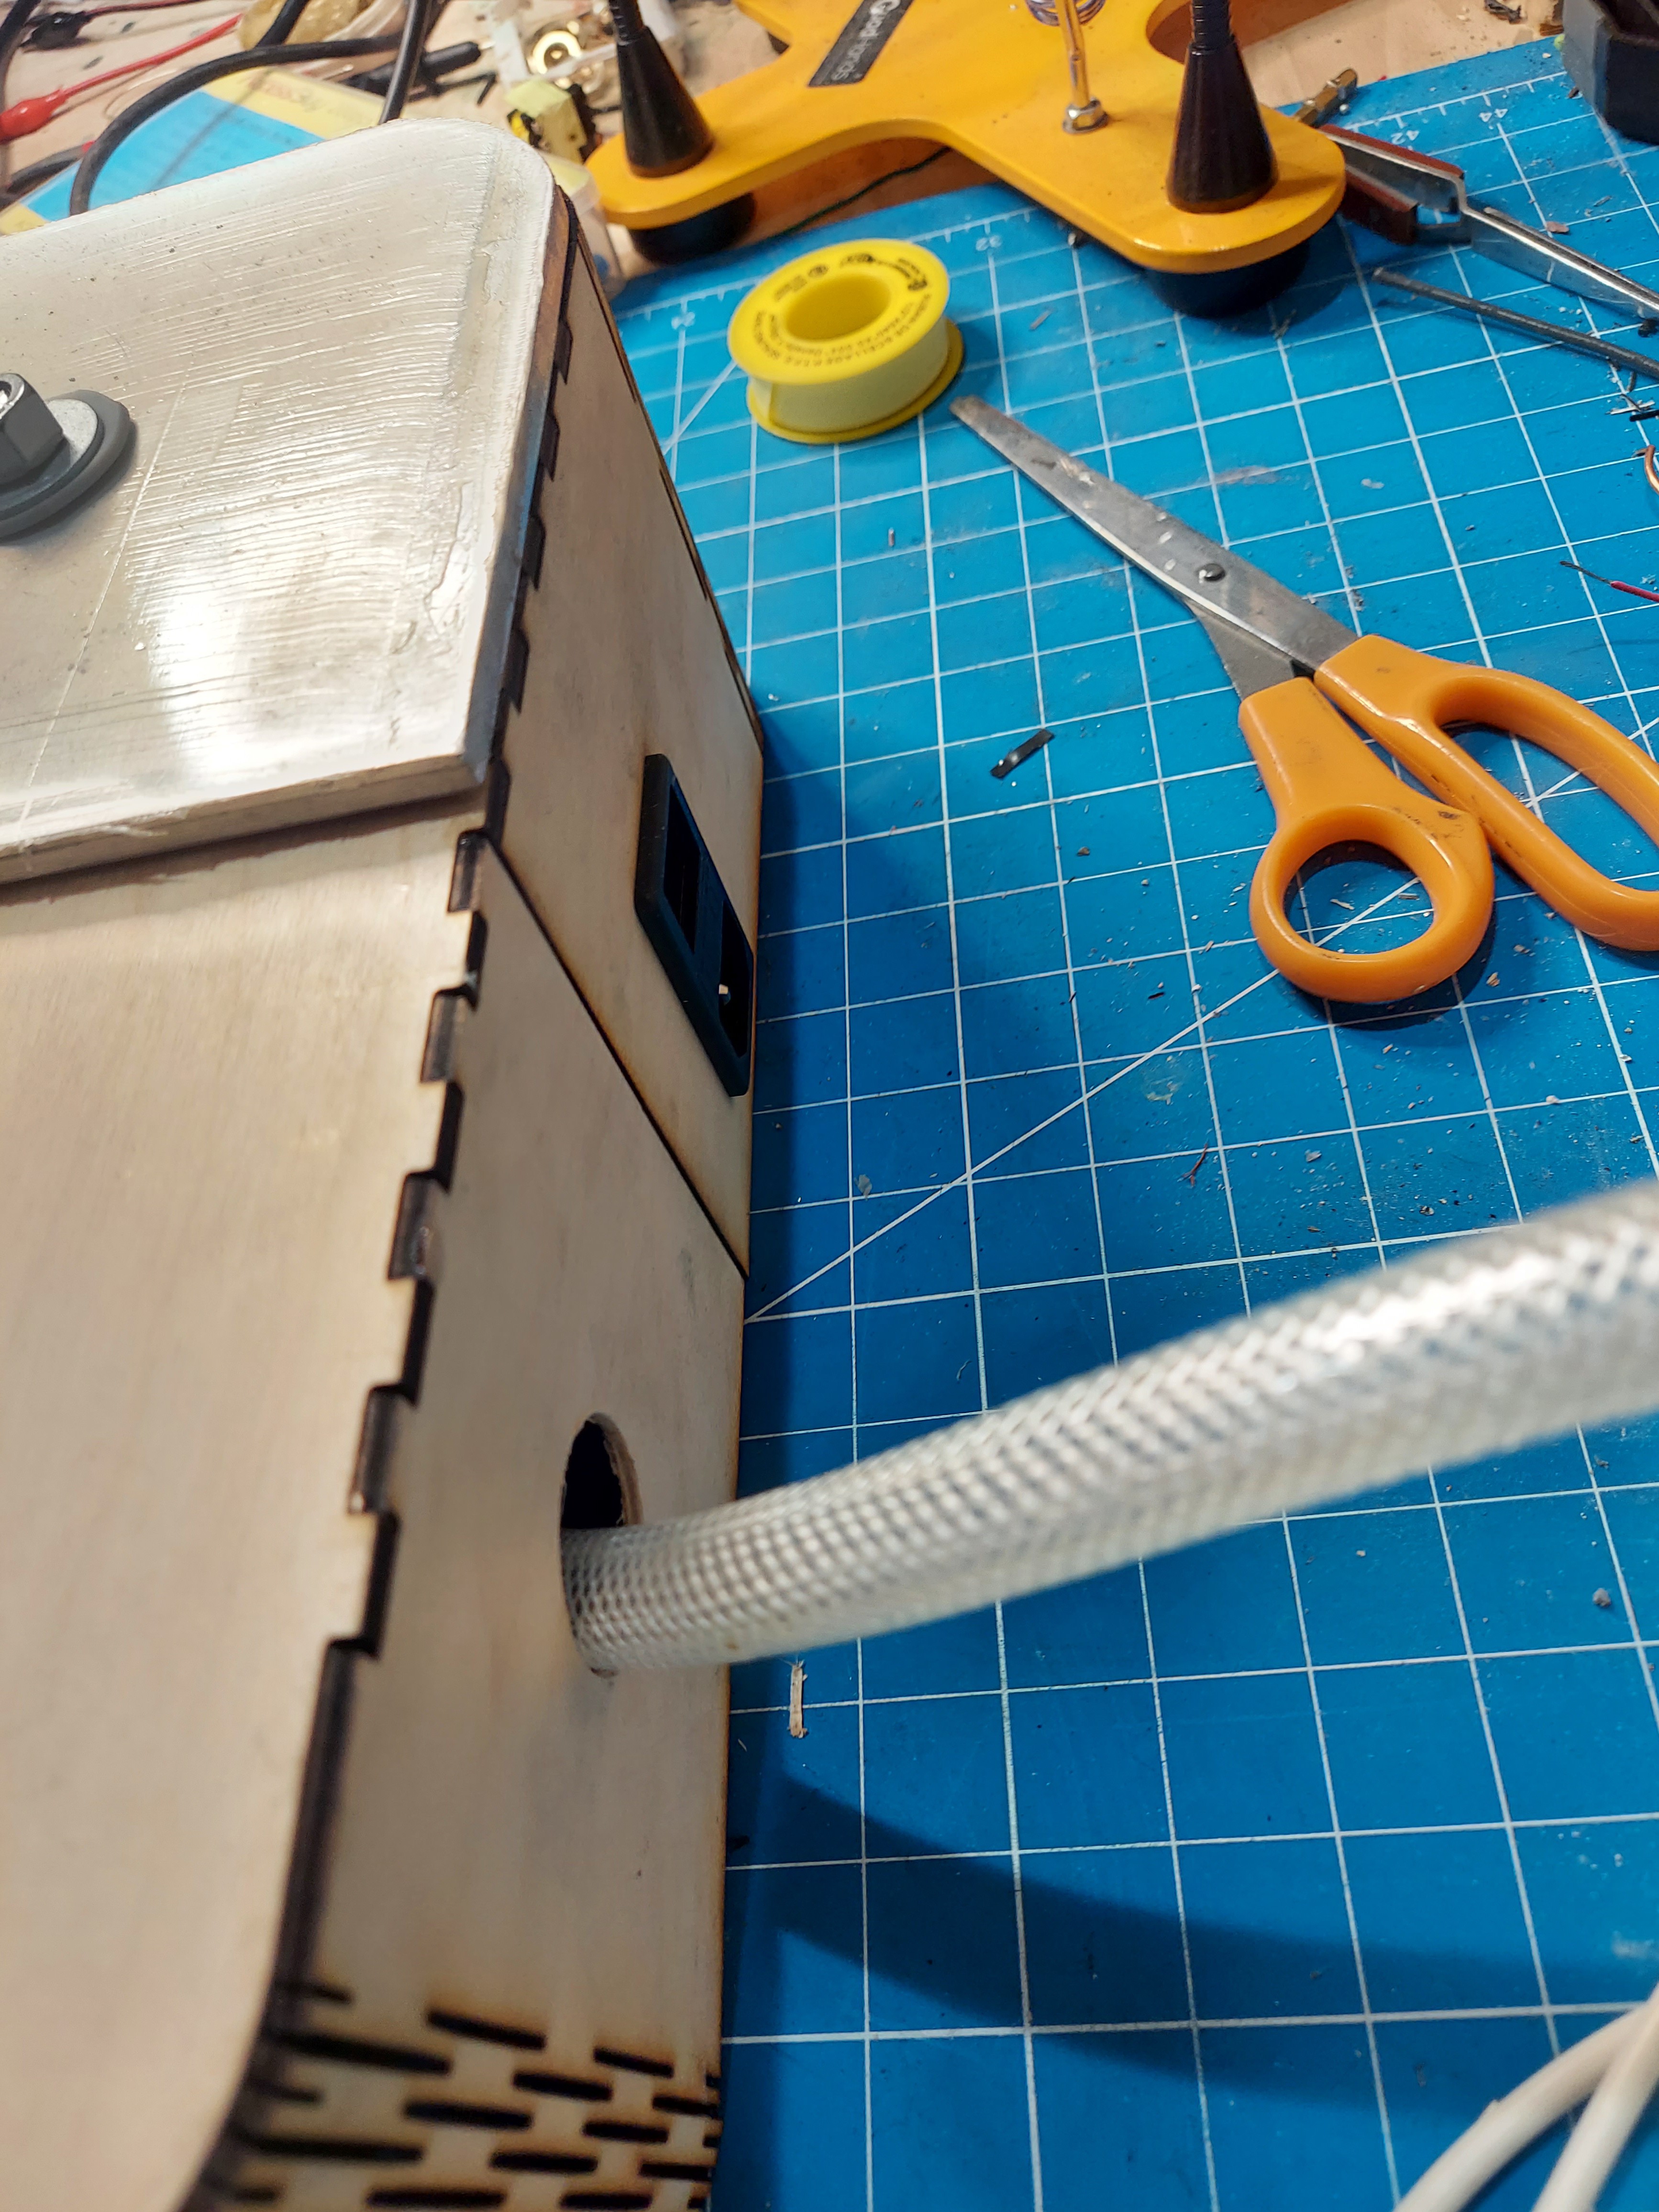
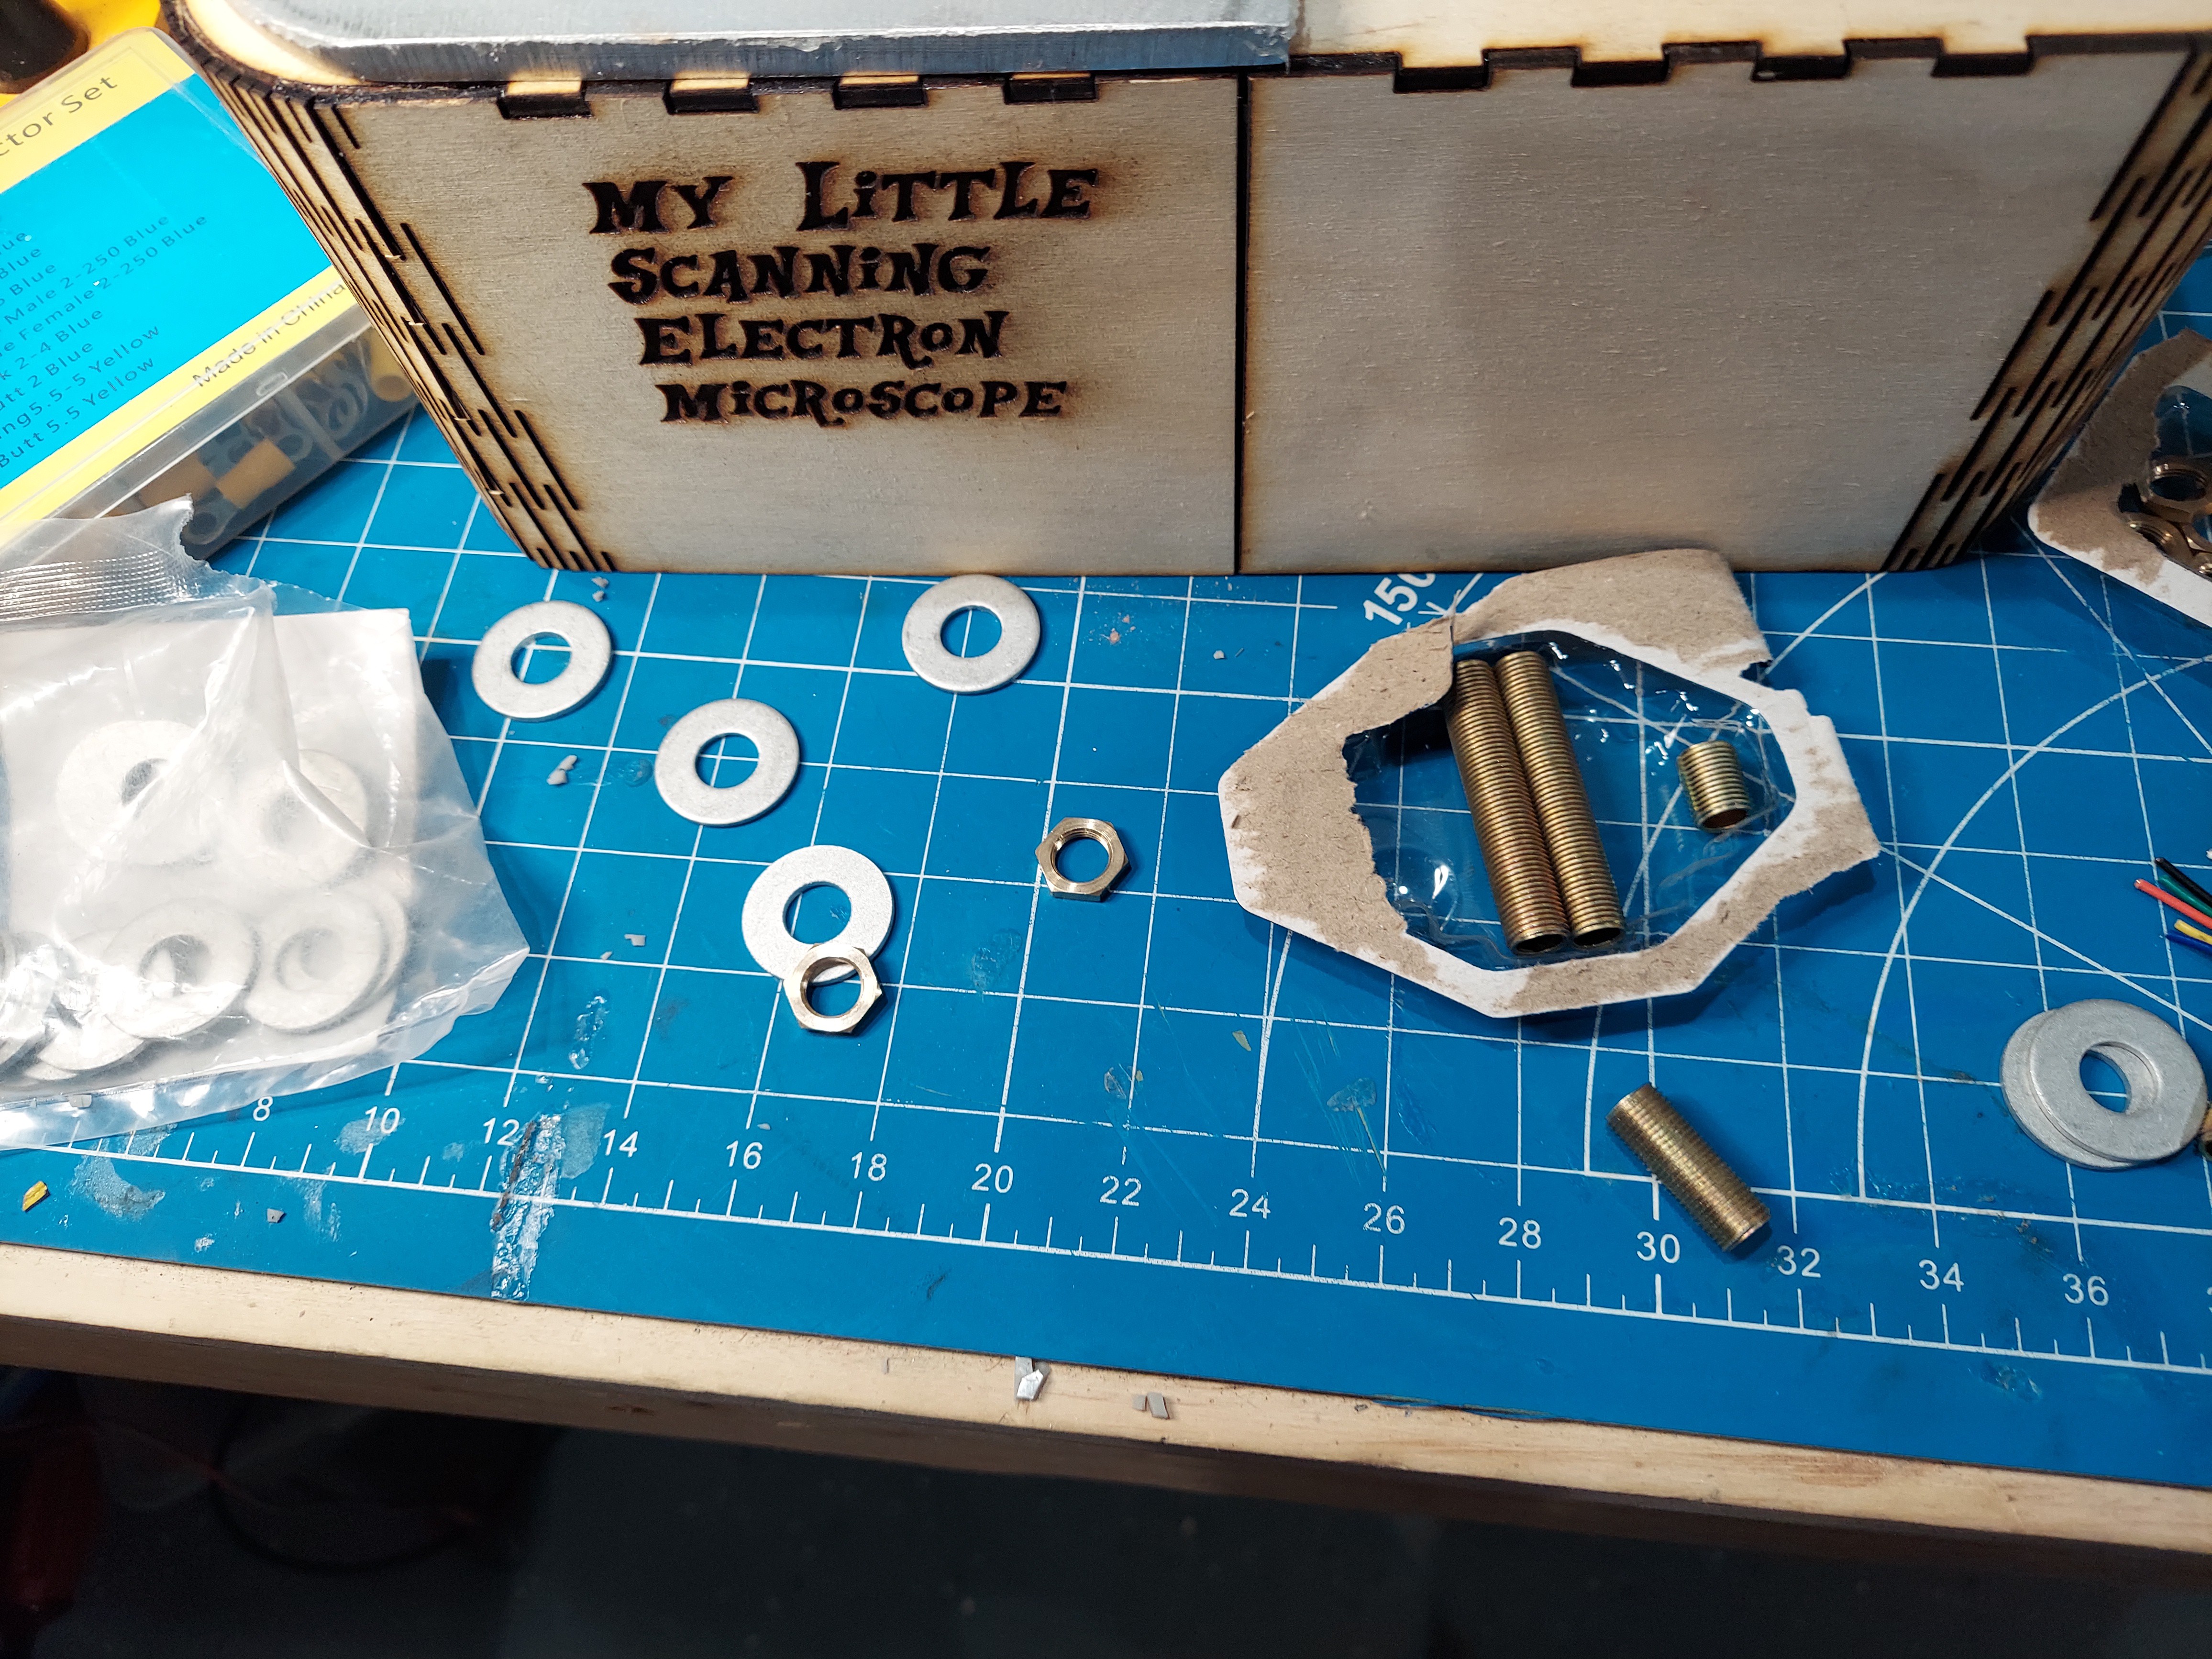
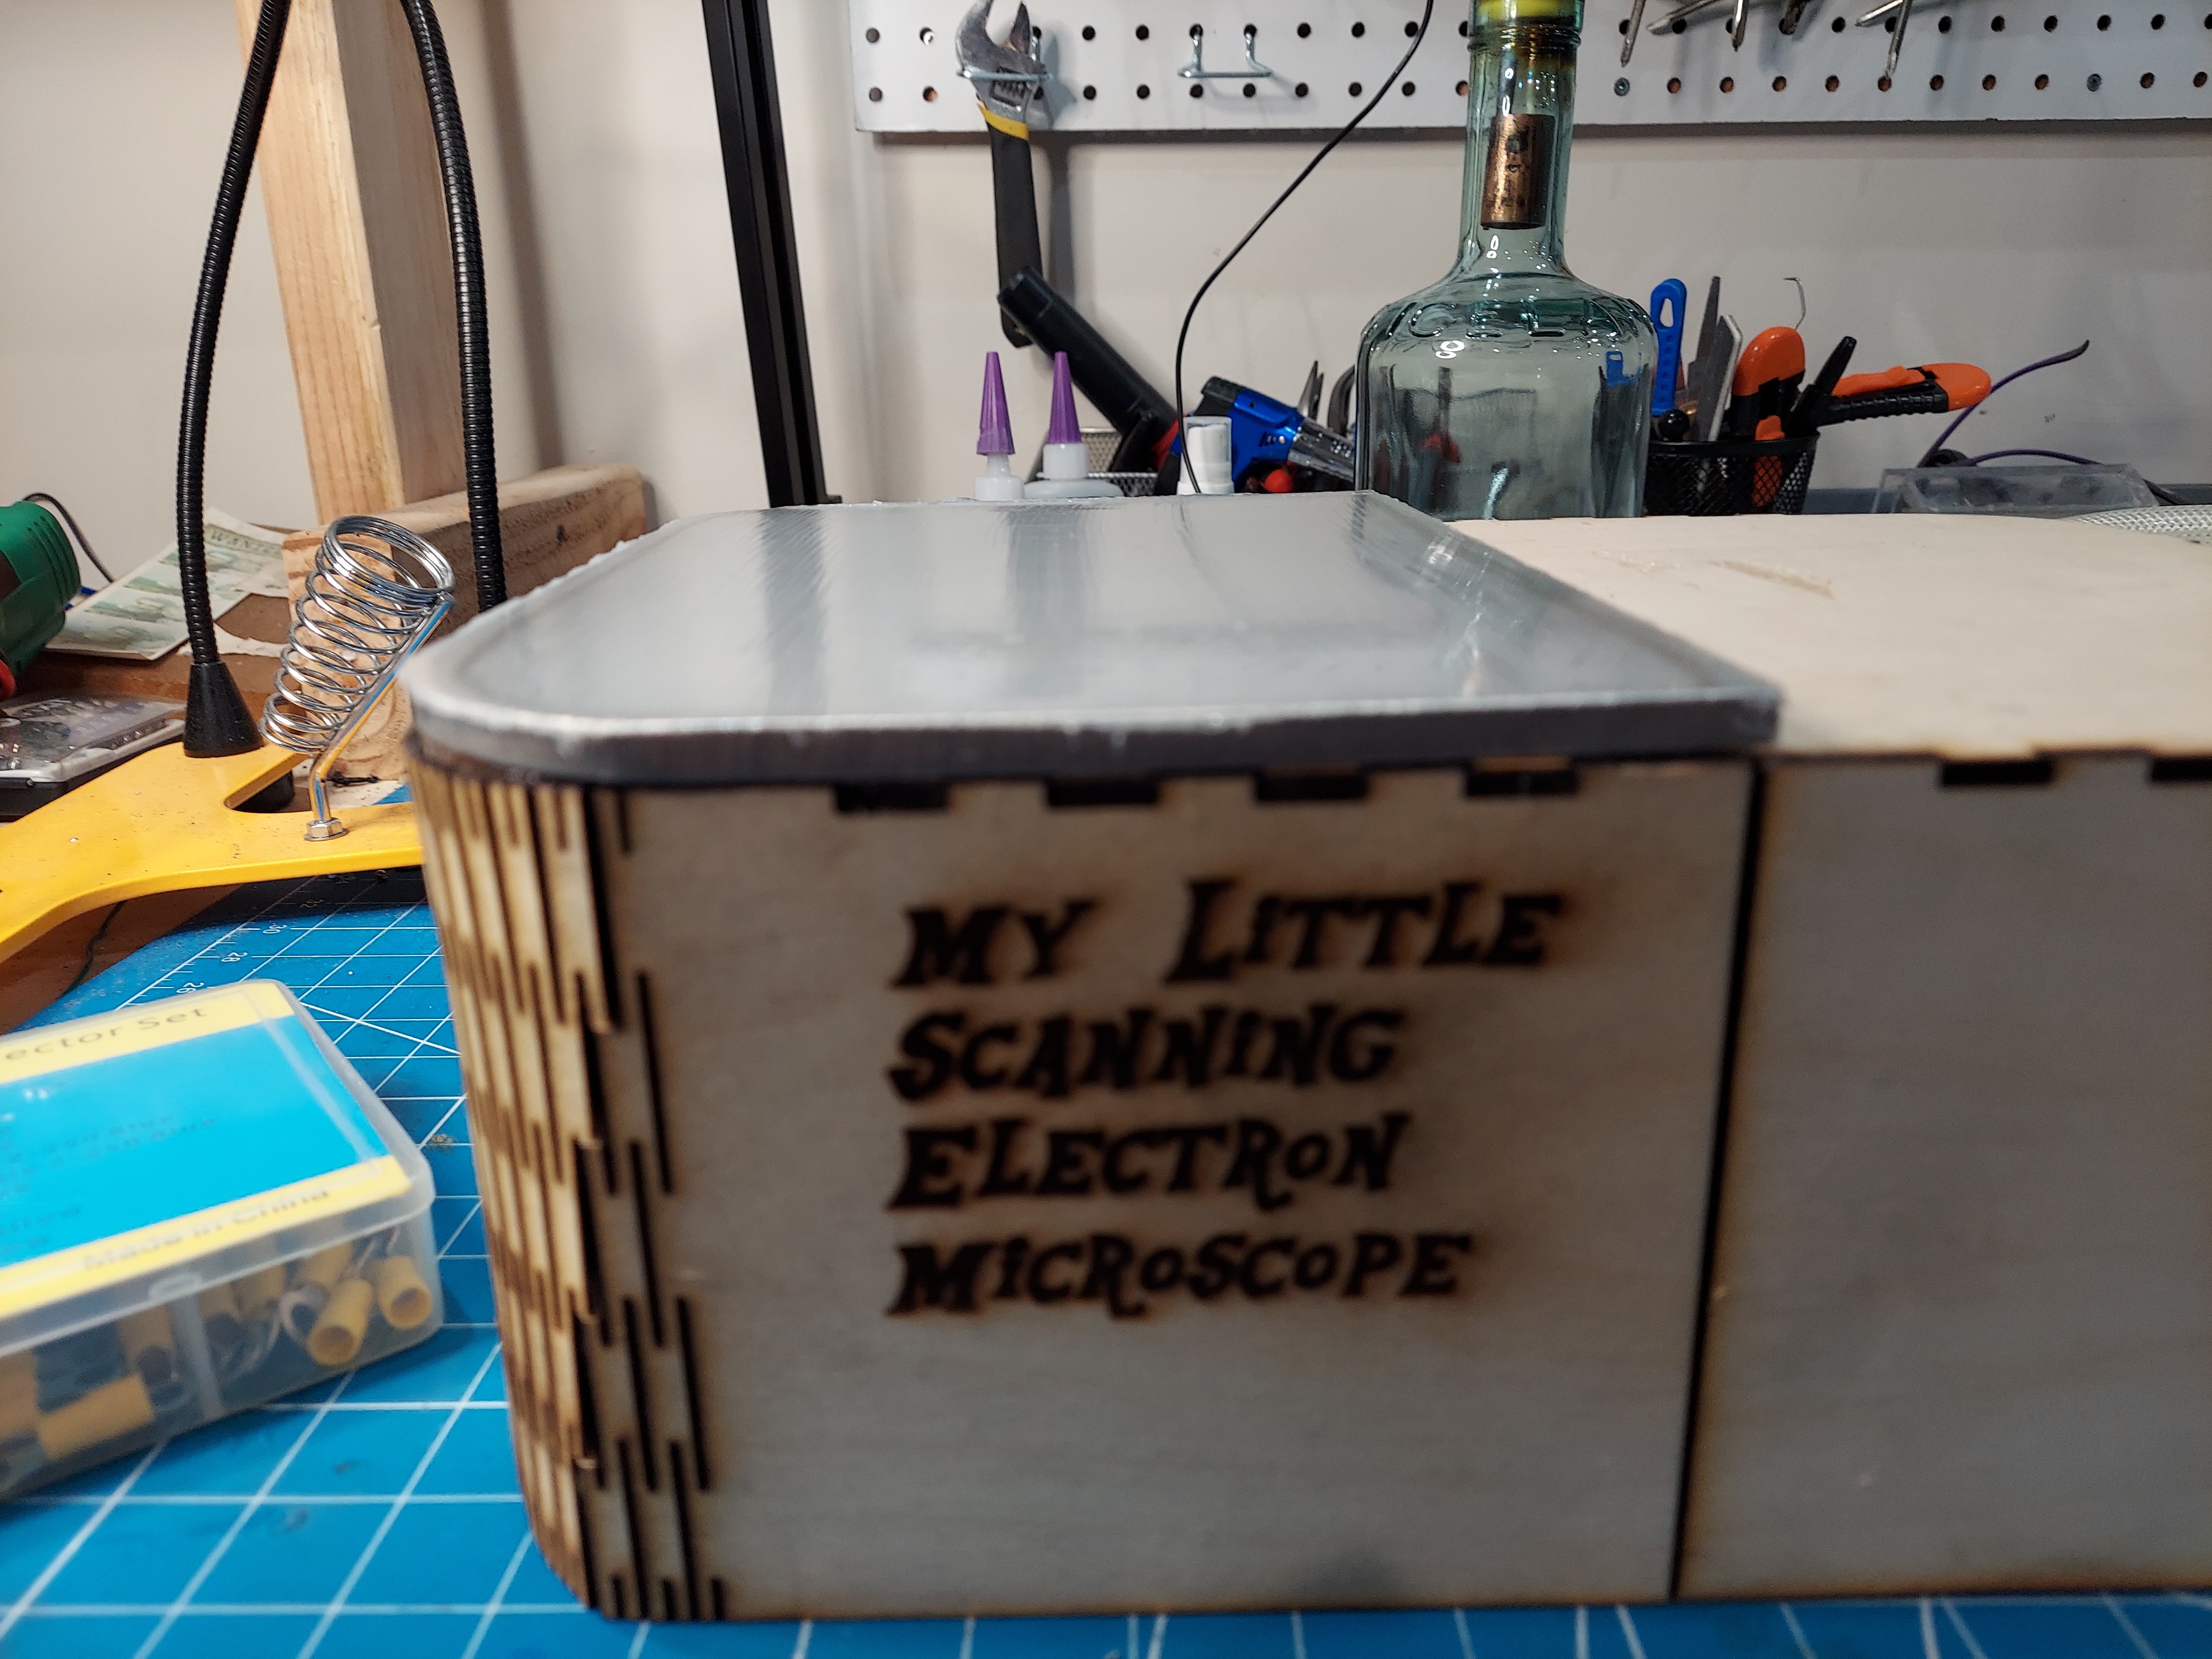
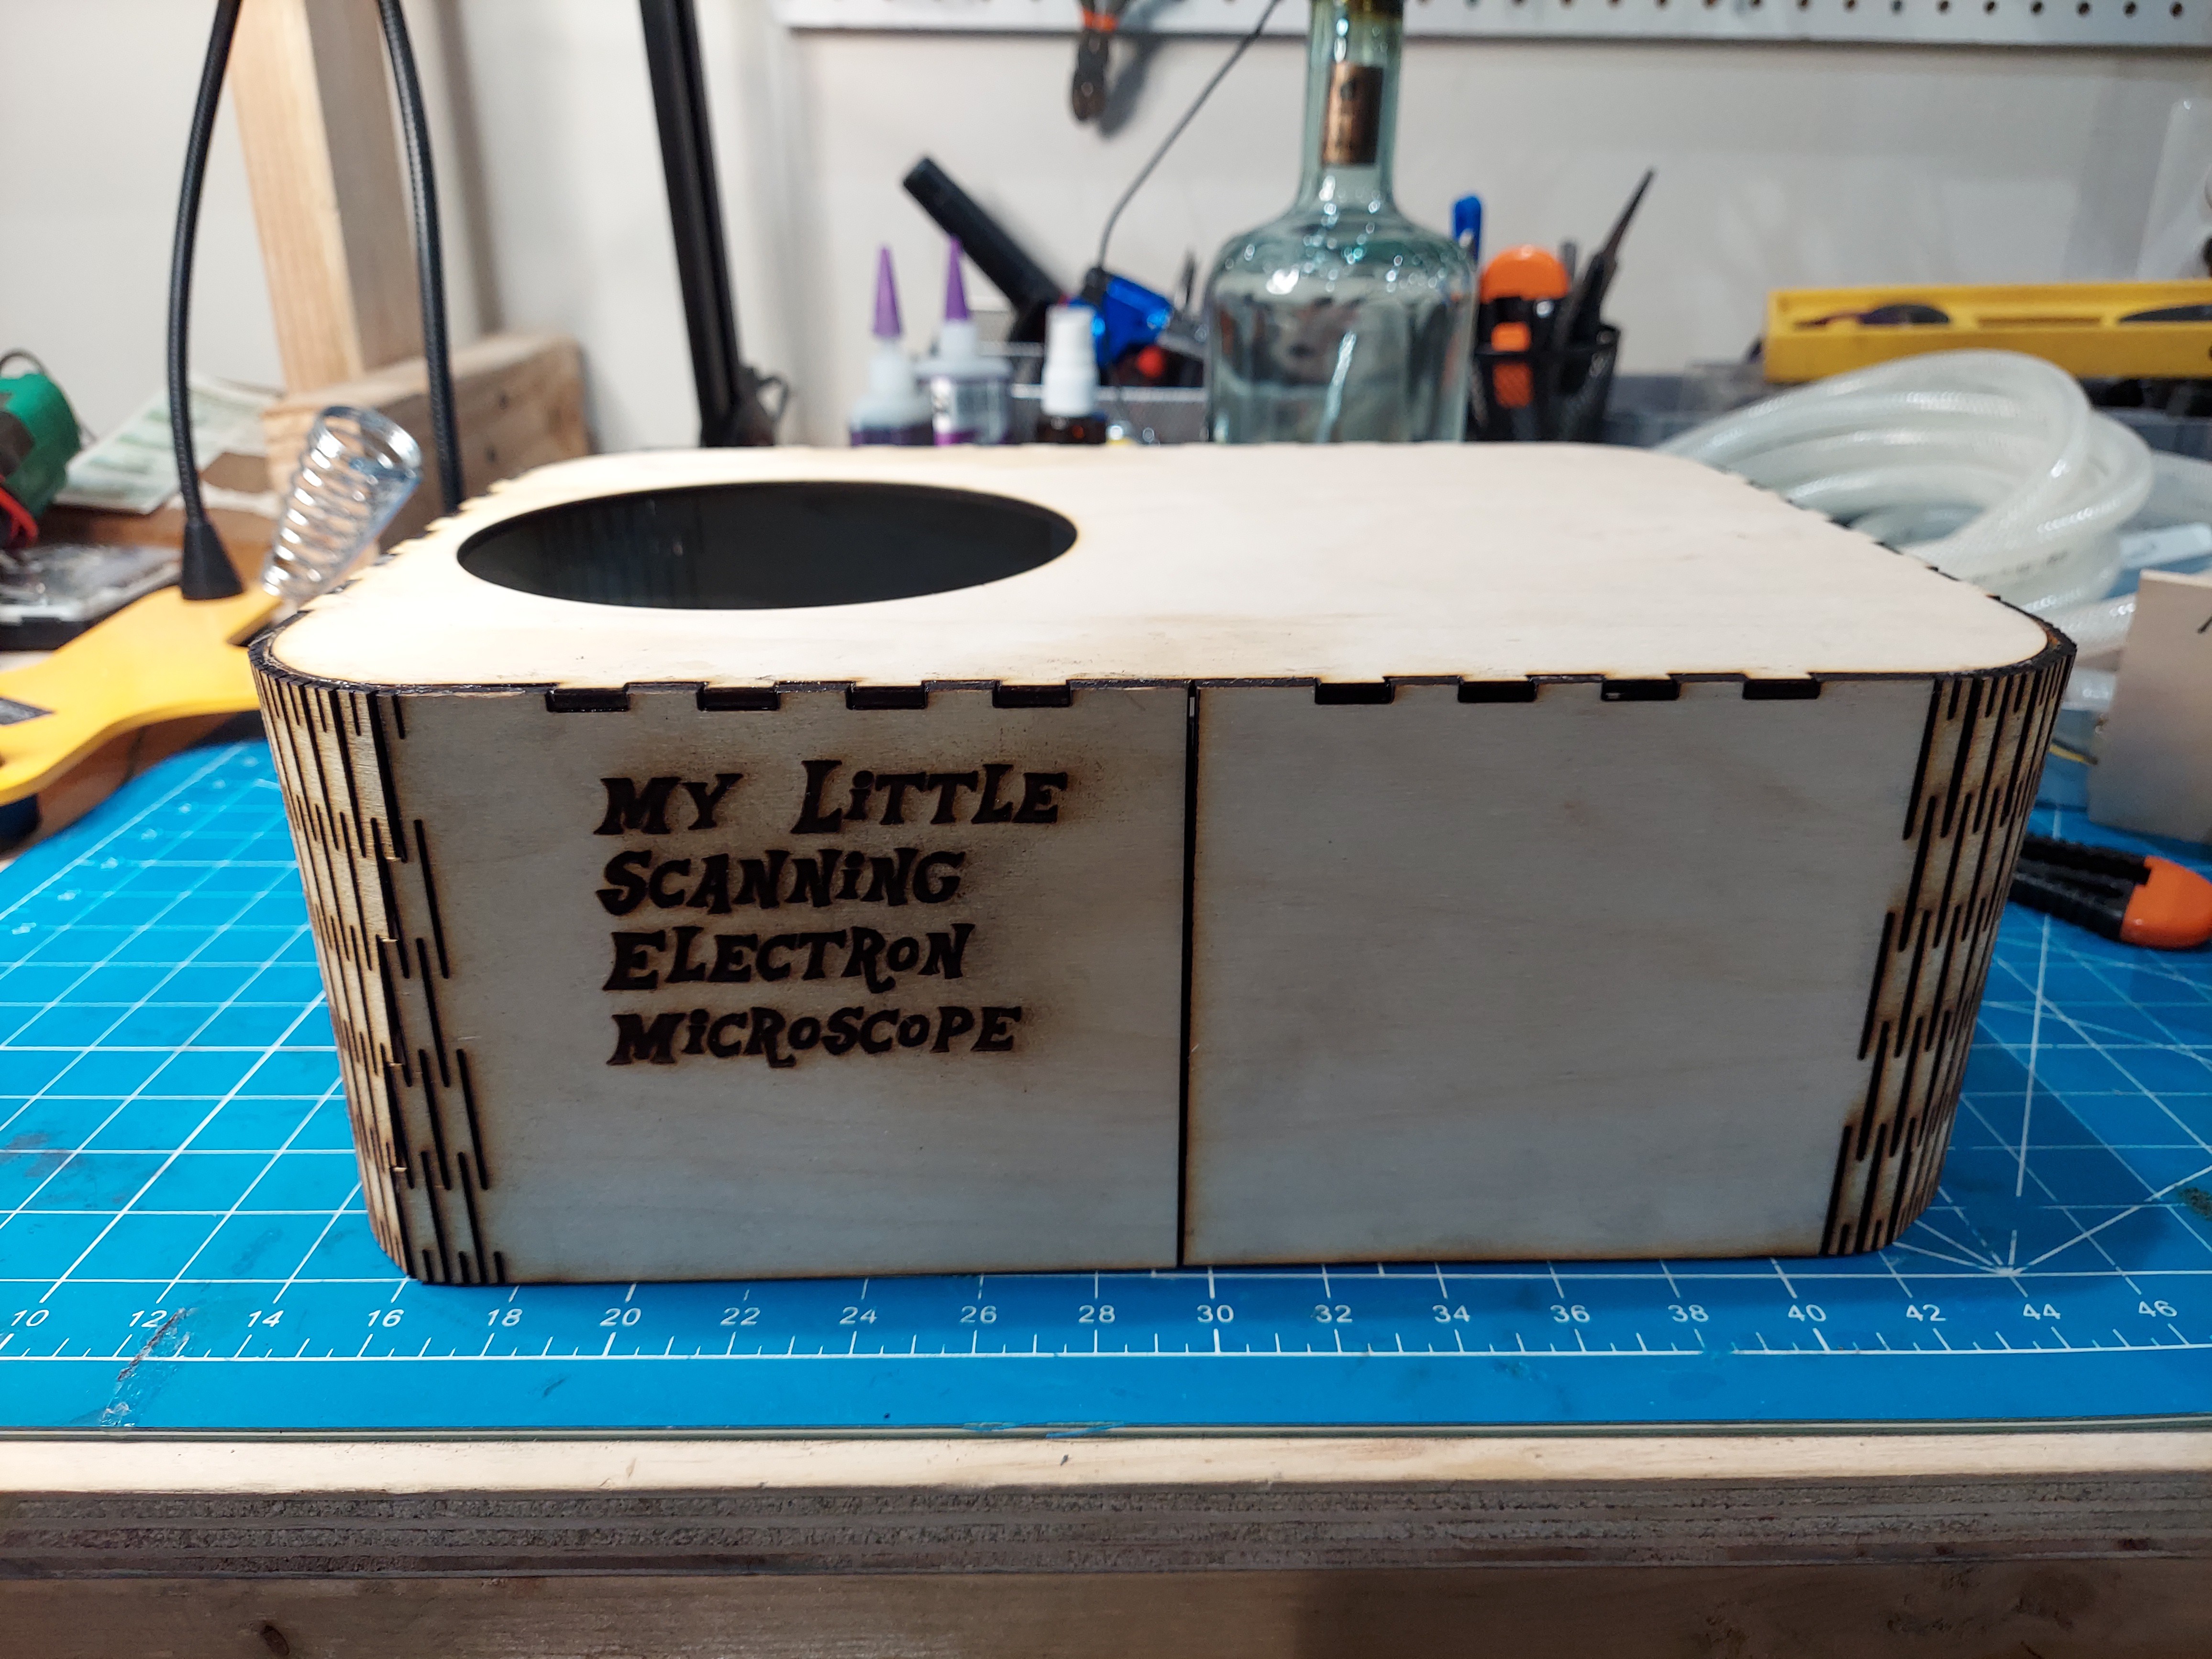
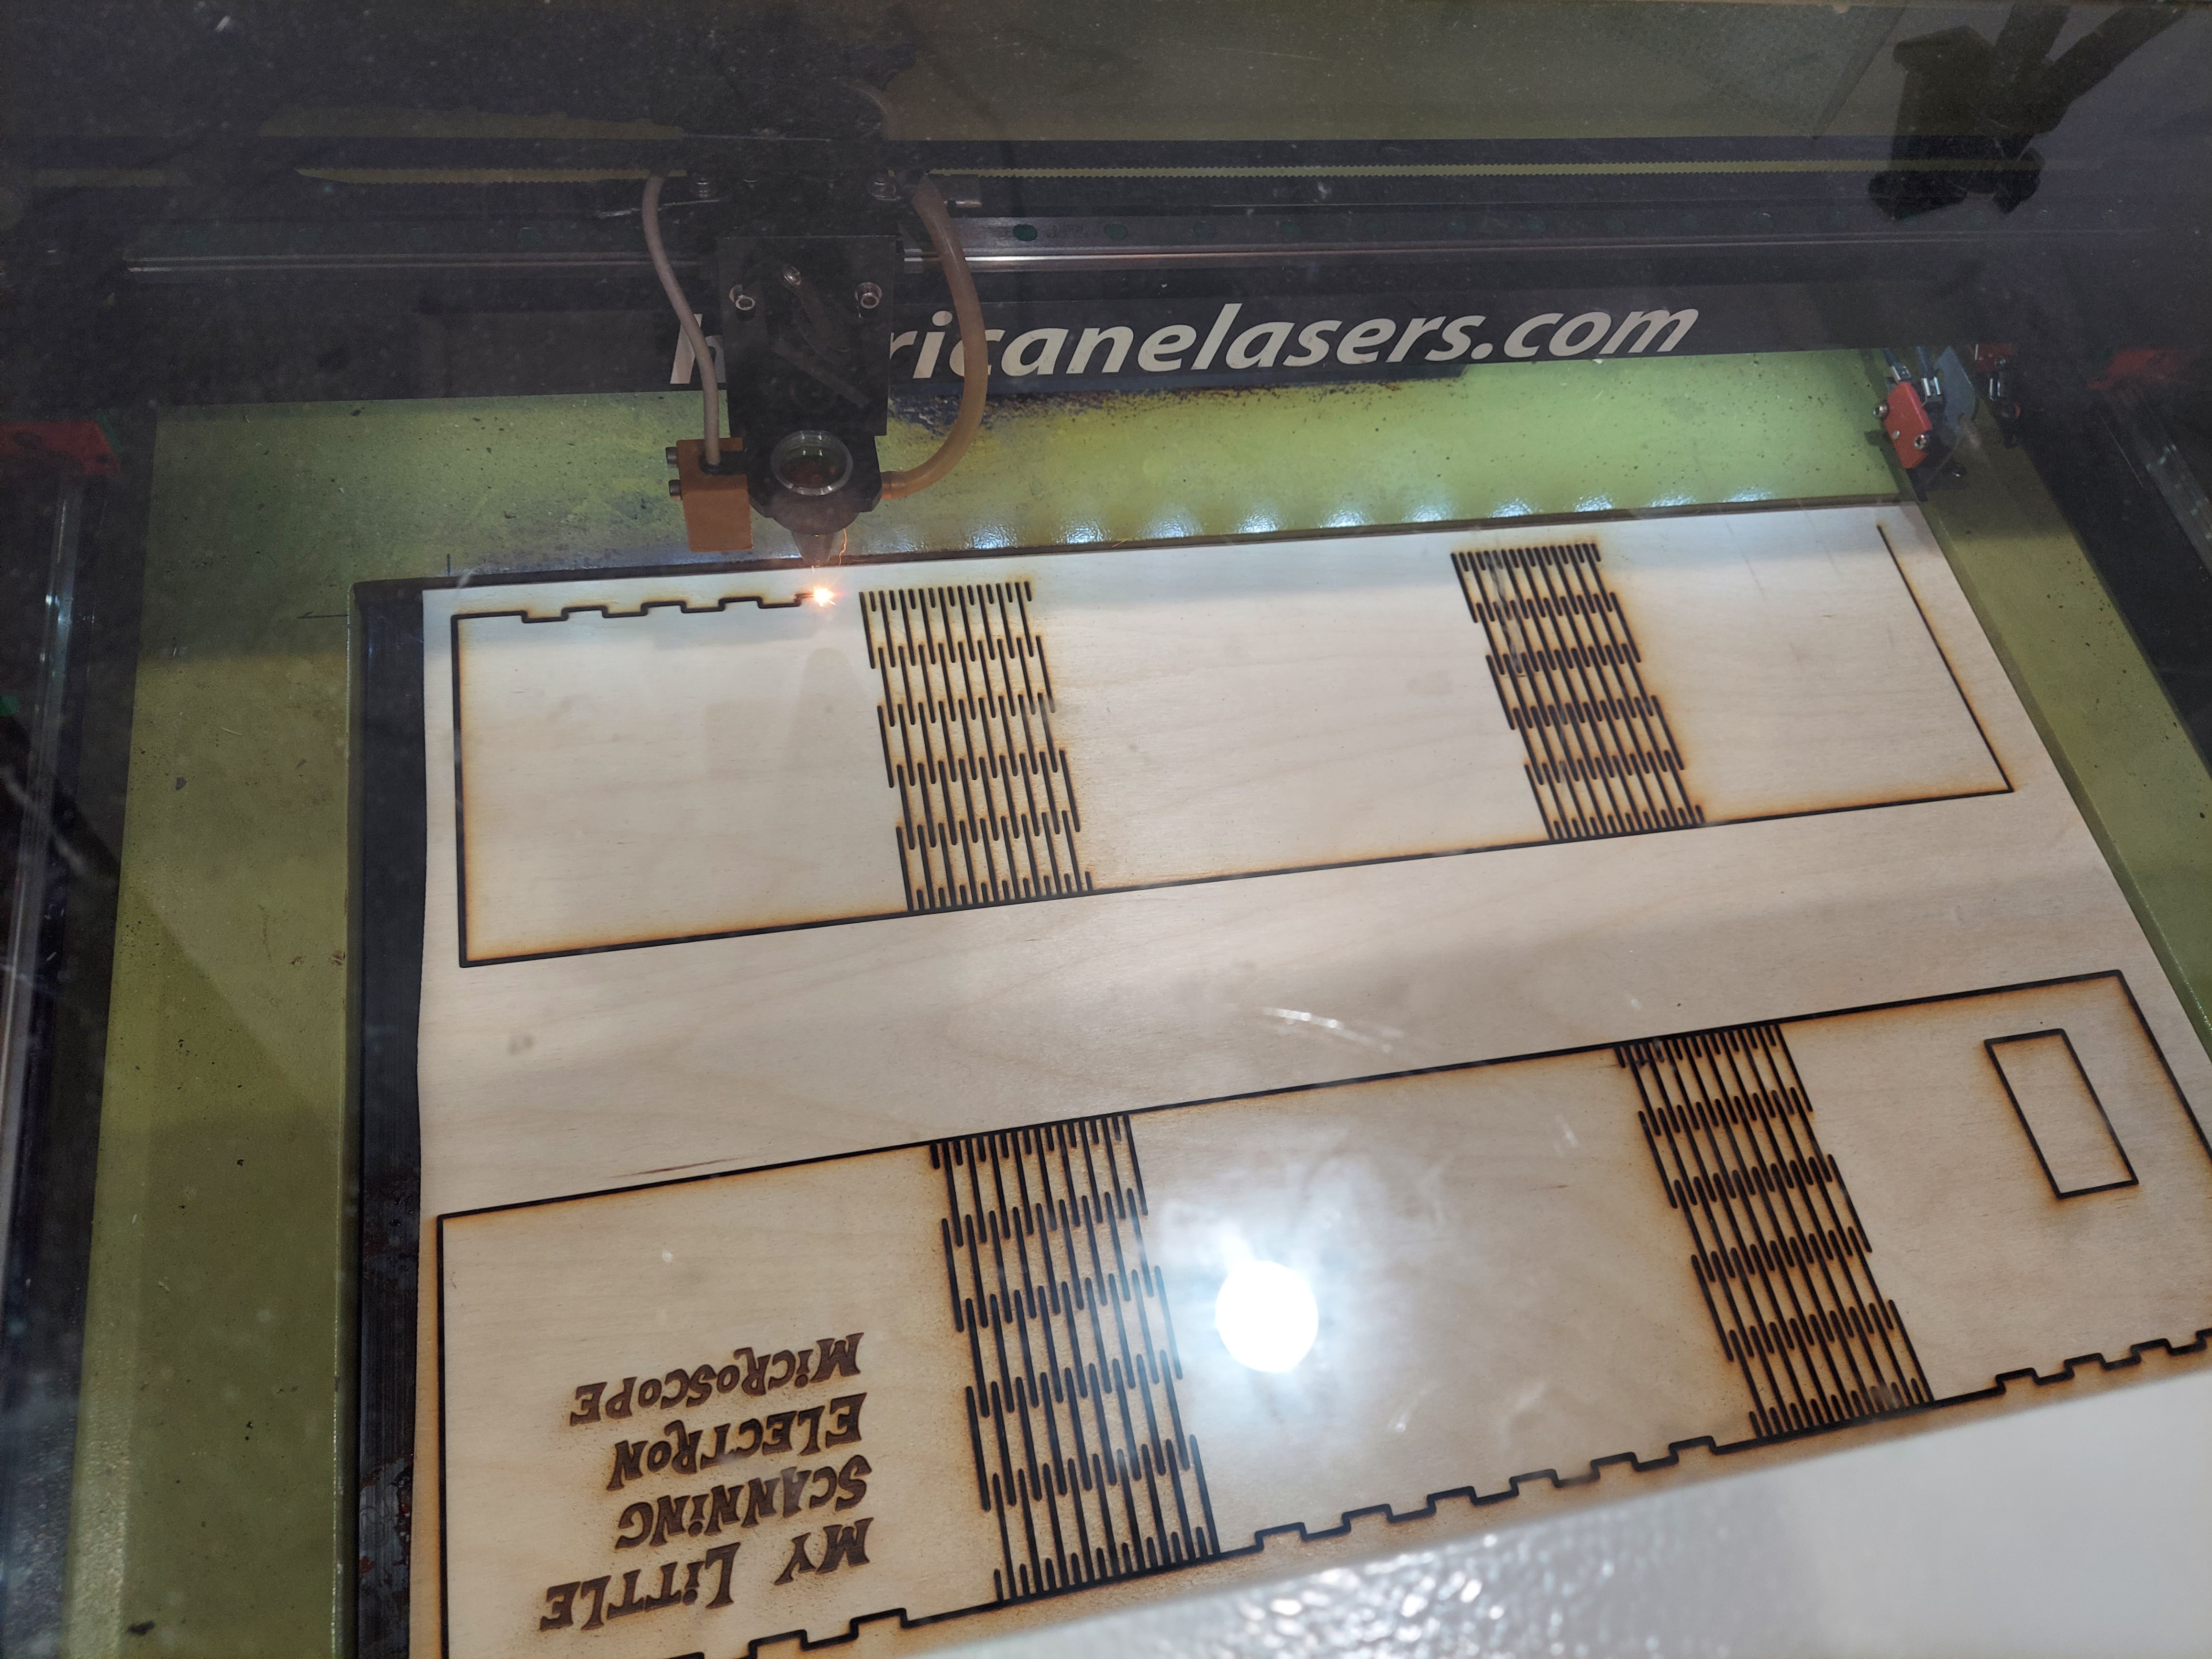
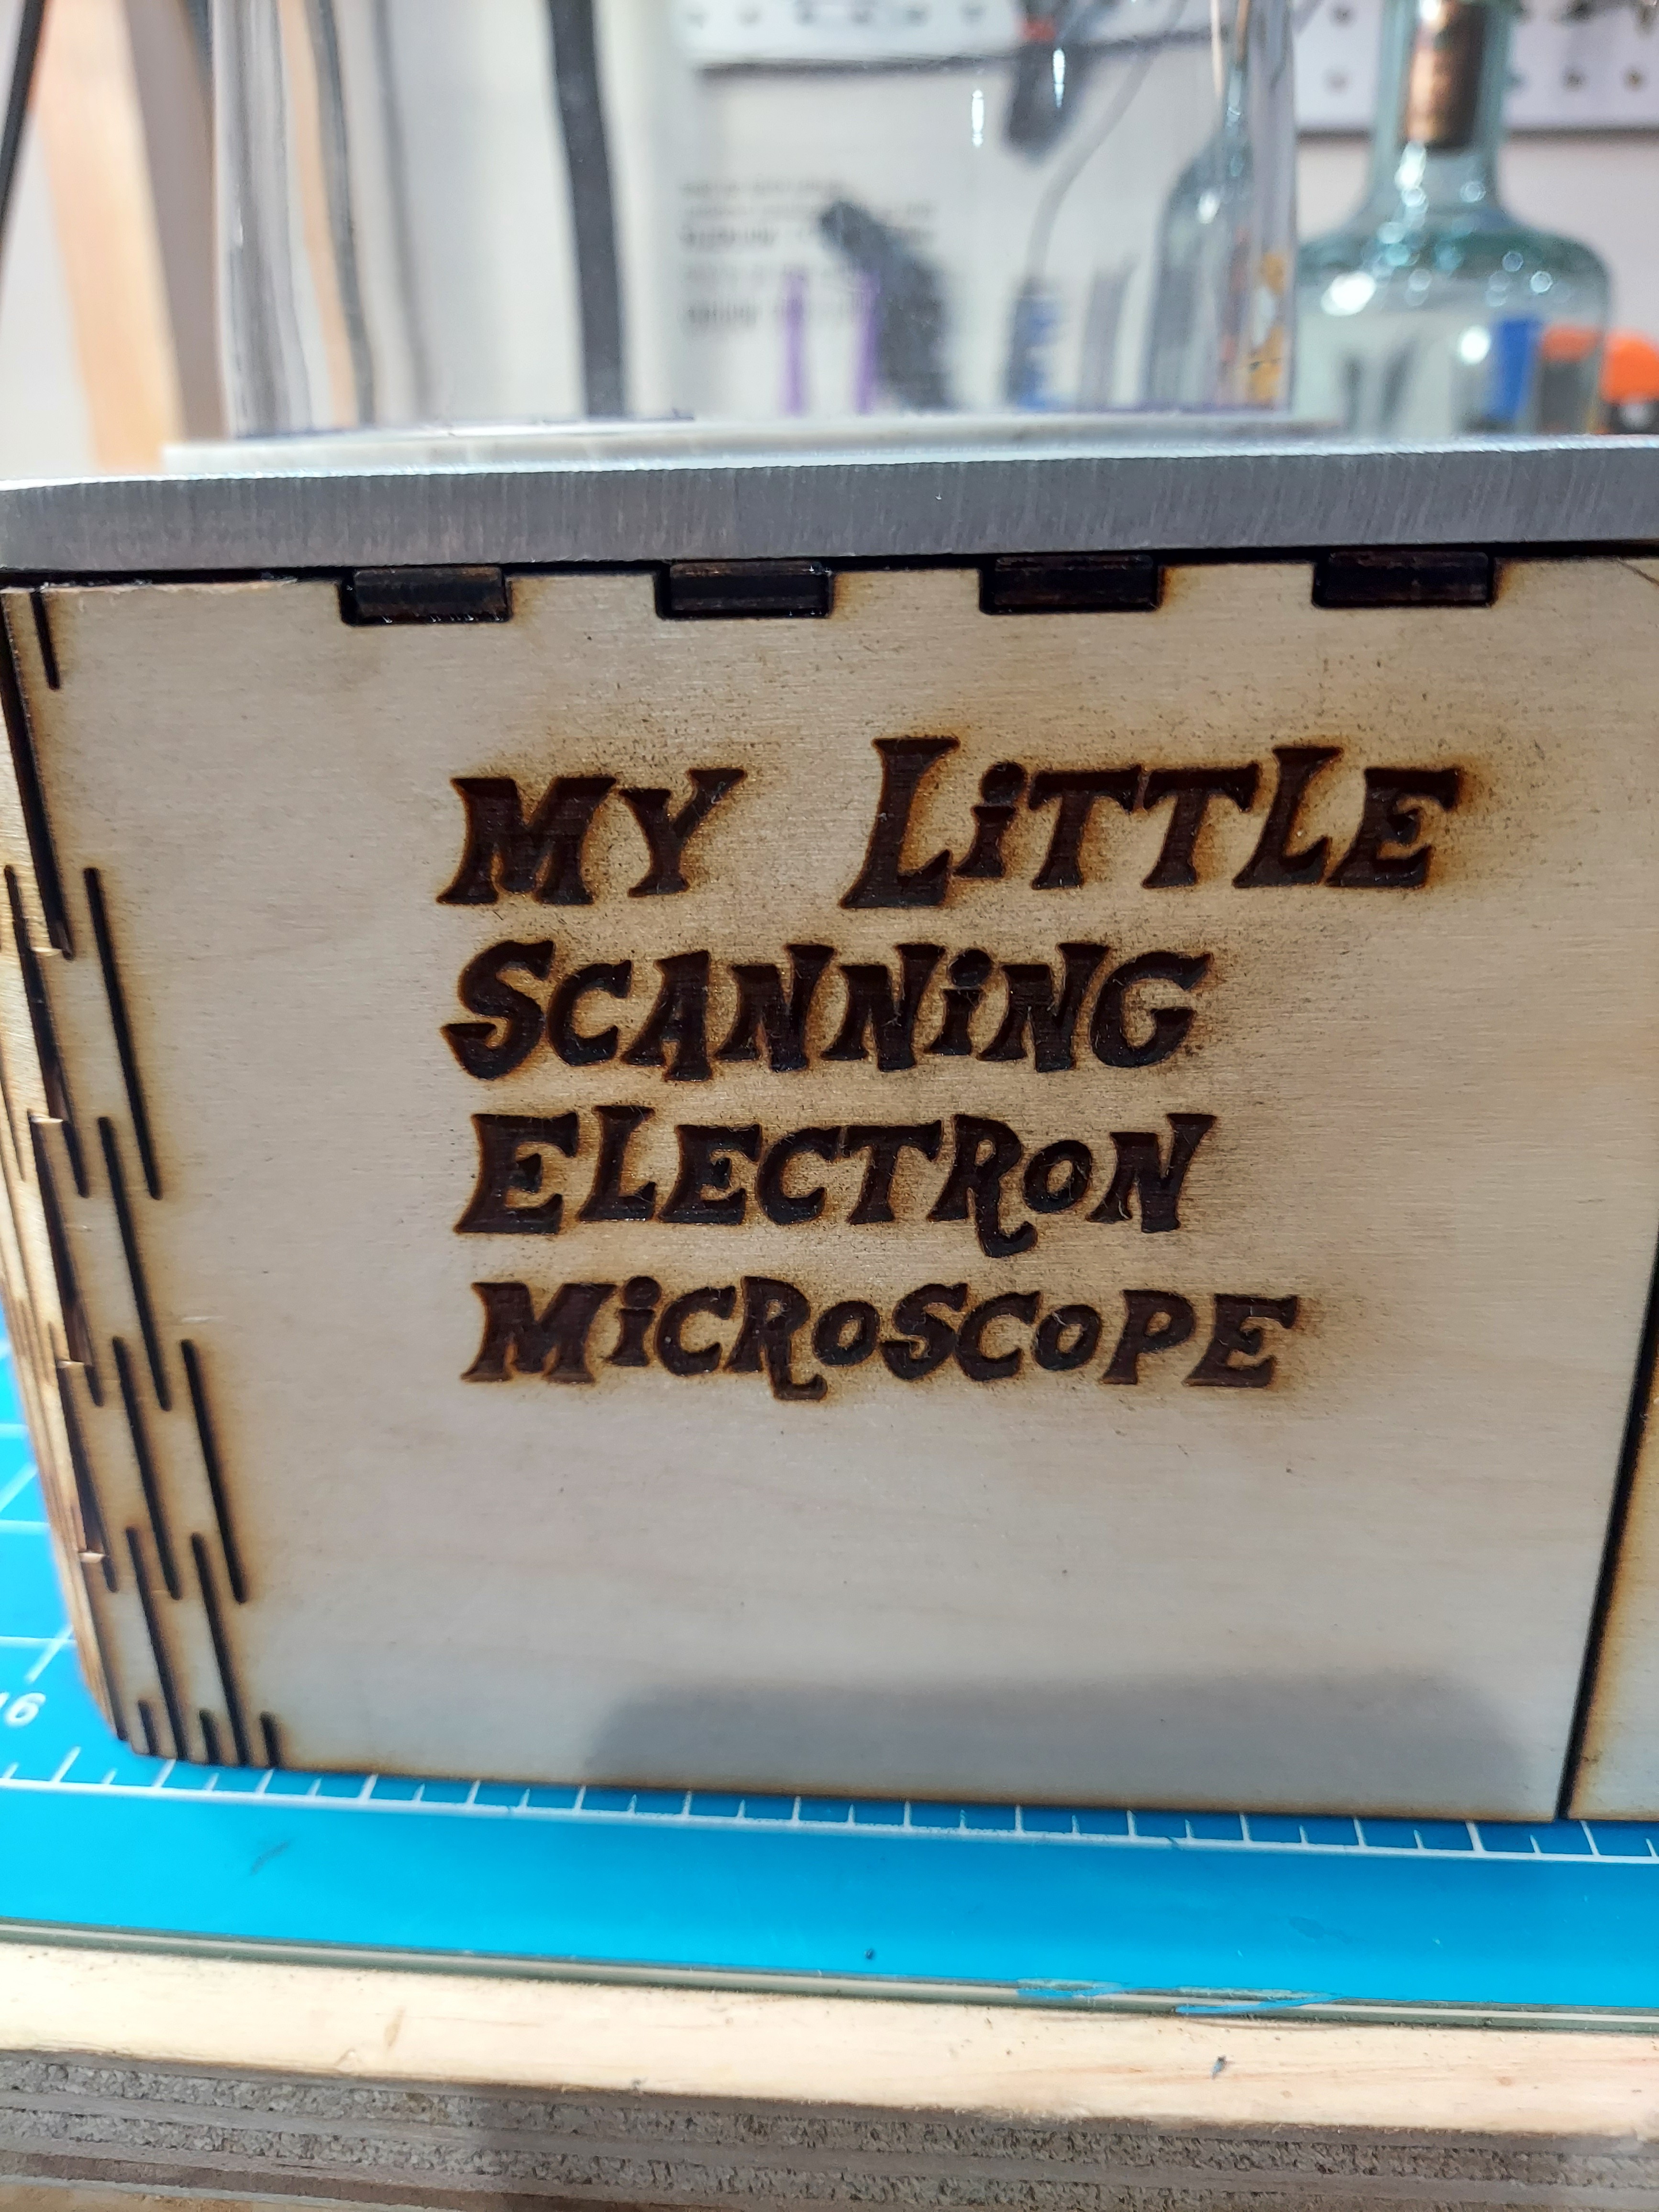
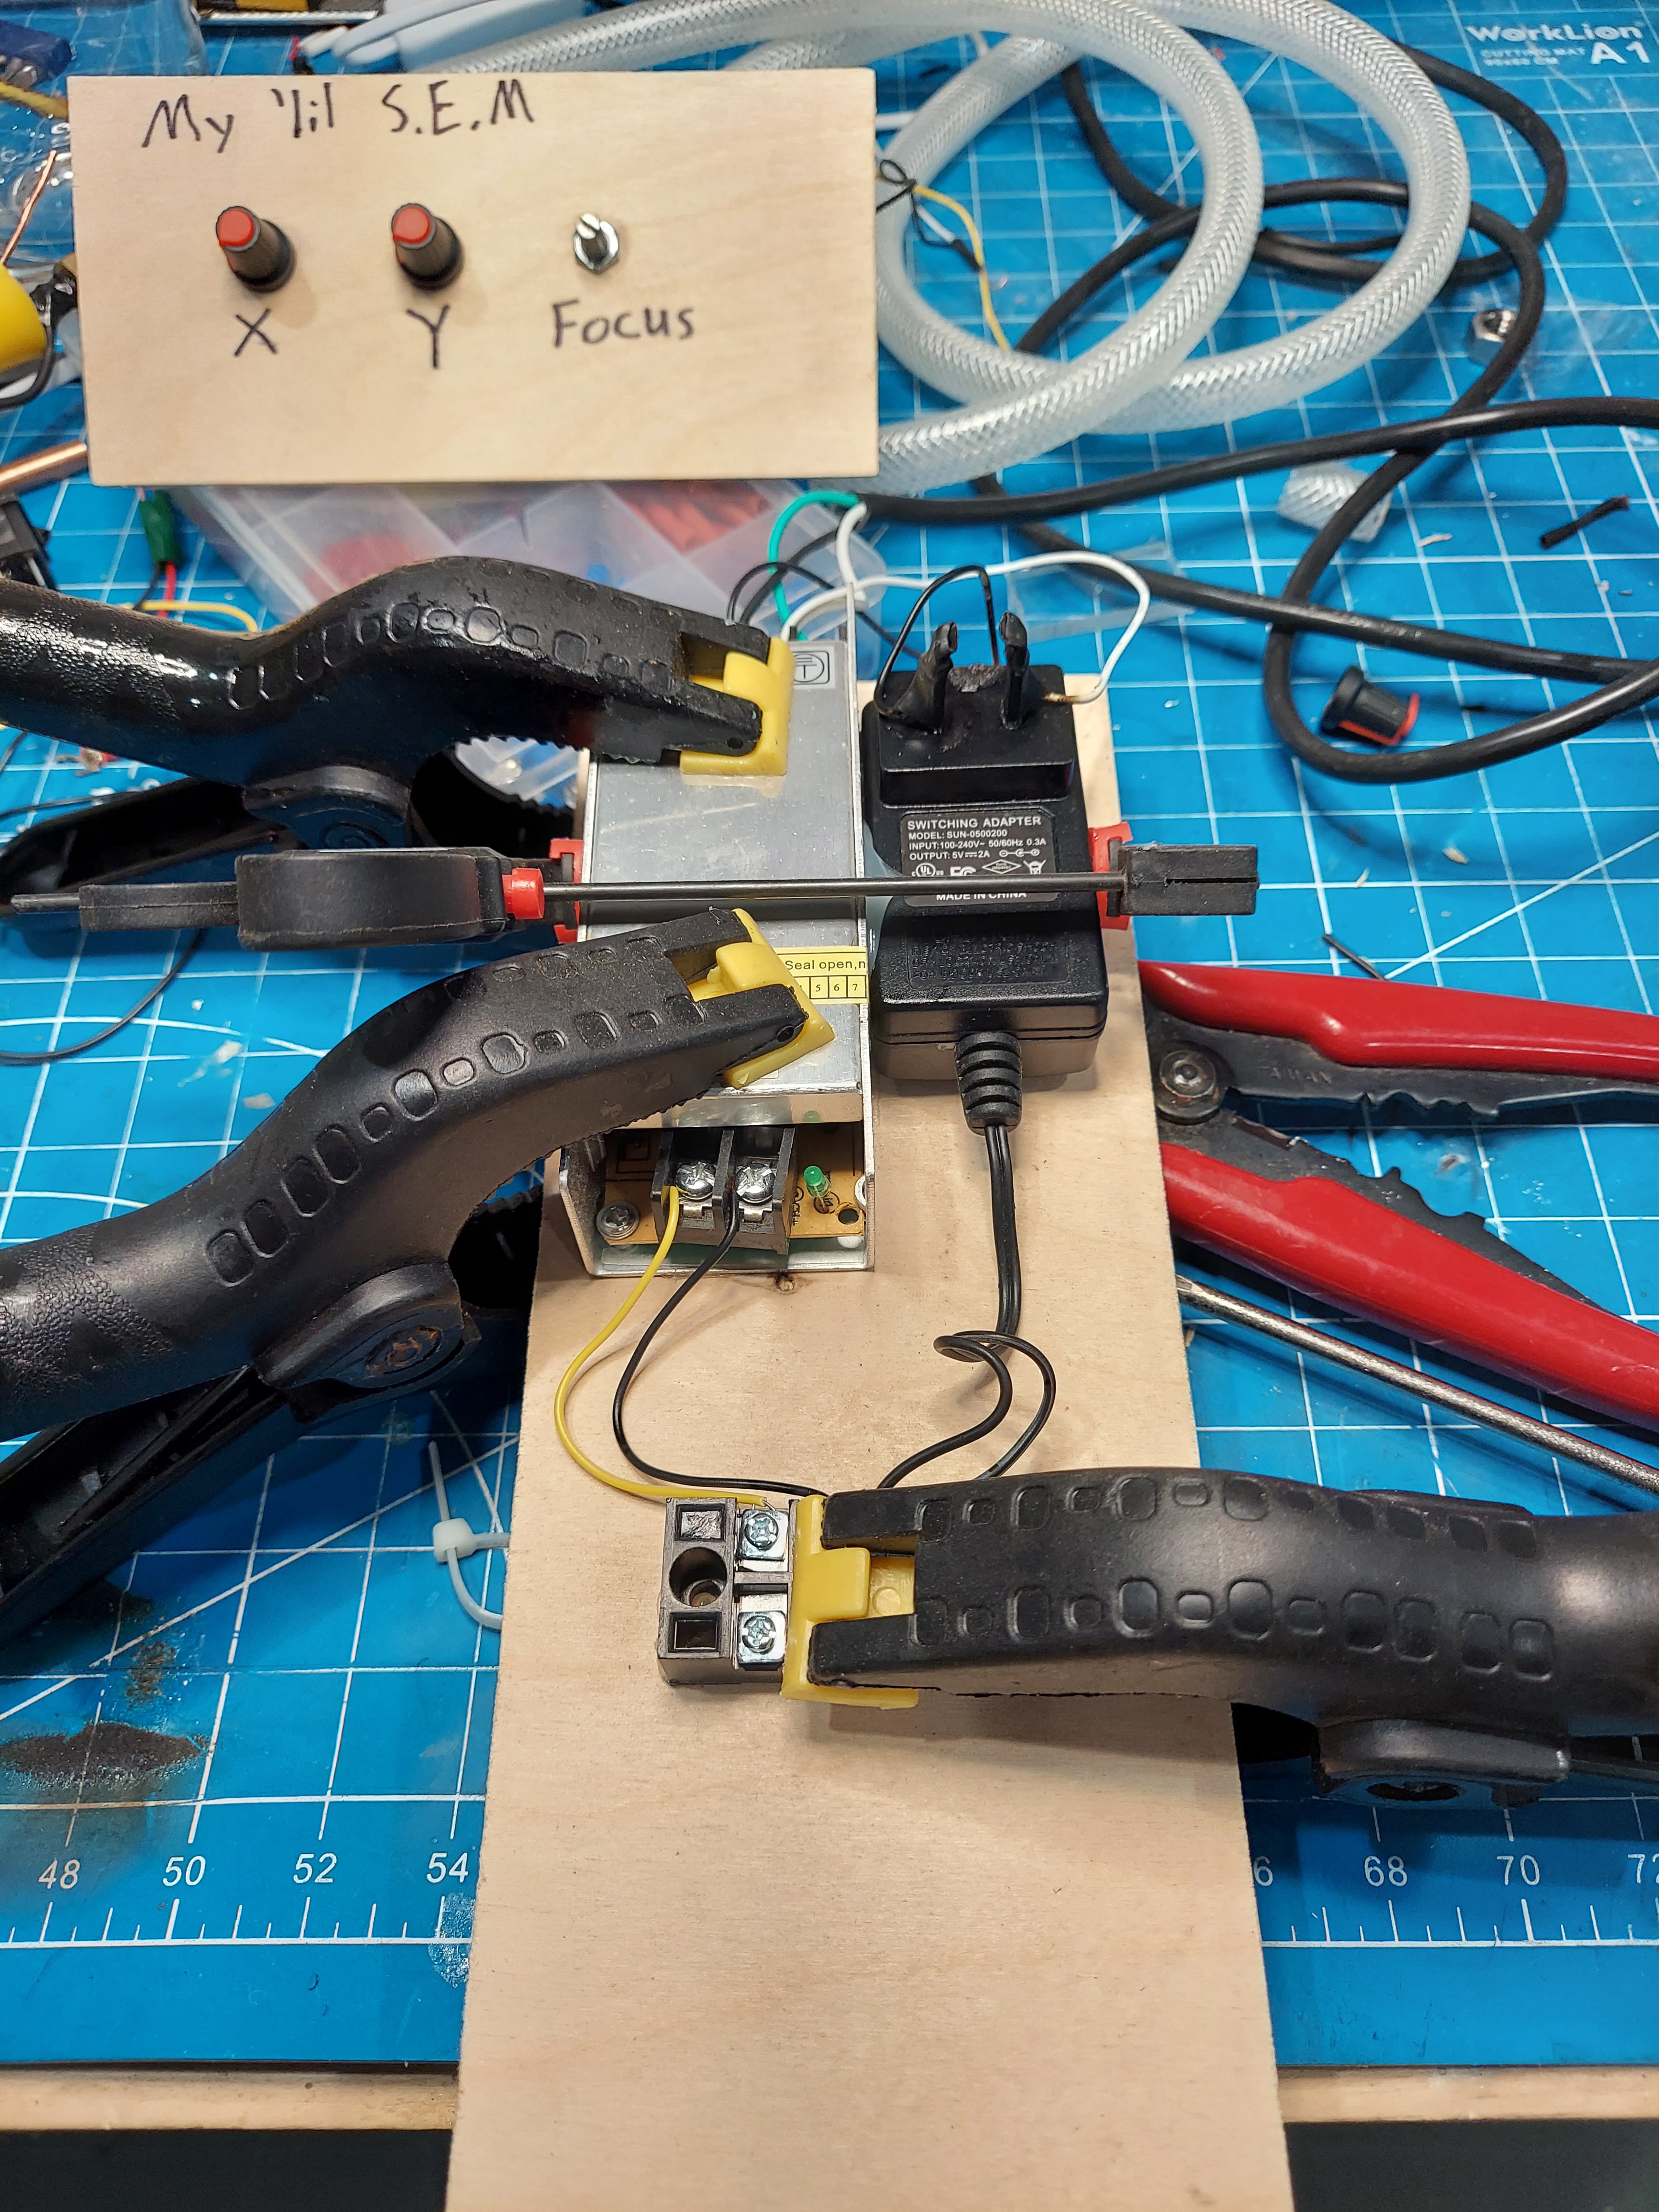
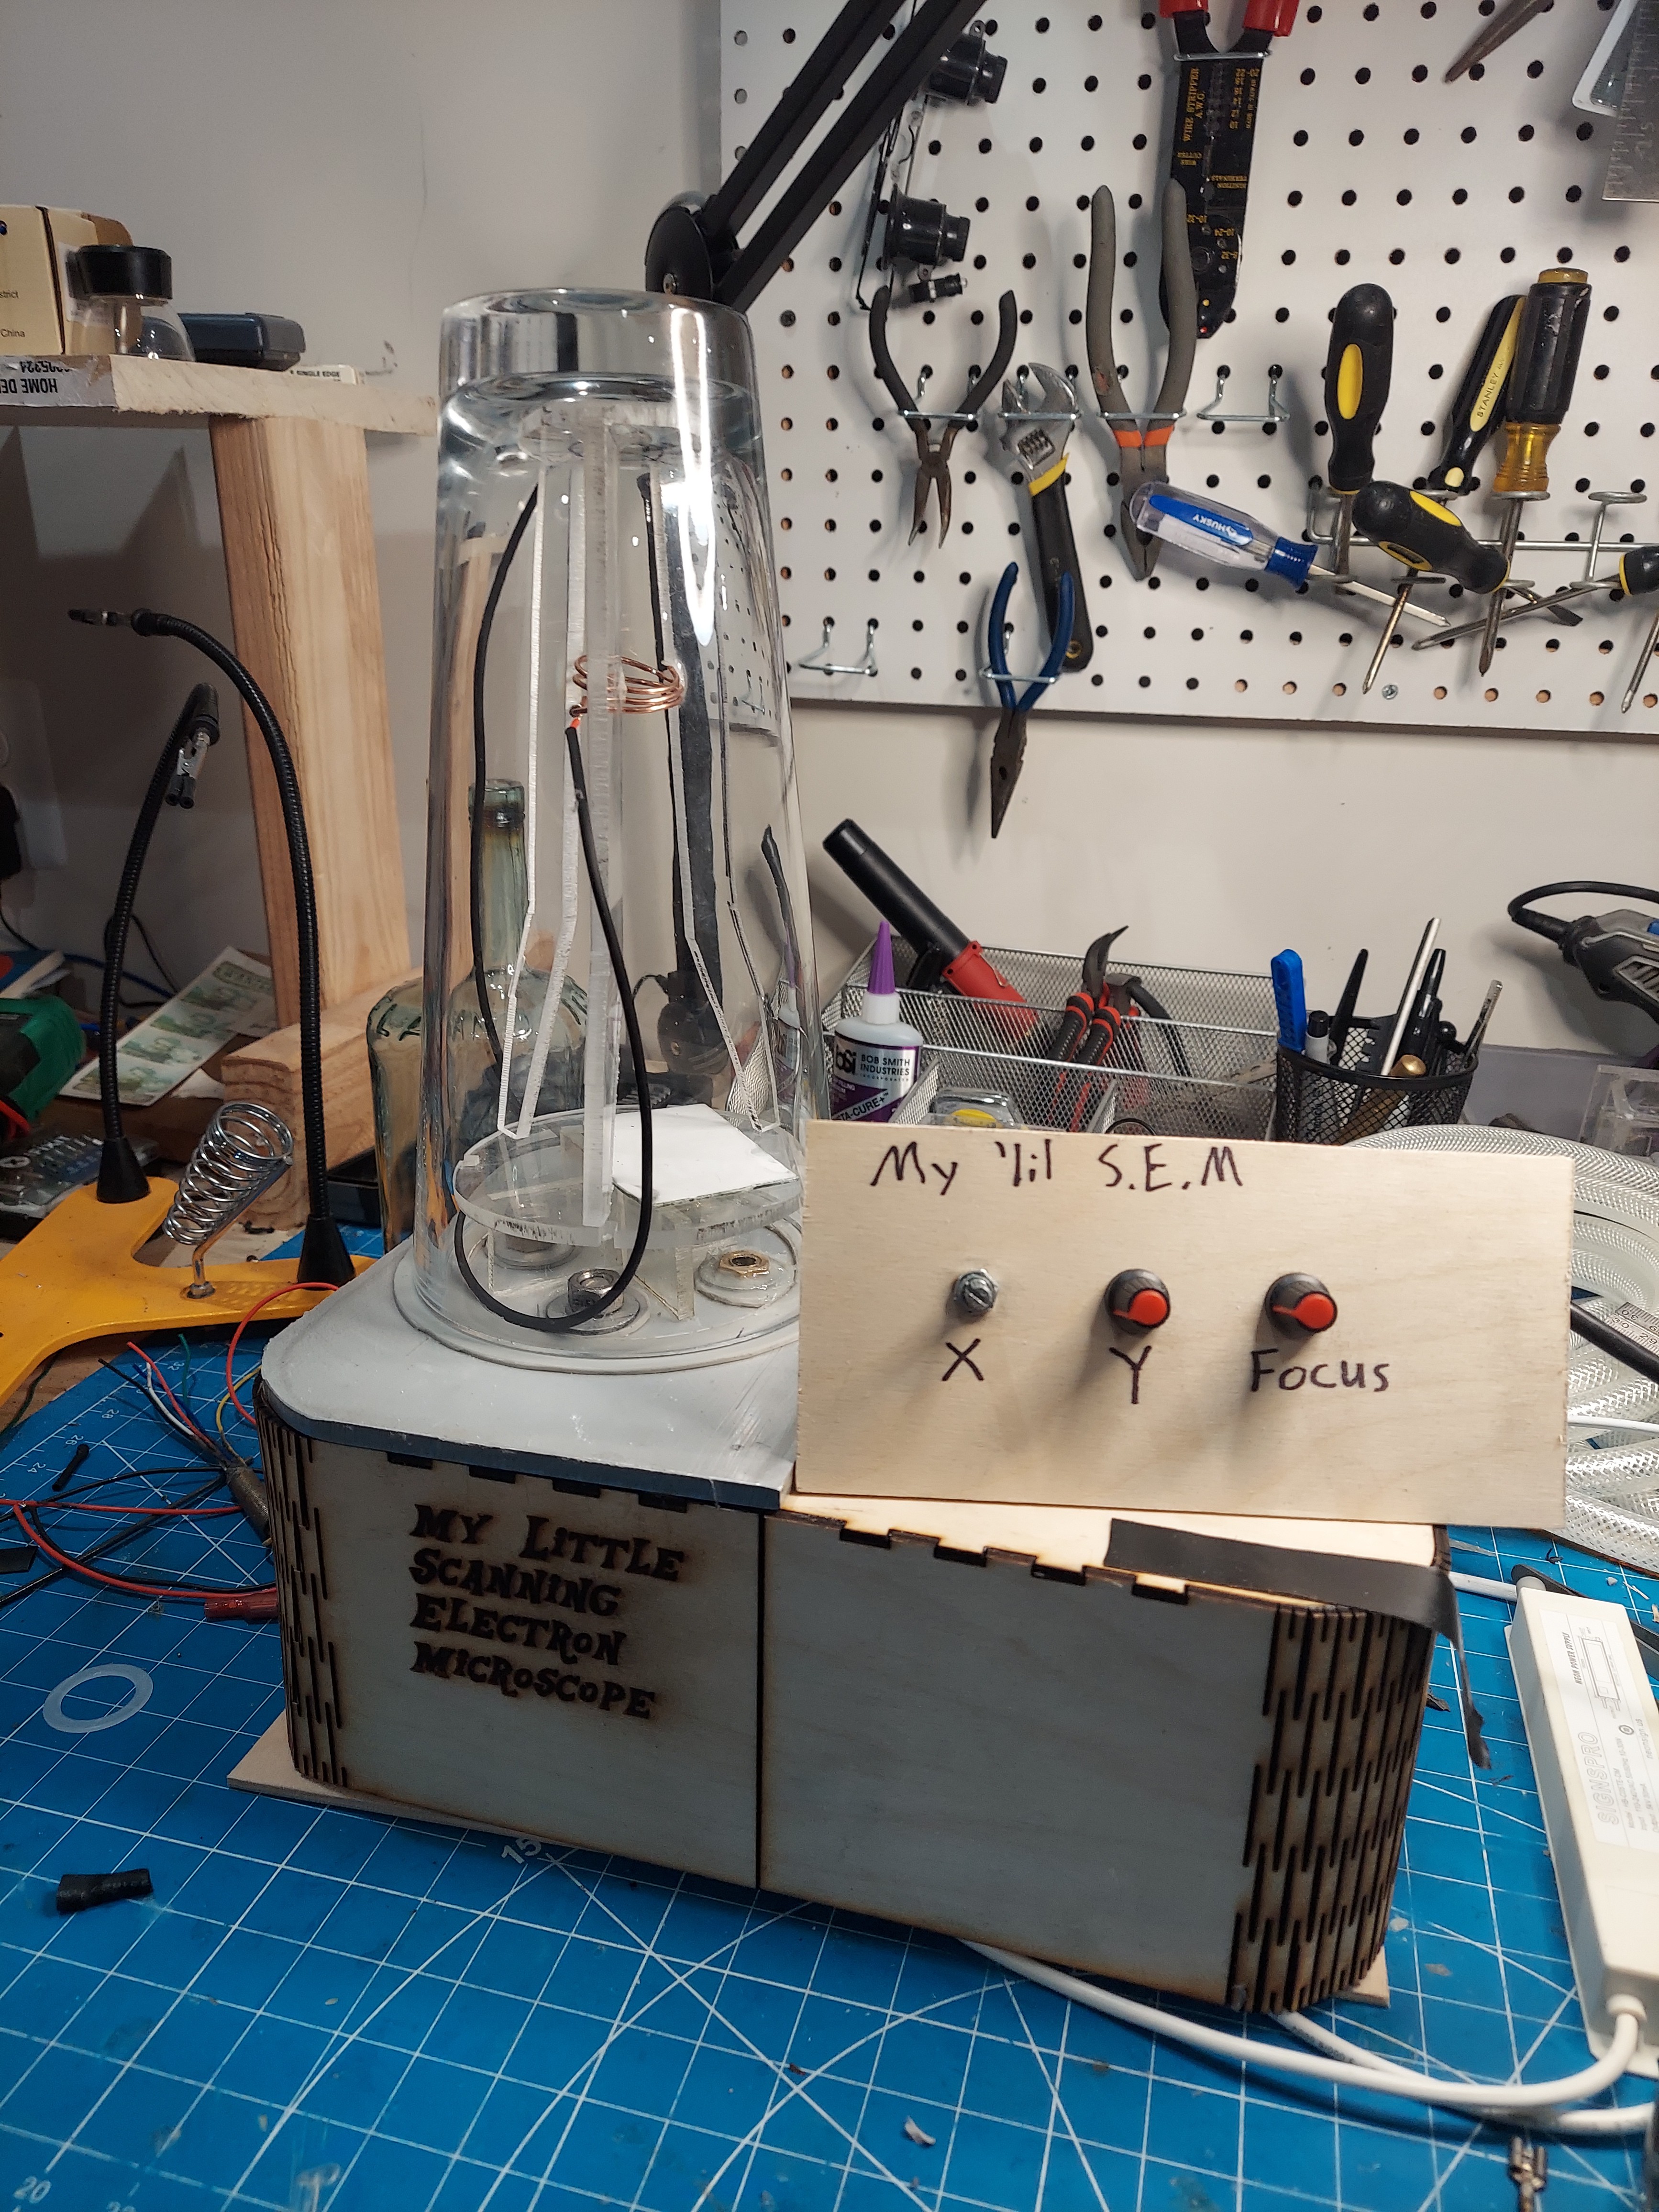
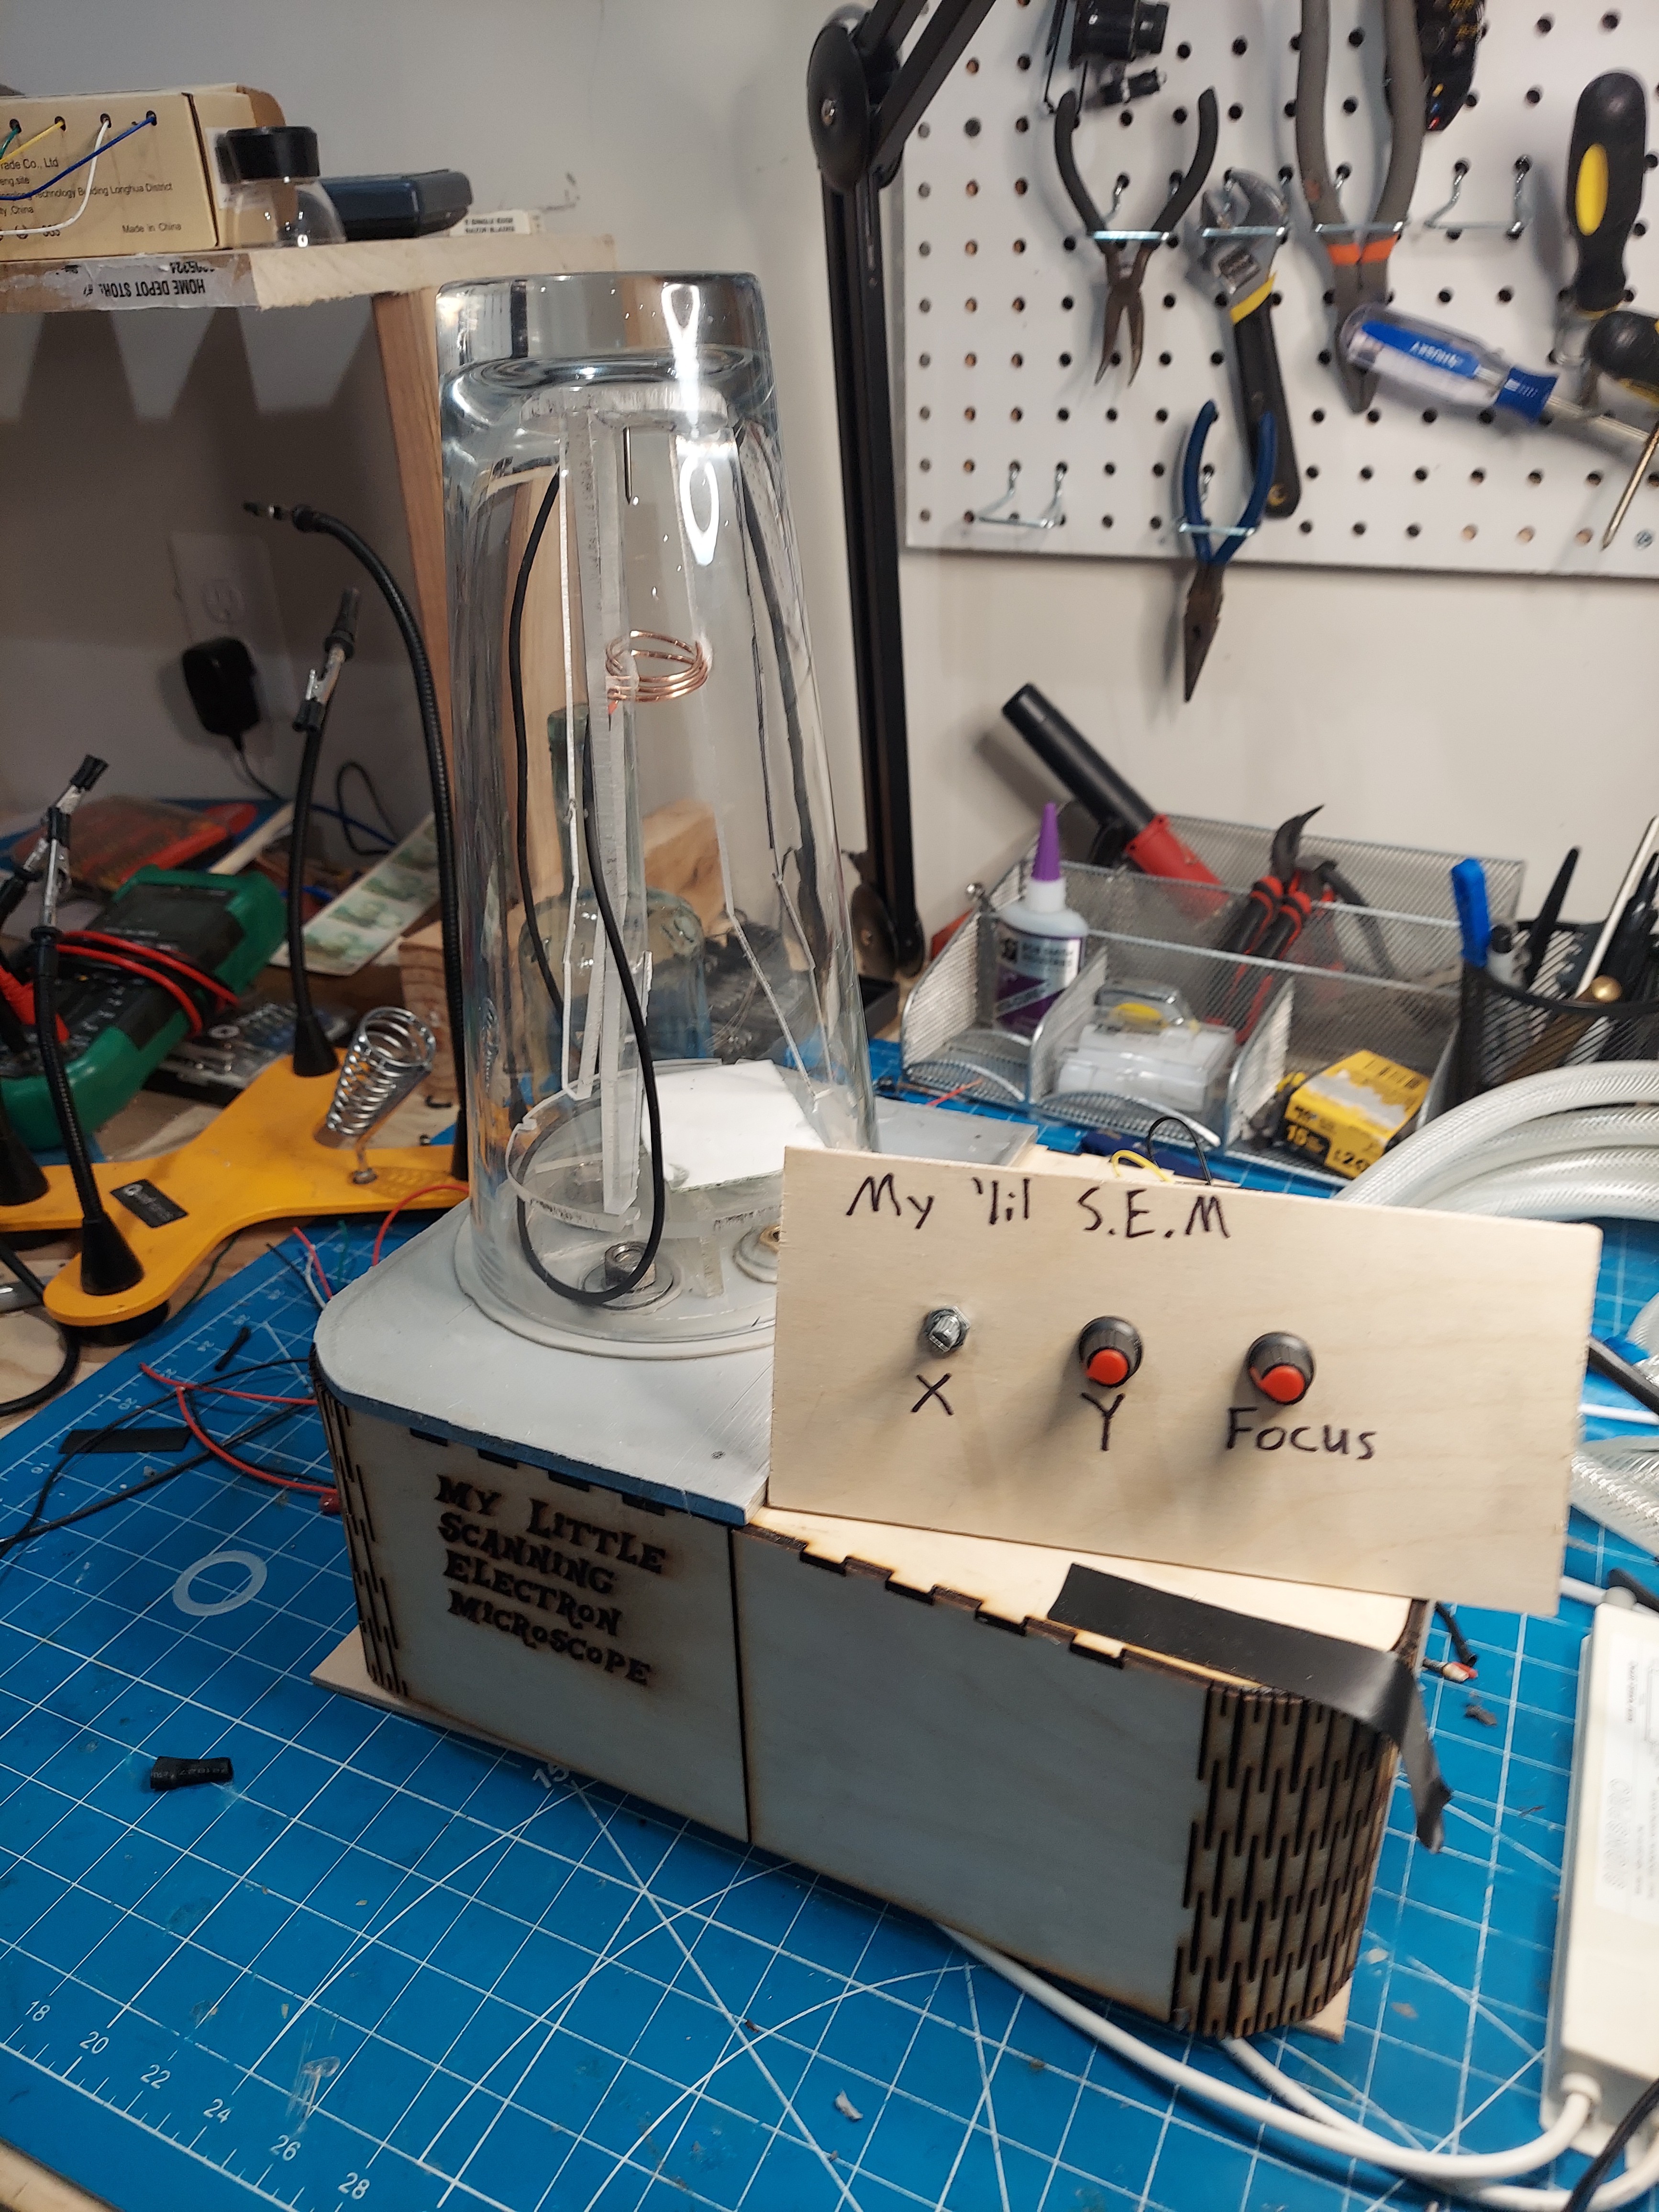
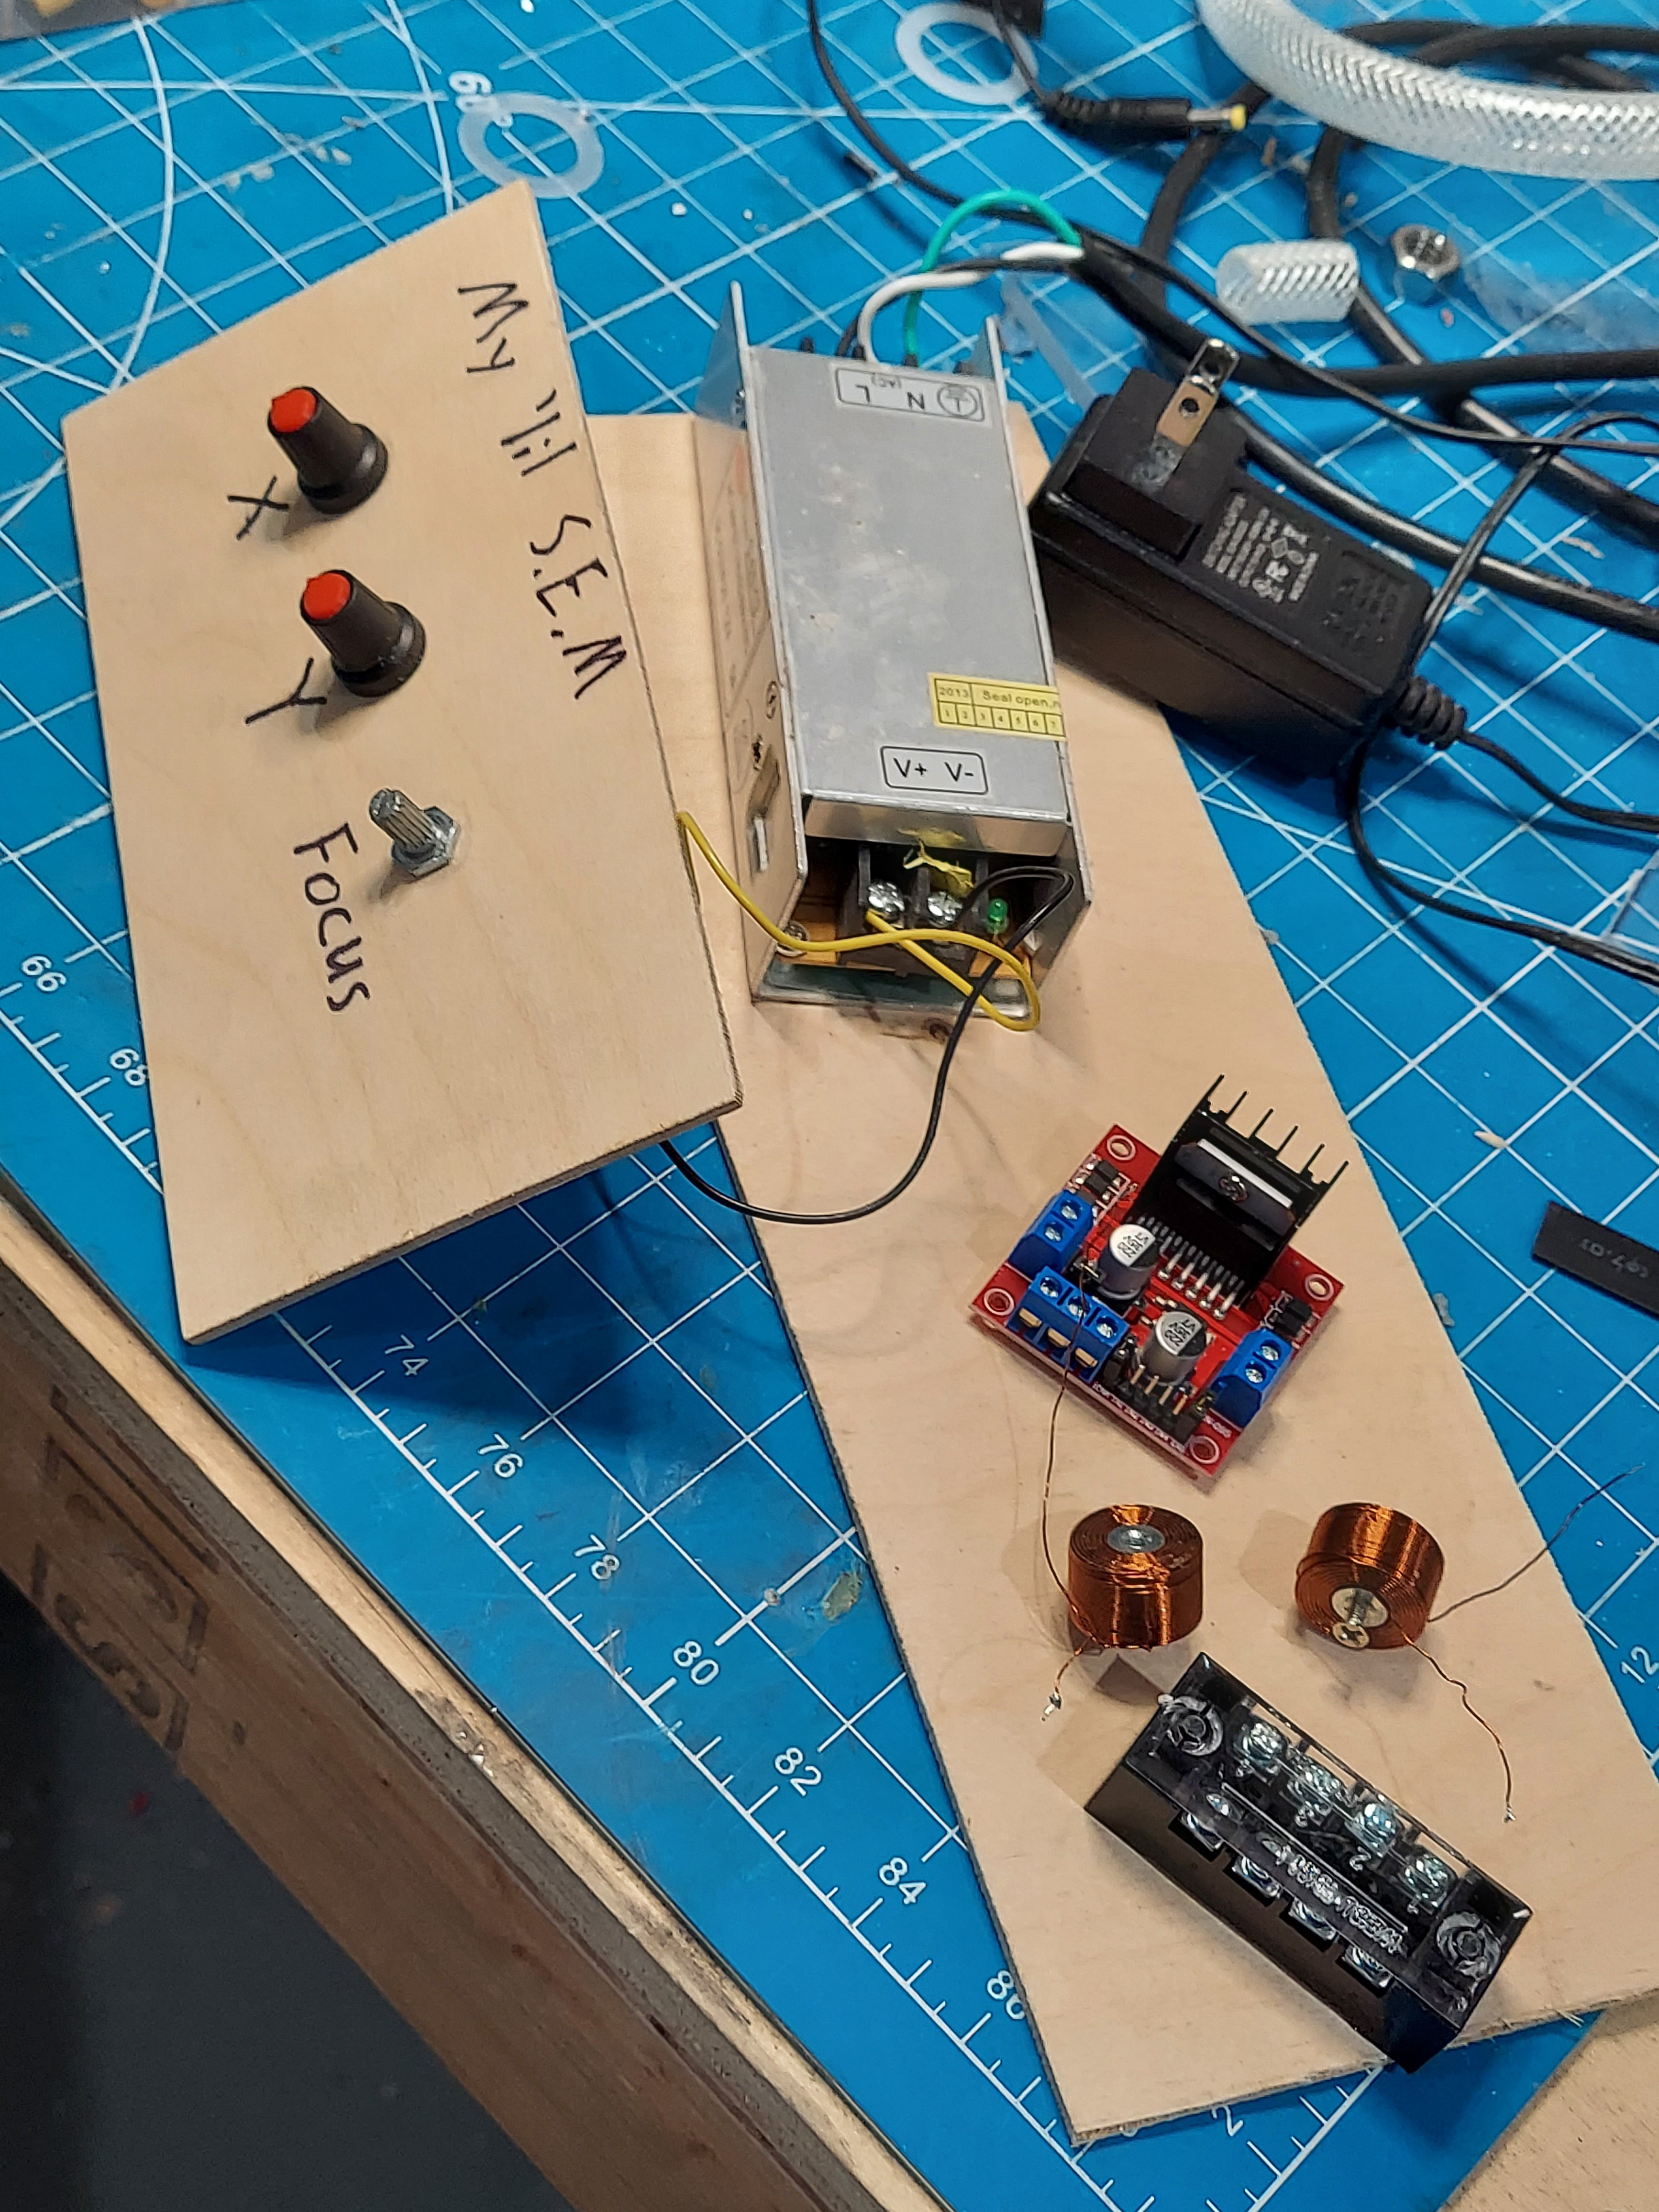
I decided to re-use the same project box that I used in my "Easy Bake Fab Lab" and "Mr. Pickles" projects.
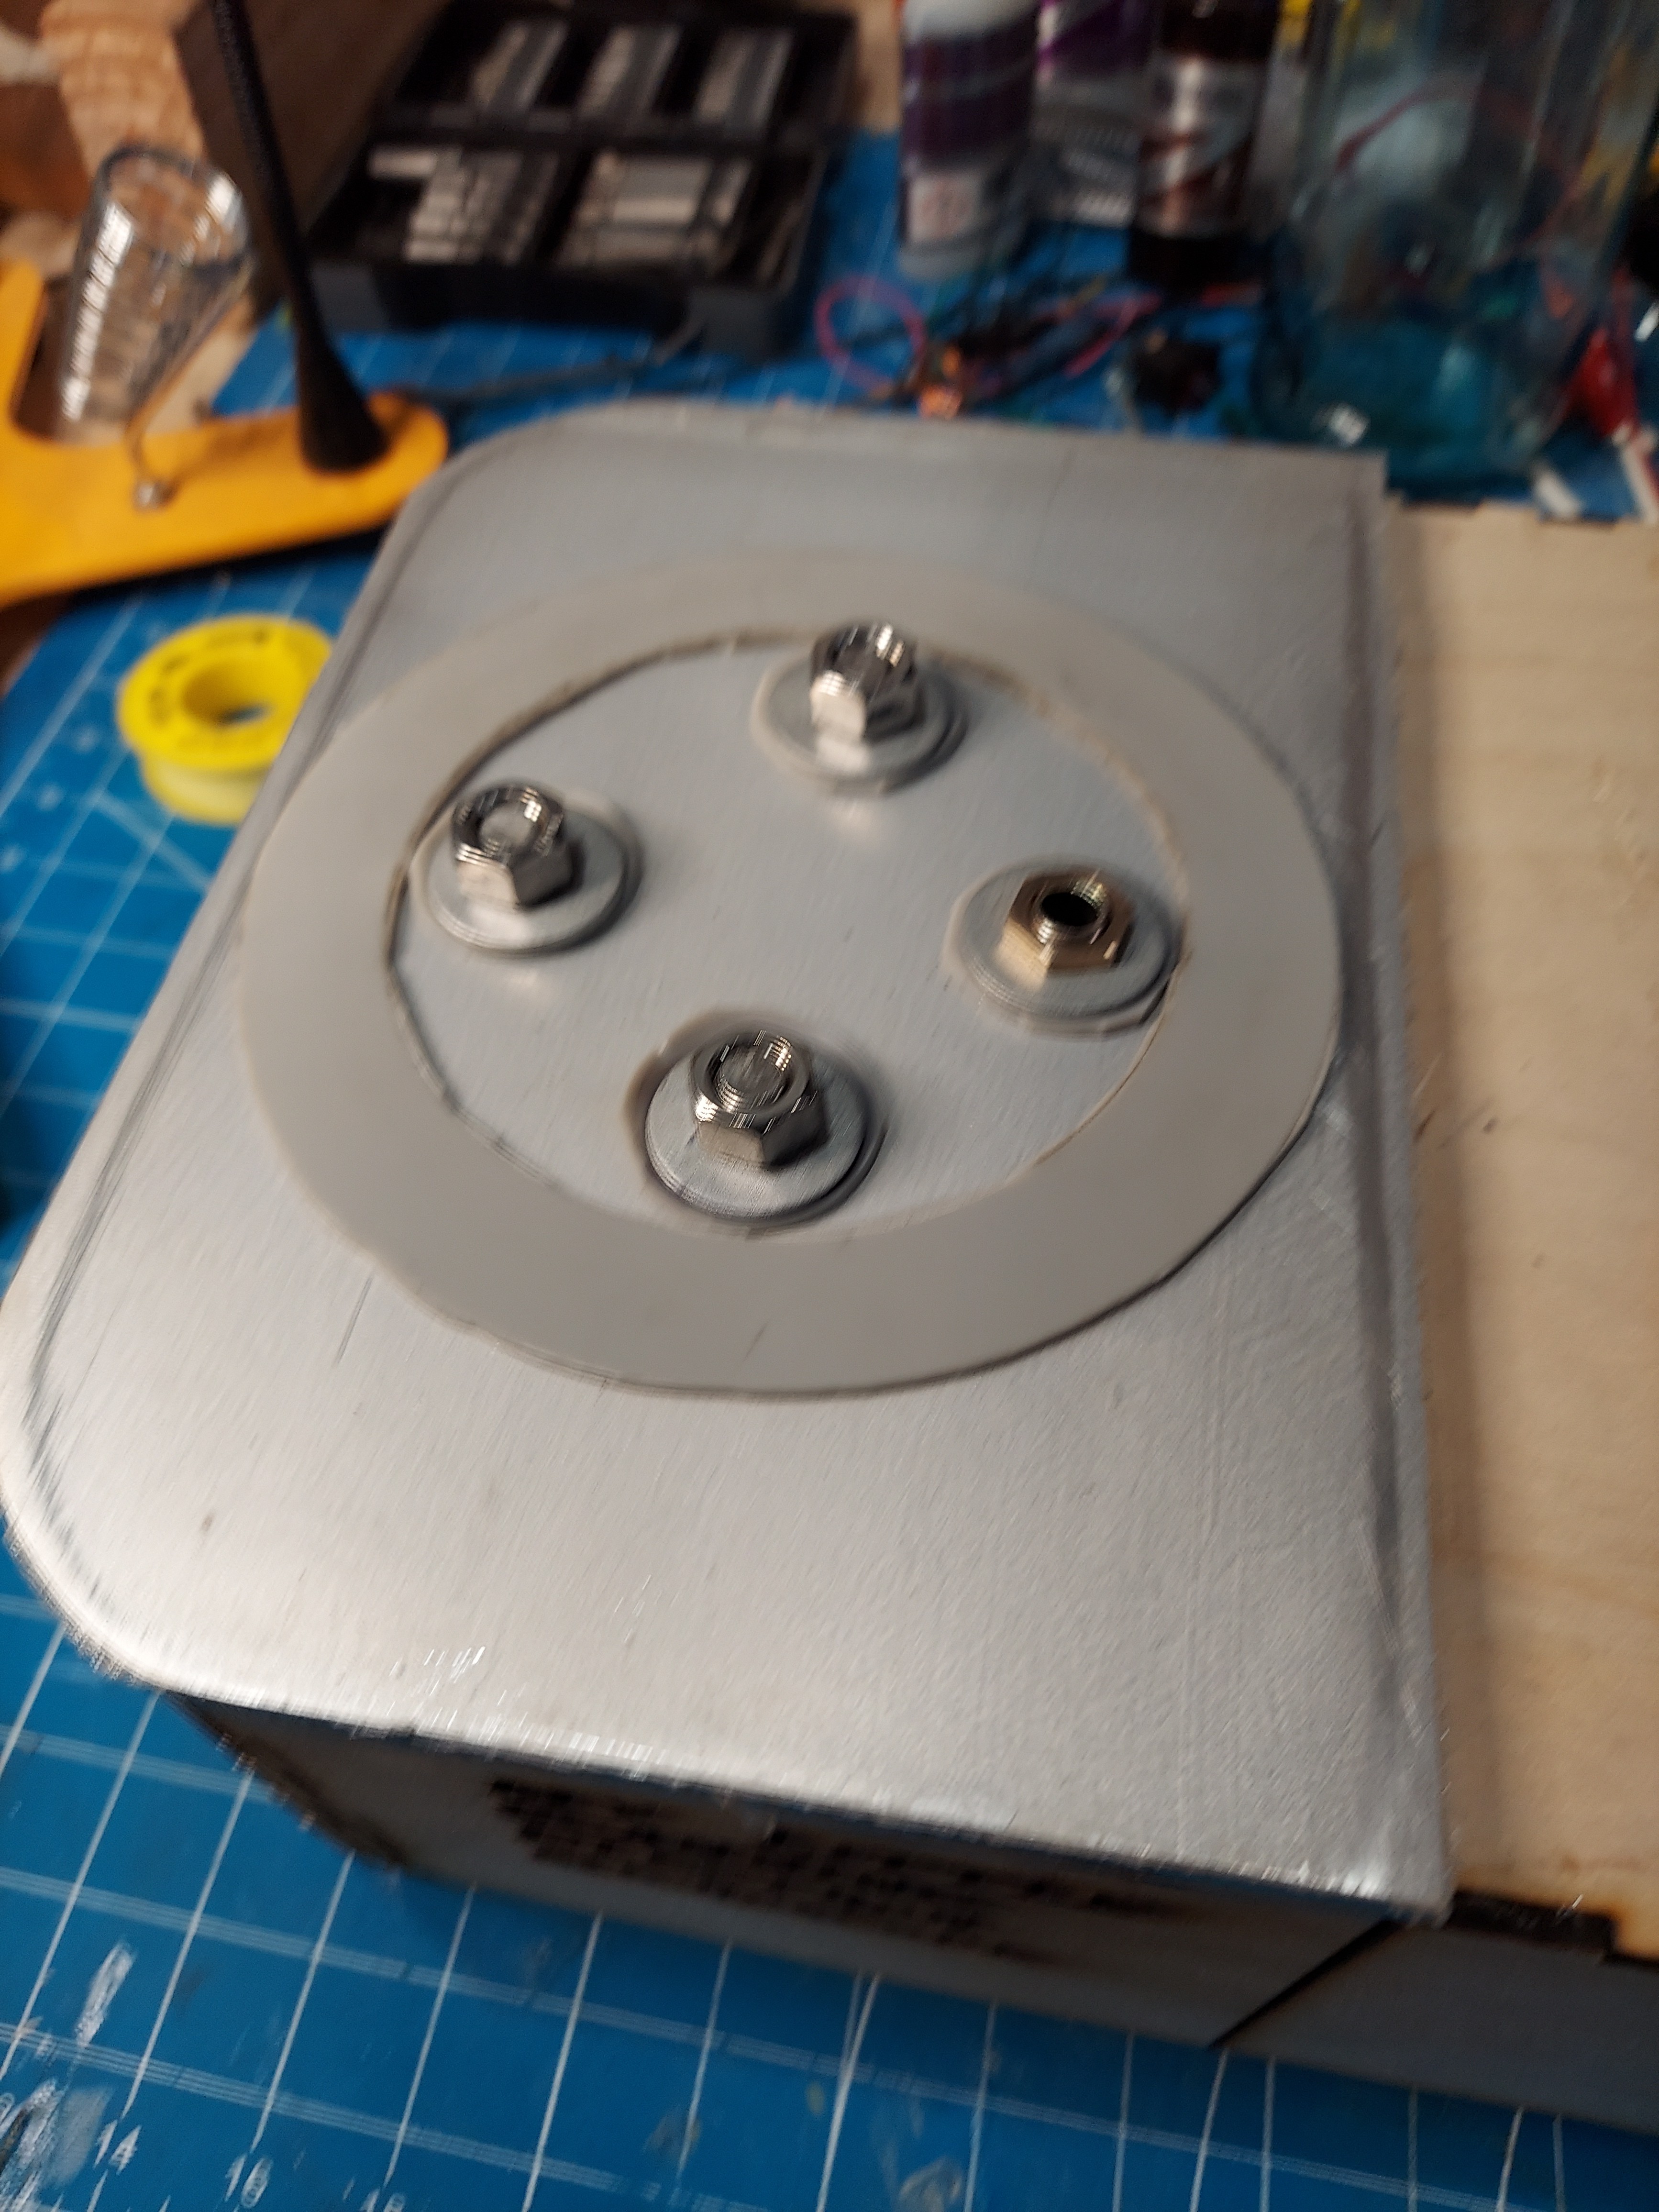
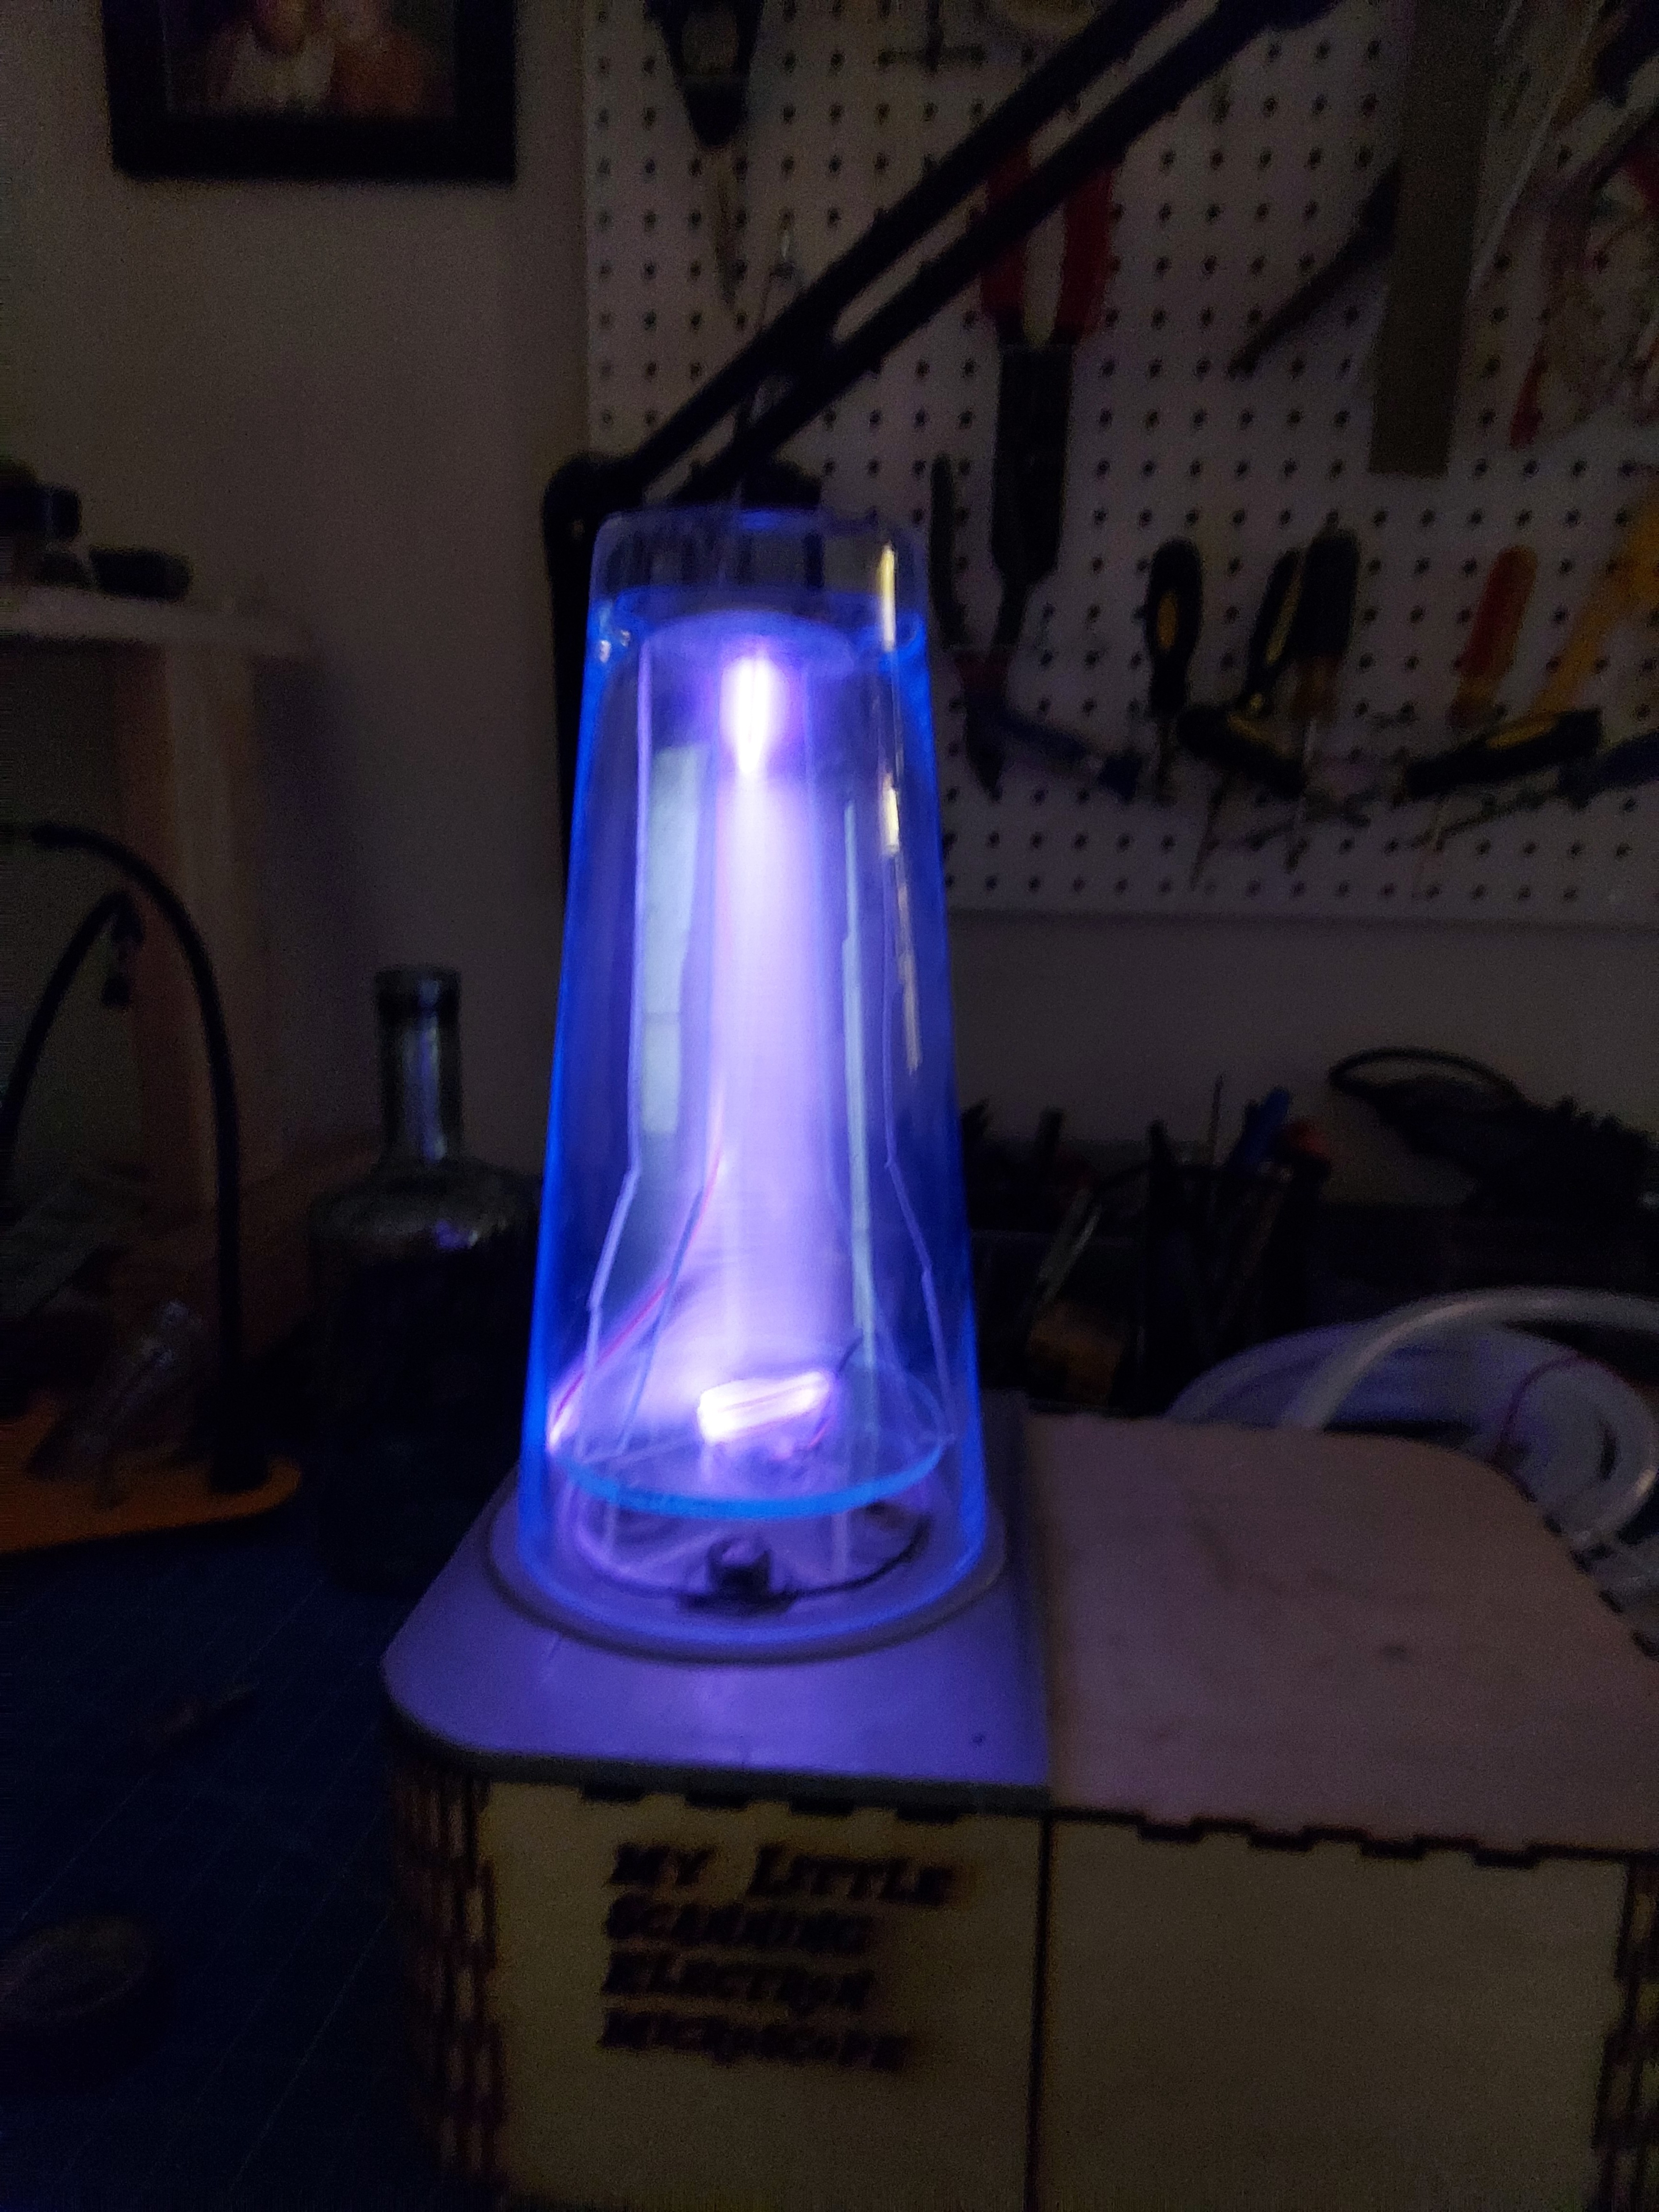
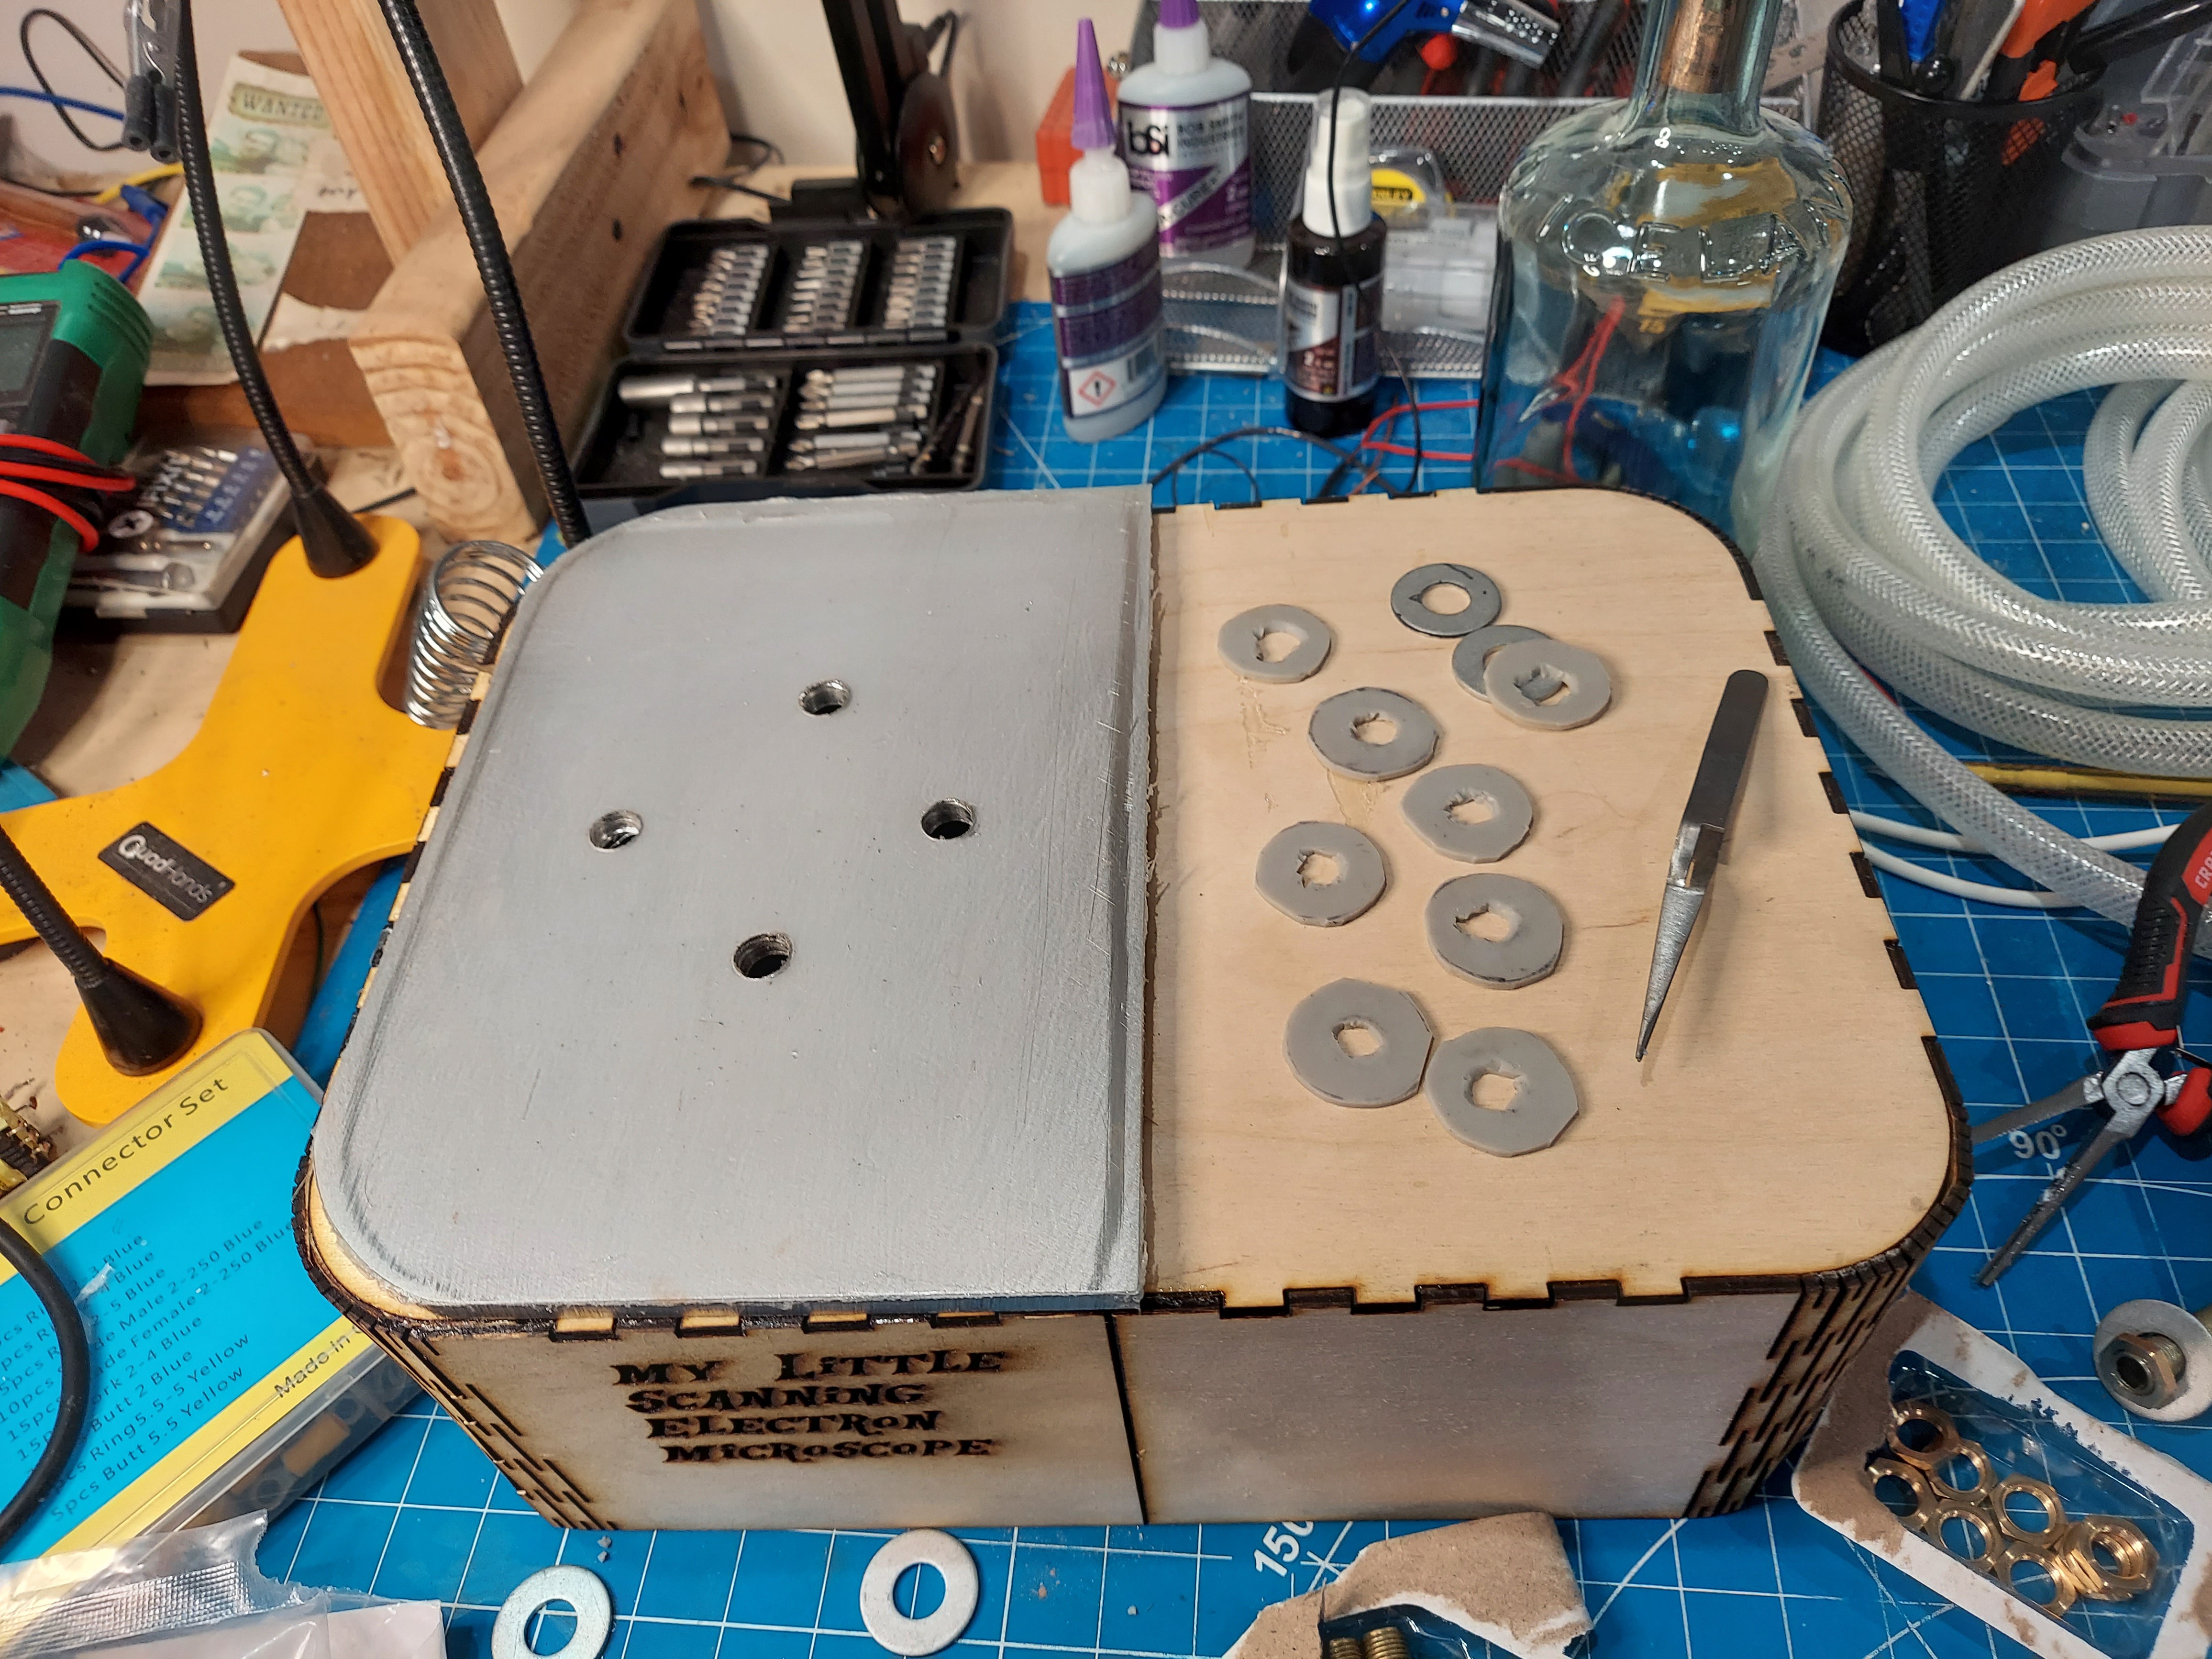
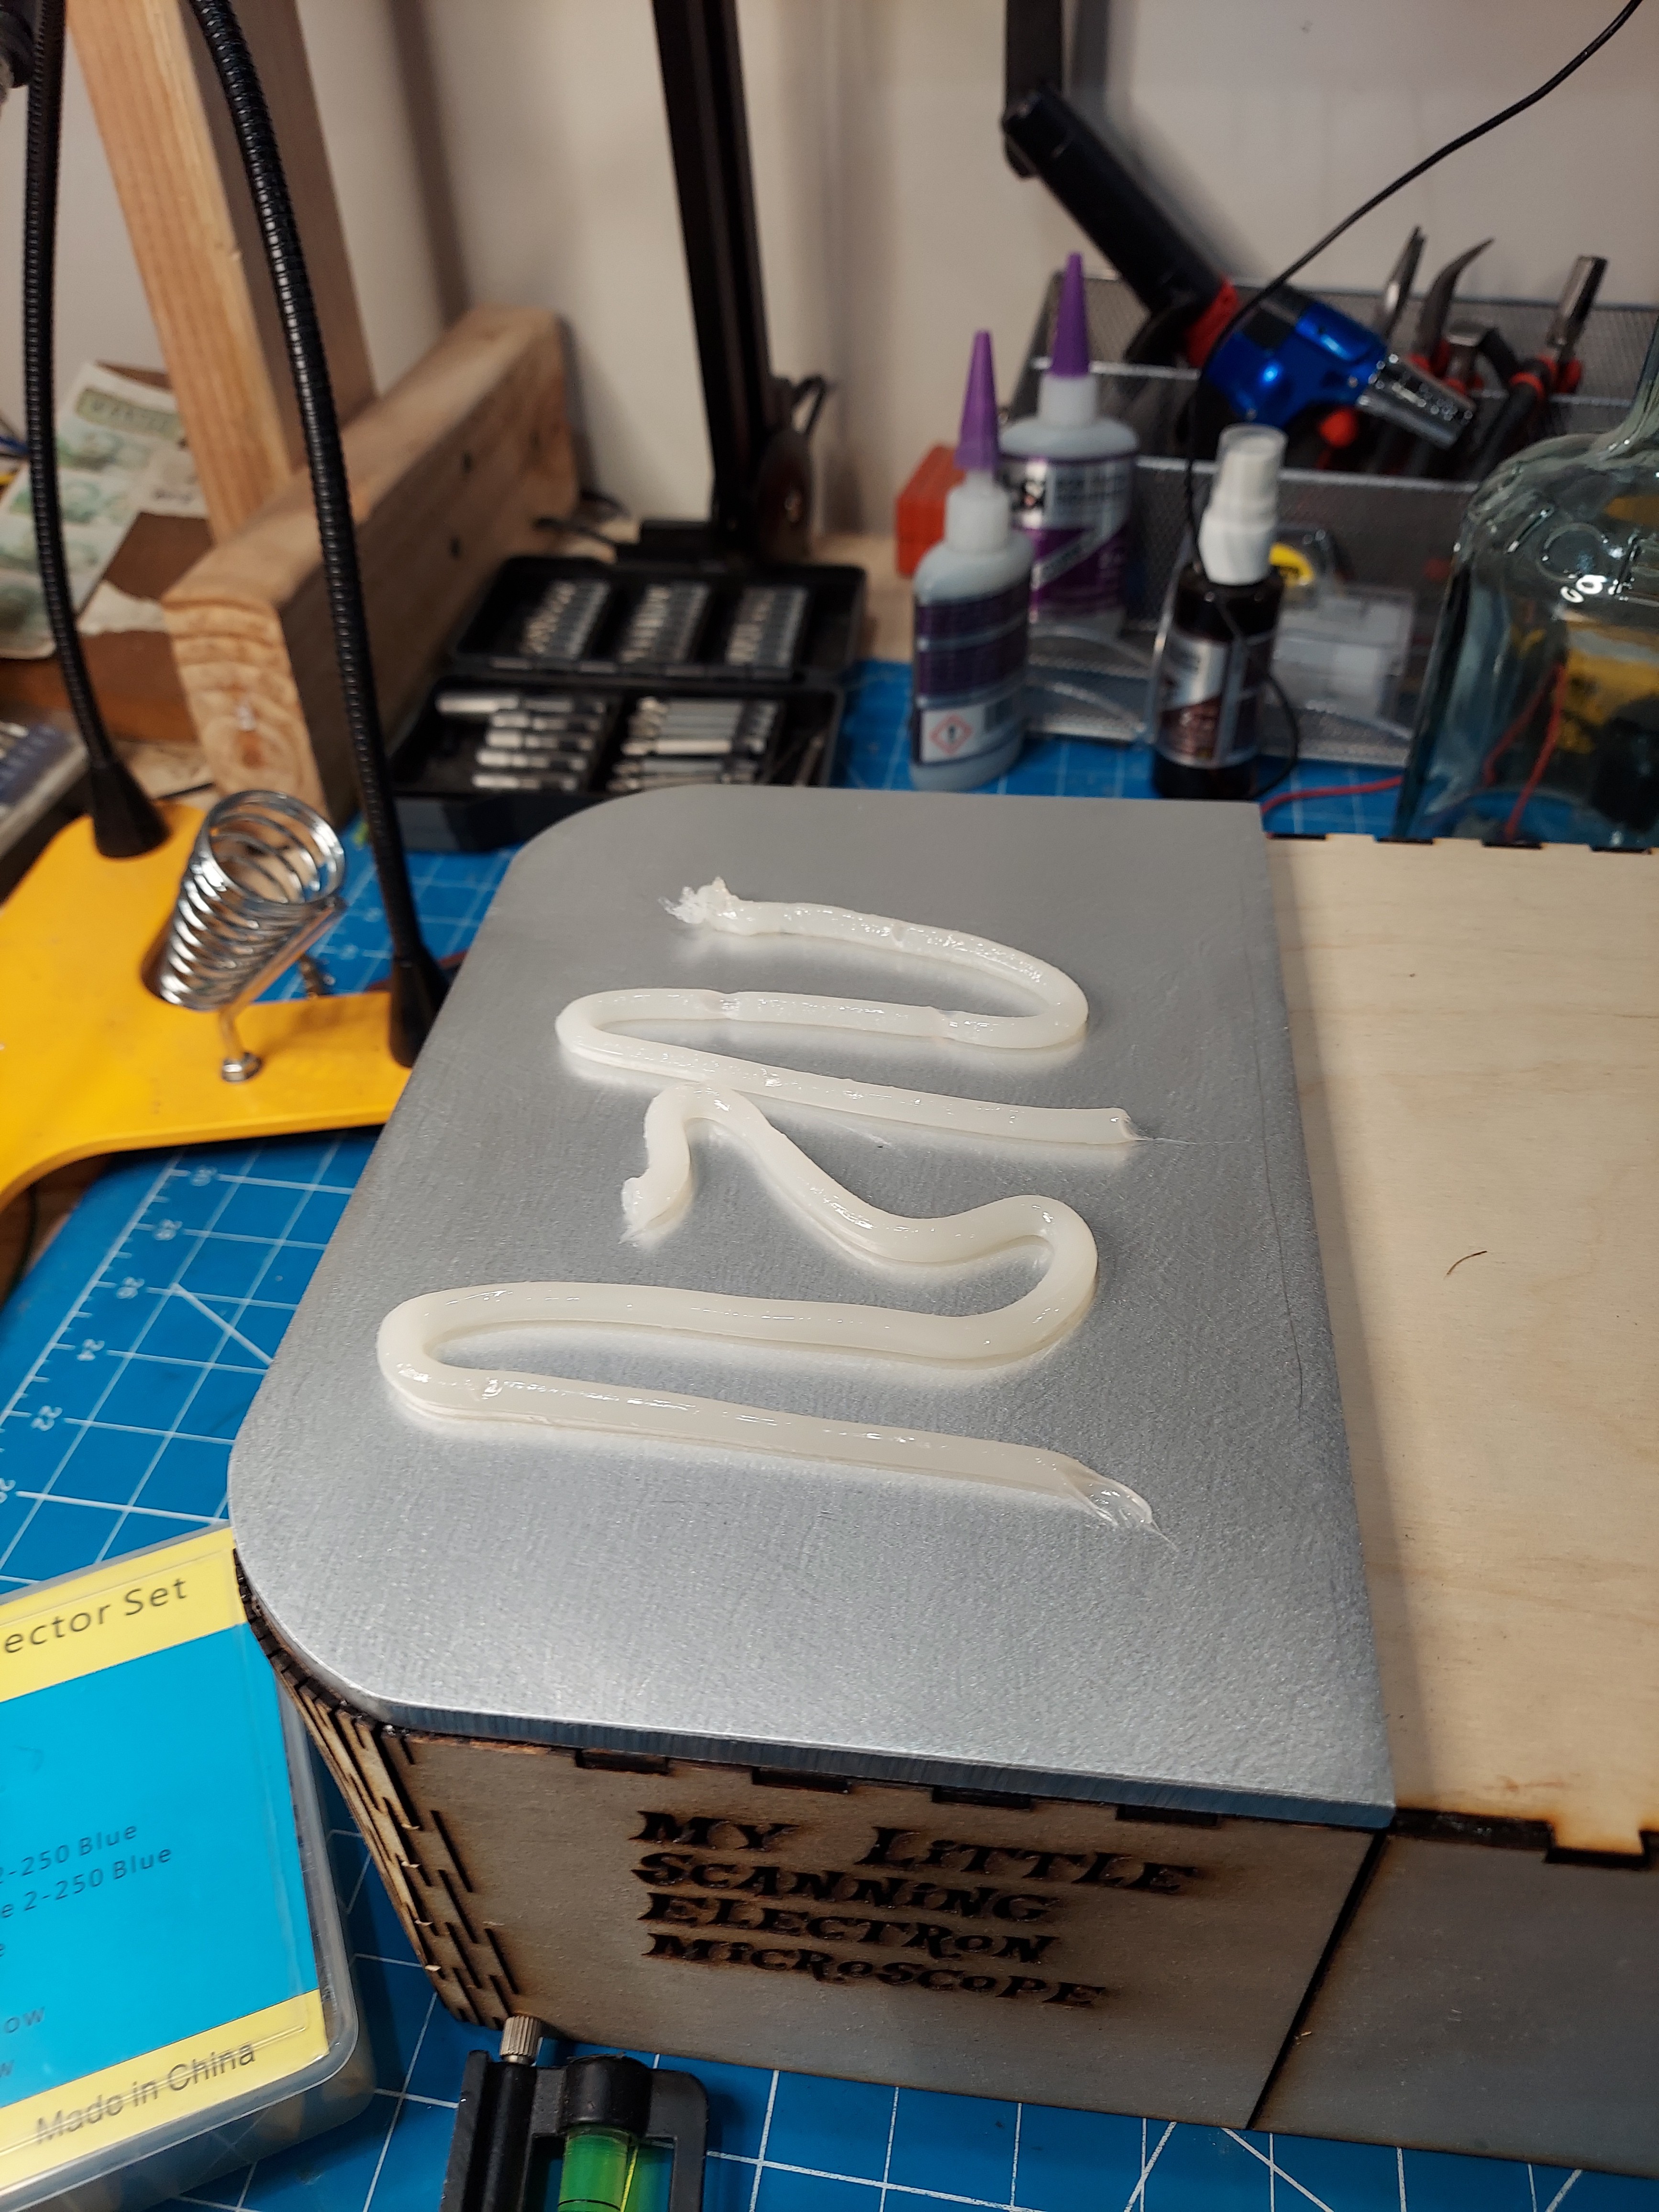
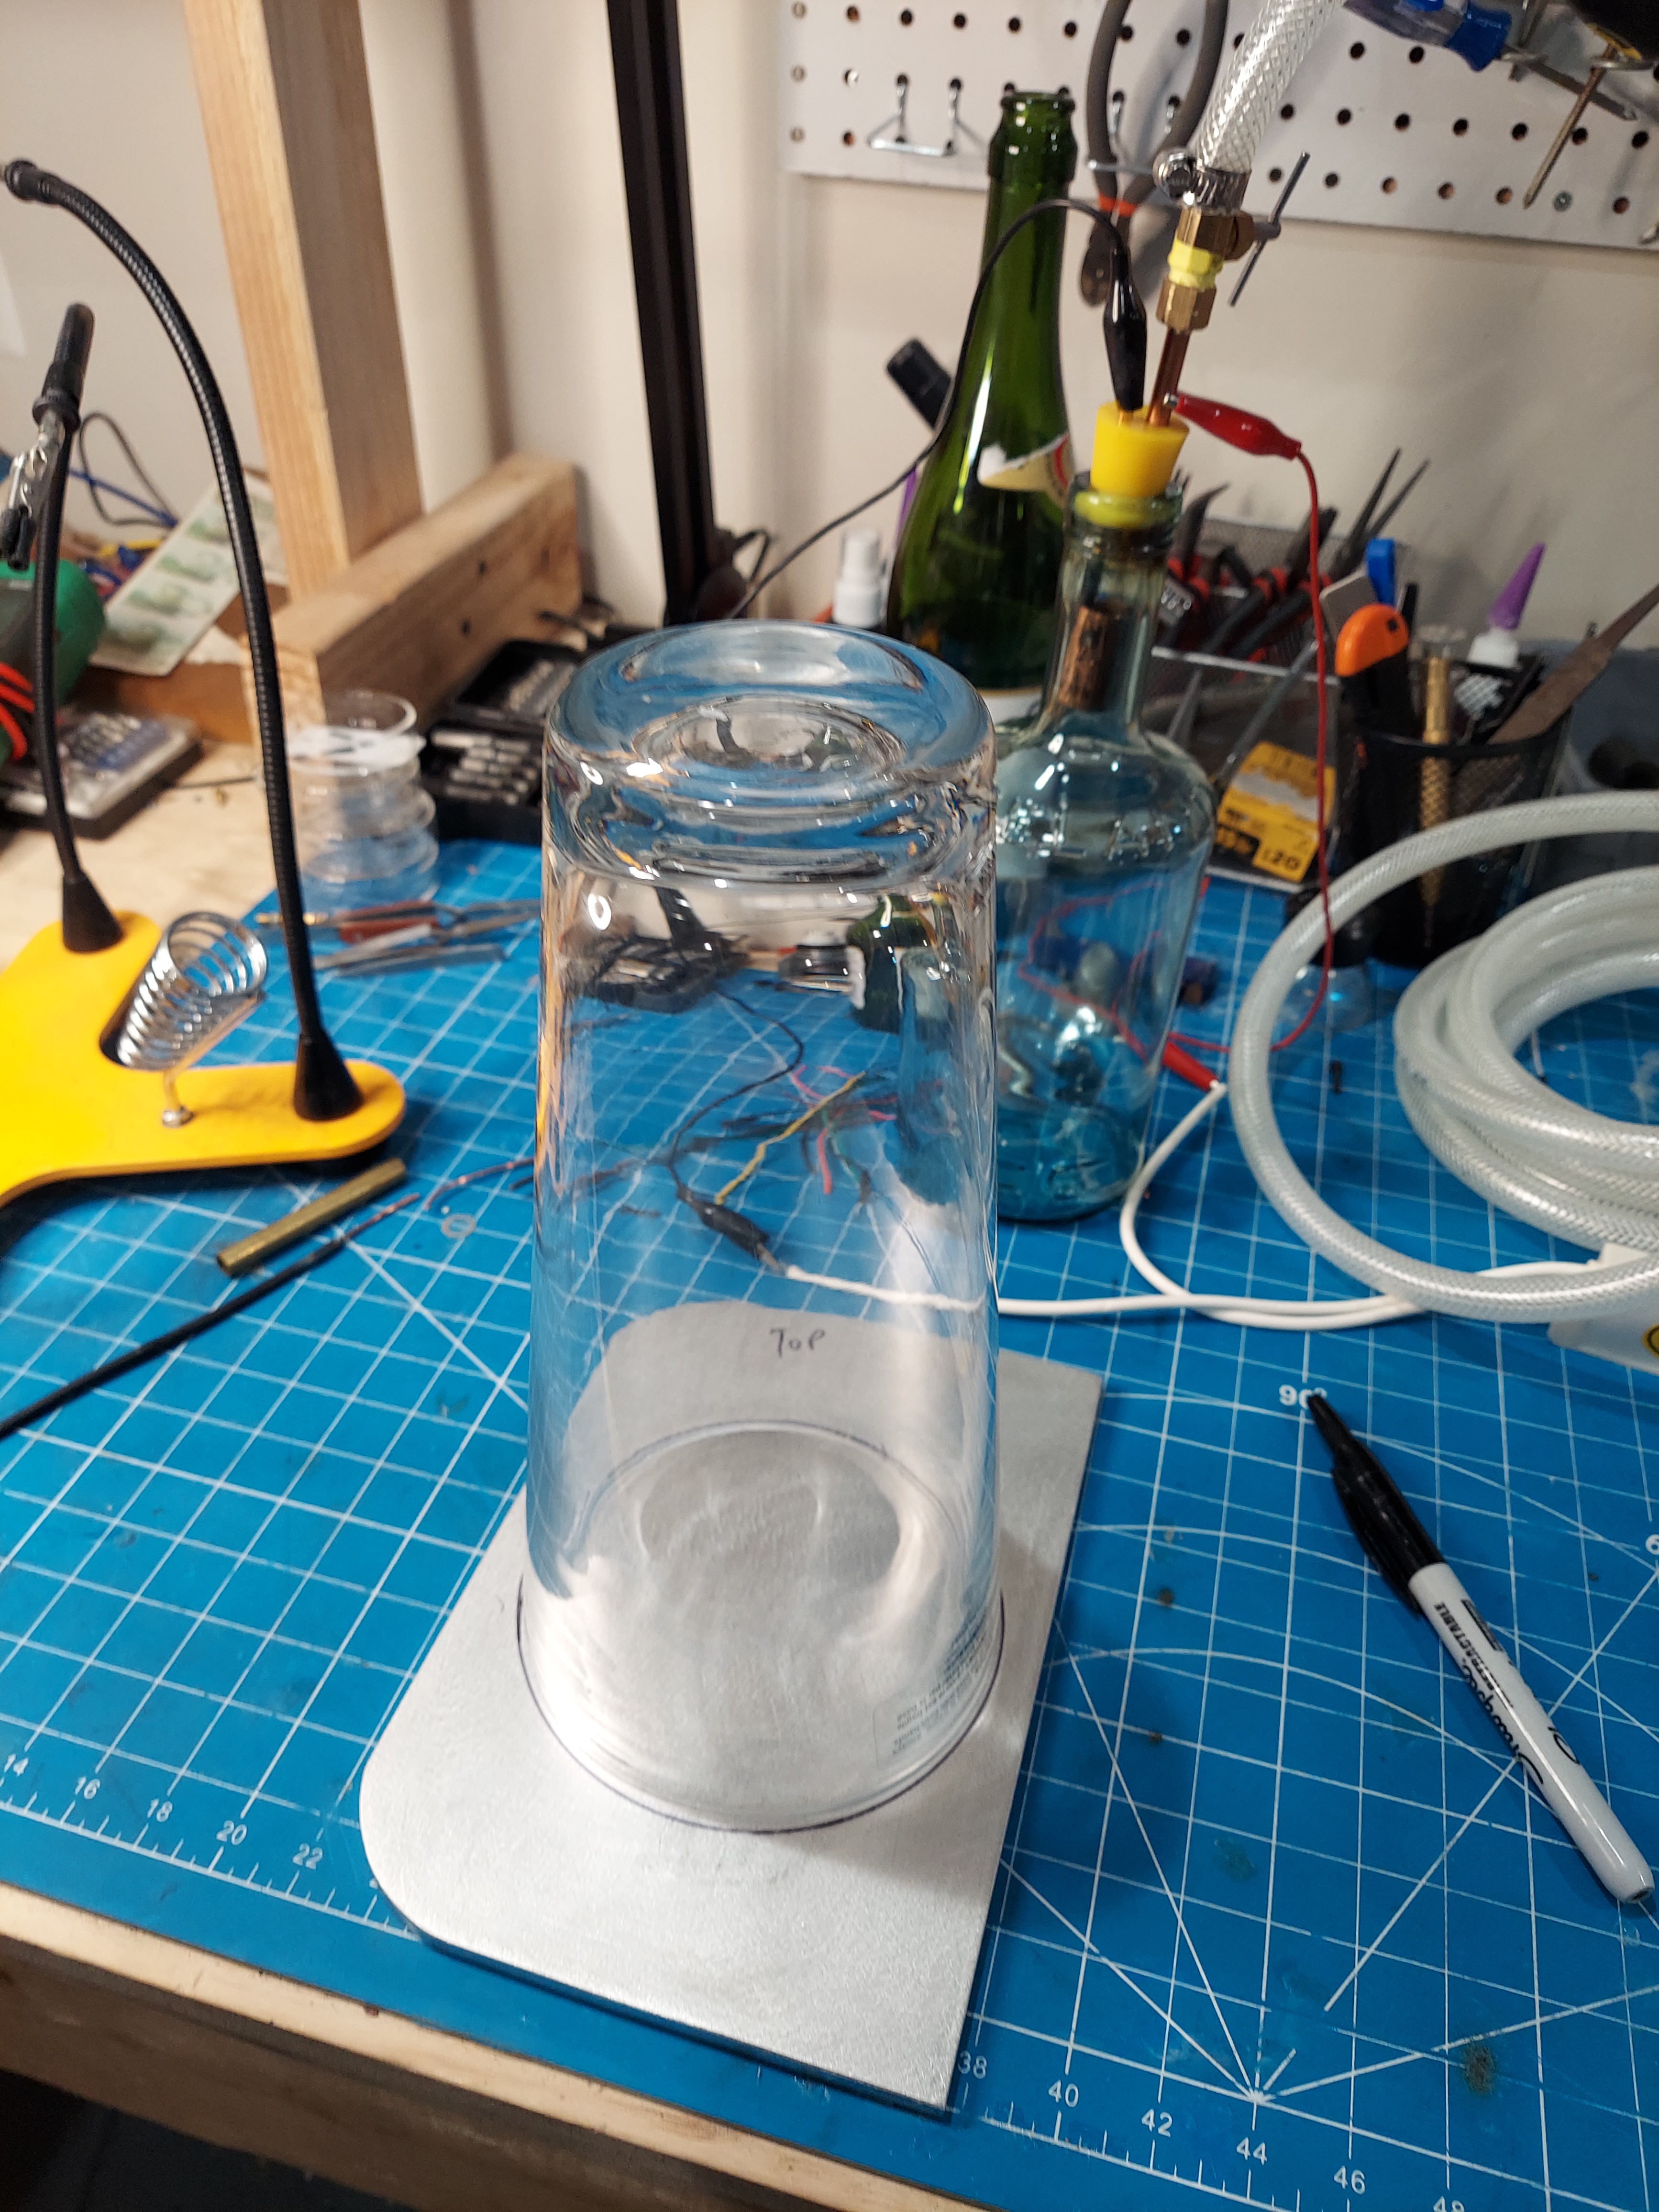
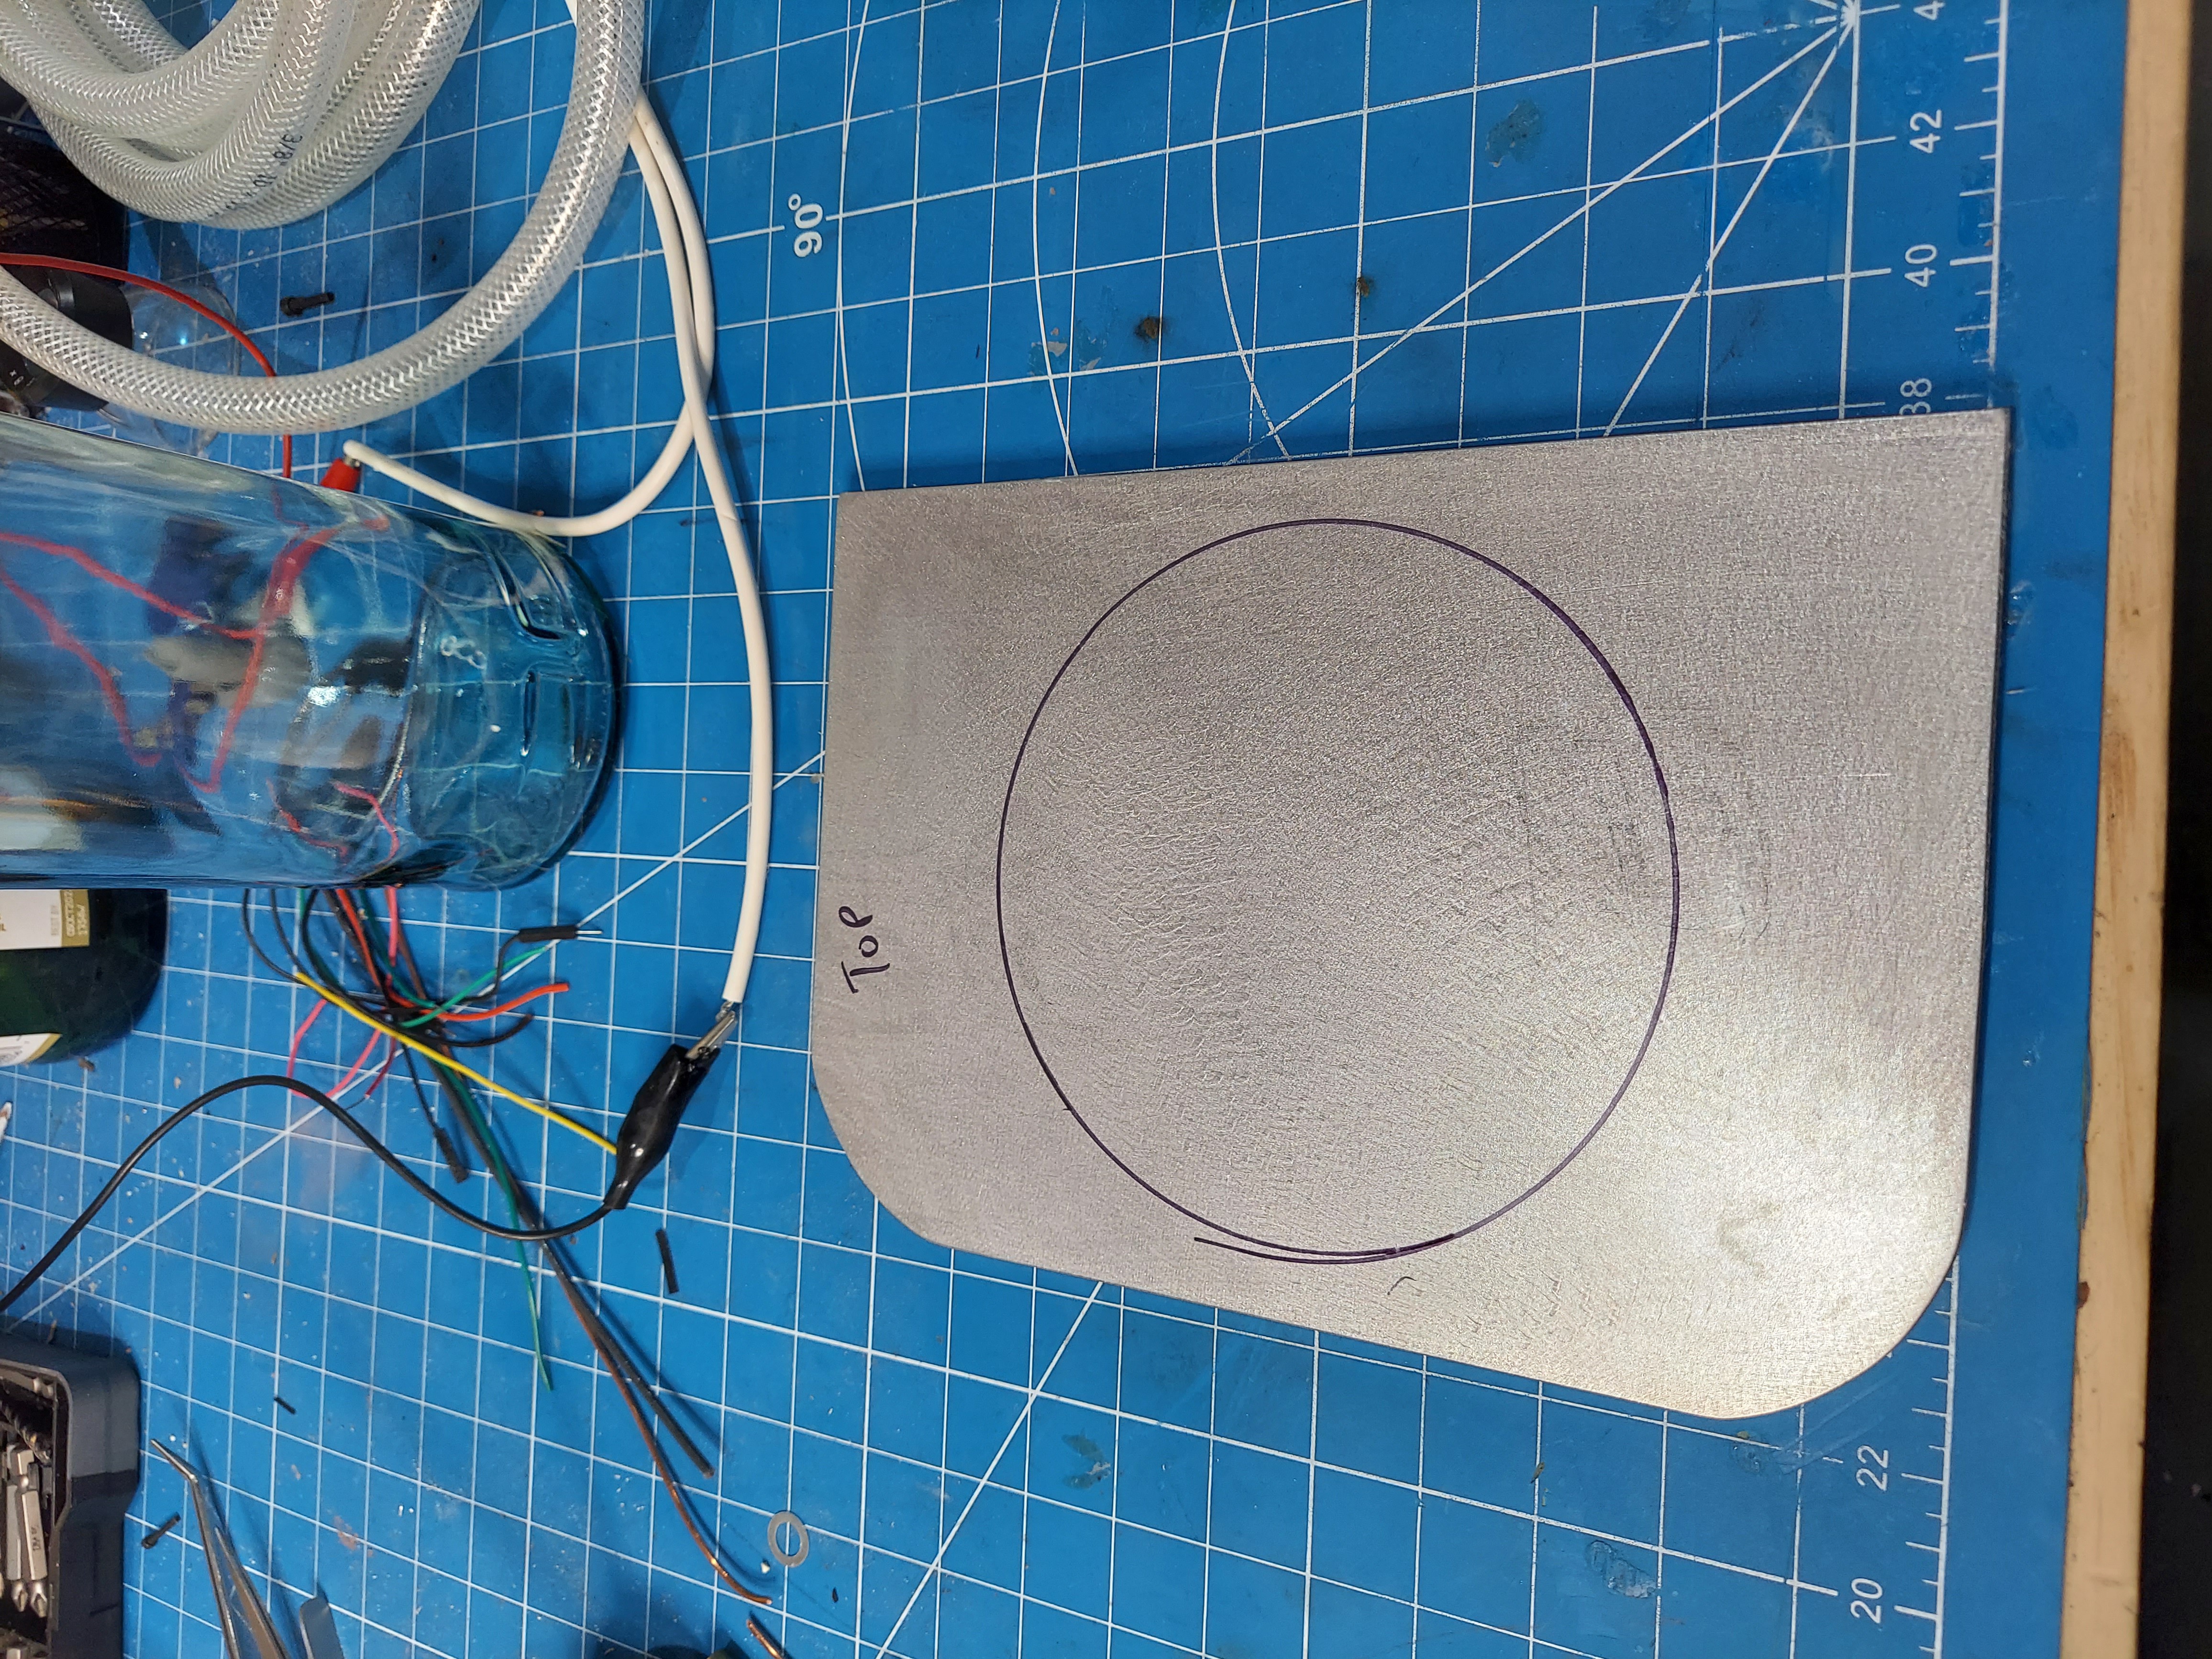
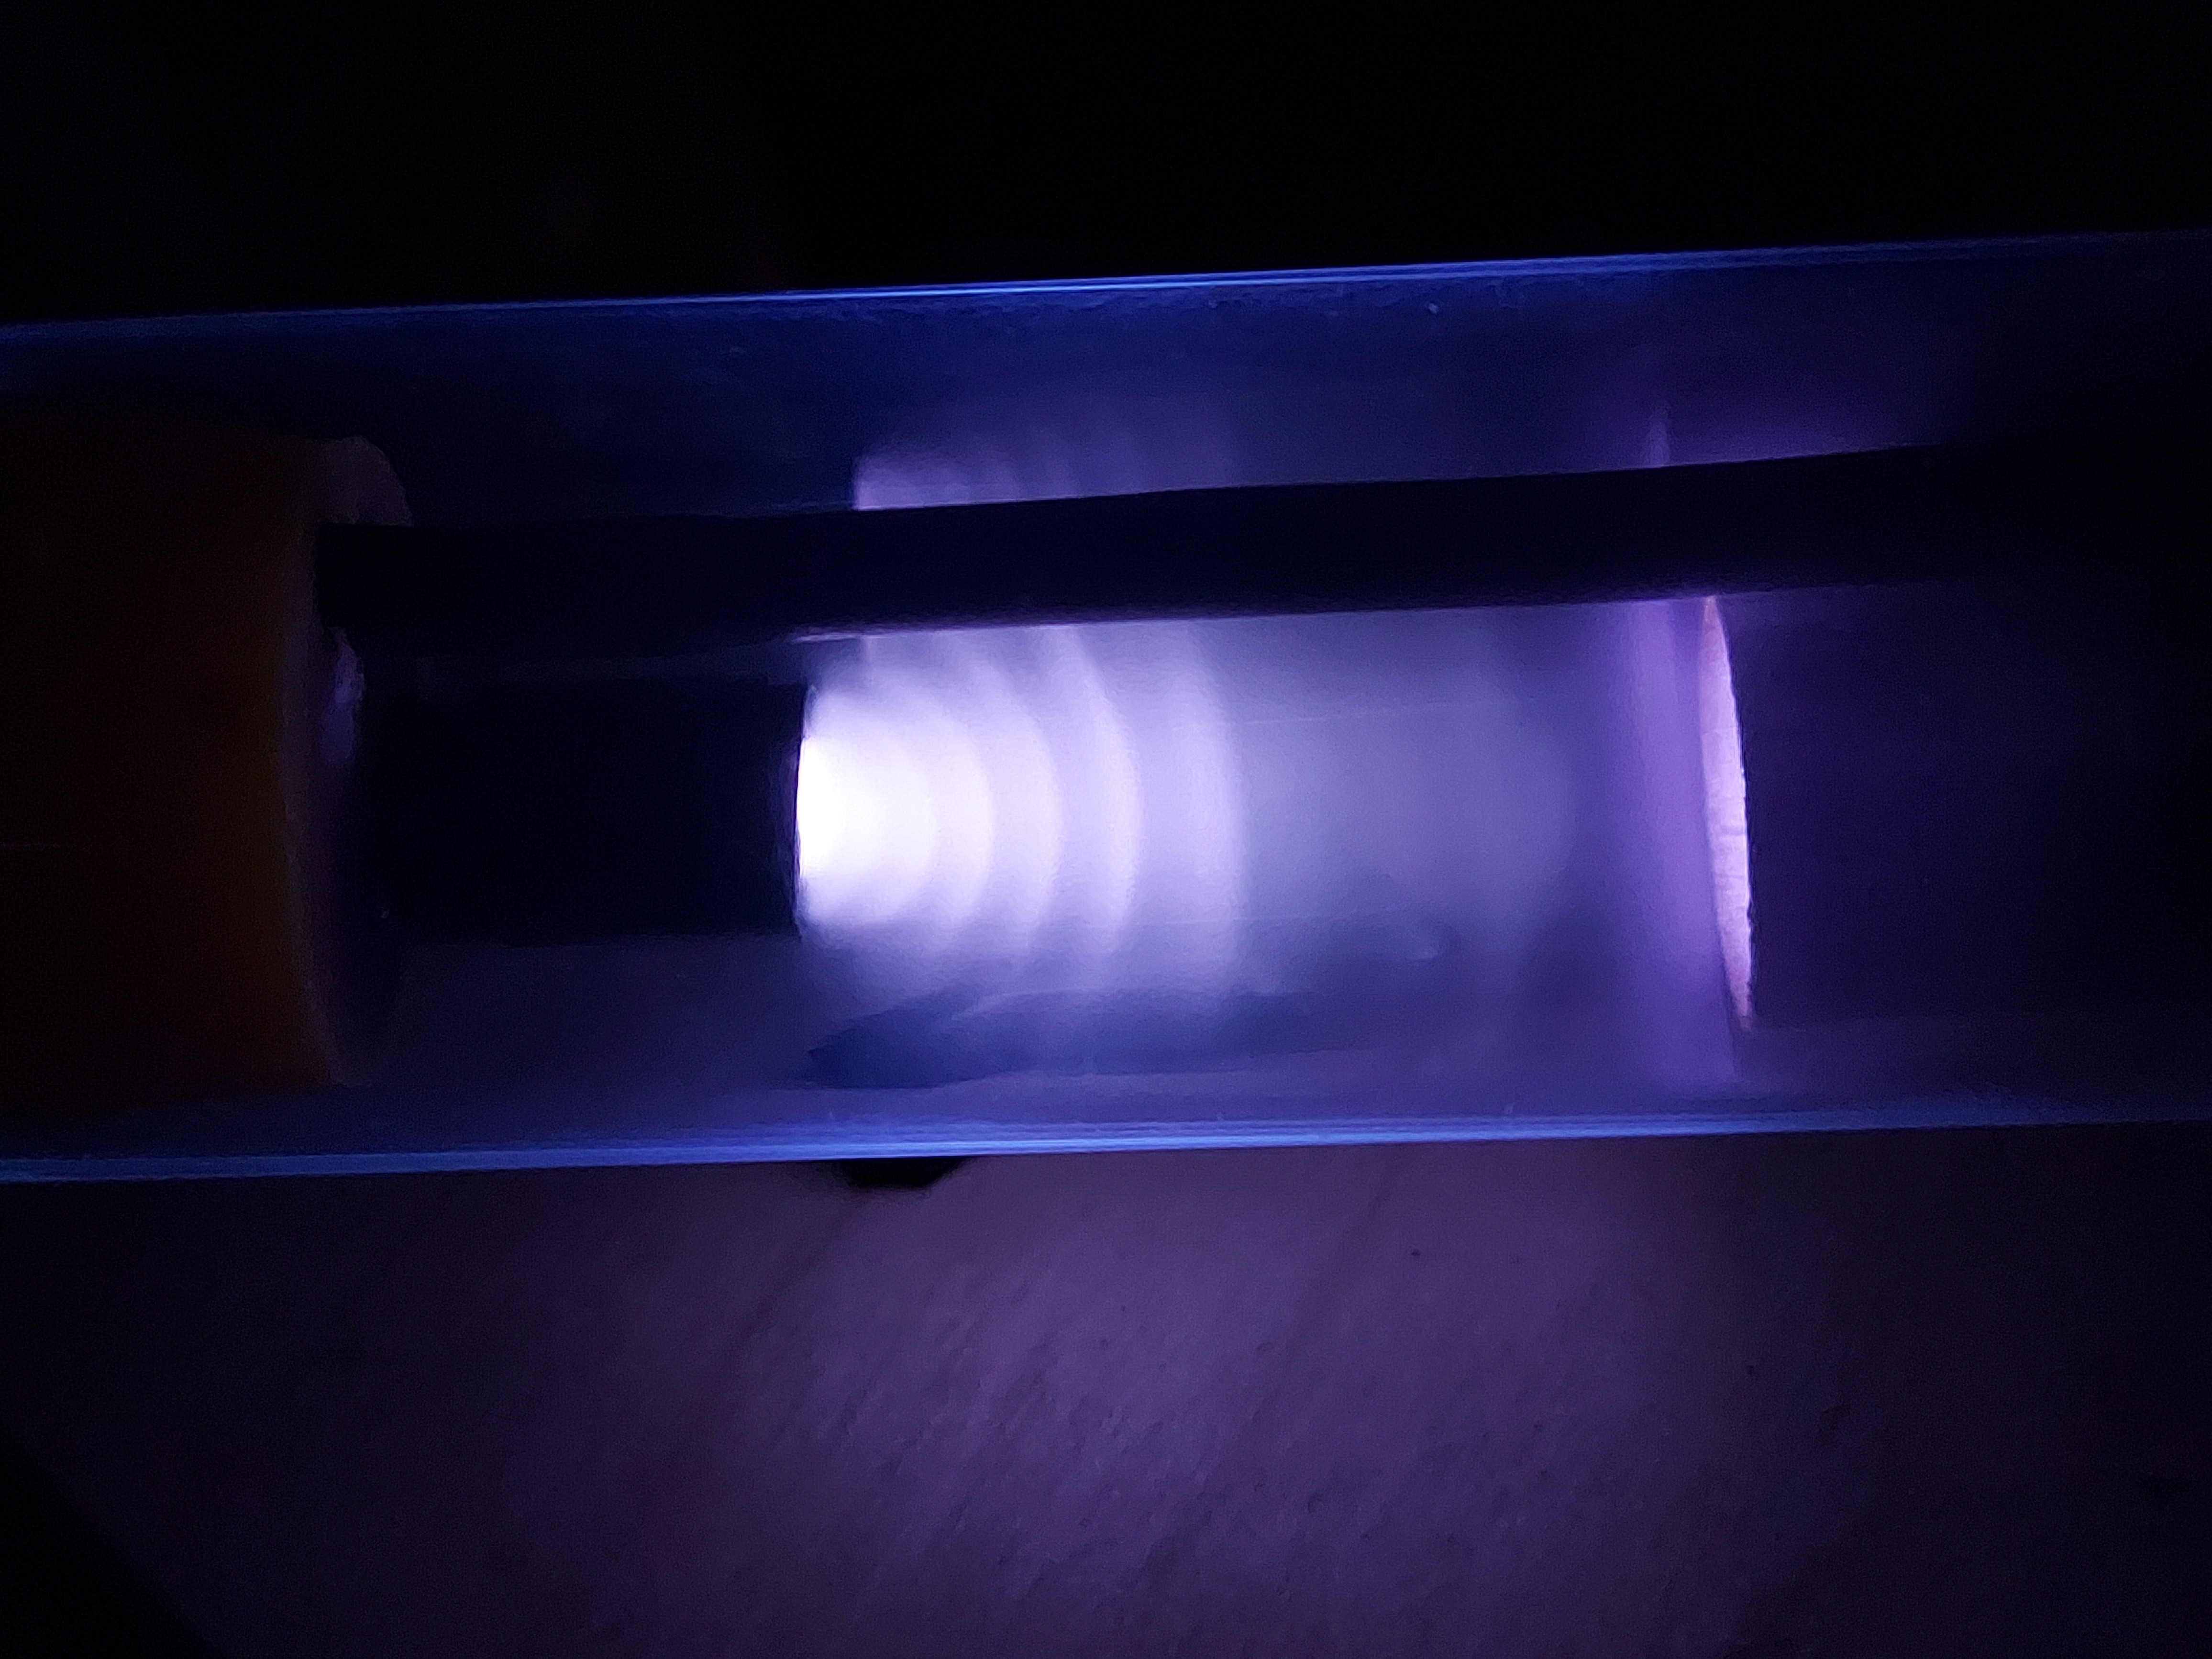
The vacuum chamber was constructed mainly from a plate of aluminum I had laying around. It was cut to fit on the box top. I went to a local art and craft store and found a thick glass vase to use as the chamber itself.

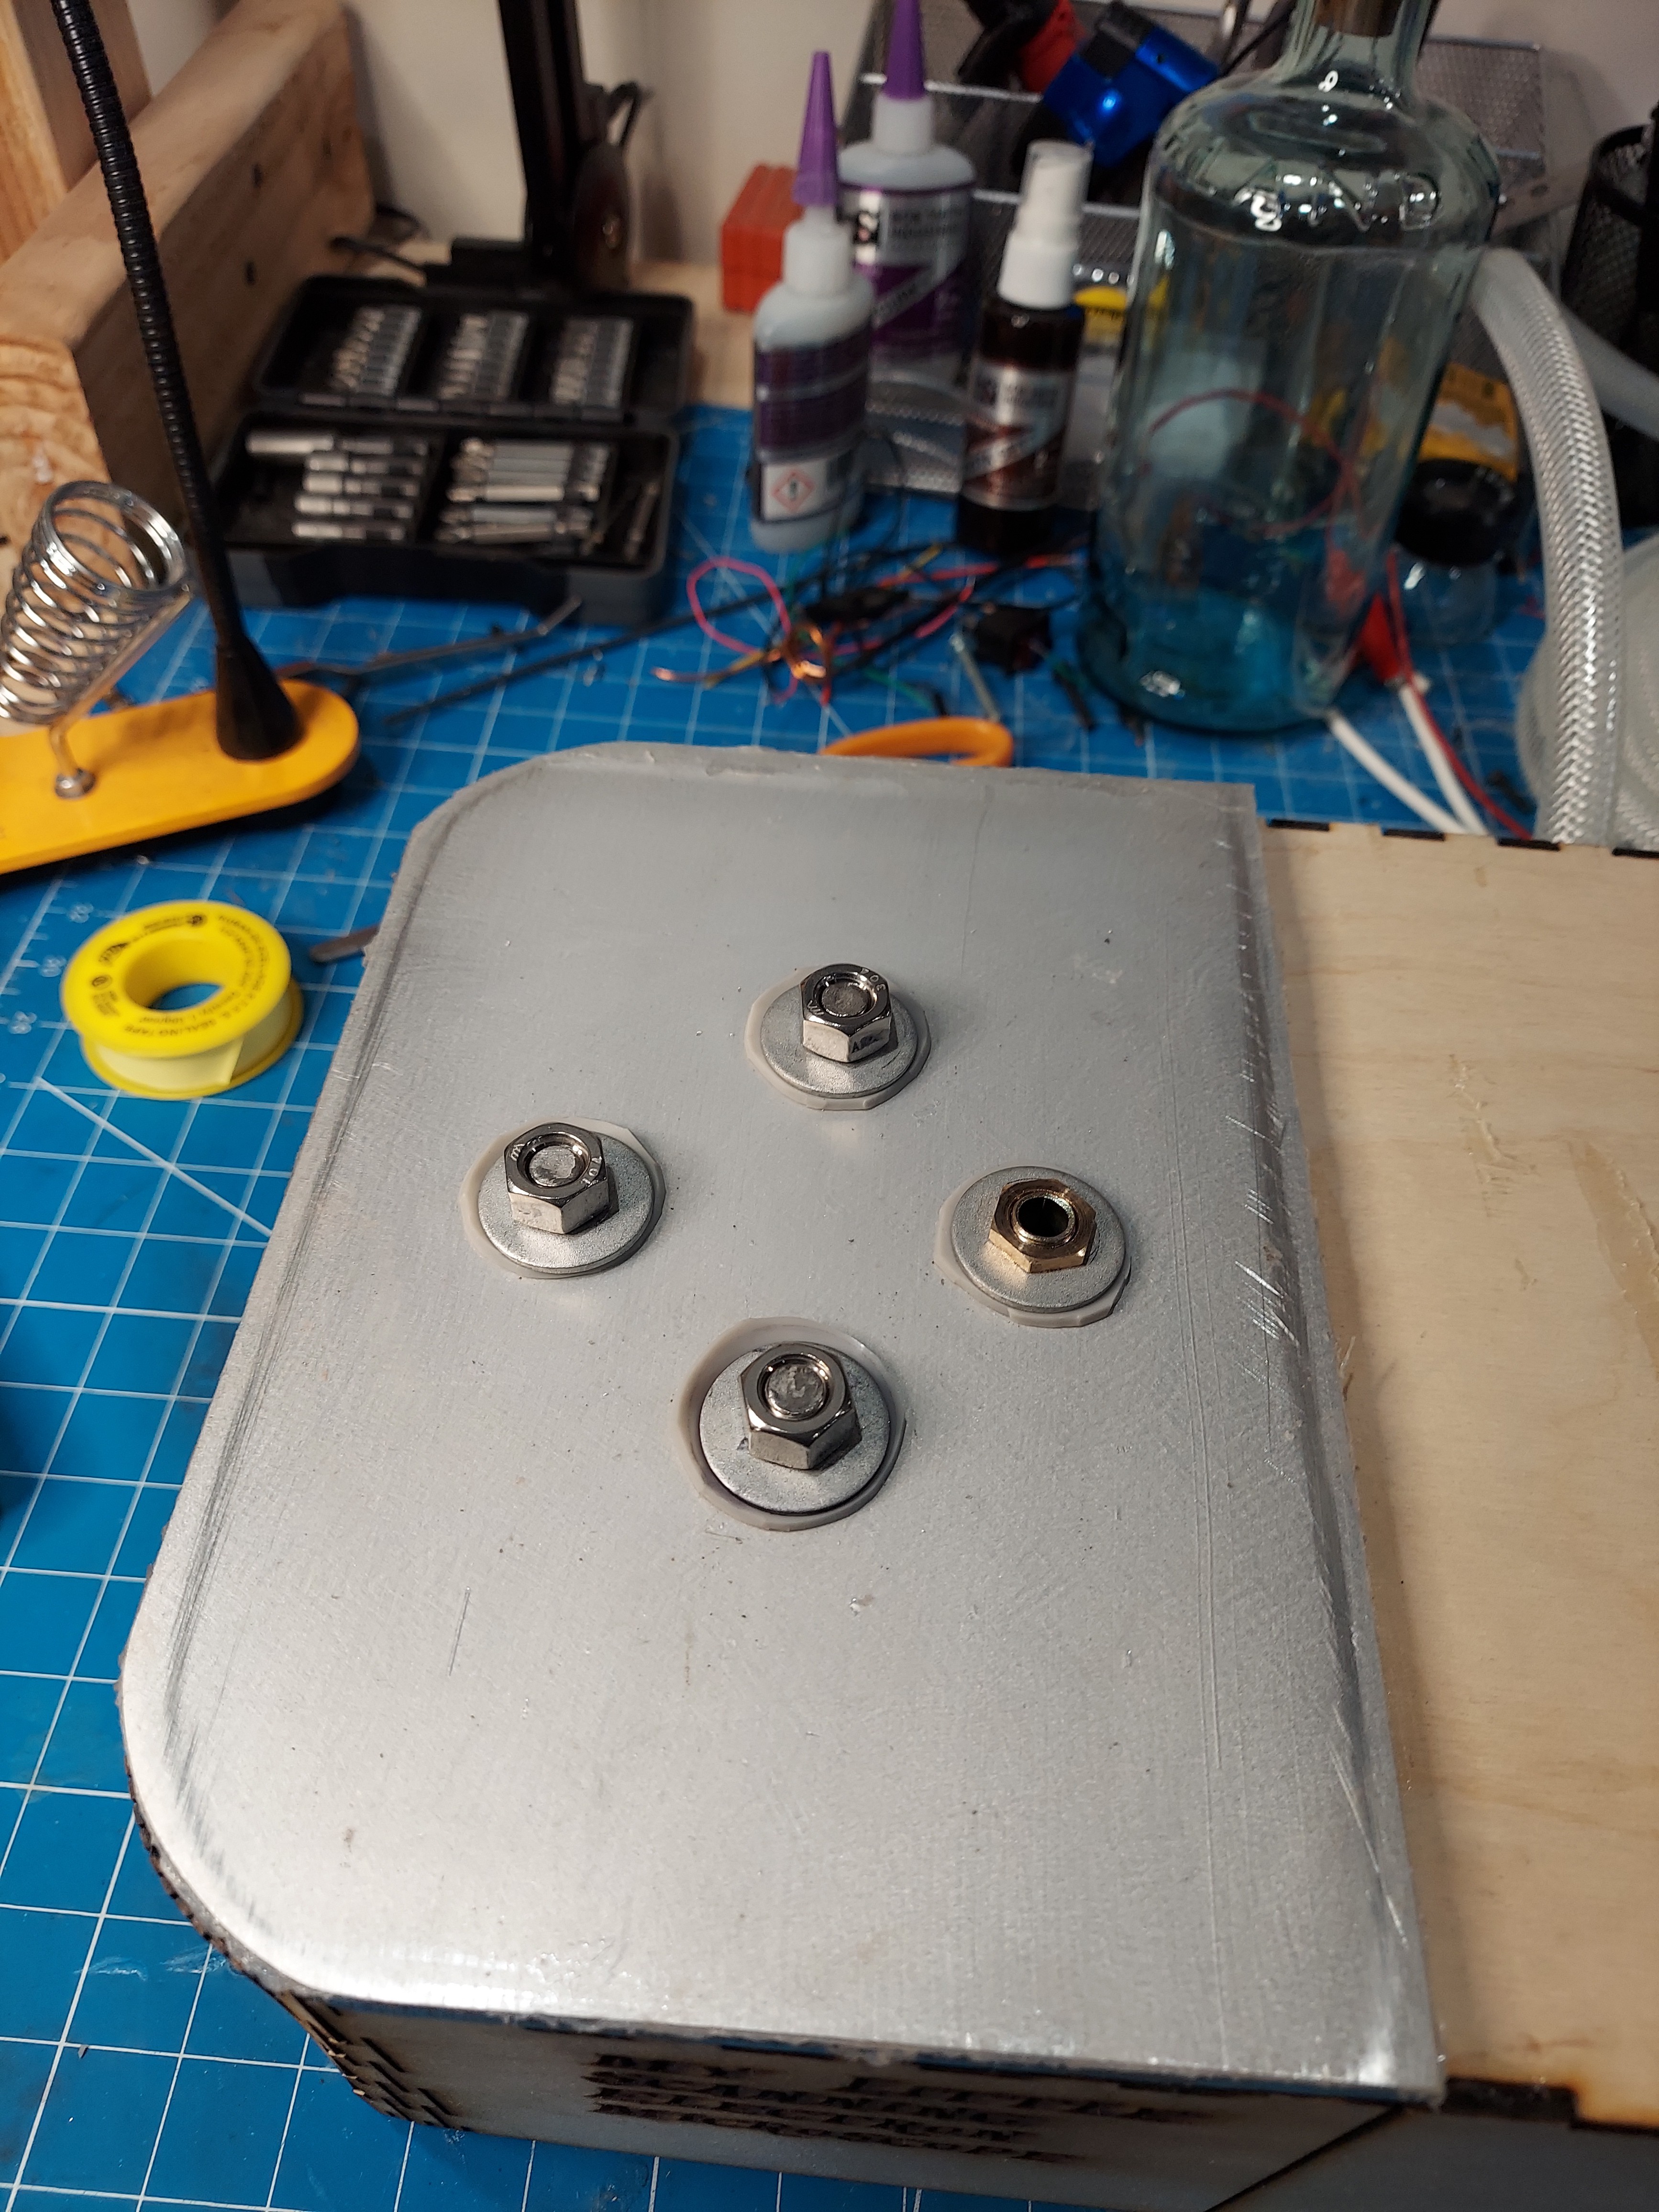
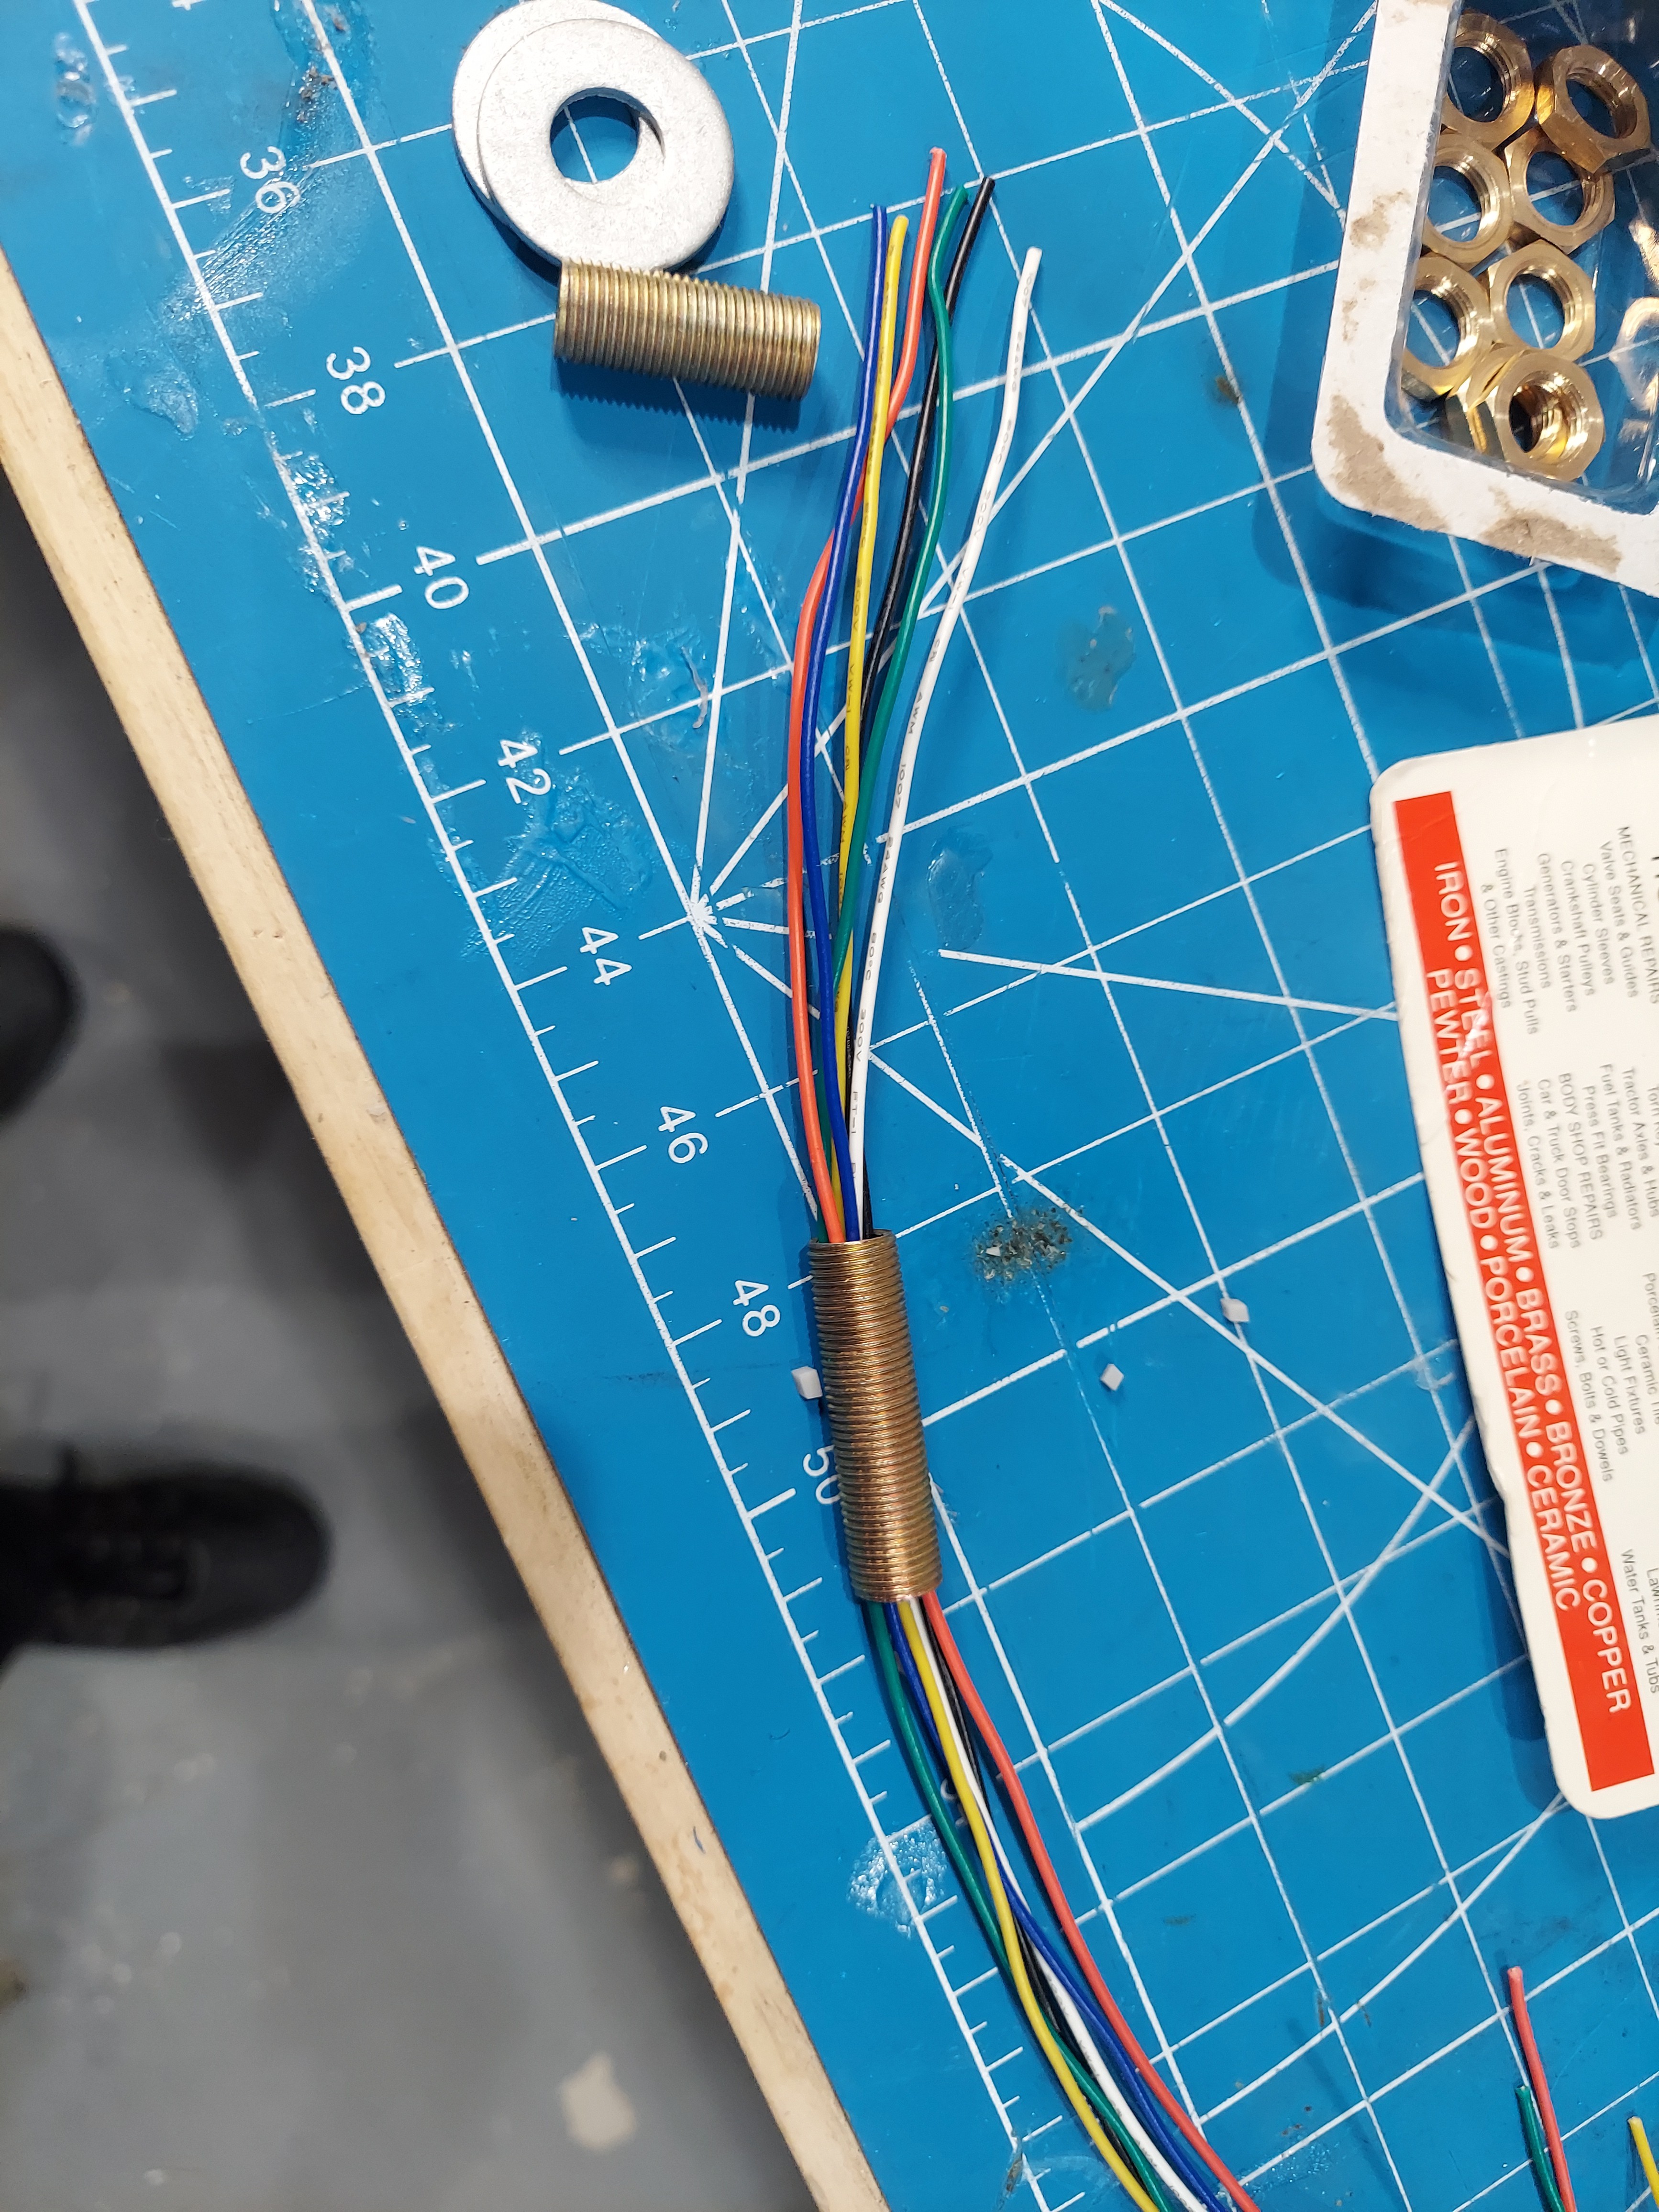
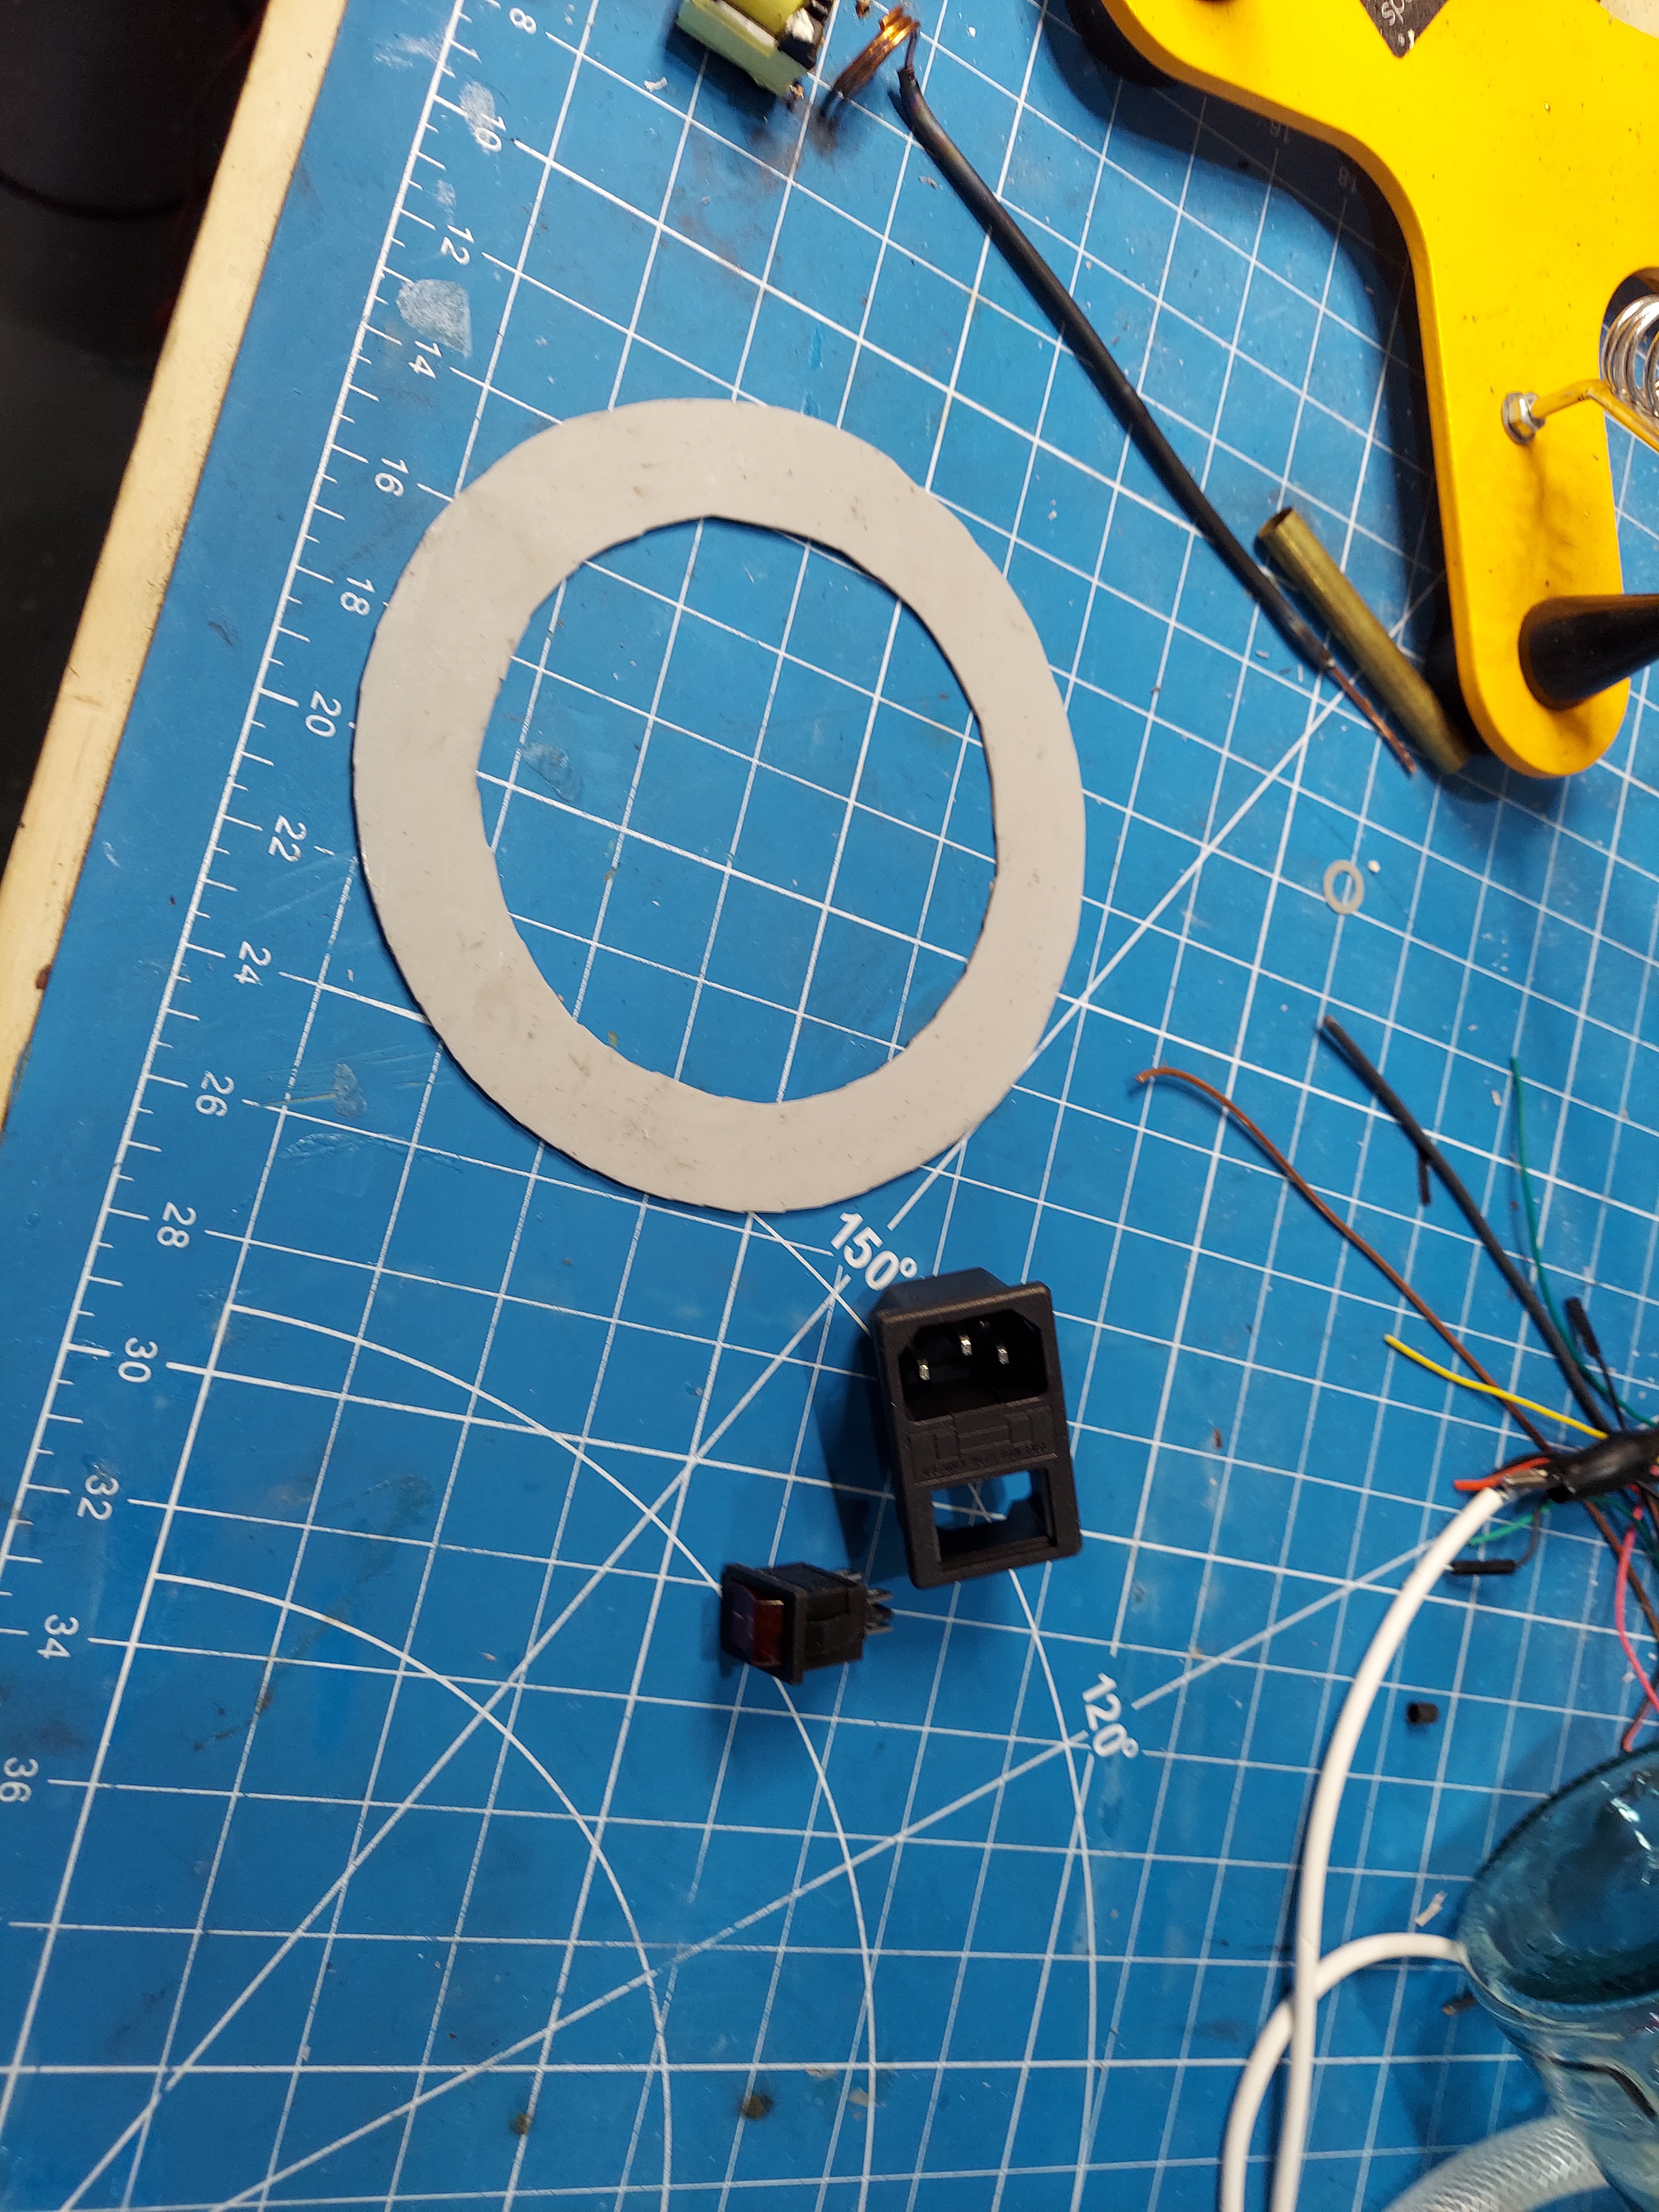
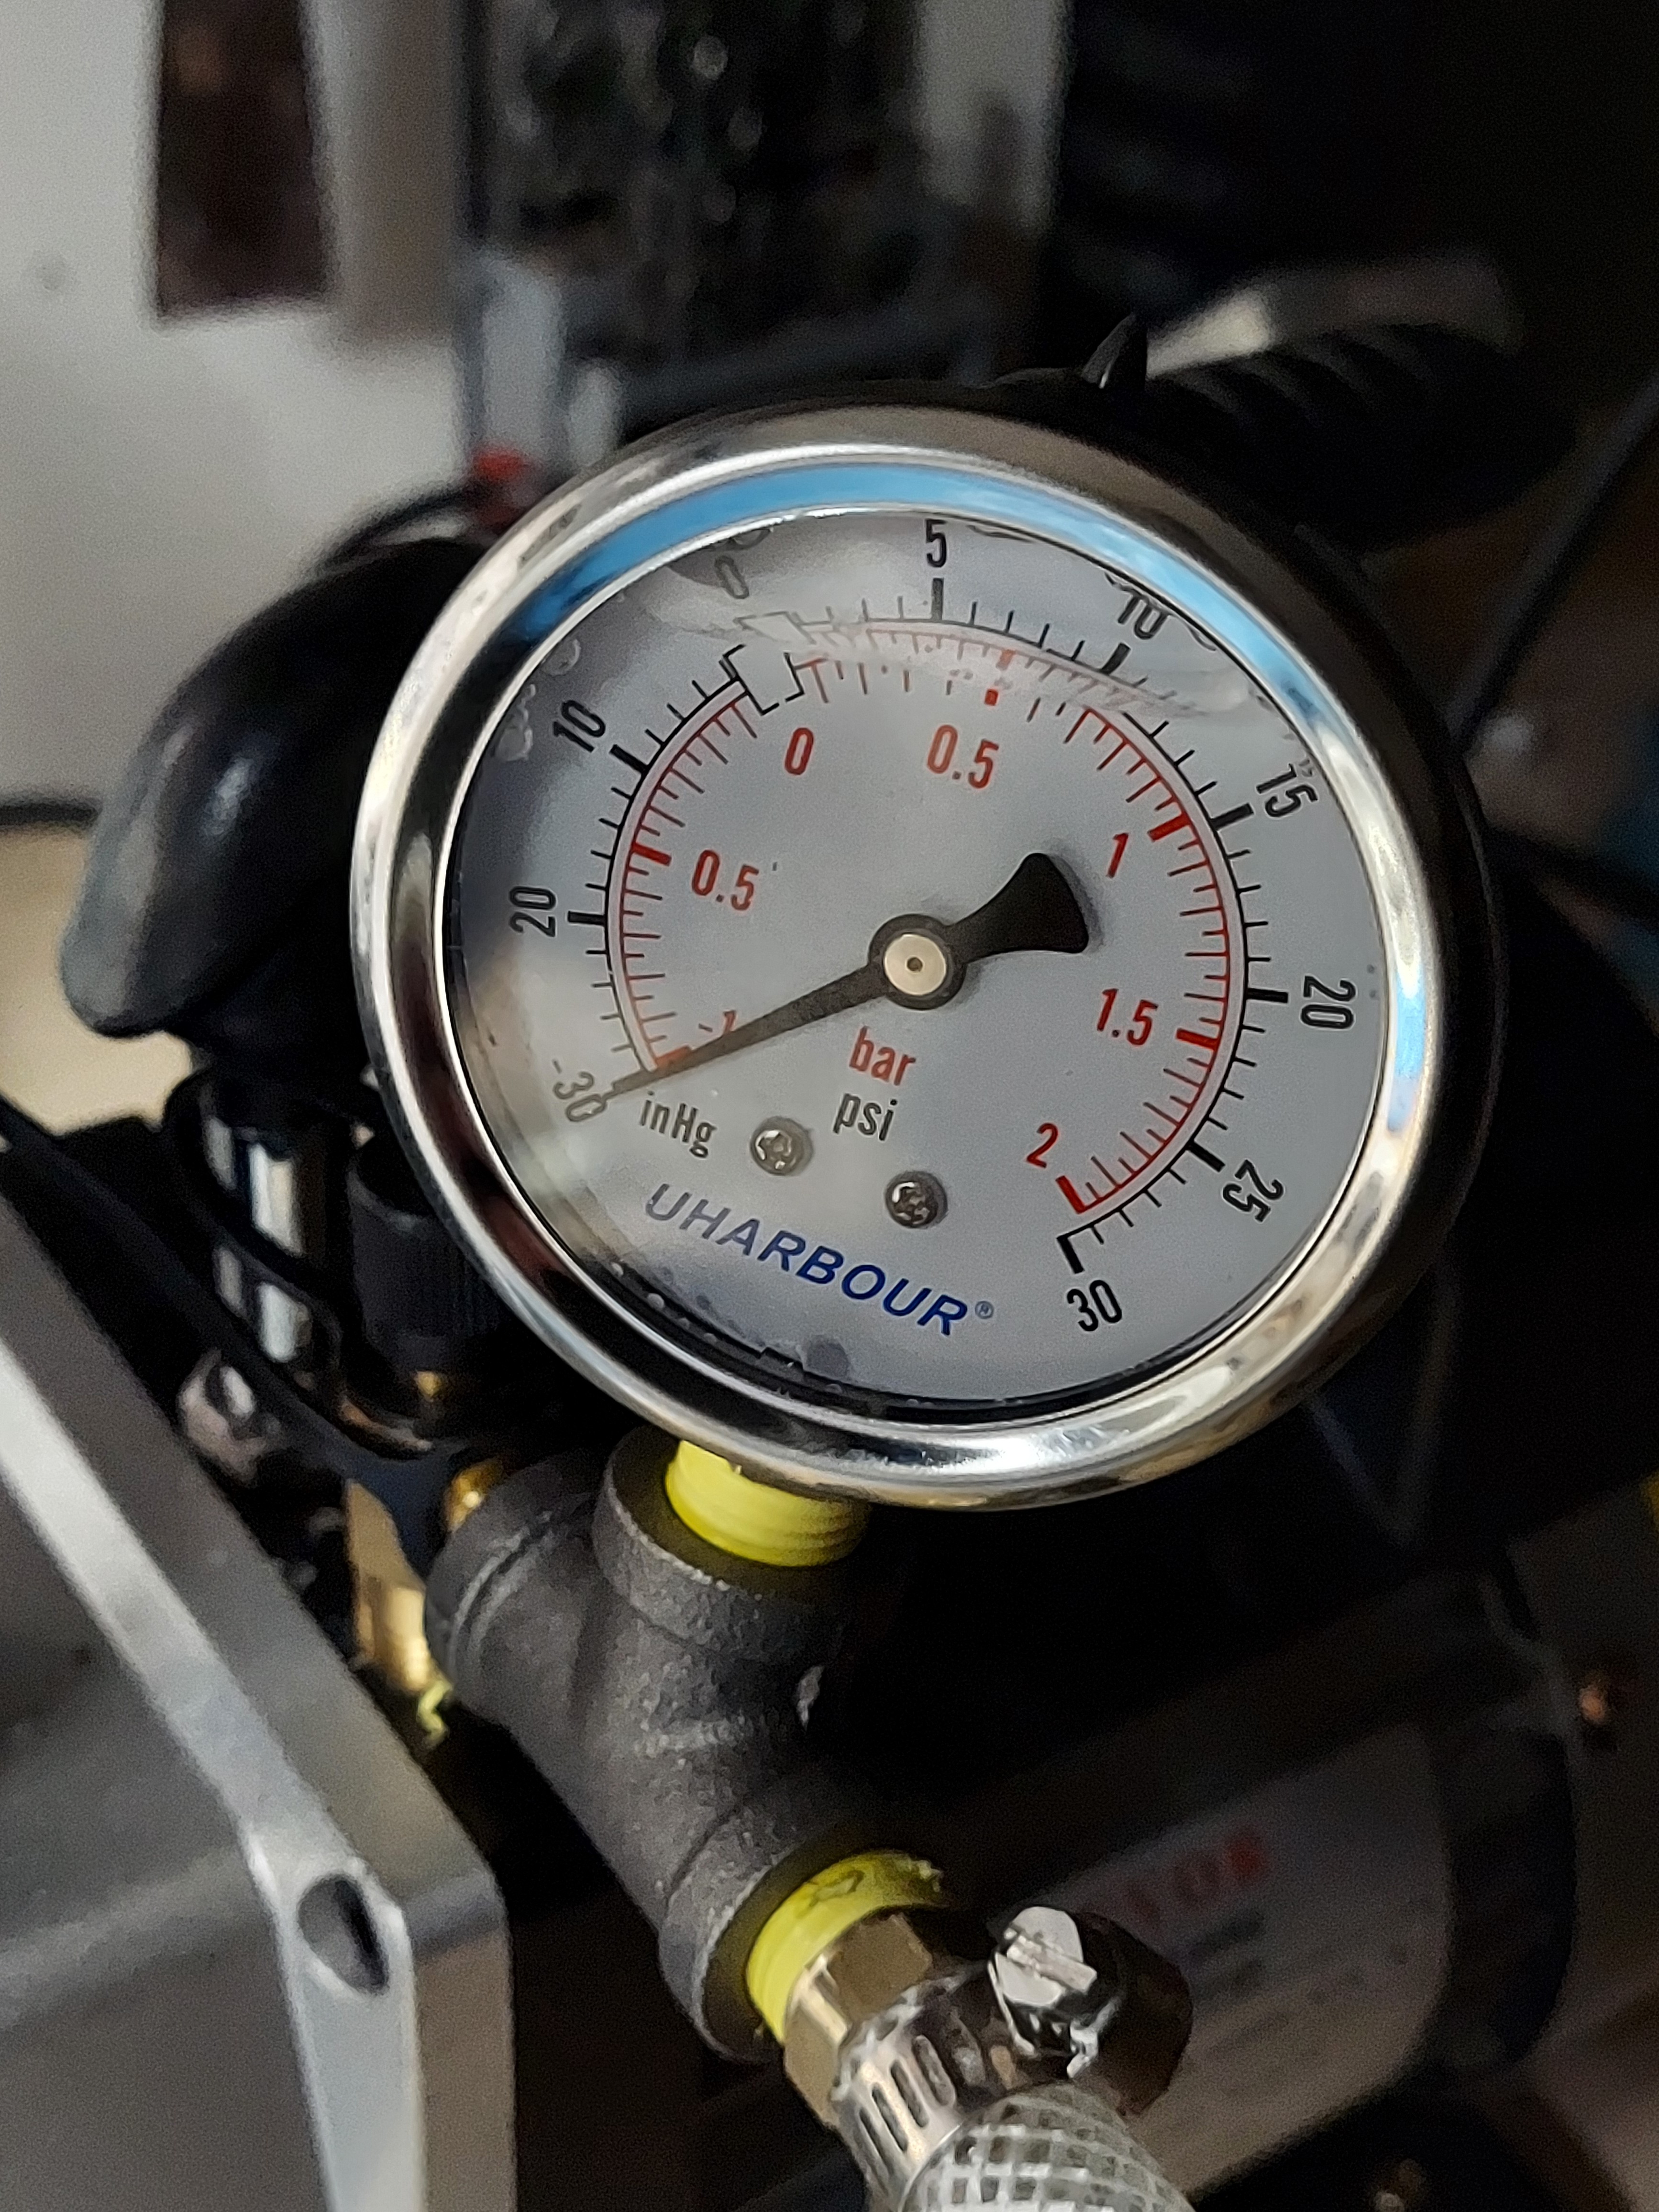
This gives about a 6" interior space. The surface of the aluminum was coated with a thin coat of silicon. This was to adjust for a slight concave bow in the surface. A silicone ring seal was also cut from silicone sheet to provide the vacuum seal. Silicone disks with washers were used to provide the passthrough for the high voltage lines, control lines, and vacuum line.

 Nixie
Nixie
 Fabien-Chouteau
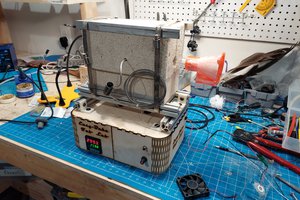
 M.daSilva