3D Printing:
Having never owned a 3D printer, I purchased a printer and started taking my modeling abilities to the next level. After learning a few important lessons in 3D printing (mistakes), I was up and running. It takes a day or more to print the larger pieces so I worked on the switches and their many parts while periodically printing the larger parts.
Thanks to M. daSilva and others I have put together what I believe is the best collection of solutions for this model. What you will notice is that the parts have cryptic ID numbers. These numbers came from the original drawings. Looking at the collections of various parts out there, there seems to be some parts with multiple ID numbers. What helped me understand this device is I purchased the paper model and assembled it. I learned two things assembling this model: 1) understanding how the parts fit together and 2) I never want to build another paper model.
The following is a list of the parts I printed. I start out with a name of the part followed by the file name. The parts are listed in order from back to front to aid in assembly. Files that say "exact" are unmodified by me. Files that say "modified" are files that I modified. There are other files that relate to the key assembly and mounting the Arduinos that are not original. I have placed the CAD files out on my GitHub site.
Rear Cover : 2004900-exact-COVER,REAR
Rear Cover Gasket : 1006349-exact-GASKET,RETAINED
Main Housing : 2004974D-modified-PLATE,IDM
Main Housing Gasket : 1006350A-exact-GASKET,RETAINED
Front Housing : 2004968E-modified
Arduino Mount : ArduinoMount (attaches to underside of front housing)
Adapter Plate : 2004919E-modified-PLATE,ADAPTER
Adapter Plate Gasket : 1006351-exact-GASKET
Display/Indicator Block : 1006315G-modified
DIsplay/Indicator Cover : 2004699A-modified
Front Cover : 2004929-exact-COVER,FRONT
Key Body : 2004949D-exact-HOUSING
Key Housing : 2003926-reconstructed-HOUSING
Key Shaft : 2004948B-modified-SHAFT
Key Nut : Nut
Key Caps : (19 files located in the Keys sub-directory)
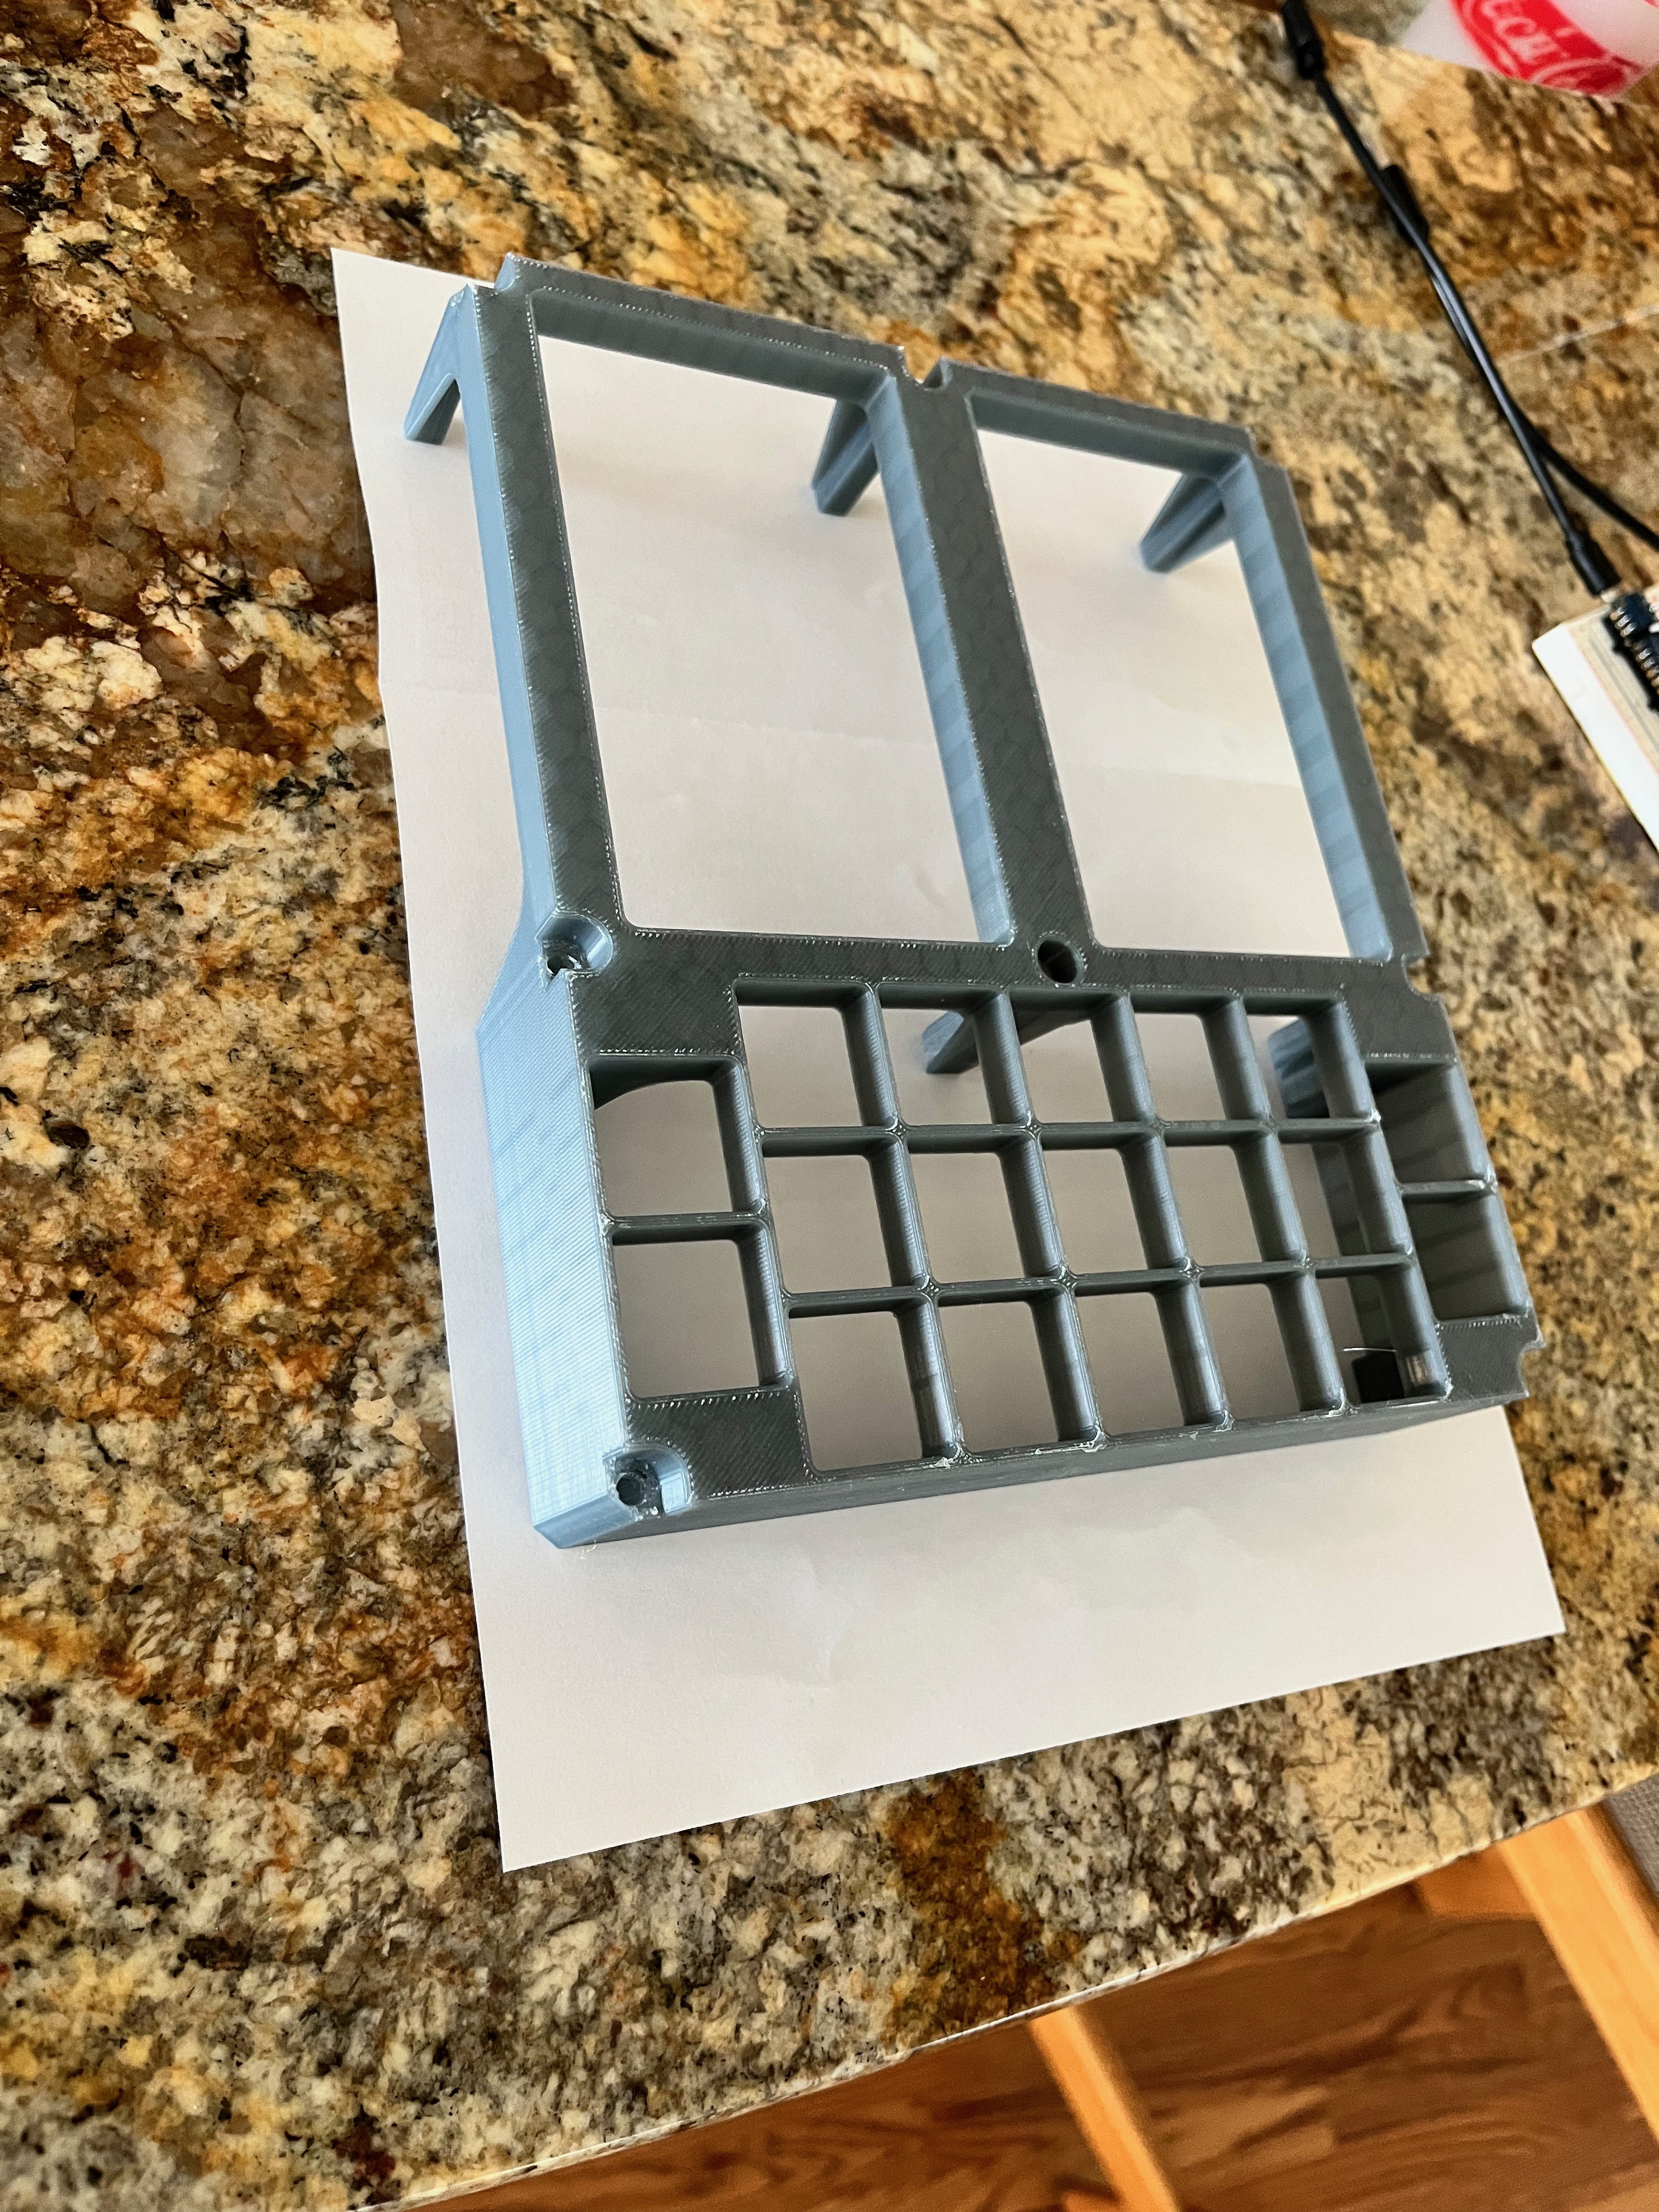
Here is the first significant part I printed, the front cover.
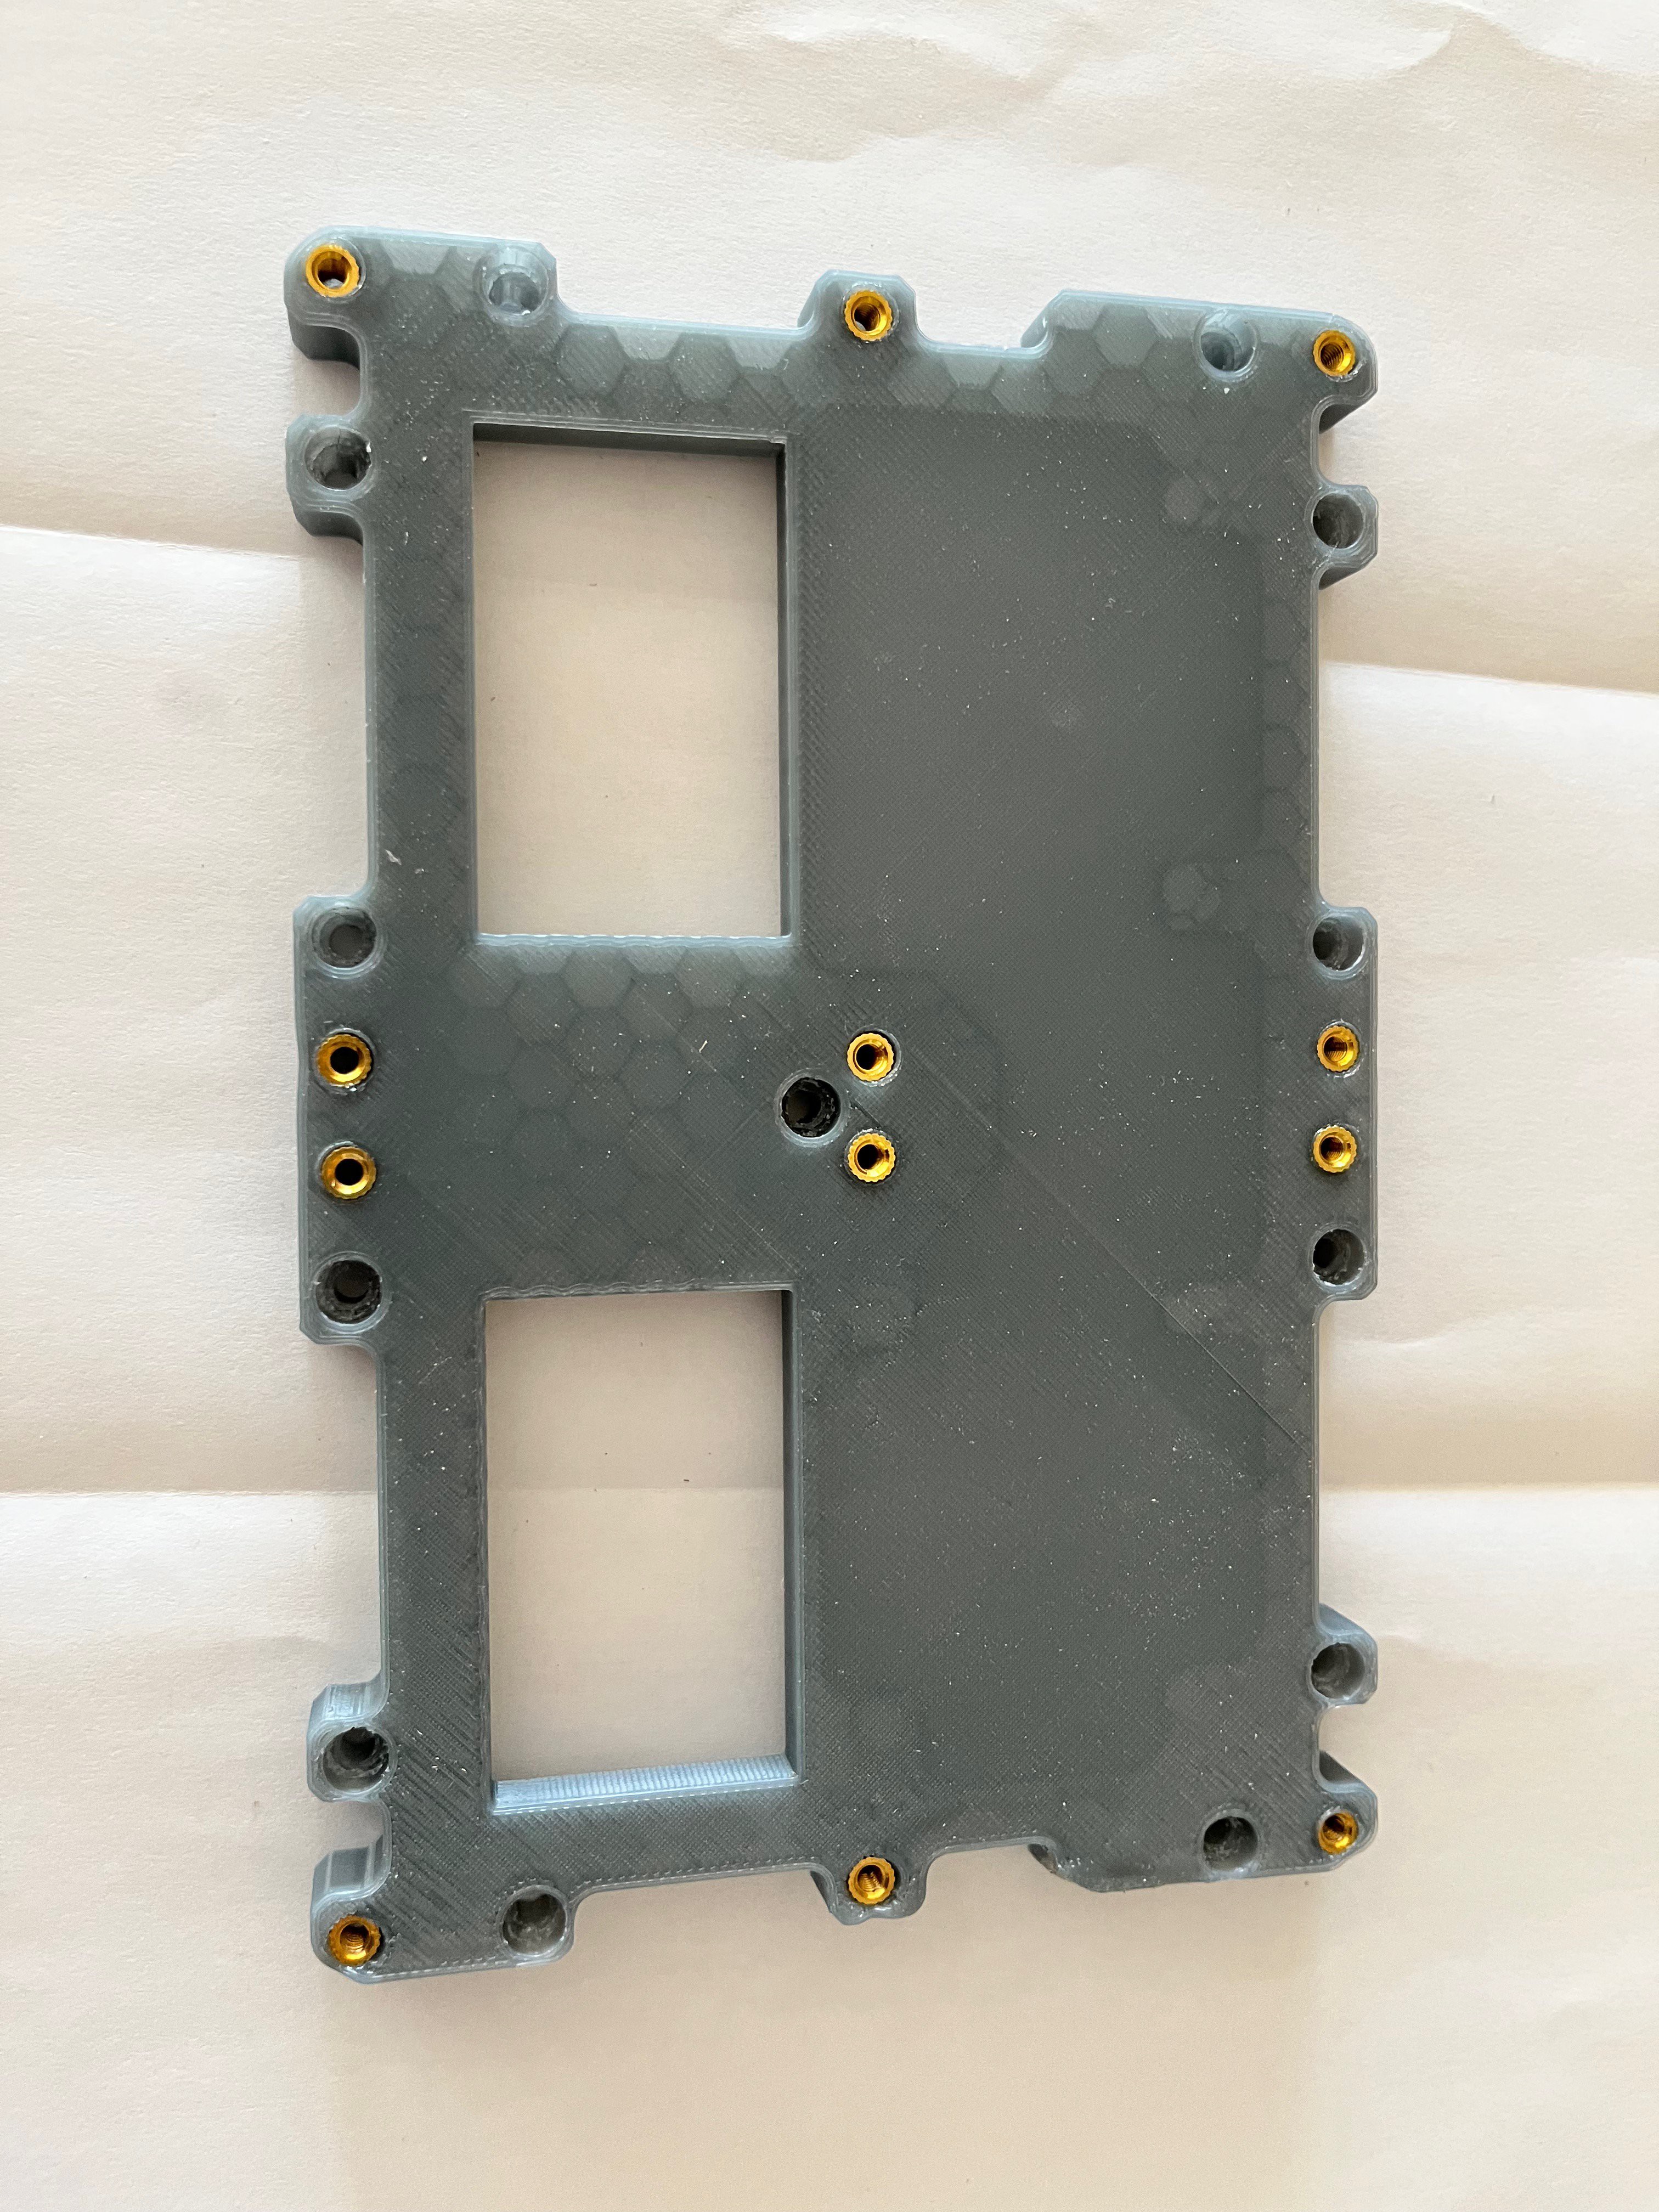
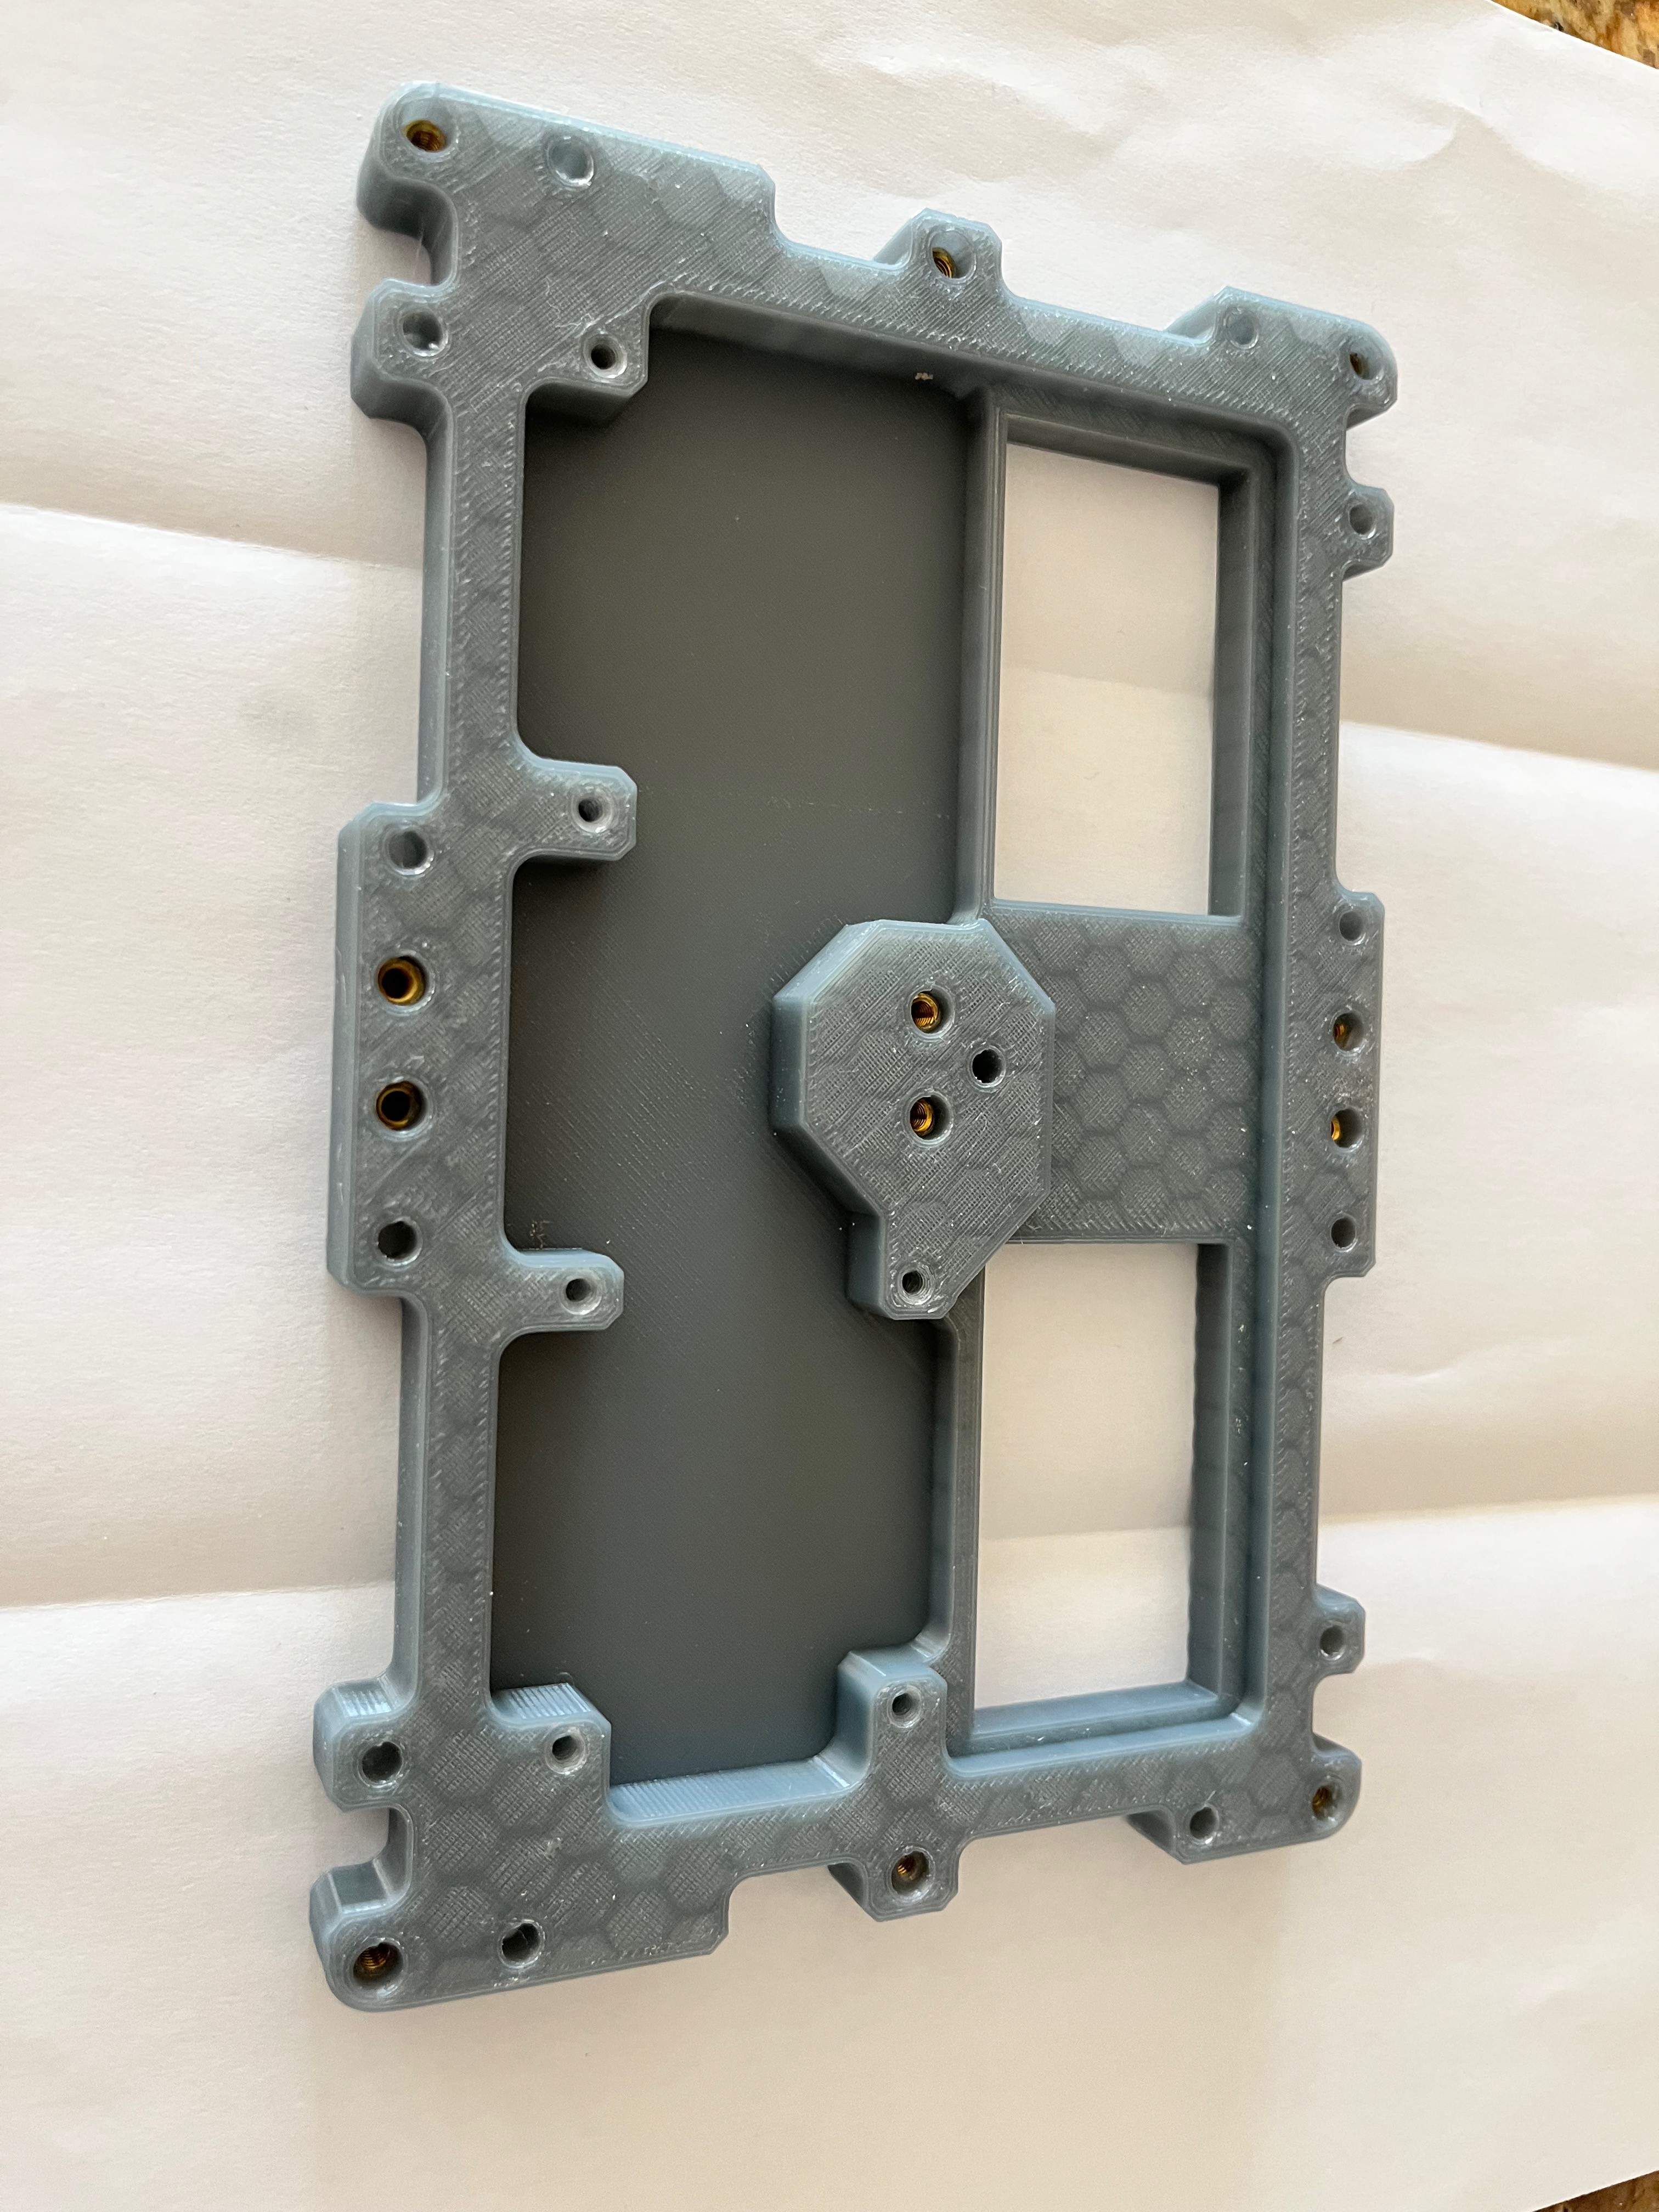
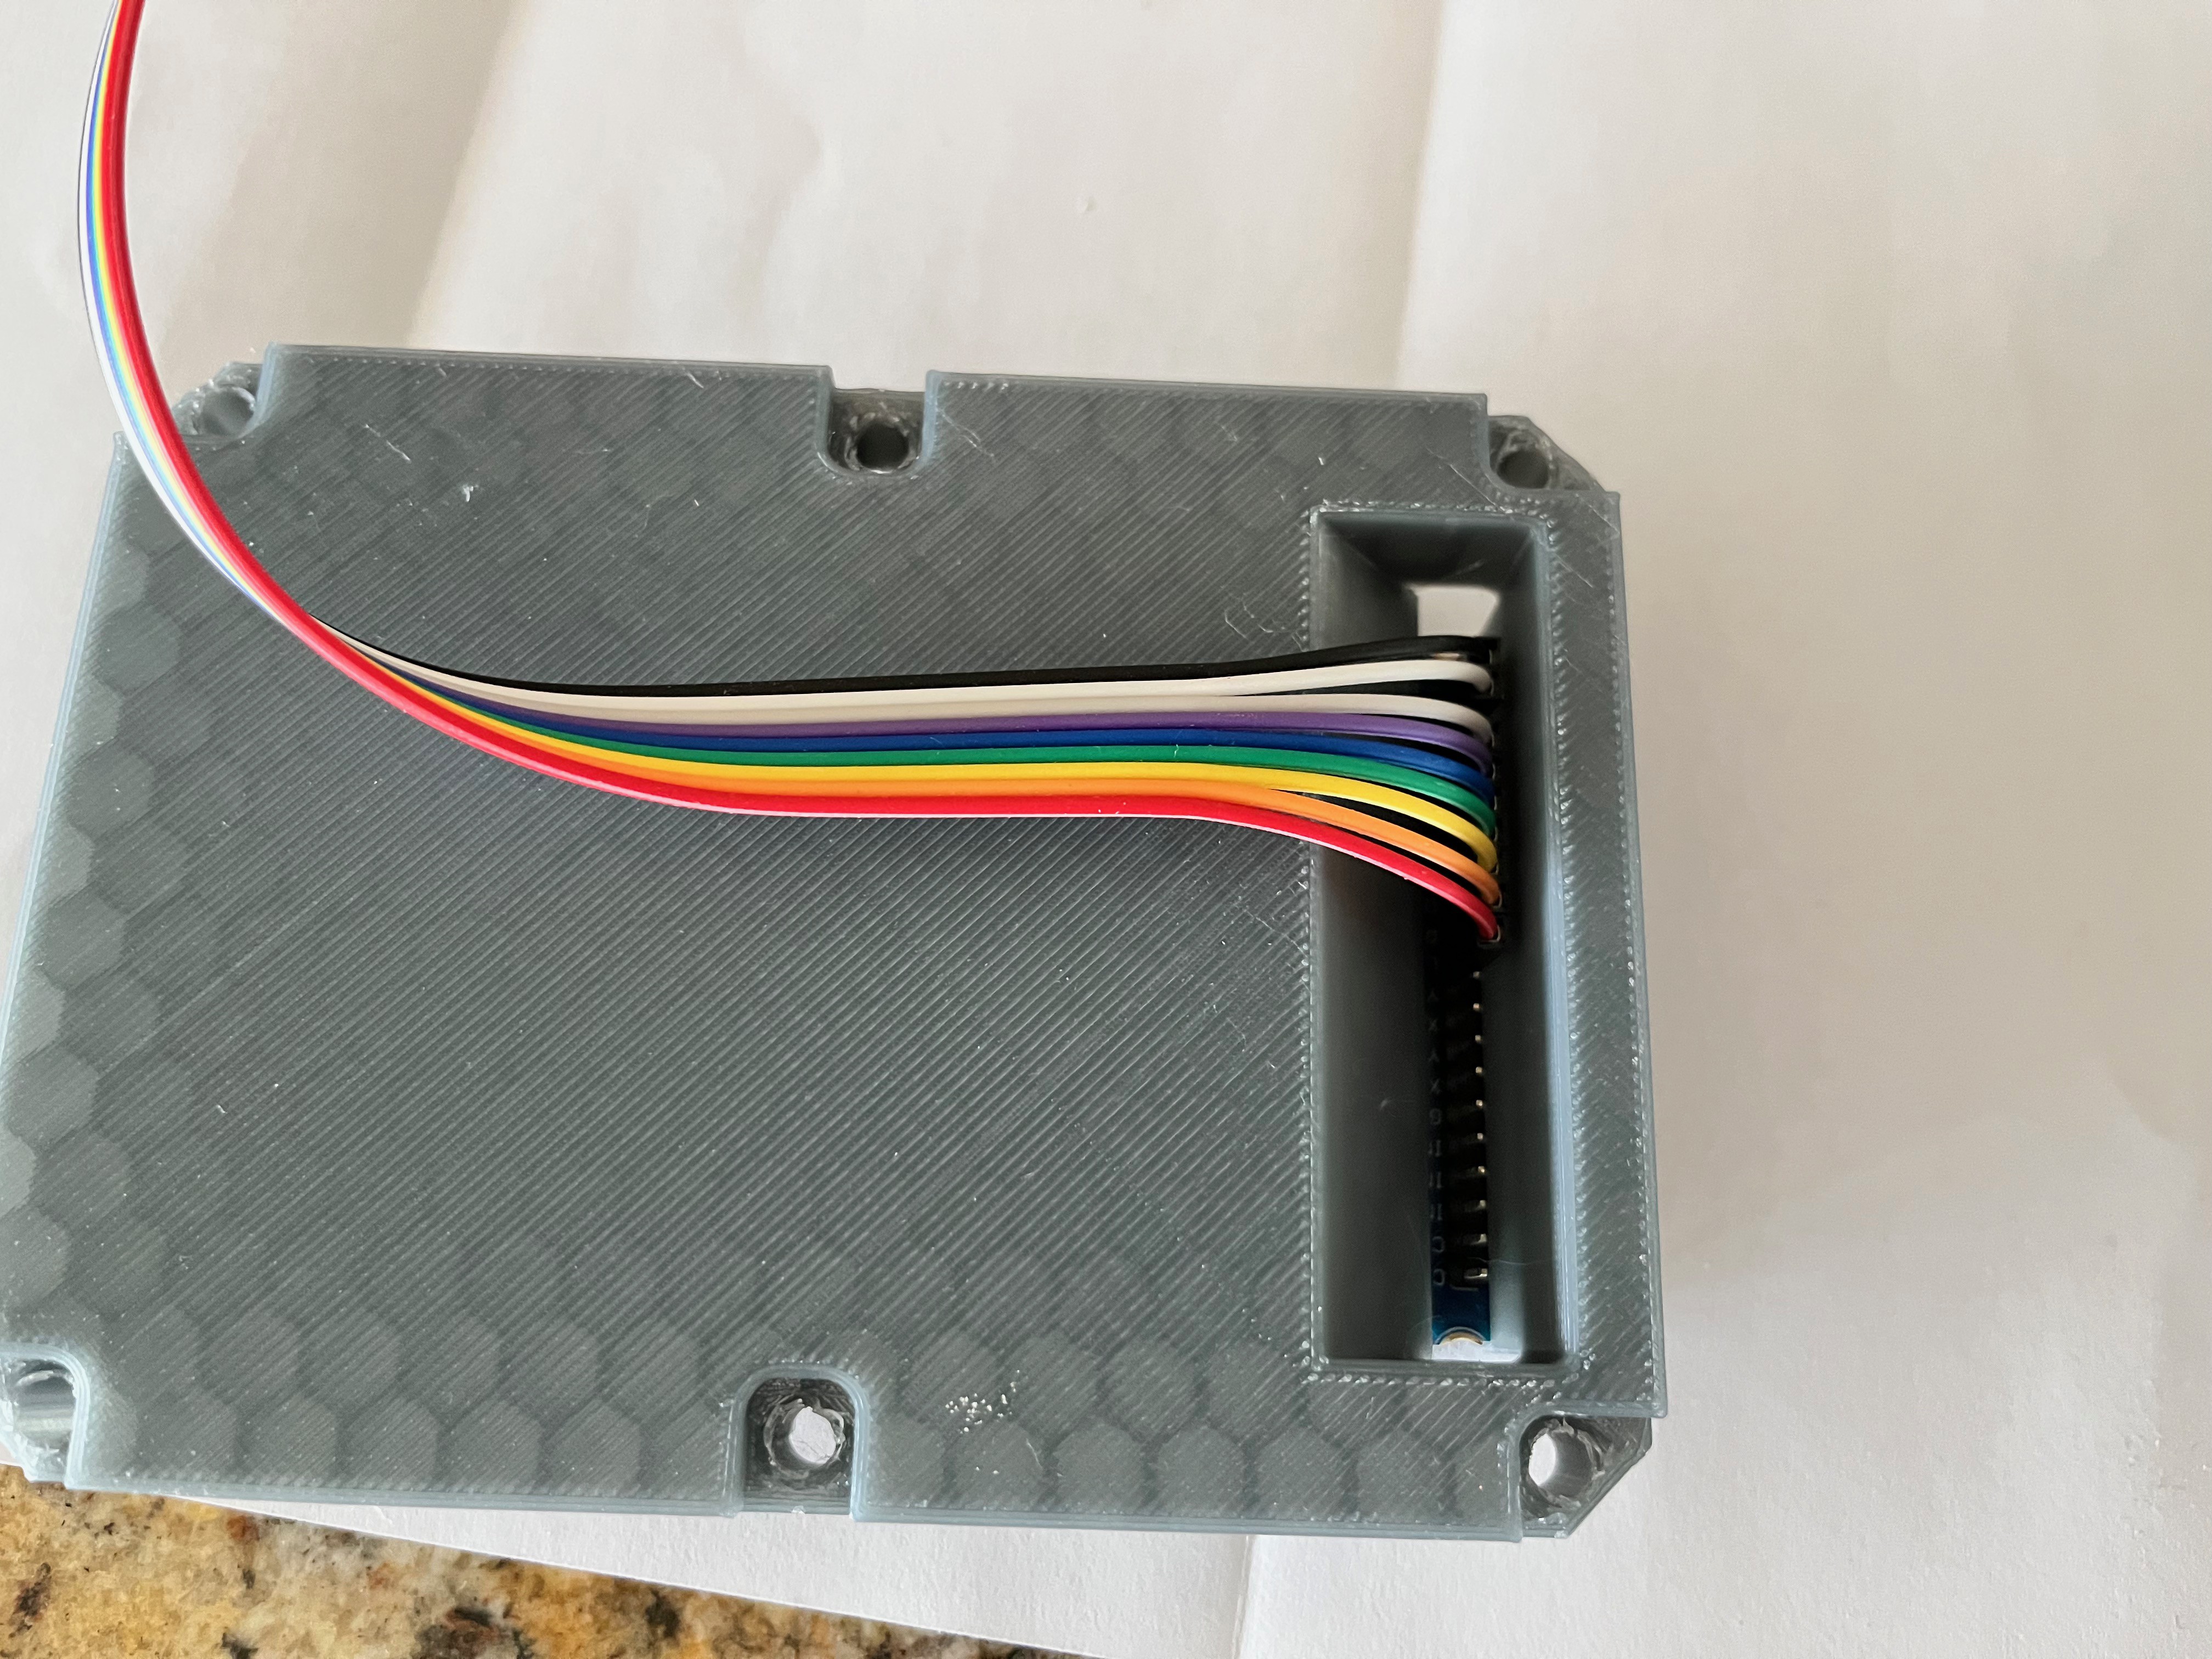
And here is the front and back of the adapter plate. Notice the inserts used to screw the pieces together. I use a hand held torch to warm the inserts and then carefully push them into the plastic using a long screw, taking care to keep the insert perpendicular while the plastic hardens. You can also see that I created two holes to route wires from the LCD panels to the Arduino Nanos.
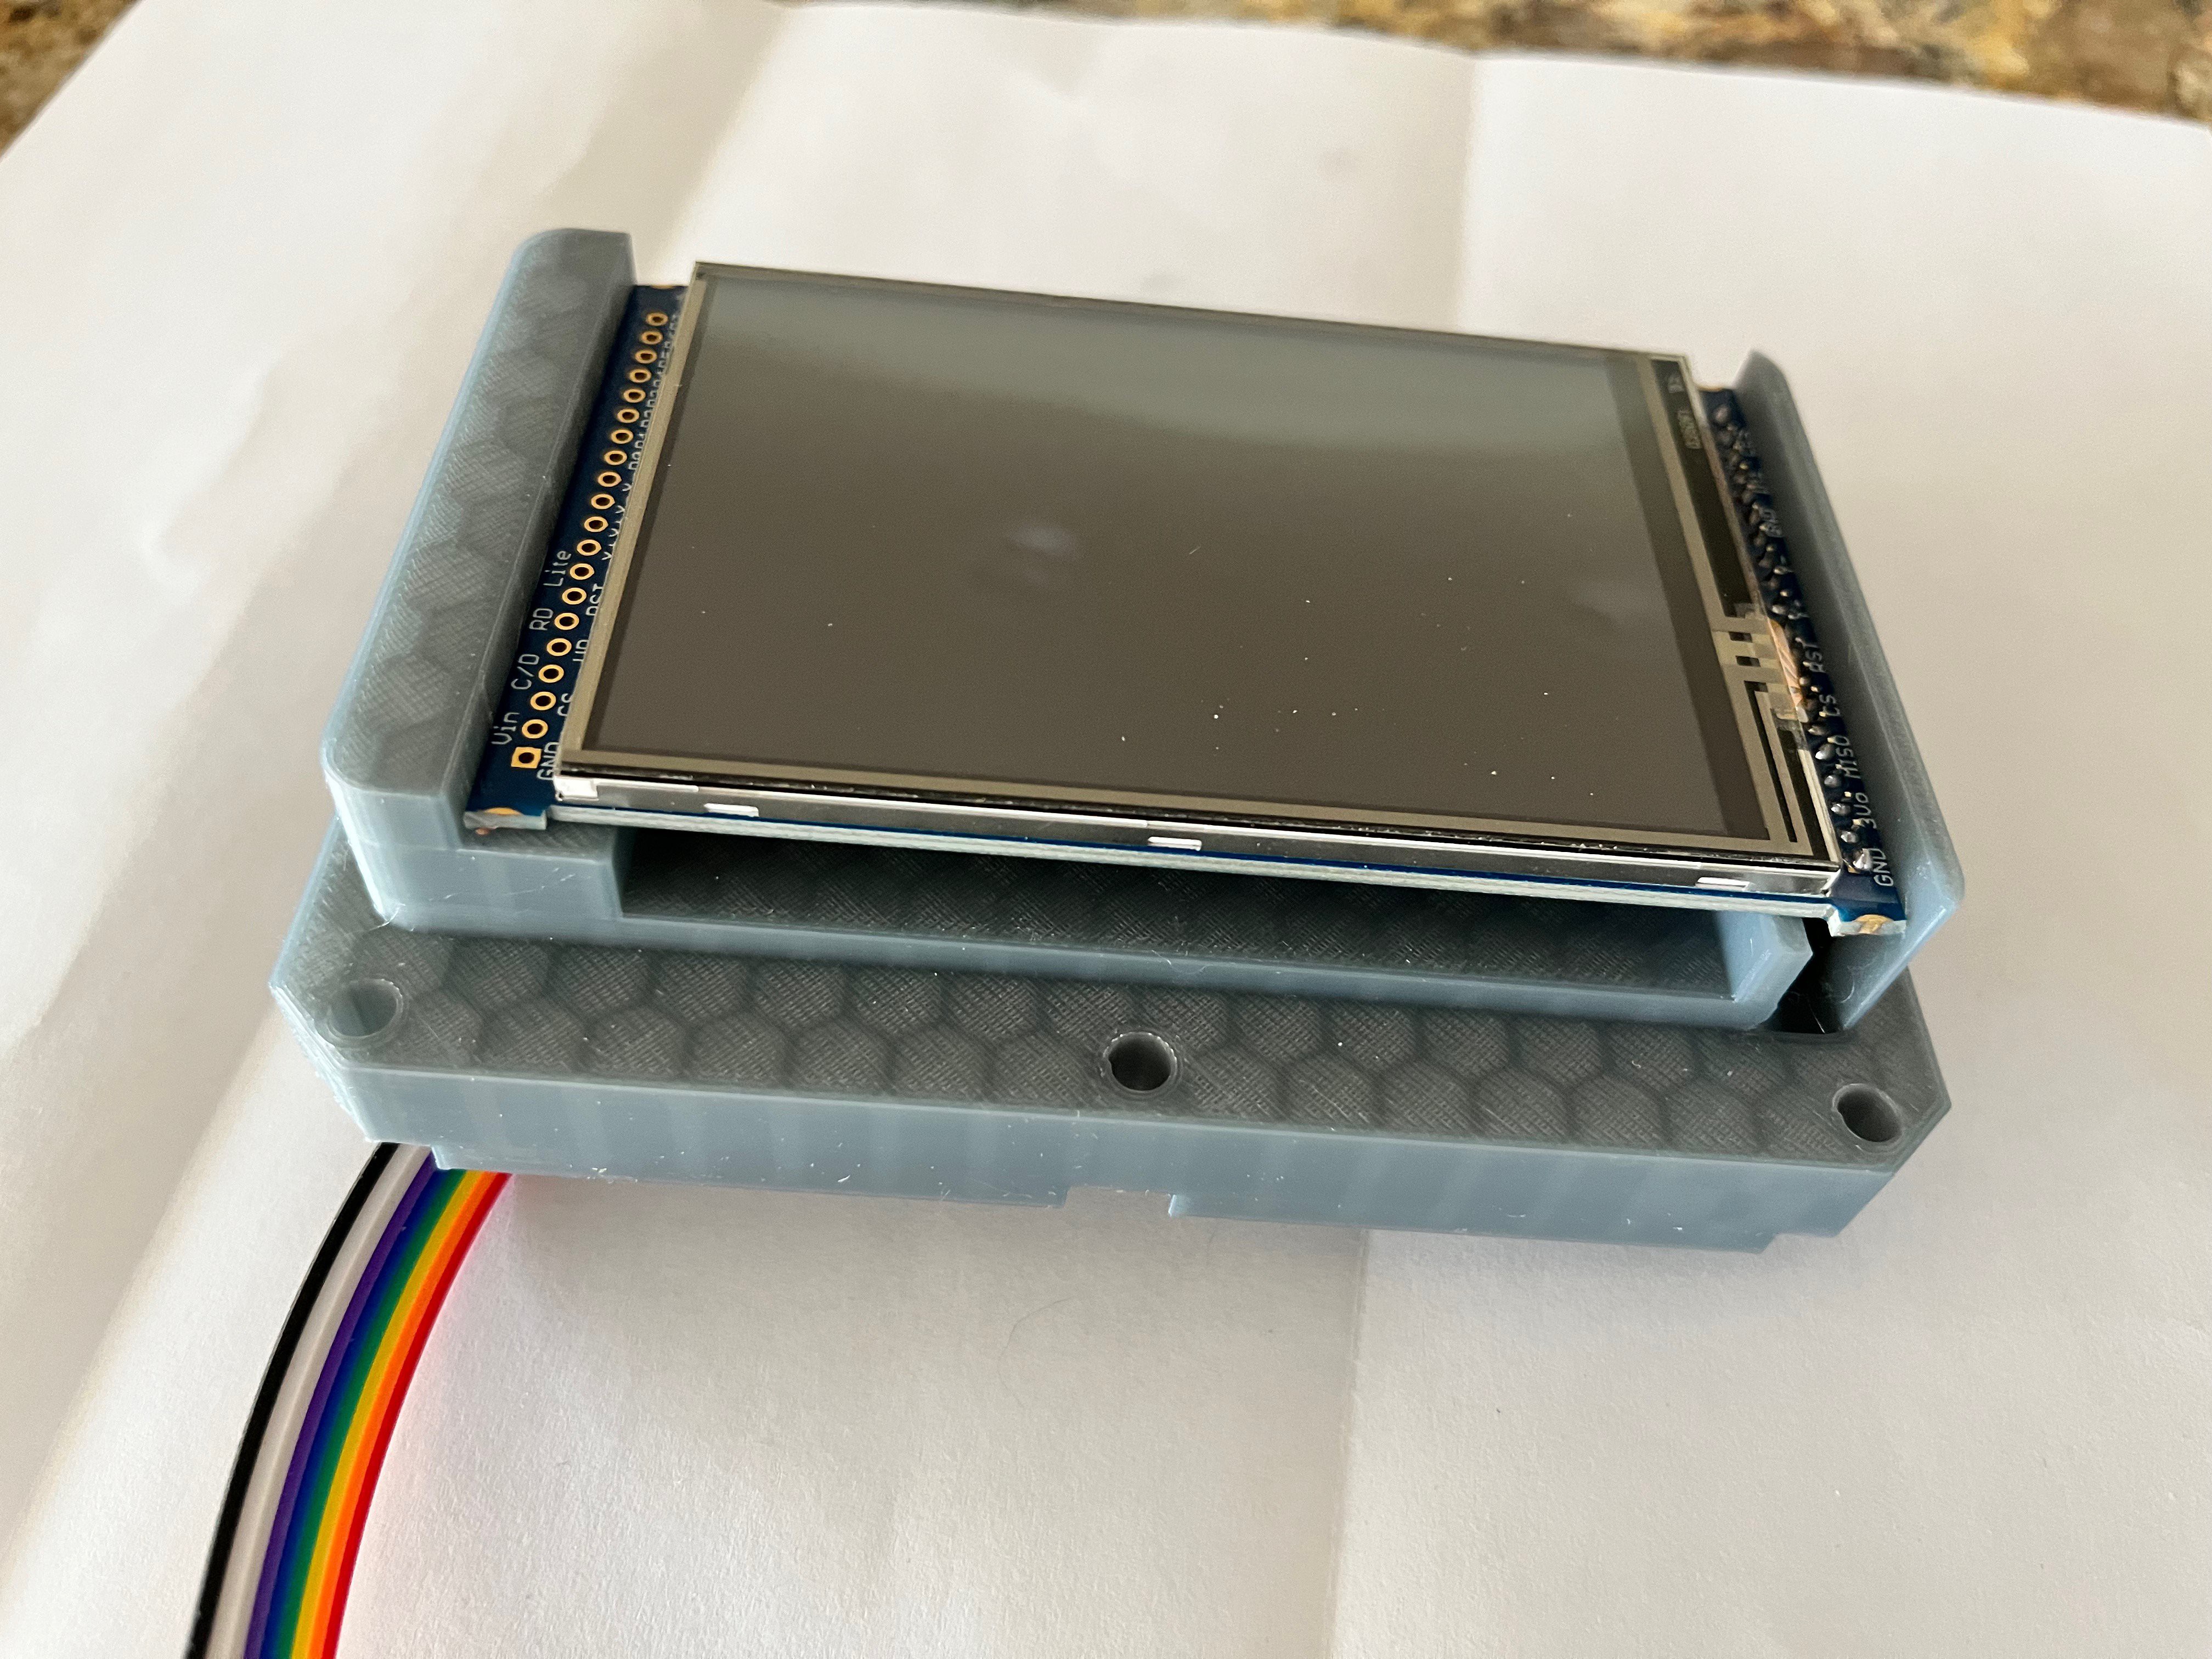
I won't show every part but here is the front 1/3 of the DSKY which consists of 11 printed parts. I have installed one of the LCD panels. The other one is being used to develop code.
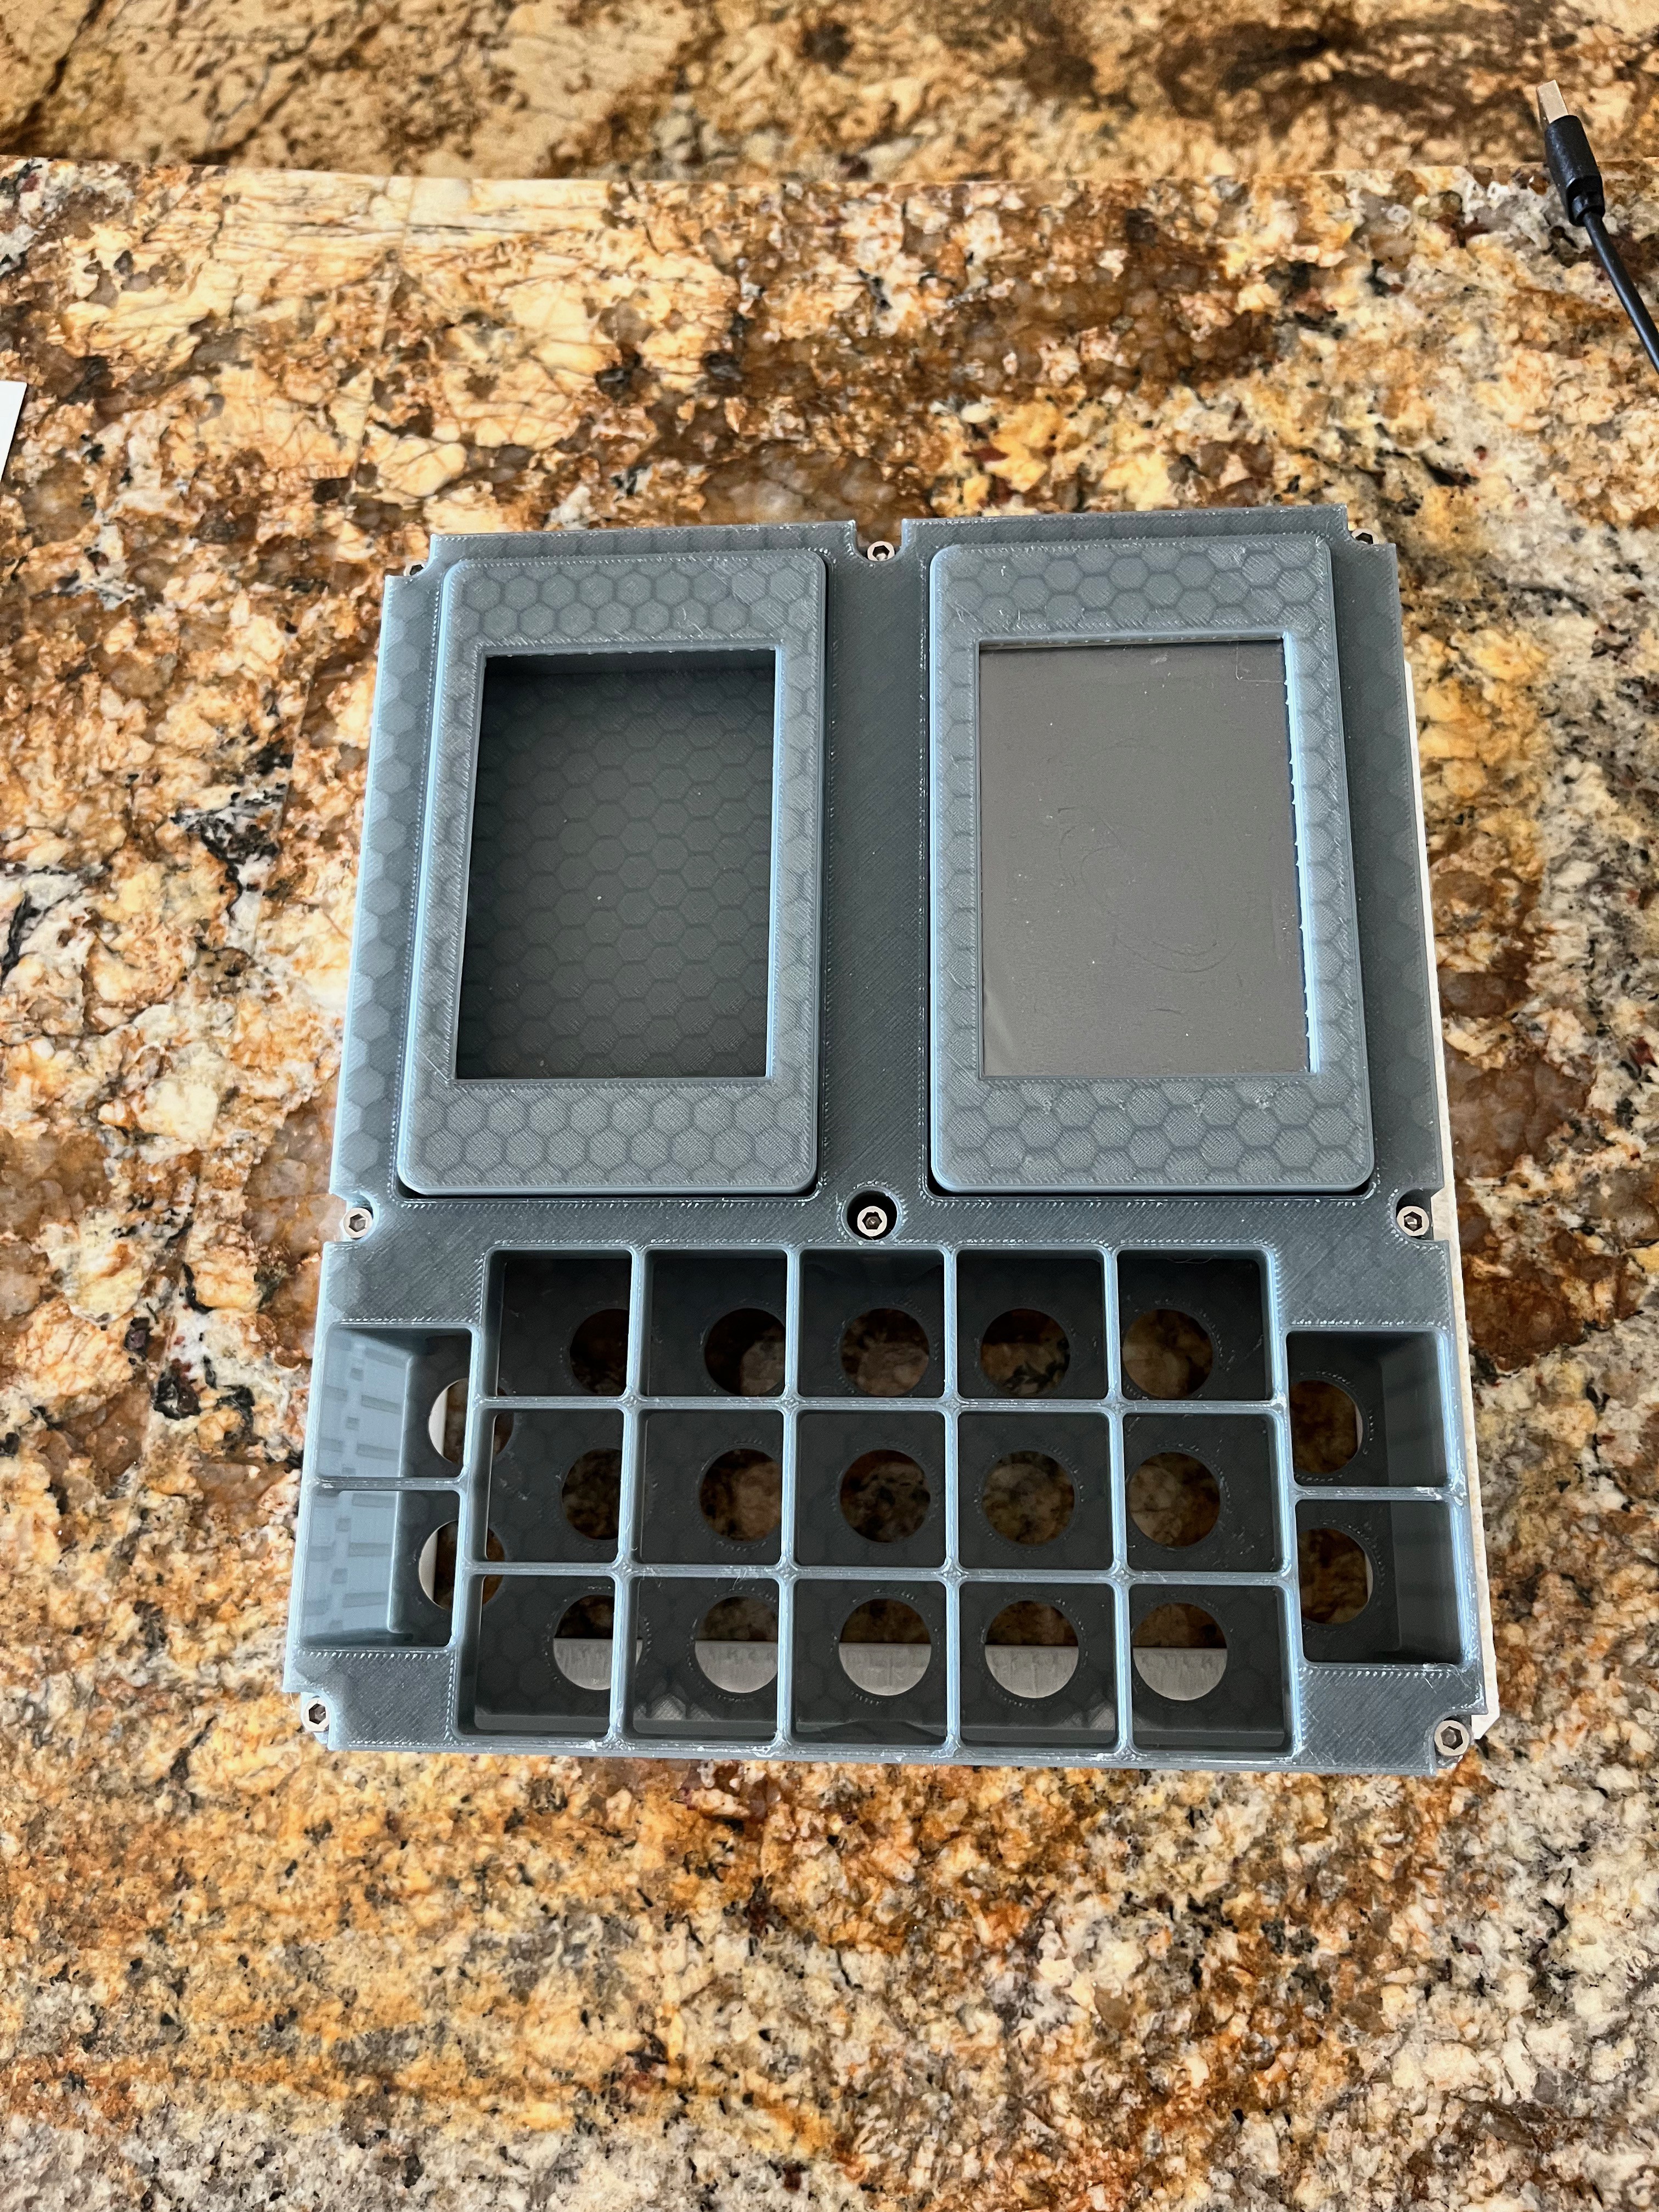
To mount the LCDs I needed to make the opening in display covers a bit smaller and I modified the underlying block to press fit the LCD board and create a hole for the wires to pass. Notice that I cut off the mounting tabs of the display to get the display to fit under the cover.
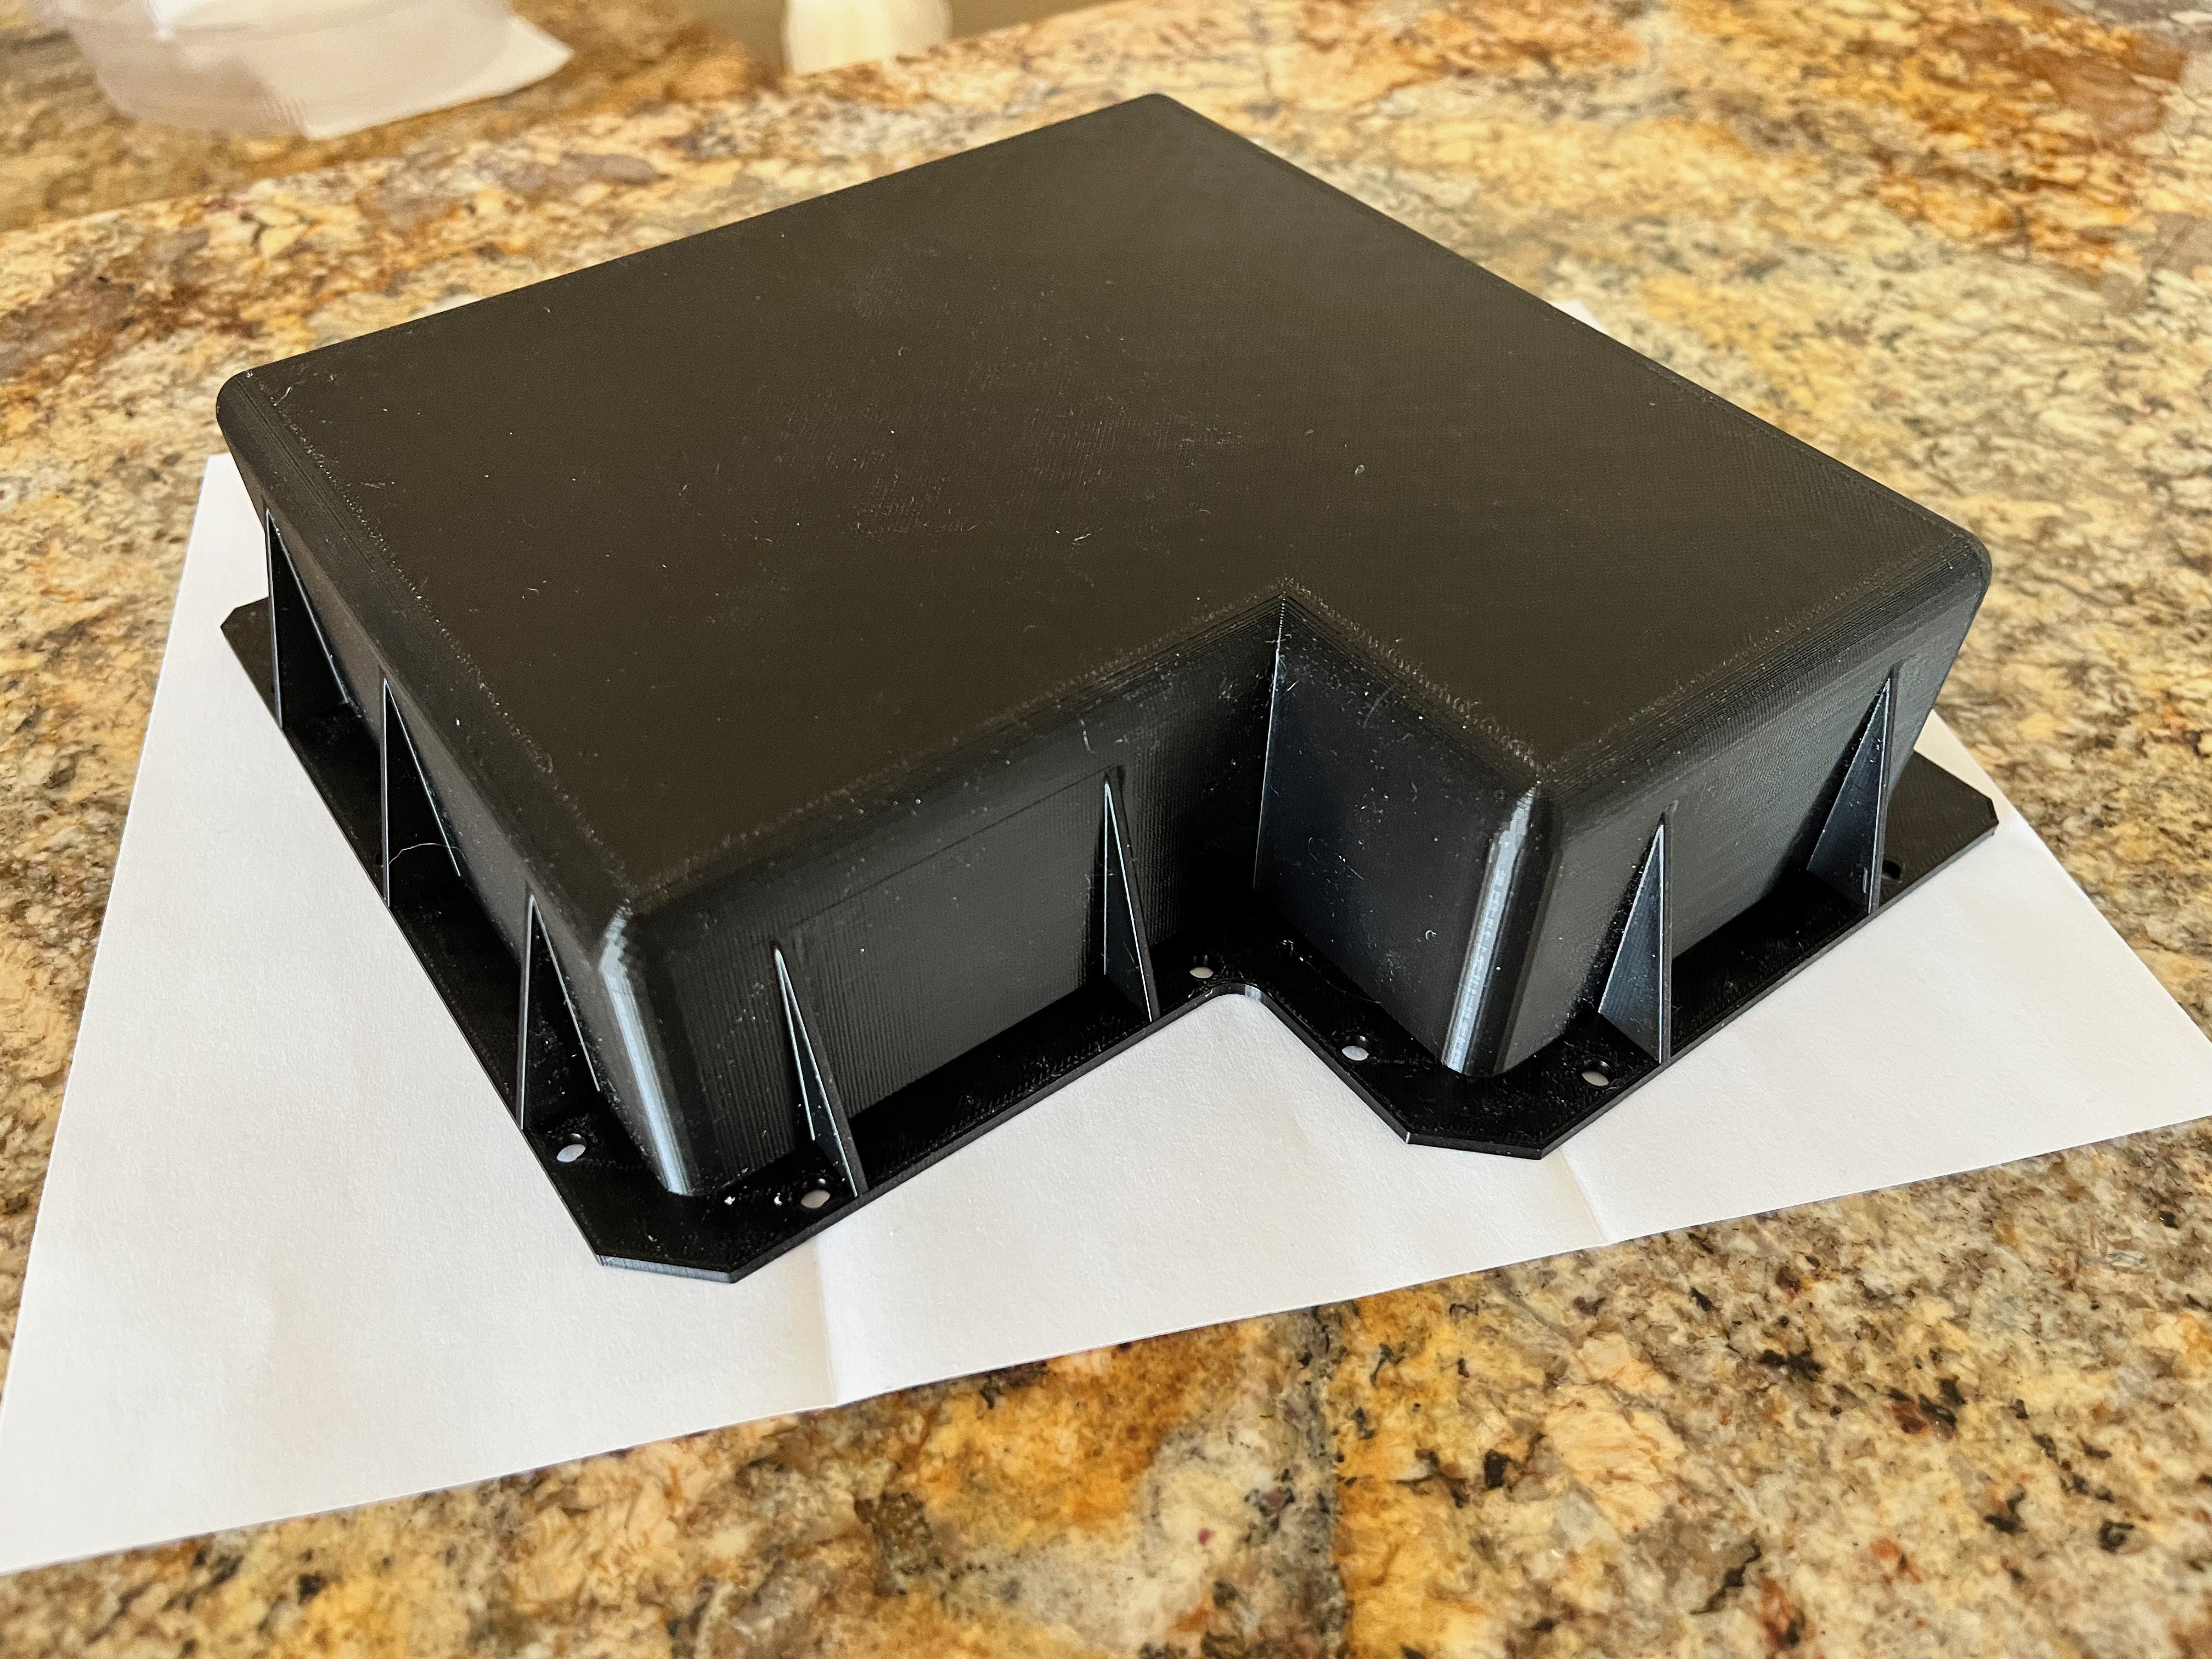
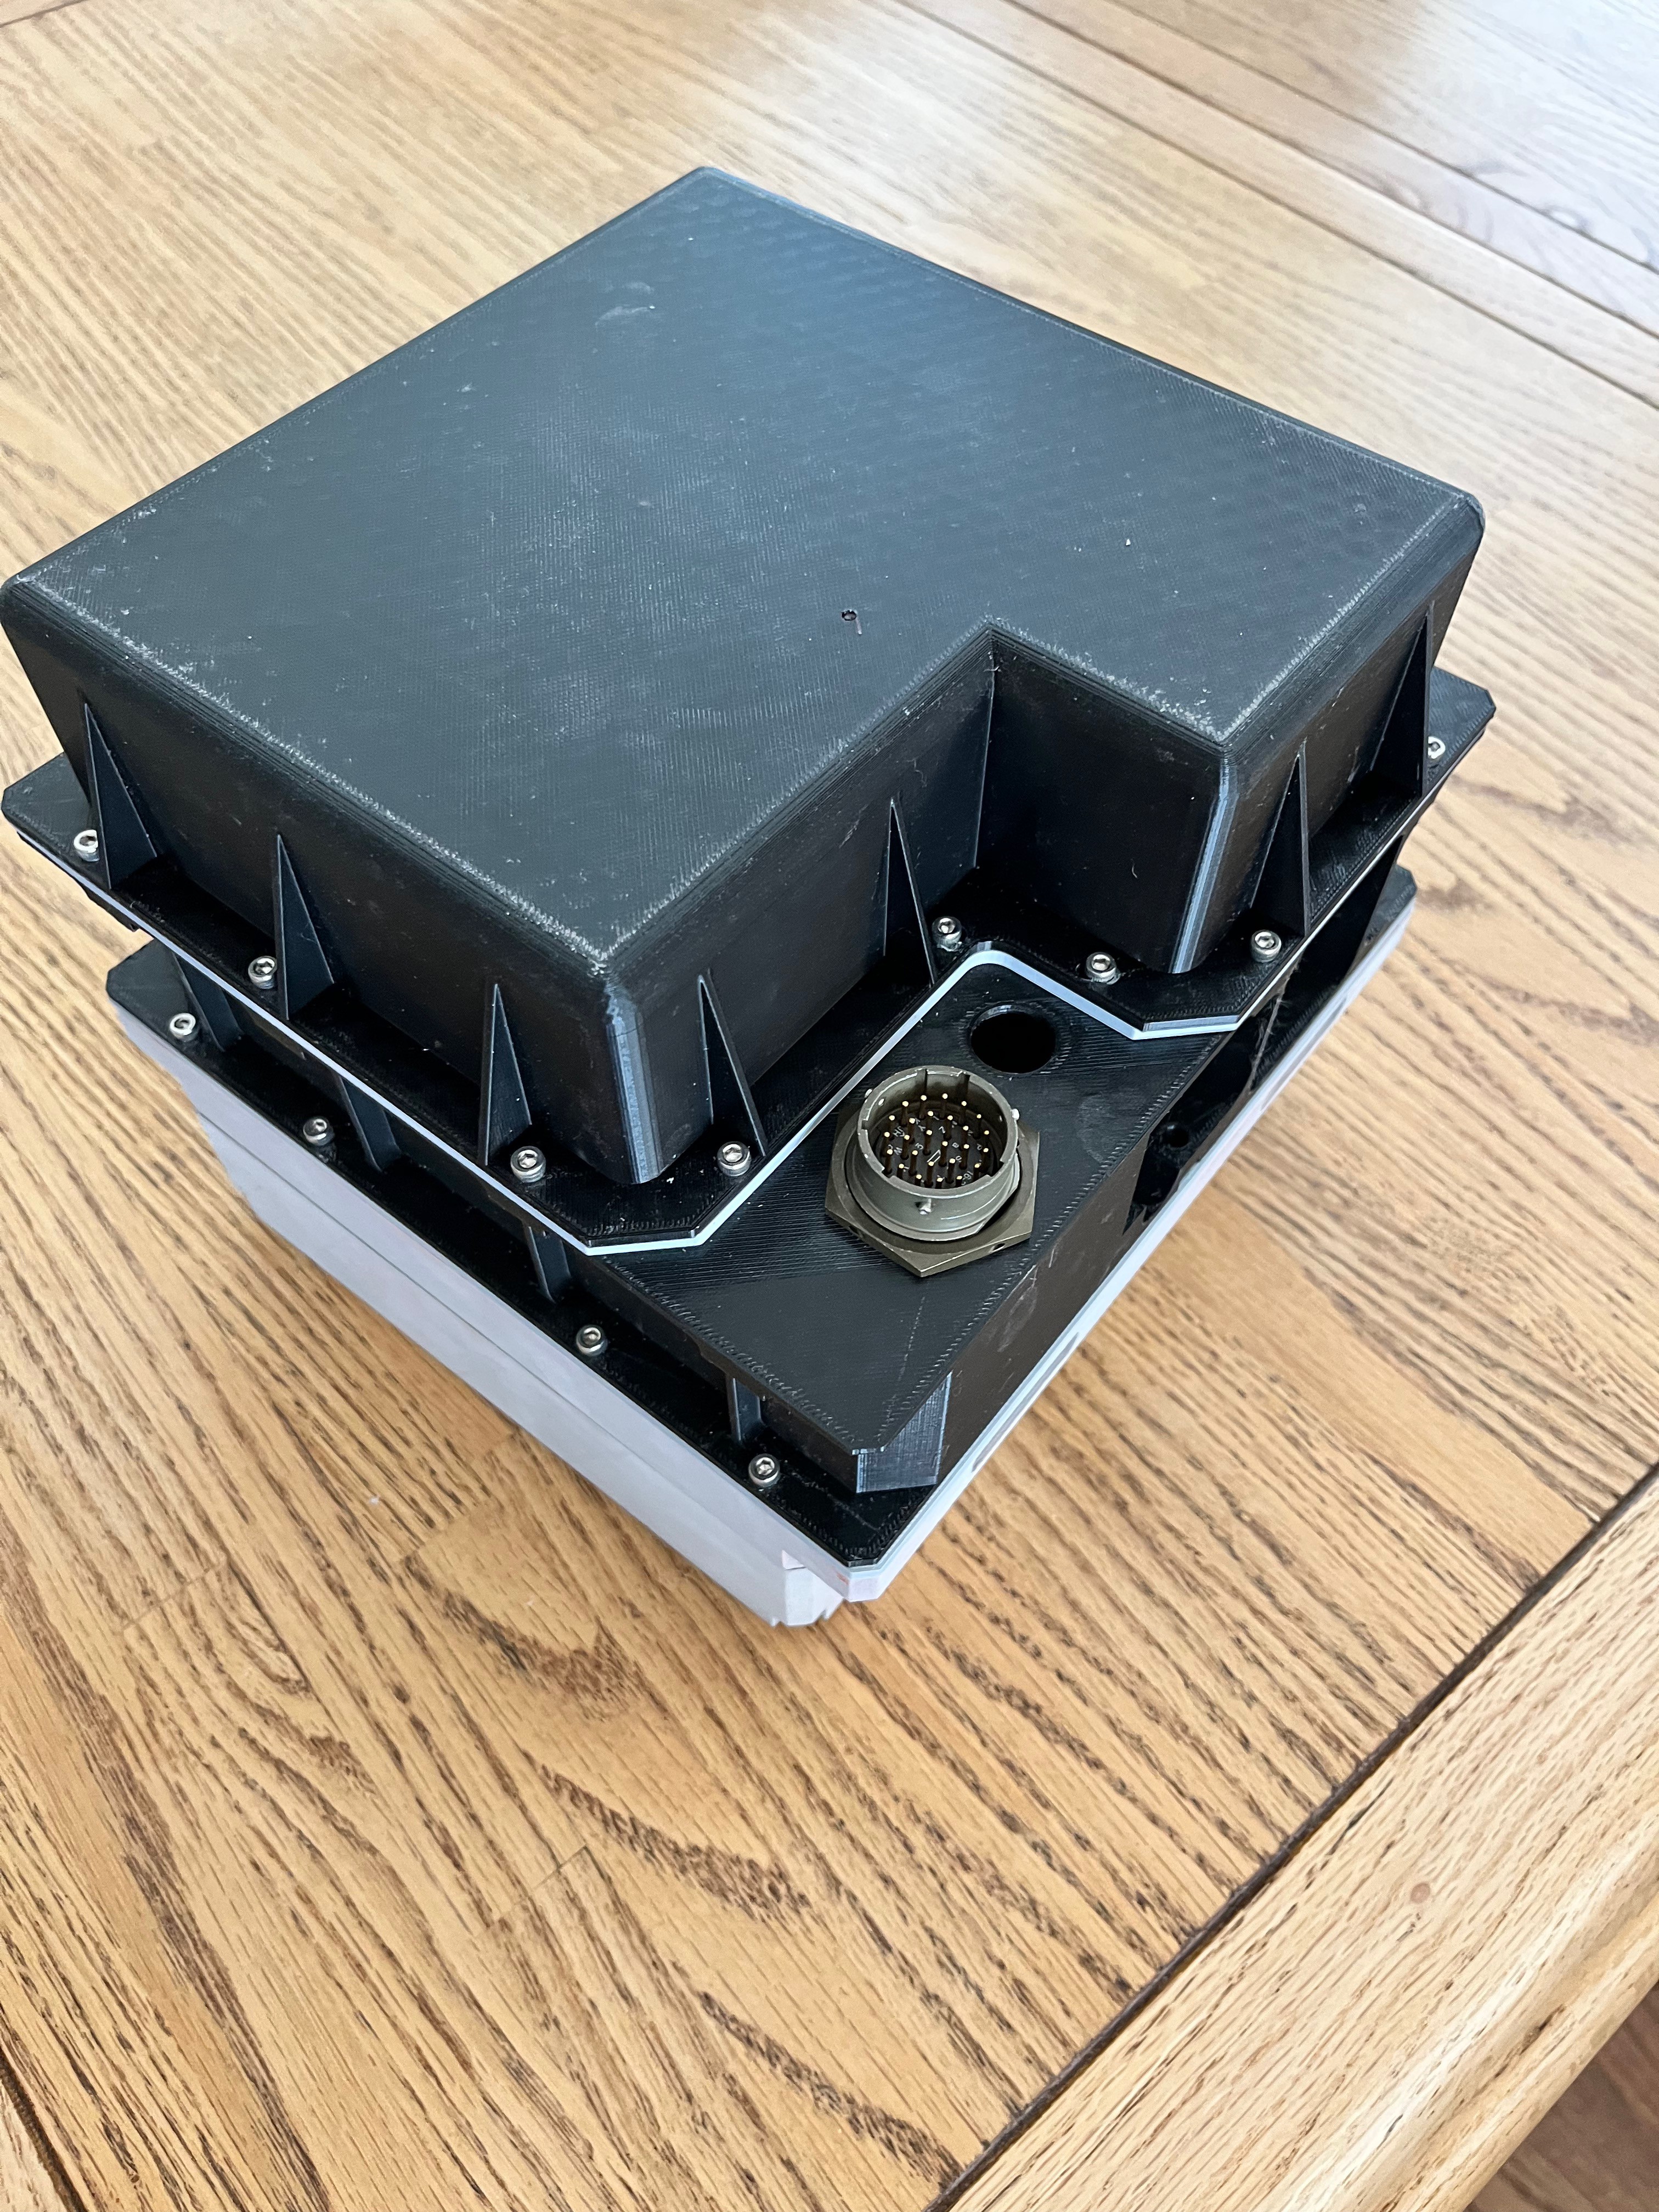
Here is the back cover finally complete. It took 36 hours to print. Since this part is supposed to be black and it came out so well, I probably will leave this part as is.
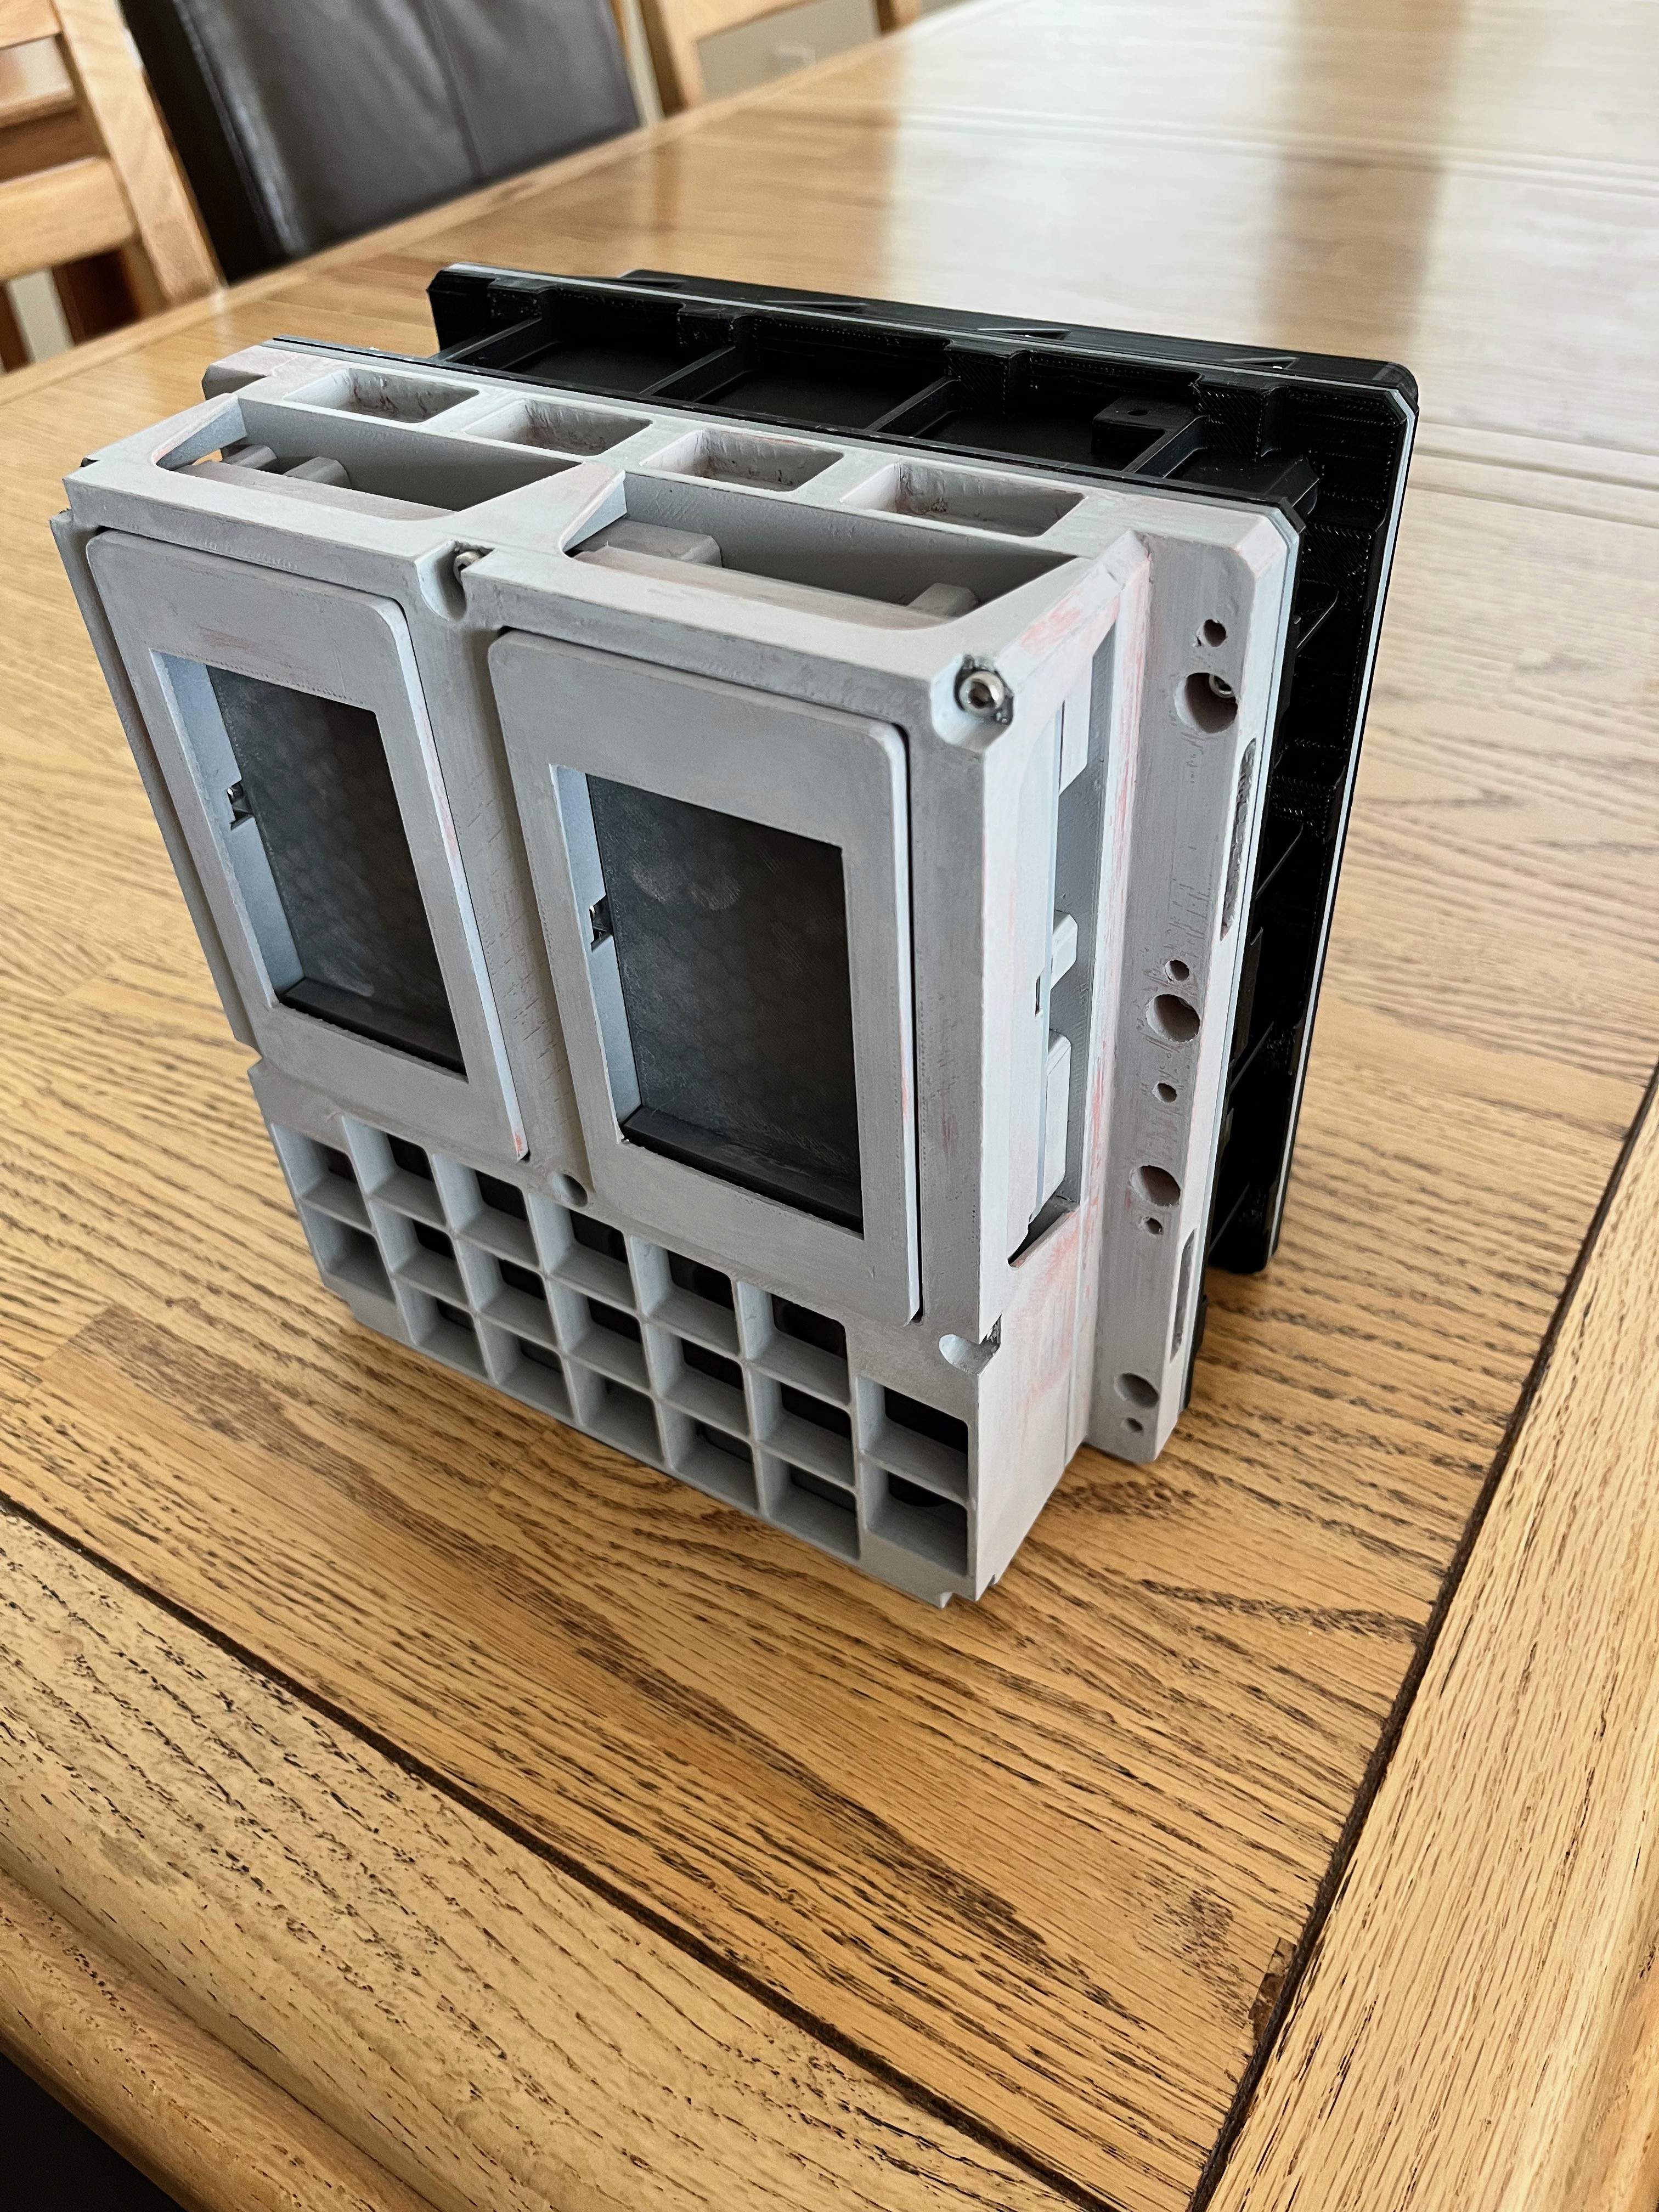
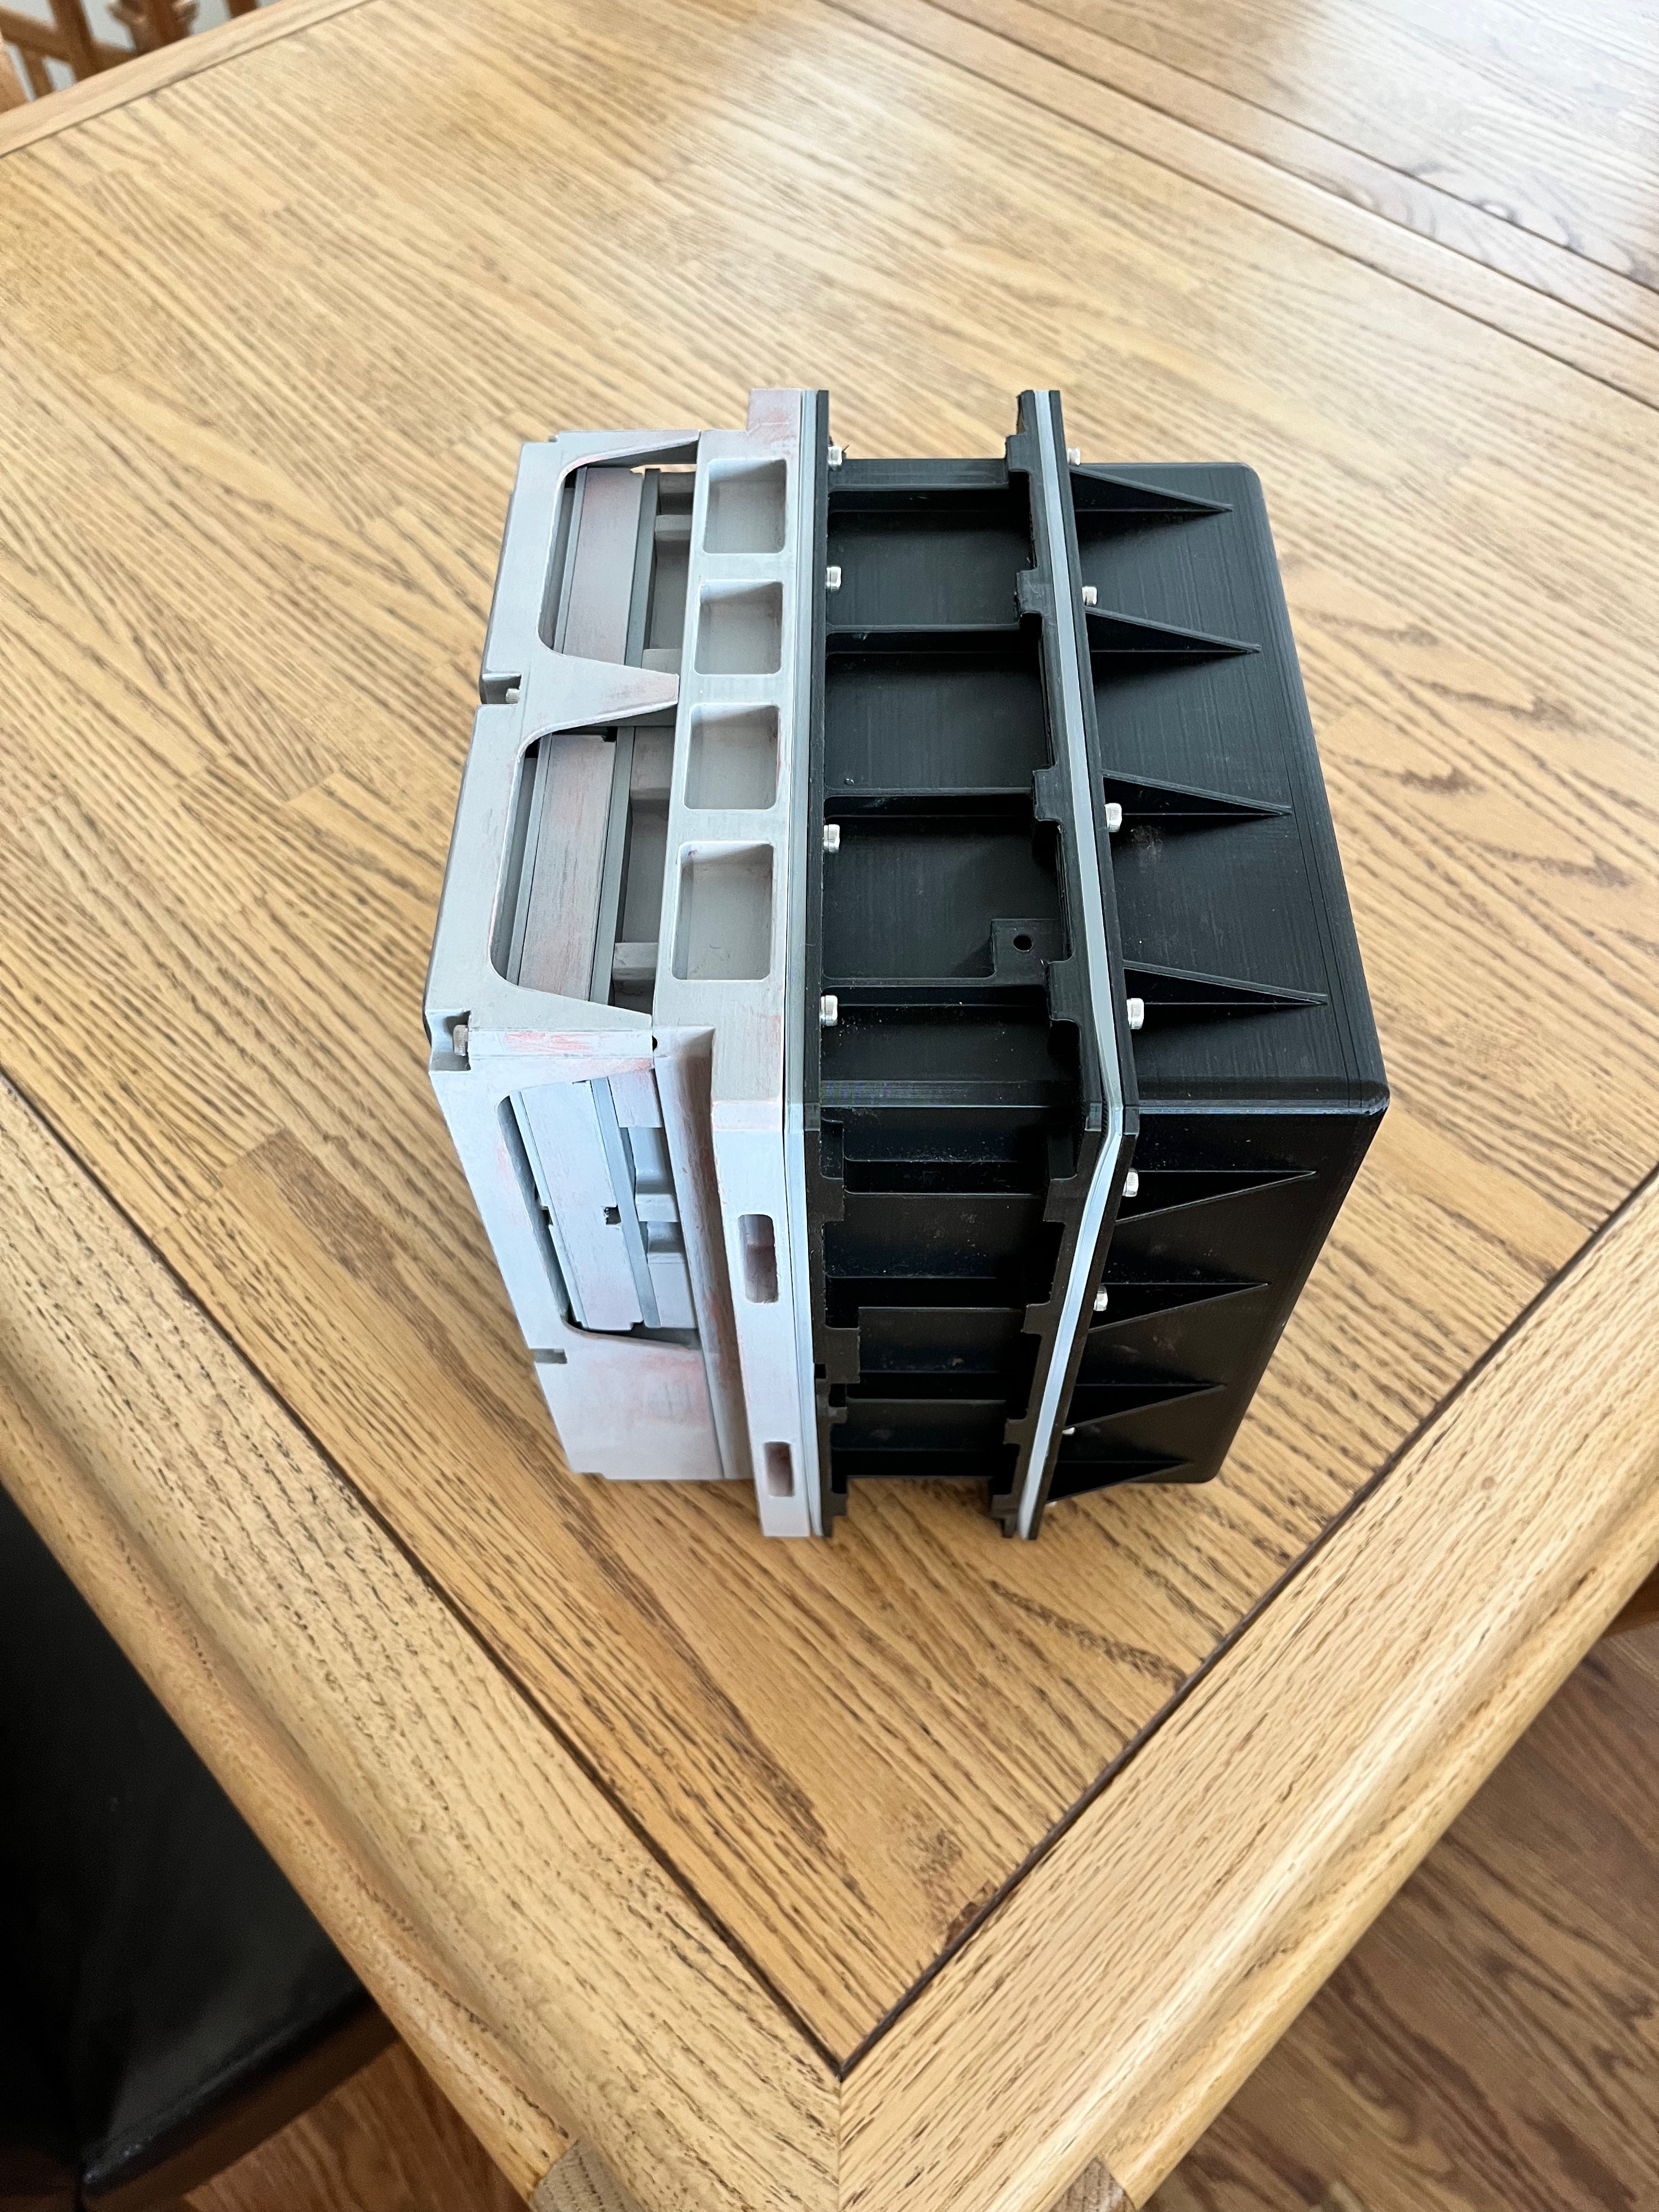
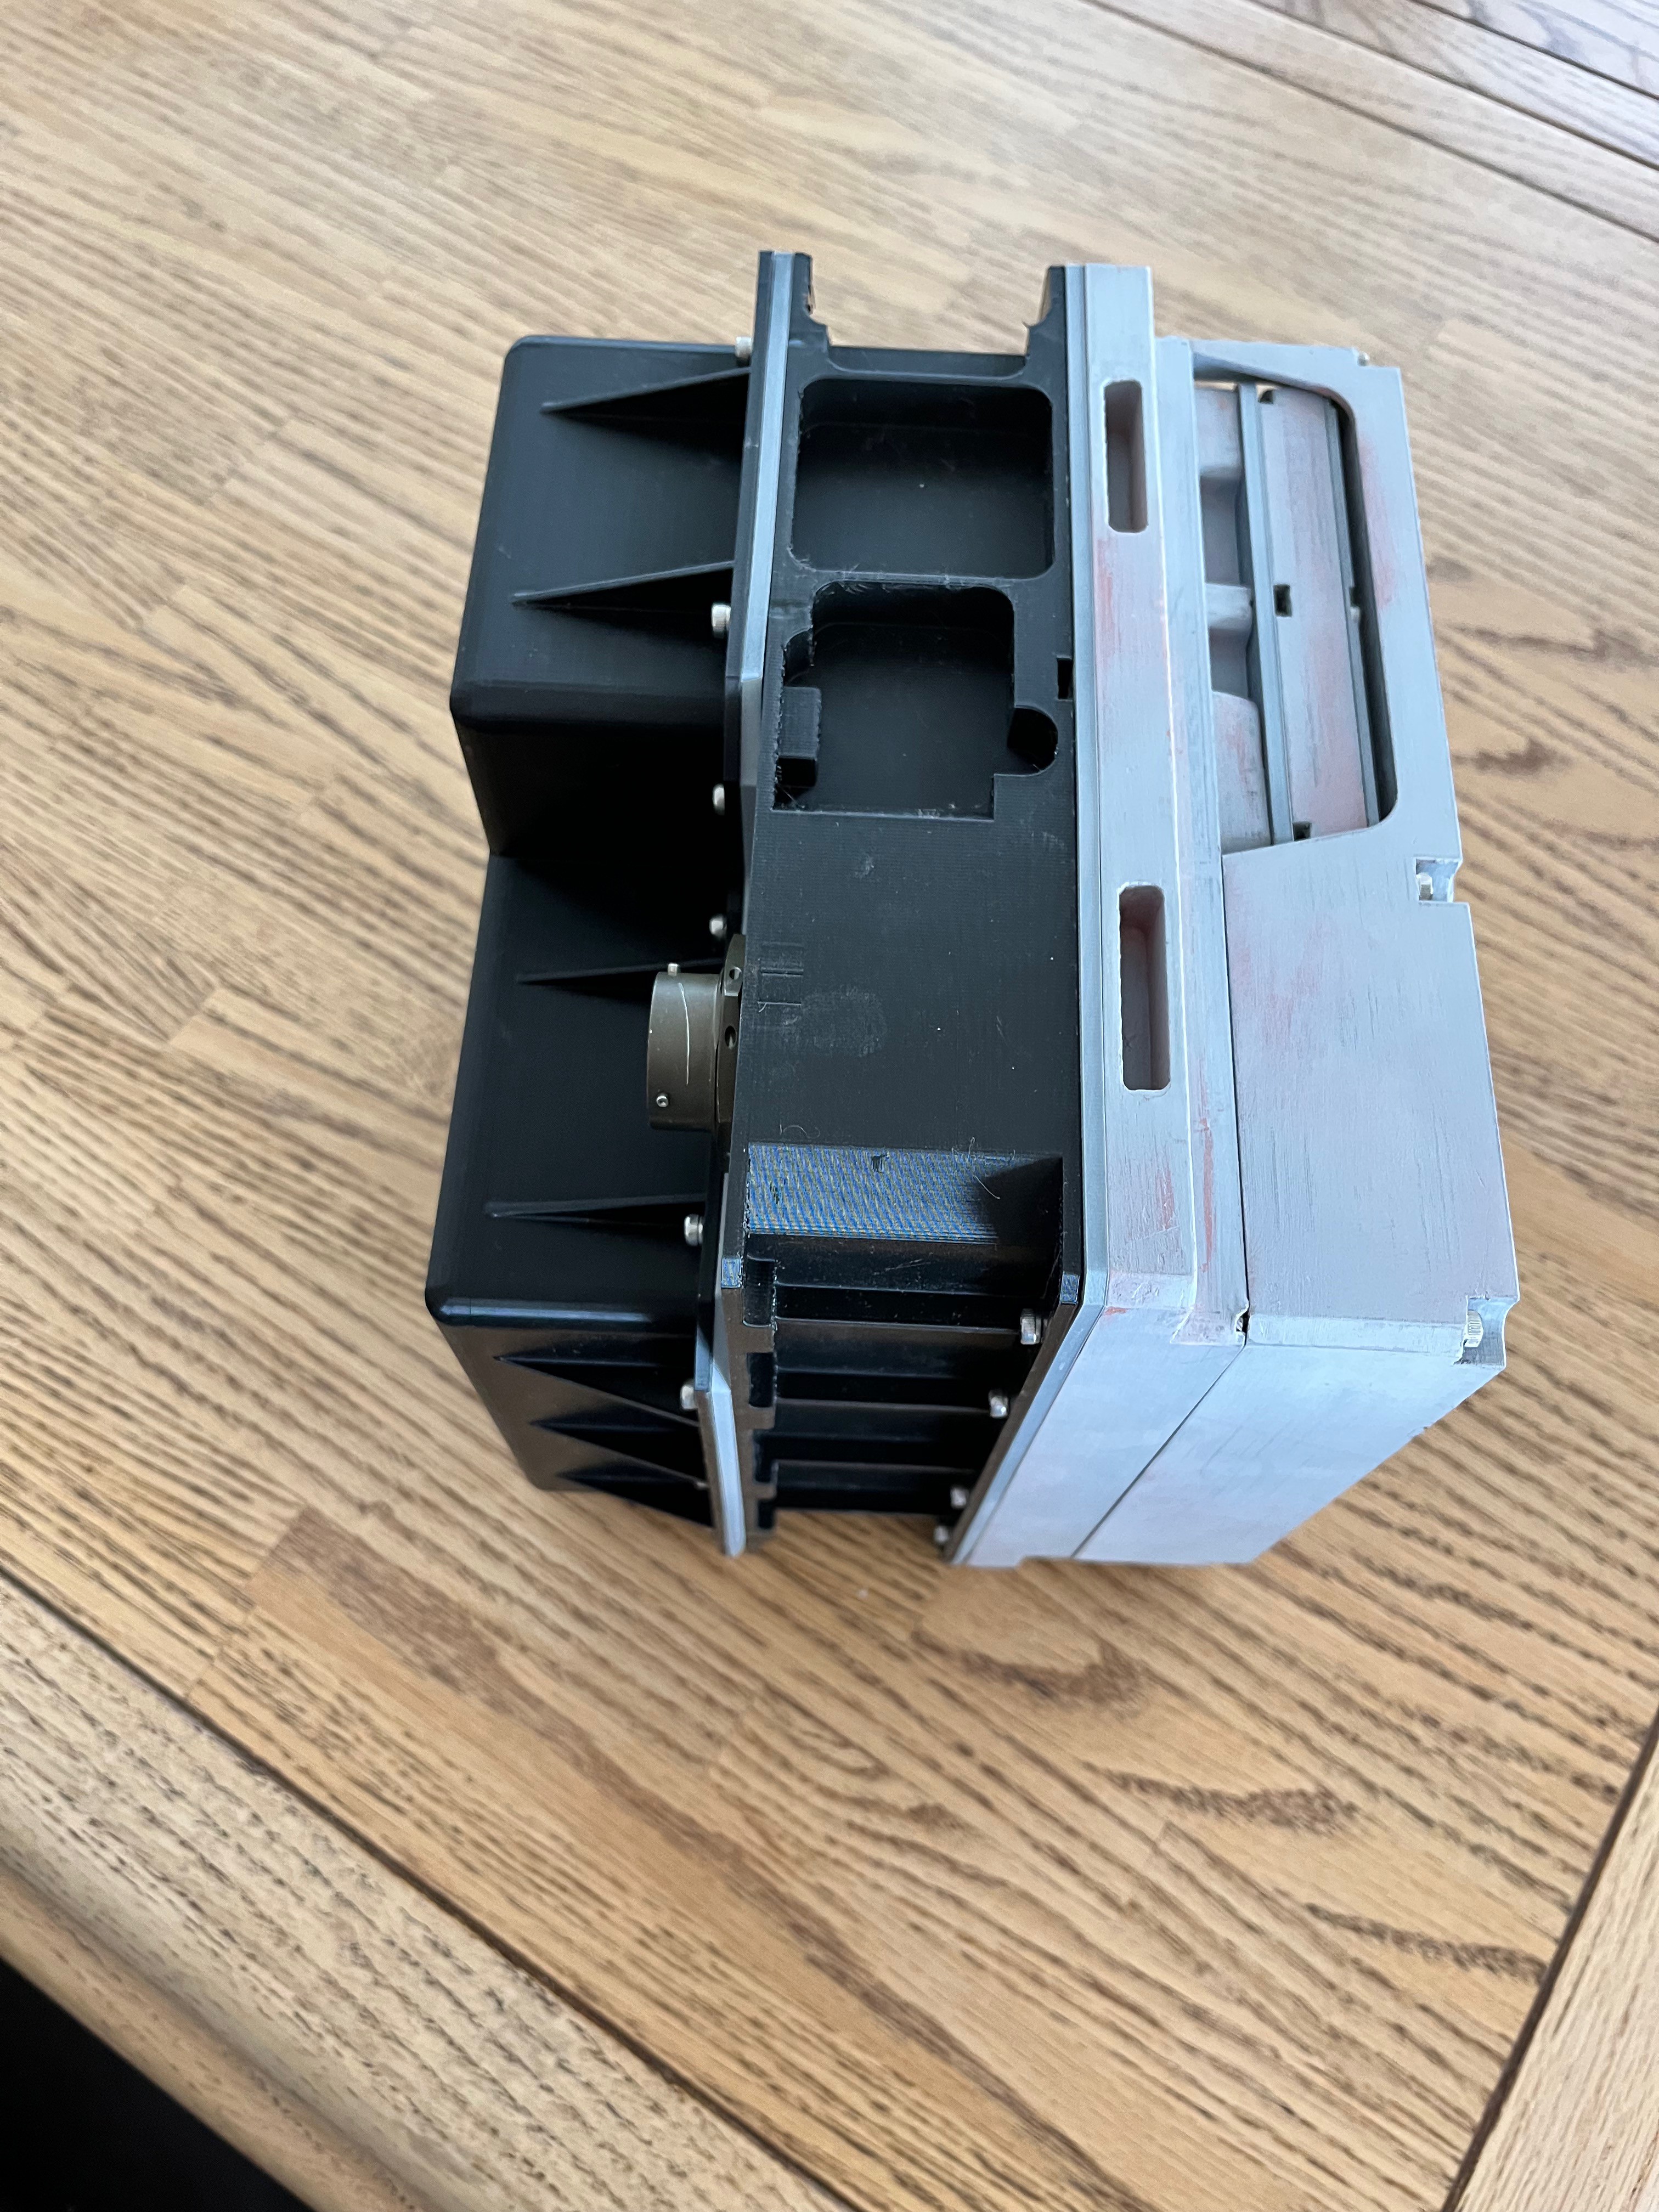
I have now completed the 3D printing of the parts and have assembled them to test the fit. Everything came together perfectly. Here are some pictures of the plastic. I did not install the keys yet because I am still waiting for paint to be delivered.
Discussions
Become a Hackaday.io Member
Create an account to leave a comment. Already have an account? Log In.