 Guillermo Perez Guillen
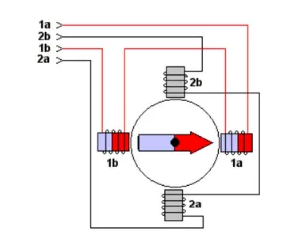
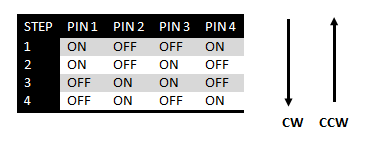
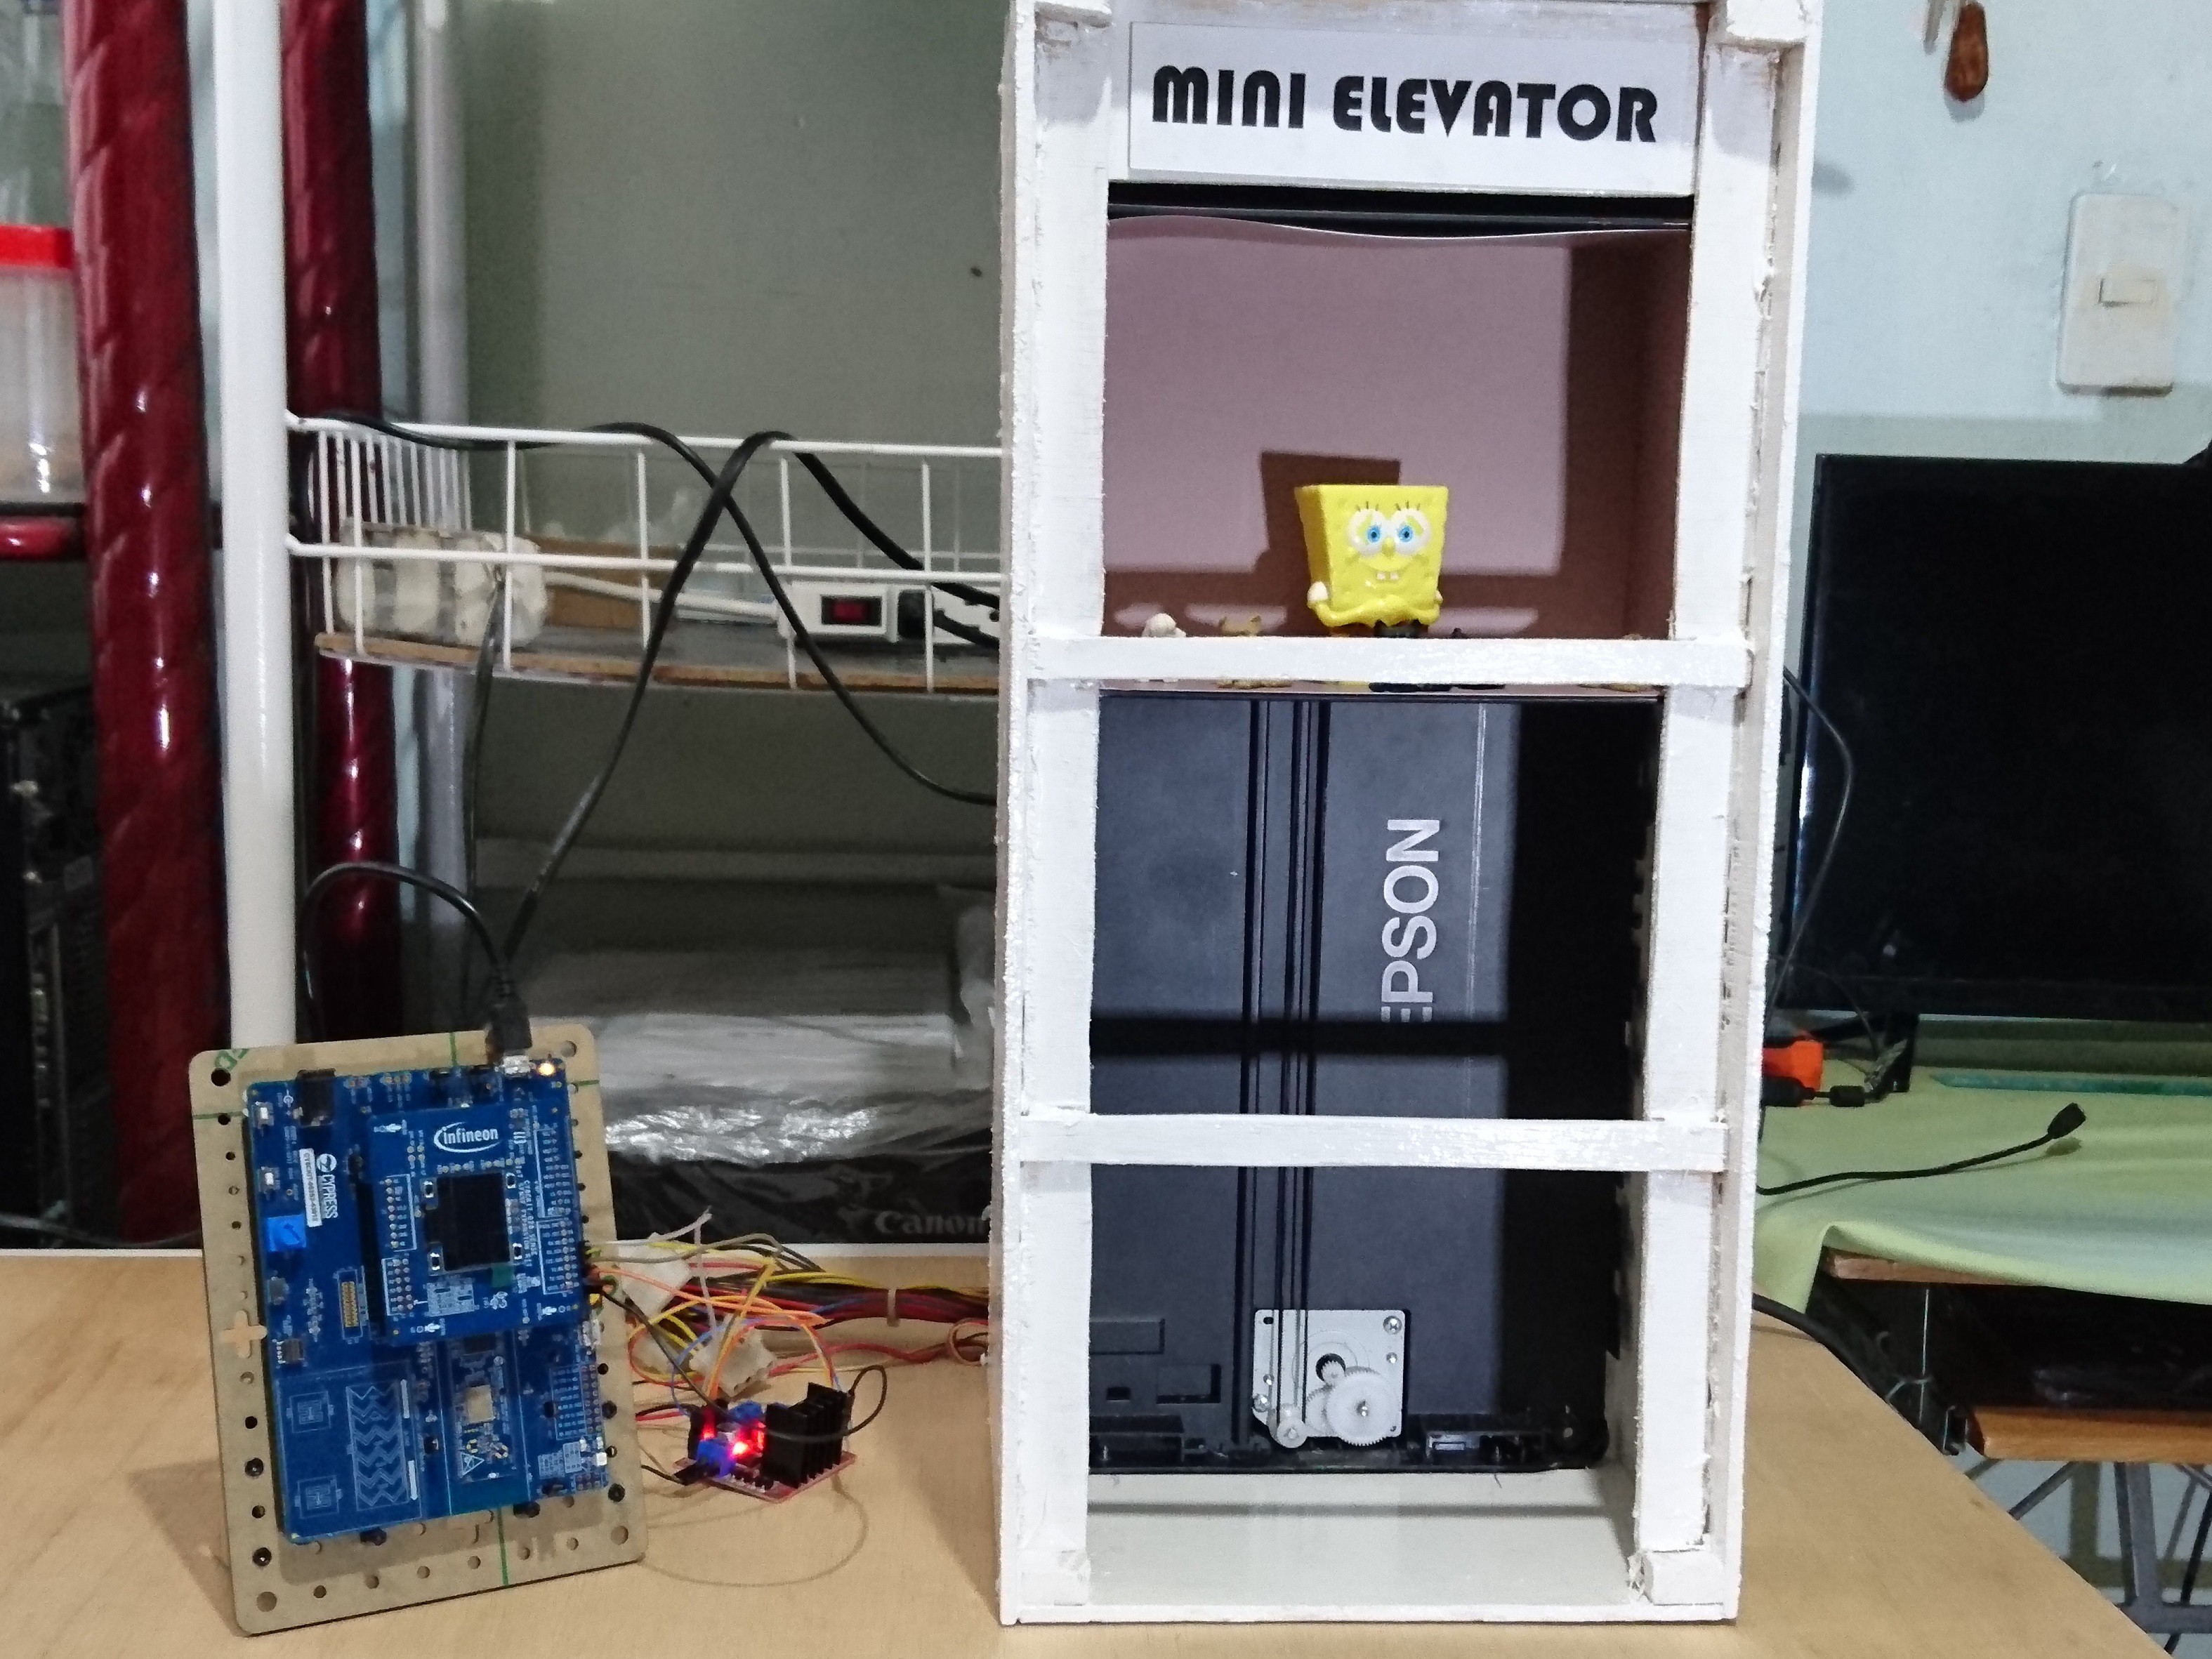
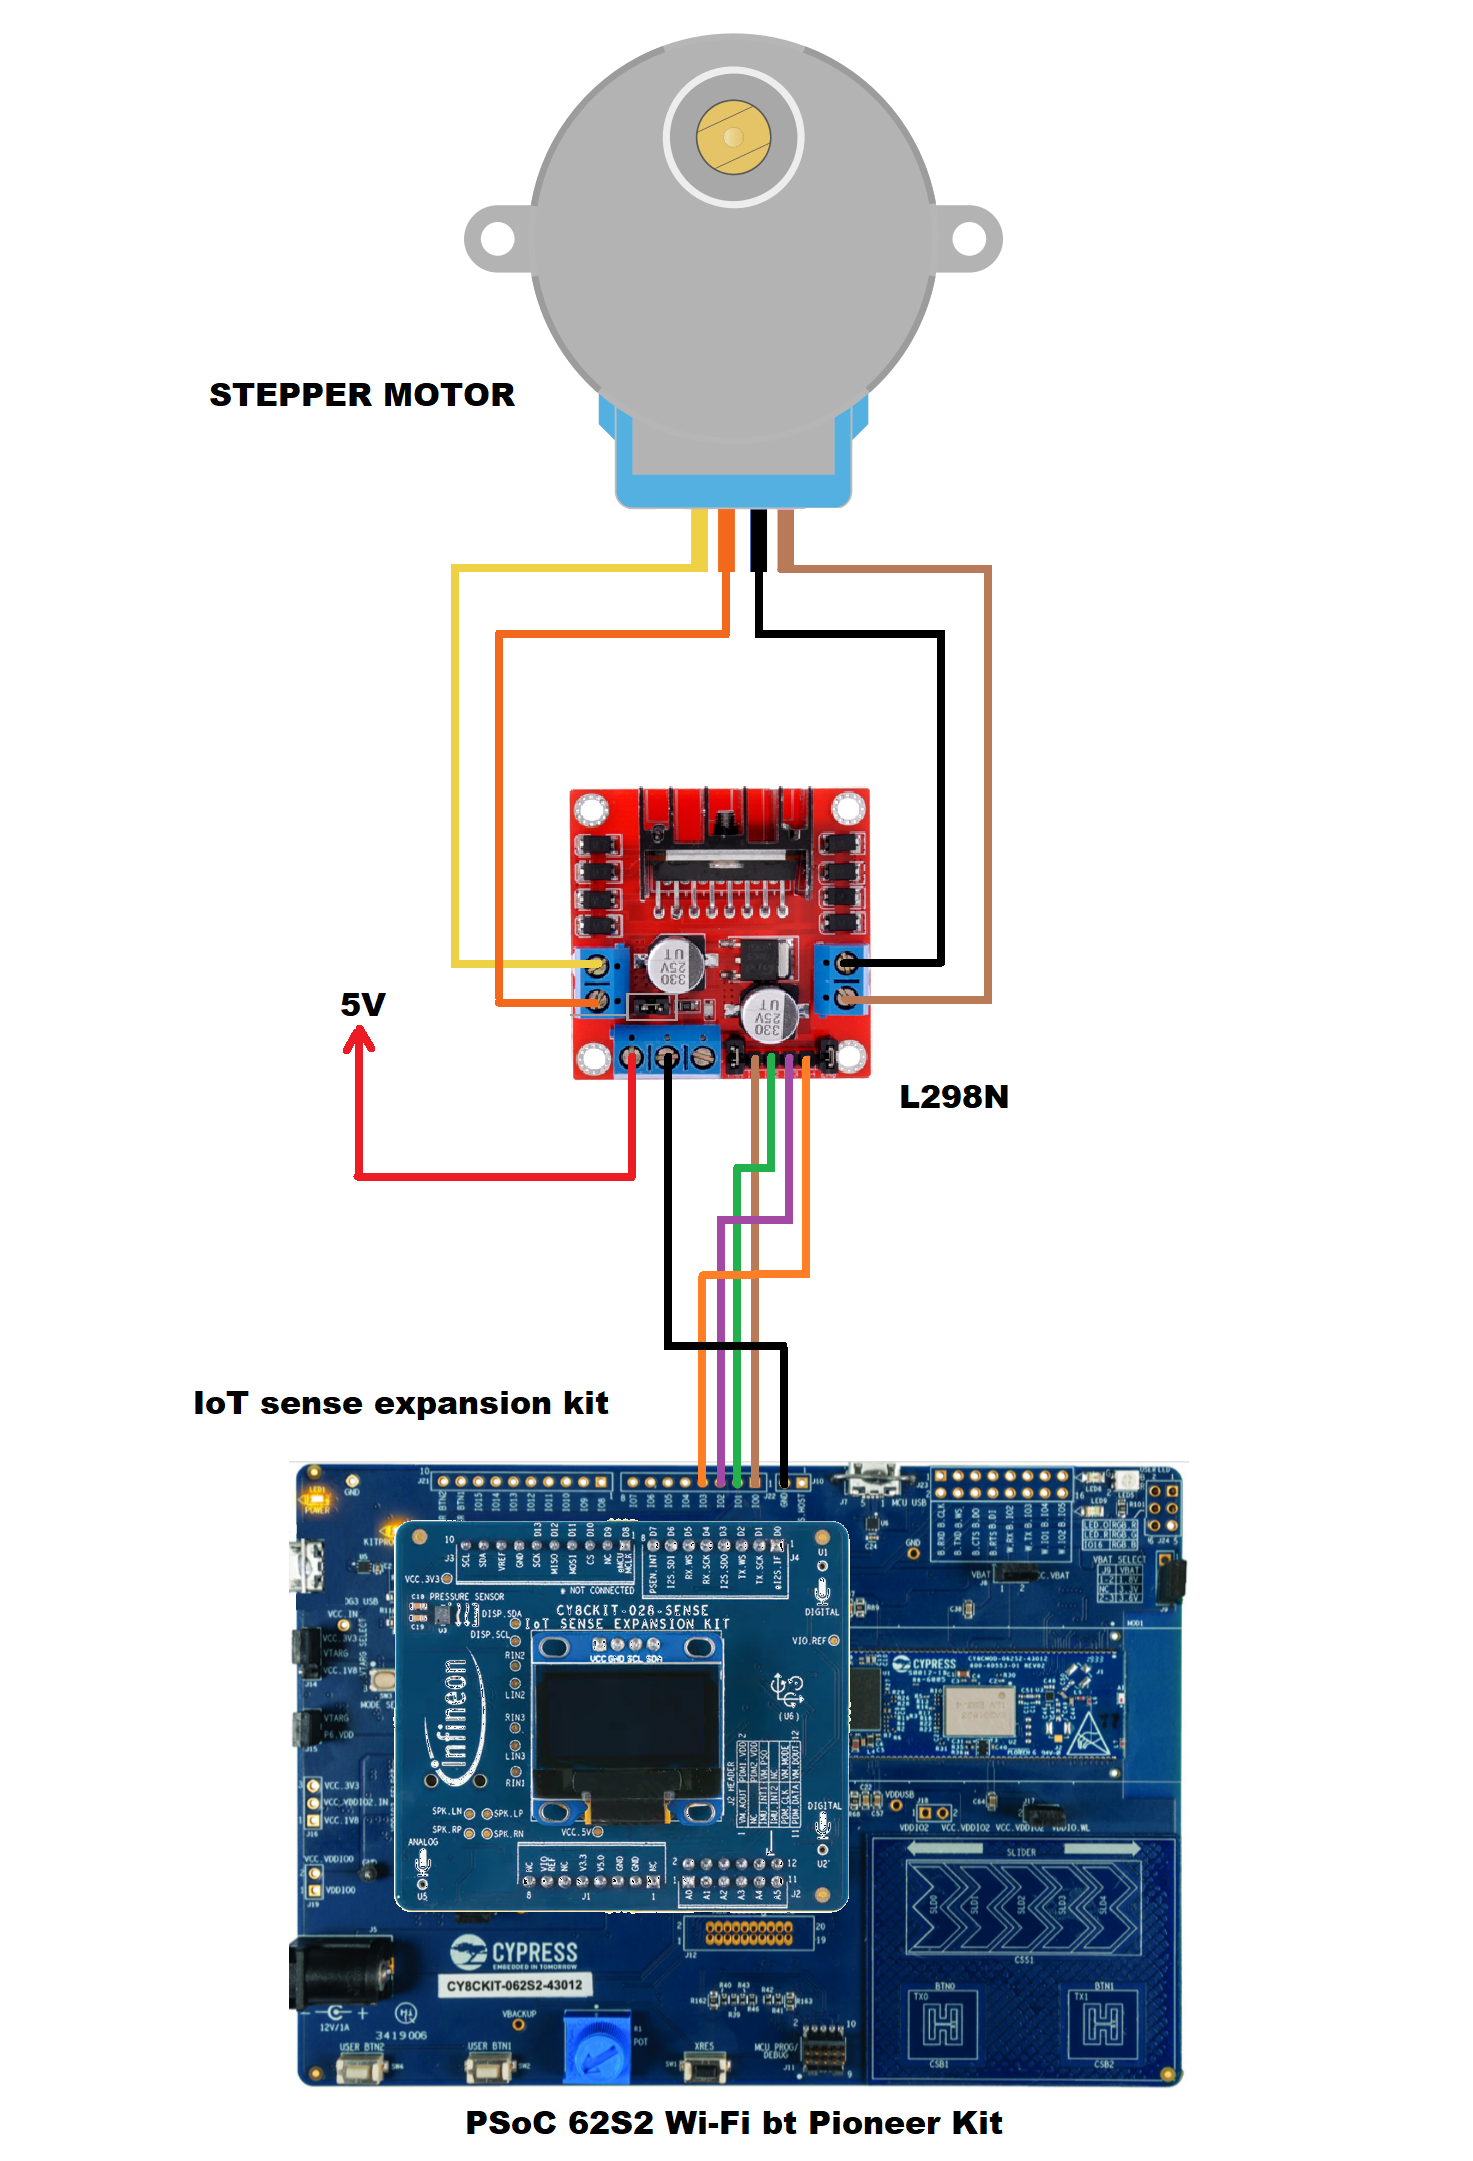
This is a smart elevator to scale. A real elevator probably uses a huge A/C motor with sensors at each floor location. We certainly could use this approach with a smaller-scale but putting sensors at each floor is a lot of wiring, and we would have concerns about sensitivity and alignment. On the other hand, a stepper motor can be positioned precisely, but we would have to know exactly where we are and how far we have to go to do that; fortunately, I know how to use stepper motors and looks more interestingly. The other design concern will be with the elevator call buttons; here I will use machine learning with Modus Toolbox and Picovoice to control the ascent and descent using voice commands
0%
0%
Smart Mini Elevator
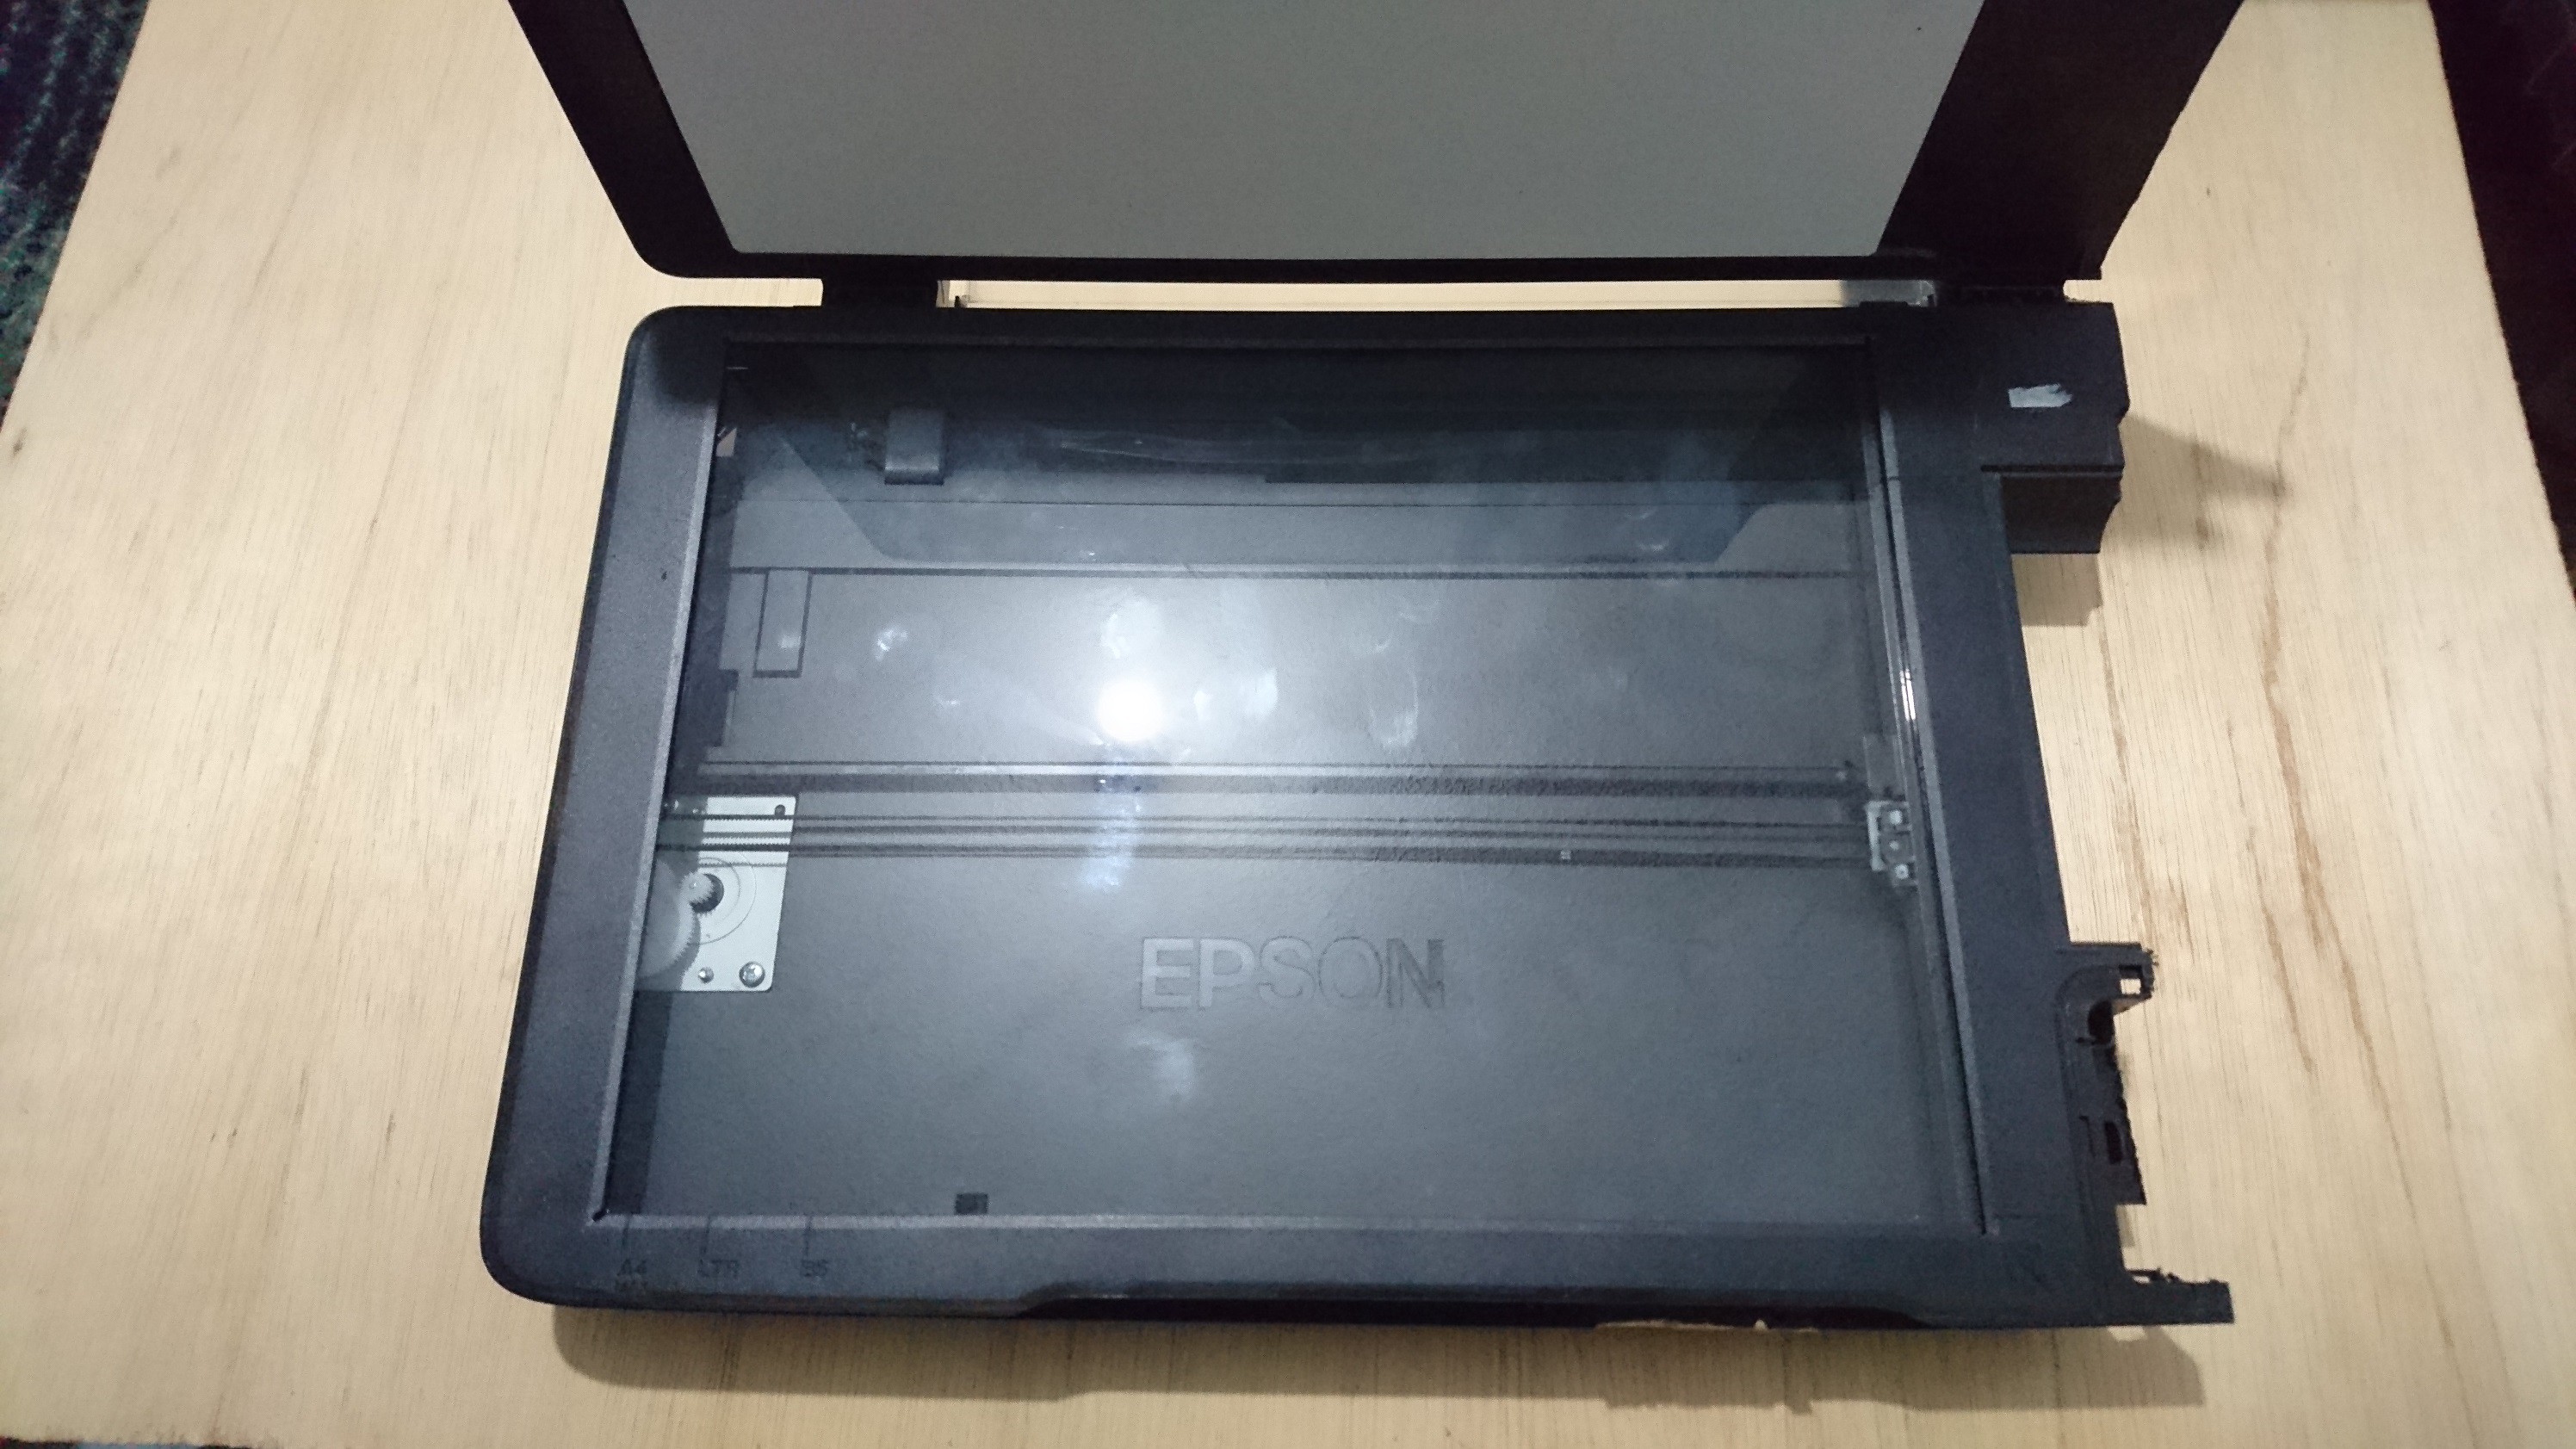
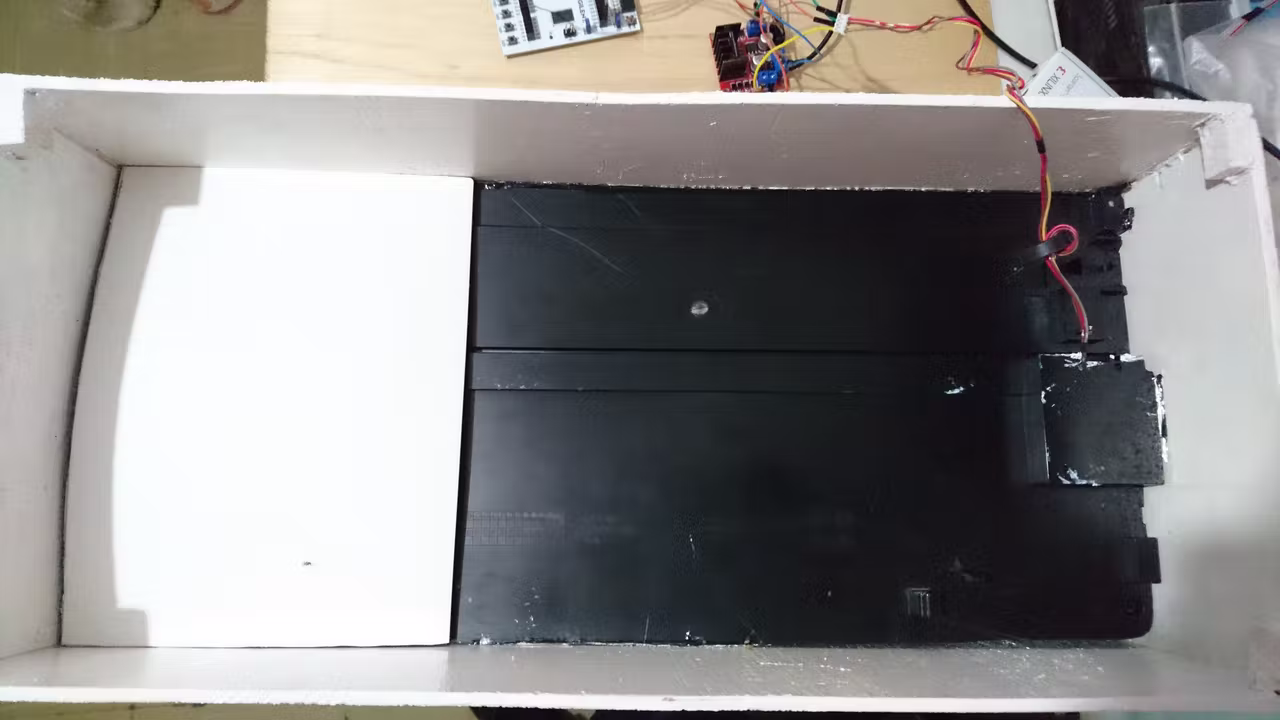
Old scanner hacked and turned into smart mini elevator
Become a Hackaday.io member
Already have an account? Log in.
Just one more thing
To make the experience fit your profile, pick a username and tell us what interests you.
Pick an awesome username
hackaday.io/
Your profile's URL: hackaday.io/username. Max 25 alphanumeric characters.
Pick a few interests
Projects that share your interests
People that share your interests


 Gombe
Gombe
 Blecky
 Roman
Roman
Also, this project is sustainable, because to build it I have recycled old electronic components and wood.