Close
0%
0%

PostCycla

DIY smart bike trainer with "virtal ride" capability

Similar projects worth following
I'm currently riding up to 100 km a week on my bike.
But since "Winter is coming" ..it's getting pretty cold and dark.
So I decided to upgrade my old bike trainer to a bekome a "smart" bike trainer to have a way of keeping in shape.

I saw Zwift and the new Tacx FLUX Smart an thouht,... I have the technology,... I can build this!
(or at least a low tech version of it)

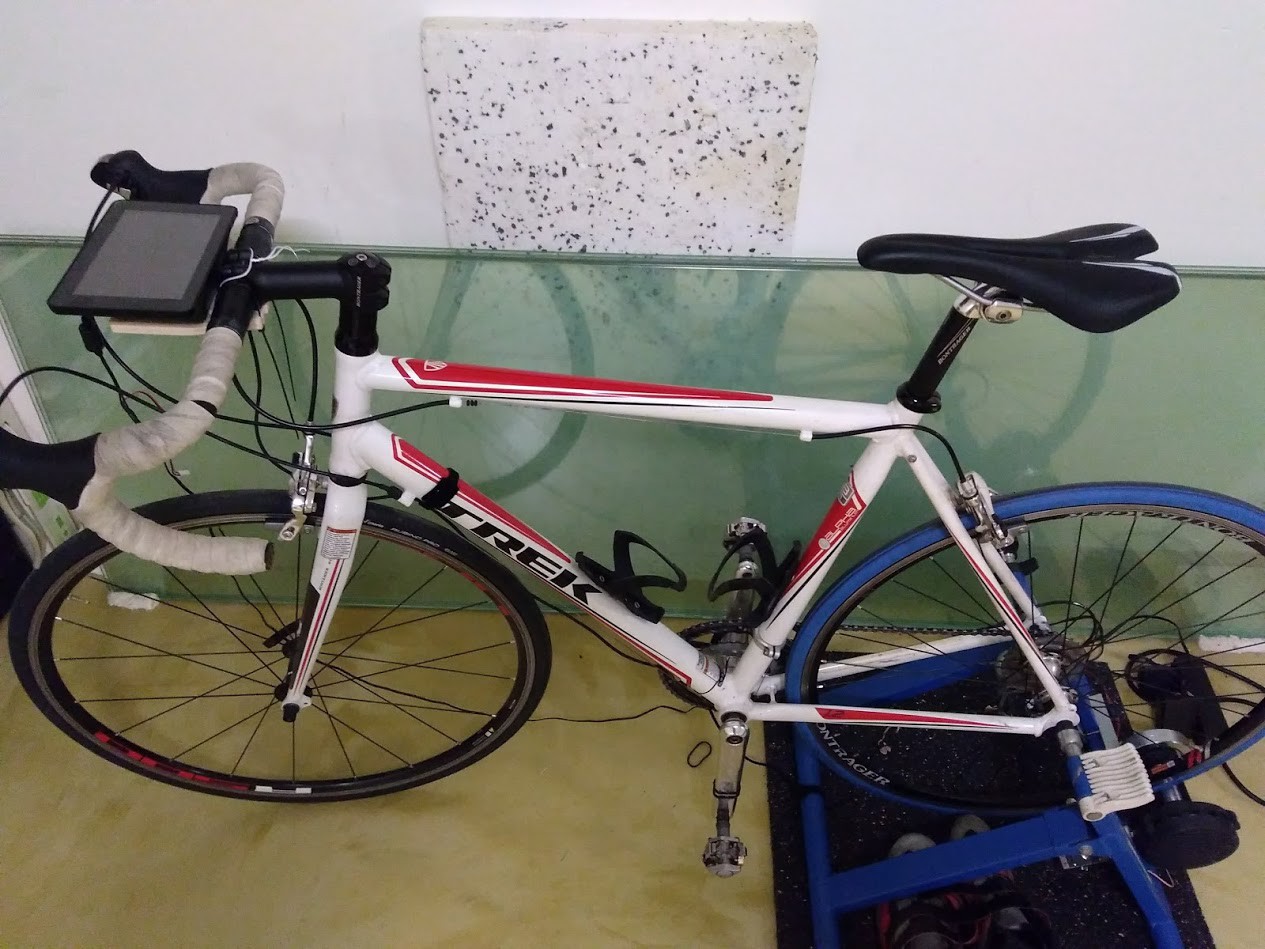
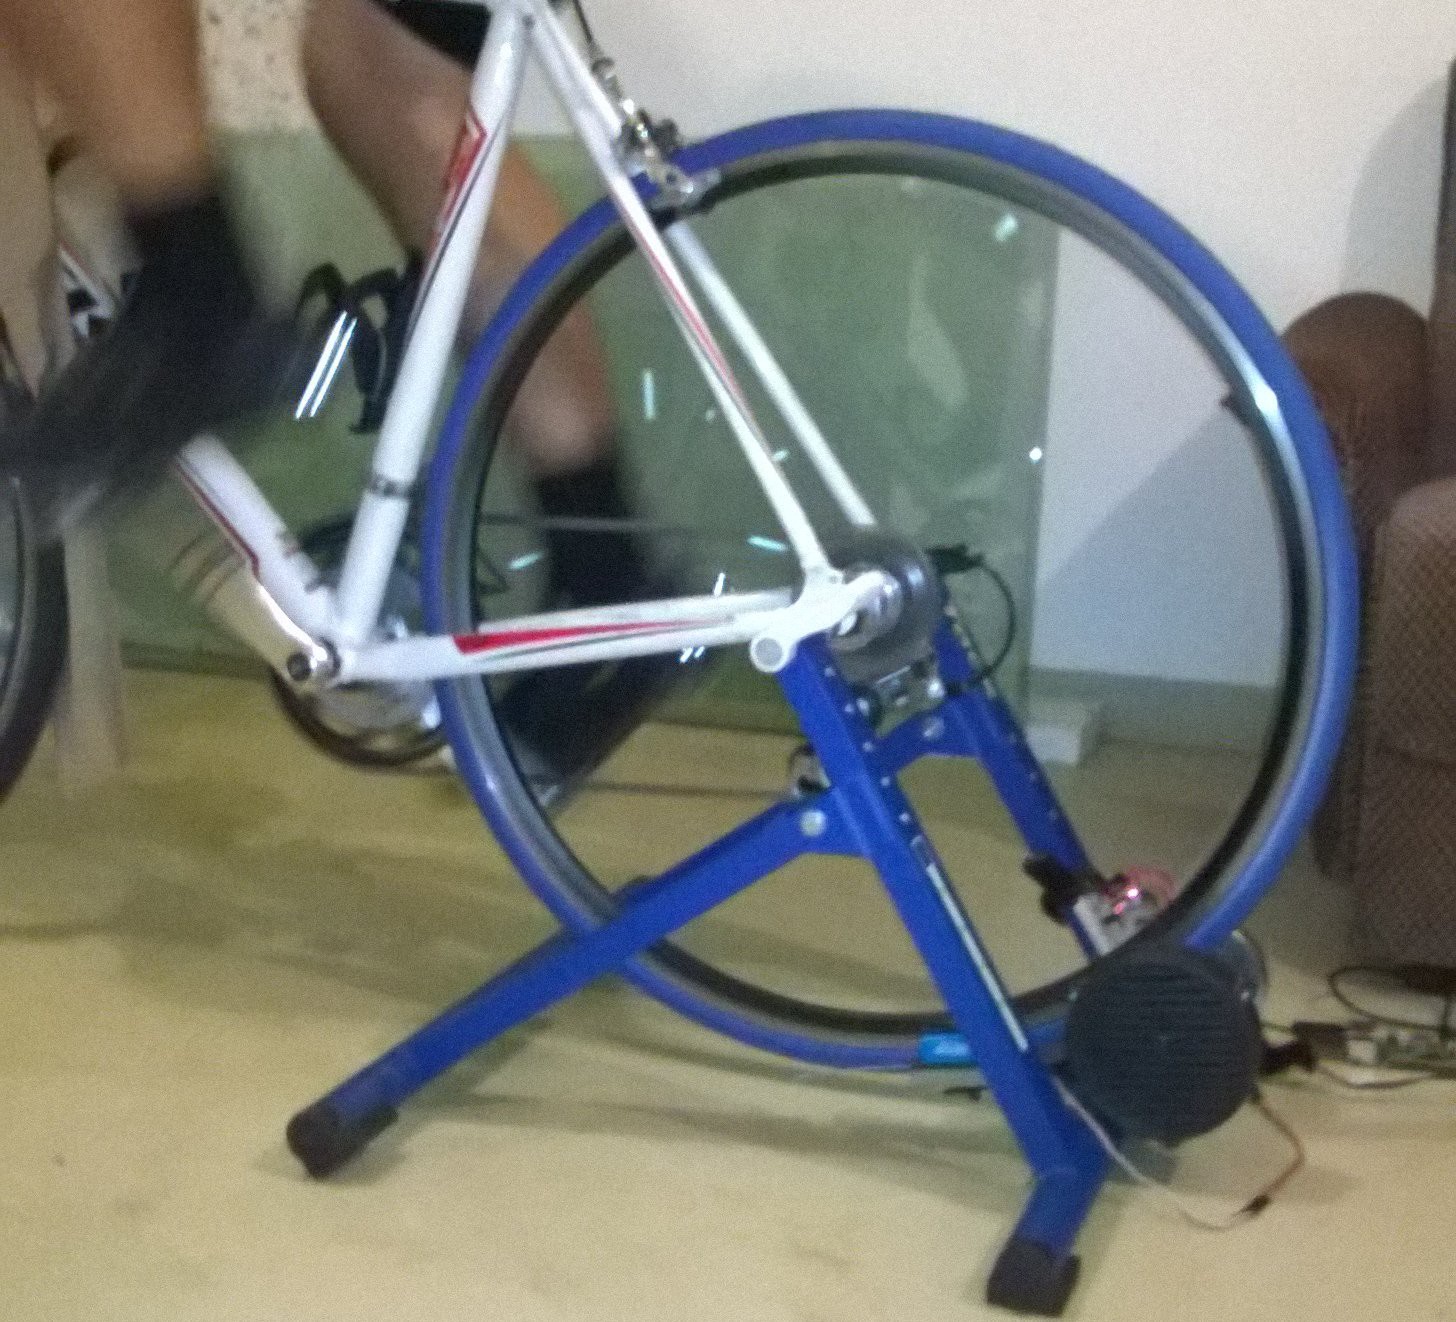
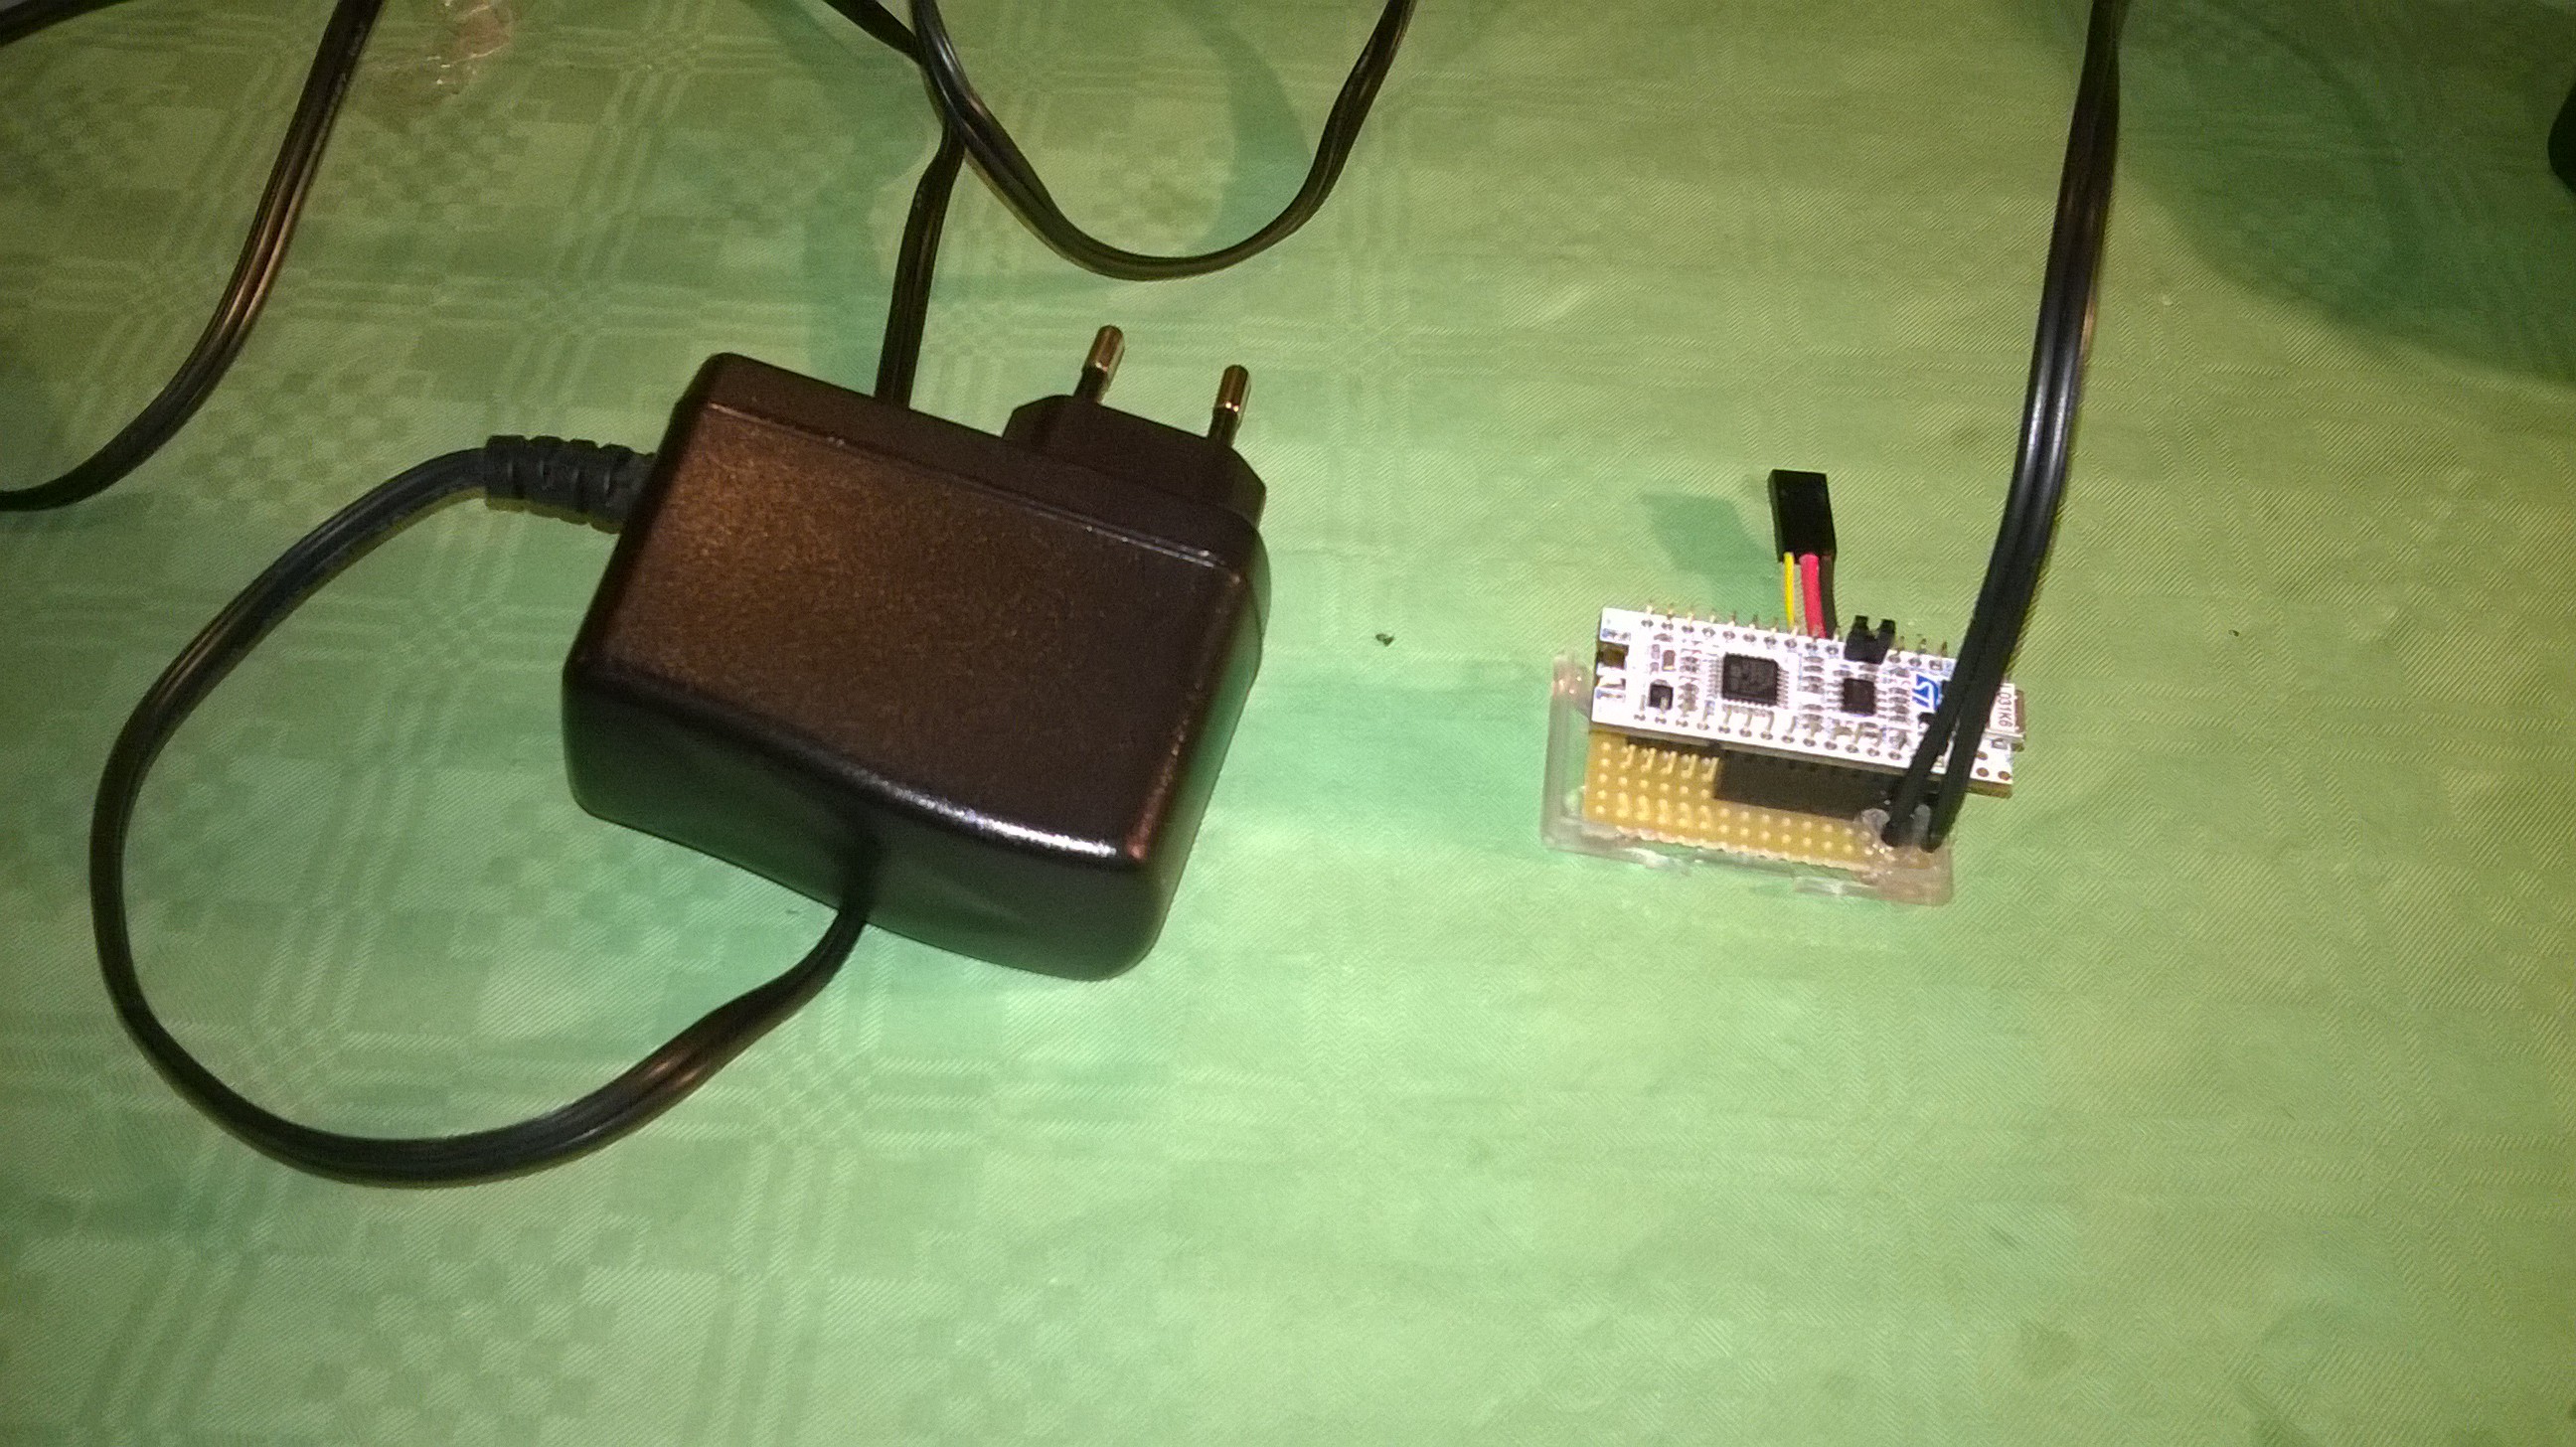
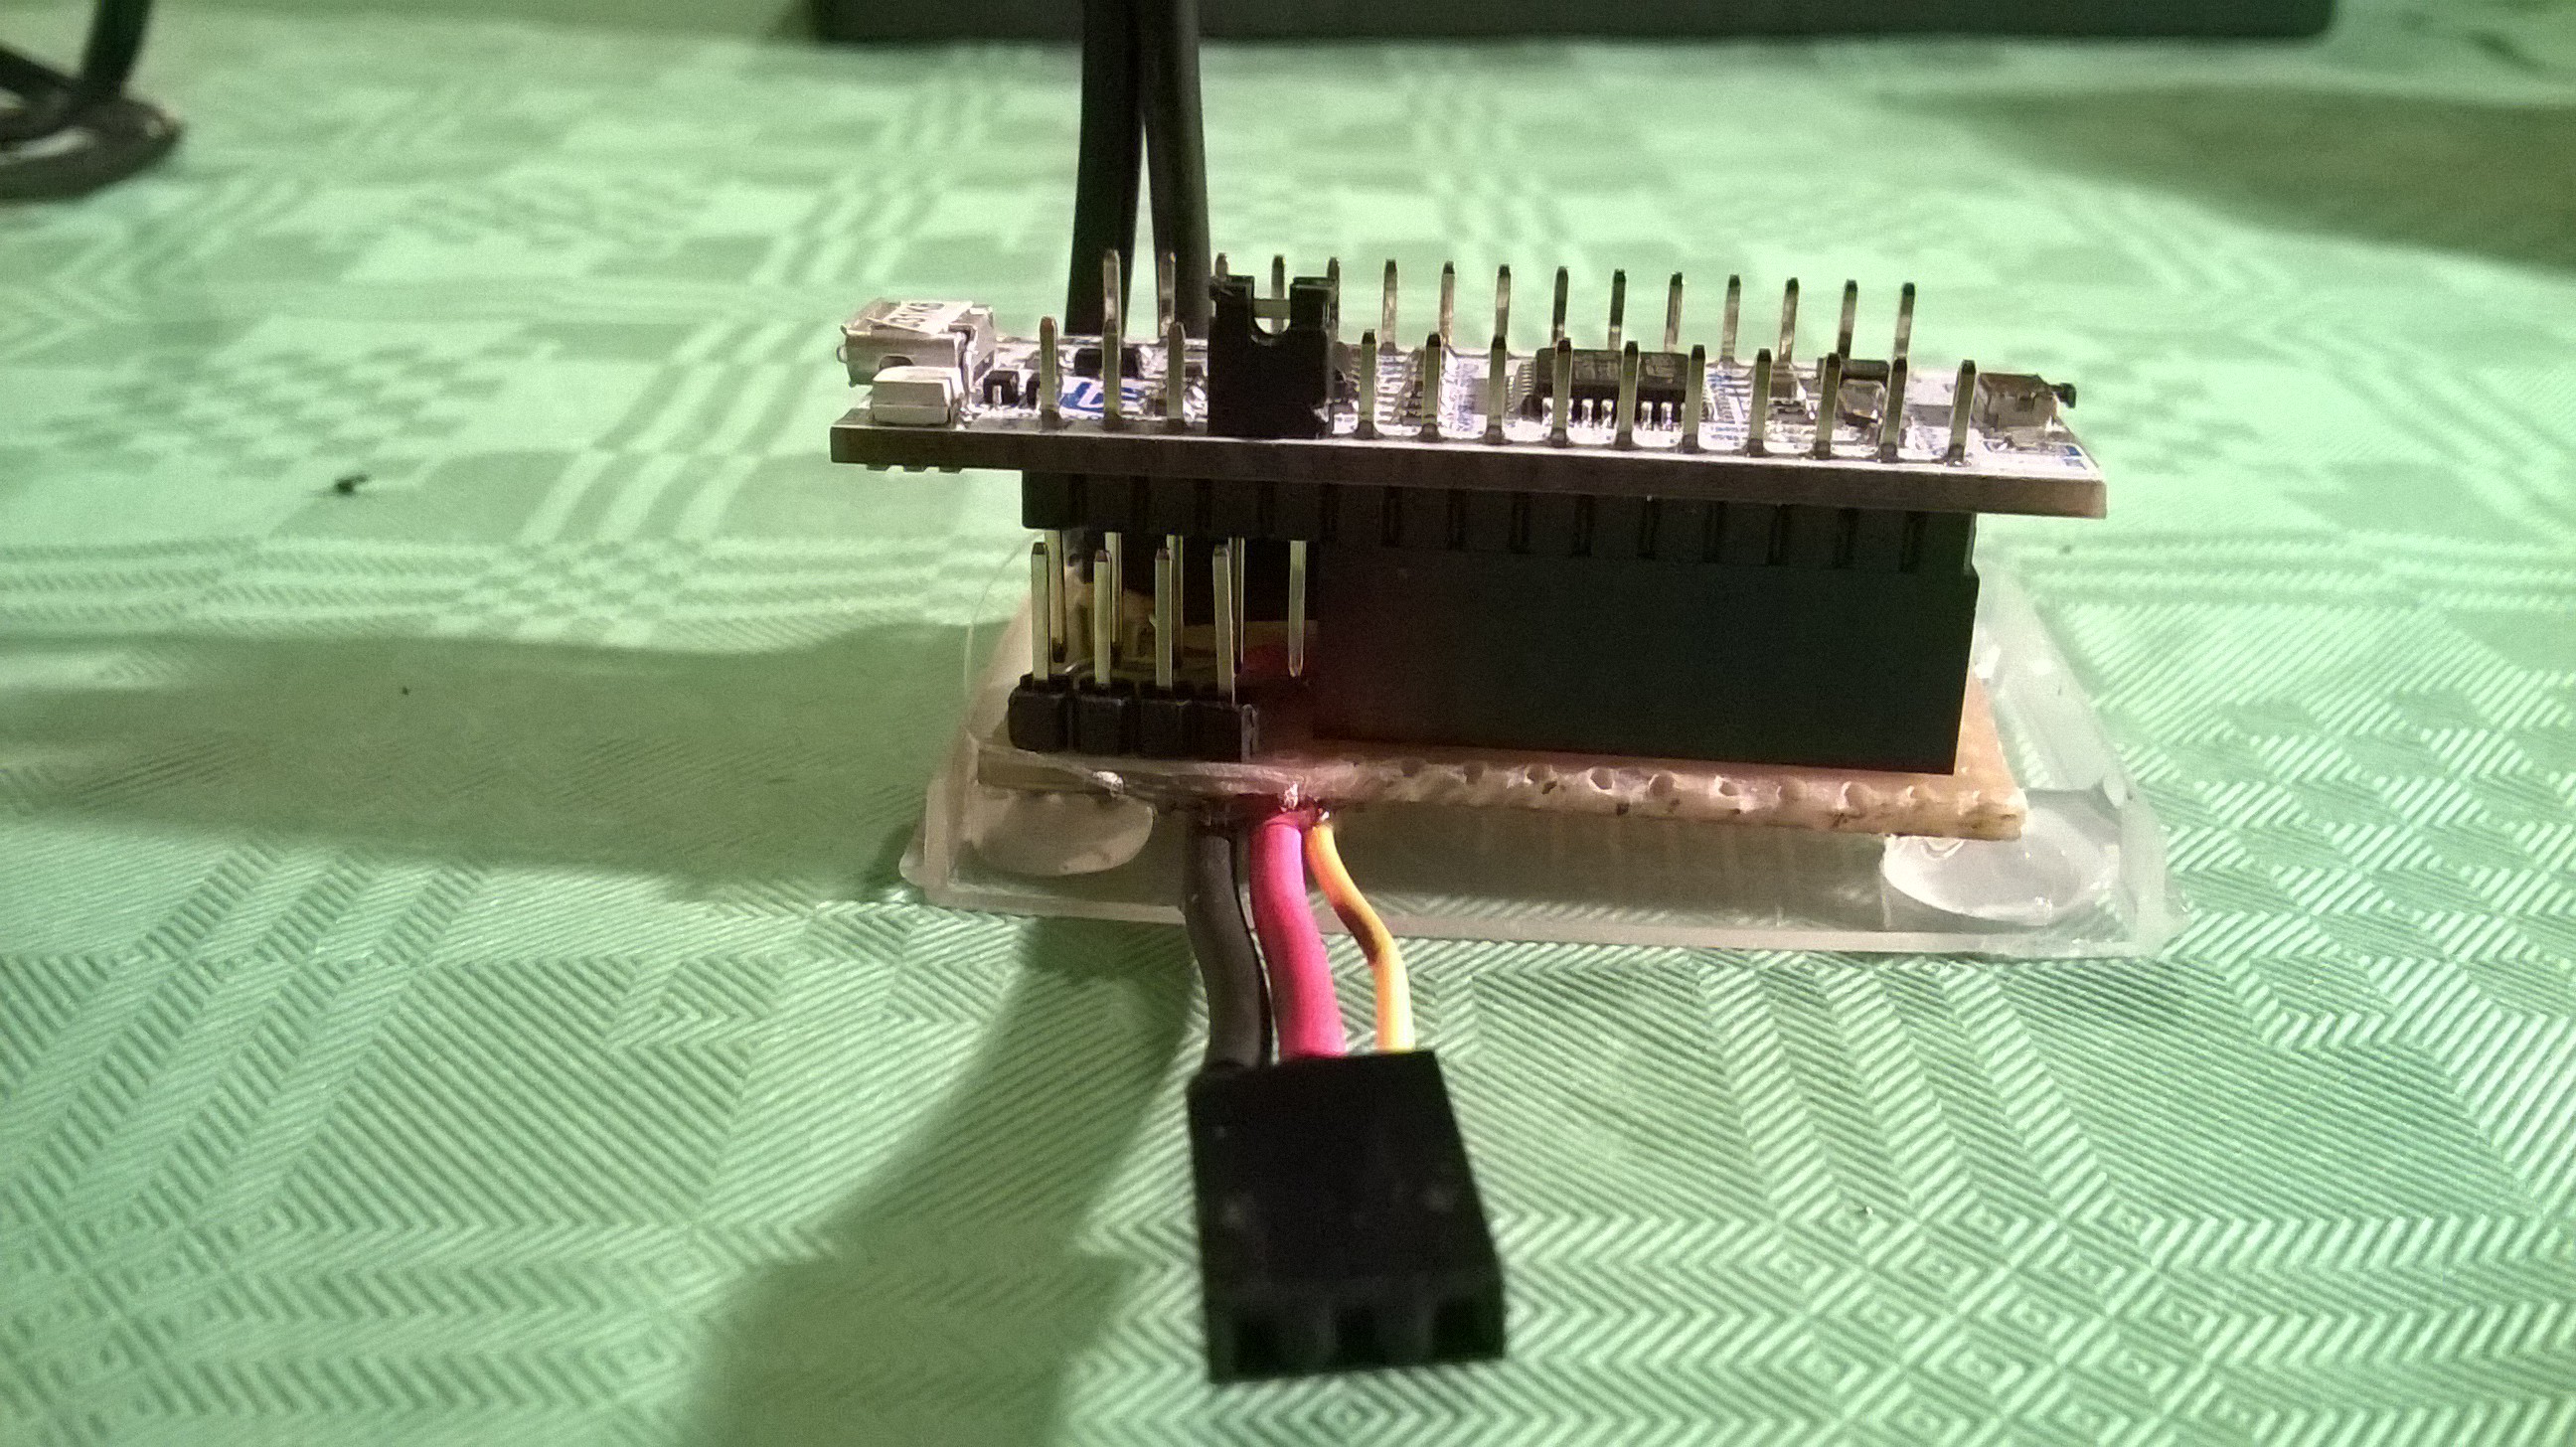
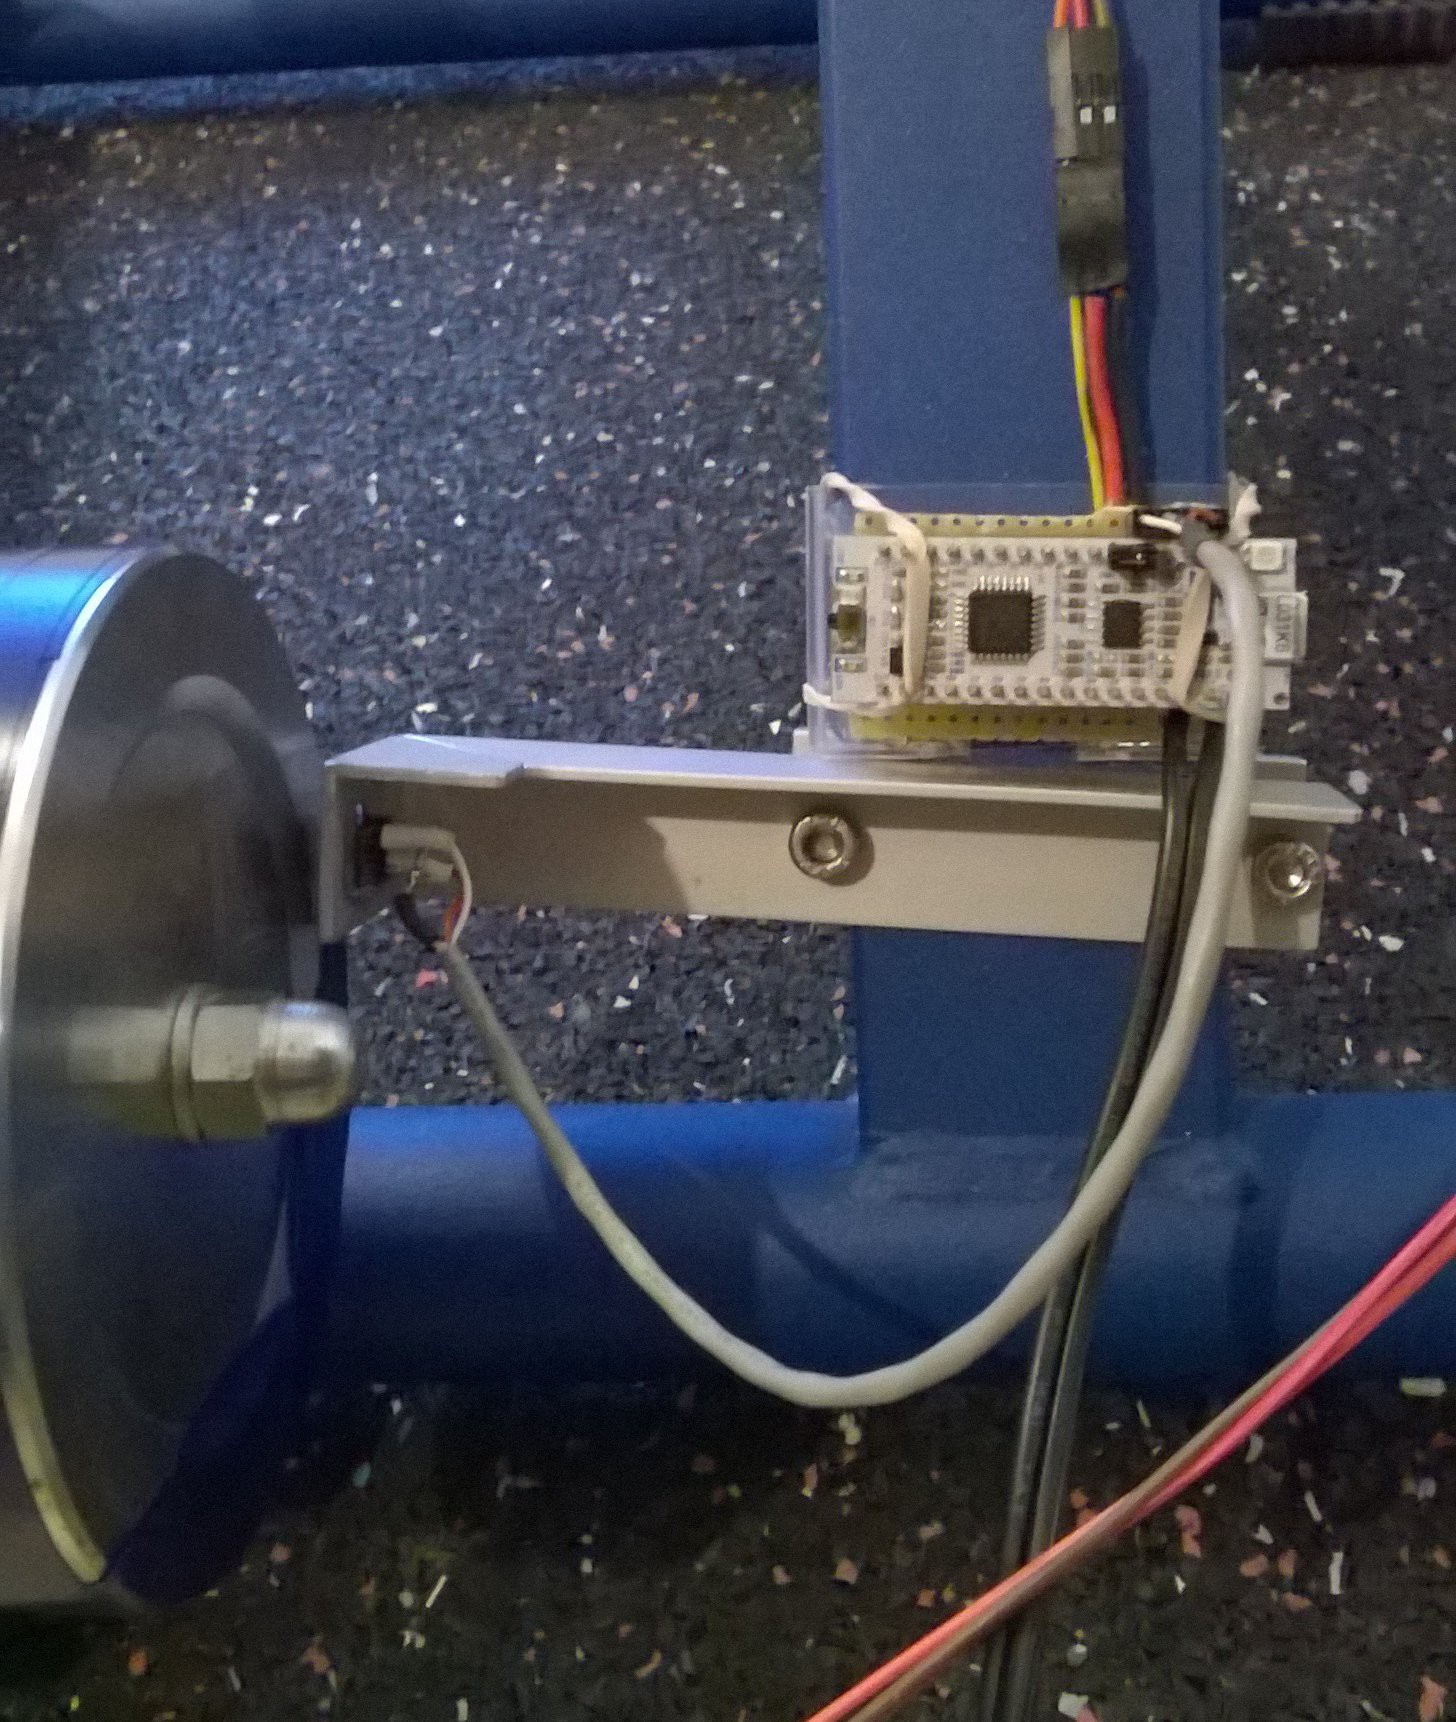
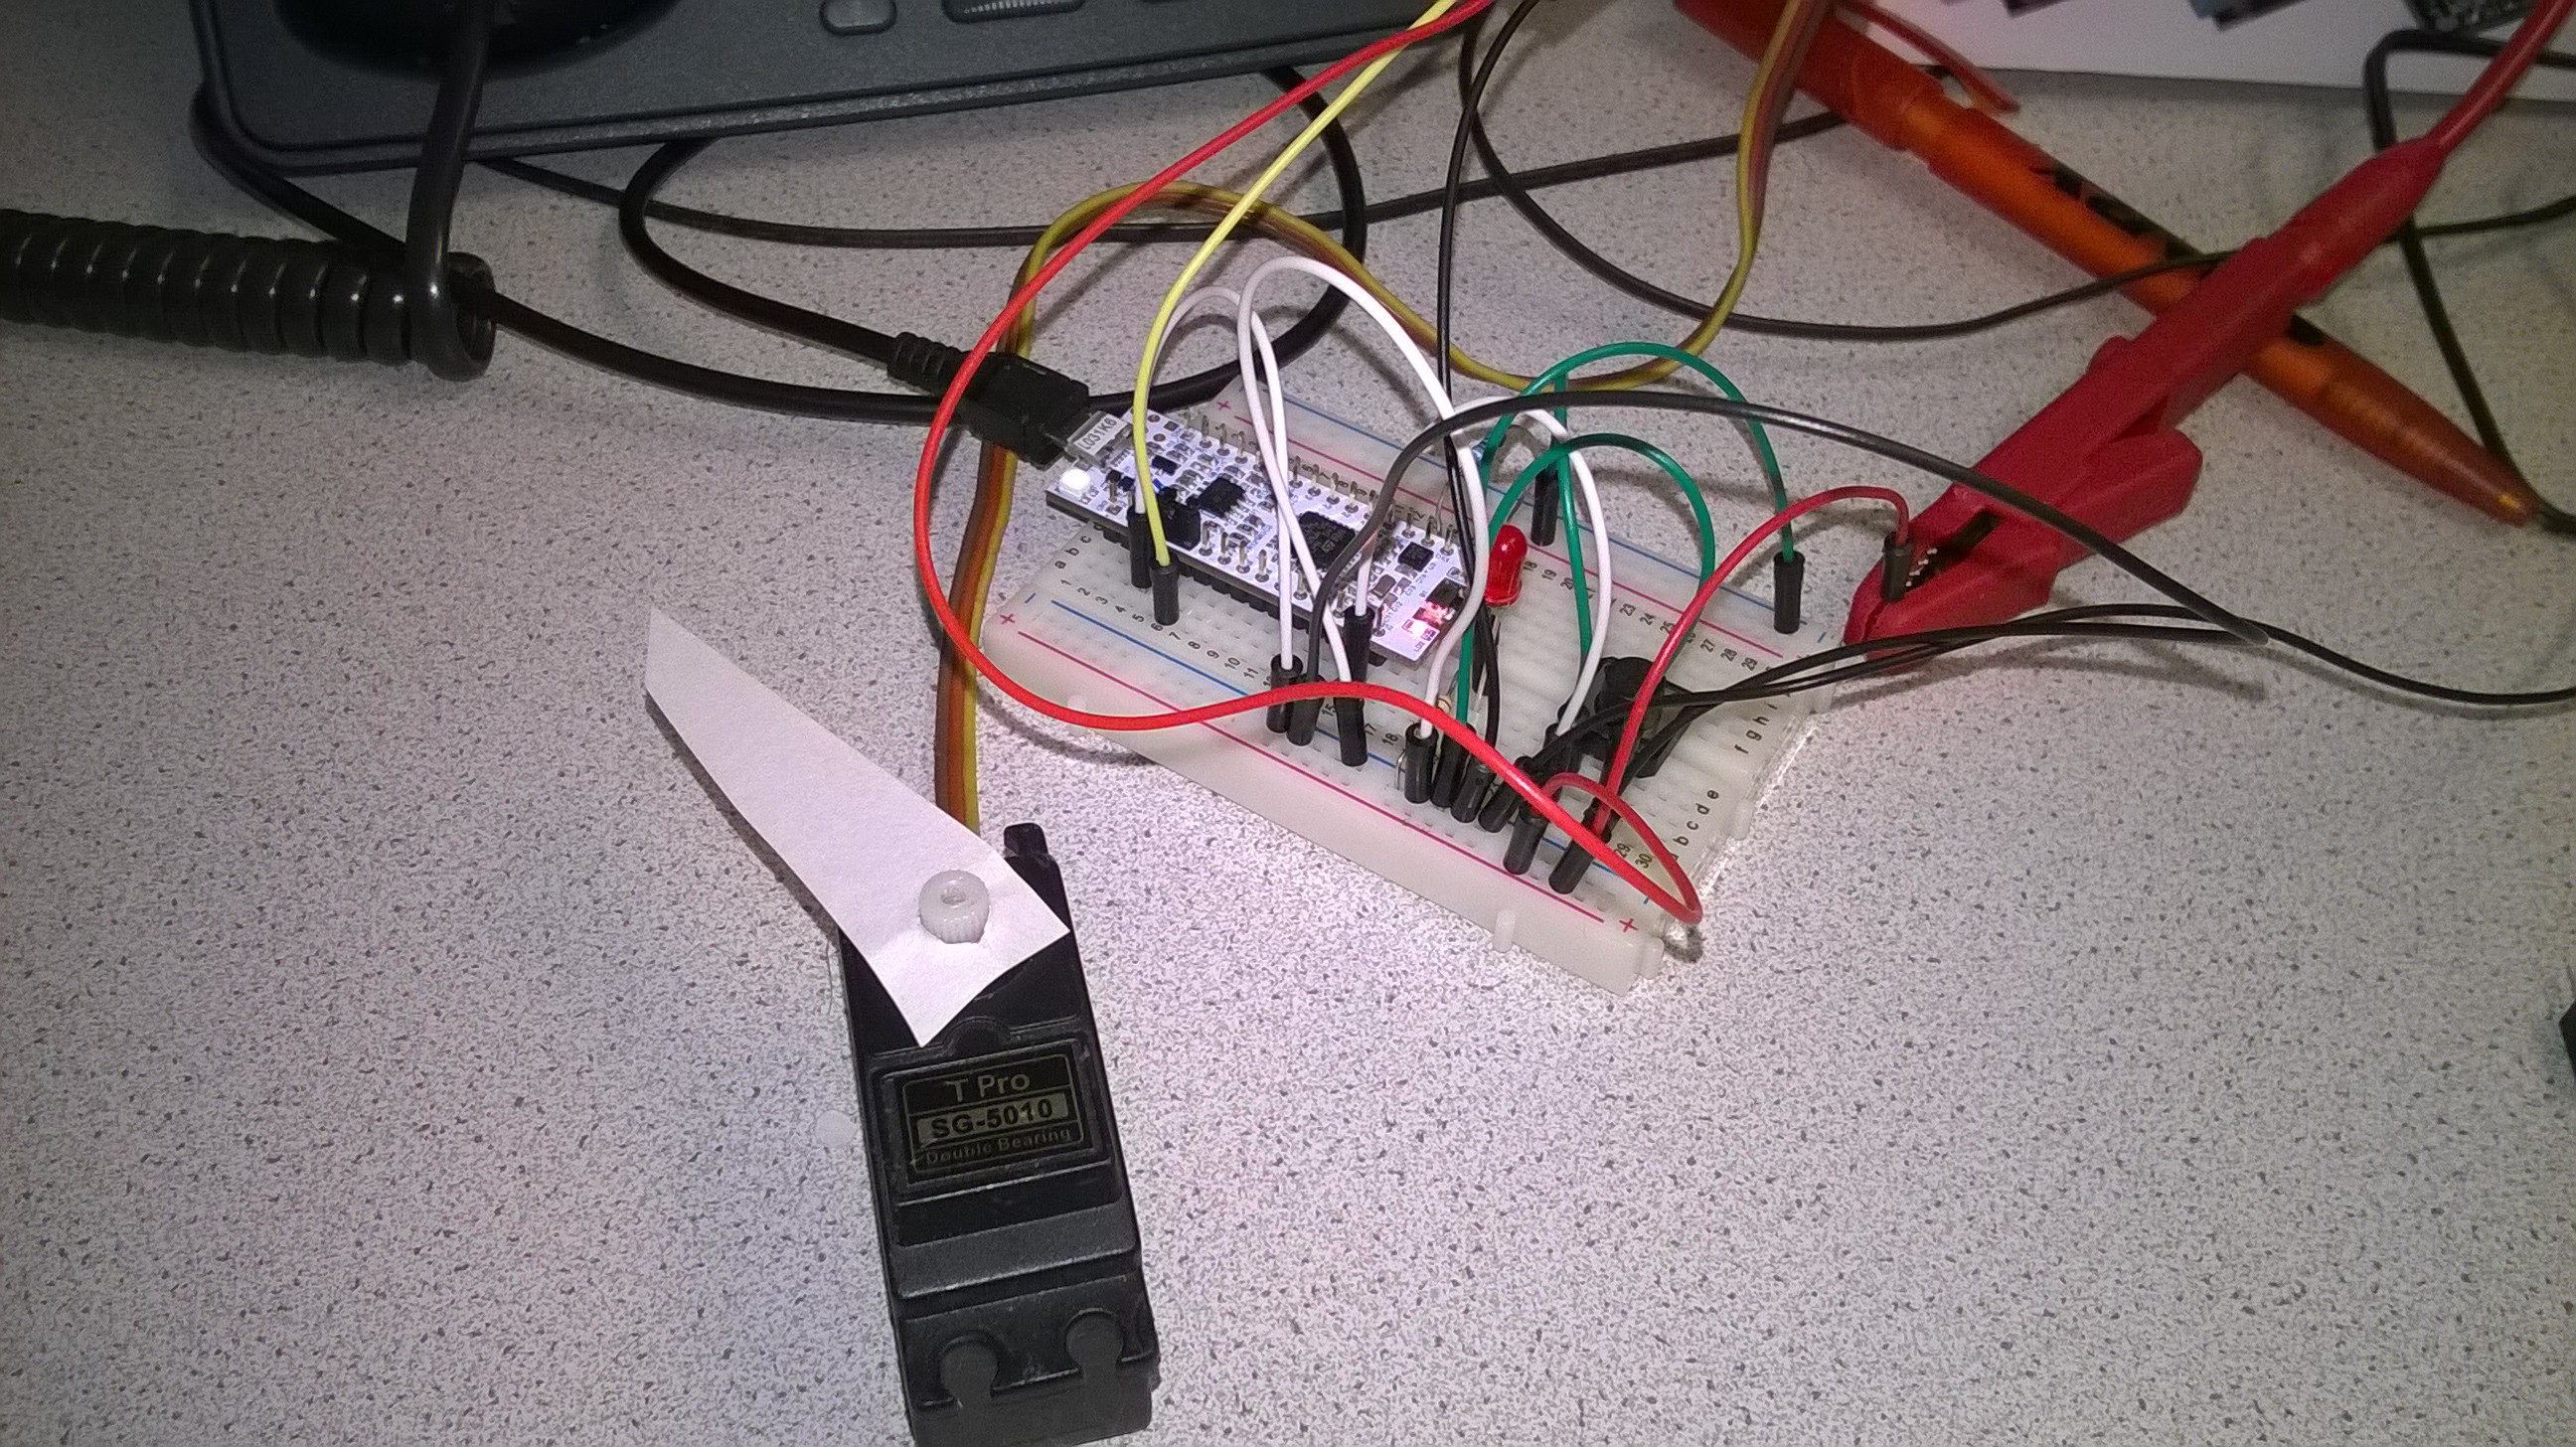
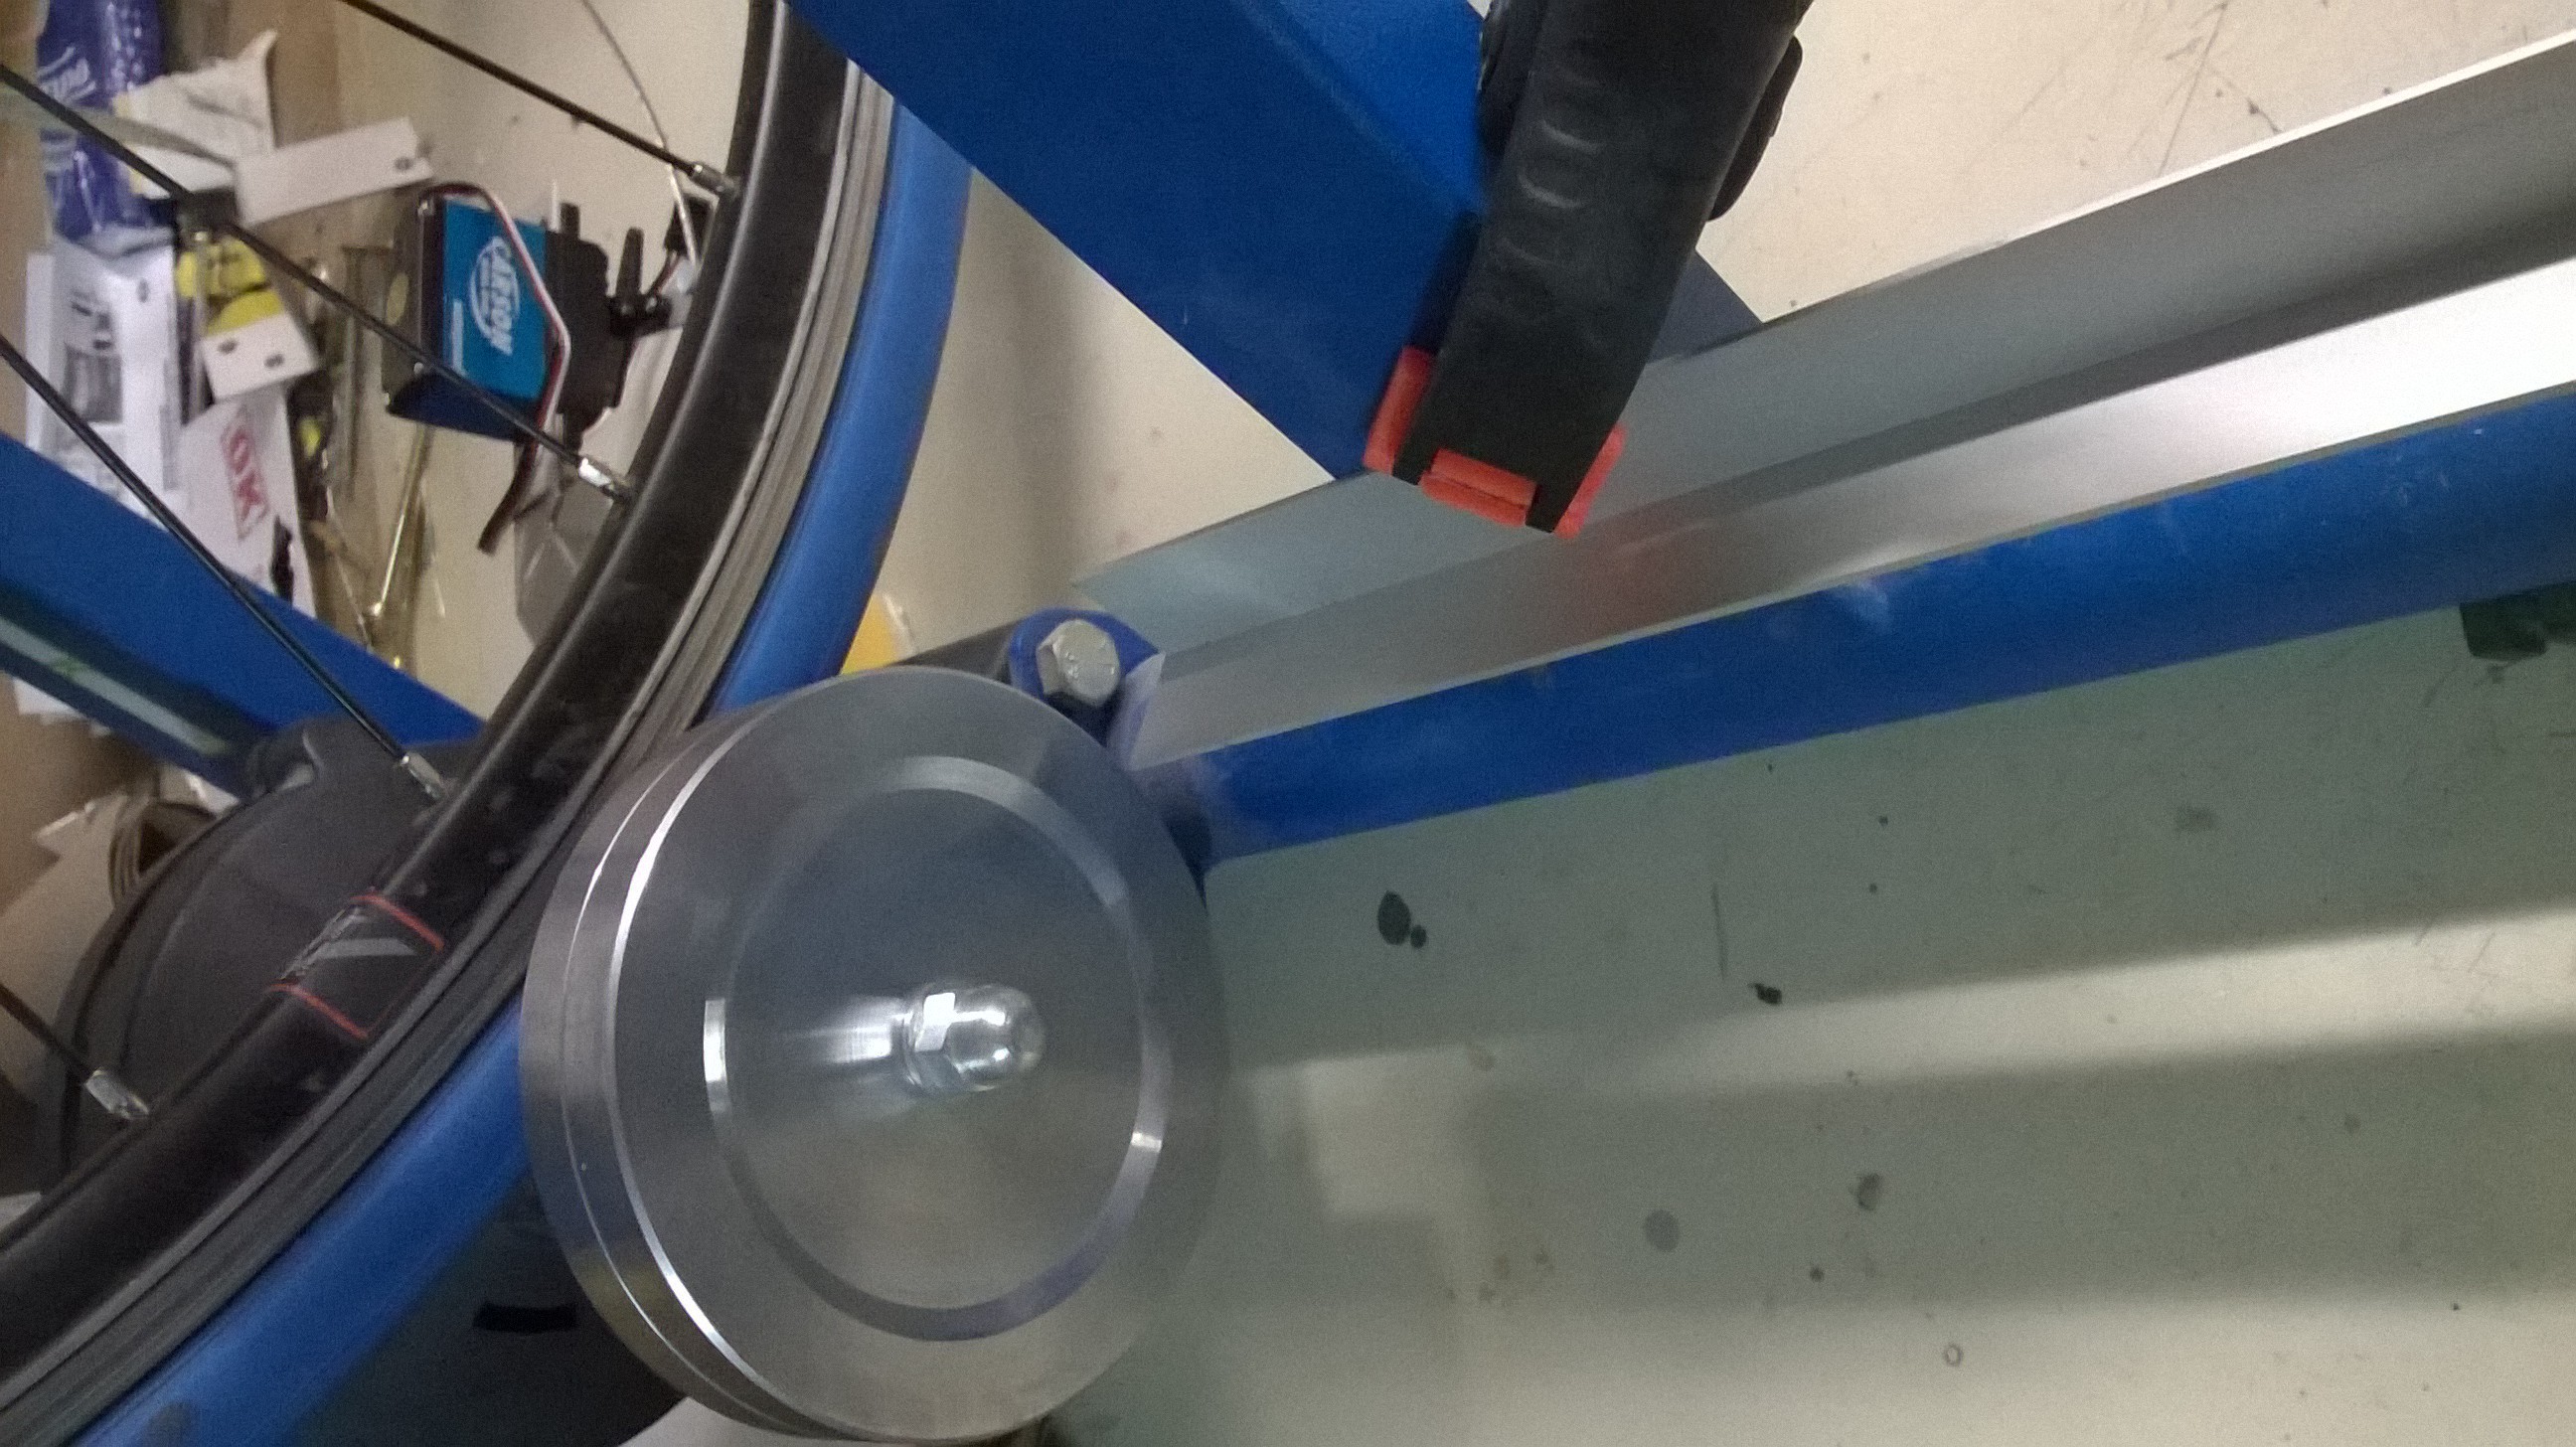
I'm using a Raspberry Pi with node js for the server and client side, a STM32 MCU Nucleo with a CNY 70 sensor and a servo to get data from the trainer and set the resistance.

The "server side" was coded with nodejs and does the following:

  • loading of track data
  • writing new track data
  • calculating trackpoints
  • reading sensor data
  • calculating resistance (based on speed, slope and weight)
  • providing a REST service for the client
  • providing a webpage for the client (currently the UI)

PostCycla_Servo.skp

Servo mount for Tacx Cycletrack

SSEYO Koan Play File - 1.19 MB - 12/14/2016 at 07:53

Download

  • 1 × Raspberry Pi 3
  • 1 × STM32 Nucleo Discrete Semiconductors / Power Transistors and MOSFETs
  • 1 × CNY 70 Sensors / Angle, Position
  • 1 × Anself USB ANT + Sticks
  • 1 × Servo (currently 98Ncm)

View all 6 components

  • Finally some code

    Richard Deininger01/17/2018 at 22:12 1 comment

    I updated my hardware... finally I can use the client directly on the bike and do not have drag my laptop to it.

    The touch screen has its advantages

    Also I finally found the time to clean/update/test the code and upload it to GitHub.

  • Stitching things together

    Richard Deininger02/06/2017 at 14:16 0 comments

    So after more testing and some time trying it on the trainer, I thought to get at least one thing going and built a board to fit the STM and the power supply for the servo.

    Here you see me riding my bike on the trainer and my high sophisticated test setup:
    The breadboard clamped to the trainer with a spring clamp.

    After I found everything working ok I soldered the board together,... also highly sophisticated (without any plans and I think it was 01:00 am). Next time I should plan ahead, it will definitely save me some time and headache.

    Again some testing and I must say: I feel safer already knowing my trusty rubber band will hold everything in place....

  • Testing the STM

    Richard Deininger12/23/2016 at 10:32 0 comments

    Testing PWM and Servor controller

    Testing the CNY70 (Reflectic Optical Sensor) using a fan and some papers glued to it.

  • Sensor mount

    Richard Deininger12/14/2016 at 08:26 0 comments

    More hardware,... for now.

    I thought about using my ANT+ sensors to calculate my speed/distance, but my garmin hub sensor only works accuratly when combined with GPS ...so sinc I'll be training in the basementon, on a "stationary bike" .... no GPS data for me.

    Therefore I built a sensor to get the data I need.

    I'm using the the flywheel from the bike trainer and a CNY70 (Reflectic Optical Sensor) to calculate my speed and travelled distance.

    Here, my "minimal-invasive" version of a sensor fixture.

    First test on how and where to put the sensor. I'm shooting from the hip here,... (no plan made previously)


    Sawing and bending the aluminium profile

    Drilling and cutting the thread on the counterpart

    Finding the right position

    a little bit of hot glue to position the sensor

    fine tuning for minimal distance

  • Servo arm

    Richard Deininger12/02/2016 at 07:51 0 comments

    So lets do some hardware stuff.

    To change the resistance on the bike trainer I had to "update" the bowden cable parts.

    I didn't want to destroy the old system so I manufatured my bowden cable, from some bike break cables and a nail. It's a bit more rigit due to the thickness, but this will help during "push and pull" of the servo.

    Manifacturing my own bowden cable

    This new cable was then fixed on the eddy current brake (this part previously had a spring, but the servo can push and pull the cable,... so no need for it).

    Here my first test fit.

    The insides

    And the first test fit with everything put back together.

    For testing I used an remote control and found that the servo needed more power.

    Dry test with RC

    Next thing to do was to build a servo fixture.

    So I bent and tack welded some angle steel I had around the shop.
    (I know,... I need more practice welding)

    servo fixture

    Finally some holes and threading for the servo and the new servo arm with the correct length.

    Fitting the servo

    Last check back with the plans.

    Plans and IRL

    And one last (blurry) picture with everything put back together.

    Everything put together


View all 5 project logs

Enjoy this project?

Share

Discussions

Todd Westley wrote 07/12/2020 at 12:19 point

I did a similar thing with my bike trainer.  I use it to control the throttle in flightgear. Here is a link to the software I wrote: "https://github.com/toddwestley/bike_track_emulation"  Previously, I used a USB-1208 to accomplish the same.  I am in debt to the Wahoo sensor and gatttool.

  Are you sure? yes | no

Rob Tarr wrote 03/22/2020 at 19:08 point

This is a very interesting project. I found it will looking for ideas for something similar. Thanks for sharing.

Quick question - how is the sensor measuring revolutions? Is there a mark on the resistance unit wheel?

  Are you sure? yes | no

Richard Deininger wrote 03/24/2020 at 13:44 point

Yes, I spray panted parts of the flywheel black for the sensor to work.

  Are you sure? yes | no

paytufo wrote 09/13/2019 at 12:05 point

I was watching the details of your project here and in github and I think you could have 2 interest projects in your hands. 1 would be a smart trainer, an ant+ variable strength smart trainer just made with arduino, speed sensor like a hall sensor and a magnet and the servo to control the internal magnet of the trainer to control the strength. And 2 an application like zwift or bkool to enjoy some trainers. Now you have all the knowledge, so is moment to divide the projects. I'll follow your proyect.  

  Are you sure? yes | no

paytufo wrote 09/13/2019 at 00:34 point

Could this work with a raspberry pi zero instead a pi 3?

  Are you sure? yes | no

Similar Projects

Does this project spark your interest?

Become a member to follow this project and never miss any updates