 Mark Wilson
For simplicity there is no RTC, the Atmega32U4 just runs free and millis() is used to estimate the duration. Close enough! The code does include a calibration factor, milliseconds lost per minute. There is also a calibration procedure built in: hold down Start while turning on, run for an exact multiple of minutes, the factor is stored in EEPROM. My device runs at about +170ms/minute although this is no doubt temperature and voltage dependent.
I’ve tweaked the button logic to suit the way I use it, for example, pressing Start while the timer is running resets the timer to 0:00 and continues running.
Since Ponoko closed their Wellington branch, laser-cutting enclosures has become prohibitively expensive (at least until I find a local alternative). Instead, I decided to play around with the PCB, using EasyEDA which I find pretty easy to use and getting boards is relatively cheap and surprisingly quick. The minimum order is 5 boards, so I though I’d use two boards to make the enclosure. One board is populated with the 4-digit 7-segment display, two push-buttons and a “Leonardo Tiny” (ATmega32u4, XC4431). A second board, flipped over, is the top face of the timer. Its all held together with nylon M3 screws, nuts and standoffs. In fact I used a third board underneath to cover the soldered side and provide a clear area to attach rubber feet.

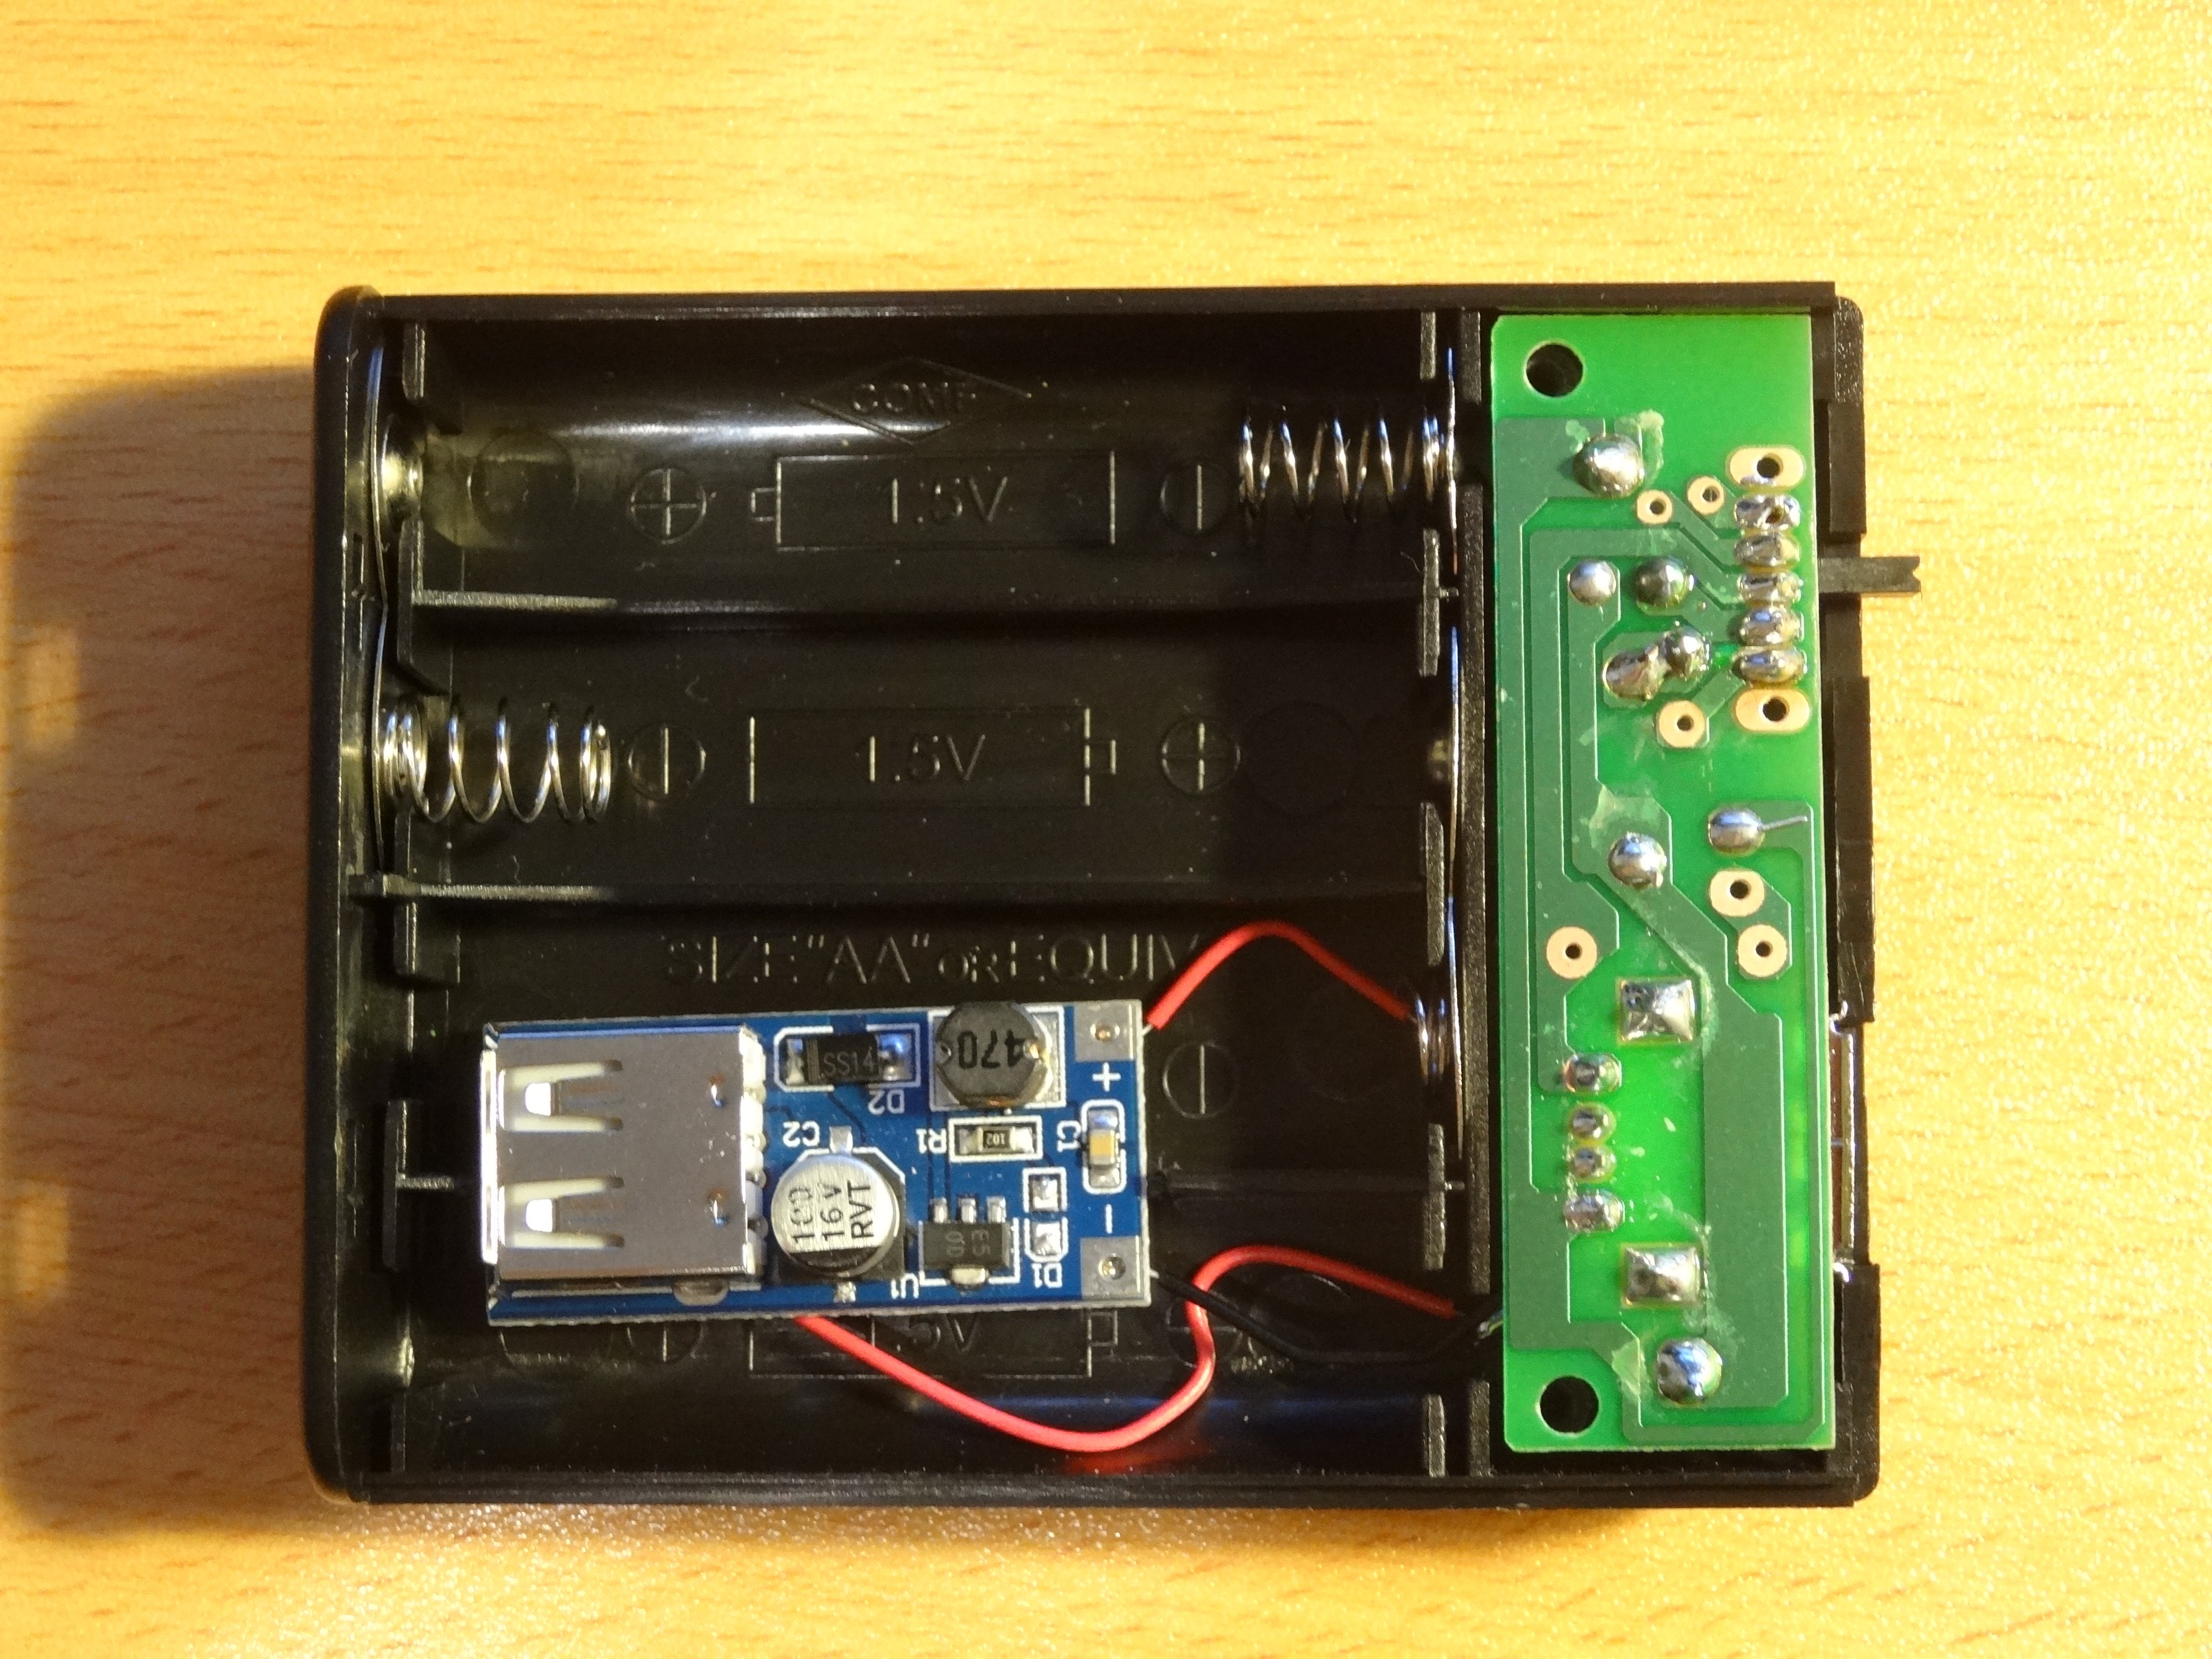
Power comes from a terrible “battery bank” which claimed to provide 5VDC but instead produced nearer 6V.

I hacked the circuit board by removing the two diodes (?) but keeping the on/off switch and USB connector. I inserted a DC-DC converter where two of the 4 AA batteries would go.
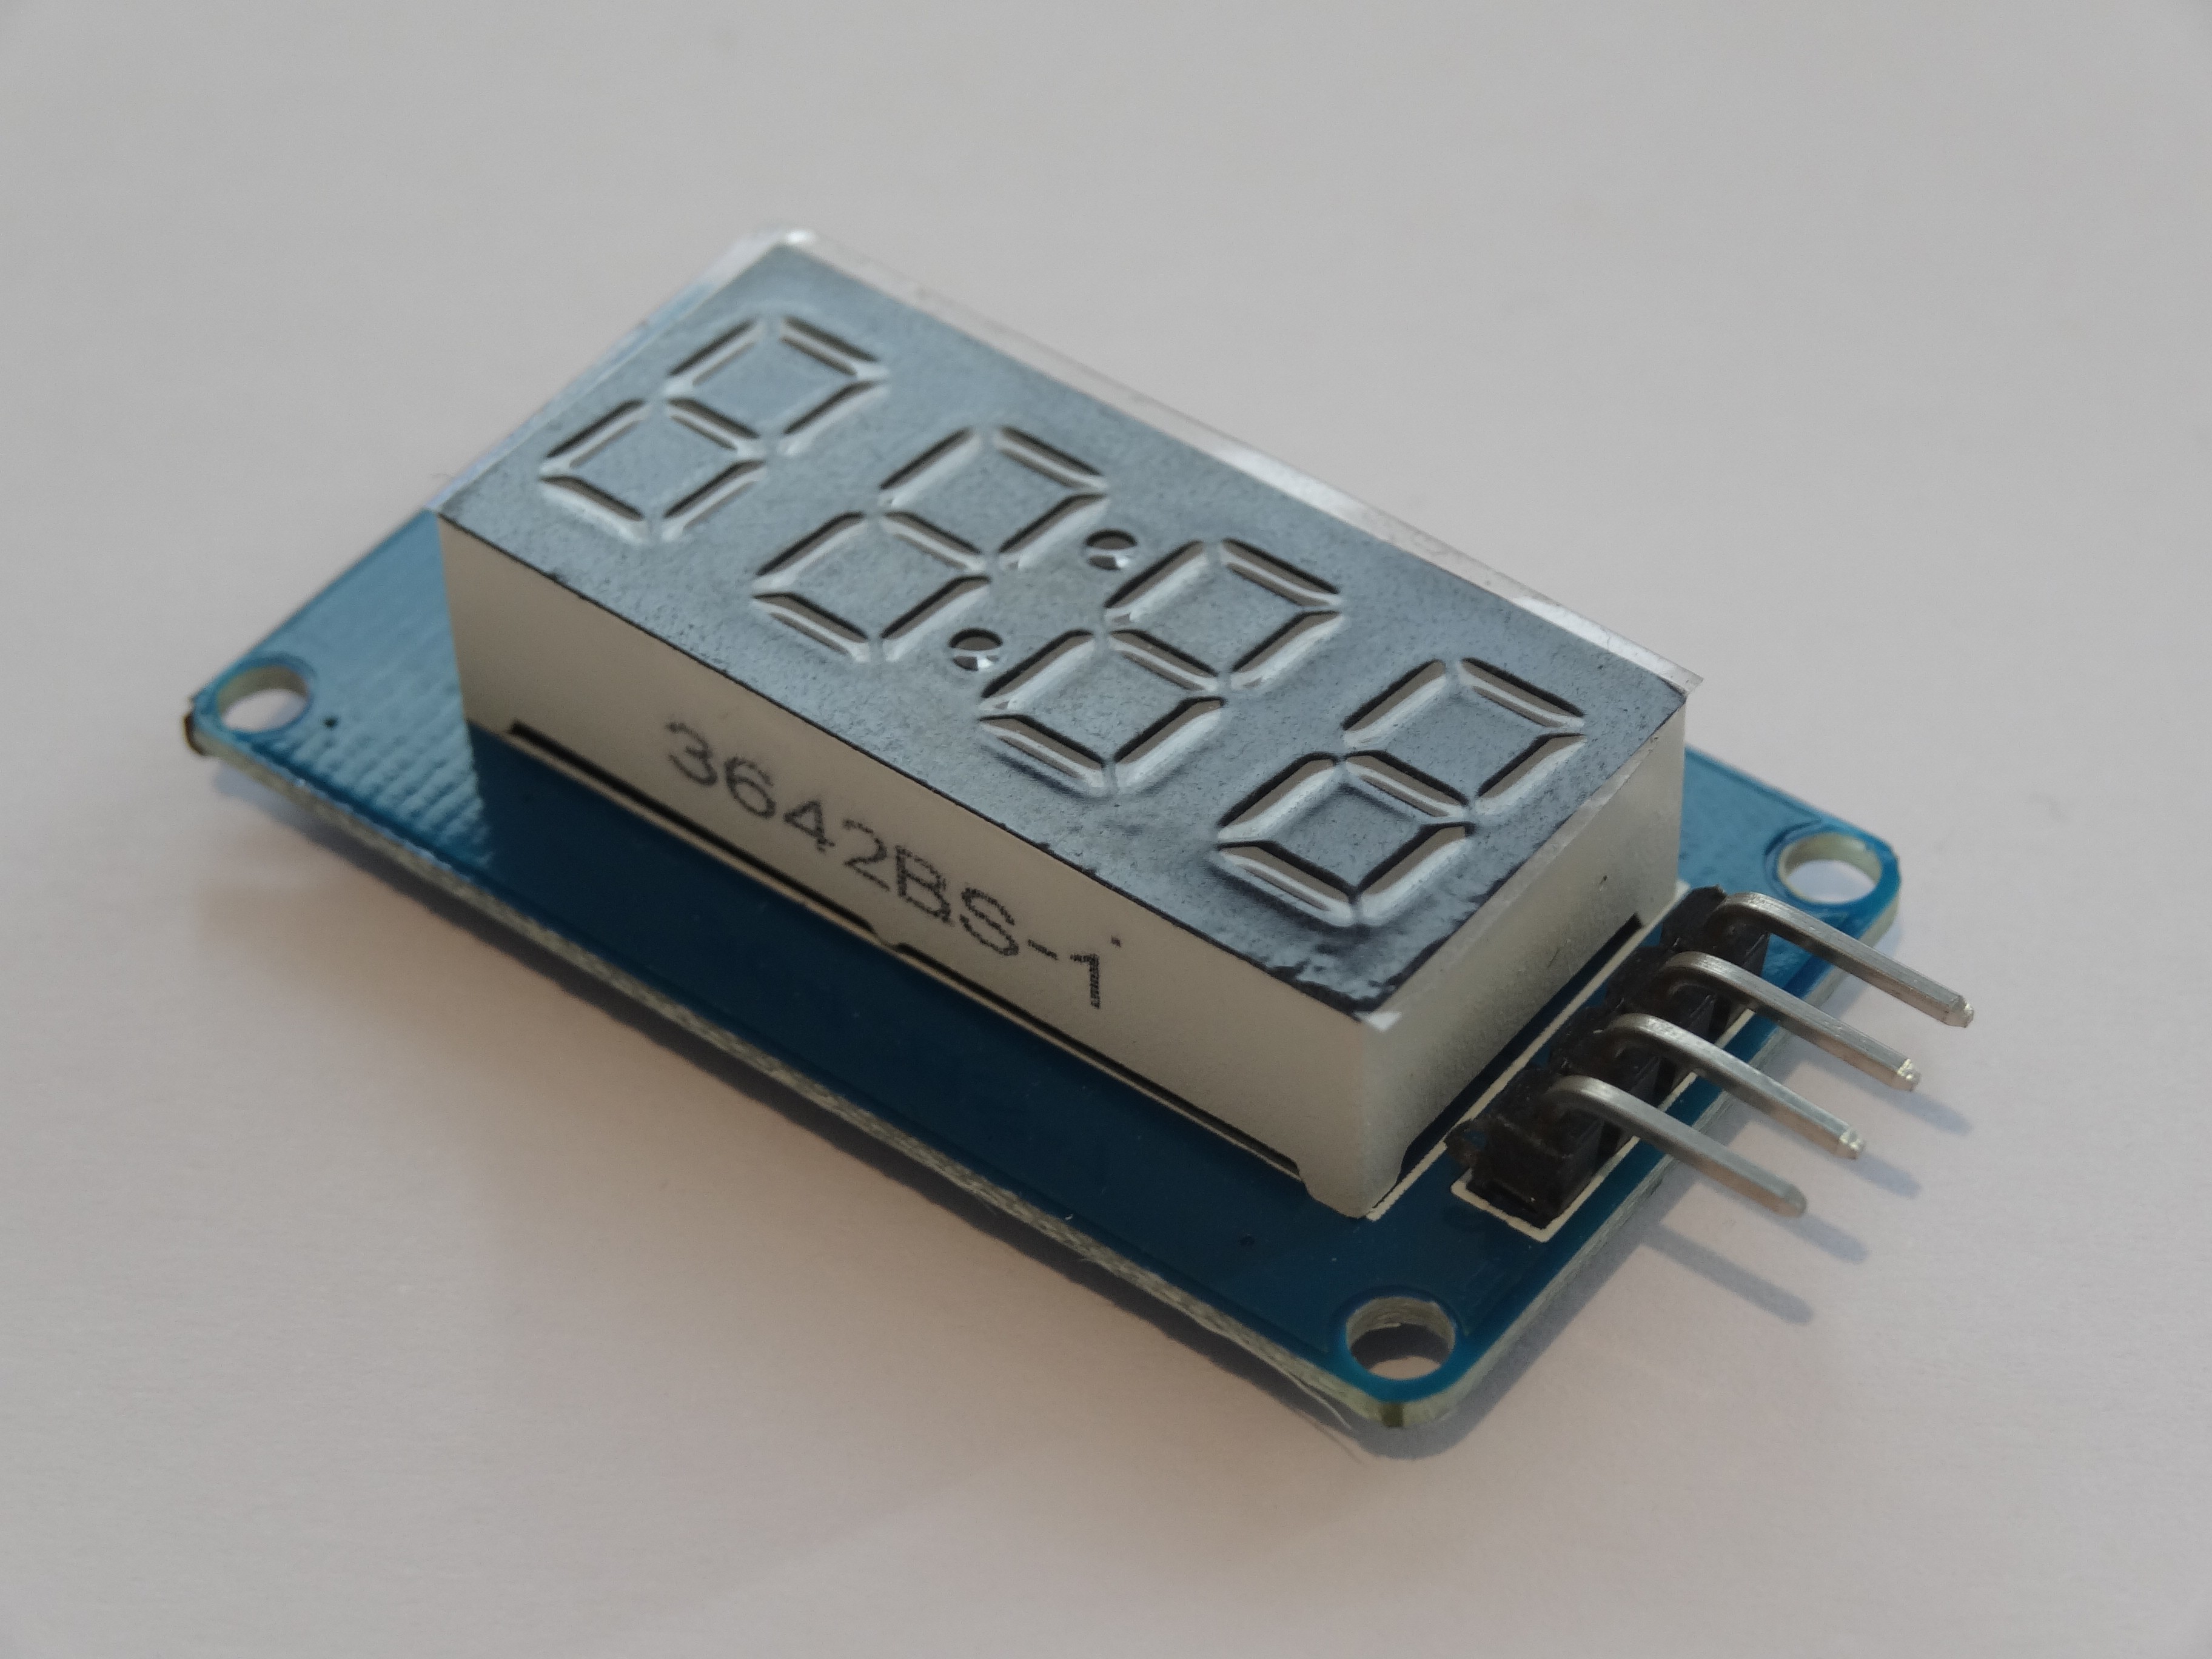
The small 7-segment display came with a pre-soldered header in a really awkward location (the top FFS!):
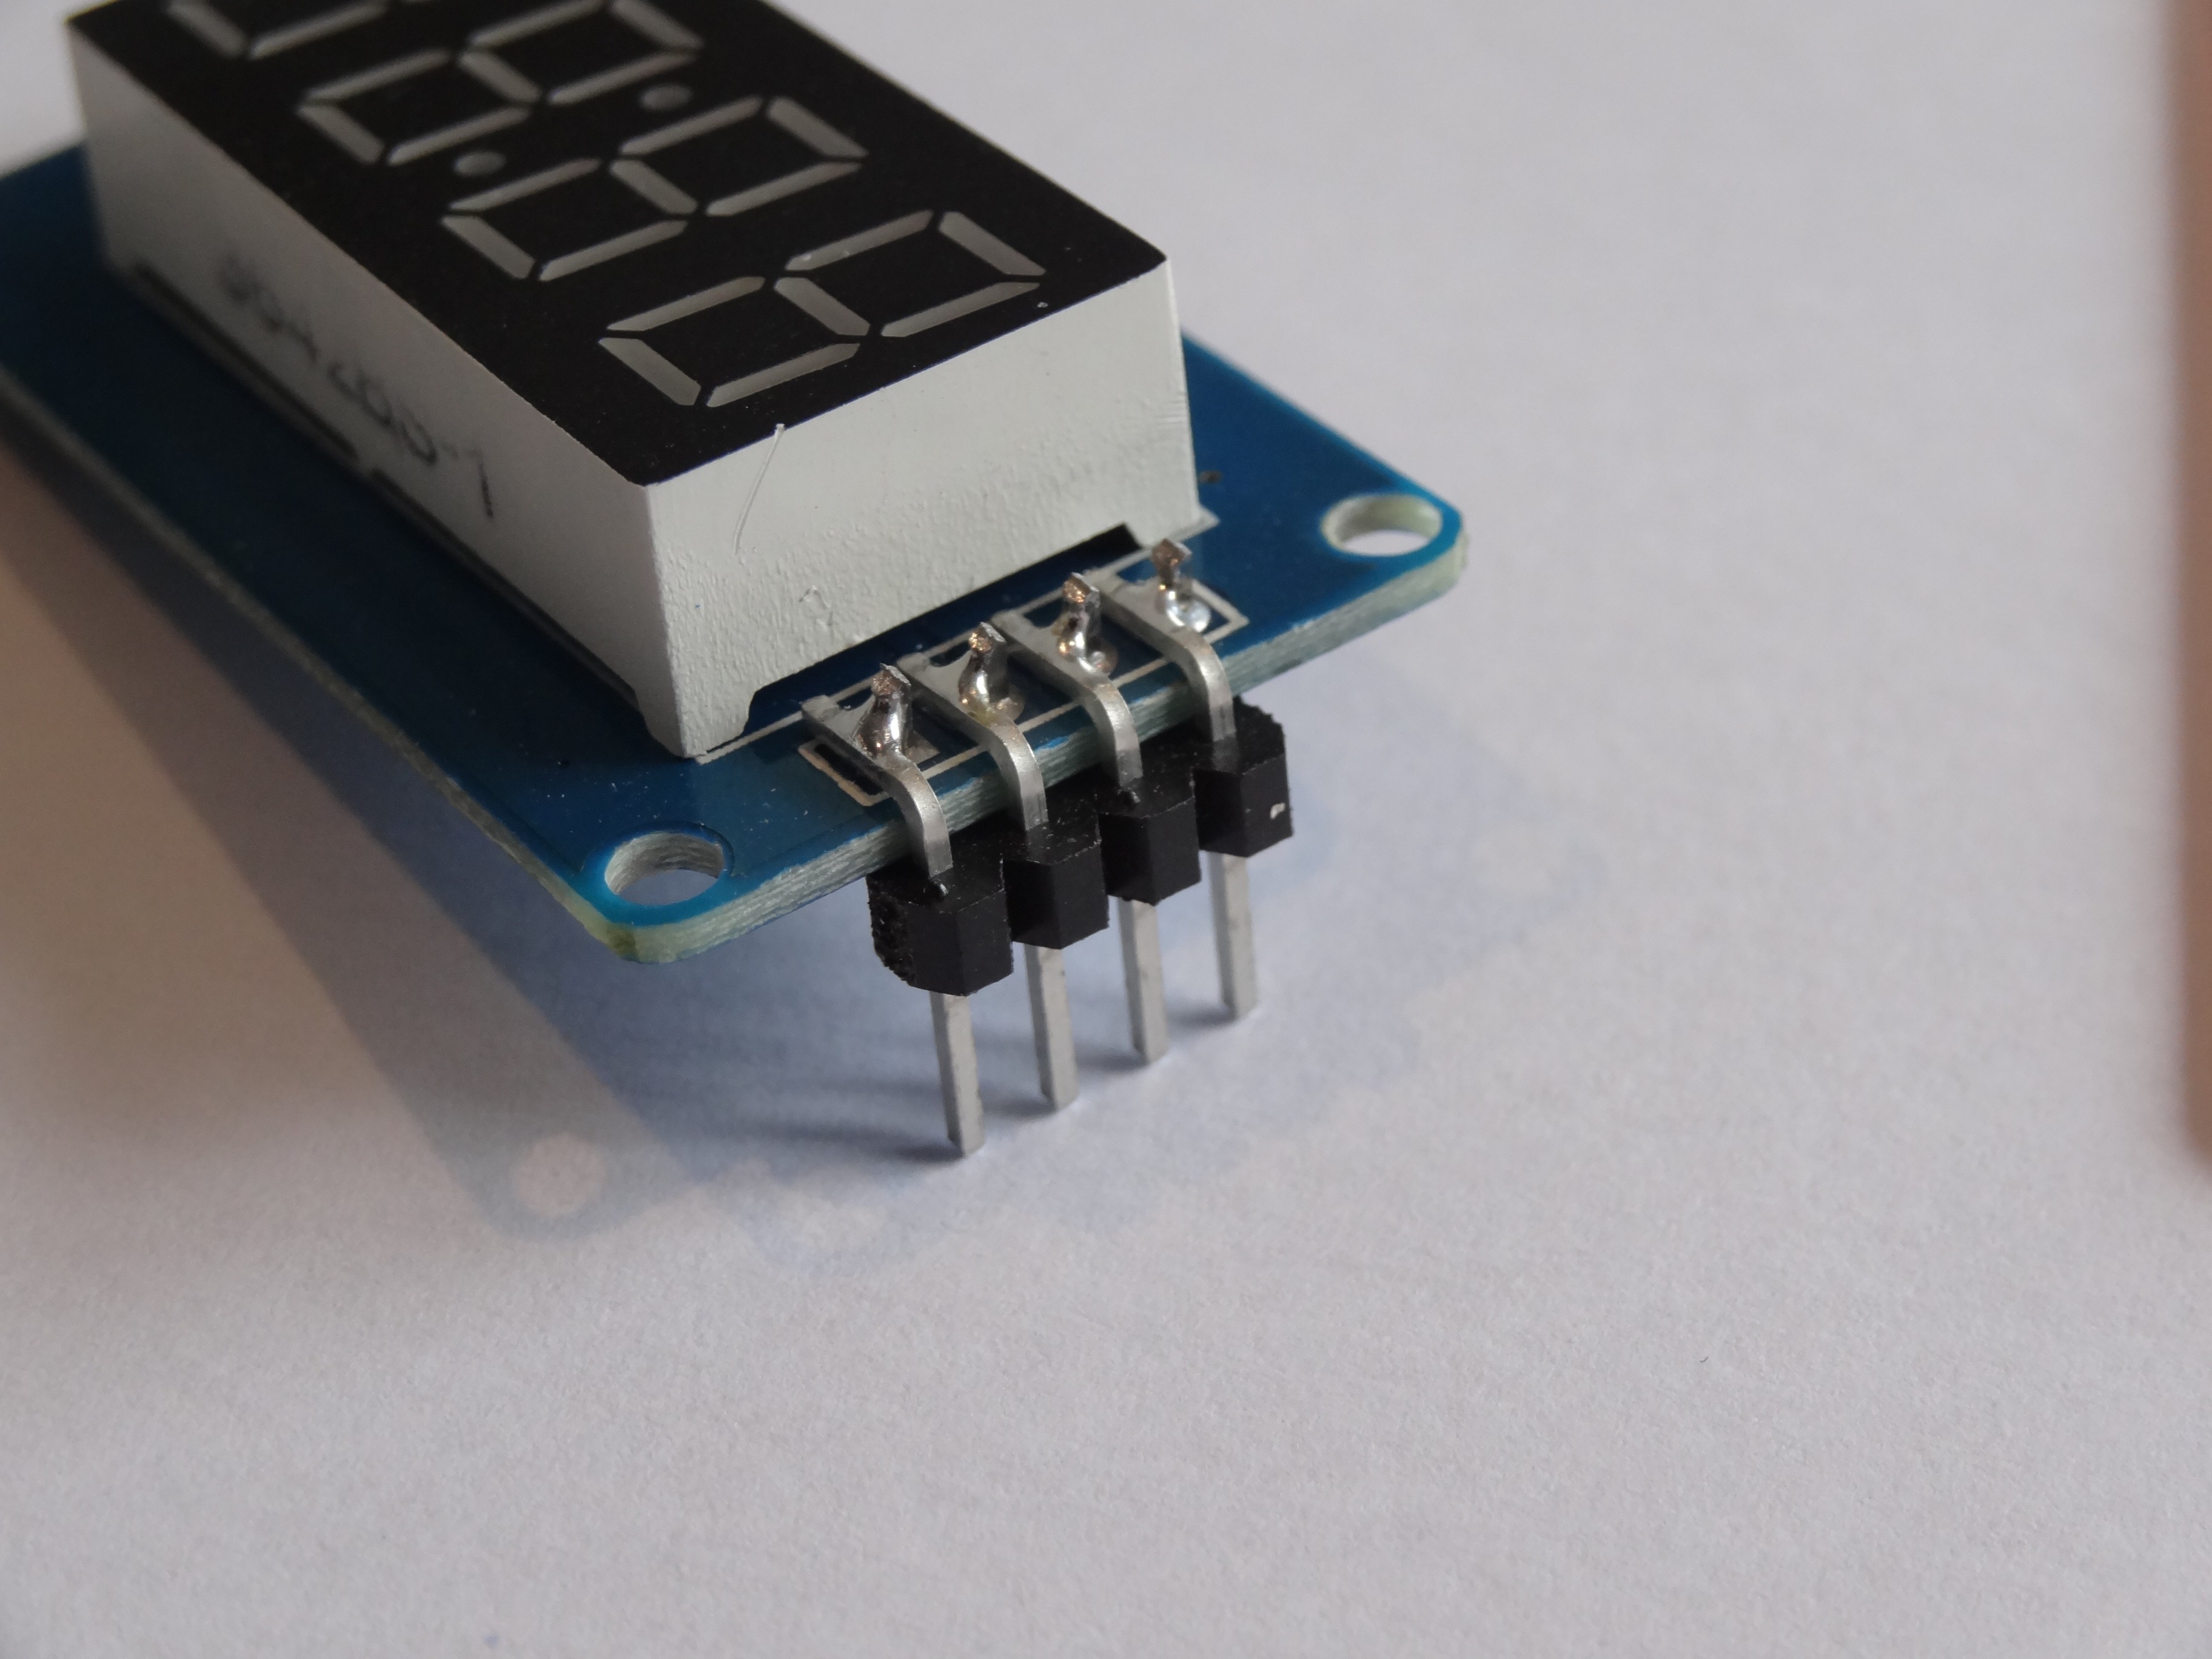
But I managed to modify it reasonably neatly to have downward-facing pins:
 JT
JT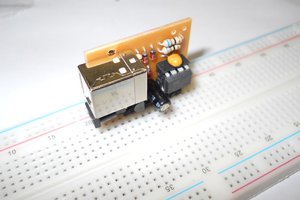
 danjovic
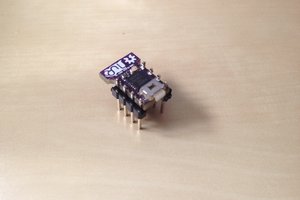
 Daniel Grießhaber
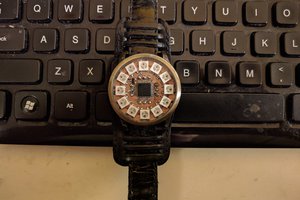
Contrary to popular belief, cowboy boots can be quite comfortable once broken in. The high-quality materials mold to the shape of your feet over time https://mencowboyboots.co.uk, offering a custom fit that can be very cozy.