Close
0%
0%

Sexy Gantry

Documentation of my journey to a commercial enterprise around hobby machining, specifically cnc, even more specifically 3d printing.

Similar projects worth following
362 views

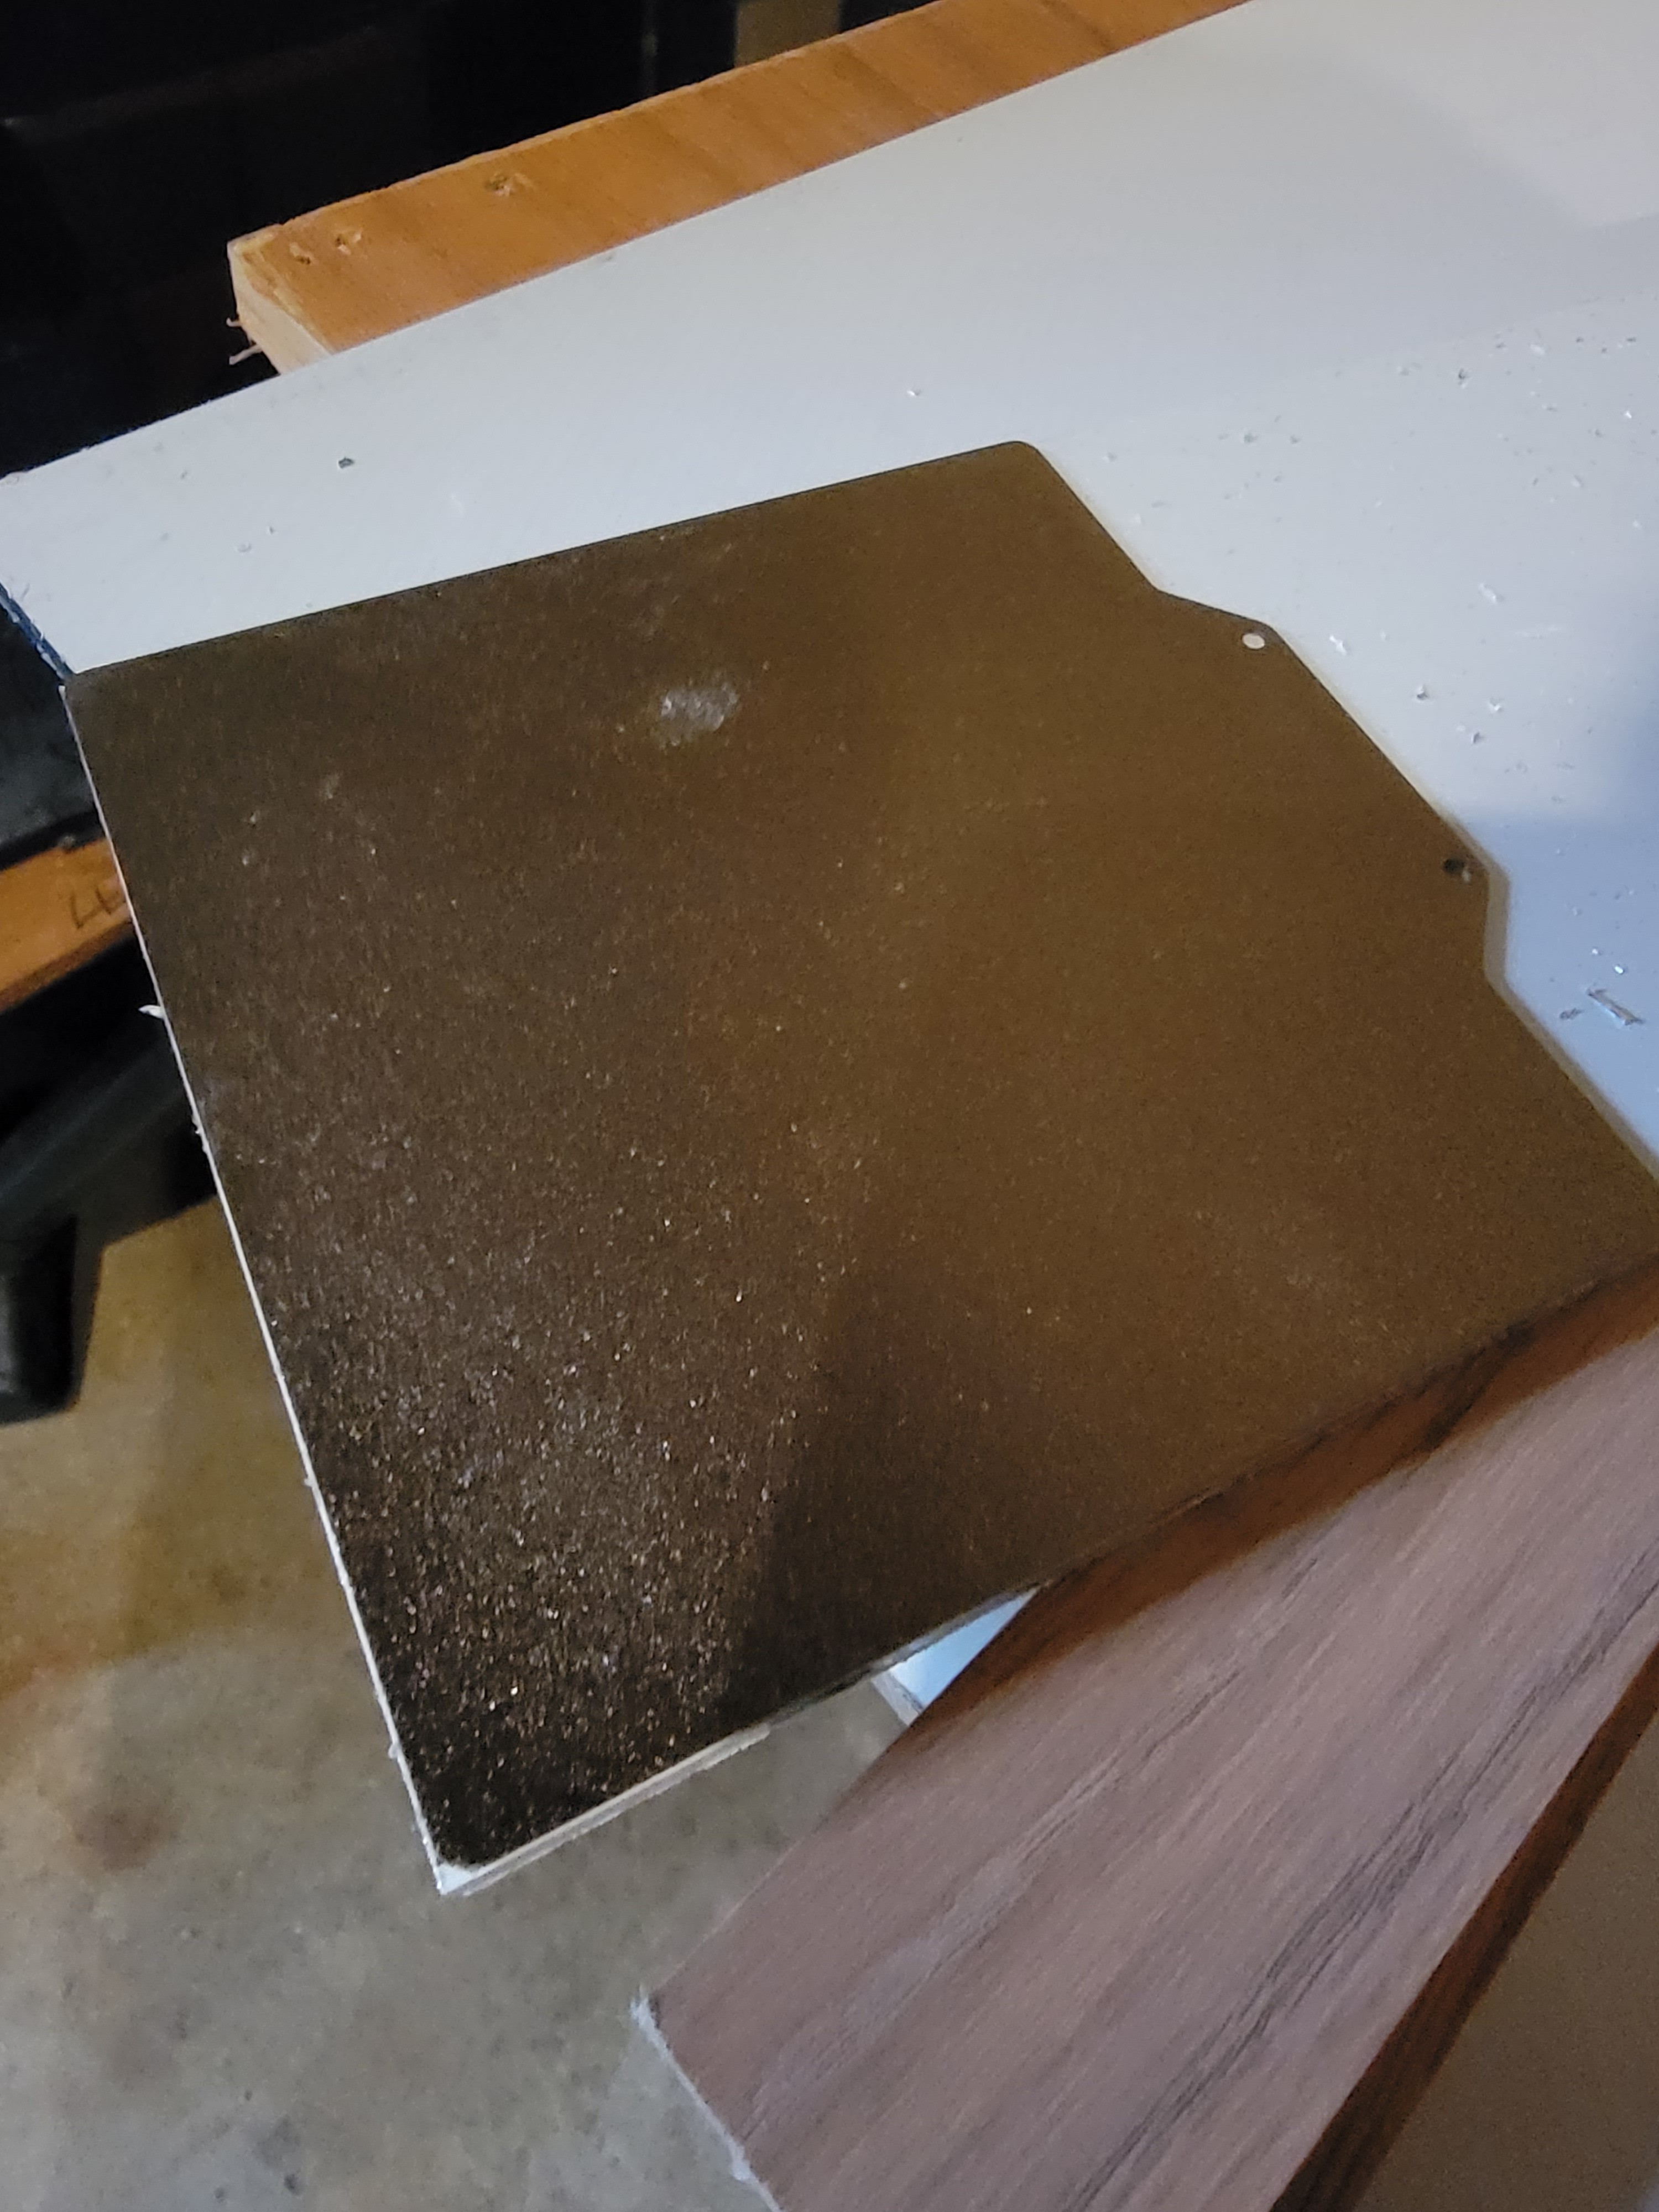
This project details the commercial side of starting a business around hobby stuff. The first product is build plates for 3d printers, for practical reasons, but I do hope to expand from there eventually.

The actual manufacture of a build plate is, frankly, boring. Hence, this will mostly go into details such as calculating how much it actually costs to make, how to value your time, and other more bookish things that other hobbyists are notoriously bad at figuring out when they try to start a business.

  • 08/27/2022 - Everything Falling Into Place

    Daniel Grace08/27/2022 at 05:11 0 comments

    I have been too busy to write here. That's becoming a pattern -- one I can get used to!

    My day job is making some noise about requiring everyone to come into the office two days a week. That's lit a fire under me to get this started ASAP. I'm not the only one against it, and there's a chance it'll be recanted, and even if it's not there's a chance I'll get my exception approved. If that doesn't happen though, I will have a lot less mental energy to deal with this stuff when I add commute to downtown to my normal routine. The stated deadline is two months, so I have some time to get my ducks in a row. The smoother I set things up before it happens, the less mental energy will be required when the time comes.

    I should in theory have a final product by Wednesday, assuming some things fall into place. I have packing/shipping materials coming soon as well -- I just realized I don't have an ETA on that! -- and then I'm basically ready to start selling. I need to do another pass on copy for the store. I'm never happy with my copy, but it's also not mission critical.

  • The Wife Approval Factor / Vacuum Systems

    Daniel Grace08/17/2022 at 15:34 0 comments

    My wife is a reasonable lady. Any implication otherwise in this post is unintended.

    We have two cats and a two year old daughter and we have found a few aluminum chips in the house. I've been pretty diligent about vacuuming after cuts but somehow, some way, aluminum chips are invading the house. I have my theories (hitching a ride on clothing, missed surfaces, surfaces that are craggly enough that they hold on in the face of vacuum pressure, etc.), but the fact is that I have a limited amount of time to find a solution before the danger to family outweighs the project.

    My desired solution is to hook up an automatic vacuuming system. BUT I have heard, vaguely, of some dangers. I wanted to learn more about said dangers, evaluate how much I personally care, and then arrive at a solution for our household.

    It's really hard to find solid information about these things. Aluminum dust is a terrifying thing that comes up in google searches... but also not what I'm making. My chips are quite large. Aluminum vacuums are vacuums that are made of aluminum, not vacuums that suck up aluminum. When you find anything relevant at all, it's commercial entities telling you that it's terrifying and the only way to be safe is with their $8,000USD vacuum systems.

    I went to some chats/forums, talked with real hobby machinists and have come to the following conclusions (note: I am a hobbyist trying to learn, don't interpret this as an expert -- half the reason I'm posting is to give people one last chance to tell me I'm horribly wrong):

    1. There is a non-zero amount of danger inherent in hooking up a vacuum system to immediately collect metal shavings, but the risk is relatively small and/or manageable.
    2. It is not impossible for hot metal to ignite flammable material that happens to be in the vacuum (wood shavings, etc.). This is relatively unlikely because the aluminum doesn't catch much heat, cools down quickly, and would have to be quite hot to ignite wood. But it's not impossible, and ideally we never mix vacuum systems. I plan on disallowing wood on this tool and making sure to empty the vacuum before using it again.
    3. Shop vacs should not add any inherent danger by their design. They are by their very nature designed to protect the motor from the random crap you might be picking up in the shop, which includes metal, wood, and dust.
    4. It would reduce the risk even further to run the vacuum in wet mode and make sure that there is always moisture in the reservoir. This does increase maintenance simply because wet vacs need more inherently (stagnant liquid in the tank longer term is bad). I am currently not planning on going this far, since it's more maintenance AND my current plan is no cutting fluid. It is something to keep in mind as an inherent benefit to switching to cutting fluid though.

    I have a plan of attack for the first attempt with a vacuum system: empty the vacuum, physically isolate the chamber as much as possible, make extra sure the fire extinguisher is close at hand, check for smoldering/warmth after the cutting session, etc. That will be delayed somewhat though, I have surgery today and probably shouldn't be doing active shop work while under the effects of that kind of medicine...

  • First Long Cut Made

    Daniel Grace08/16/2022 at 00:10 0 comments

    I initially tried to make the cuts with a track and my father in laws circular saw. It kind of worked, but the saw itself kept stopping. I believe I was tripping some kind of internal fuse, it wasn't the house breakers. That's where I stopped for the day.

    Then I built a few tables (the two on the right) and bought a decent table saw (the one on the right, the left one isn't up to aluminum). Using these three tables, and my wife's help, I managed to make my first real cut along the 2ft length.

    This validated that the table saw itself was up to the task, and the resultant surface quality. I have a plan to make these cuts possible without help, but need to build more stuff.

    On the top piece of aluminum, the left edge is as it was from my supplier, the right edge is the one I made.

    The picture isn't the best, but I was spot on the right size, apparently!

    My updates have slowed somewhat, but that has more to do with wanting to do productive work when I can, so these updates only actually happen when I can't do work for some reason. 

  • Plate Arrived

    Daniel Grace08/12/2022 at 23:24 0 comments

    2ft x 5ft of raw 3d printer build plate. Anyone want to build a giant printer?

  • Further Math On Adhesive Sheets

    Daniel Grace08/08/2022 at 16:43 0 comments

    Phase One Update

    I am ordering the bigger plate today. It will take a few days to be available, and I hope to have some basic jigs set up in that time frame. Then I can cut the first potentially-sellable product without a magnetic plate. No big update on that, because it's boring, but it's important.

    Phase Two Update

    I got the quote back from Germany. They were very nice, answered my questions, sent over a bunch of info. I could influence these numbers by buying more in bulk, but the ultimate price per Voron 0.1-sized plate would be approximately $5.14 USD. That is technically doable, I would still turn a profit at my target price point, but it would take a pretty large chunk of the profit out. I am also impressed at this listing: https://www.fabreeko.com/products/graviflex%C2%AE-200-high-strength-magnets As far as I can tell from their supporting document they are getting exactly the same deal as me, so they are getting something like $2 profit over raw material costs, which isn't a lot for cutting it into pieces and packaging, etc.

    Let's break down all the options with this new info:

    Old Possible Source One: McMaster-Carr Acrylic

    Comes in awkward sizes, I would be applying the magnetic sheet later in the process and more times. Each unit I buy would make 8 plates. Comes out to $2.41 USD per v0.1 plate.

    Old Possible Source Two: McMaster-Carr Rubber

    Comes in much better sizes, making the manual labor part better. Each unit I buy would make 400 plates. Comes out to $1.68 per v0.1 plate. The main downside here is that the rubber adhesive is untested, but it's the cheapest total cost.

    Old Possible Source Three: McMaster-Carr + 3M

    Buy no-adhesive sheets from McMaster-Carr, apply "fancy" brand-name adhesive that is technically better and might justify a premium from my customers. The magnets make 400 plates per unit ordered, the adhesive makes 720 plates per unit ordered. The total cost is $1.67 each for magnets, and $0.67 each for adhesive, or a total of $2.34. Only slightly cheaper than McMaster-Carr Acrylic and a worse process. This is only worth it if the 3M name is a reasonably large sell. It is better on paper, so I don't have to sell my soul to market it as an upgrade.

    Old Possible Source Four: schallenkammer

    Each unit makes 324 plates, and the effective cost is $5.14 each. I open myself up more to the effects of shipping and international stuff. The brand is not as well known (though other people DO sell their product to the 3d printer crowd), and likely can't justify a premium just because of the brand. I thought I had a unique selling point when I saw that they offered colors, but one of the things they said is that the colored versions aren't rated for the heat, so that's a non-starter. I can't really think of a way to keep this option around.

    So now we have a new set of options.

    New Option One: Lowest Price

    The lowest price for me (and thus either the lowest price for customers, or my highest profit) is McMaster-Carr Rubber. This would impose upon me a short-term price because I couldn't morally offer this without doing some testing of my own, but it would be the cheapest long-term.

    New Option Two: Most Premium

    Using 3M adhesive isn't that much more expensive in raw material costs. It does take a bit more process, and I don't know how bad that will be precisely. This is somewhat up in the air, but gut feeling is that I would have to sell them for $2-$3 more to justify this. That's not a big difference, and I could probably add more than that onto the price if I wanted to maximize profit.

    New Option Three: Safest

    Doing small sheets of McMaster-Carr Acrylic isn't the easiest workflow, but I have a solid idea what that workflow is. It's a known product in the community. It's basically the same price as everything else. This is definitely the safest choice.

    I think for now I will leave it at that and not make a final decision. The decision will come down partially to whether I am...

    Read more »

  • Thoughts Collection: Processing / Magnetic Sheet

    Daniel Grace08/07/2022 at 08:42 0 comments

    This post is mostly about me getting things out of my head and onto virtual paper.

    Stage one is still to produce just the tool plate. But I have now spoiled the fact that stage two is to product a tool plate with an already-installed metal sheet. The logical step after that would be to produce the spring steel sheet and/or to pre-attach the ceramic heater element (I have zero interest in trying to produce those!). But that's not what this is about, this is about my process of both locking down my supply chain for the magnetic sheet and the way I'm thinking about the processing workflow.

    For cutting out the tool plate, I am going to need work fixturing to clamp things down and ensure both a consistent cut, and also a cut that is easy to do (easy equals both faster and fewer mistakes, both of which equate to cheaper/more profit). I could easily design fixturing for my current set of constraints and go for it. In fact, I already started that process. You can see an image of that in the previous post.

    But ideally I would want the fixturing to work in the future as well. Why make fixturing that is 100% going to be thrown out soon? (Side note: It might actually make more sense to make a throw-away set of fixturing now. It would technically get me to production faster, and the chances of me having to remake the fixturing due to unforeseen issues is high either way. But I'm so far choosing to try and foresee.)

    So here are my set of constraints and the possible paths forward:

    Constraint One: Physical Size / Transport

    The size of the tool plate I buy from my supplier is constrained by multiple factors. In the short term I plan on transporting these in my daily driver car. There is only so big a piece I can fit in said car. There's not a single set of dimensions I must fit in, because it depends on several factors. I can lay the back seats down and stick the piece between the front two seats. This is precarious, but doable, and allows me to carry narrow and long pieces. I can lay both seats down and NOT go between the front seats, and this allows much less length, but much more girth. Rather than treat the car as a single constraint, I will treat it as a last-pass constraint. That is, I'll first satisfy all the others, then see if I can come up with some orientation in the car that fits the resultant plan.

    Constraint Two: Weight

    The other part of this constraint though is weight. I will very likely be moving these pieces by myself, at least at first. This means that I need to be able to bear the weight of the pieces, as well as the size. As anyone who has moved knows, a weight in a relatively small area is much easier to weild than that same weight spread out over a large area where you can't get good leverage. Tool plate is necessarily flat, which already leans toward awkward shapes.

    Constraint Three: Cost

    The cost of each piece can be approximated by Volume * N + Cut Price. And Cut Price is a meaningful amount of money. Therefore, there's a very large difference between getting a 1x10 sheet and two 1x5 sheets. Unlike the prior two constraints, this pushes me toward larger sheets. Importantly though, a 1x10 sheet and a 2x5 sheet costs the same. This constraint doesn't really care about shape, only volume.

    Constraint Four: Physical Size / Storage

    Imagine a world where I own or rent a large transport vehicle and the first constraint is removed. I still have to store the unprocessed pieces for long enough to process them. This puts a different constraint on size that only really becomes relevant at scale, but is still worth marking down.

    Constraint Five: Workflow

    The previous constraints mostly had to do with the tool plate itself. Now we start moving onto the constraints that affect the adhesive and/or the magnetic sheet.

    The perfectly ideal workflow would involve me getting a tool plate slab the perfect size for the other constraints, then applying a pre-cut, pre-adhesived magnetic sheet...

    Read more »

  • Thinking About Adhesives: Call For Help/Info

    Daniel Grace08/05/2022 at 04:56 2 comments

    I have a second goal for this project, that I haven't talked about before. I wasn't planning on it, but I've hit a point where I need info that isn't easily googleable.

    I want to sell build plates with a magnetic surface already applied. There are a number of benefits to this, but this post isn't about selling the idea, it's about some options for how to get there.

    The Voron 0.1 sourcing guide points to this McMaster Carr listing: https://www.mcmaster.com/7301t21/

    It's 9" by 12" and 1/16" thick. The size is far more than needed. The thickness might be relevant. The listing also lists the adhesive as Acrylic.

    For practical reasons I'd like to get a very large sheet of this flexible magnet. McMaster Carr doesn't have big sheets unless you go to a Rubber adhesive. From googling, Rubber isn't AS good as Acrylic at surviving temperature. But both have the same listed max temperature. I don't know if Rubber would be Good Enough.

    I can also find flexible magnetic sheets without adhesive. The price isn't MUCH better. In theory I could apply my own Acrylic adhesive, but that adds to the setup time. Testing these things all myself would take a decent amount of both cost and time (I'd want to do tests over a long period of time for validity). Ideally, someone with some knowledge of this field could tell me if it's a complete waste of time even looking at Rubber adhesive for adhering a magnet to a 3d printer build plate.

  • The Saw Cuts

    Daniel Grace08/05/2022 at 04:19 0 comments

    I tried my first saw cuts today. I used a circular saw with no track guide, not a setup I intend to use "in production," but I still hoped it would teach me something.

    It did!

    Lesson one: A saw guide is absolutely necessary. The channel is so wide and uneven because I didn't have one.

    Lesson two: I almost definitely need cutting fluid for this part. It removes material much more quickly than the drill press. The blade is also more expensive, so longevity matters more. 

    Lesson three: The chips that come off the cut are hot enough to be uncomfortable. This may get better with cutting fluid. 

    Lesson four: Cutting with a saw isn't as loud as I expected, either. Probably won't even consider doing this work at night, but I can do it during the day without fear of being chased out of the neighborhood with pitchforks.

    Lesson five: I put together a seriously janky jig for this cut because I'm prone to trying to perfect everything before I do any action. This is a thing worth working on. The jig was nowhere near adequate.

    I can't really take any more lessons without improving my technique. I THINK the kerf is probably going to be larger than expected, but without a clean cut, I don't know how much is due to the wandering blade. The cut also felt less comfortable on my body to do, but that's almost definitely down to an appropriate jig.

    Next step is probably a better job and one more small test piece. Maybe one large enough to make a 120mm^2 piece so I can attempt a real output. 

  • Cutting Fluid?

    Daniel Grace08/02/2022 at 18:09 0 comments

    I used the drill press to drill some test holes in my test piece of aluminum. It was remarkably quiet, I literally could not hear when the cut started, I only heard the sound of the drill (and the drill itself isn't loud at all). Good news is that I have the option of doing the holes at night if need be.

    I did one hole with and one without cutting fluid. Given how smooth the cuts are, I literally could not tell a difference. The cutting fluid makes cleanup more annoying, as it all turns into a gooey mess that the aluminum chips stick into. In theory, the fluid will make the drill bit last longer, but that's difficult to meaningfully measure without doing hundreds of cuts. Also, the drill bits were like $1-$3 each, so as long as I'm not going through multiple a day, I doubt they will be more expensive than the cutting fluid. I am currently leaning toward NOT using cutting fluid on the drill press, mostly for cleanup reasons. At the stage I'm working at, where there's a lot of manual labor, labor costs tend to be the most important. Cleaning up the cutting fluid is going to bog me down. I reserve the right to change my mind once drill bits start getting dull and I see what that life is like.

    For the saw cuts, I haven't done a test on that yet. Life has gotten in the way during the daytime, and I'm 99% certain it'll be too loud to do at night. I expect that it will need cutting fluid for those cuts, but maybe I'll be surprised. I will have pictures of the various test cuts shortly.

    Edit: One thing I definitely learned is that I will absolutely need to debur the drill cuts. (Almost definitely the saw cuts as well, but I'll get to that determination once I've done the test cuts.) That's another step on the process I had forgotten about before.

  • Realization About Scale

    Daniel Grace08/01/2022 at 04:55 0 comments

    Originally, I was going to split my proof of concept between Voron 0.1 size (120mm^2) and Voron 2.4 (300mm^2 as the default). I am starting to wonder if that's still the right choice. I can see arguments for doing only the Voron 0.1 (it is the most profitable, in theory), or expanding to include all three default Voron 2.4 sizes (so four sizes in total).

    The main reason to consider doing only 0.1 though has to do with process. My father in law is storing tools in our garage and we are allowed to use them. This includes a 10" table saw. Now, a table saw is the faster tool to use to repeatably cut precise shaped squares. The reason I was going for a circular saw originally though is because the 300mm^2 size is just under 12 inches. ie, too big for the table saw. But if I only did the 0.1, I could save making jigs for cutting.

    Either way I will eventually need to make the jigs. I will eventually want to offer all four sizes mentioned above, and possibly some others.

    The other scale-related thing I realized has to do with money. As I said before, because my supplier charges a fee to cut things down, and the fee is a constant, it really encourages me to handle the largest pieces I can. At least, on the surface. But a full sheet of material weighs 118.18lbs (53.6kg). And it's physically large, meaning I'd often have leverage working against me, making it effectively even heavier.

    Even if it's cheaper money-wise, it's going to be more tiring and probably take more time. Time is hard to directly equate to money, but time does in fact translate to money eventually. So how much does it save me?

    In raw materials, processing 3ft x 3ft would work out to $4.63 per end product. Going to the full sheet to avoid cut fees would make it cost $3.72 per end product. Less than one dollar of savings.

    I think I can afford to eat the monetary cost for quite a while. The calculations probably change at the point where you're using forklifts to move things around, but that's a long way away, if ever.

    It's important to put things into perspective.

    Because I'm trying to use more images in my logs from now on, here's my in-progress idea for a circular saw jig. There will be two (or maybe more) stands that can be moved to support the material, some back stops to have repeatable positioning, and (yet to be put into the CAD) some clamps to hold things securely into space. The gap between the stands is the important part, as it gives a space for the saw to go without hitting anything. I am still noodling over how to attach the clamps (which I have bought), and this entire thing is designed to be made out of like $20 worth of material just as a proof of concept.

View all 11 project logs

Enjoy this project?

Share

Discussions

Similar Projects

Does this project spark your interest?

Become a member to follow this project and never miss any updates