 Riley
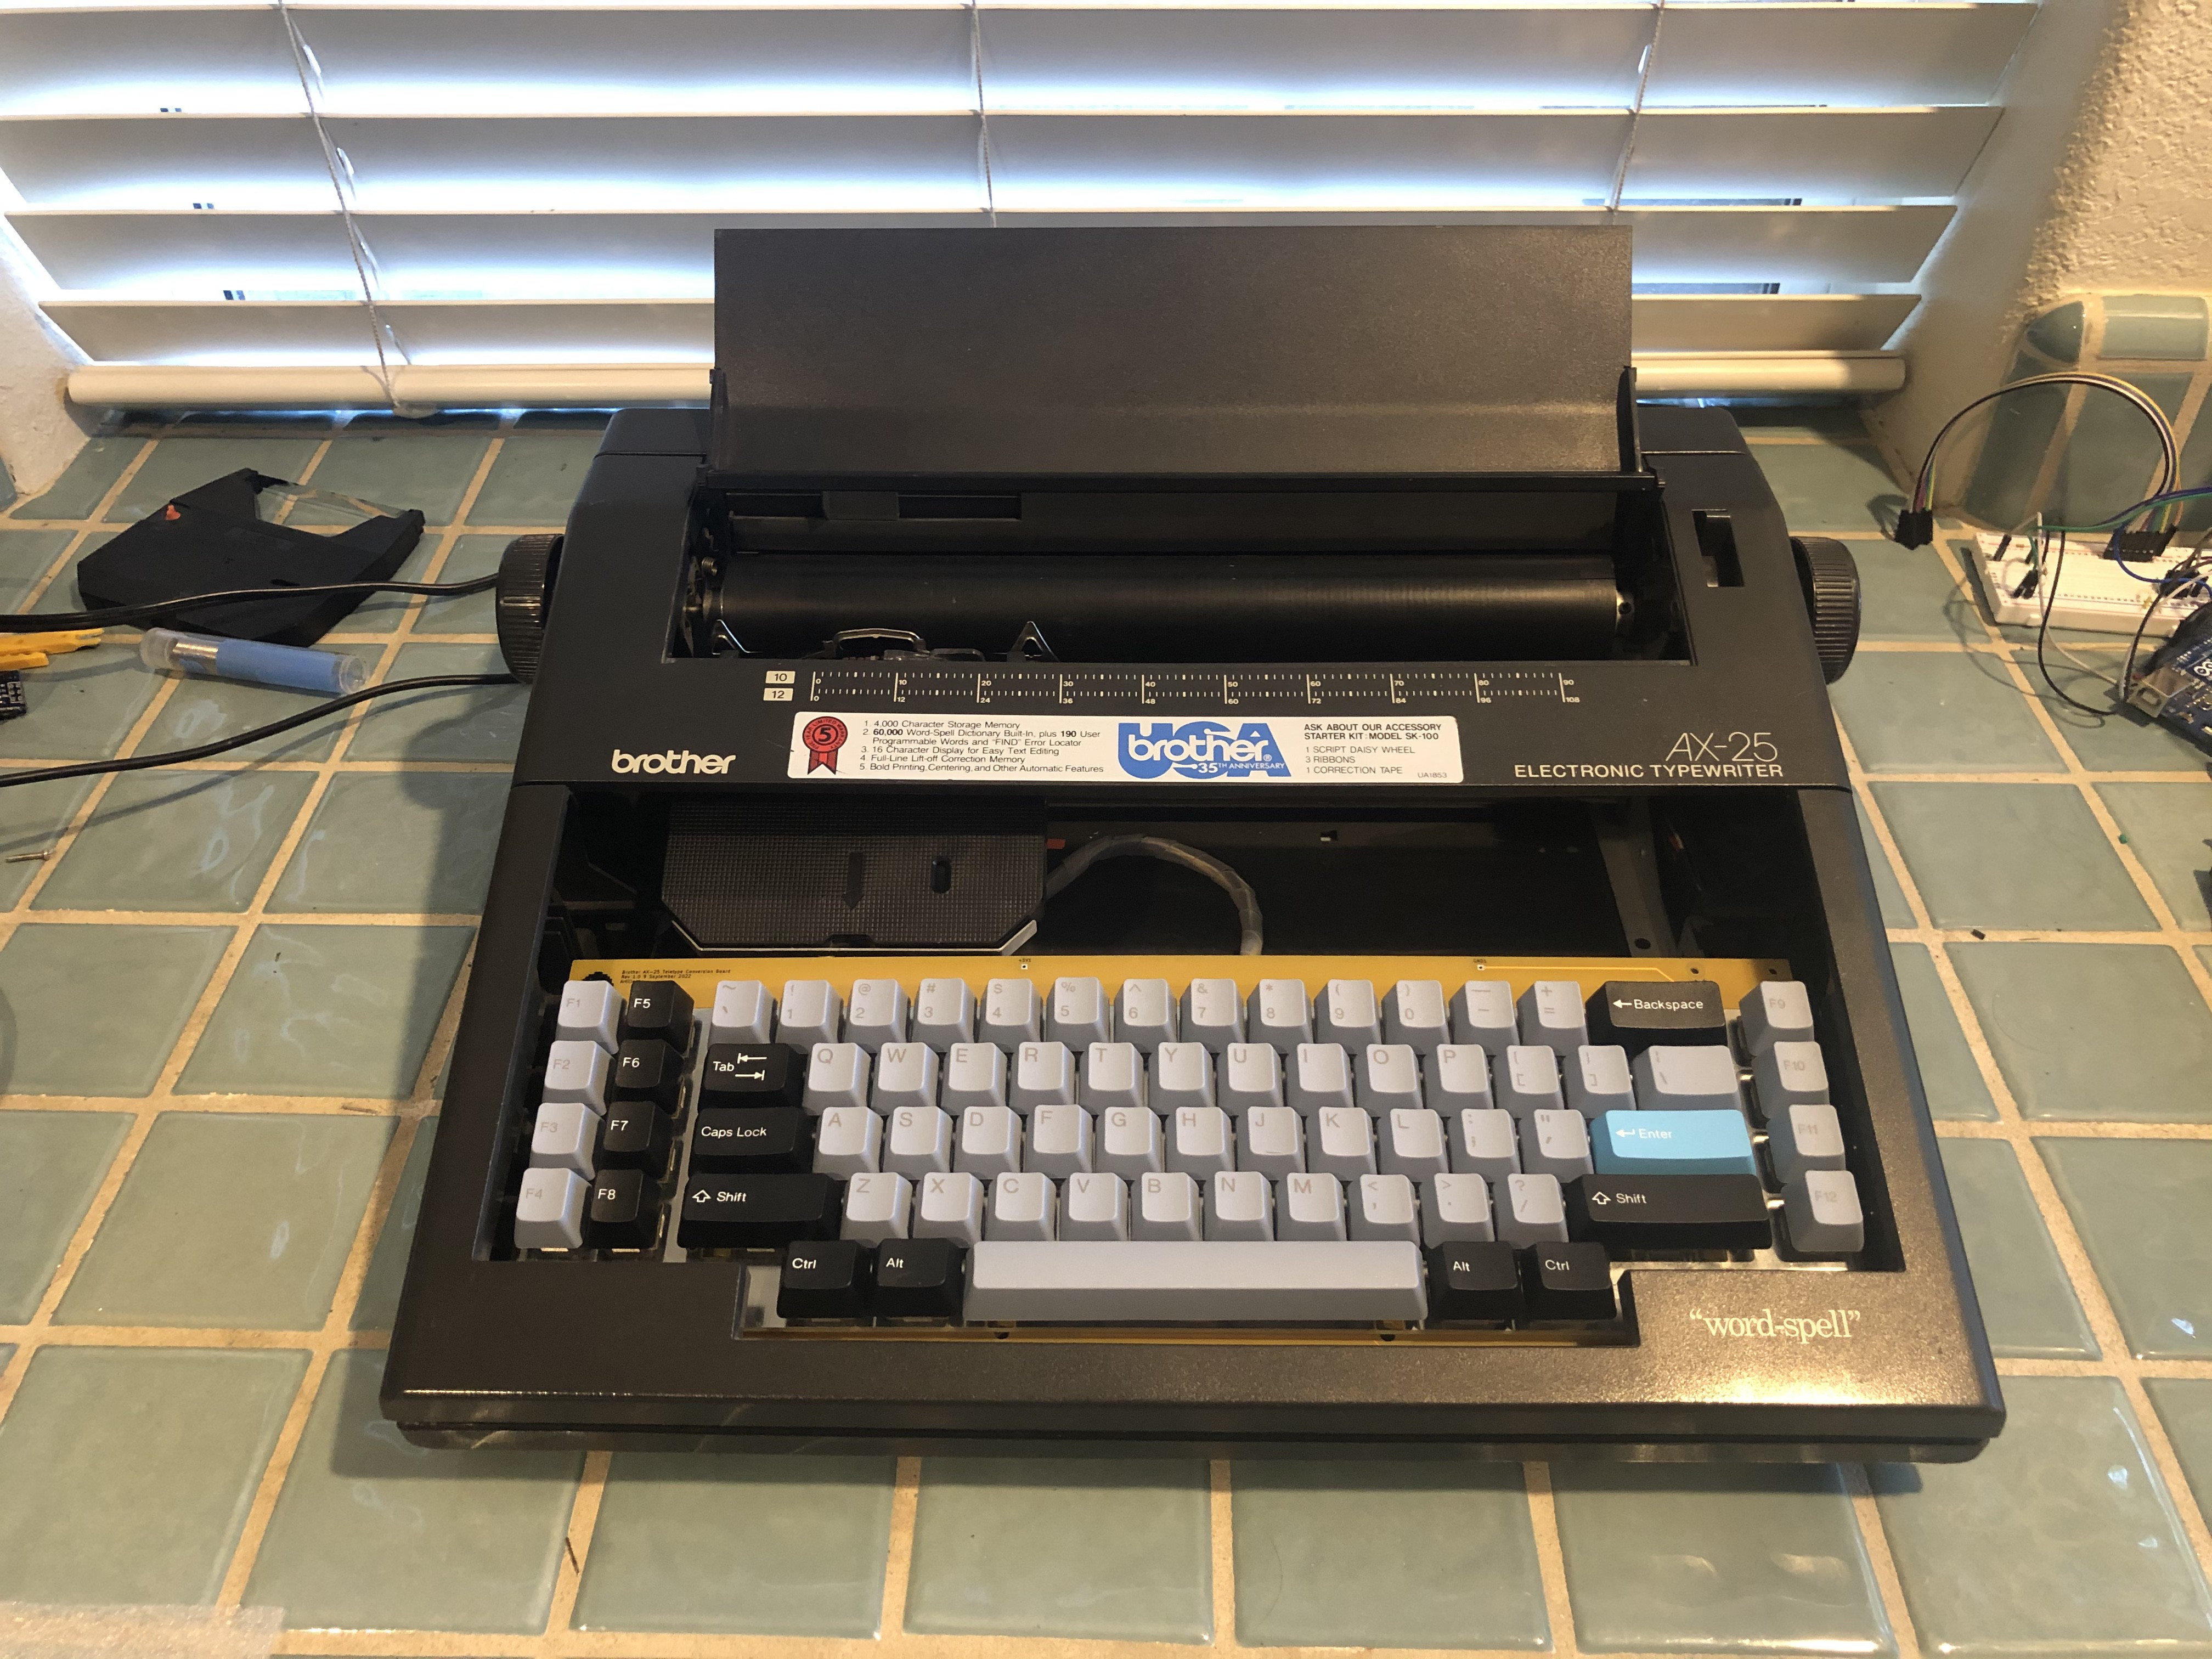
RileyFrom the late 1800s to the late 1900s, the typewriter was one of the best ways to write documents. Sadly, they were largely rendered obsolete by the rise of home computers. I didn’t grow up using a typewriter, but a couple months ago I bought a Brother AX-25 electronic typewriter, and I've turned it into a computer
It uses a spinning wheel with letters molded into it and a motorized hammer to type text, rather than type bars (or strikers) like in a traditional typewriter. The sound it makes is unmatched even by the clickiest of keyboards. Each keypress results in a short buzz as the motor selects a character, followed by a satisfying clack.
The AX-25 has a 16-character LCD, 128 kB of ROM for the typewriter’s firmware, 128 kB of storage, and 16 kB of RAM. These specs are pretty terrible by today’s standards. Luckily, it’s easy to repurpose old technology with open-source hardware! That’s why I used an Arduino and a Raspberry Pi to turn my typewriter into a Linux terminal.
The PCB manufacturing was sponsored by PCBWay, the keyboard switches and Raspberry Pi Zero were provided by Whisker and CSTRSK on Twitter.
Inspiration
Back in high school, one of my friends was working on making a computer using a Z80 for a school project. He had it set up on a few breadboards in a briefcase, and after we talked about it for a bit, we decided that we would try to put it in an old typewriter. We wanted to make our own Commodore 64. We gutted an old electronic typewriter, but never got around to putting the computer in it. For the past 6 years, I've had that typewriter's shell sitting in my room.
For a while, I wanted to turn the typewriter into a cyberdeck. I planned on putting a screen in it, and a Raspberry Pi with a hefty battery. I had that idea rolling around in my head until a couple years ago, when I saw CuriousMarc's video about his teletype turned into a Linux terminal. I wanted to do the same to a typewriter, but I never had the time to do it and couldn’t find a typewriter at any thrift stores. After graduating from college, I finally had enough spare time, and knowledge, to turn a typewriter into a computer, so I went to a thrift store and bought the first electronic typewriter I could find.
Functionality
I can use all sorts of Linux commands, and by processing the escape sequences that the Raspberry Pi outputs, it can automatically toggle the typewriter’s formatting features. I can also type commands using the typewriter's keyboard.
I've also used it to print some ASCII art, I think the results look pretty great!
Reverse-engineering
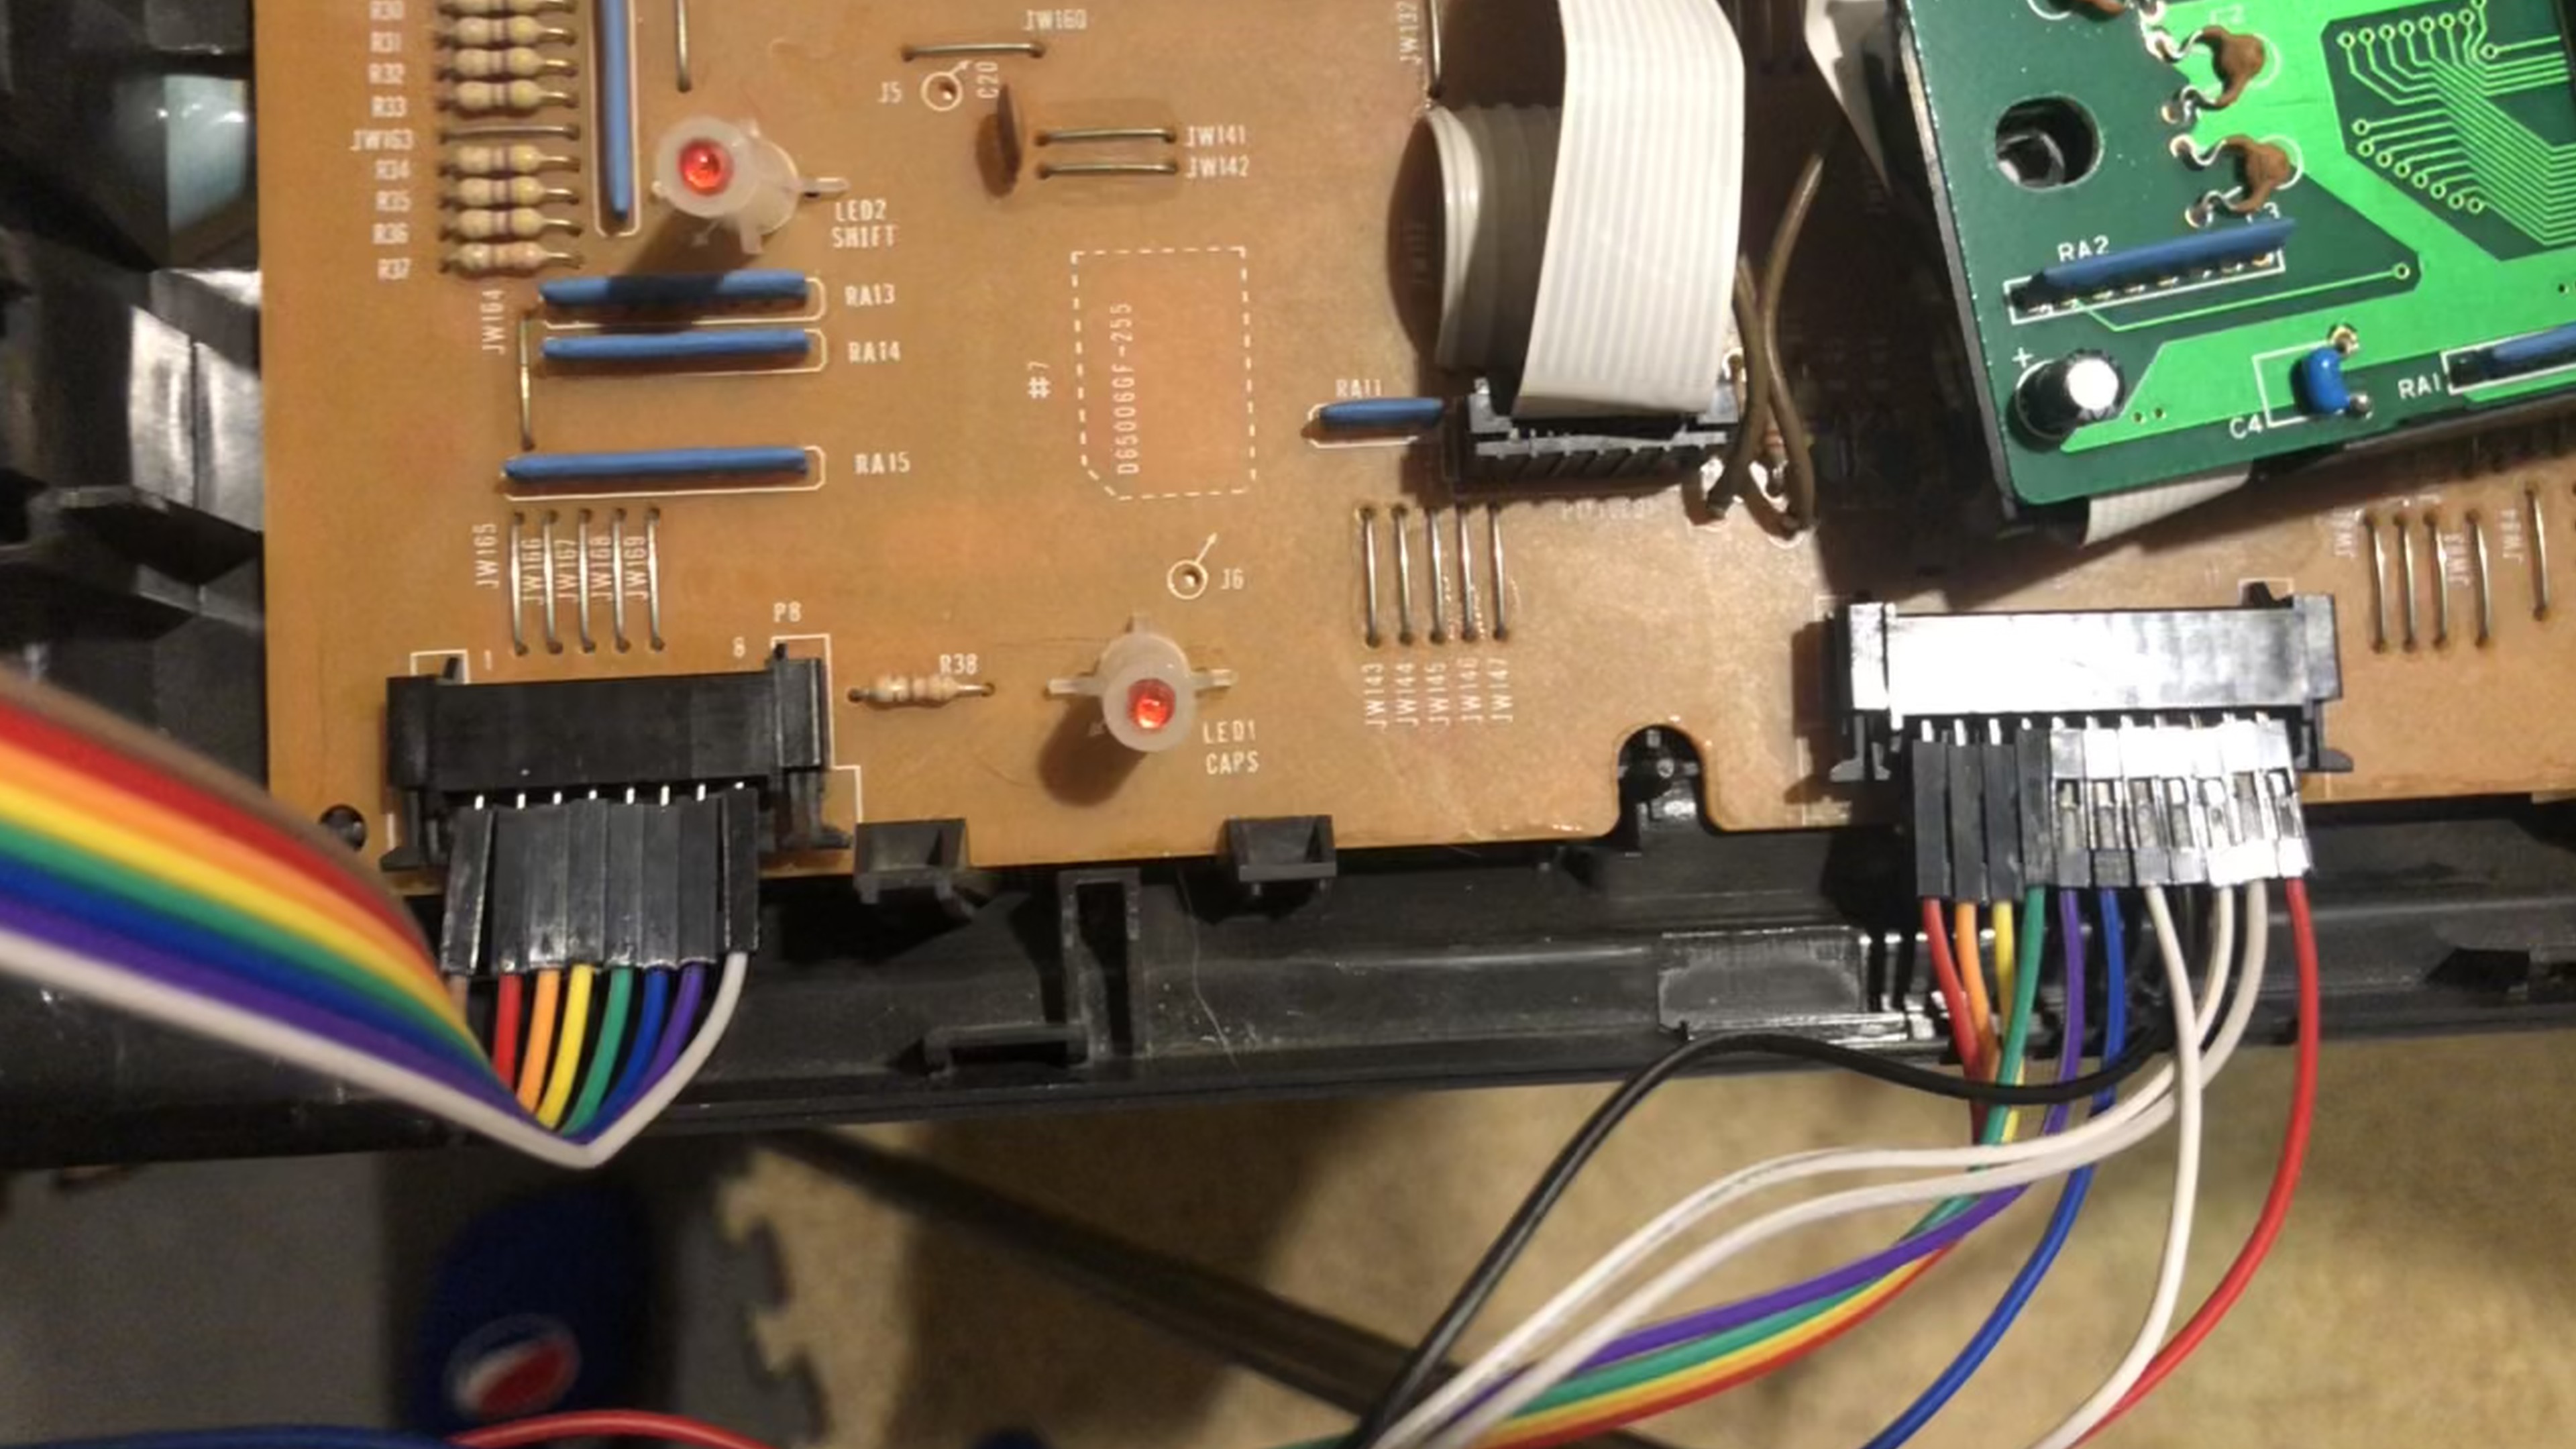
The typewriter’s keyboard is wired up in an 8x11 matrix, and it connects to the typewriter using two connectors, one for the rows, and one for the columns. When you press one of the keys, it connects one of the row pins to a column pin, which the typewriter then detects. To figure out which pair of pins each key corresponds to, I connected each pair by hand one at a time, and wrote down what key was printed. I did this until I had the entire matrix mapped out.

The typewriter uses a 7805 linear regulator to power its 5V components, and I was able to locate an unused 5V pad and ground pad that I can tap into to power my circuit. I had to add a heatsink to the regulator to accommodate for the increased power consumption of my circuit.
Interfacing with the typewriter
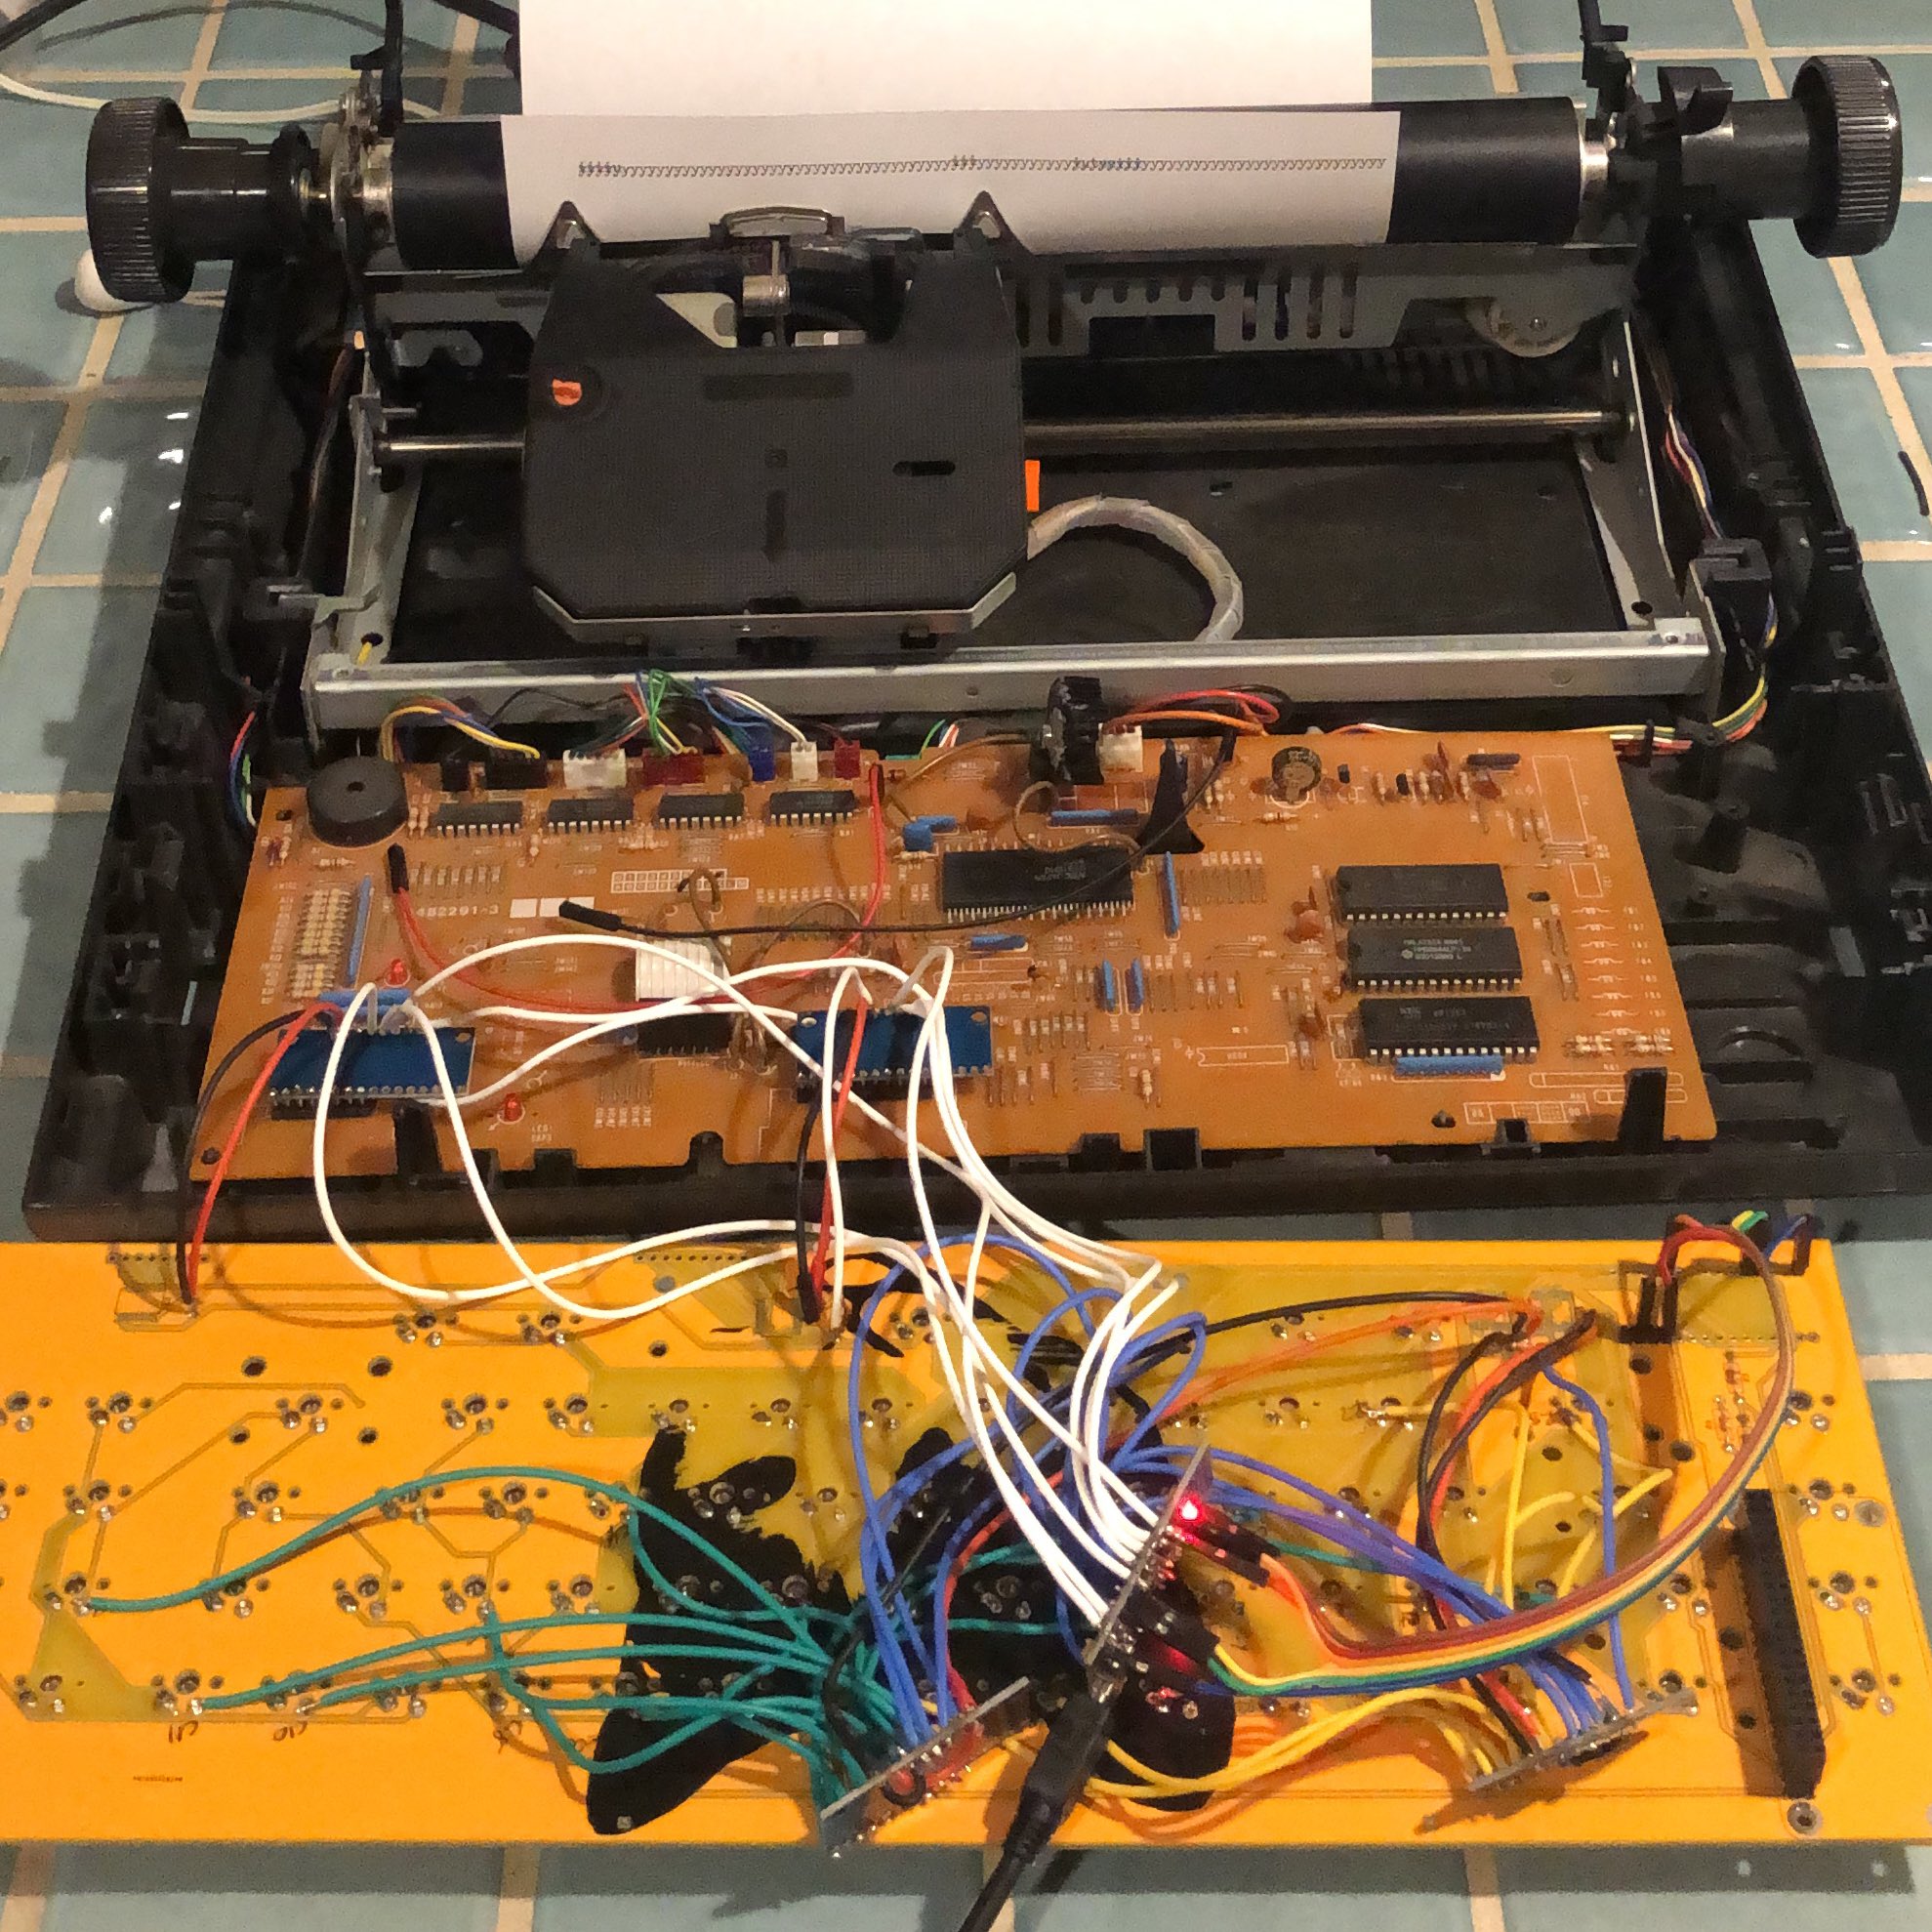
The Arduino code is available on my GitHub repository if you’d like to look at it in more detail! My Arduino controls the typewriter using two multiplexers, one connected to each of the keyboard connectors. The multiplexer’s signal pins are connected so they can be used to connect pairs of pins on the keyboard connectors together. To send a key, the Arduino selects a pin on each multiplexer to connect them, which tricks the typewriter into thinking that a key has been pressed.
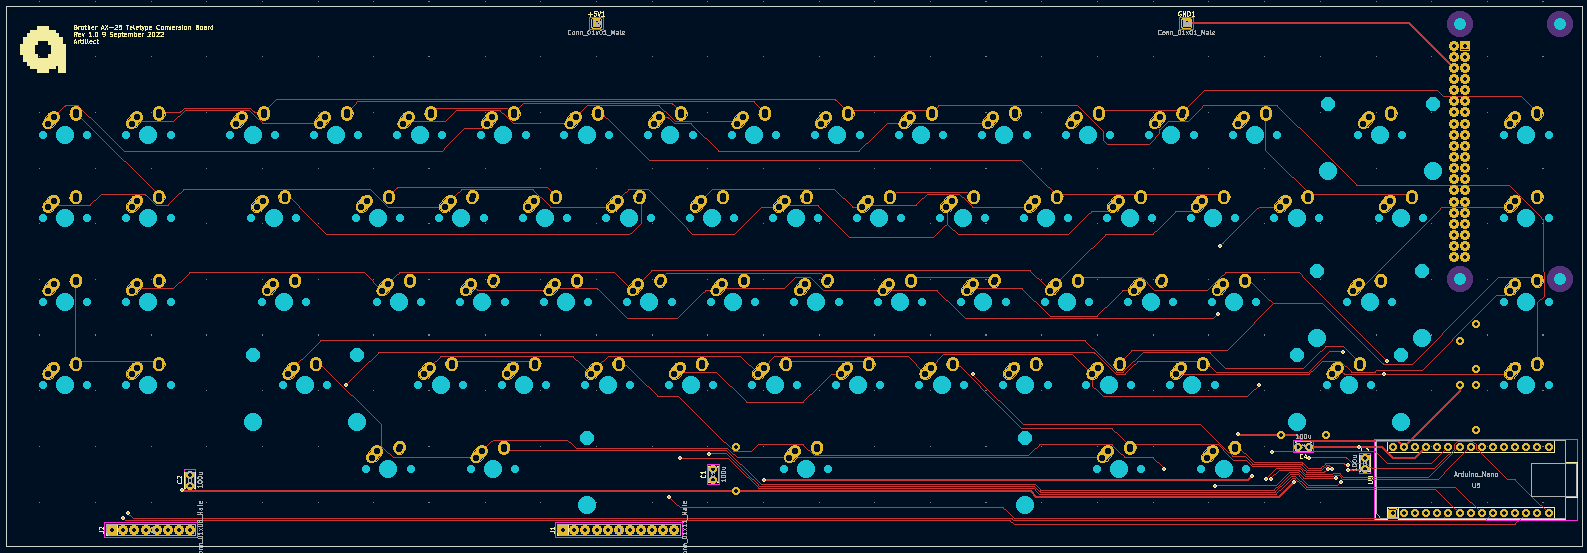
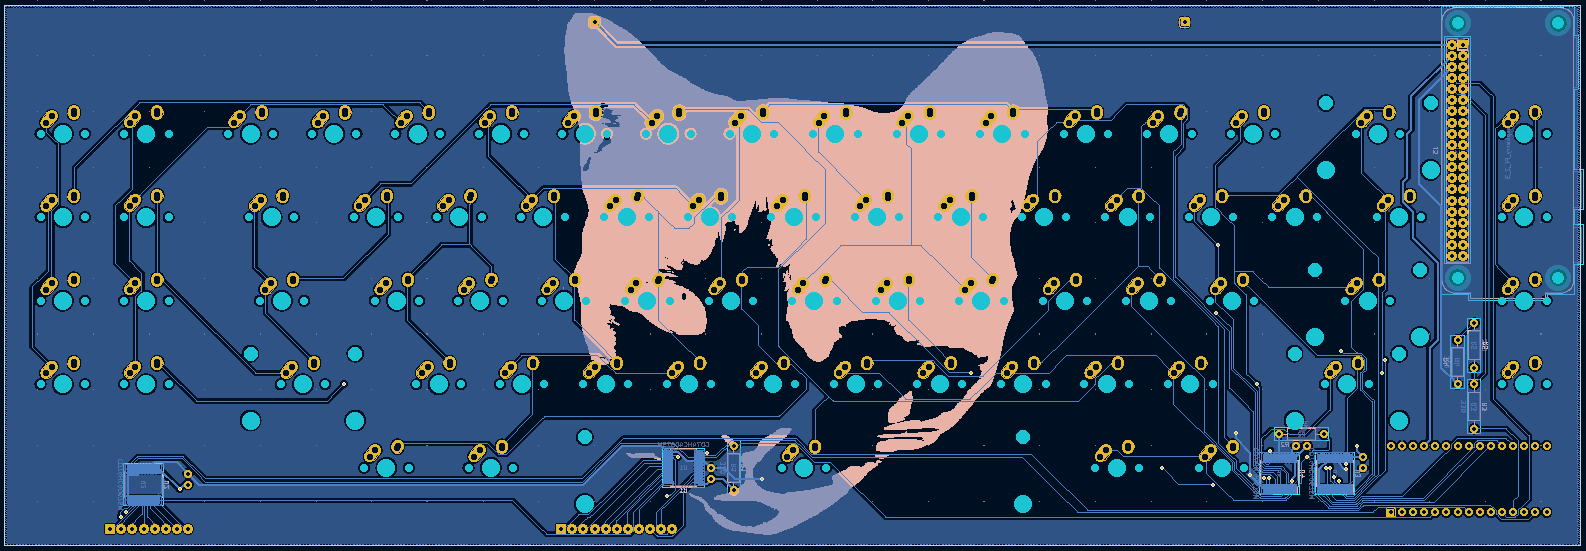
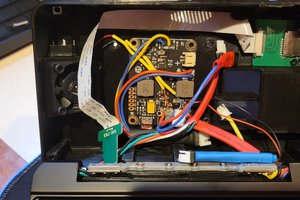
The current version of the circuit.
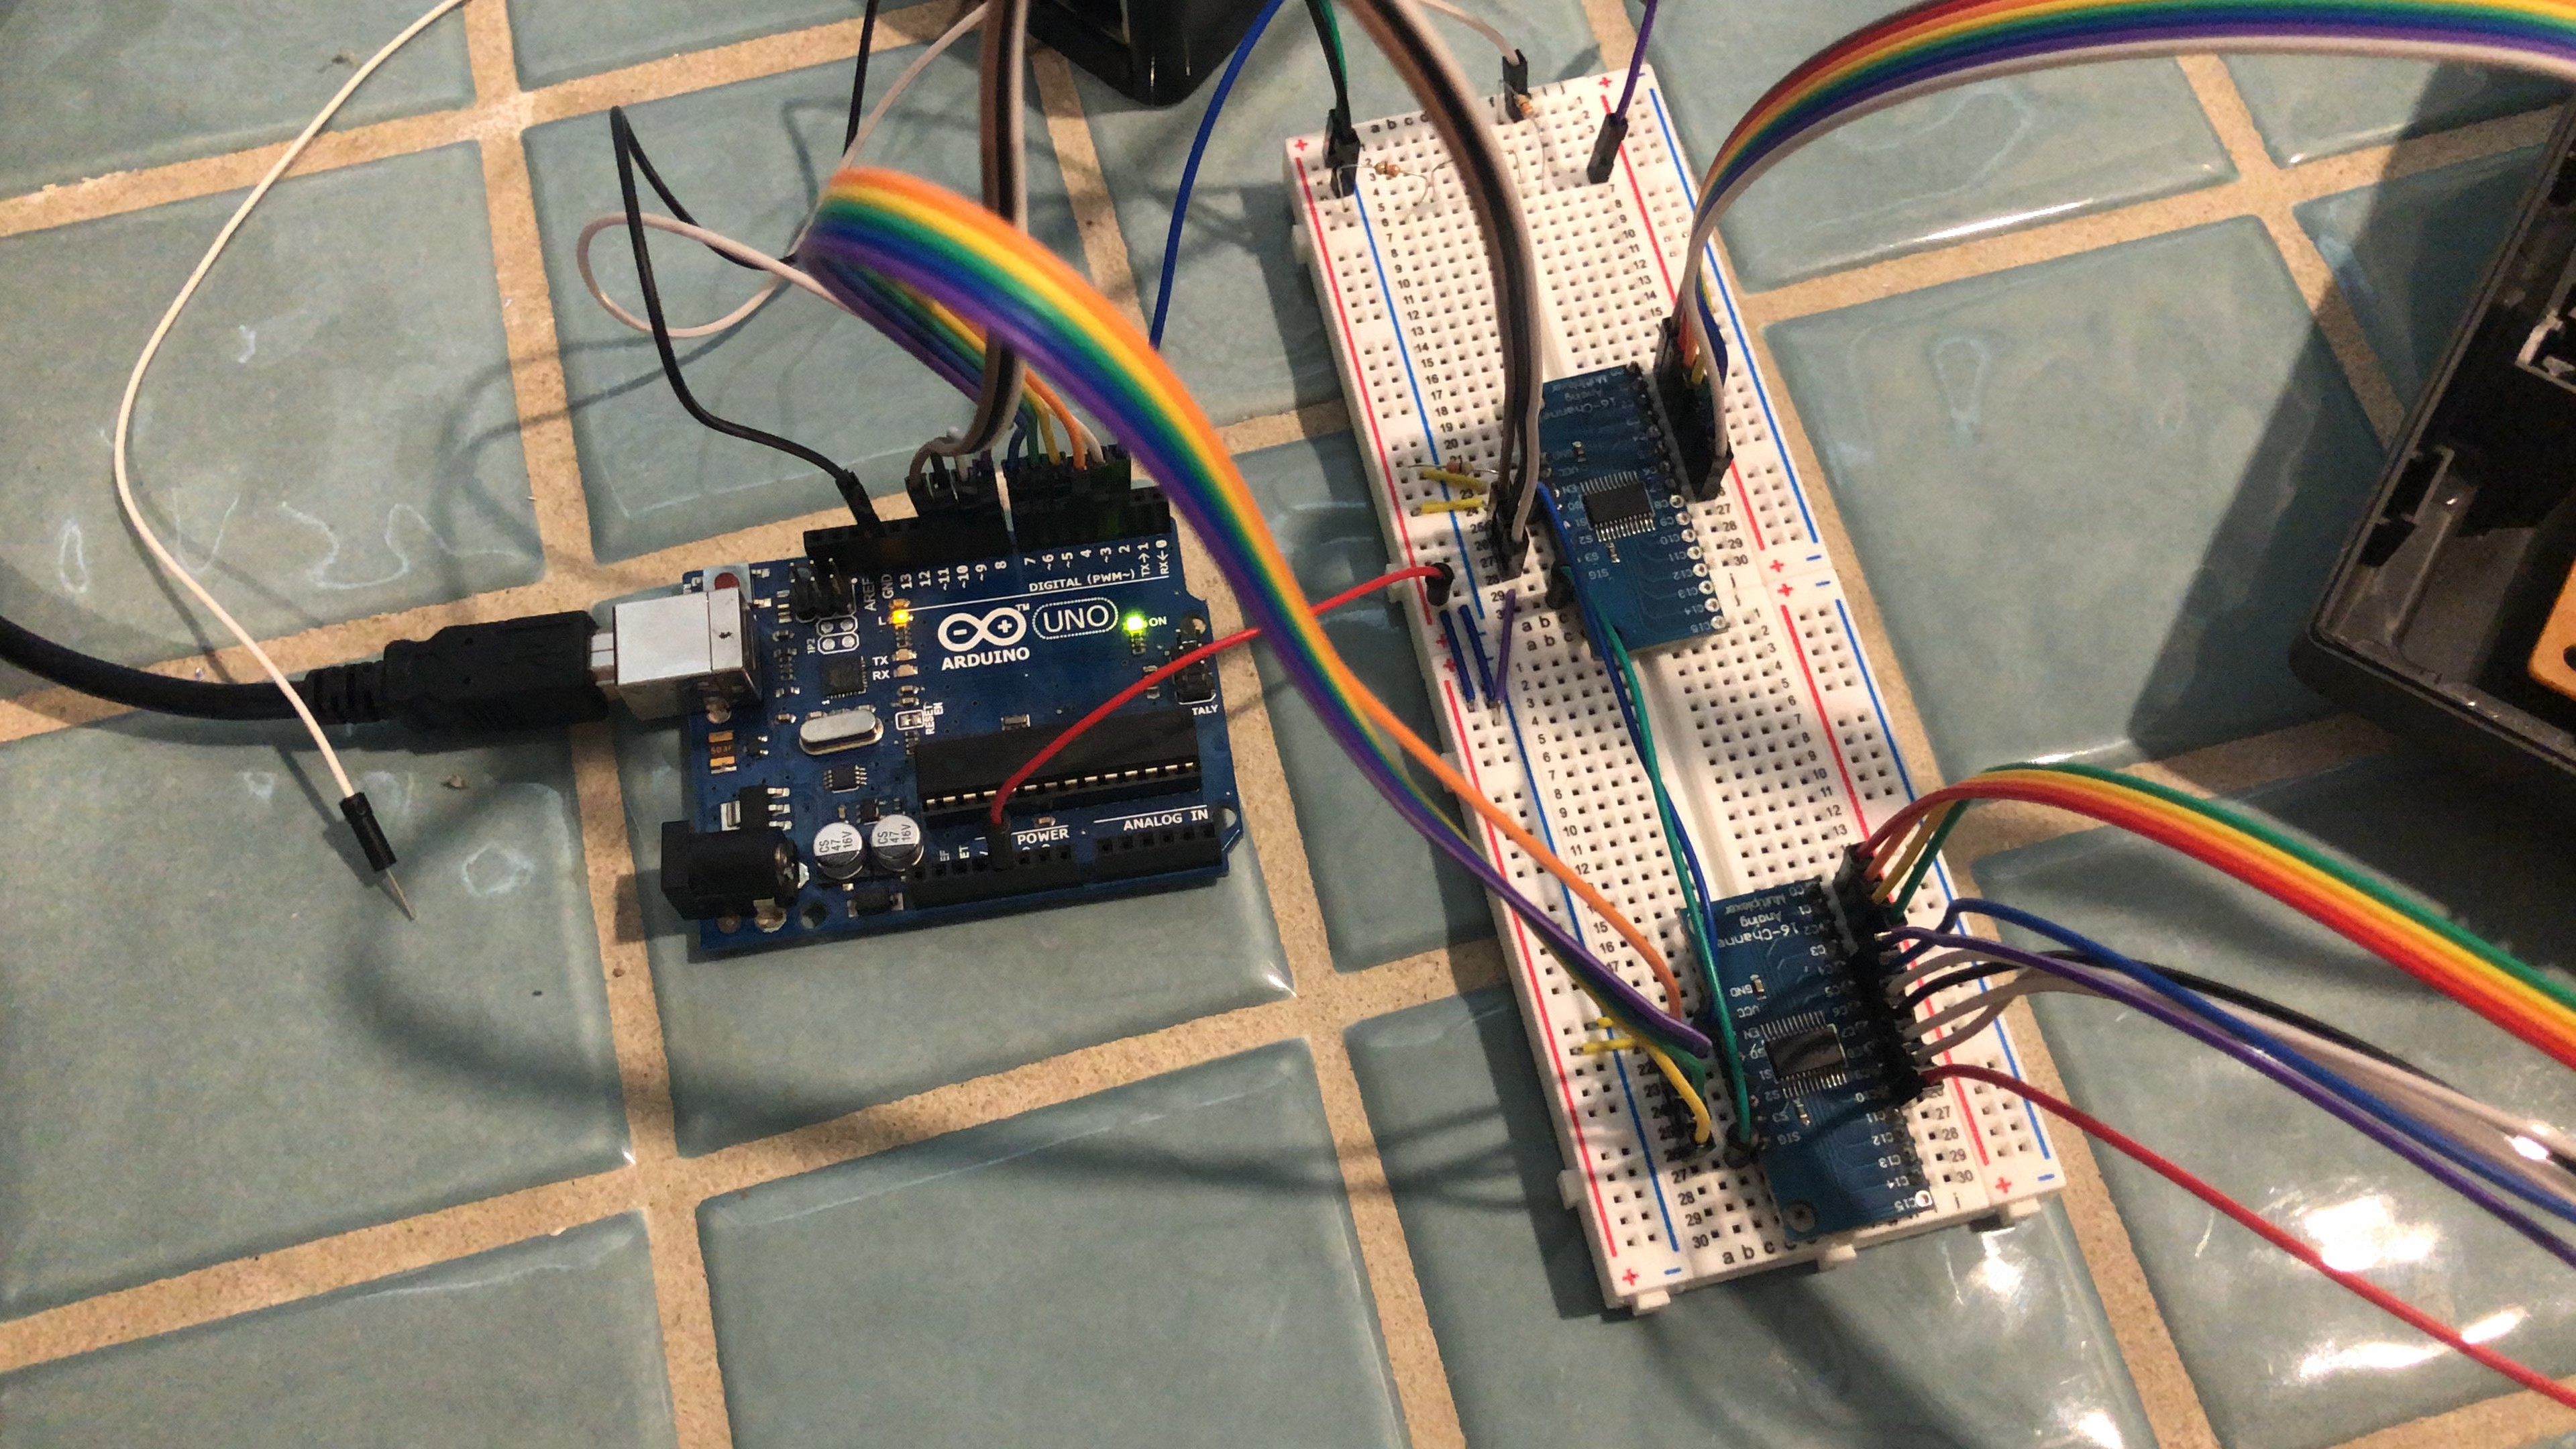
The original prototype of the typewriter control circuit.
The...
Read more »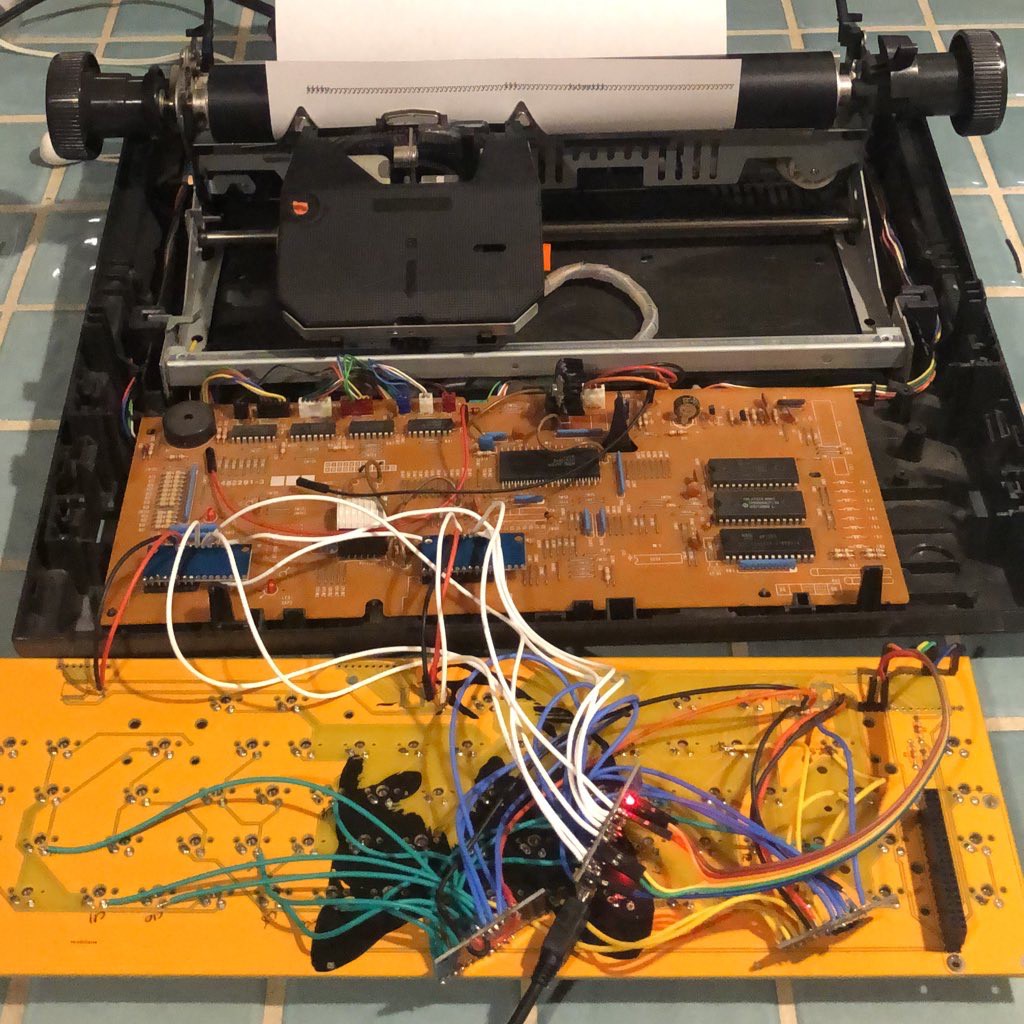
 The multiplexers' channel pins are connected to the columns and rows of the keyboard's matrix, and I went through the PCB blueprint to find which pads to solder the wires to. I still need to wire up the rest of the columns and the control pins for the second multiplexer.
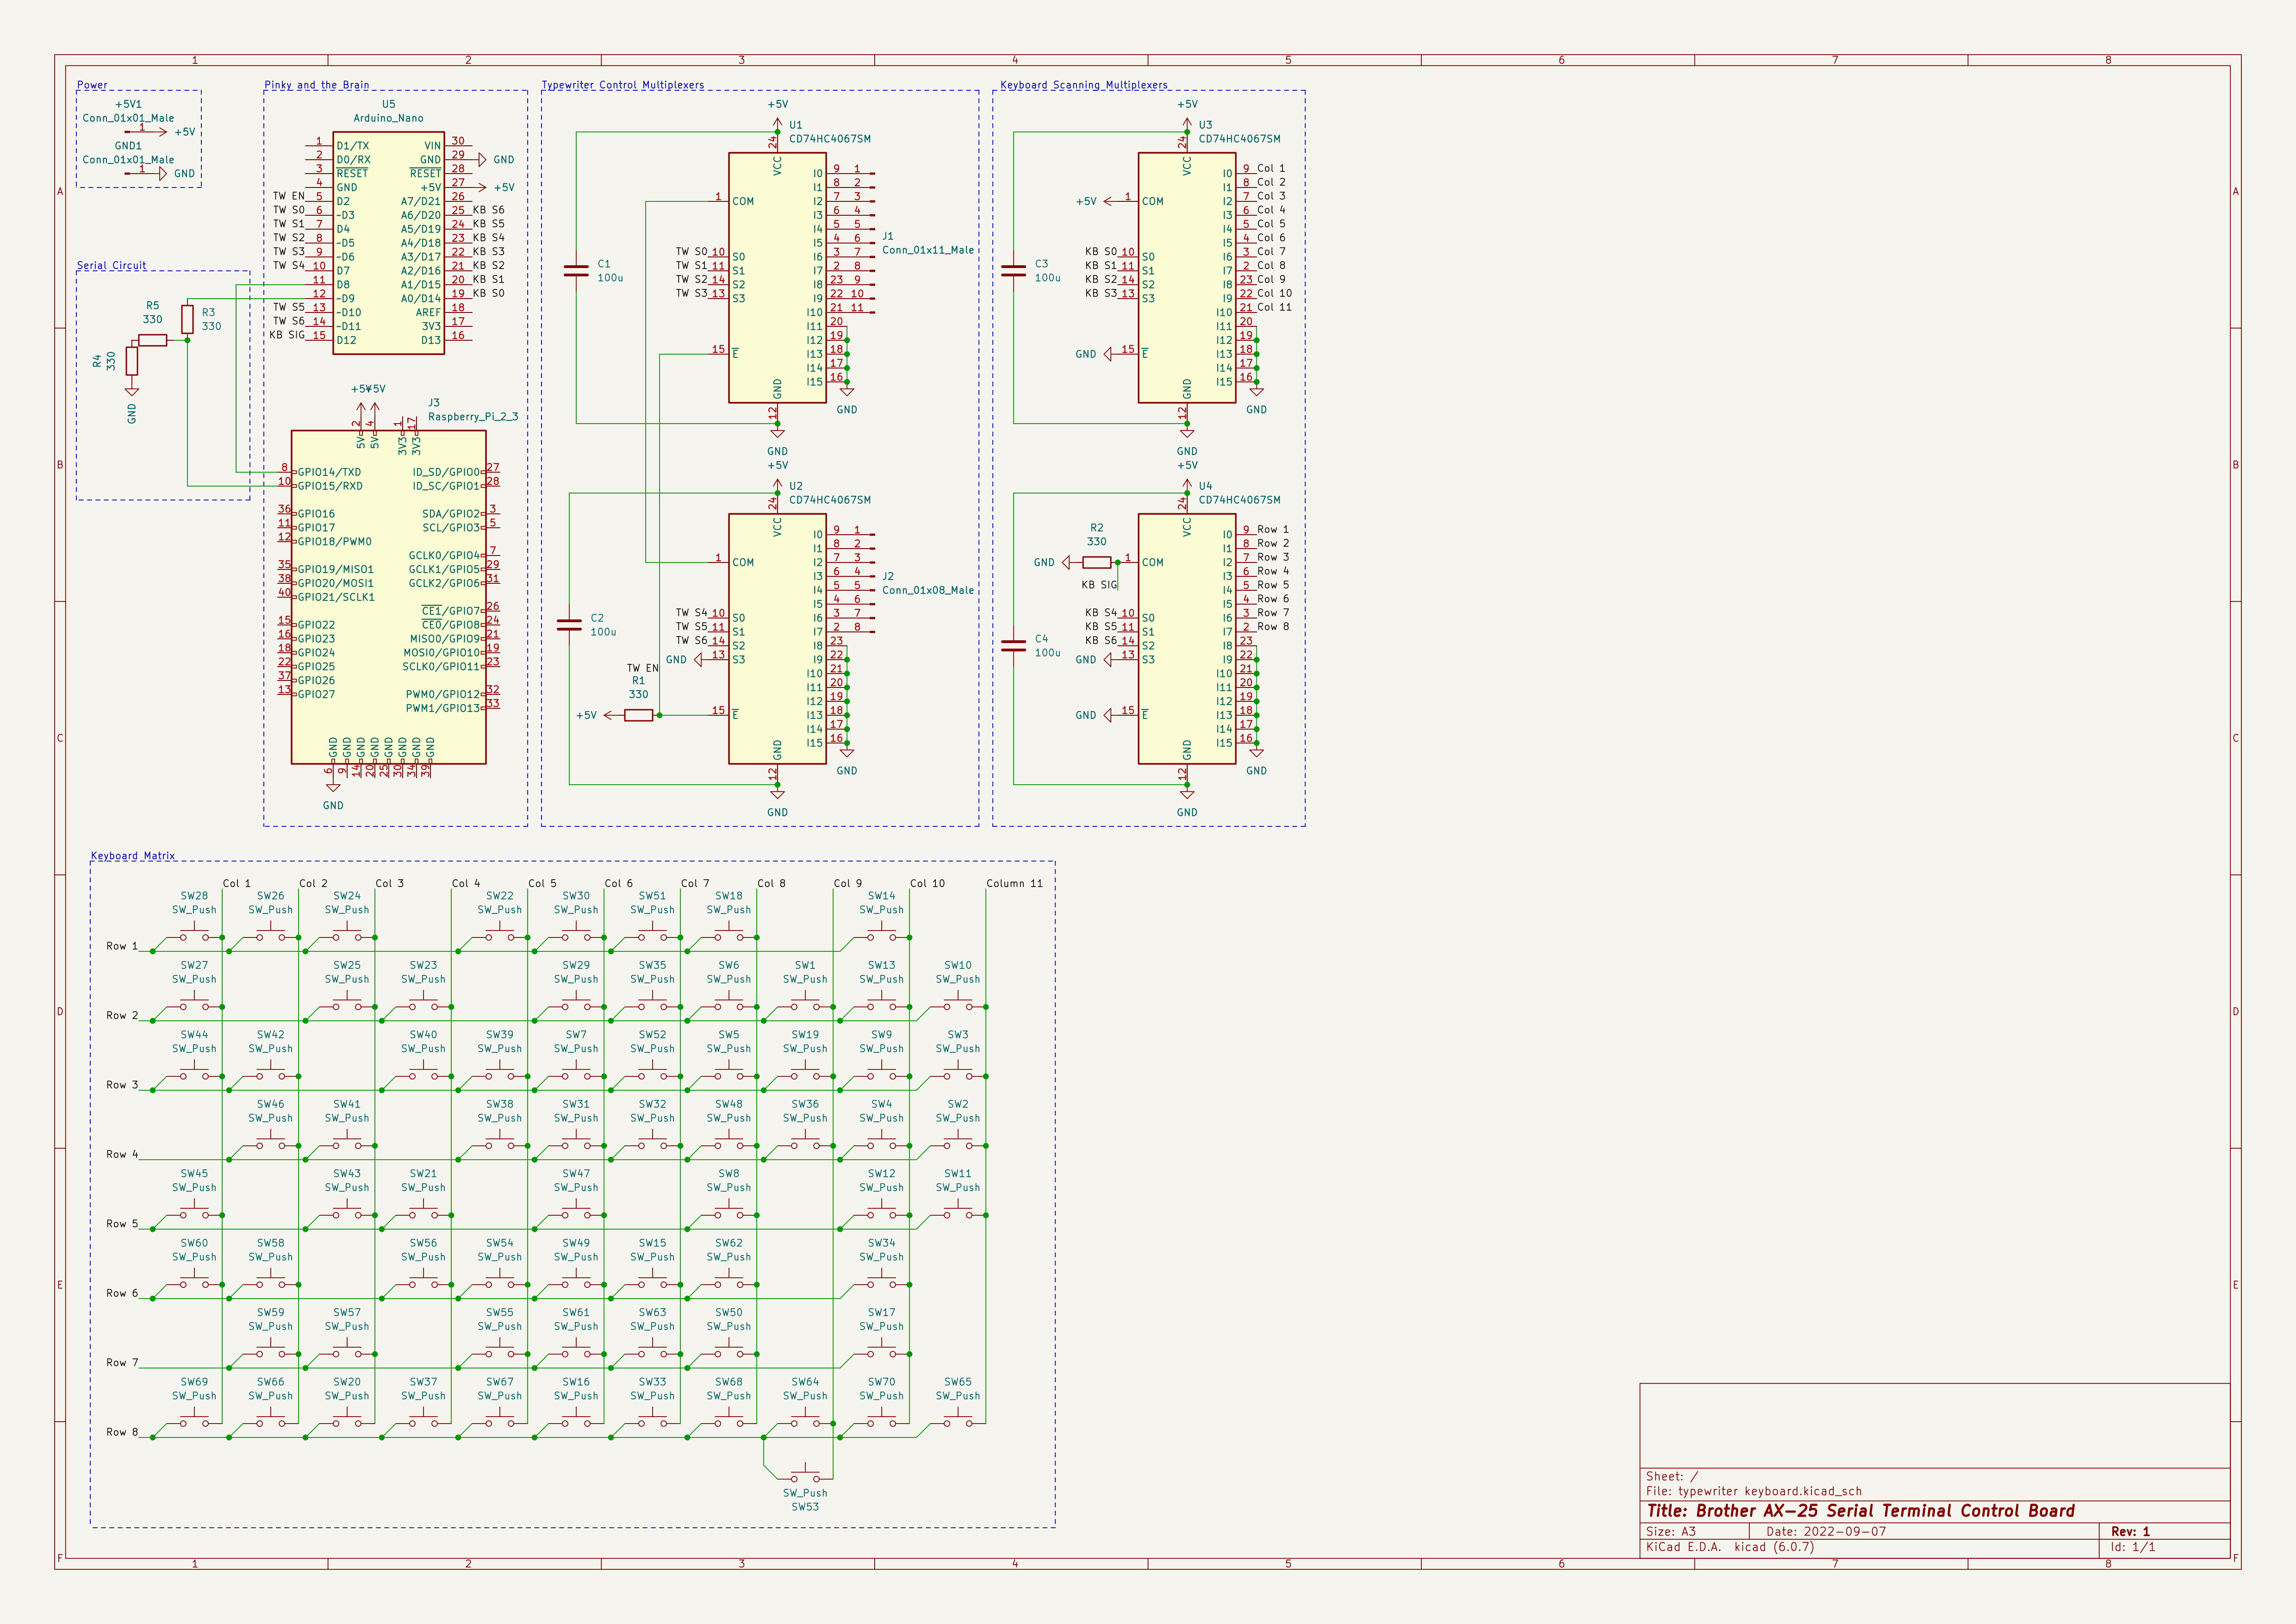

 Richard
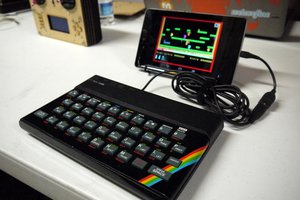
 Alistair MacDonald