 Maud Bausier
Fermenter Electronics
How does it work?
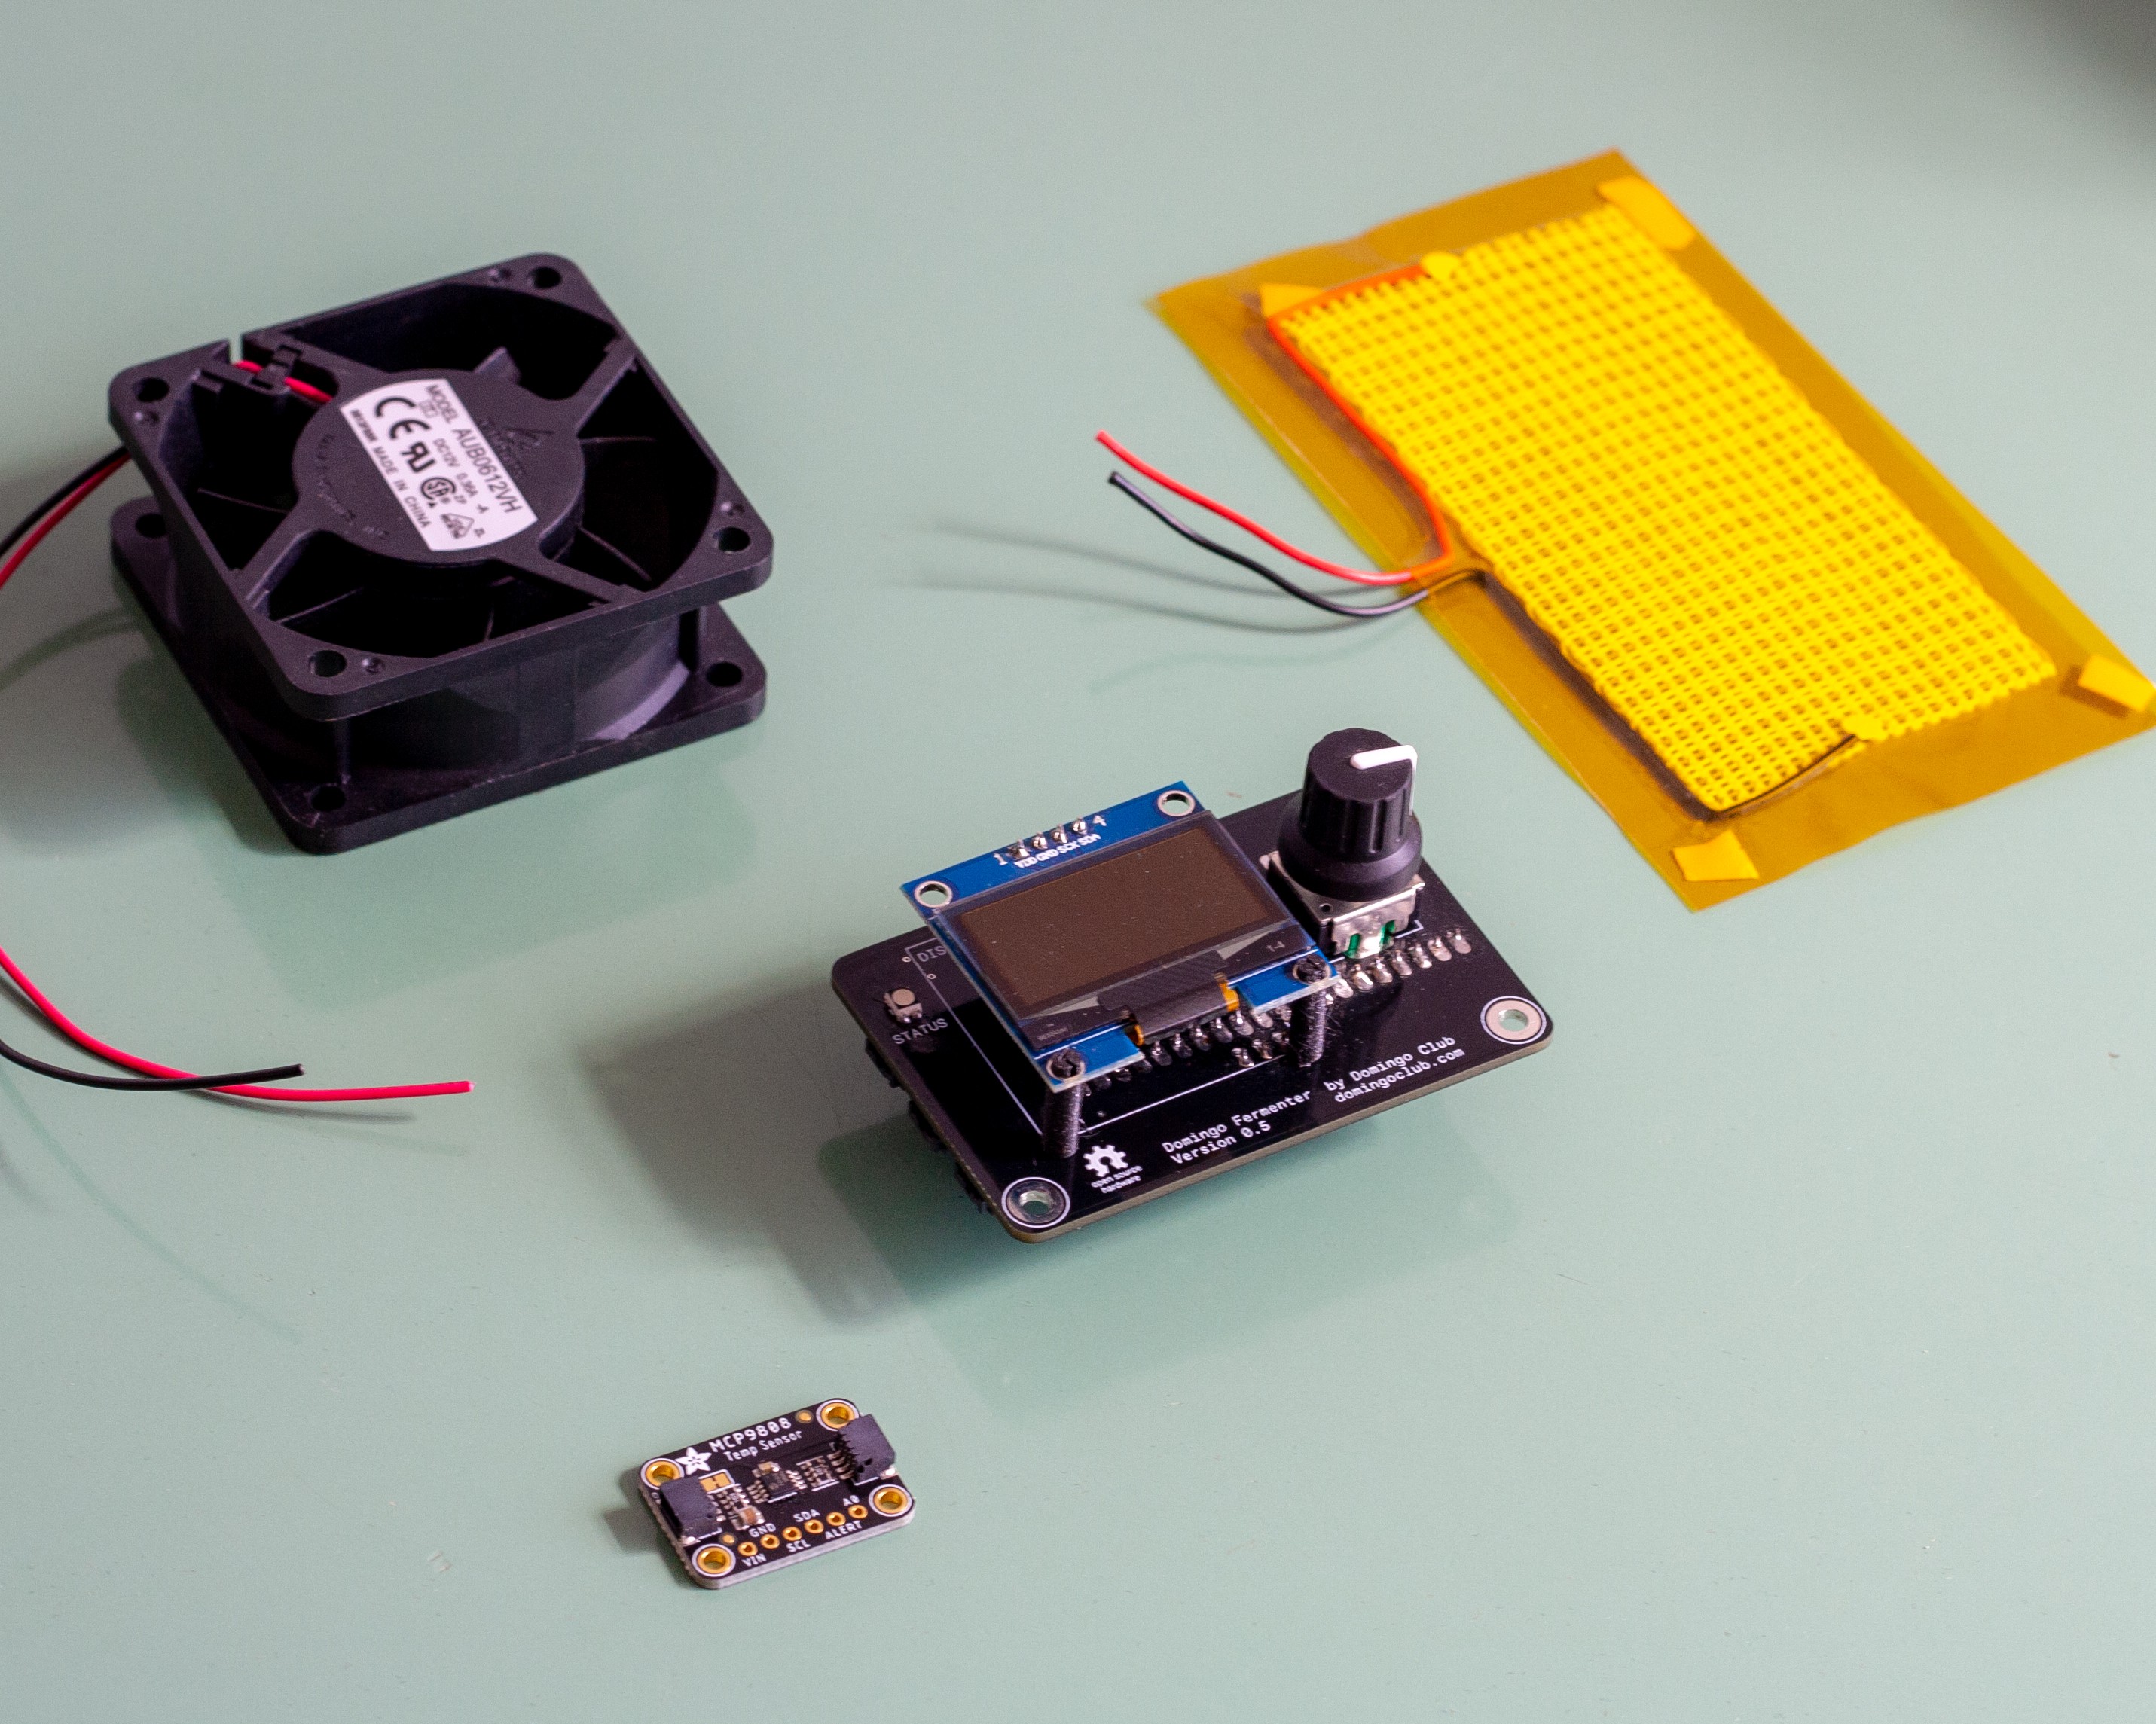
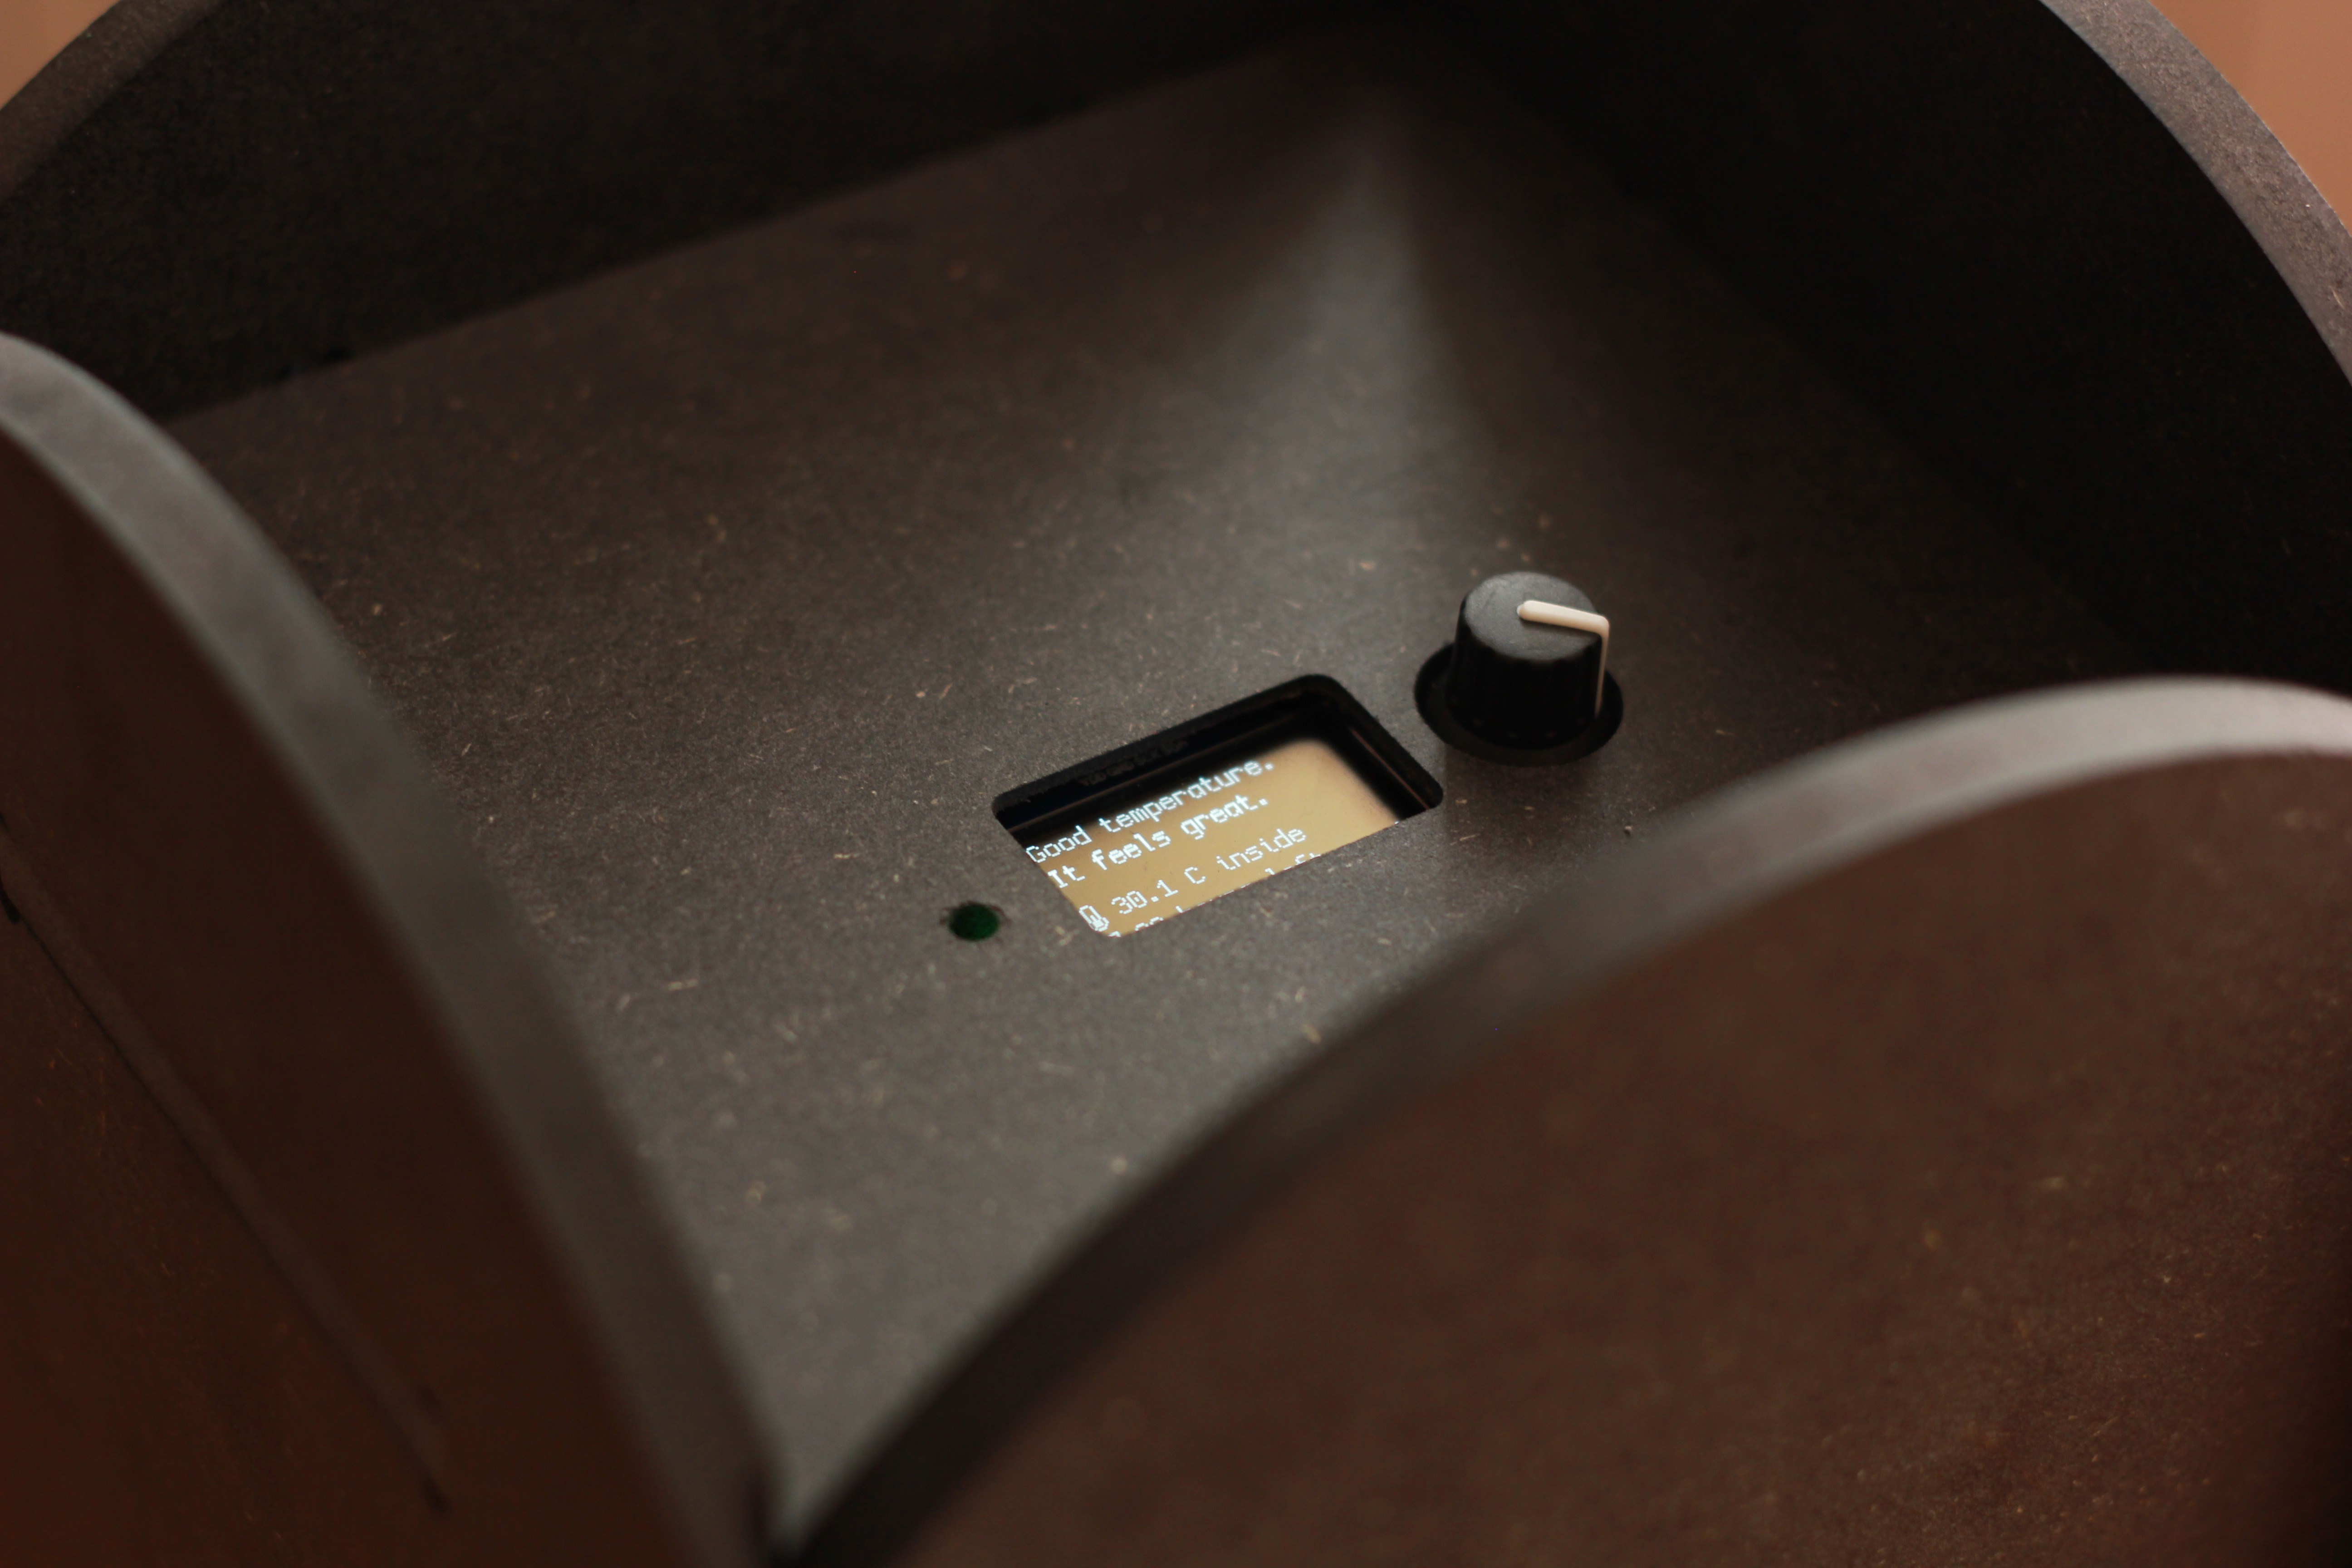
The fermenter is composed of a small fan, a heating pad, an electronic board with a micro-controller, a screen and a button, and a temperature sensor. The sensor measures the temperature in the fermenter, the heating pad produces heat in exchange for electricity and the fan spreads it evenly. The interface (screen, button) allows the selection of the ideal temperature for the desired fermentation and the programming of a timer.
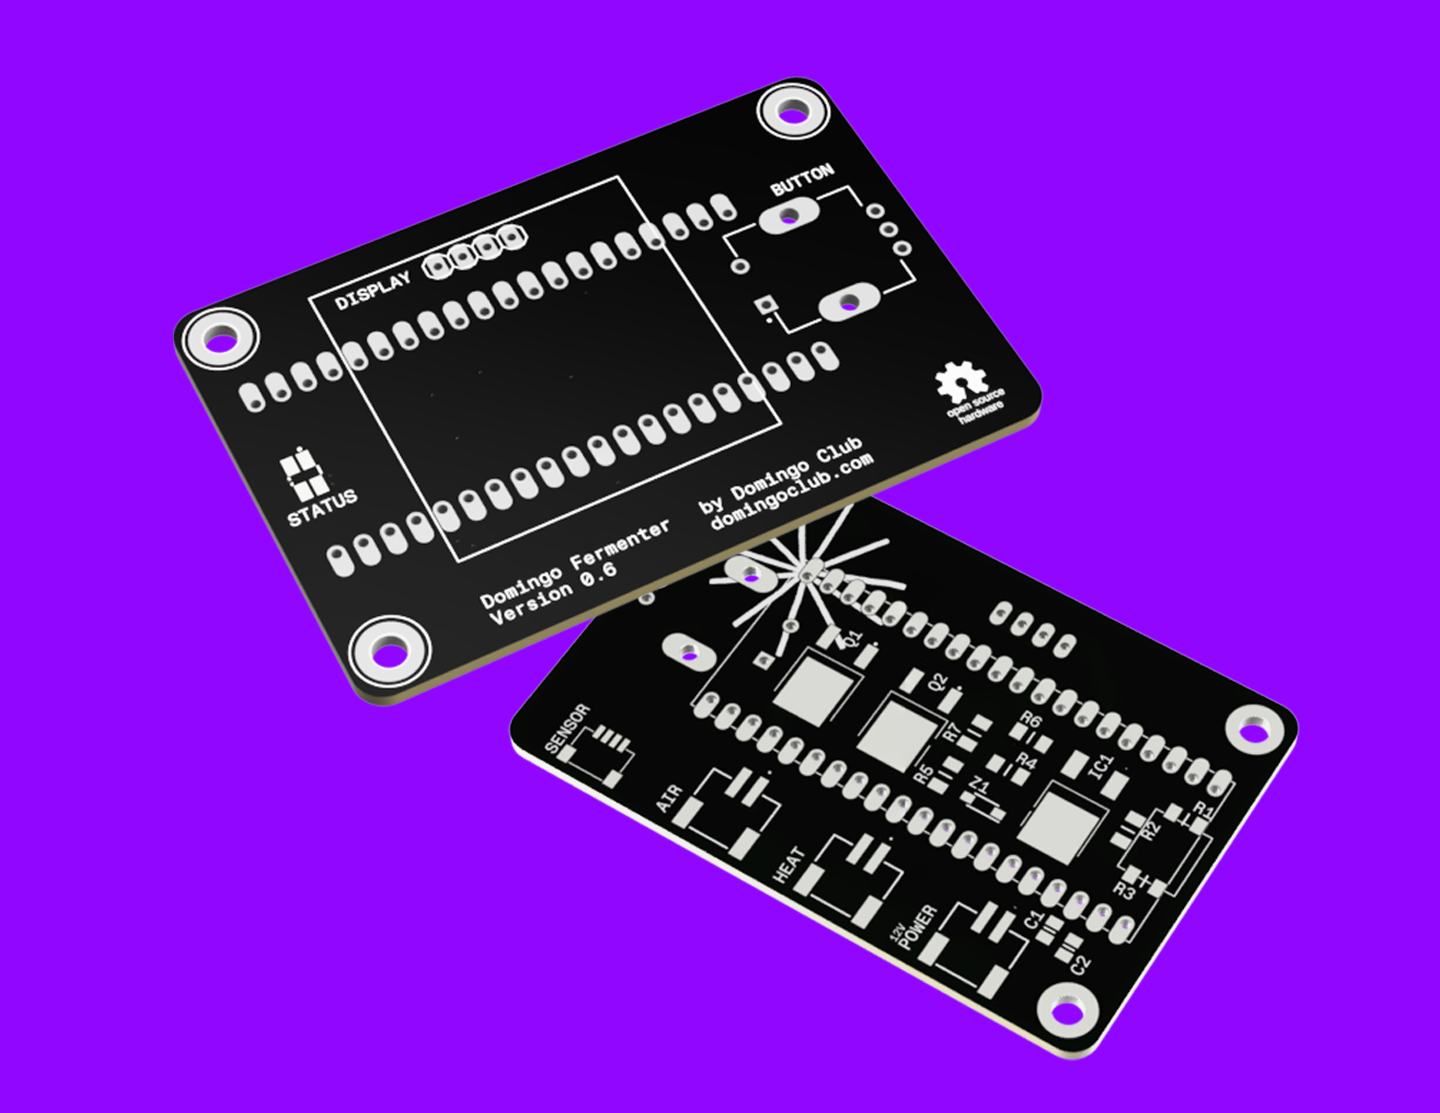
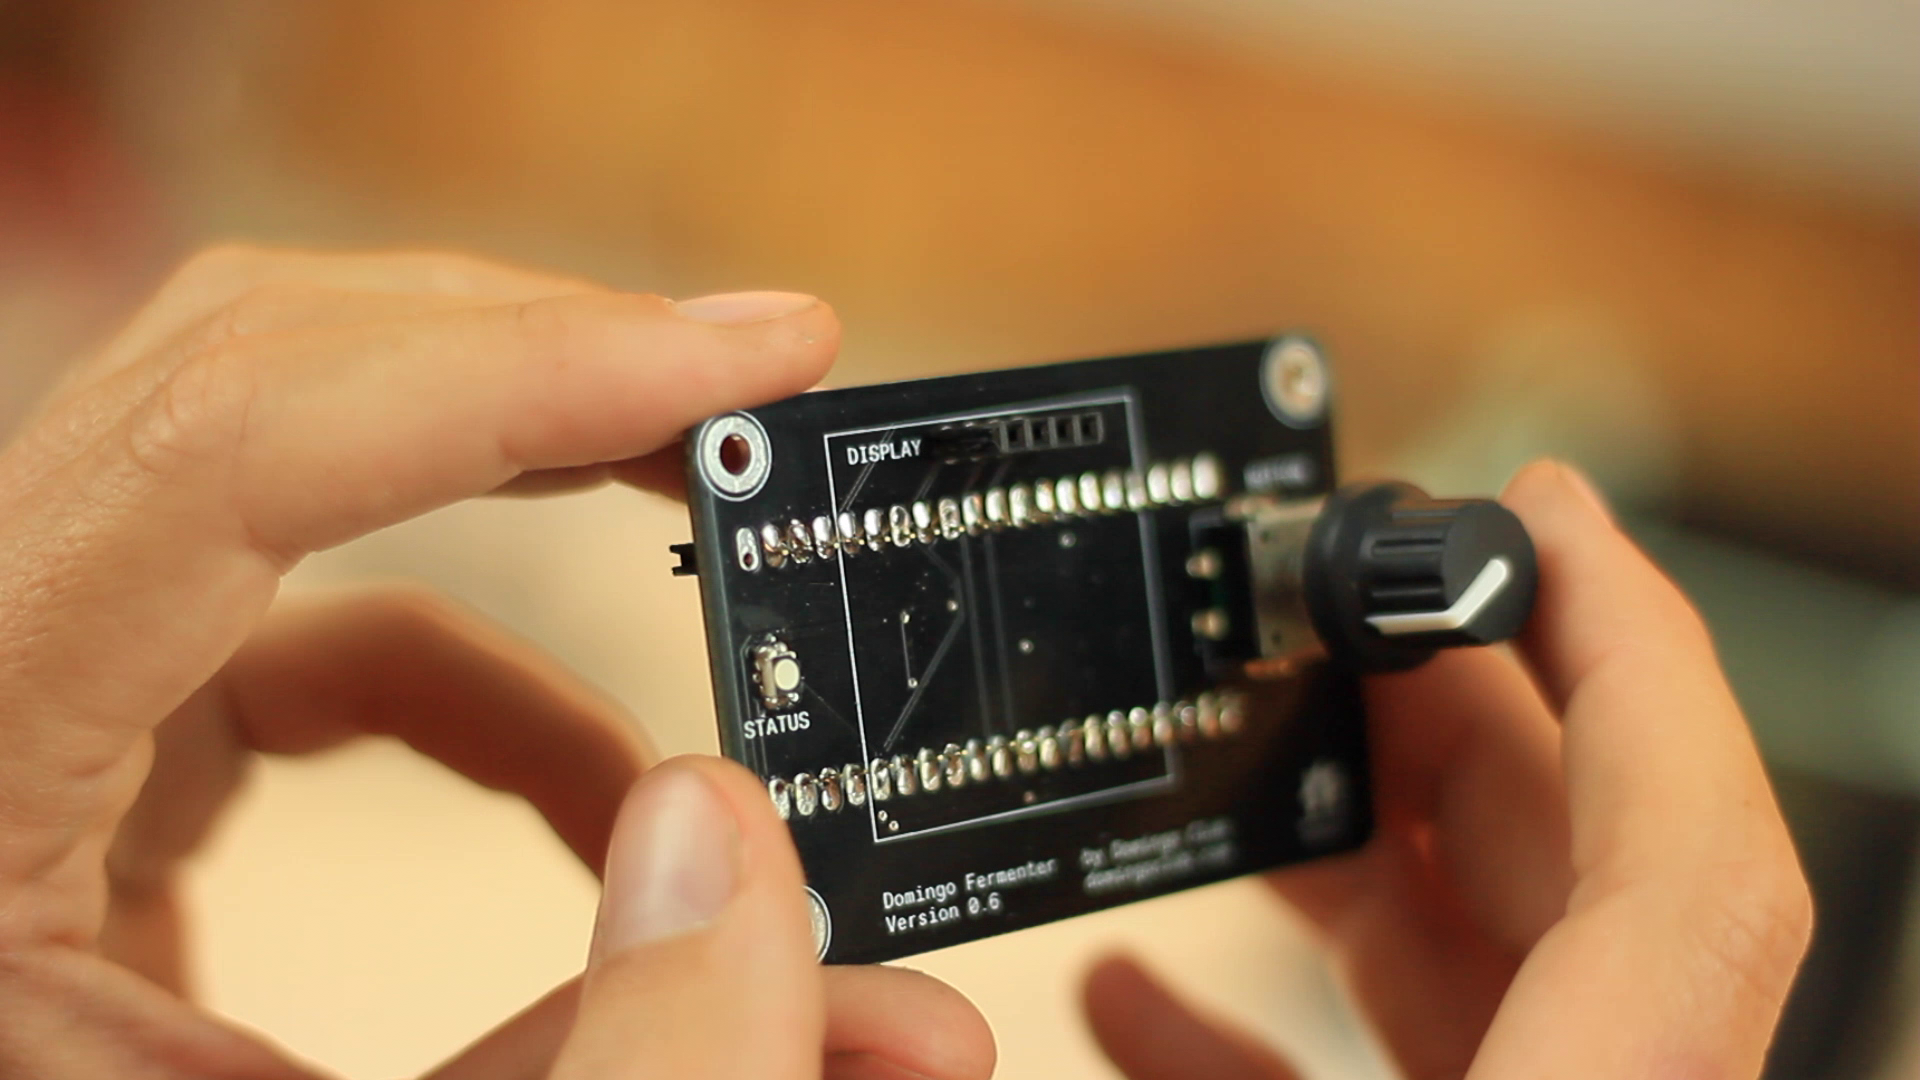
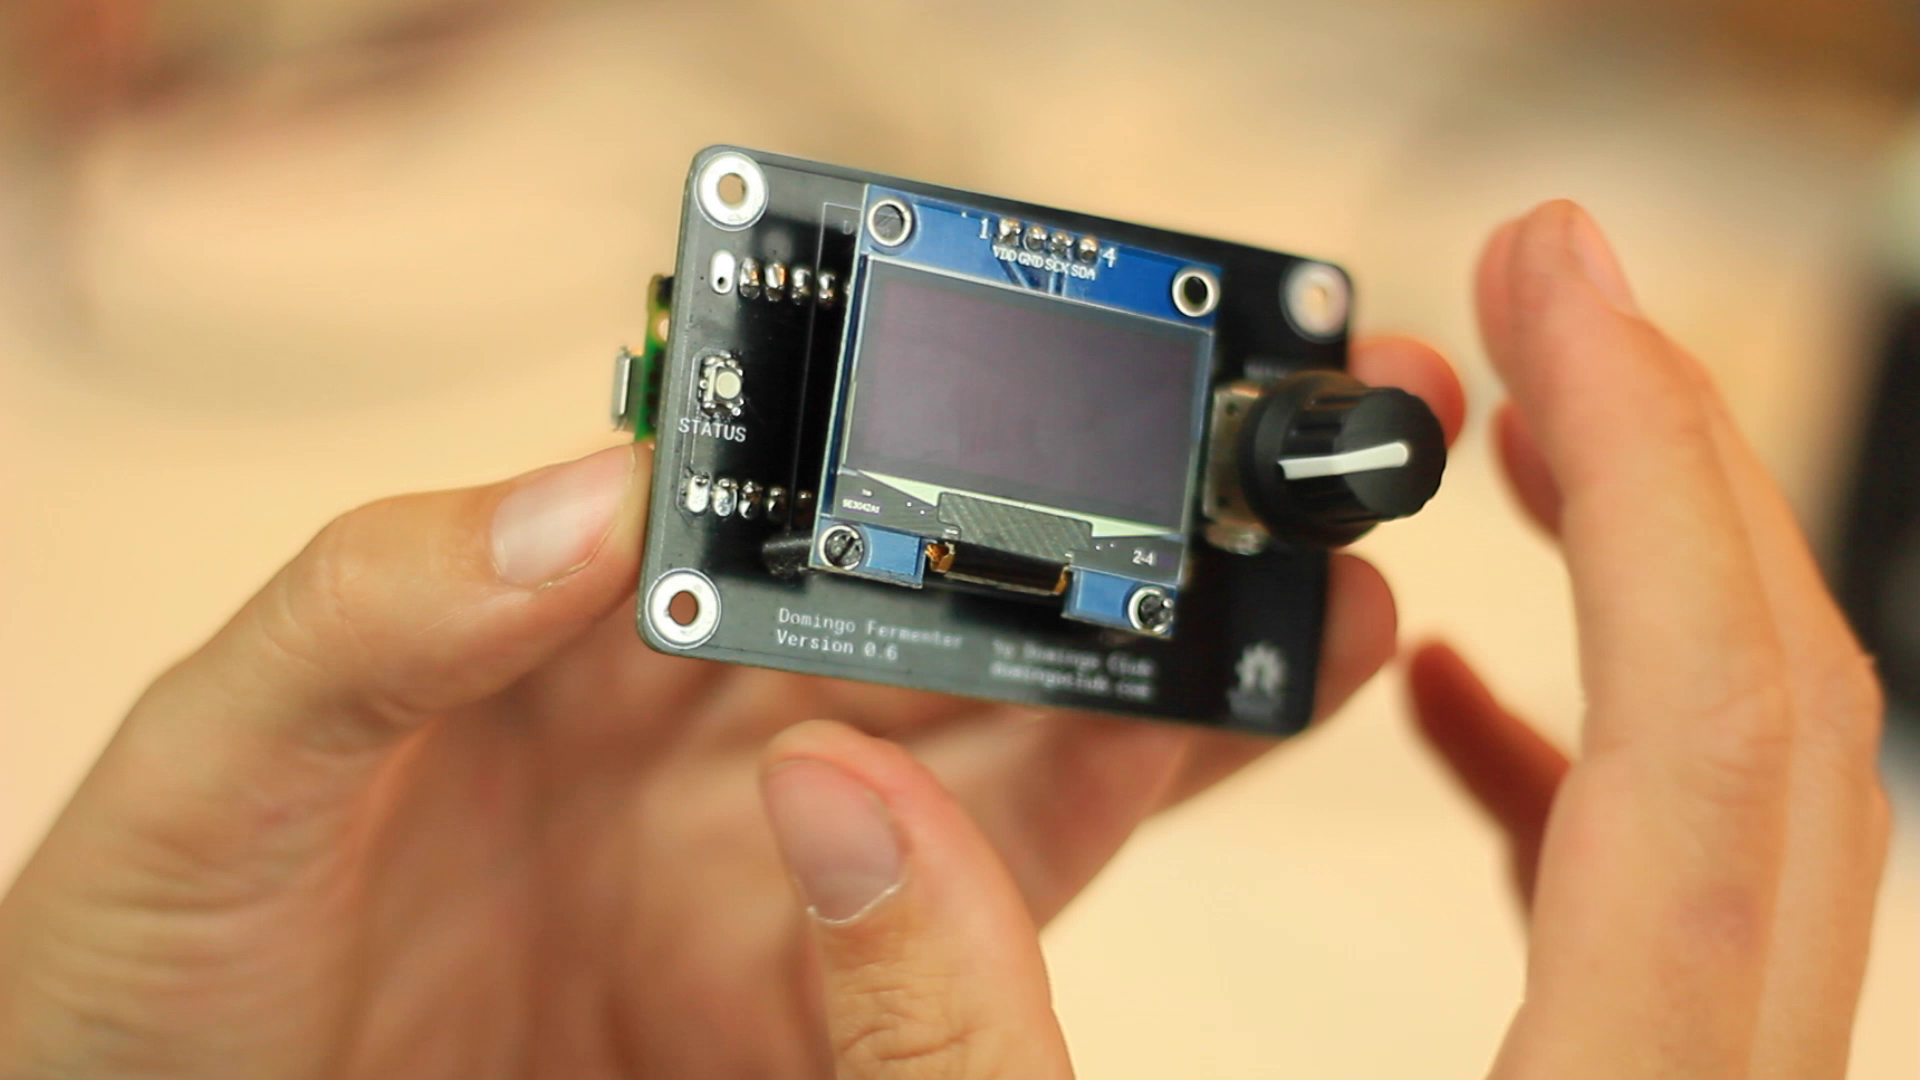
The printed circuit board (PCB)
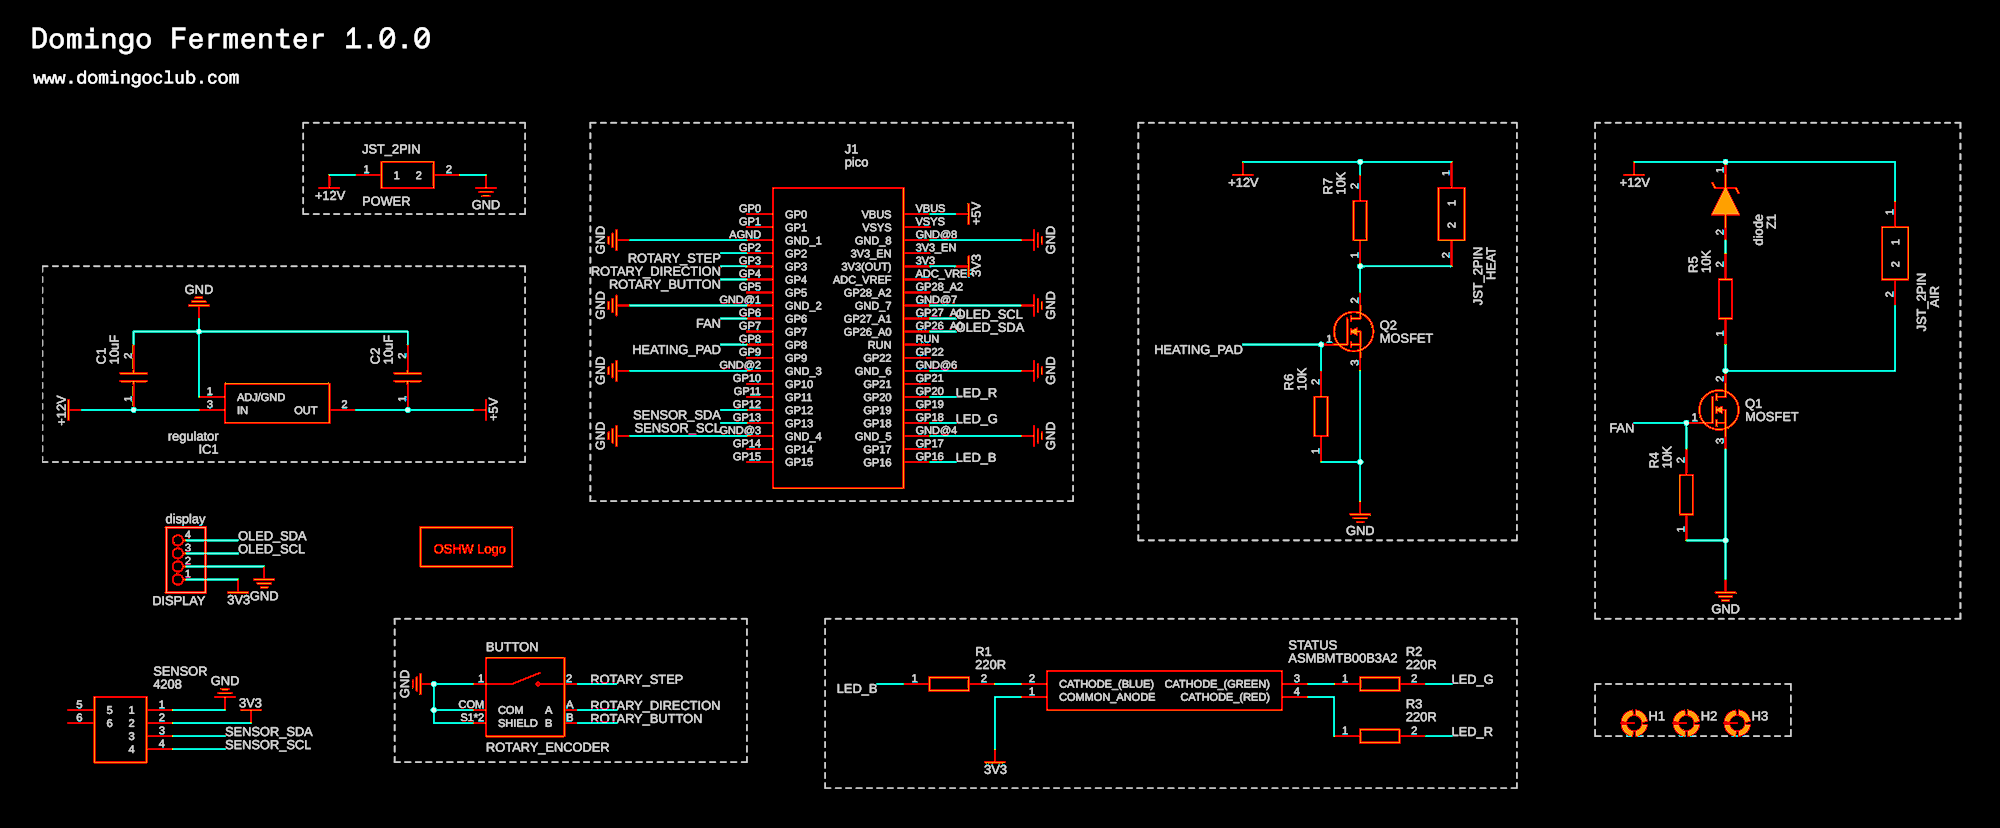
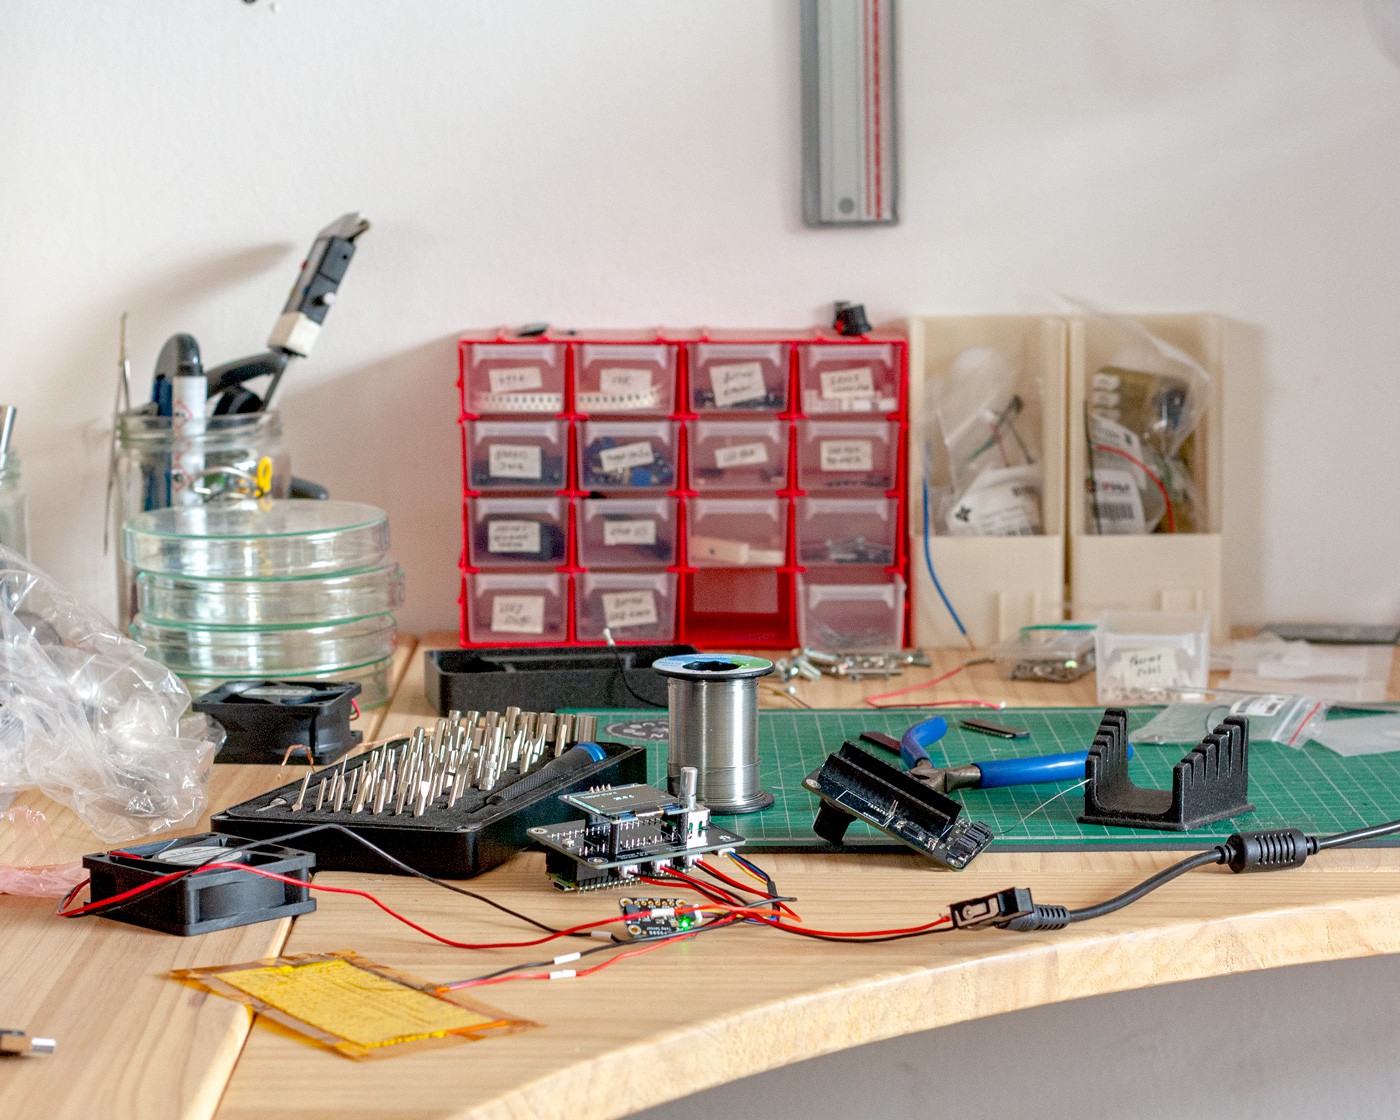
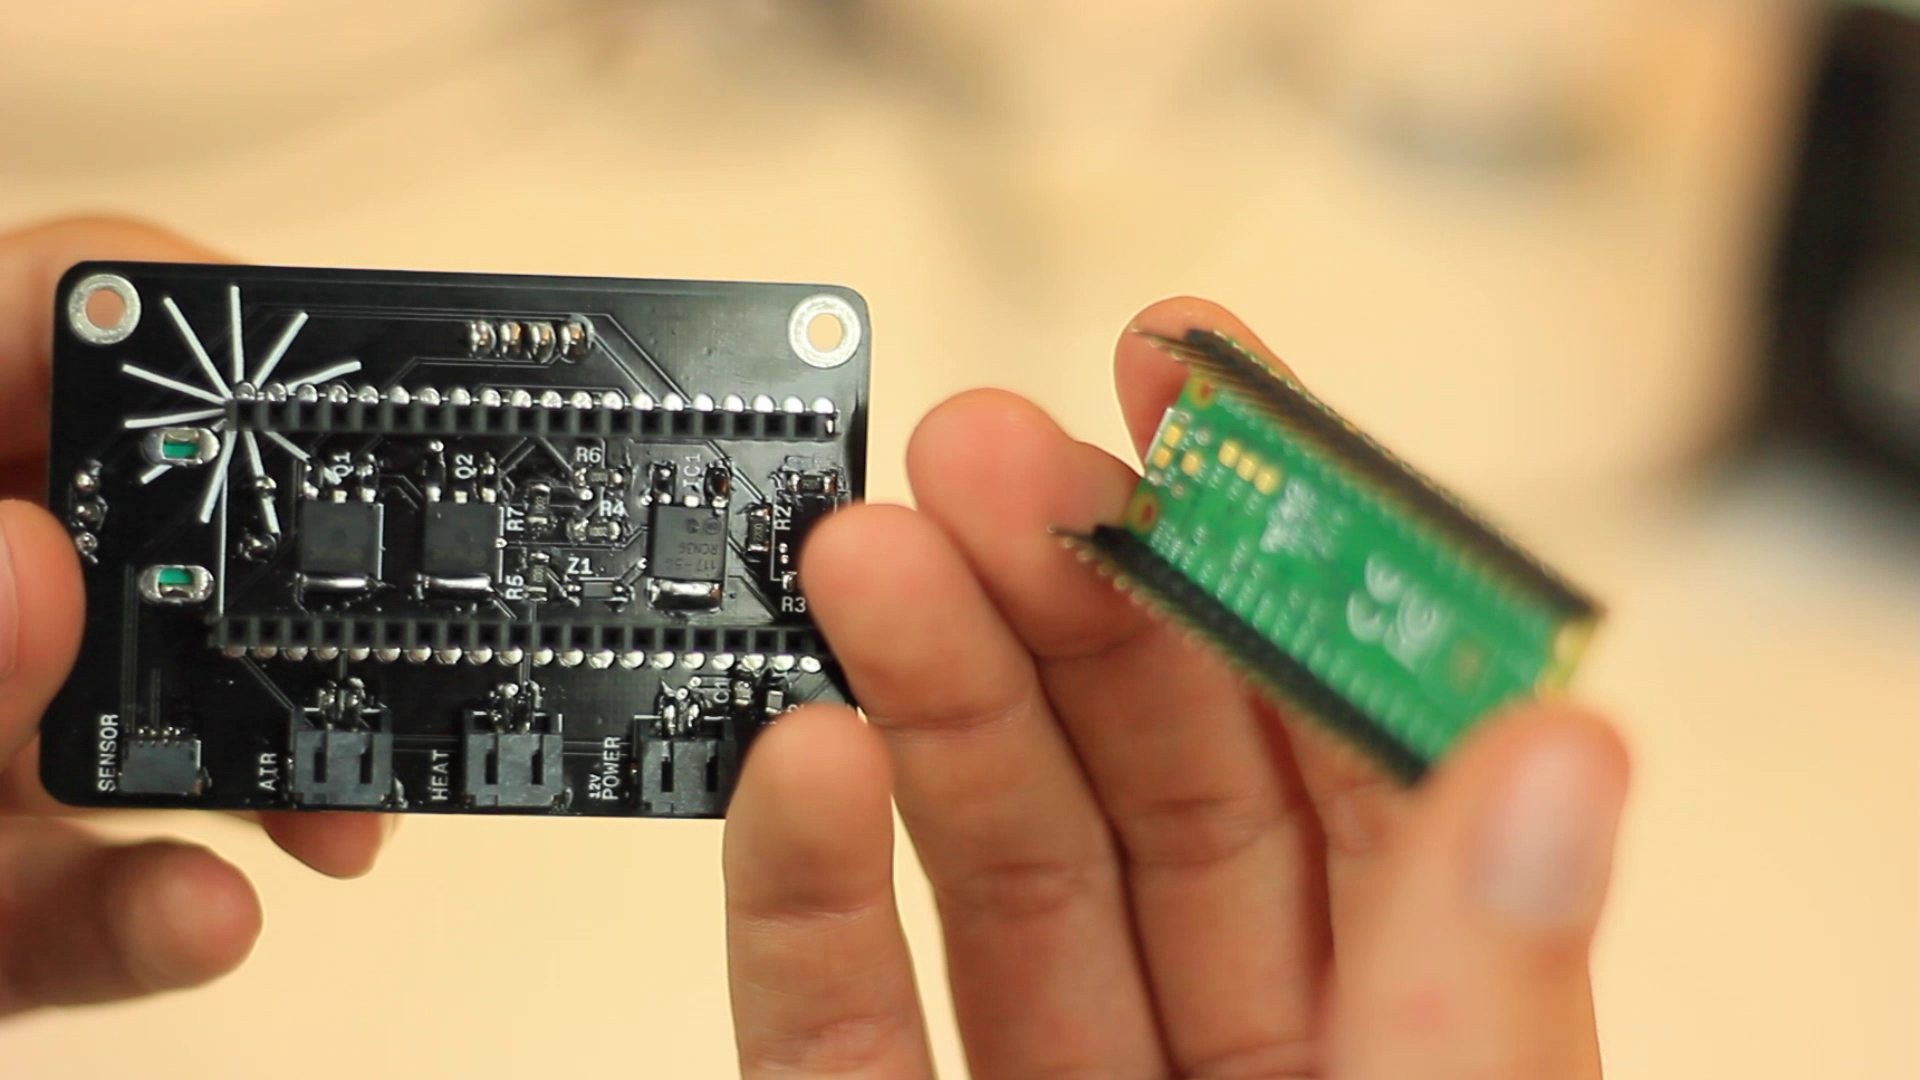
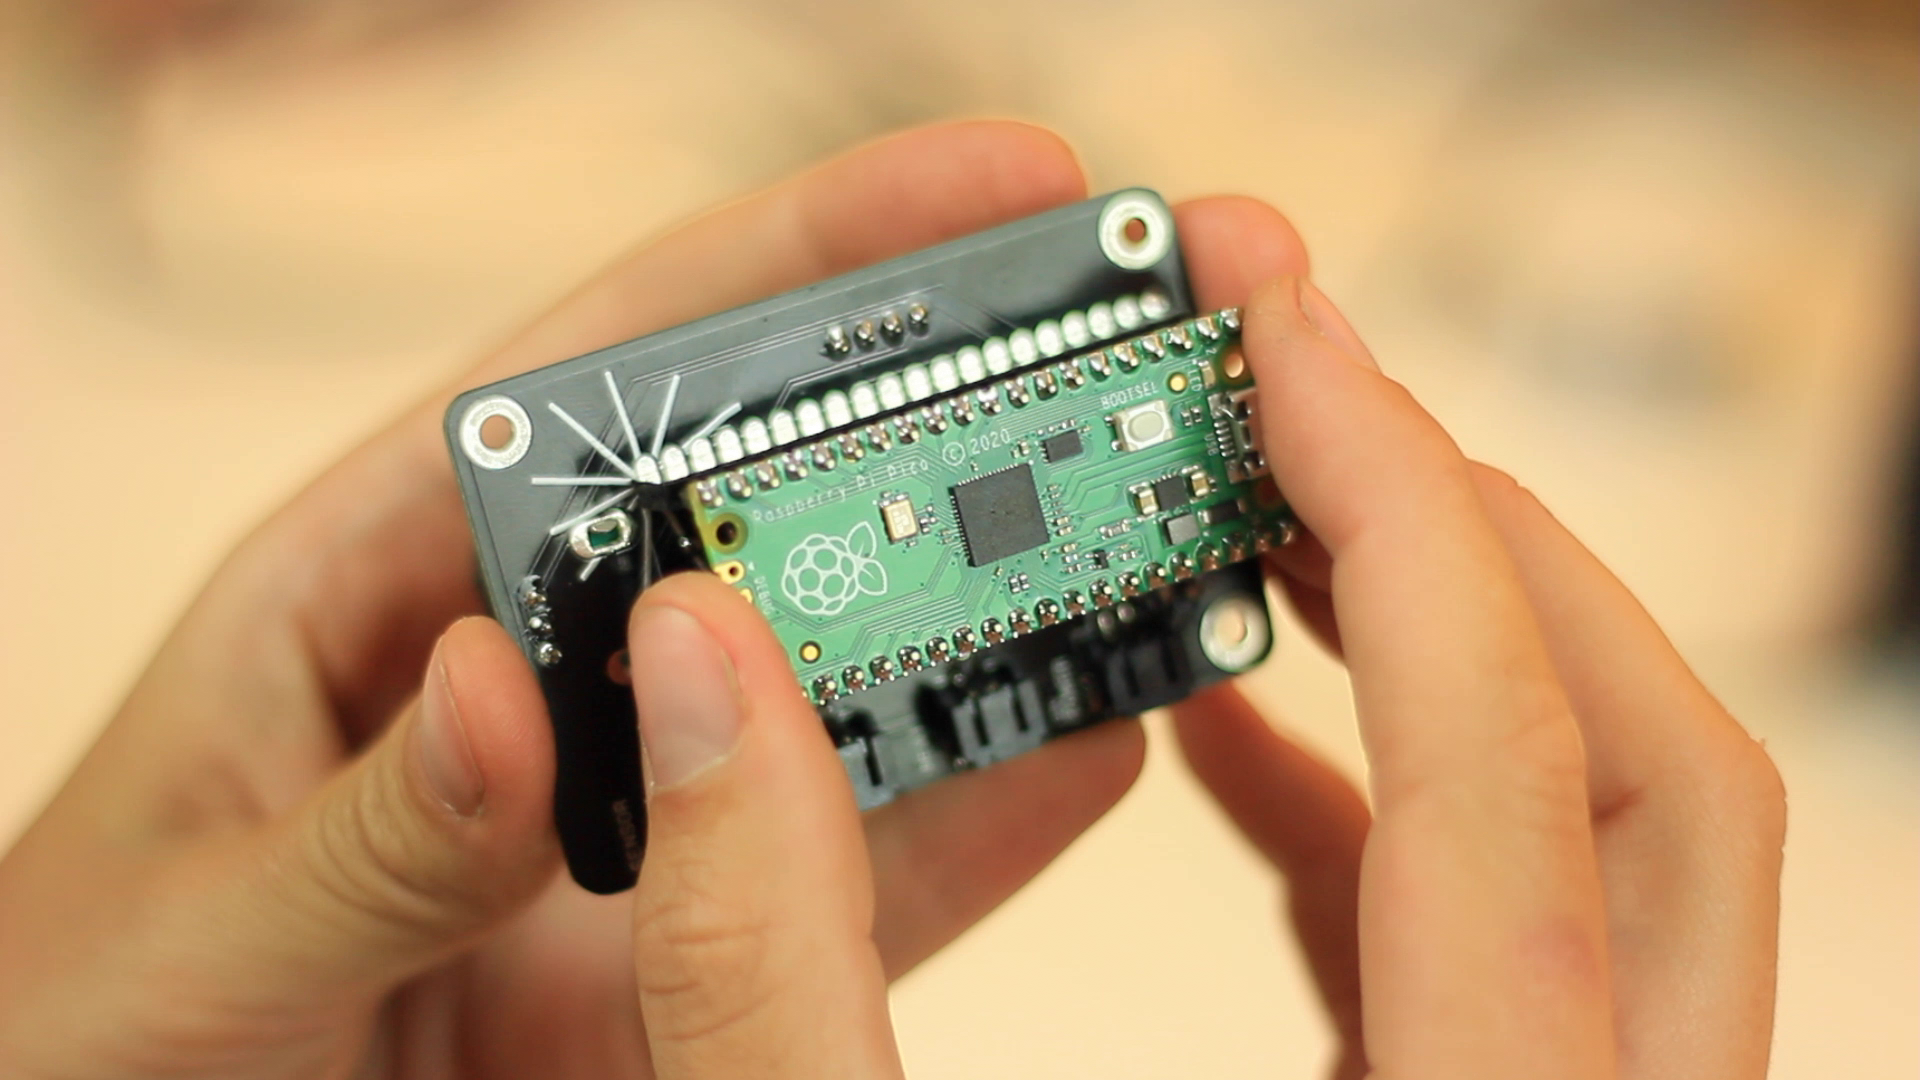
After several prototypes were made in Fab Lab Barcelona using a Roland SRM-20 mini milling machine and a single-sided PCB, we finally decided to go one step further and reduce the size of our PCB by designing a two-sided PCB to better fit the design of our fermenter. The PCB is now designed in Fusion360 and produced by a PCB manufacturer. Below are the schematic and manufacturing files.

Schematics
PCB design
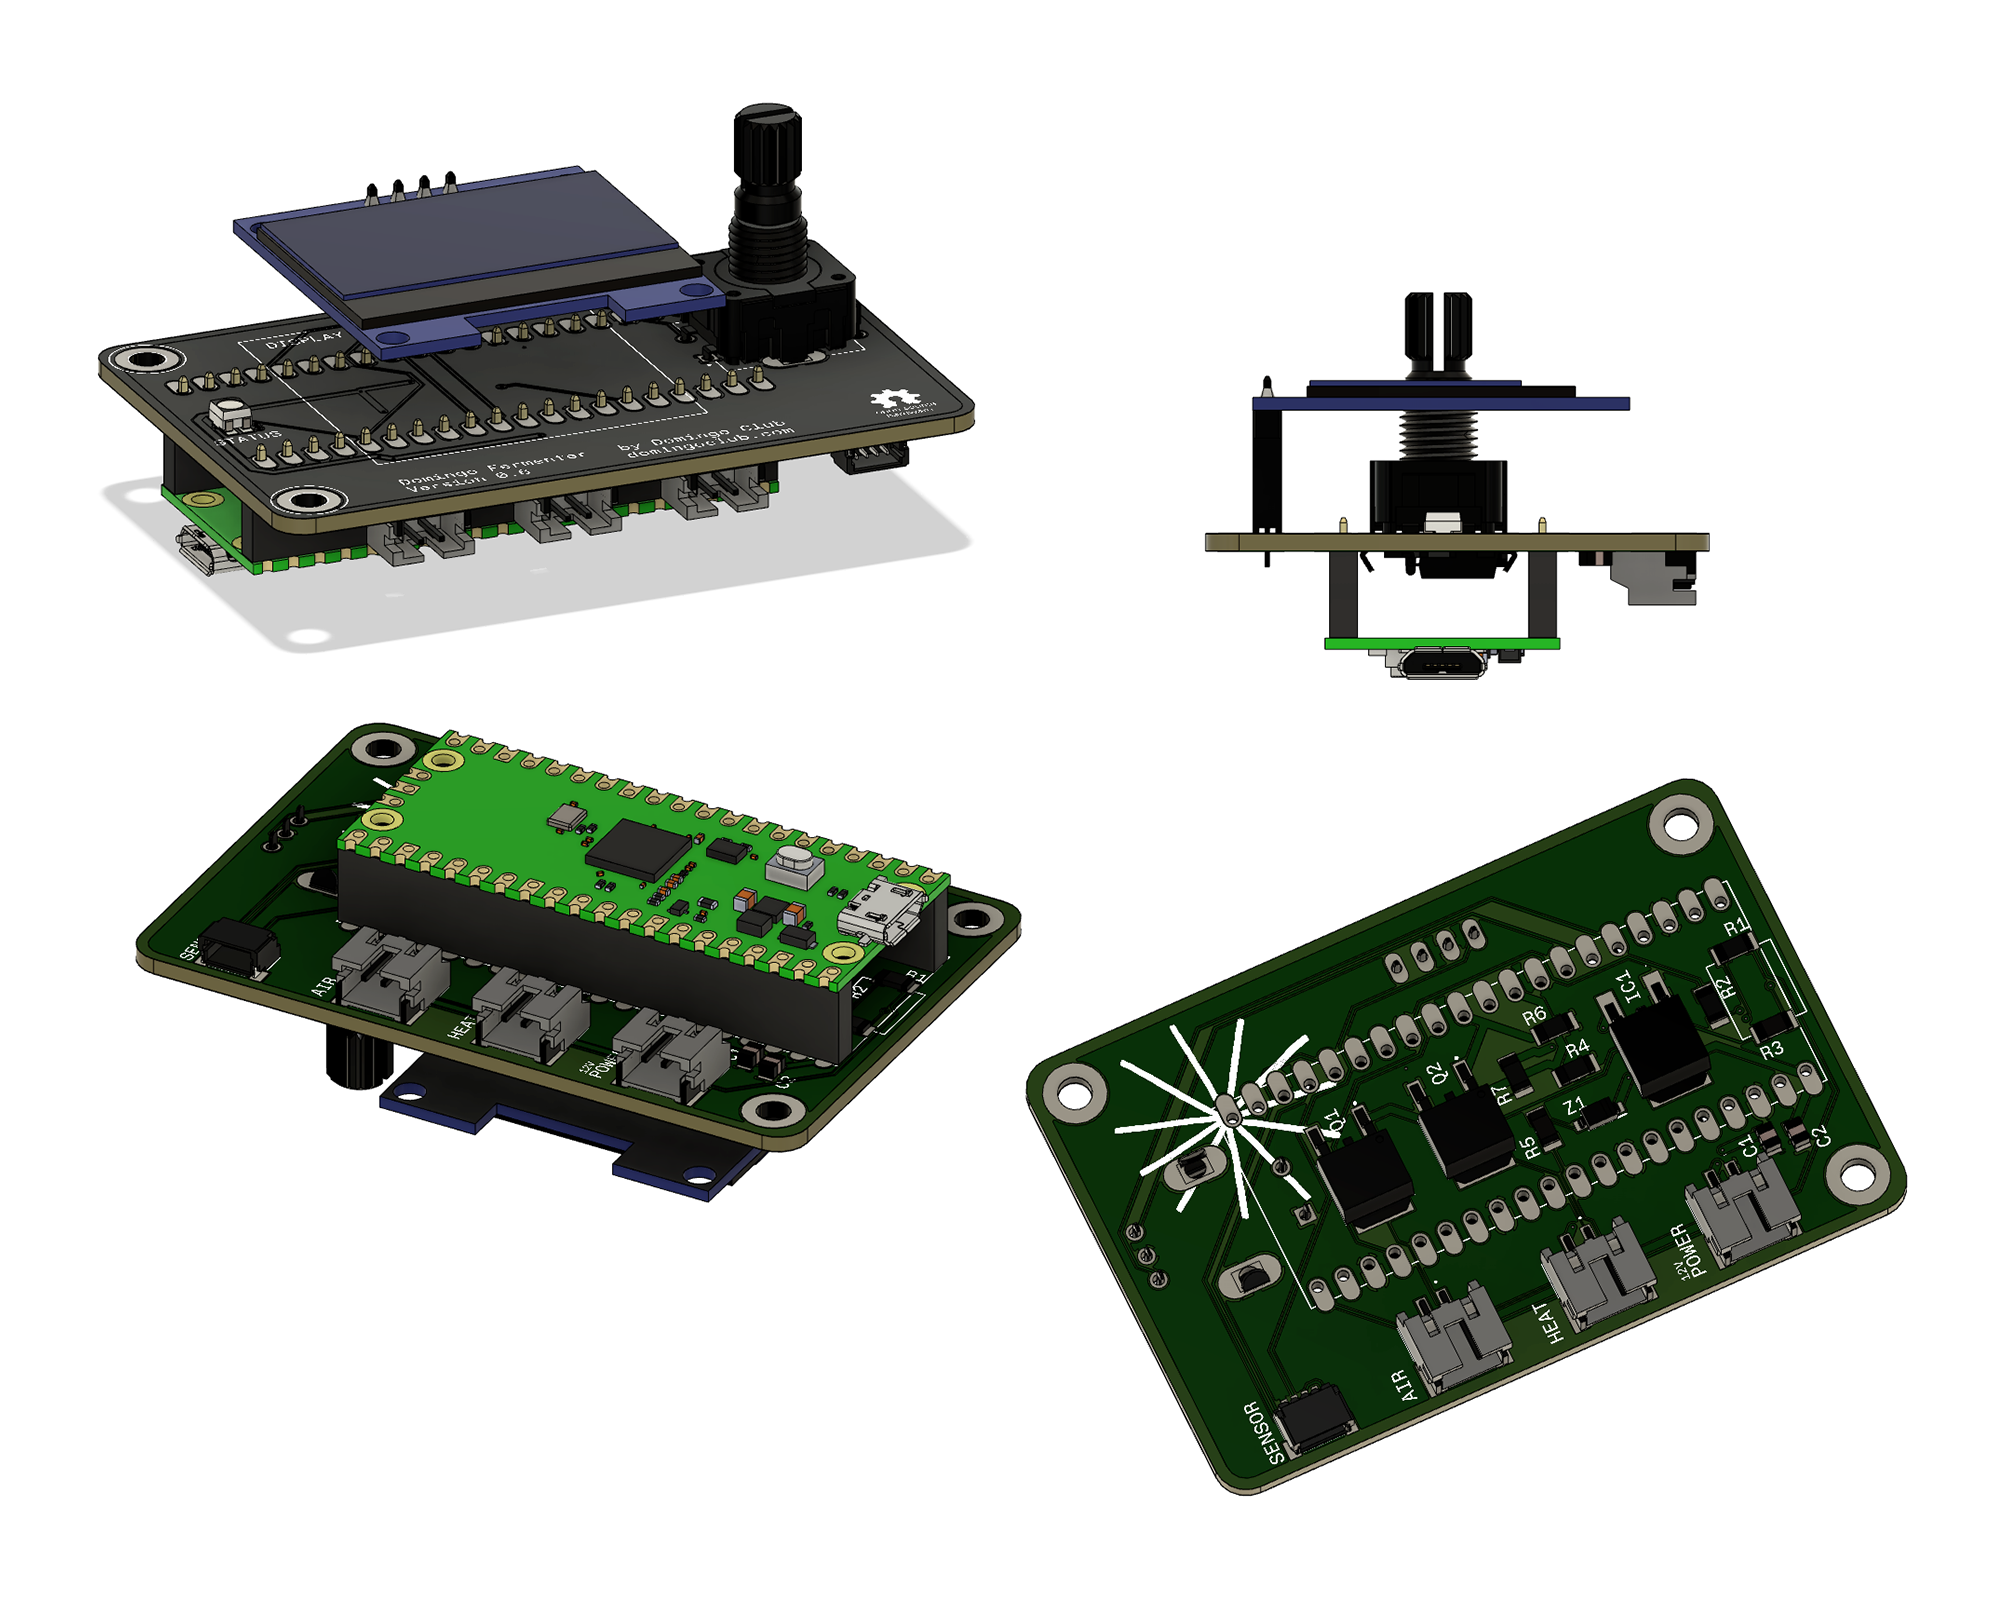
The PCB was designed with the following constraints in mind:
- The display, rotary encoder and RGB LED on the top side, all other components on the other side. This is to facilitate assembly, which can be done later by a pick and place machine.
- The USB port of the Raspberry Pico is oriented to the right. This allows easy access once assembled in the cabinet for any updates.
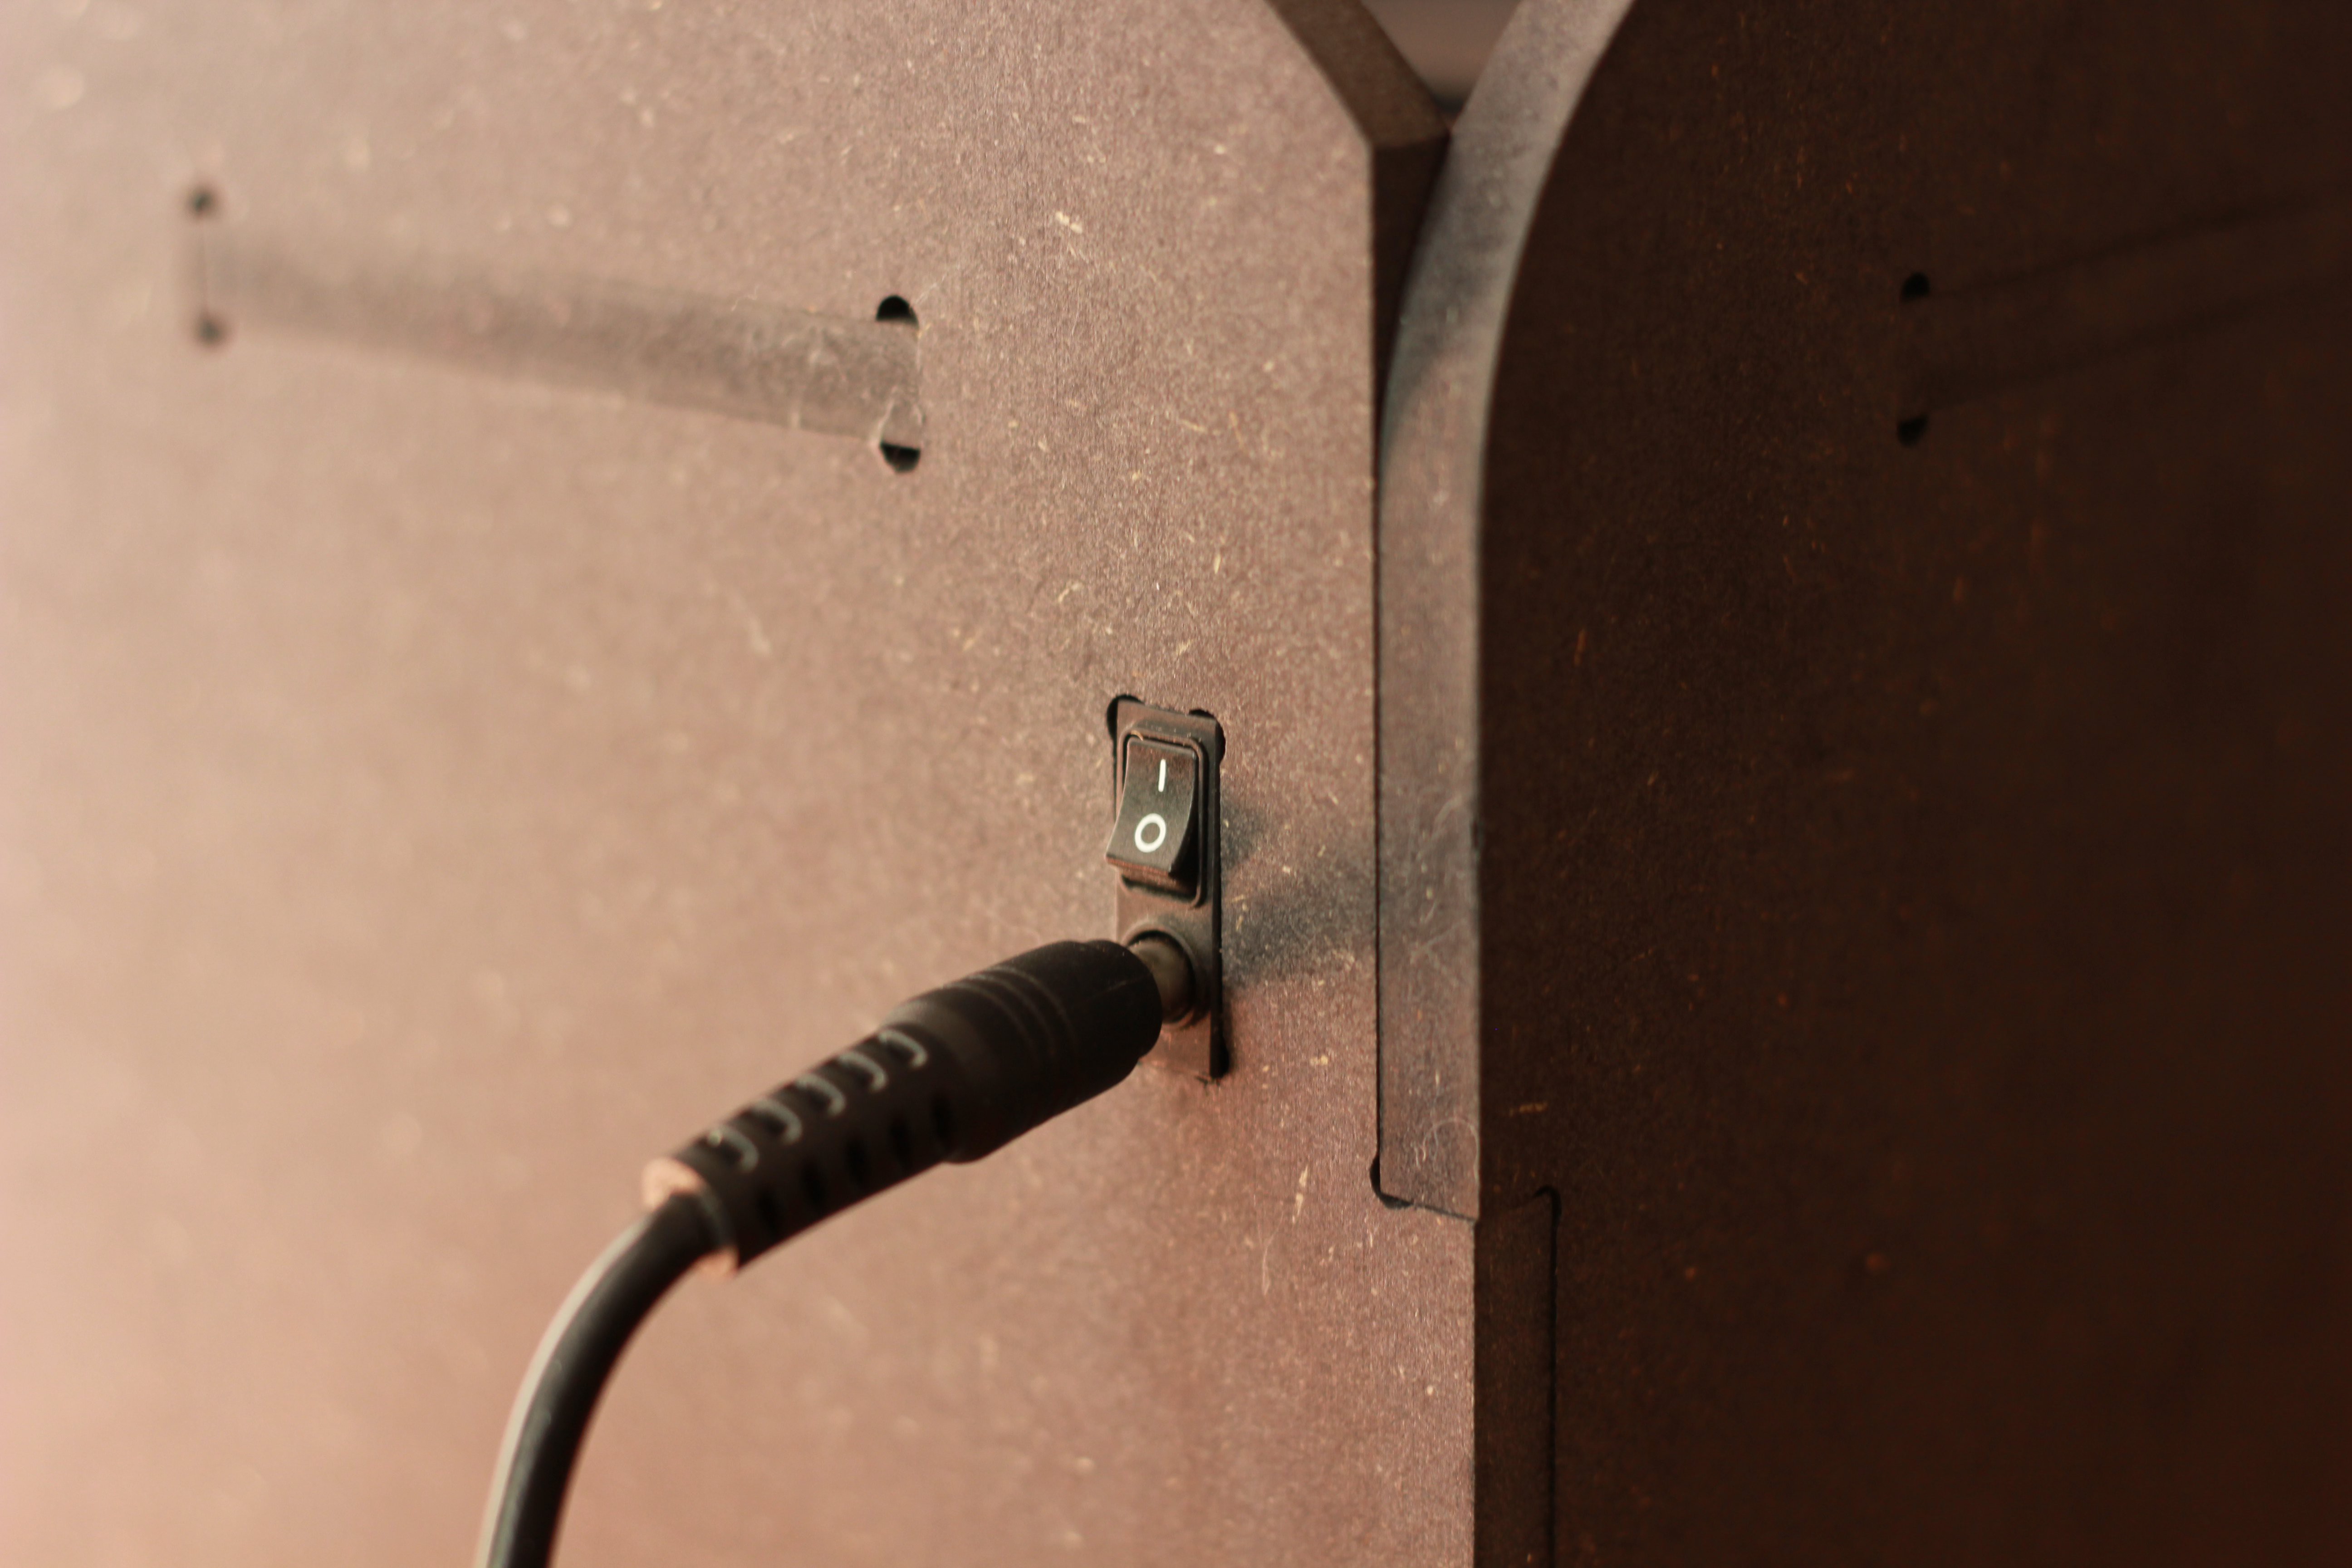
- Connectors for the power supply, fan, heating pad and sensor at the front. This allows easy access to connect and disconnect inputs/outputs as required, even when fully assembled.
Fermenter cabinet
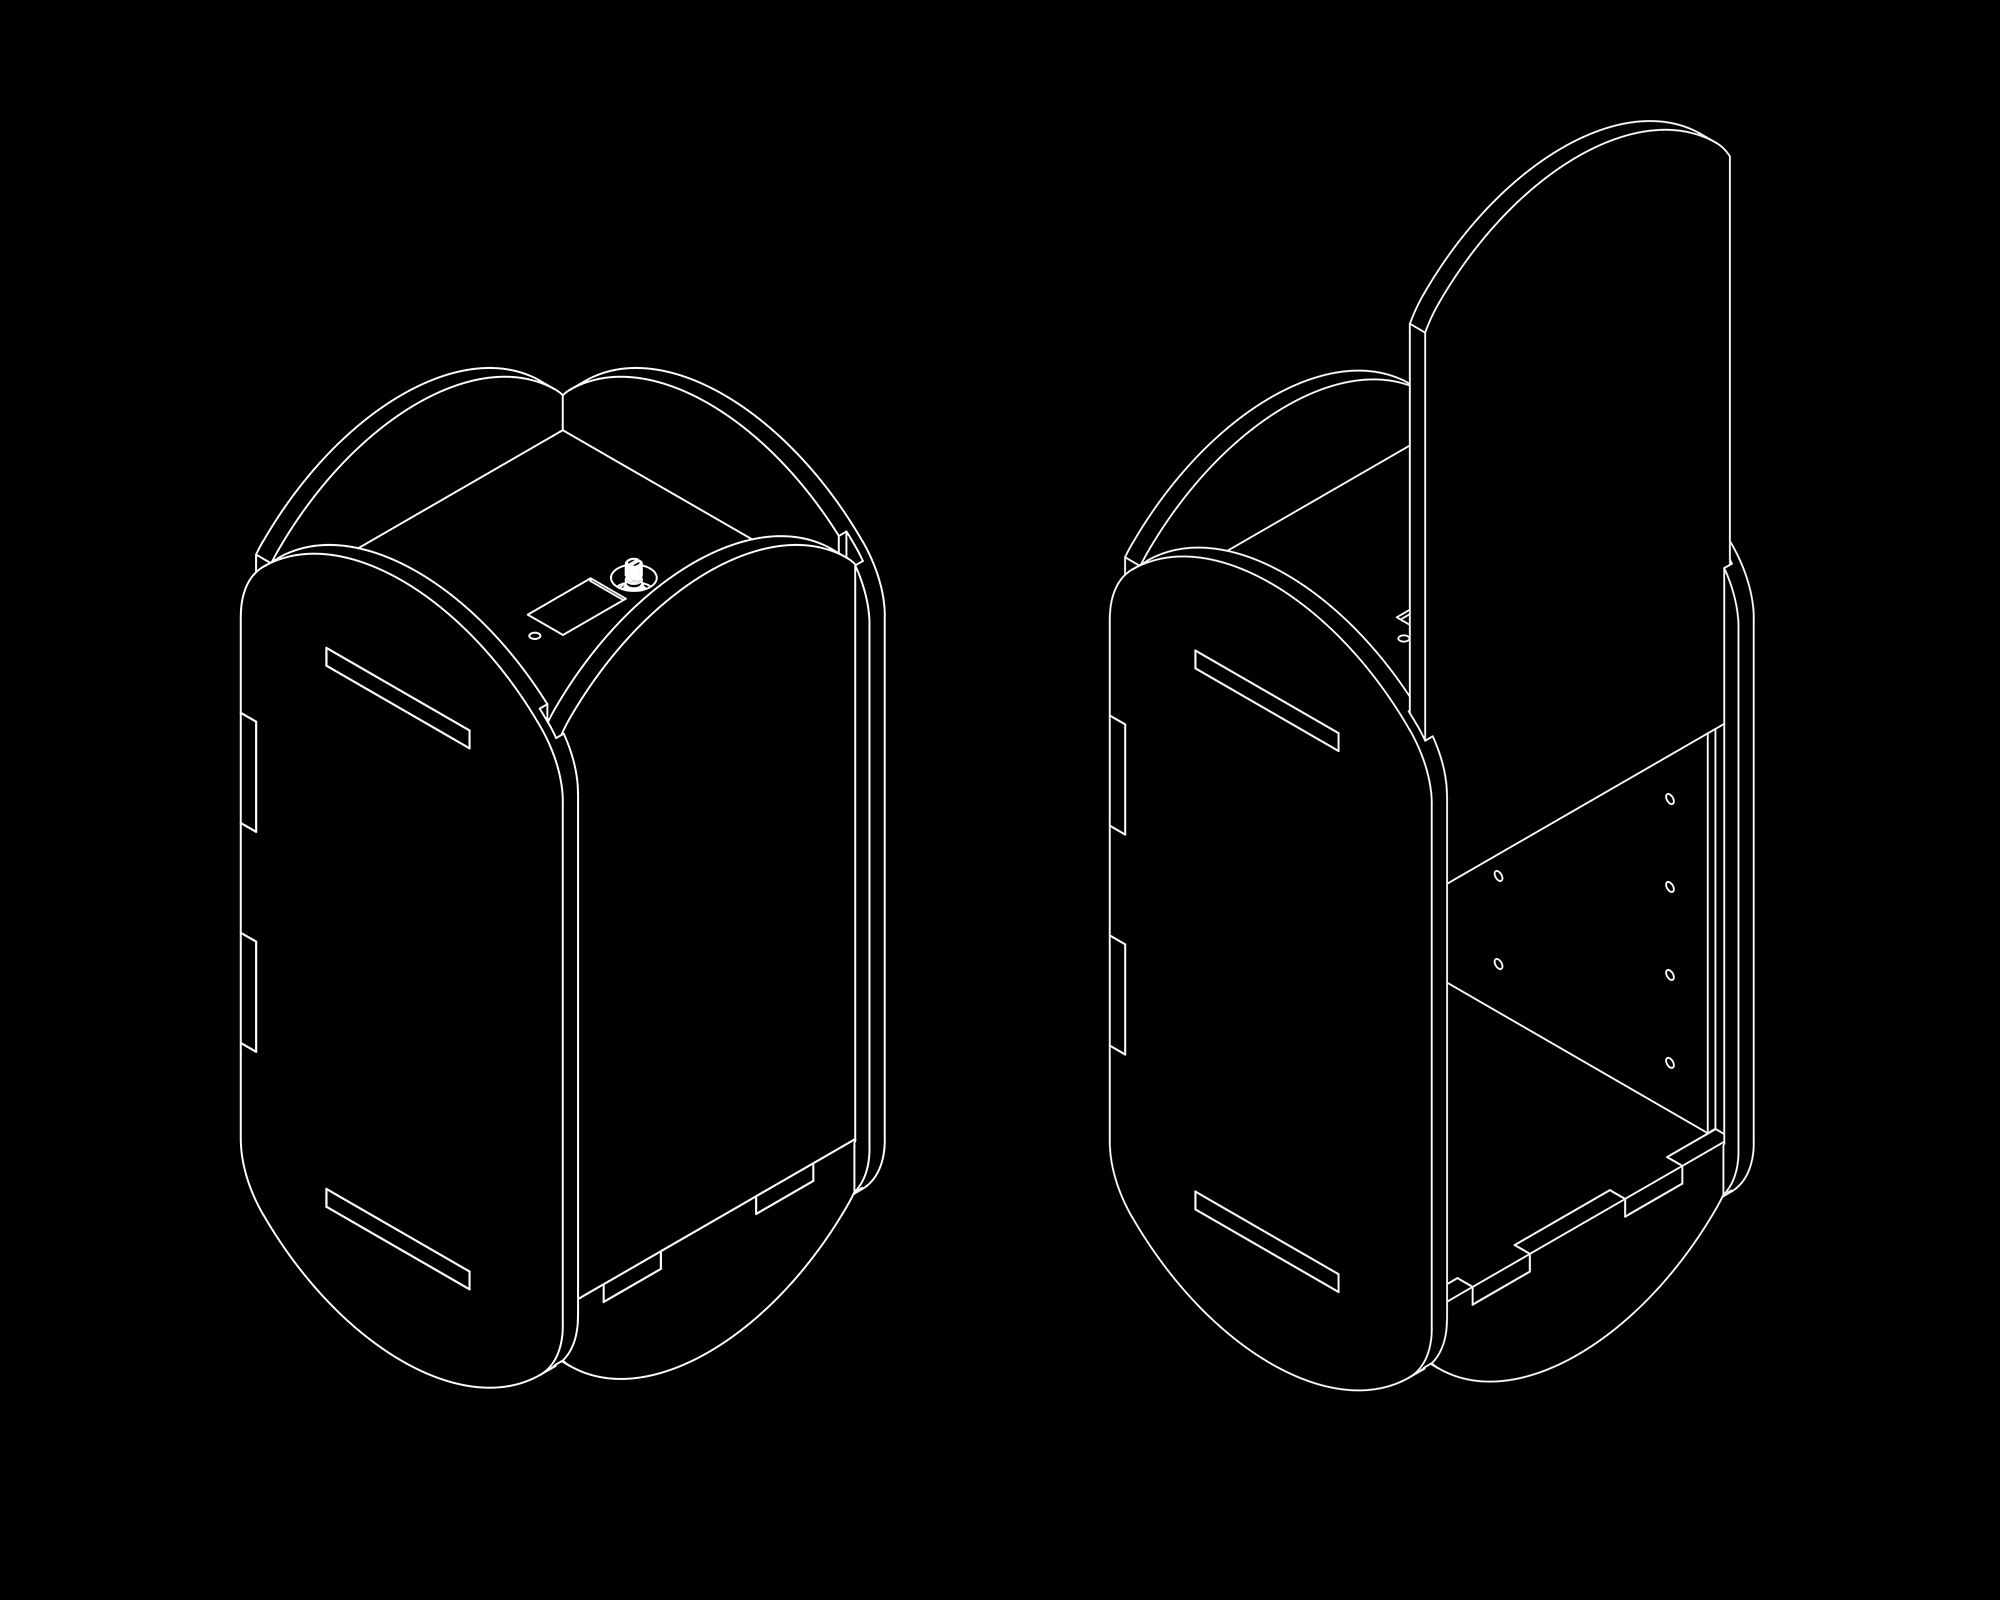
Cabinet design
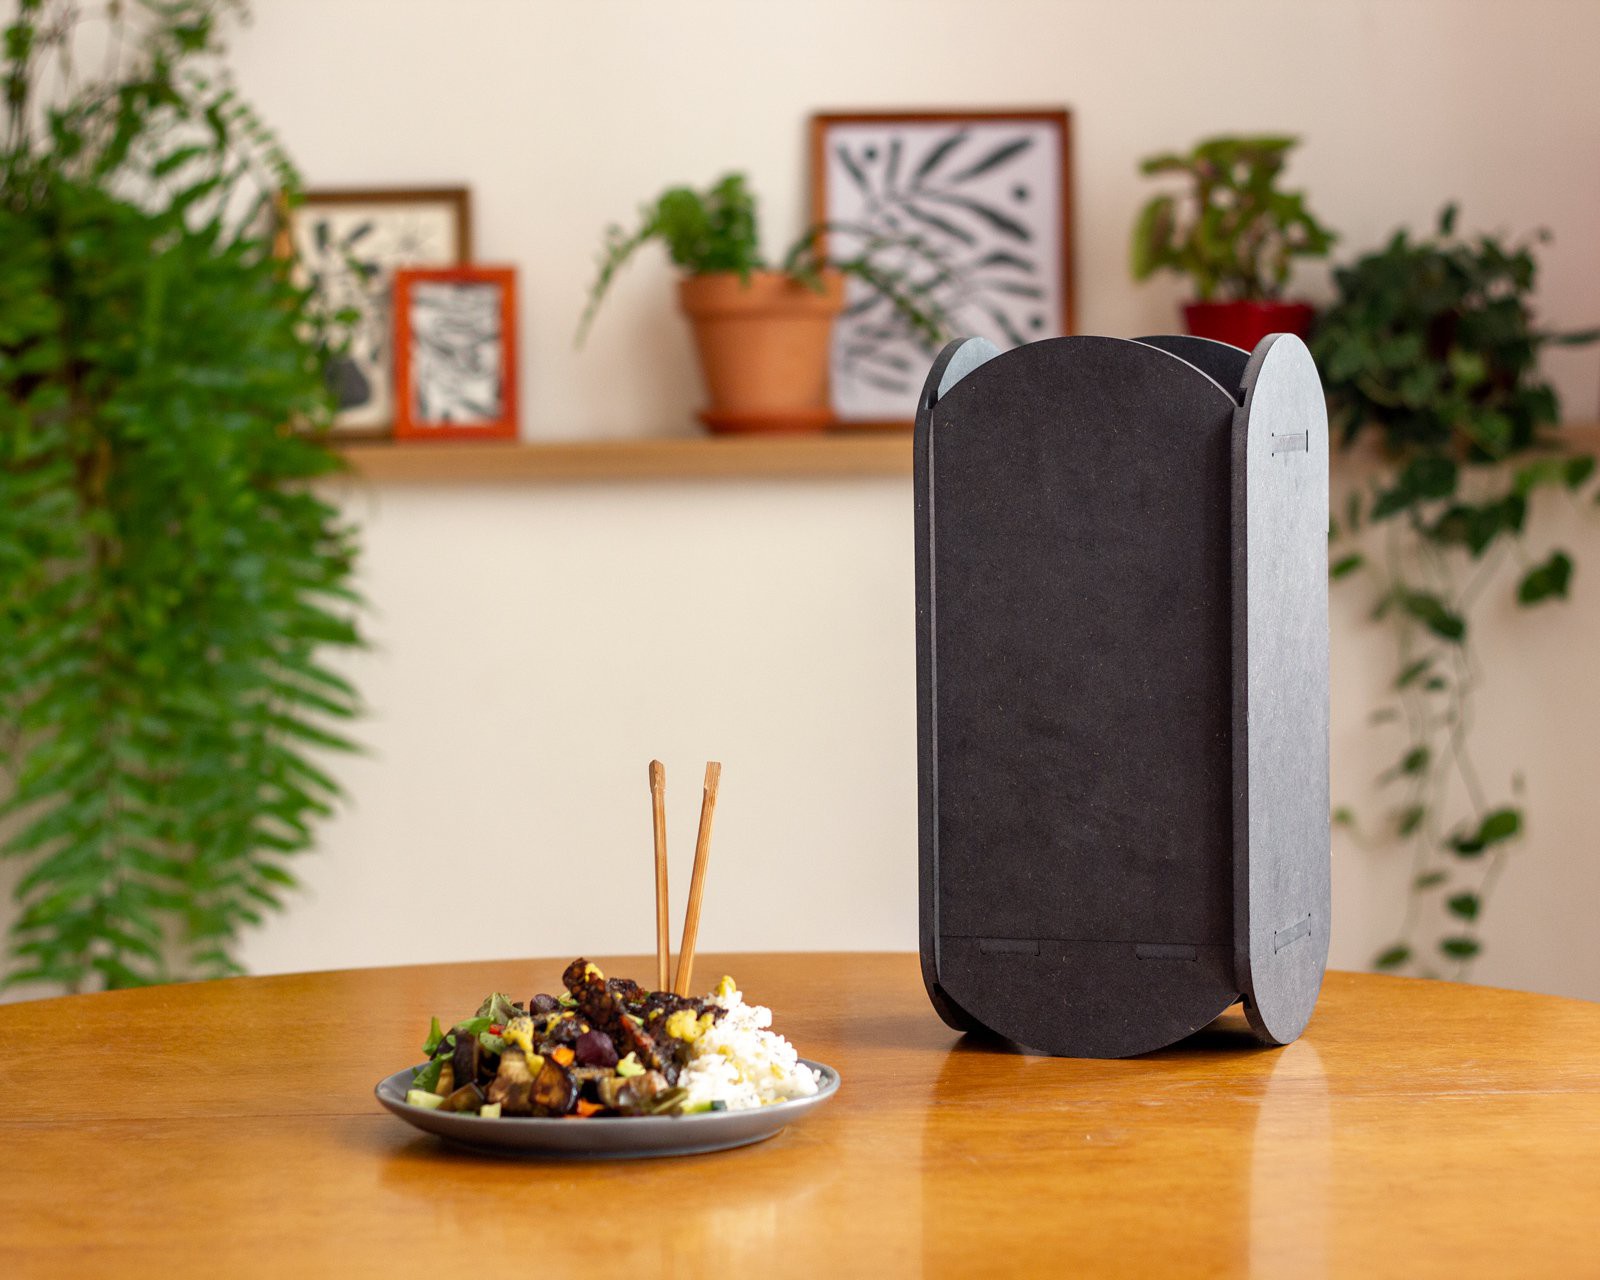
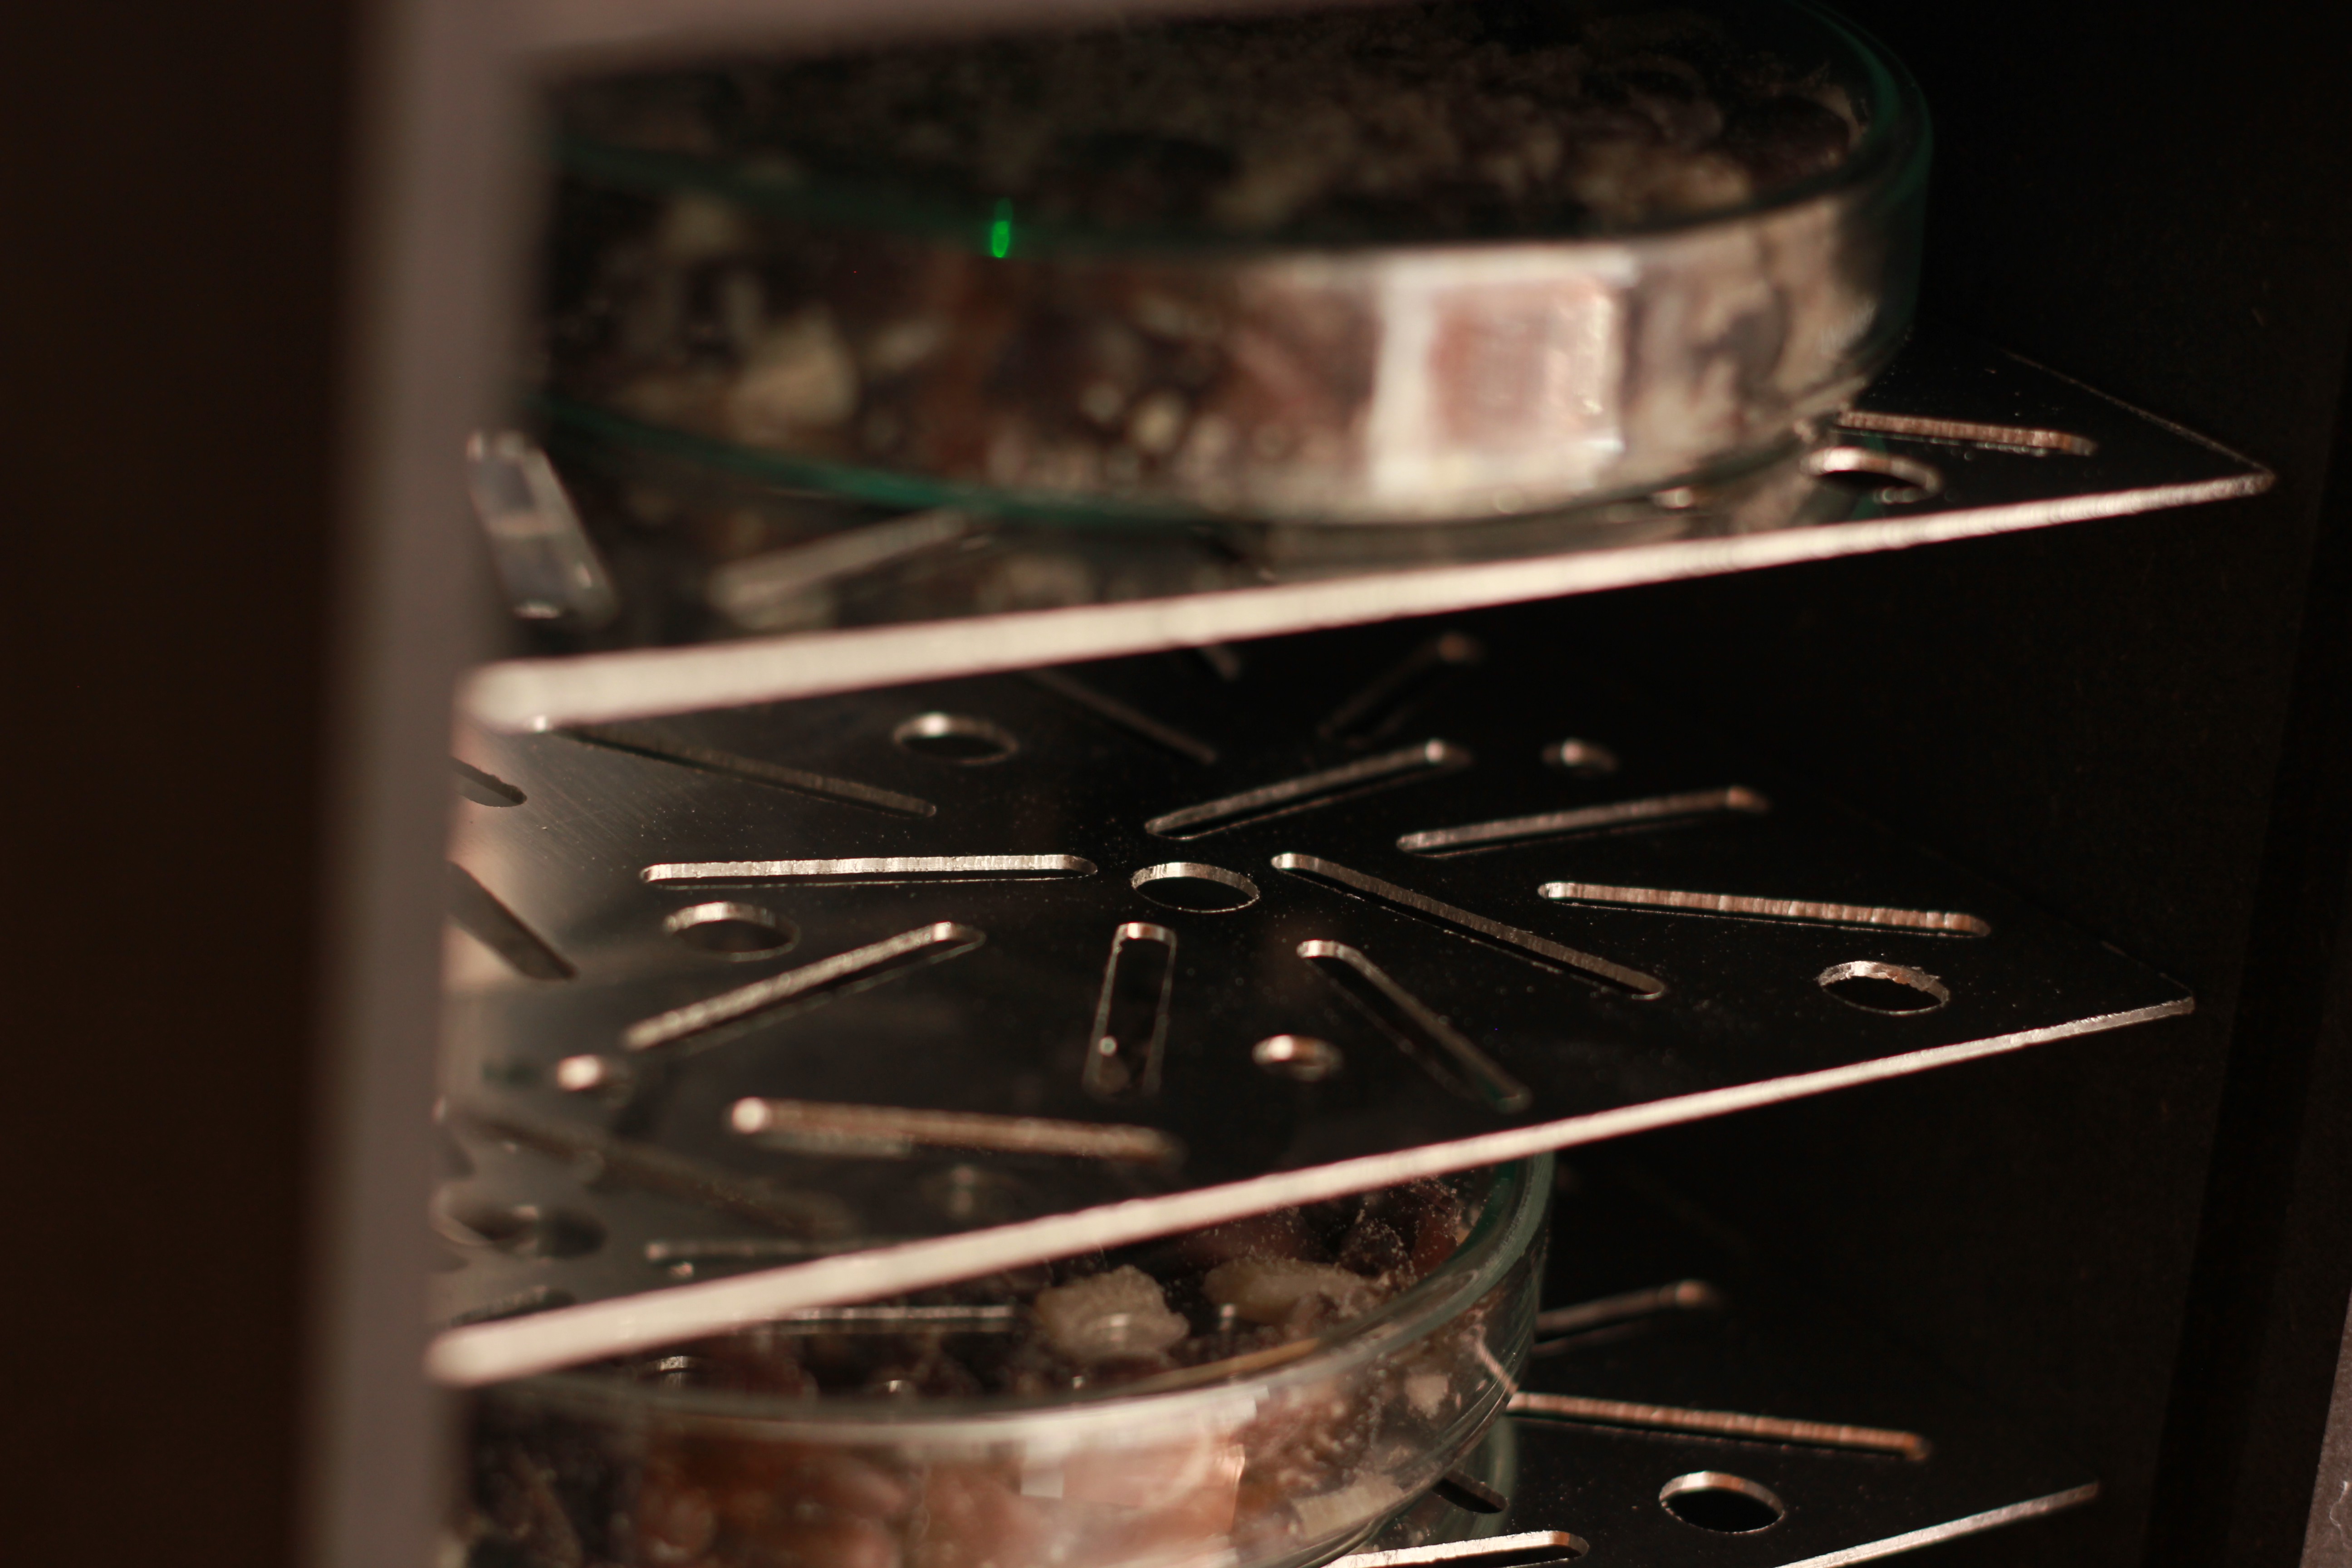
The Fermenter has been designed to be placed in the kitchen as well as in the living room, or any other inspiring room, be it on a worktop or a coffee table. On the upper part is the interface, through which you can program a fermentation cycle in a simple way. To open the door, simply slide it upwards and it will naturally stop at the right height thanks to magnets. Inside, the shelves are arranged at regular intervals to ensure good air circulation between the ferments. Behind the technical panel, the fan blows the warm air generated by the heating pad downwards, and to the sides, again ensuring uniformity of heat within the cabinet. The heat rises naturally, following the shape of the Petri dishes, making fermentation a success.
Materiality
The fermenter is manufactured using digital fabrication techniques which are CNC milling, laser cutting and 3D printing. The design is harmonious, unique, compact and clear with particular attention paid to the choice of materials for a sustainable product. The external enclosure is made of natural wood fibre panel dyed in the mass with organic colouring agent, very satisfying to mill with great finish and texture. The shelves and the inner technical panel are lasercut from stainless steel sheet for easy maintenance and durability. And fastening systems are complemented by 3D printed parts made of PLA, a compostable polymer obtained from corn starch.
Size
The whole is 355mm high, 169mm wide and 169mm deep. With the door open, the maximum height is 545 mm.
License
Our designs use an open source licence (CC BY-NC-SA 4.0) so anyone can download, improve, and change them to fit their particular needs. The only rule is that you share these new designs under the same open licence so anyone can use and improve them. You can download a fermenter and build it yourself, or buy one from us.
Benchmark
This open-source fermenter would cost you about €80 per unit to produce. This is in line with the average price of small kitchen appliances such as a rice cooker for example. As far as we know, there are no domestic tempeh fermenters on the market. Only professional incubators from 300€ onwards which are bigger because they are meant to be used in professional kitchens.
In Europe, you will pay between 2 and 4 € for 100g of tempeh. If you make your own tempeh with the fermenter, it will cost you less than 1€ for 100g of tempeh. The fermenter...
Read more »


 Lex Kravitz
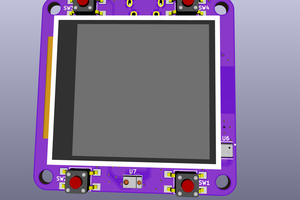
 oshpark
 Diyouware
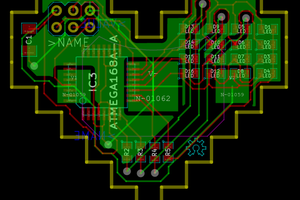
 abetusk
I'm in if hot sauce is involved. Also, is a Pi needed? Off to read more.