 Mark J Hughes
Boondock Echo

Boondock Motivation
La Habra Heights is in an area of local peaks and valleys. We service four communities with a local "fire watch." We have a commercial radio license, and many of us are practicing HAMS.
The Problem - How Boondock Echo started
1. Repeaters cannot cover the whole area:
During an emergency (fire or otherwise), we cannot reach all of our members with a single repeater. No one location will work. And since we are in an urban/wildland interface, we can only put repeaters in non-ideal locations.
2. Impossible to listen to multiple stations:
Also, during an emergency, all hell breaks loose as far as communications go. It's not unusual for me to monitor 6-8 frequencies (2-3 repeater frequencies, fire from 3 agencies, police gen & tac, ham freqs), and when they all talk at once, which invariably happens, it's a stressful mess.)
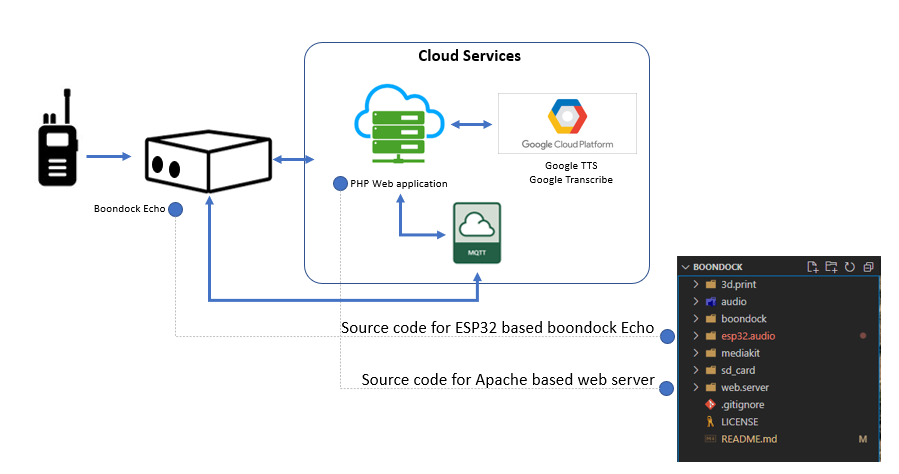
Solution - How Boondock Echo system works
- Radios feed the audio to Boondock Echo.
- Boondock Echo detects sound, records it, and sends it to the cloud.
- We drop additional Radio + Boondock Echos at select places through the local area as "listening posts."
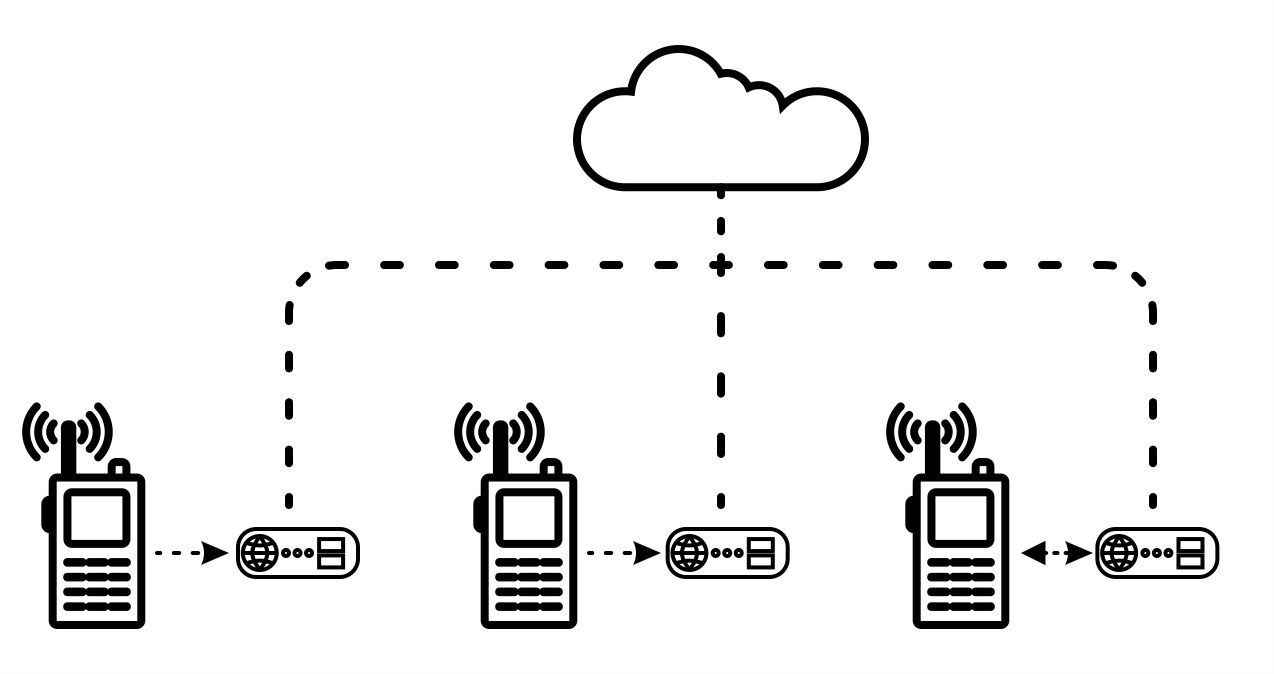
- Radios scattered throughout the city would be tuned to the repeater frequency.
- The ones in the communications tent would be tuned to police/fire/ham bands.
- All audio gets tagged with freq & time stamp and sent to a server.
- A computer & web interface lets us prioritize and playback all the messages, and nothing gets lost.
- Some radios can transmit to all the repeaters with a click of a button.
- The command tent would pick the messages to send, the Boondock gateways would play it back over the repeaters.
Now we can listen to multiple Radio frequencies and prioritize the messages that need to be transmitted to listeners. And we can reach the areas repeaters won't reach.
Wait... there is so much more to Boondock...
- The Boondock Echo device can function as an answering machine for amateur radio operators.
- Cloud services allow the Boondock Echo device to perform noise cancellation, speech-to-text, and text-to-speech conversion, and more!
- Future development of the software can allow remote station operation through a smartphone.
Technical Overview
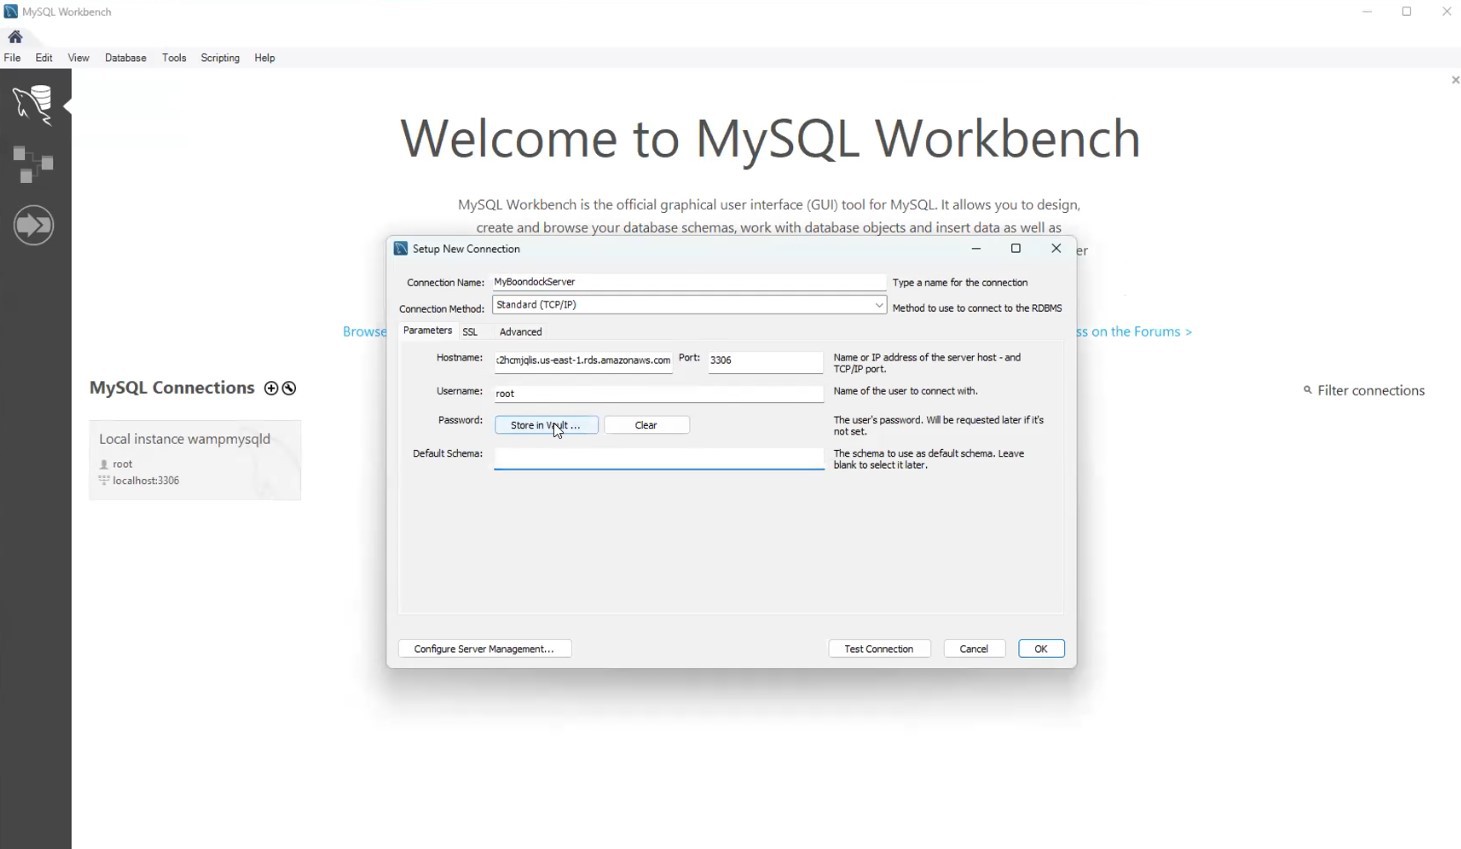
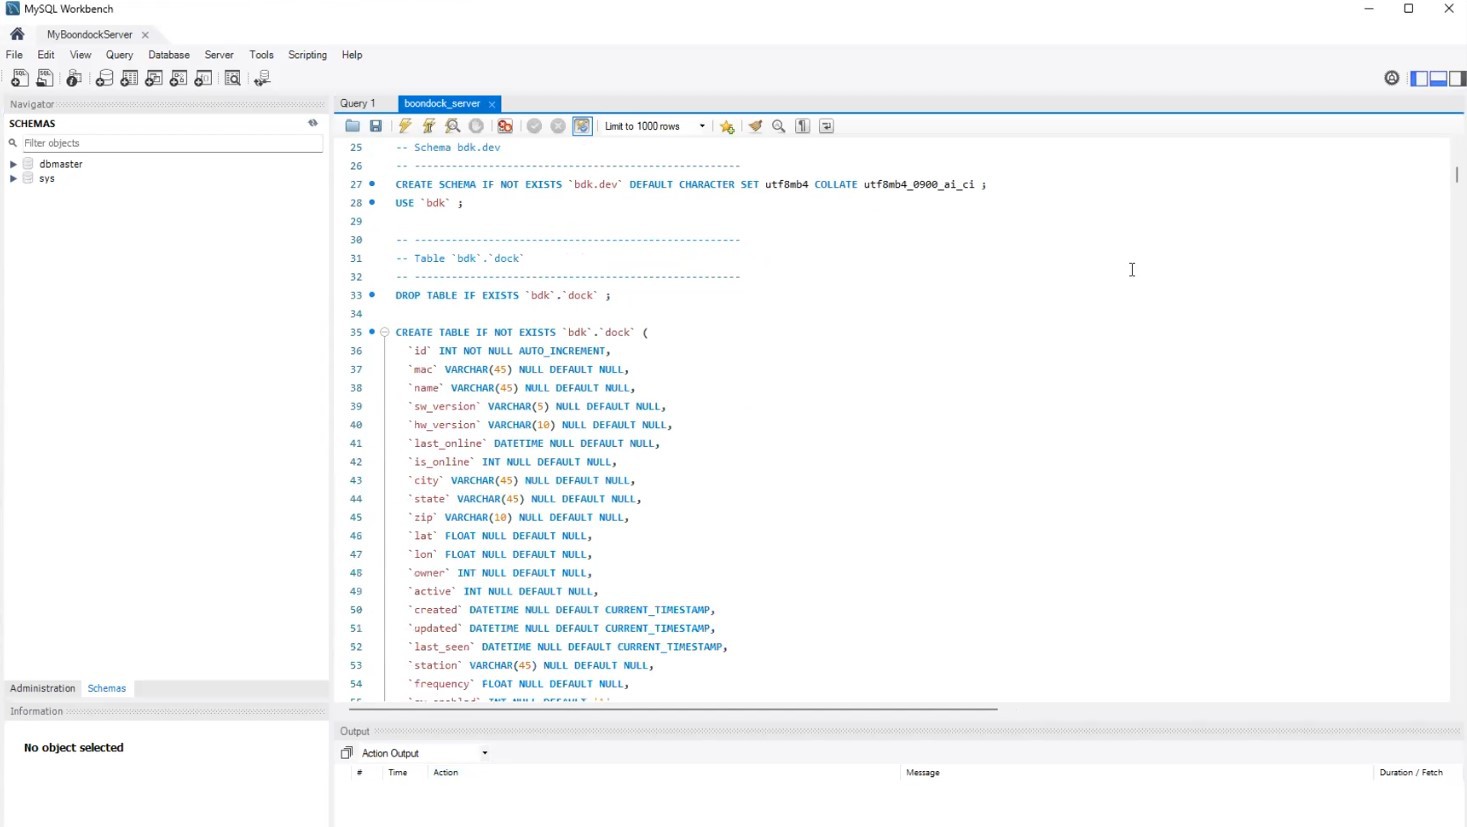
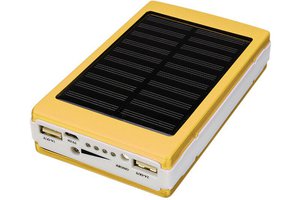
Boondock Echo is a combination of hardware and cloud-based software. For this build, we are using the off-the-shelf module and parts, but we plan to build a custom PCB with the right electronics suited for this application. The hardware chosen for this project has a Li-Ion charger, an Audio in, an Audio out, several pushbuttons, and terminals to attach speakers. Custom firmware is built for an ESP32-based kit built for audio applications.
An ESP32-based station connects to the radio using a traditional audio jack. And built-in battery keeps it running for hours.
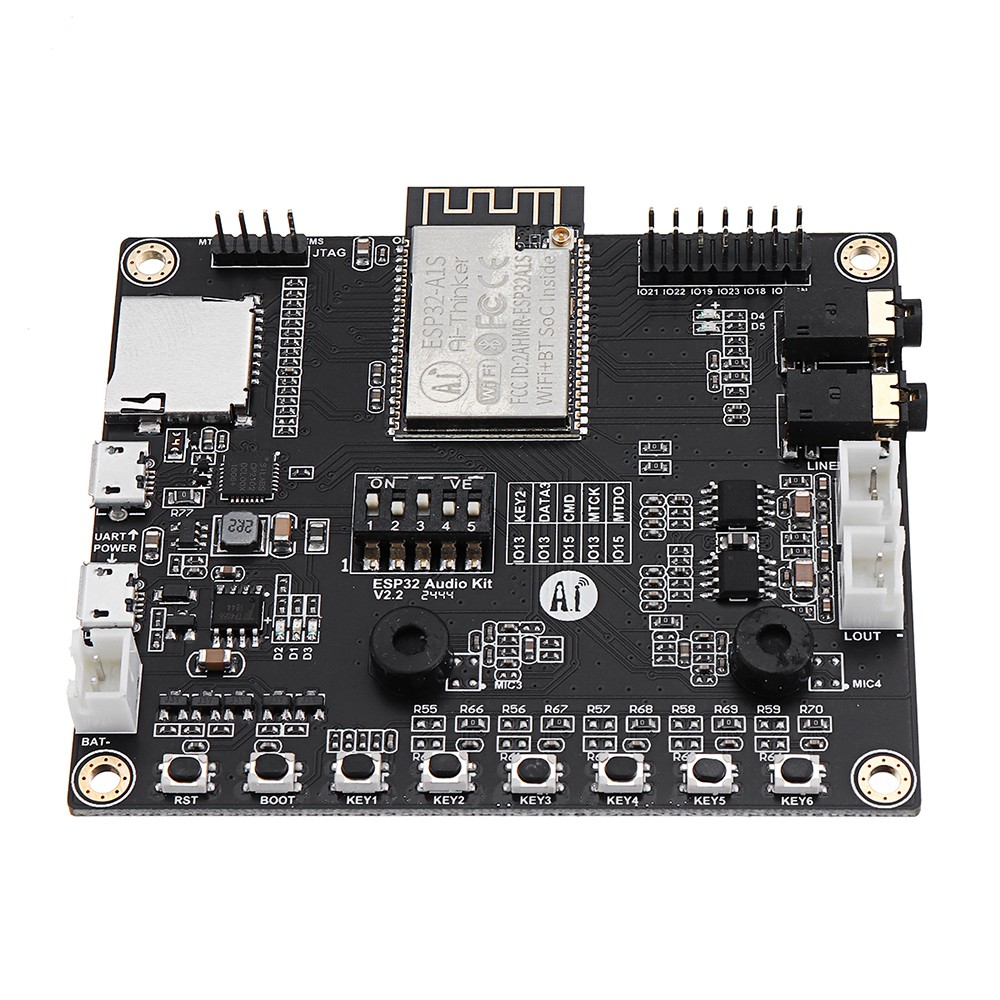
Boondock Echo program listens to the radio, and when it detects sound, it starts recording on the SD-Card attached to it. It keeps monitoring for silence. When the radio is silent, it stops the recording and sends the recorded audio file to a cloud-based server.

The audio files are processed and queued for listening to and sending to boondock for transmission. Boondock or multiple Boondocks, play the audio file. As the Radio detects audio, it starts transmitting it on the channel it is tuned to.
When the audio file is on the cloud, we can use advanced technologies like Audio-To-Text, Text-To-Audio, automated background noise reduction, volume normalization, etc., to enhance the usability of the system further.
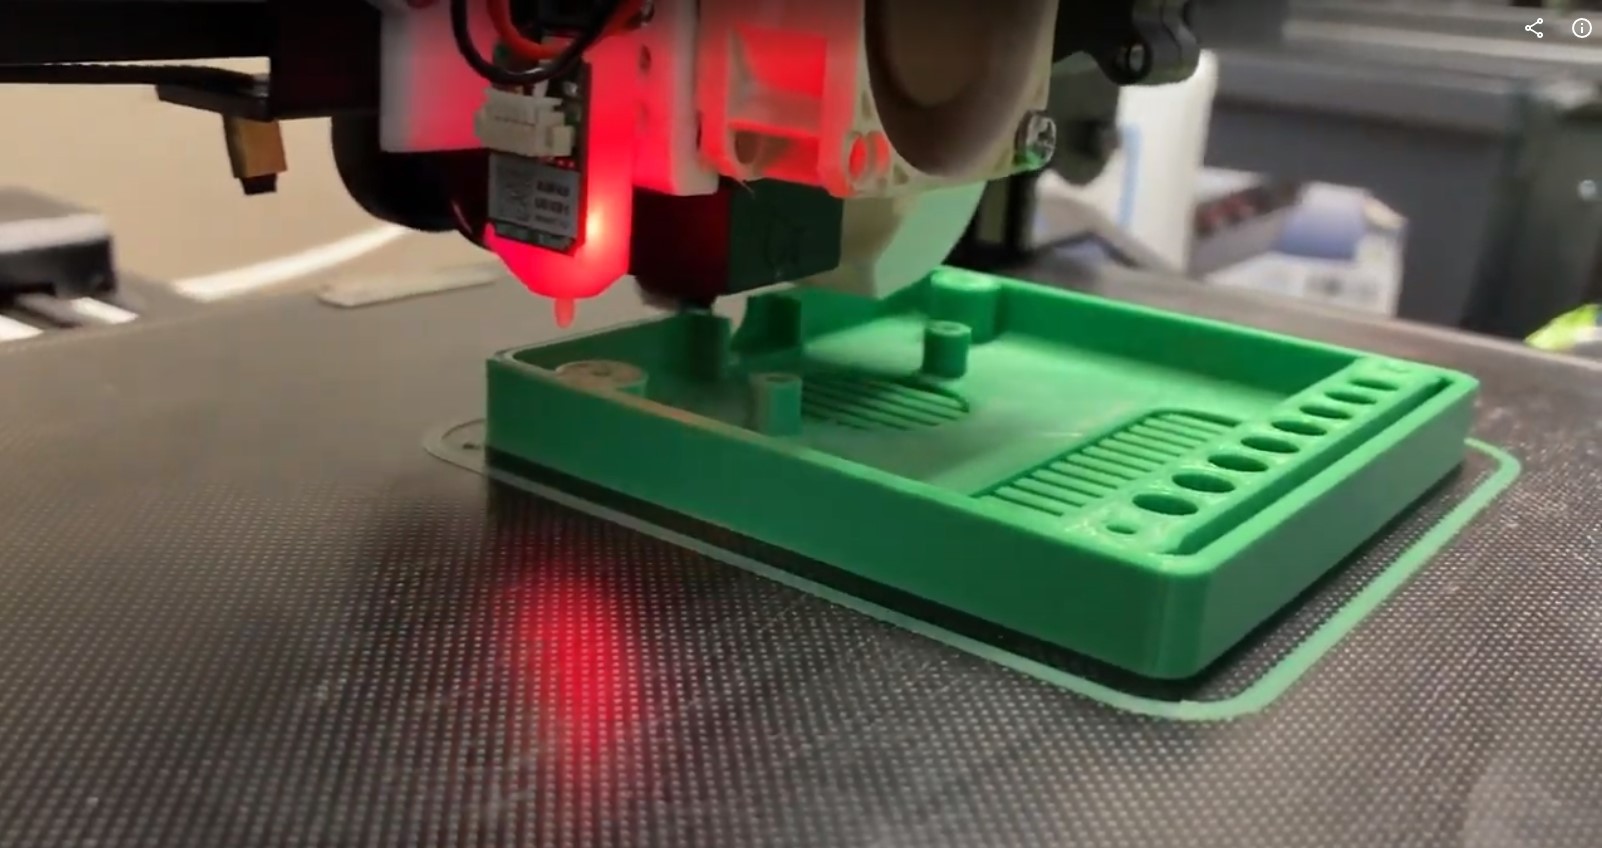
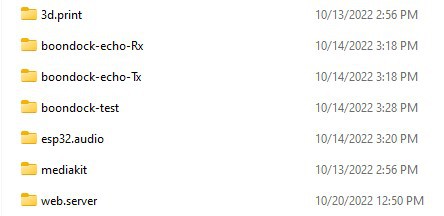
Enclosure and 3d print
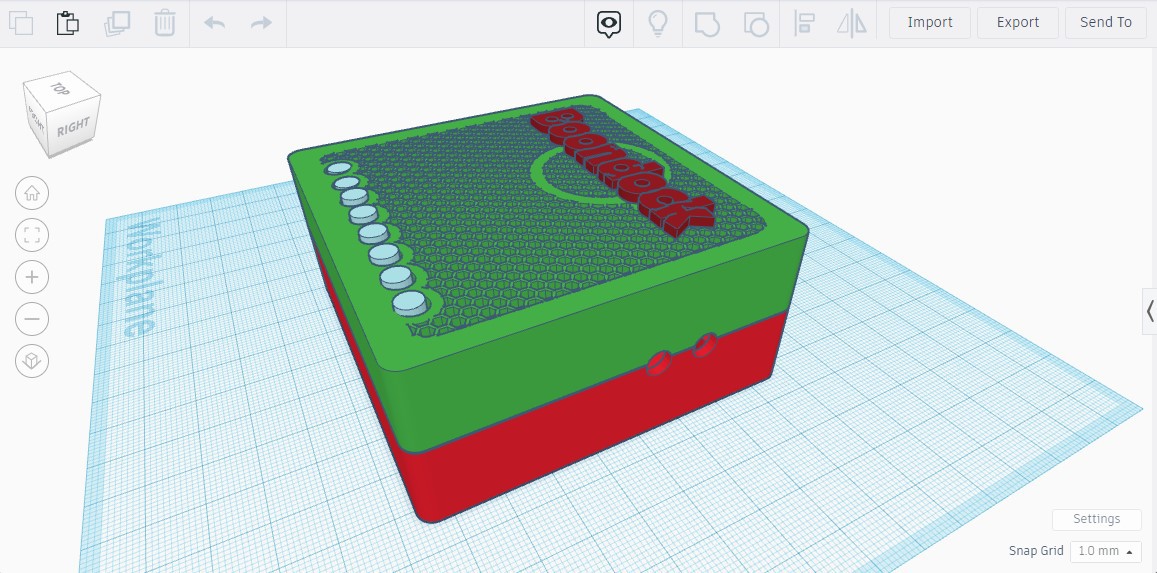
3-d Printing the Enclosure.
Build and Assembly
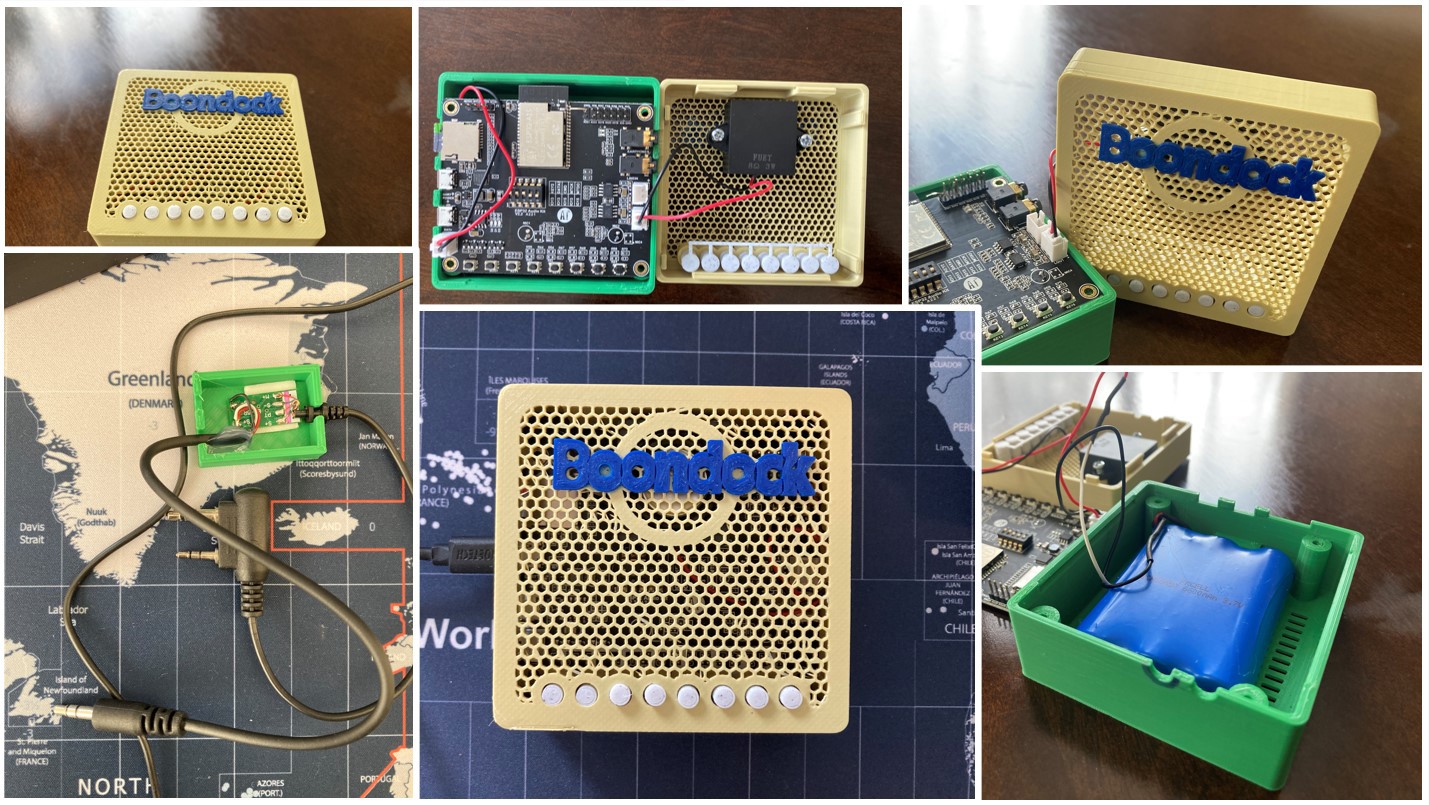
Barebone board can be purchased online. We designed an enclosure to fit a battery, ESP32 Audio kit, a power on/off switch, and a speaker. The enclosure is press-fit, but you can add screws to make it sturdier. You can fit a 3-cell battery module in it....
Read more »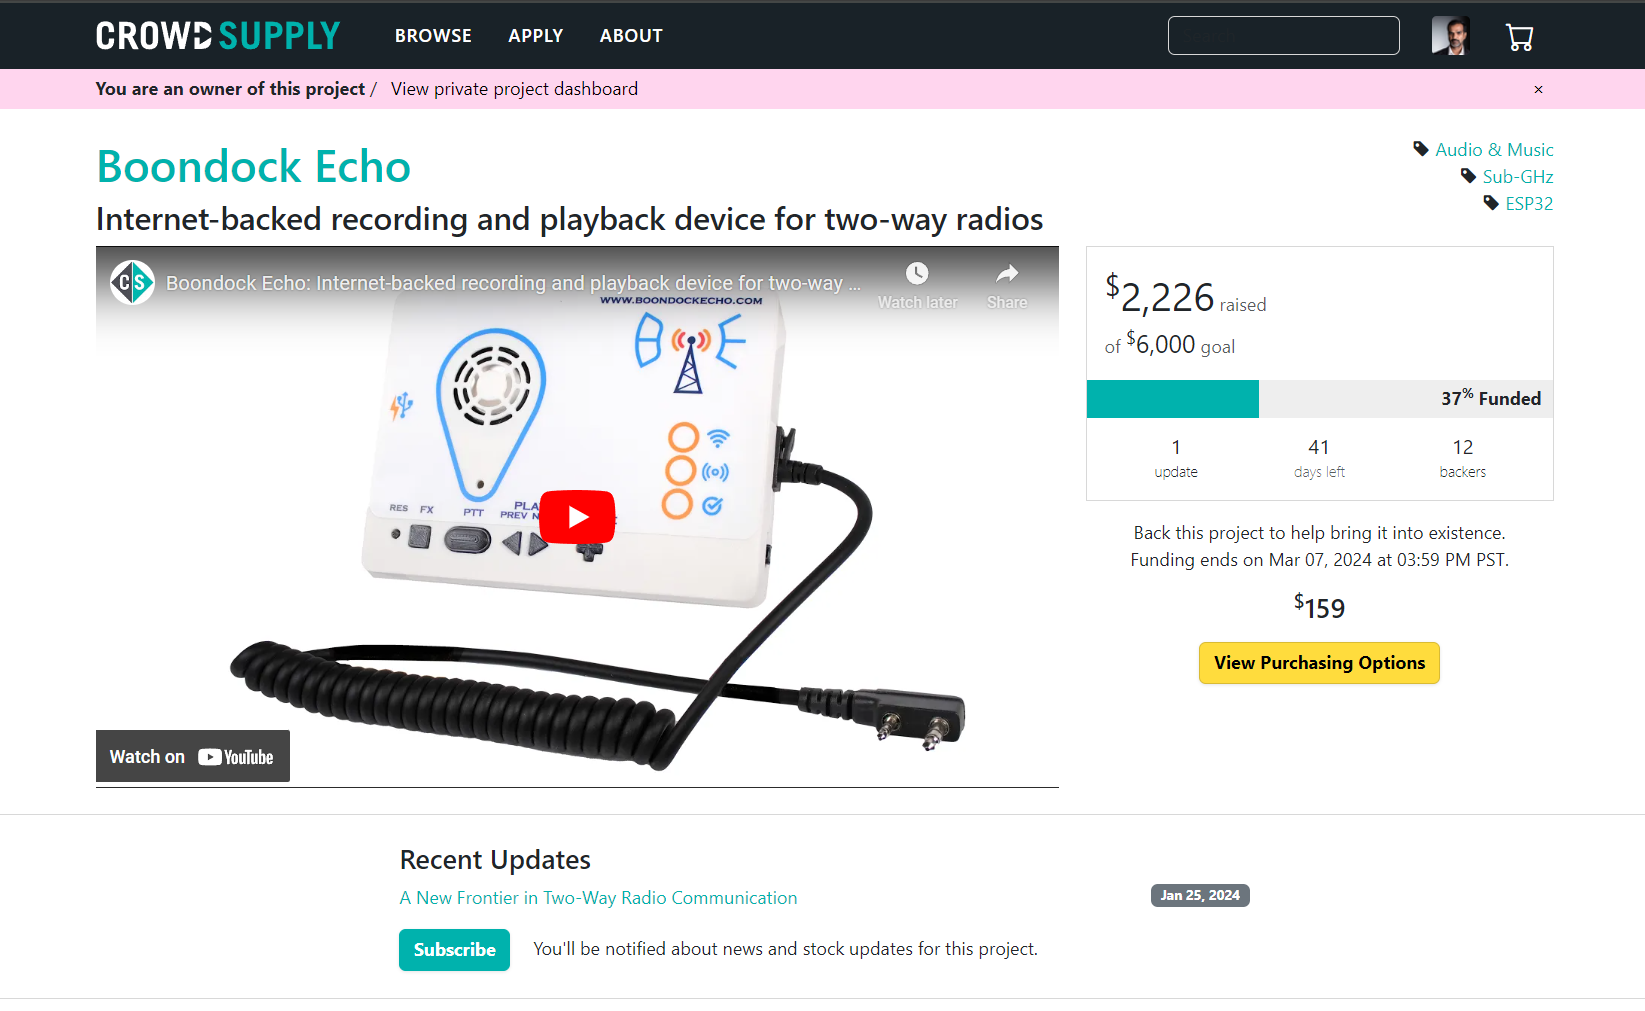


 Christoph Tack
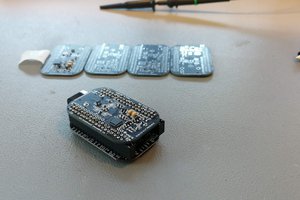
 Pero
Pero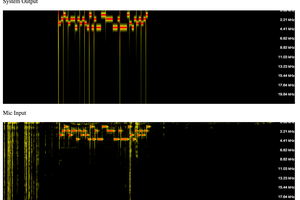
 pablogs
 zst123
@Mark J Hughes is the source code available on another repo anywhere? The github Source Code v1 link 404's and all I can find is the archive on the readme https://web.archive.org/web/20220907095826/https://github.com/kaushleshchandel/boondock
AI Thinker is a bit abstract with the implementation under the can and trying to dig in if this is using the AC101 or ES8388 codec, the latter I'm at least familiar with and working on some MicroPython support.