 WJCarpenter
I started fiddling around with OpenSCAD to make a custom enclosure for this project. I did what I thought were some reasonably clever things with the base on which the PCB would rest (3D-printed stand-off with threads and matching nuts ... yummy!) However, when it came time to create the top of the enclosure and figure out a way to fasten it together, I came across mrWheel's YAPP_Box project. It was so far ahead of what I was tinkering with that I set my custom enclosure aside and started working with YAPP_Box.
The way YAPP_Box expects you to work is to start with a template of settings and then reference a generator module to actually create the enclosure based on those settings. You could just measure locations on a board with calipers or even a ruler, but I did my board design in KiCad and was able to get precise footprint numbers from property sheets in KiCad. The only thing I actually had to measure was the Z height of a populated board (both front and back), and those did not need much precision.
Just in case I later revise the PCB, I created a bunch of local variable with numbers expressed in KiCad coordinates, and then I set the parameter values for YAPP_Box mostly in terms of those KiCad variables. For things like text labels and grillwork, which didn't correspond to anything on the PCB, I used a combination of measuring, educated guessing, and trial and error. OpenSCAD is a great tool for that kind of iteration since the preview mode is really, really fast at showing what any changes look like. It was a little challenging to keep translating KiCad's idea of coordinate systems to the multiple different YAPP_Box orientations, but, again, OpenSCAD's rapid previewing was very helpful for keeping things going in the right directions.
In the end, I made cut-outs on two sides for fan connectors, power connector, and I2C connectors (for the temperature sensor). I tried putting text labels for those things on the sides as well, but it came out looking pretty awful when 3D-printed. Instead, I put all of the text on the top and bottom surfaces. I had to go with rather large Arial Black typeface in bold to get reasonable looking text. YAPP_Box text is done an engraving, so you are mostly depending on shadows to make it visible. Lighter colors work better for that, though these things will be shut up inside furnace vents for the long term.
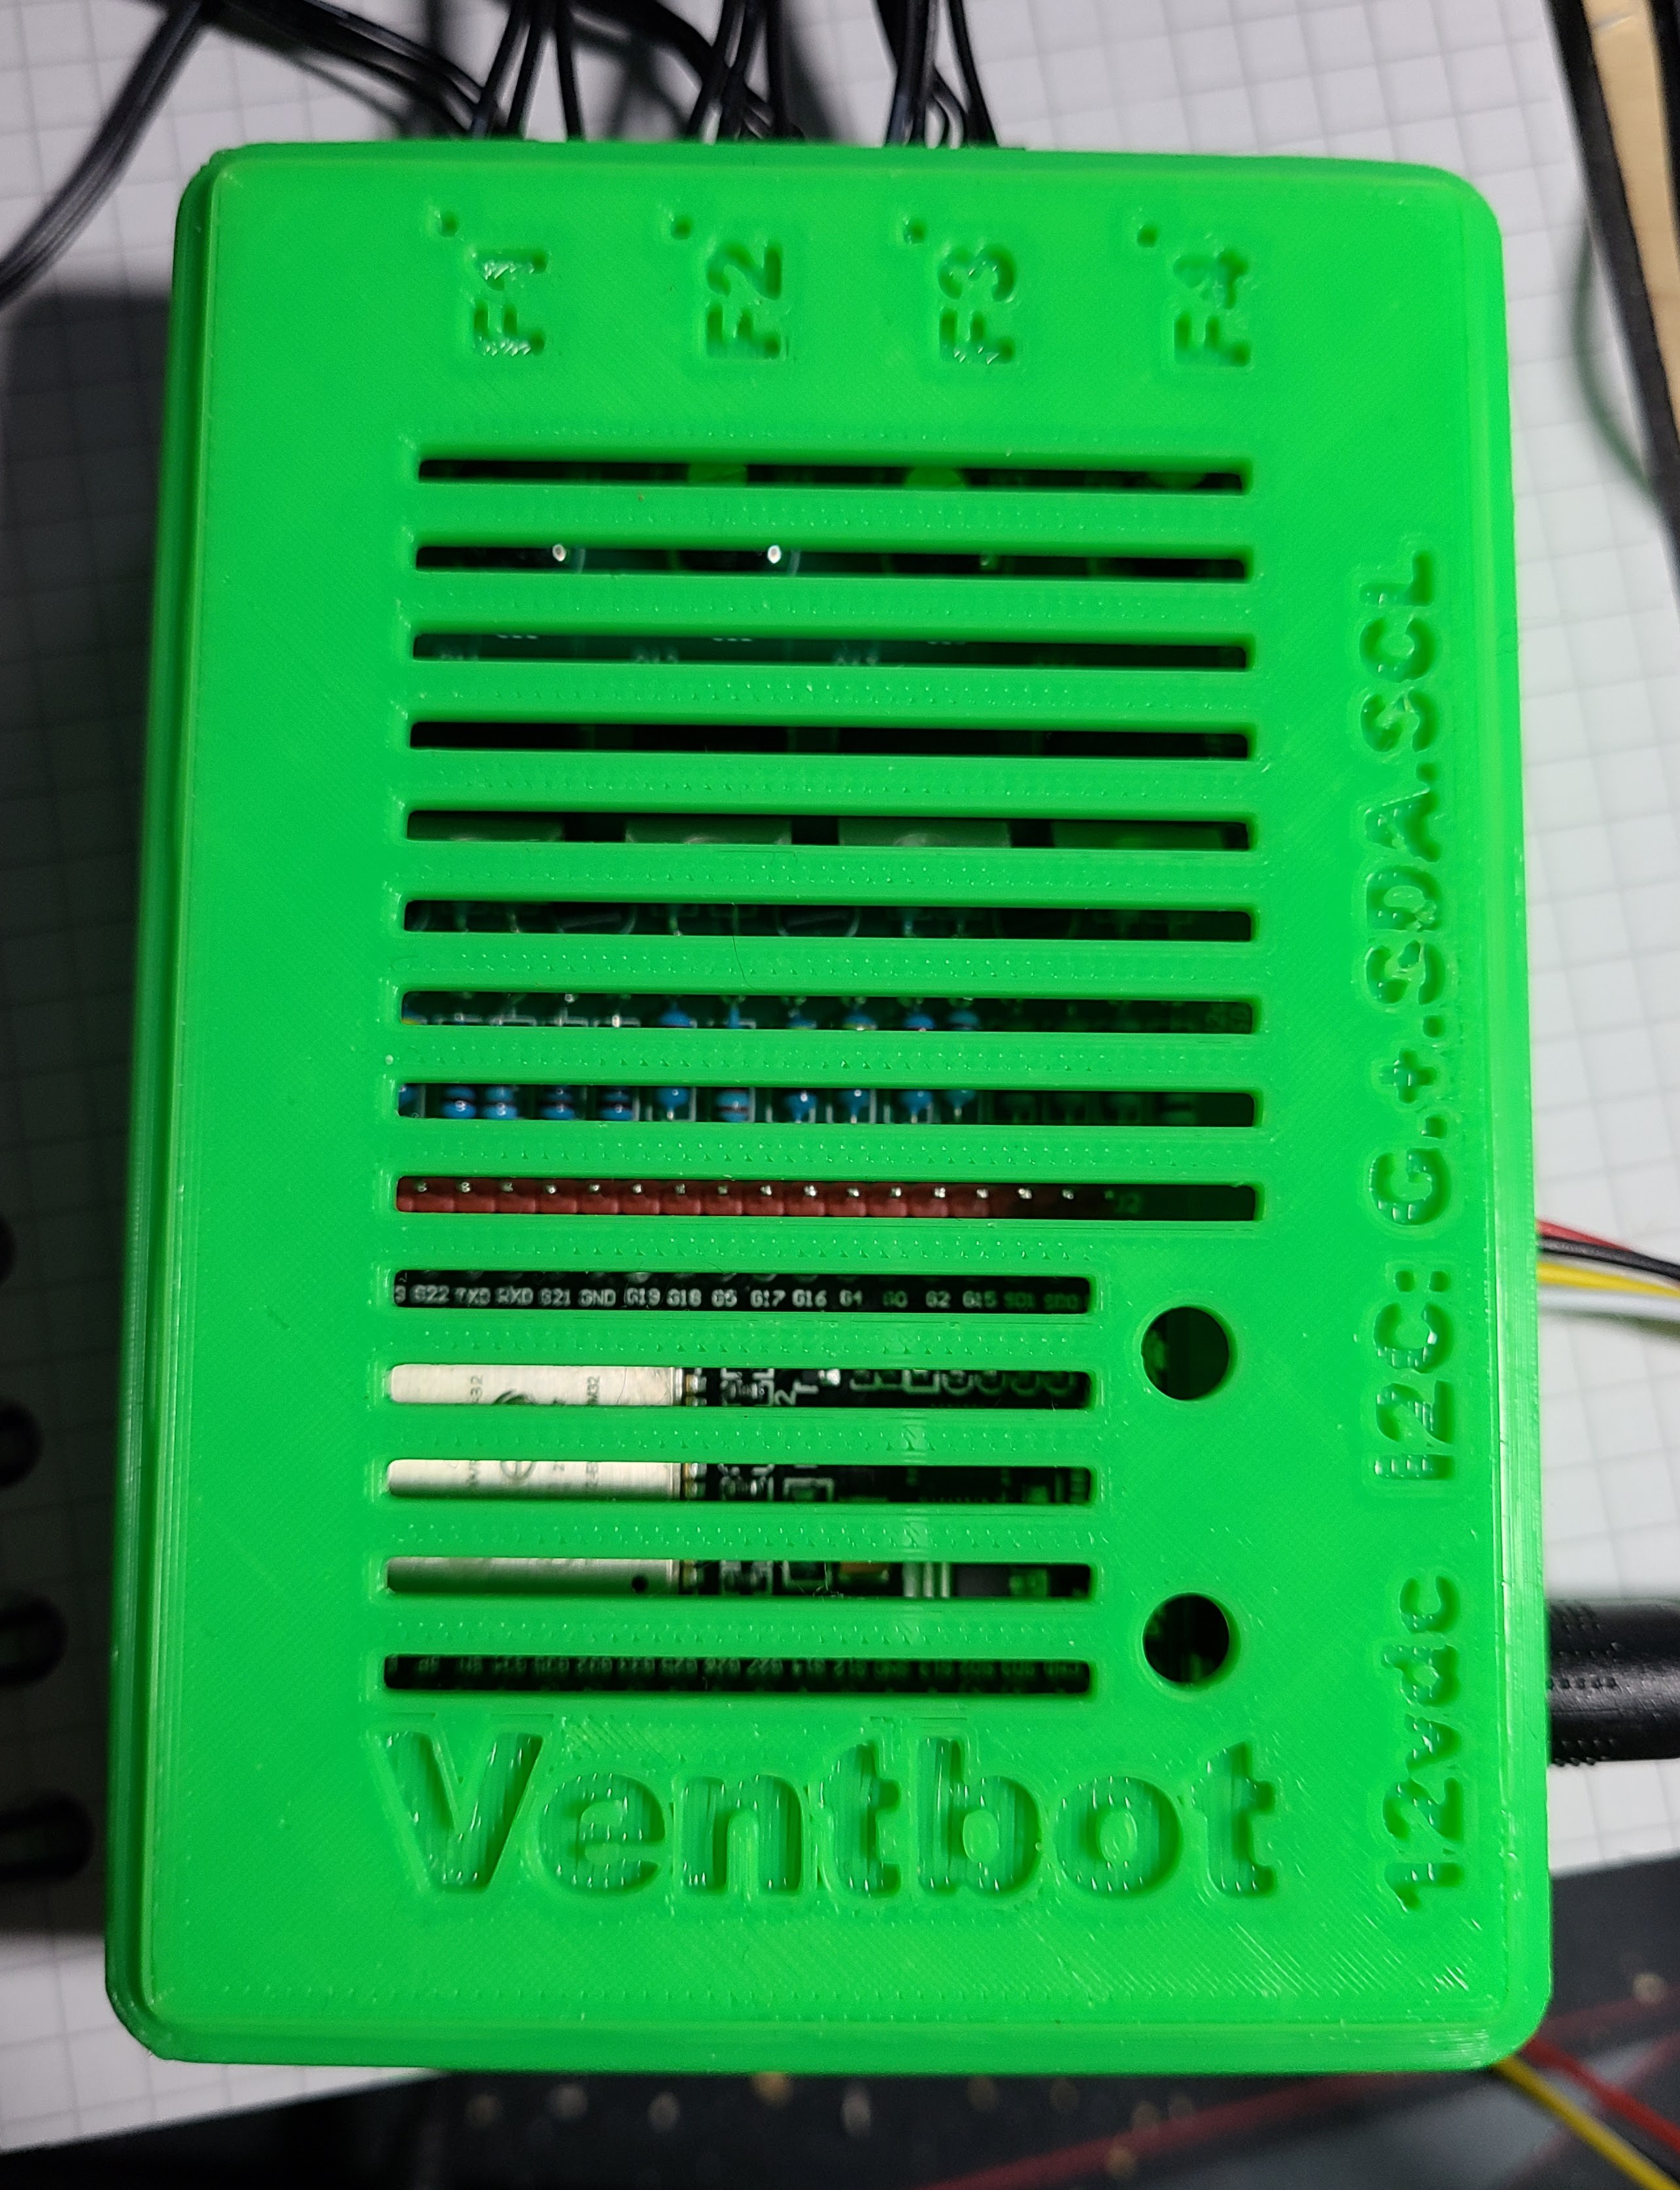
On the top, in addition to some text, I also put some grillwork. I don't think it's needed for ventilation, but it was easy to do and looks pretty nice. I also put a couple of small holes to allow pushing the ESP32 buttons when the enclosure is snapped shut. A thin TORX screwdriver is good for that since the flat nose helps you find and press the buttons. (One of the buttons is the reset button, which obvious behavior. The other button is configured in the firmware to let you temporarily toggle the fans on or off for testing. You can do a similar thing with Home Assistant integration.)
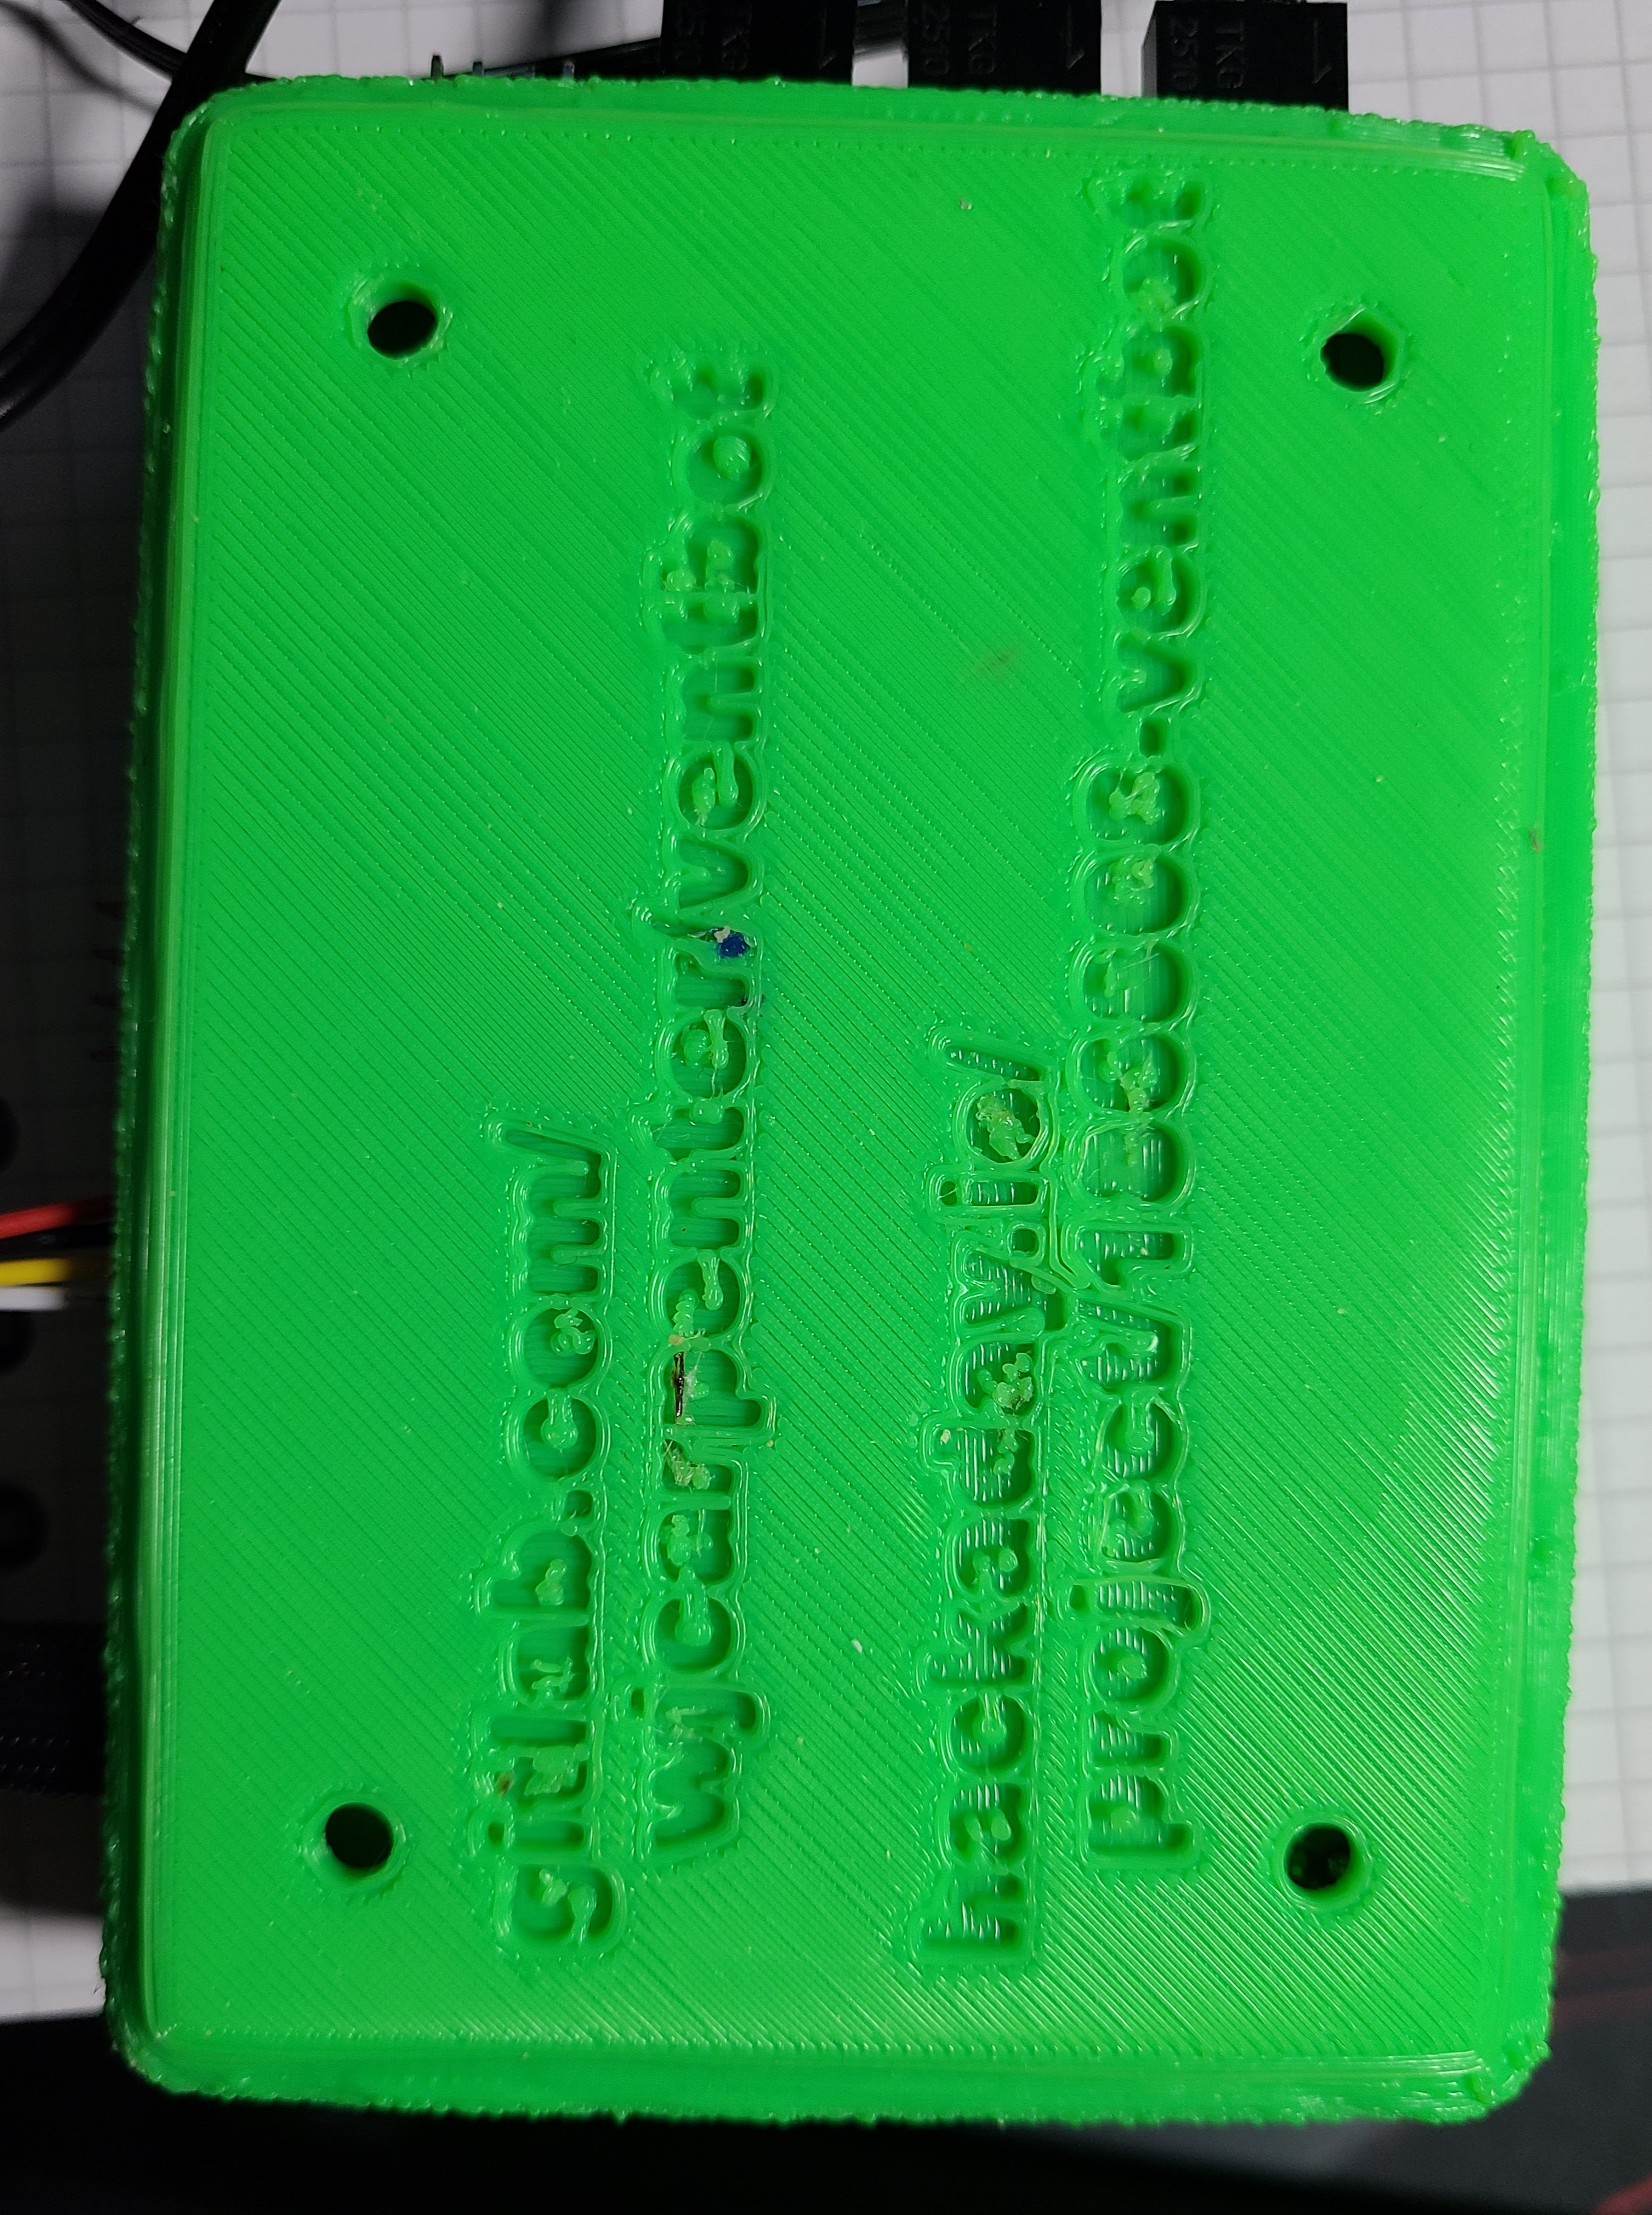
On the bottom of the enclosure, I wrote the URLs for this Hackaday project and the gitlab repo where the design files live. I don't think I am likely to ever lose track of that information, but I know I often lose track of that sort of thing after a couple of years on equipment and components I get from random sources. The URLs on the case are just in case somebody like me builds one and then loses track of me. (The URLs are also silk-screened on the PCB, but that's the kind of thing I might forget to look at after a couple of years.)
There are some "poke holes" in the bottom to help get the PCB back out of the enclosure. I wrecked a couple of trial iterations of the base by prying the board back out with a tool. With the poke holes, you jam that same TORX screwdriver in and push the PCB up from underneath.
Discussions
Become a Hackaday.io Member
Create an account to leave a comment. Already have an account? Log In.