selena1995
Supplies
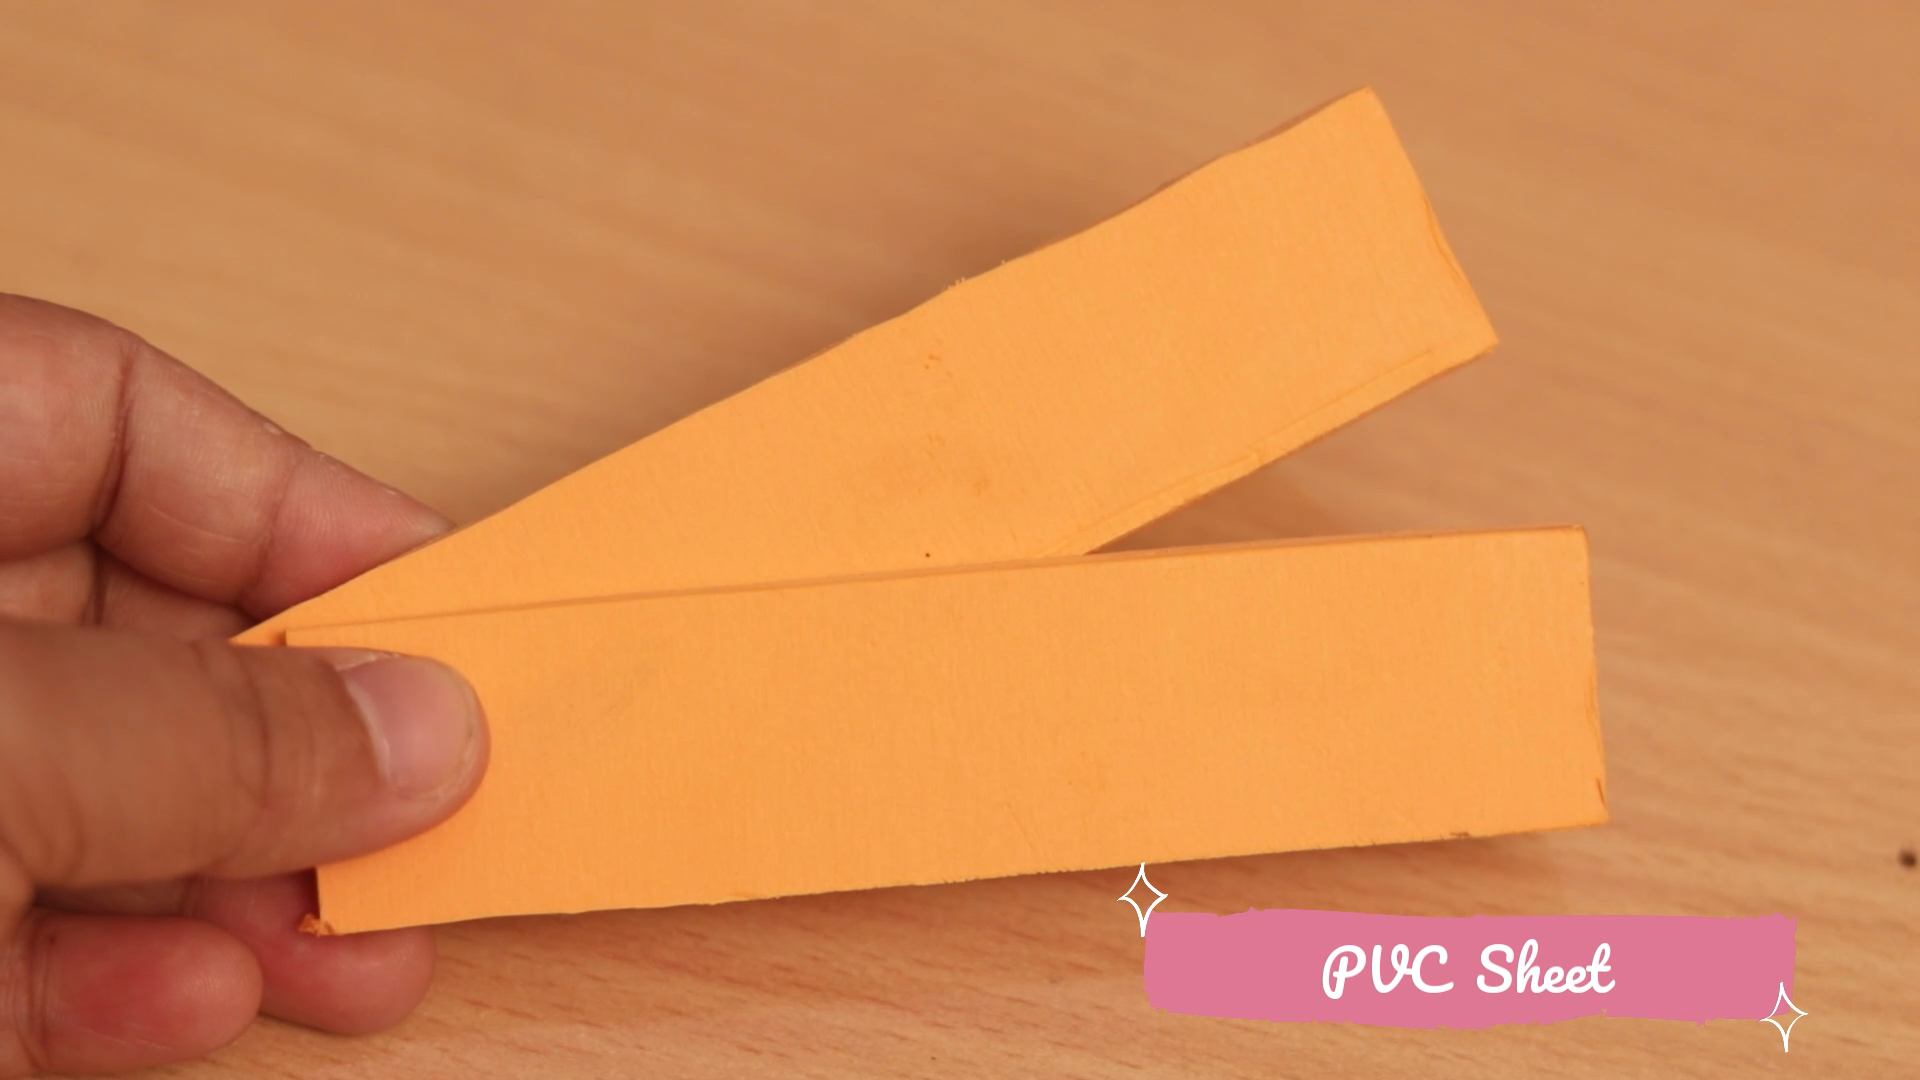
To make this, the following Components will be needed
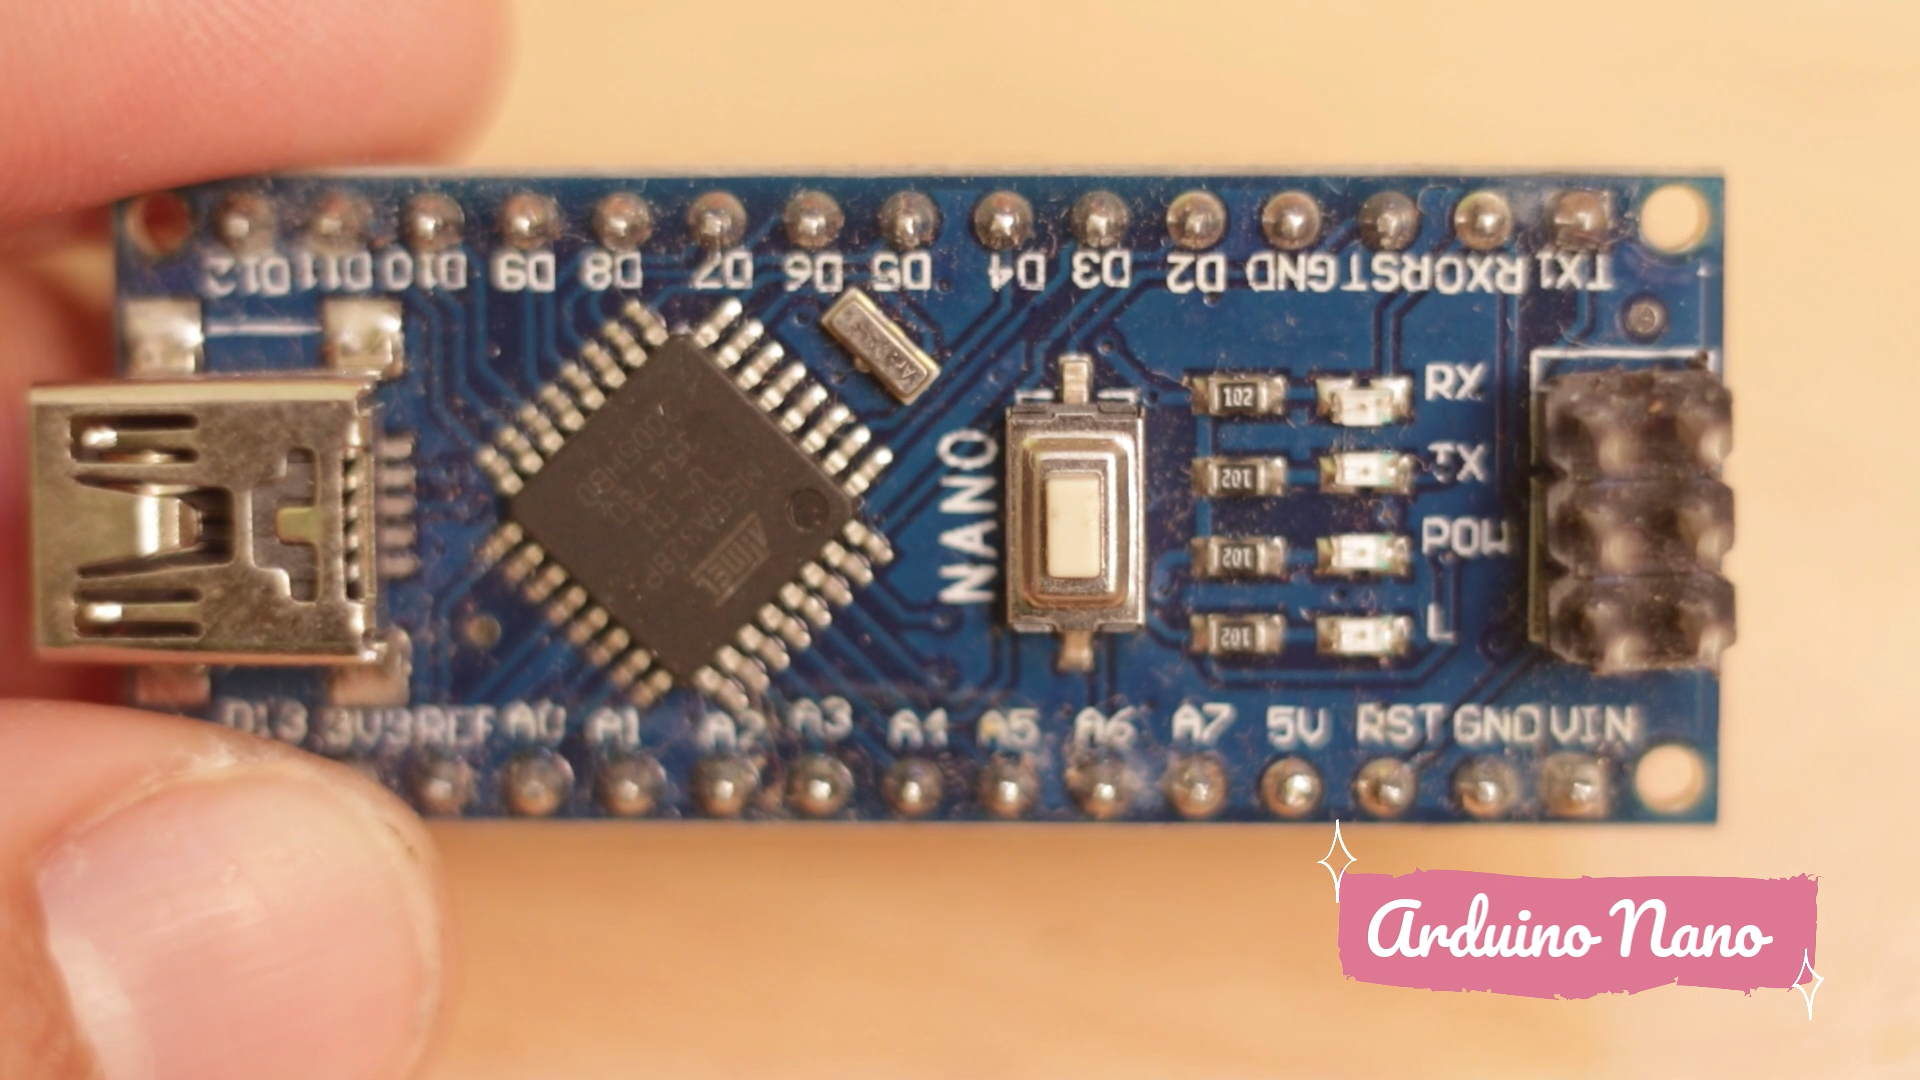
- Arduino Nano
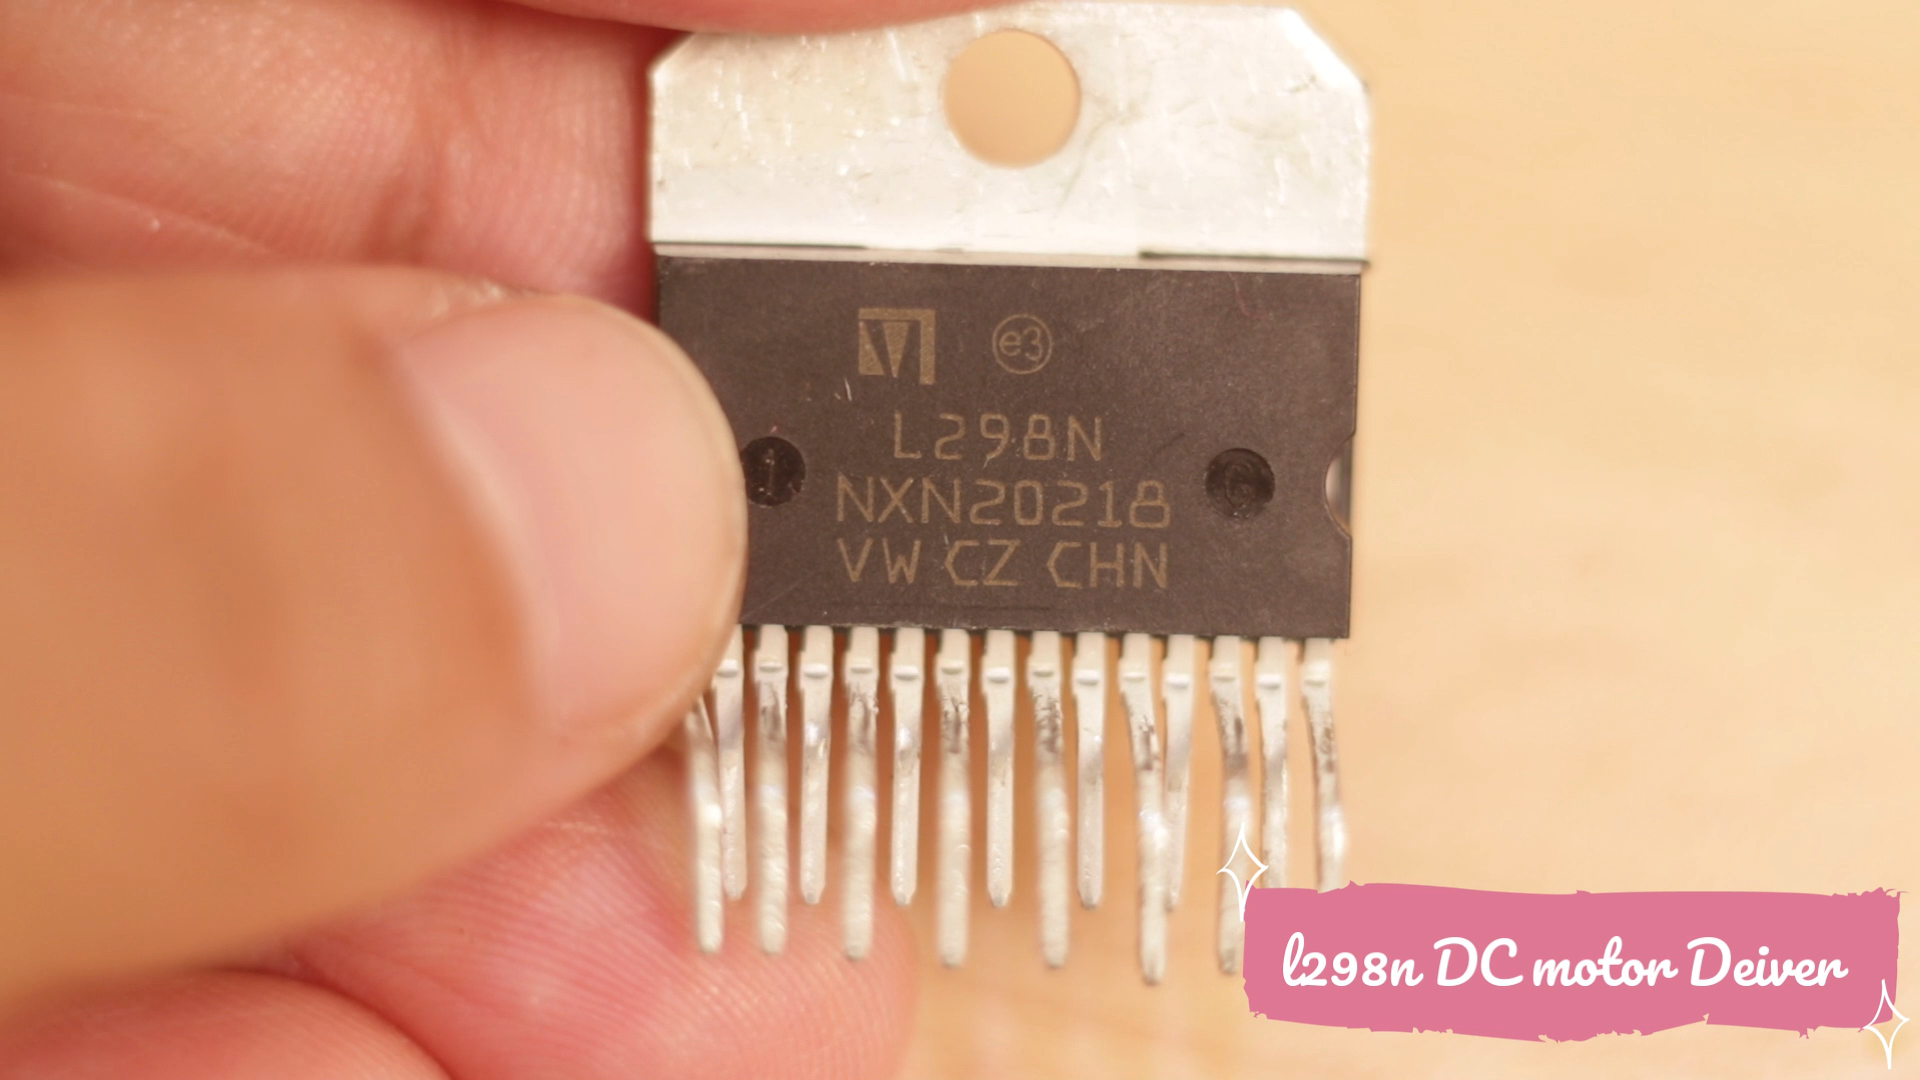
- L293D Motor Driver
- capacitors
- resistors
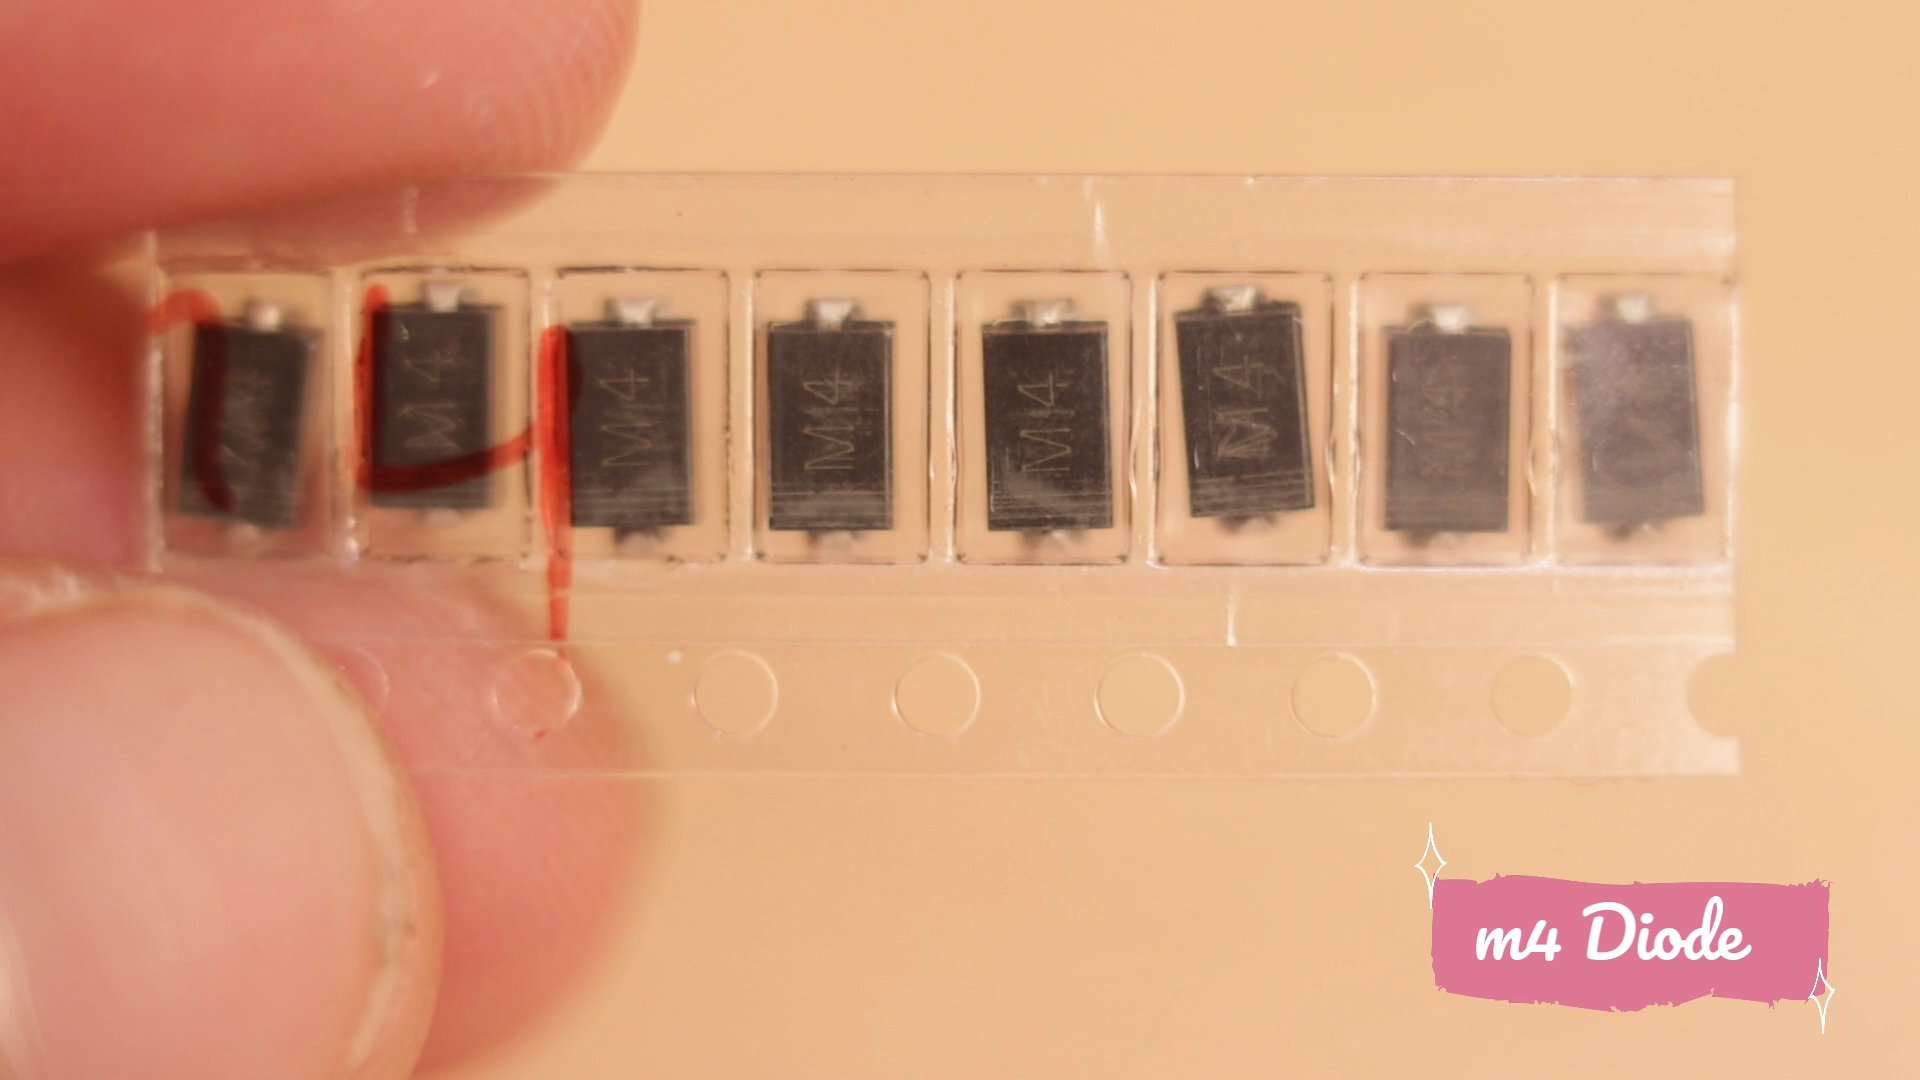
- diode
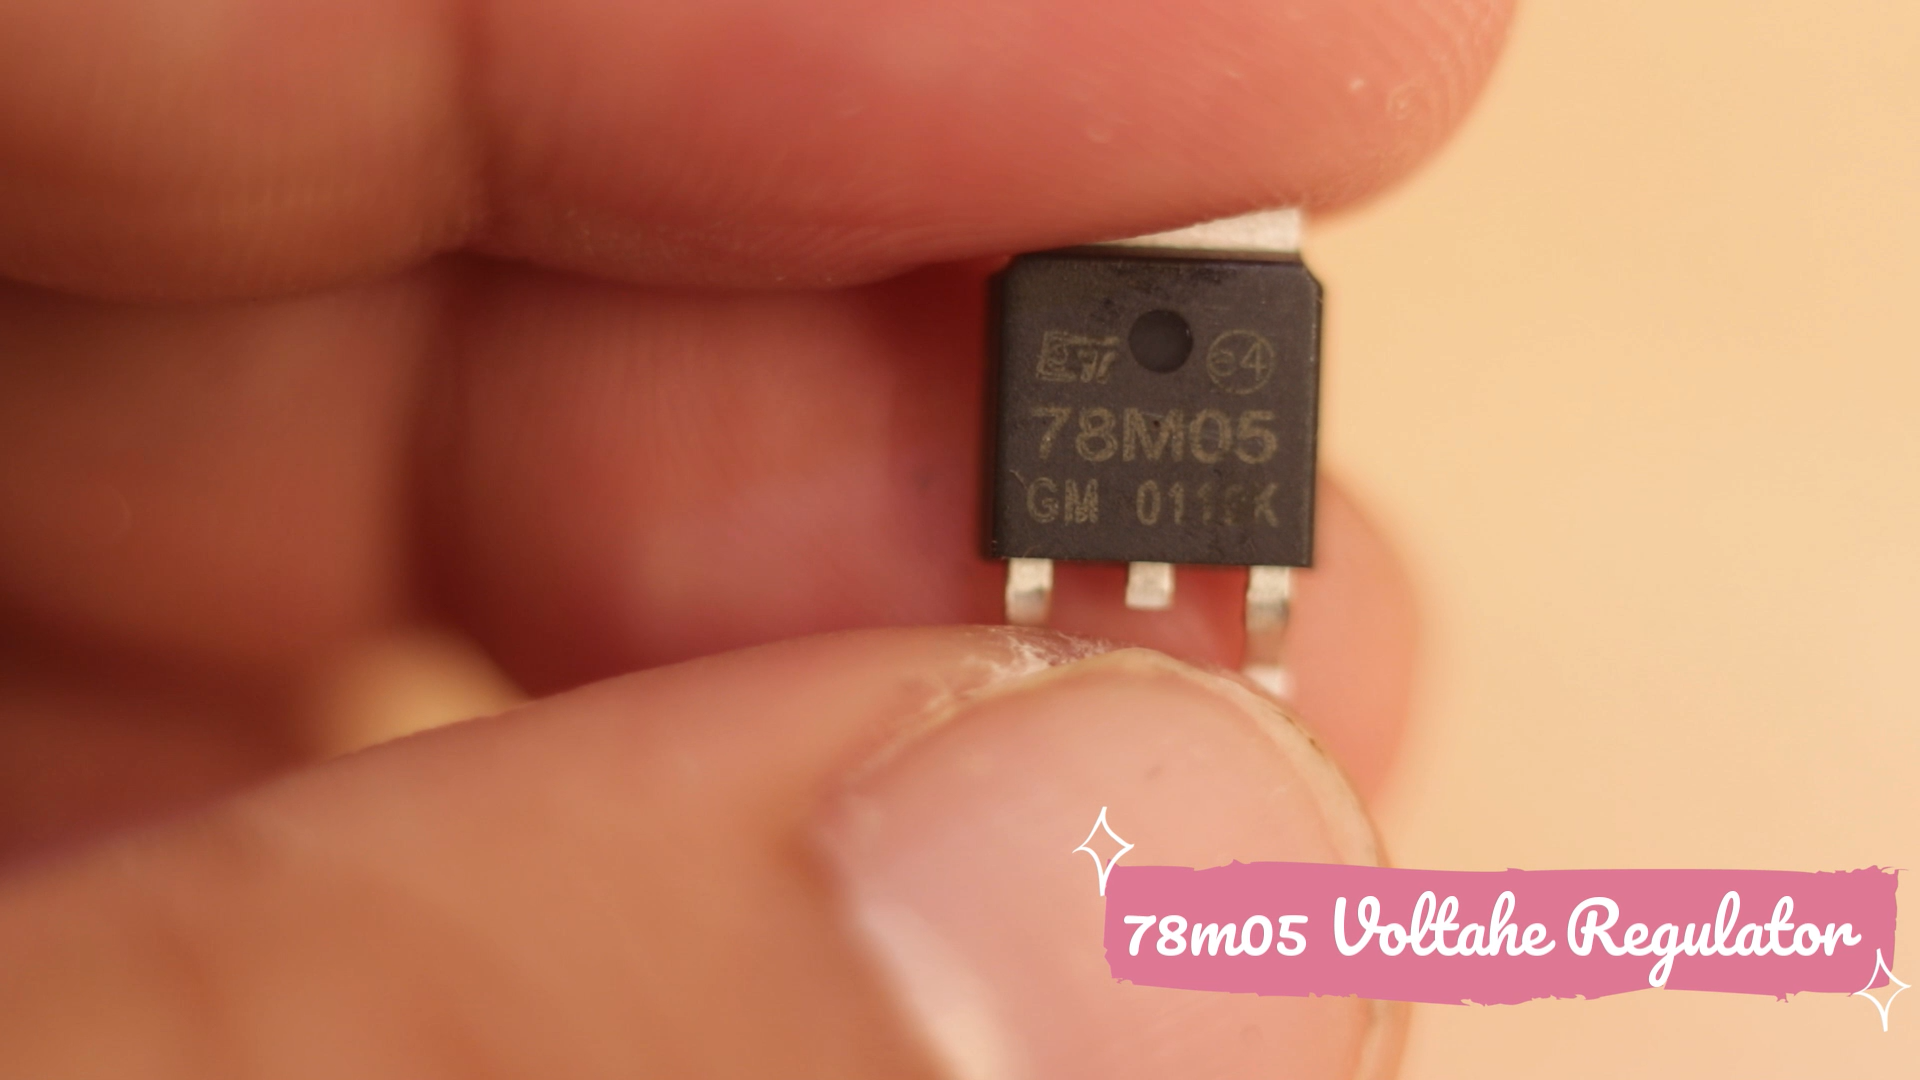
- Voltage Regulator
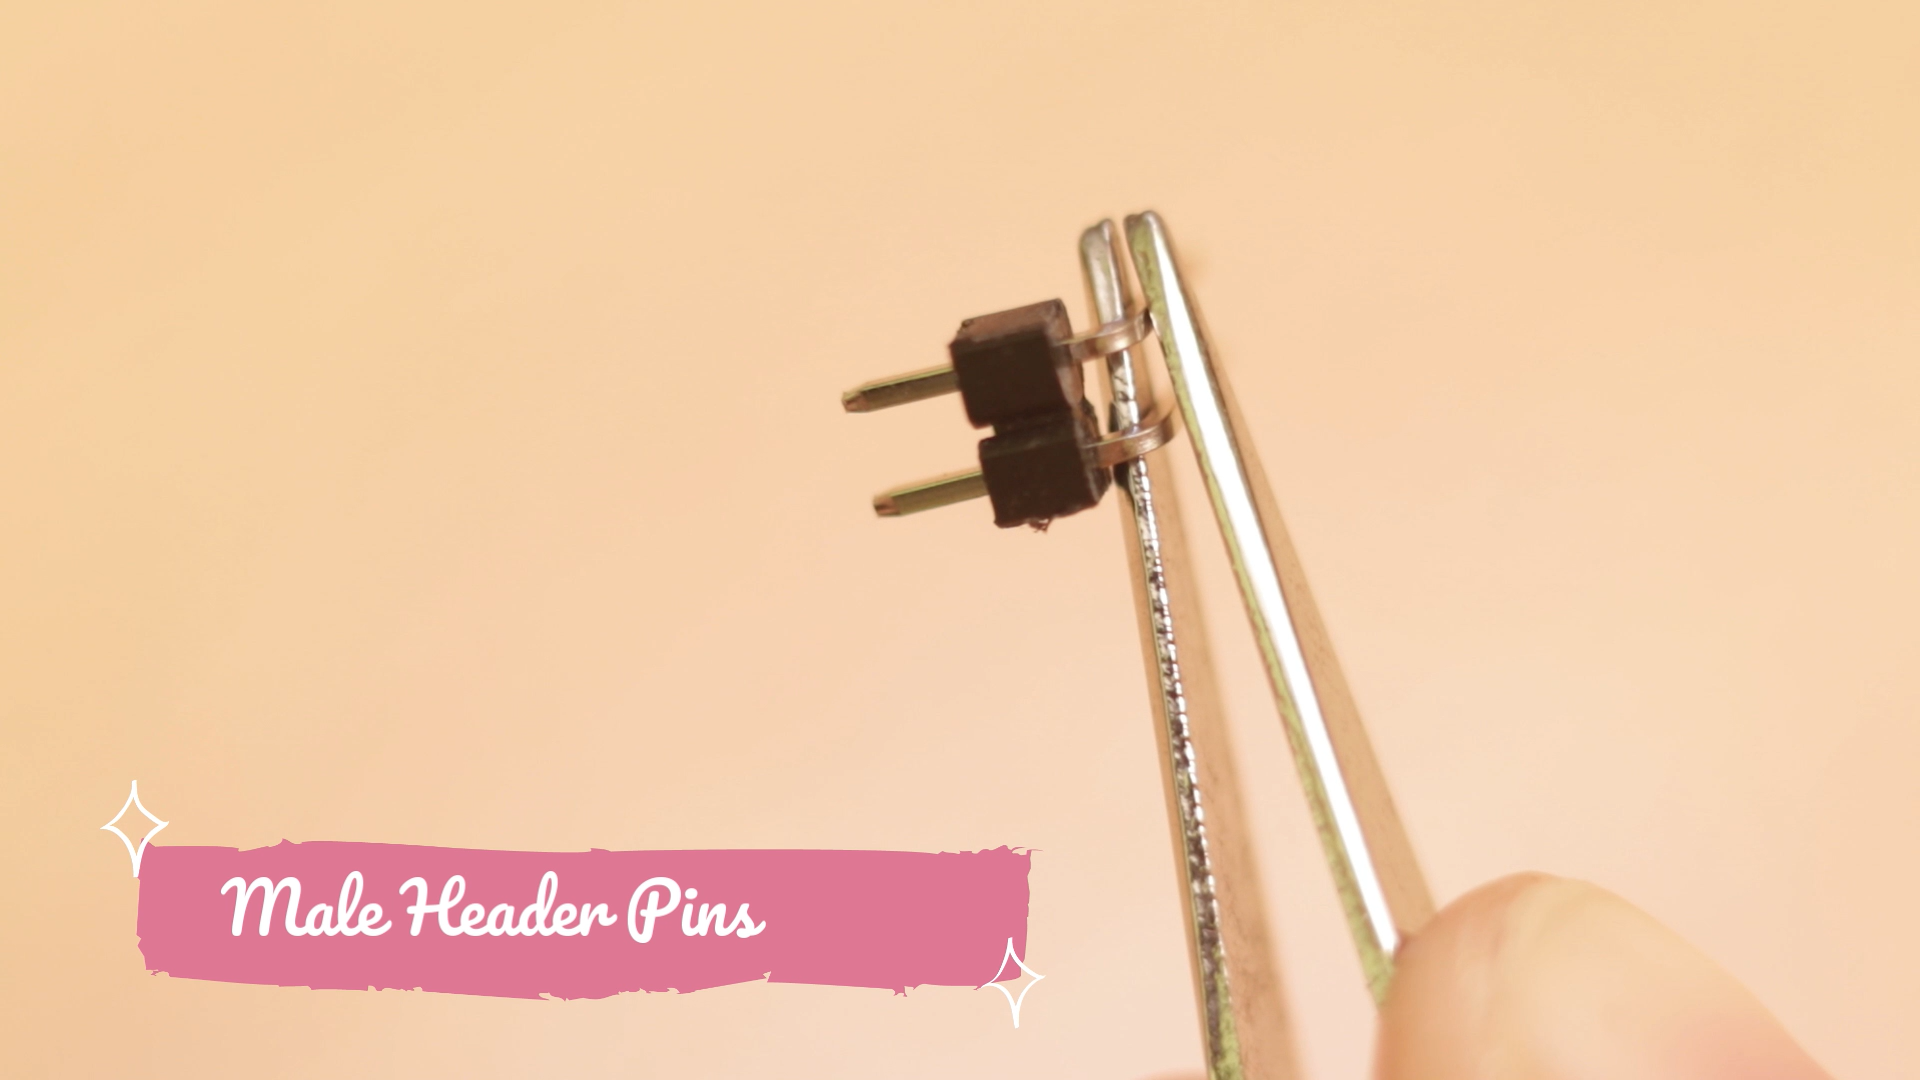
- Male Header Pin
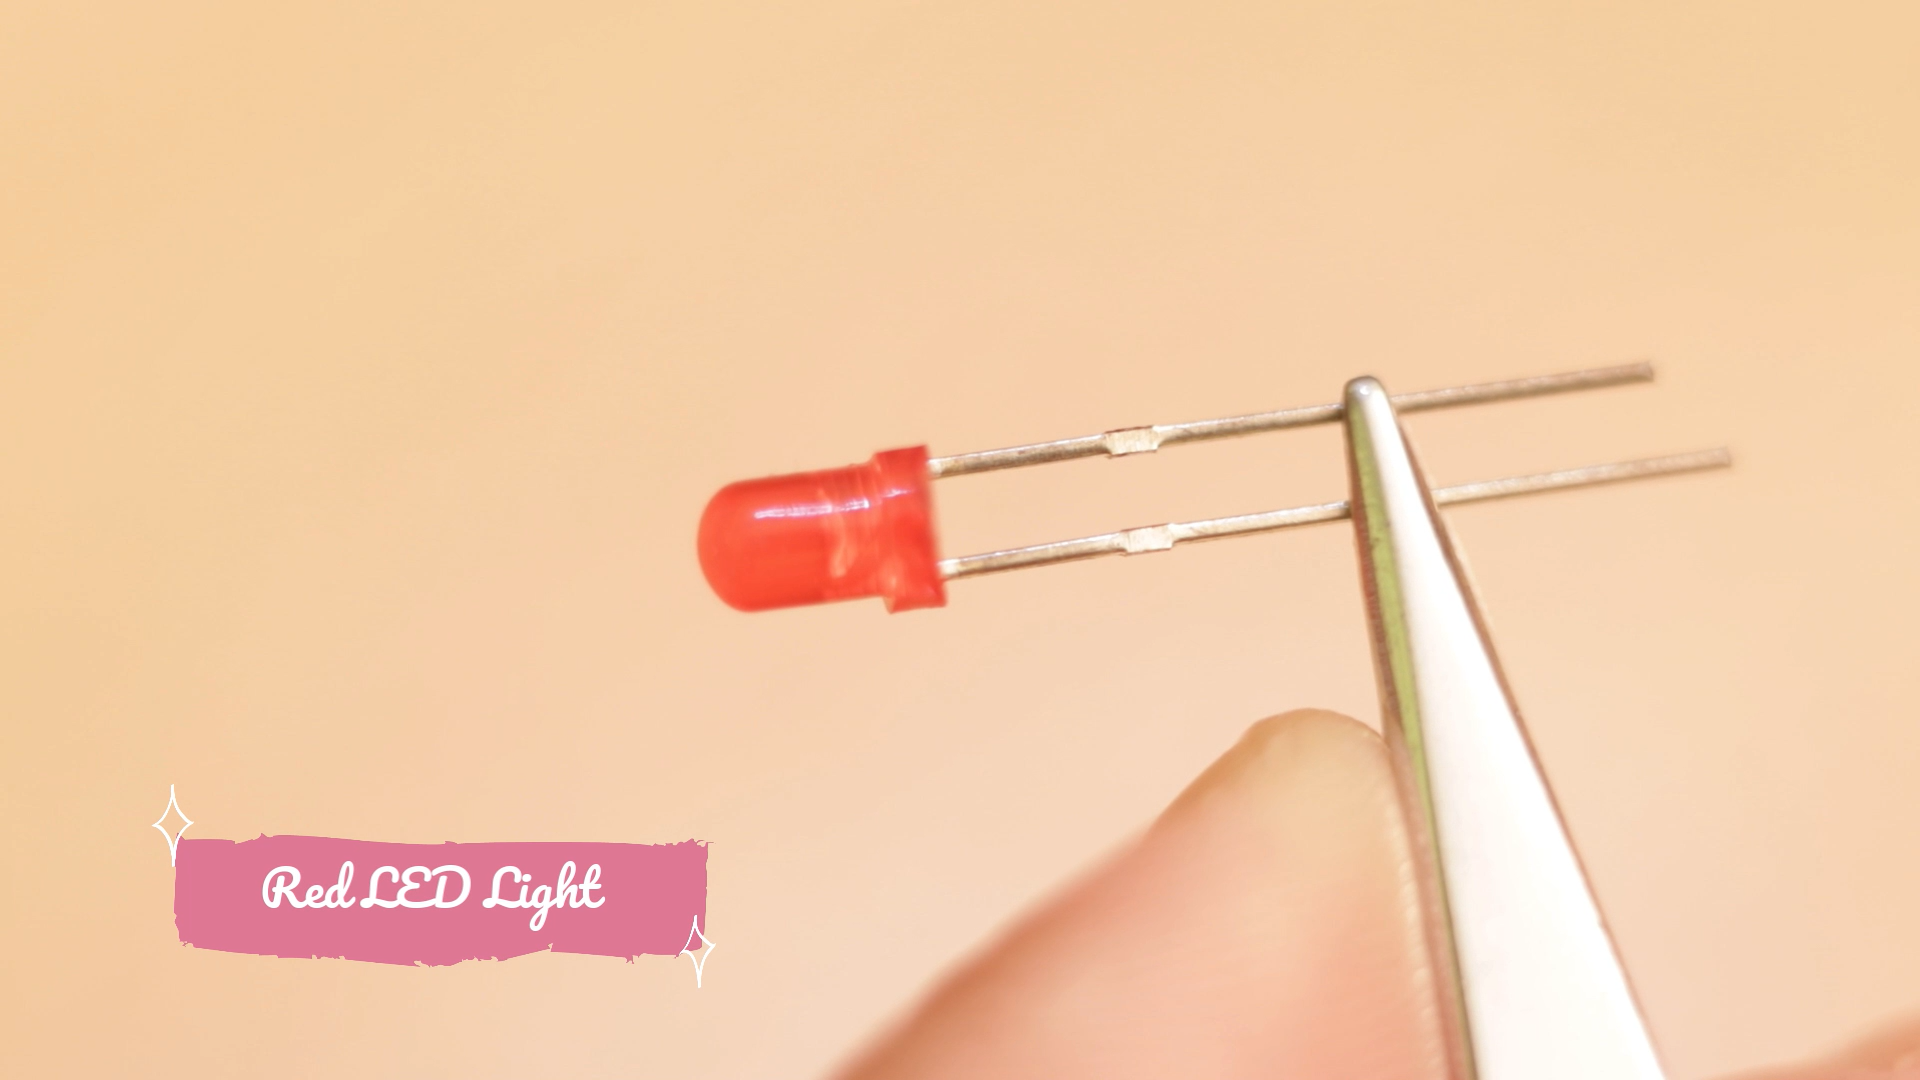
- LED
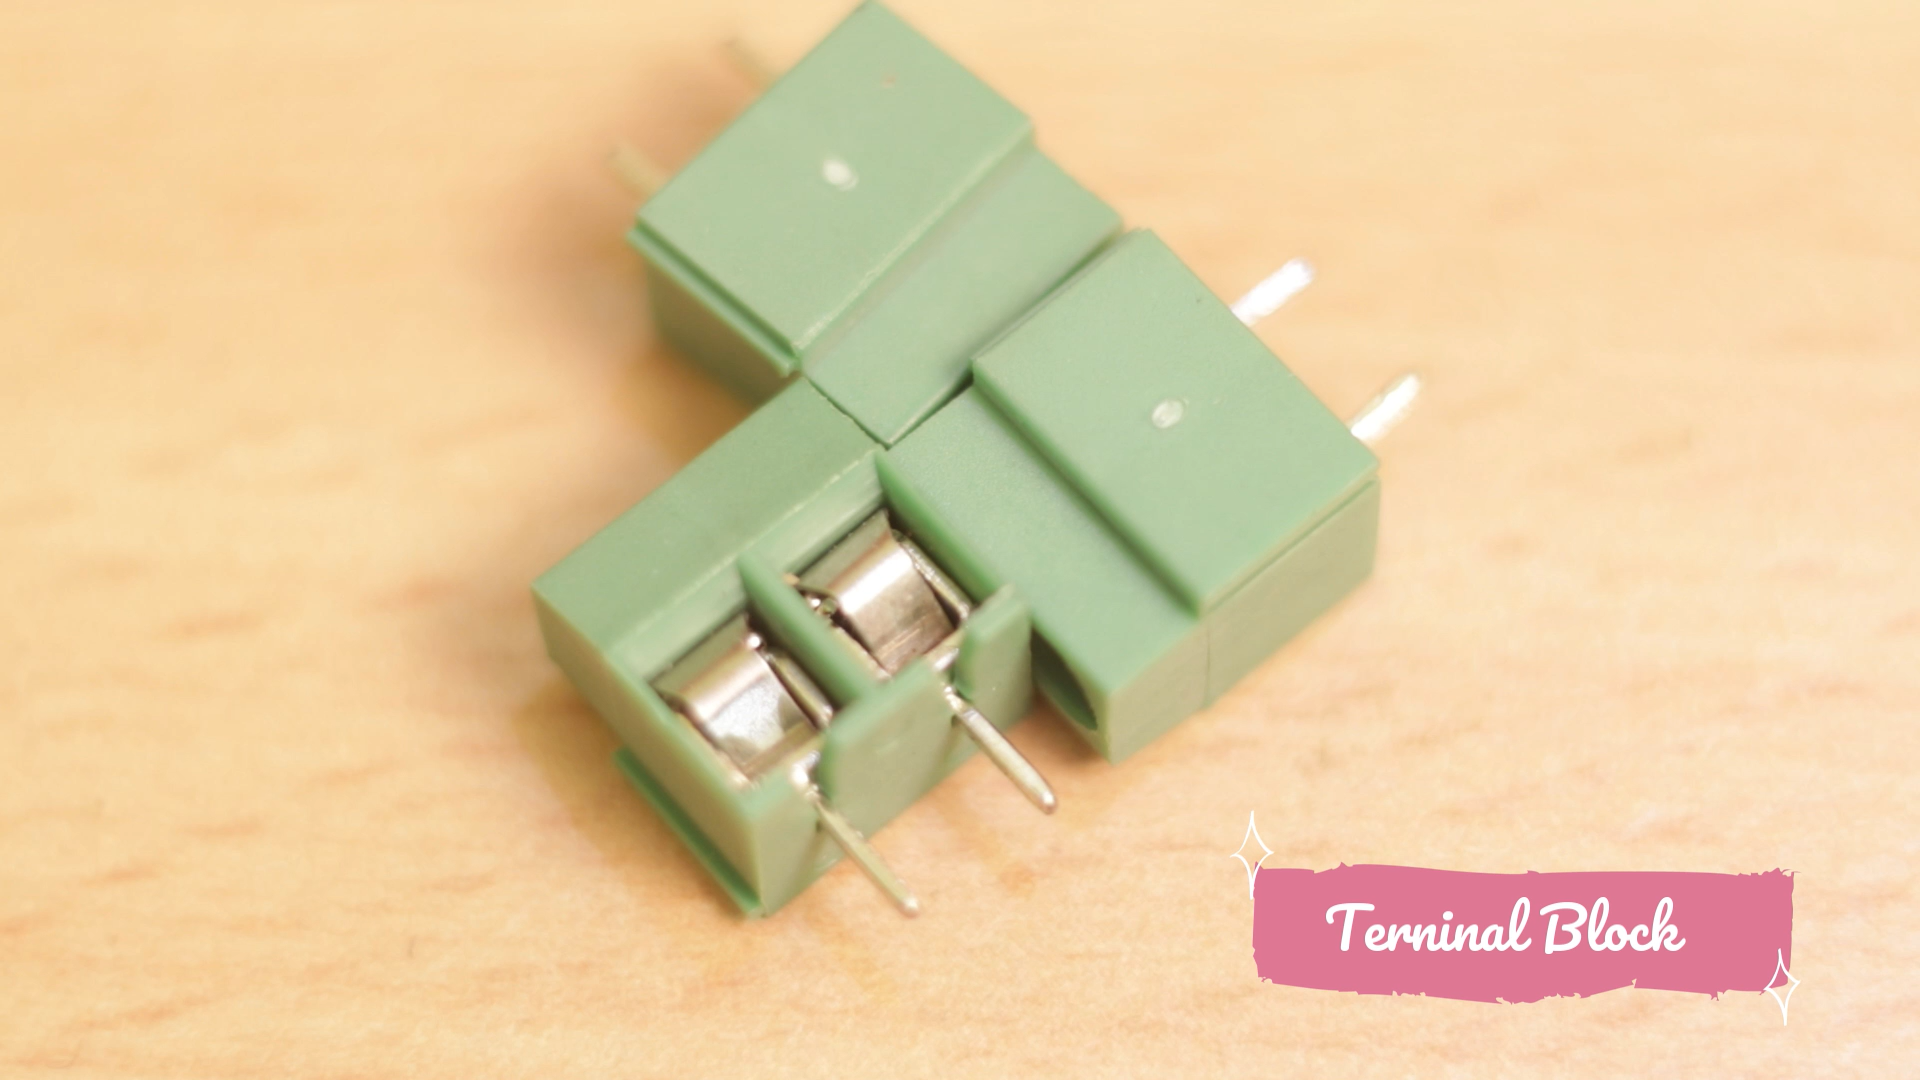
- Terminal Block
- DC Motor
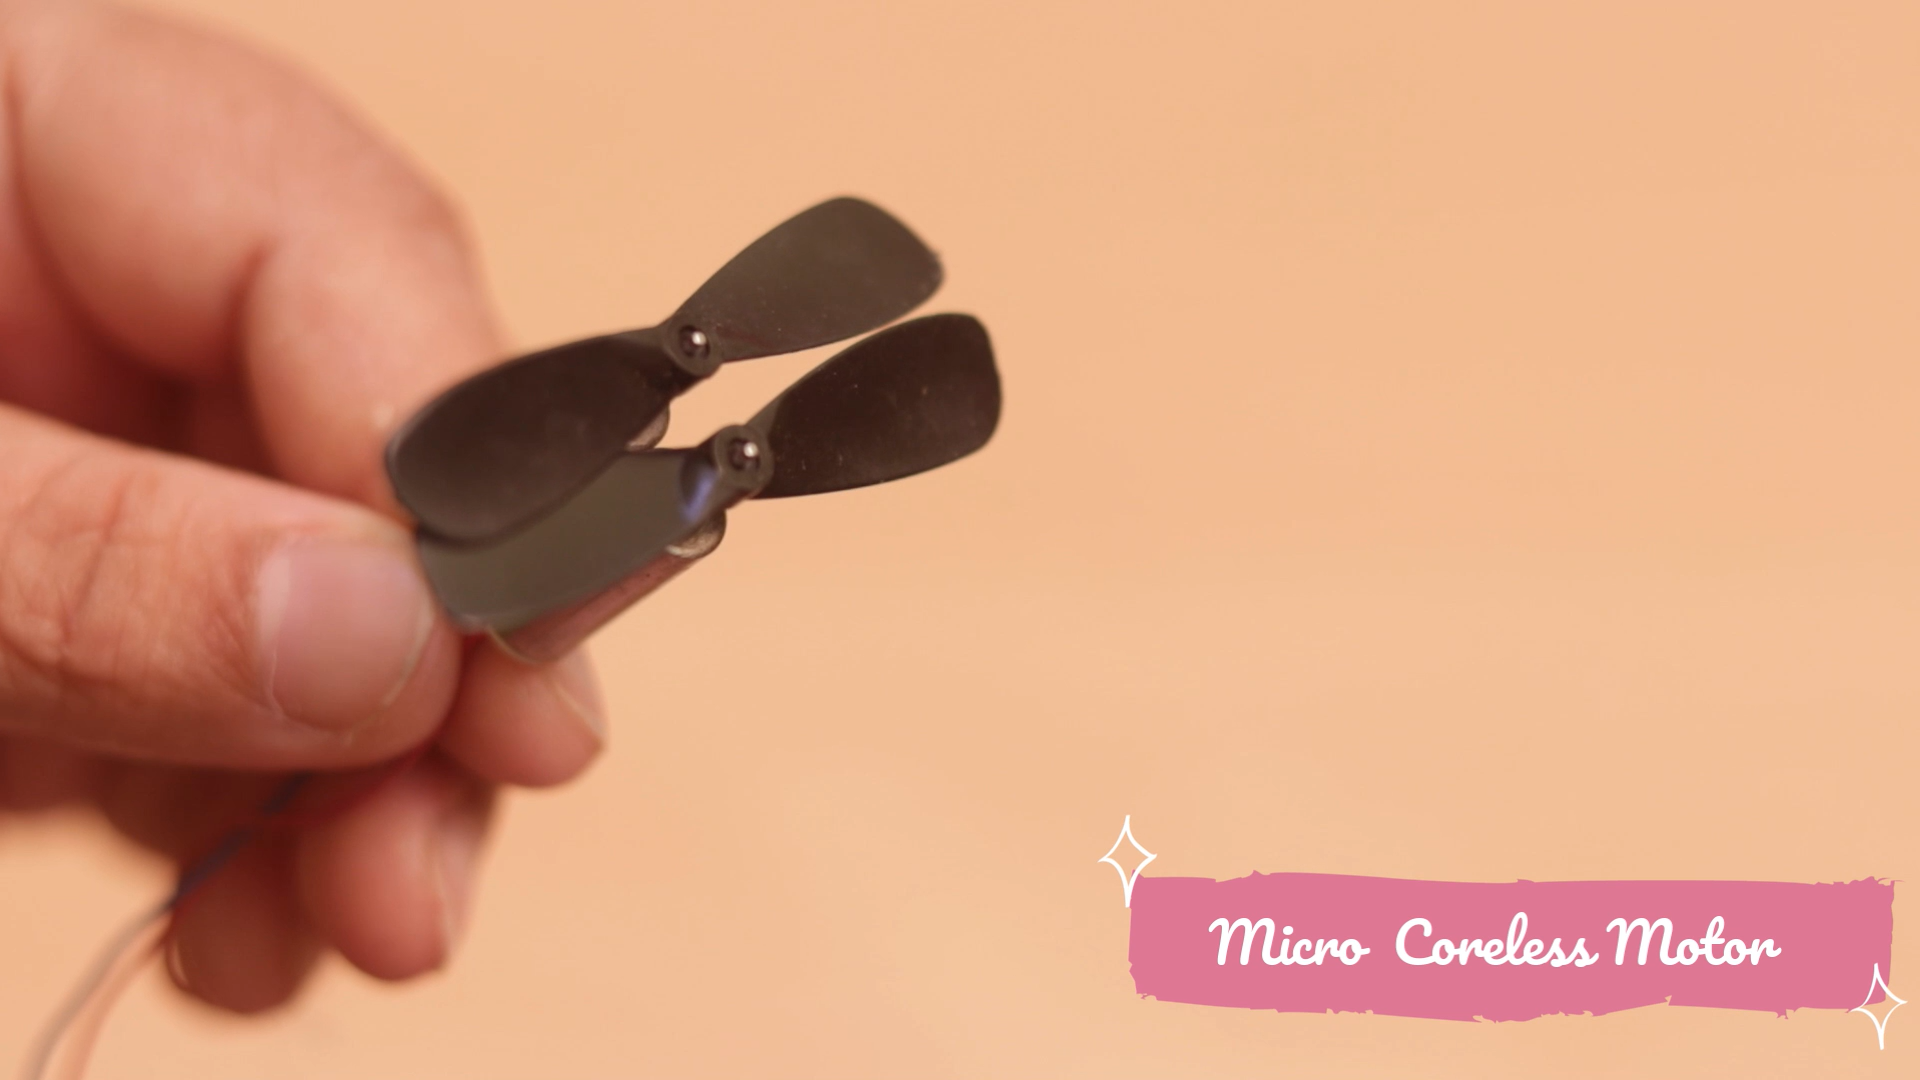
- Micro Coreless Motors
- Propellers
- PCB Board

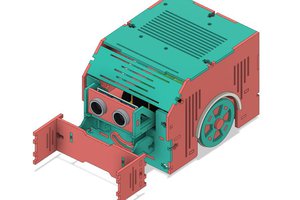
WHY DO WE NEED a FLYING CAR?
Flying cars could help reduce congestion on the roads and emissions from ground transport, and lower the risk of road accidents. A more immediate use for flying cars could be in improving emergency services such as ambulances, fire engines, and so forth.
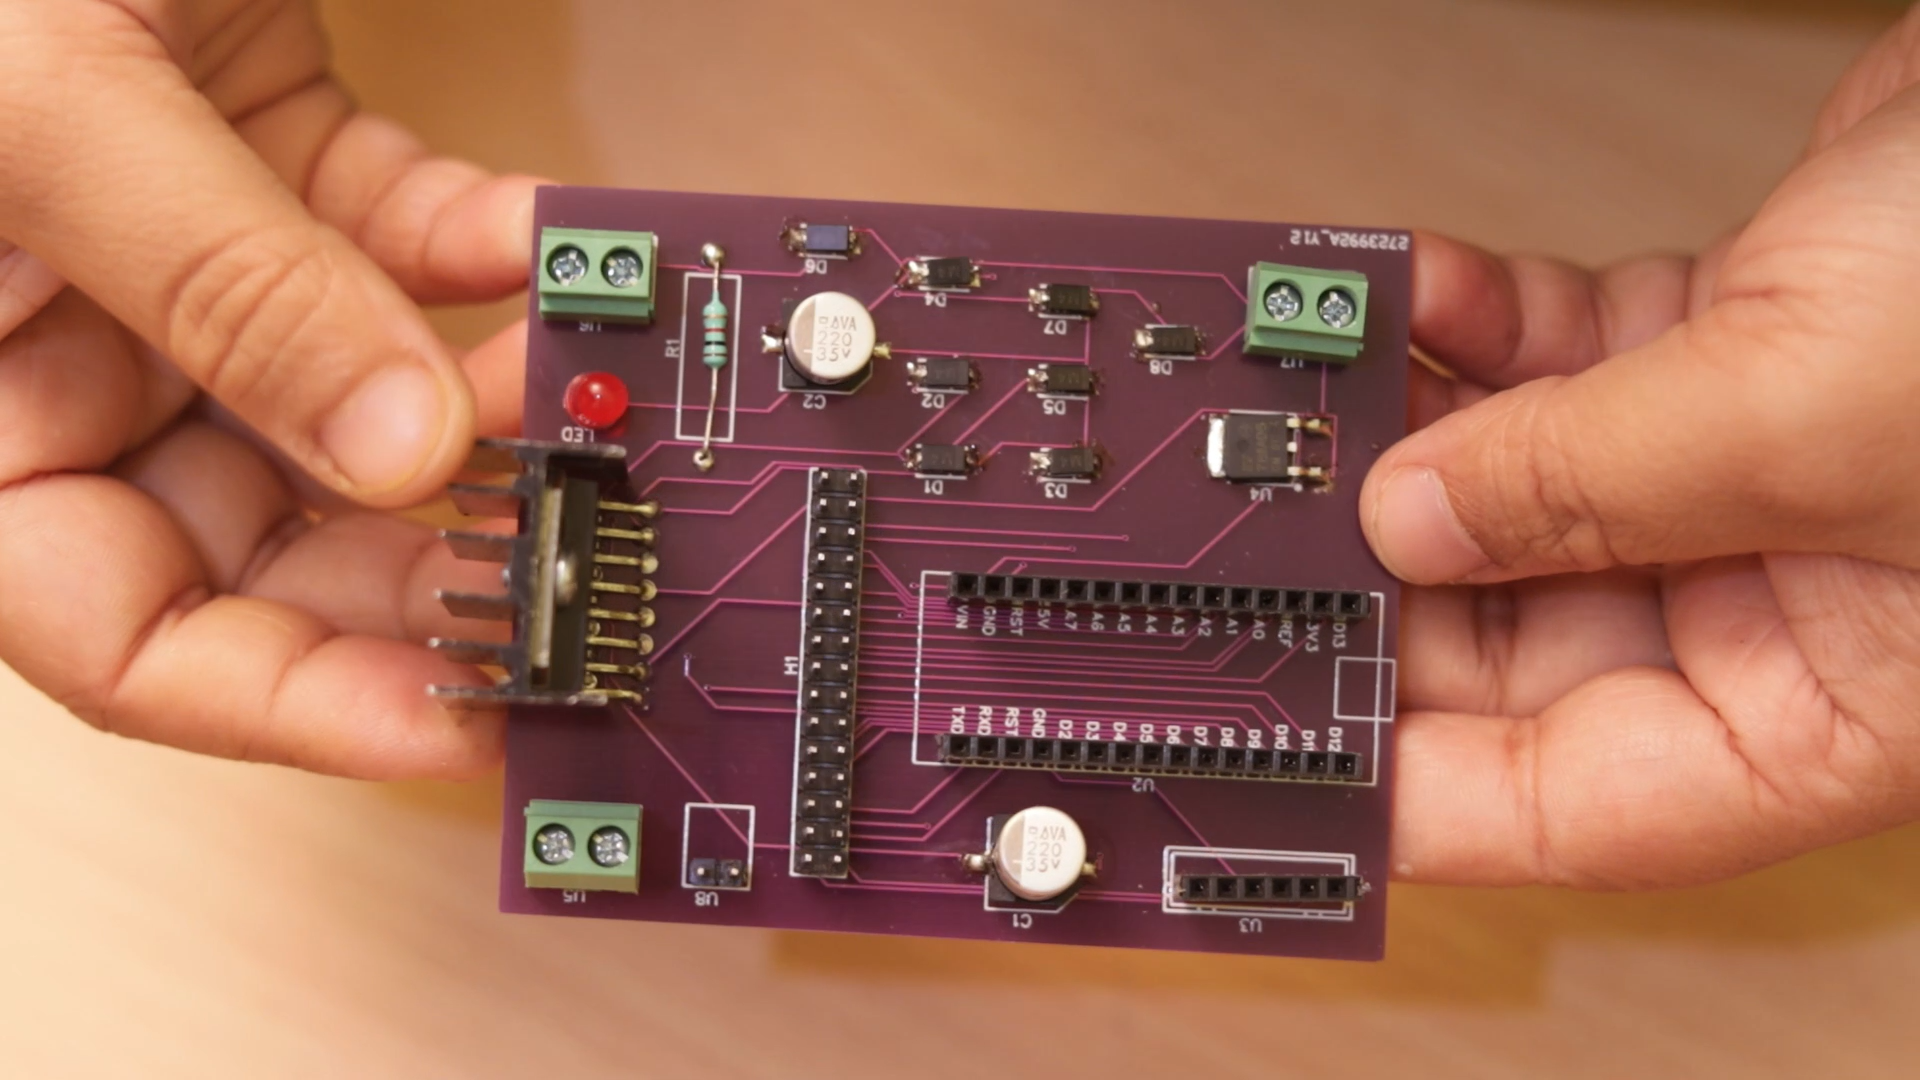
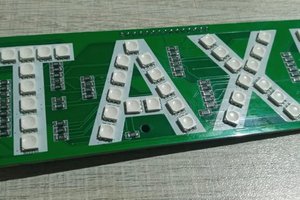
PCB MAKING

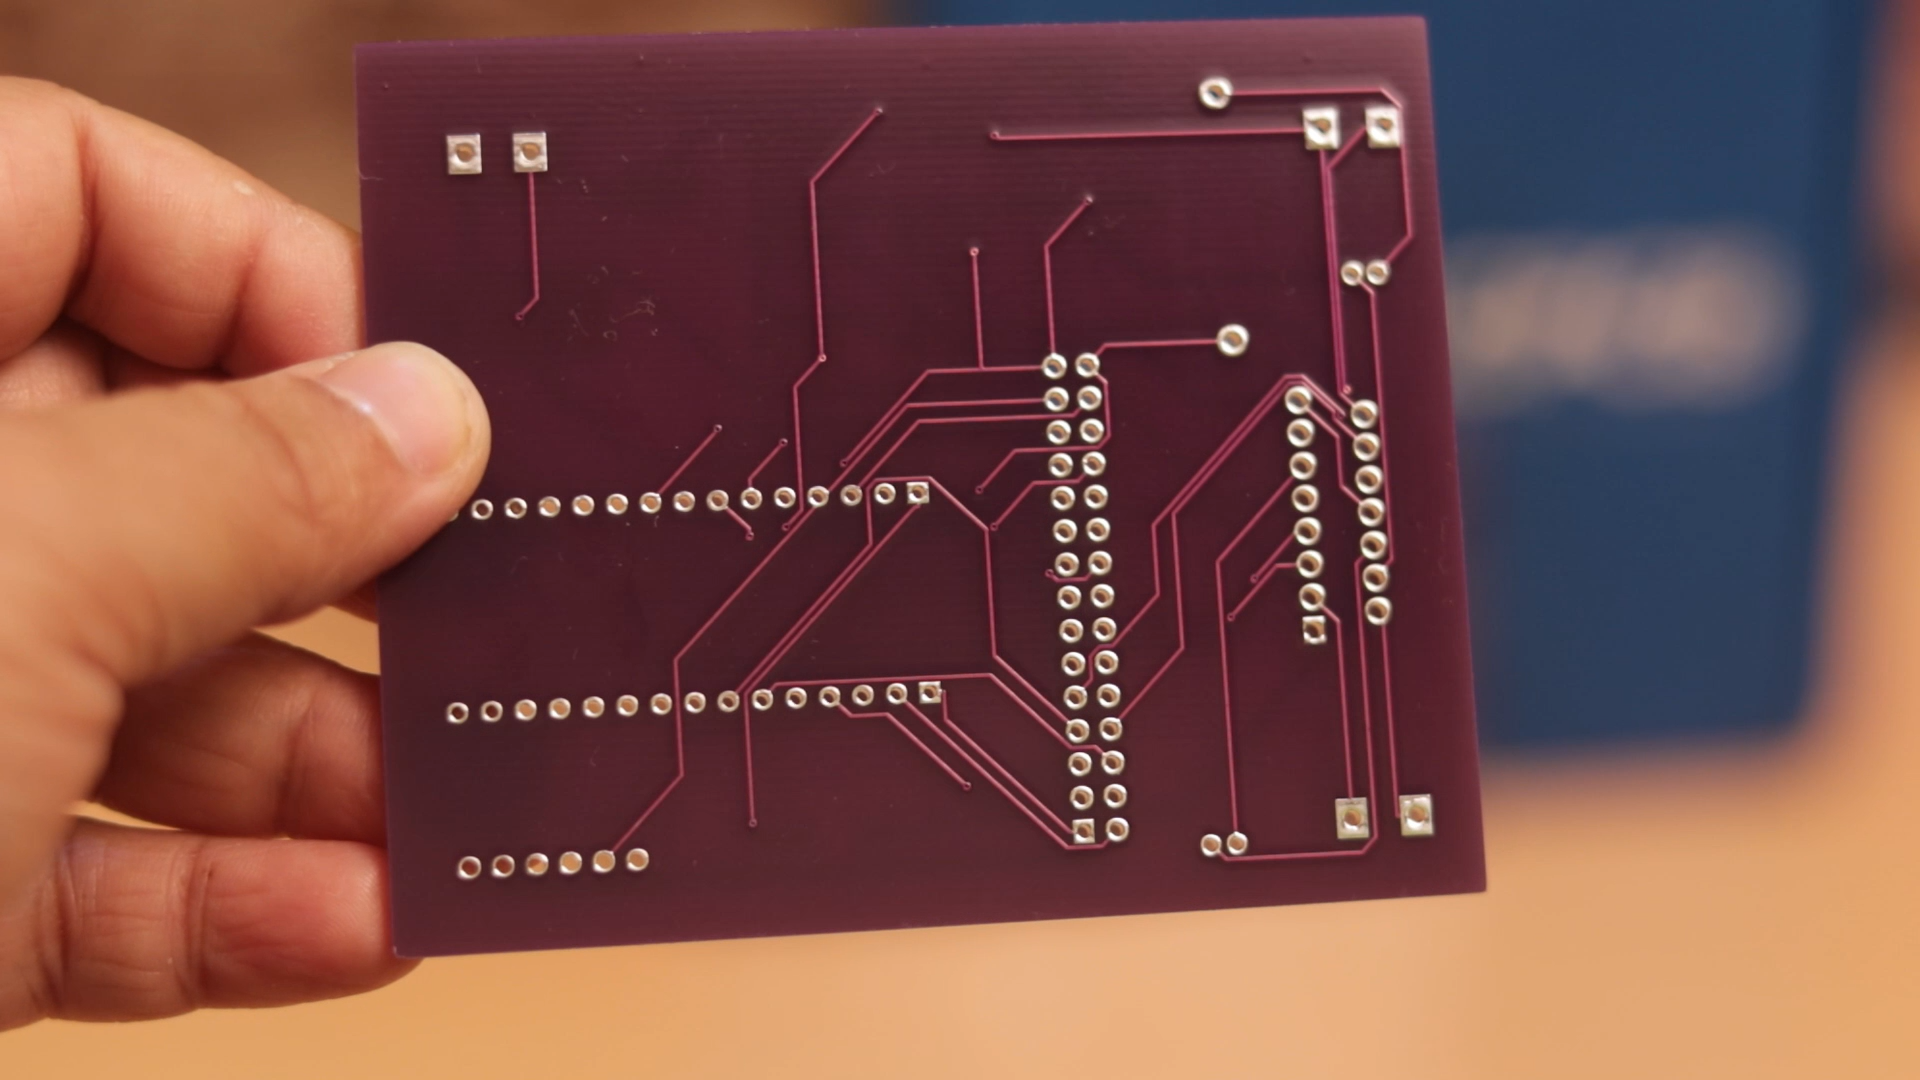

I almost always prefer to make PCB while making a robot.
Obviously, there have some reasons to invest in Customized PCB Boards. A printed circuit board can contain a number of parts and elements. Because they utilize copper tracks rather than actual wires, it allows for the same types of results without using current-carrying wires. The boards are smaller and they are not as bulky.
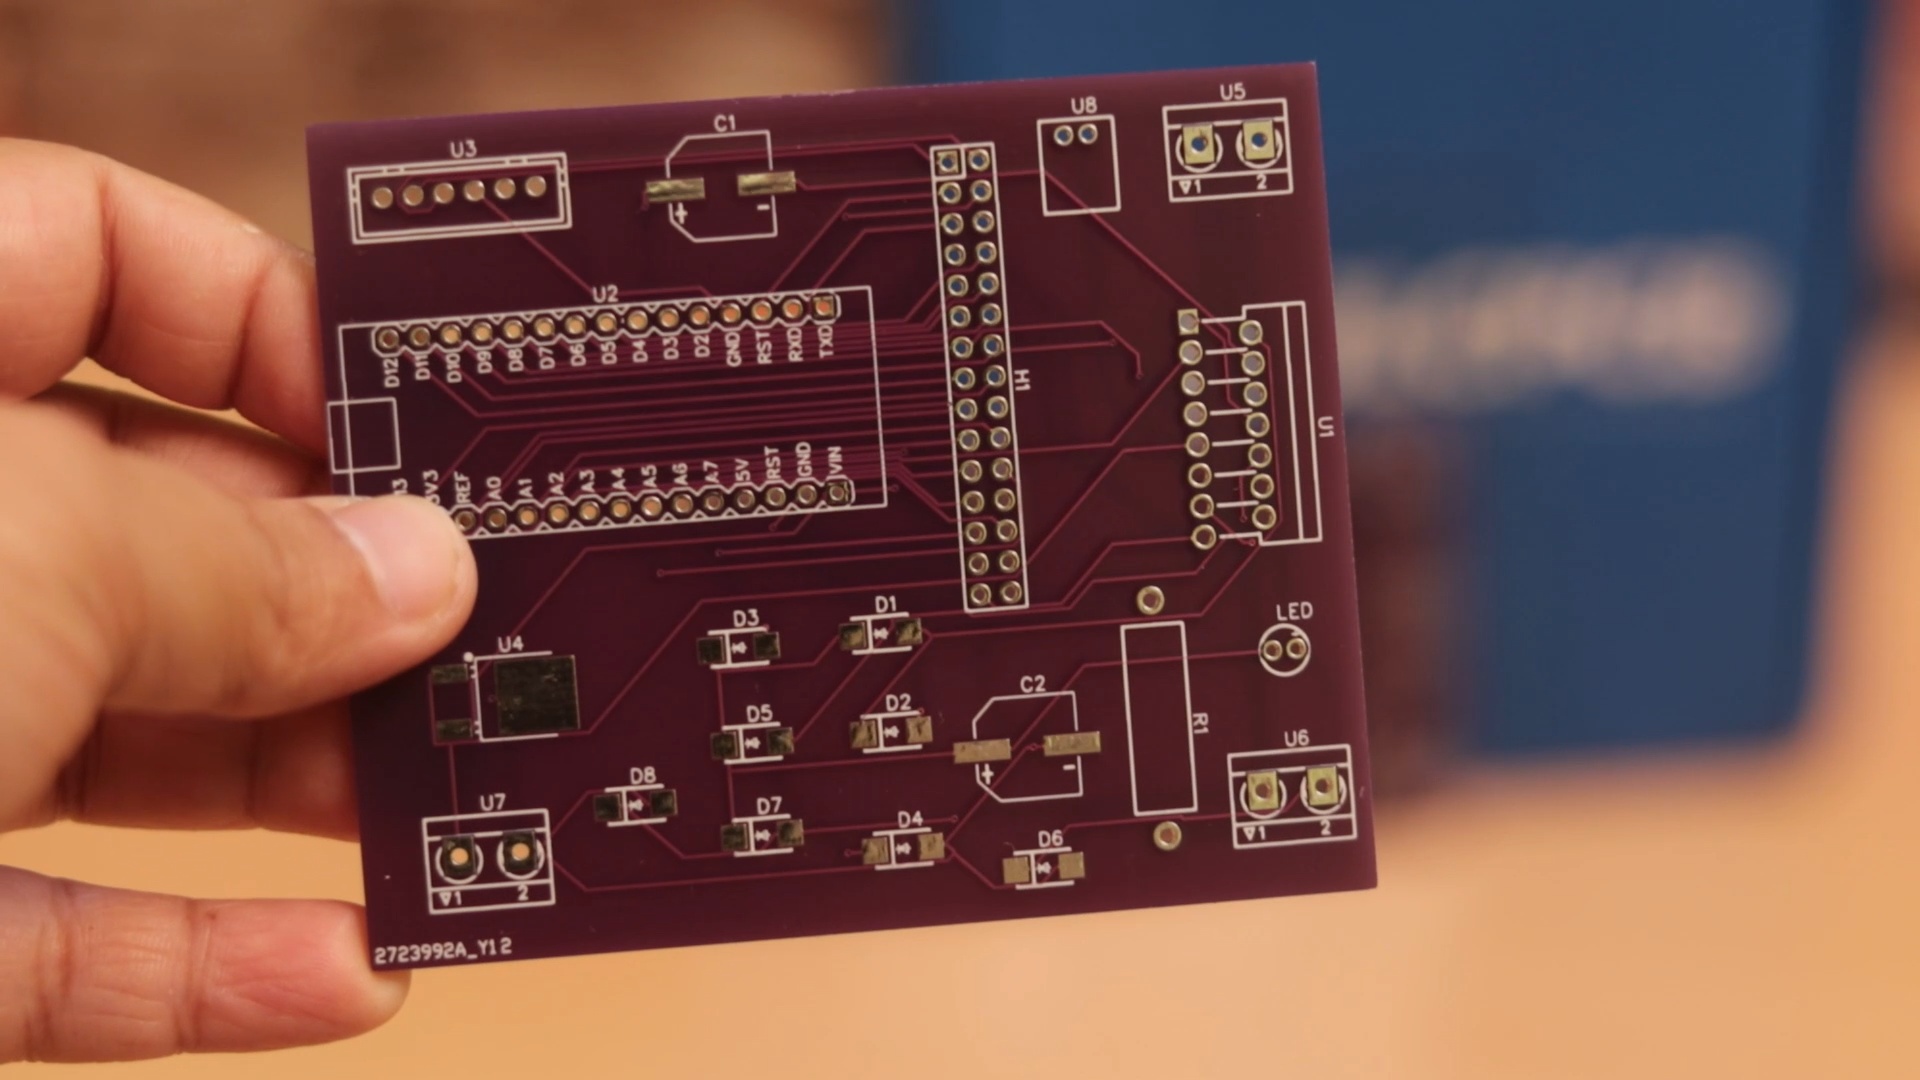
Almost every time I prefer to make prom JLCPCB for their quality of products and services & also for the low cost. I also get coupons for every purchase like $2 for 5pcs PCBs, PCBA from $0, Register to Get Free Coupons here: https://jlcpcb.com/IYB. I really liked the PCB Boards as they are very high in quality.
To make PCB Boards, you will need a Gerber file which I have already attached with this intractable. Simply download The zip file and upload it to there website and place the order successfully.
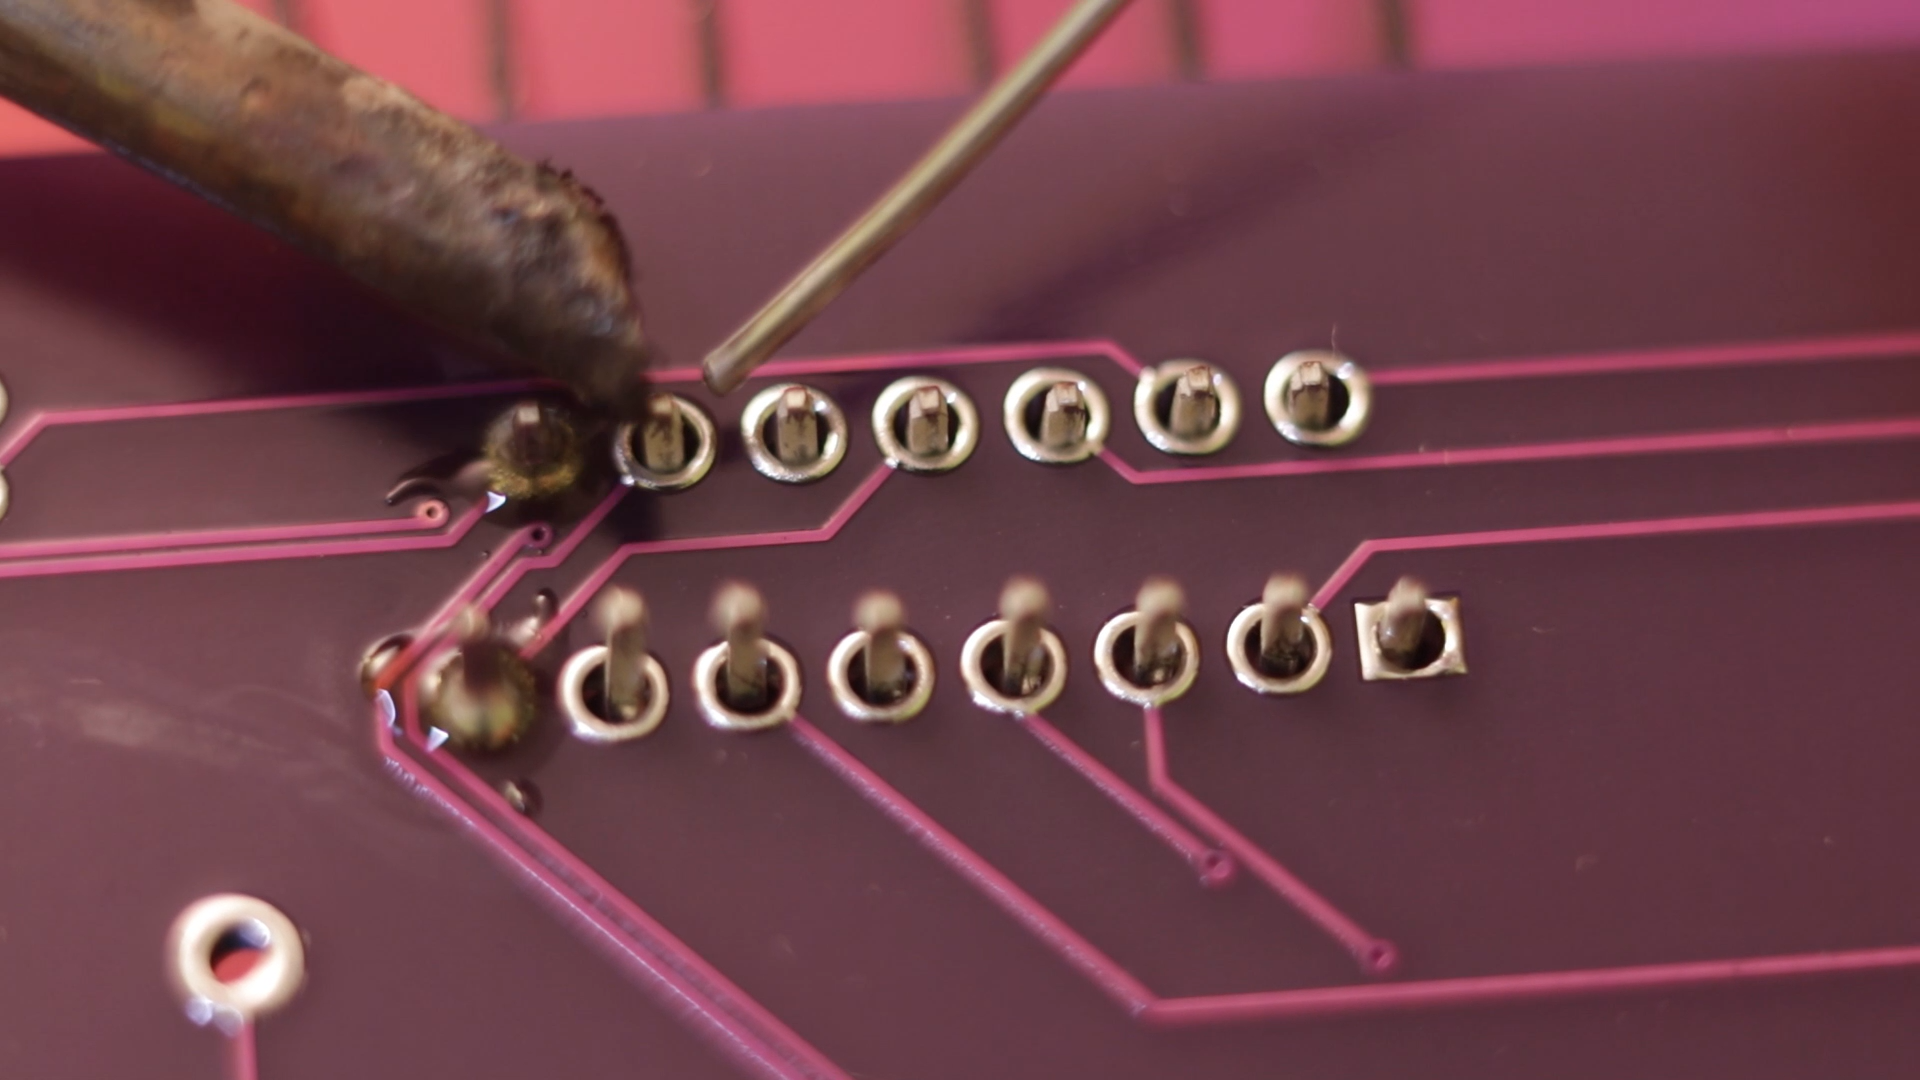
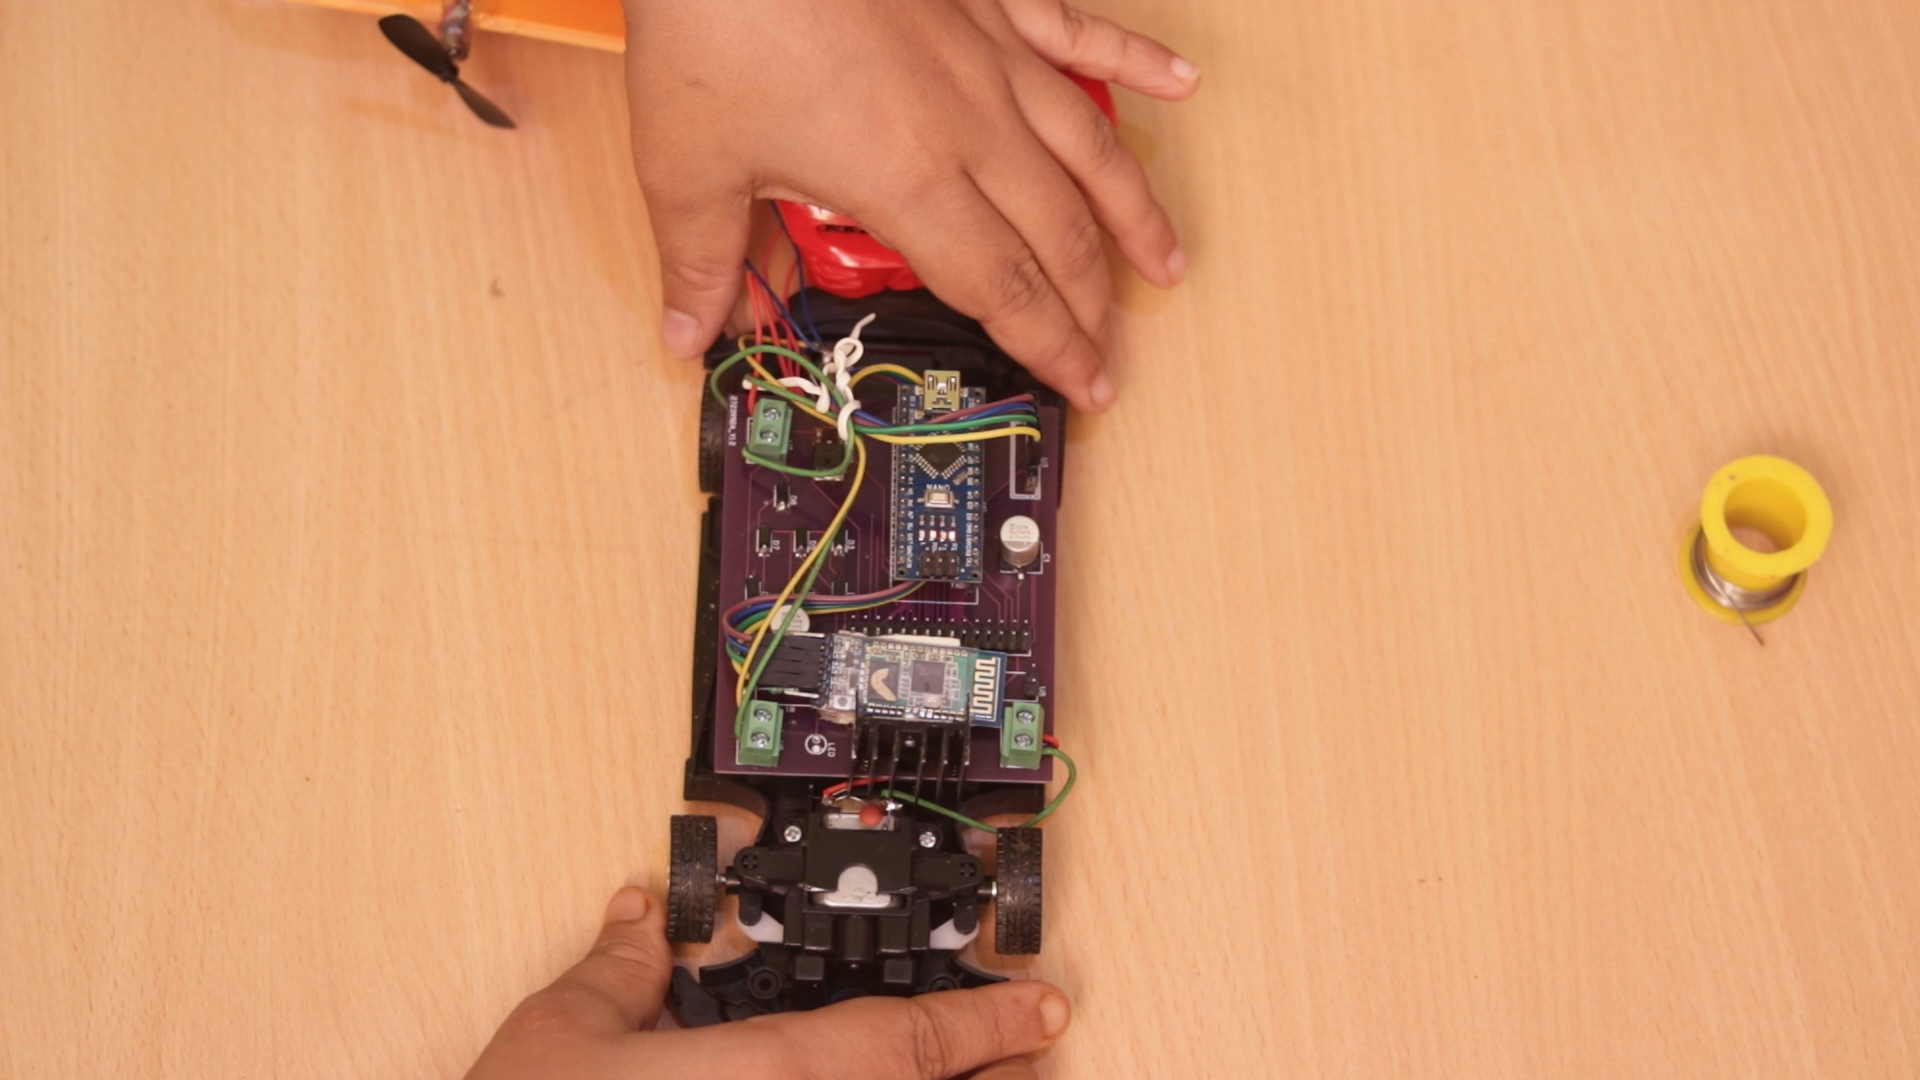
Once you get the PCB, assemble every component on the PCB board and make it ready.
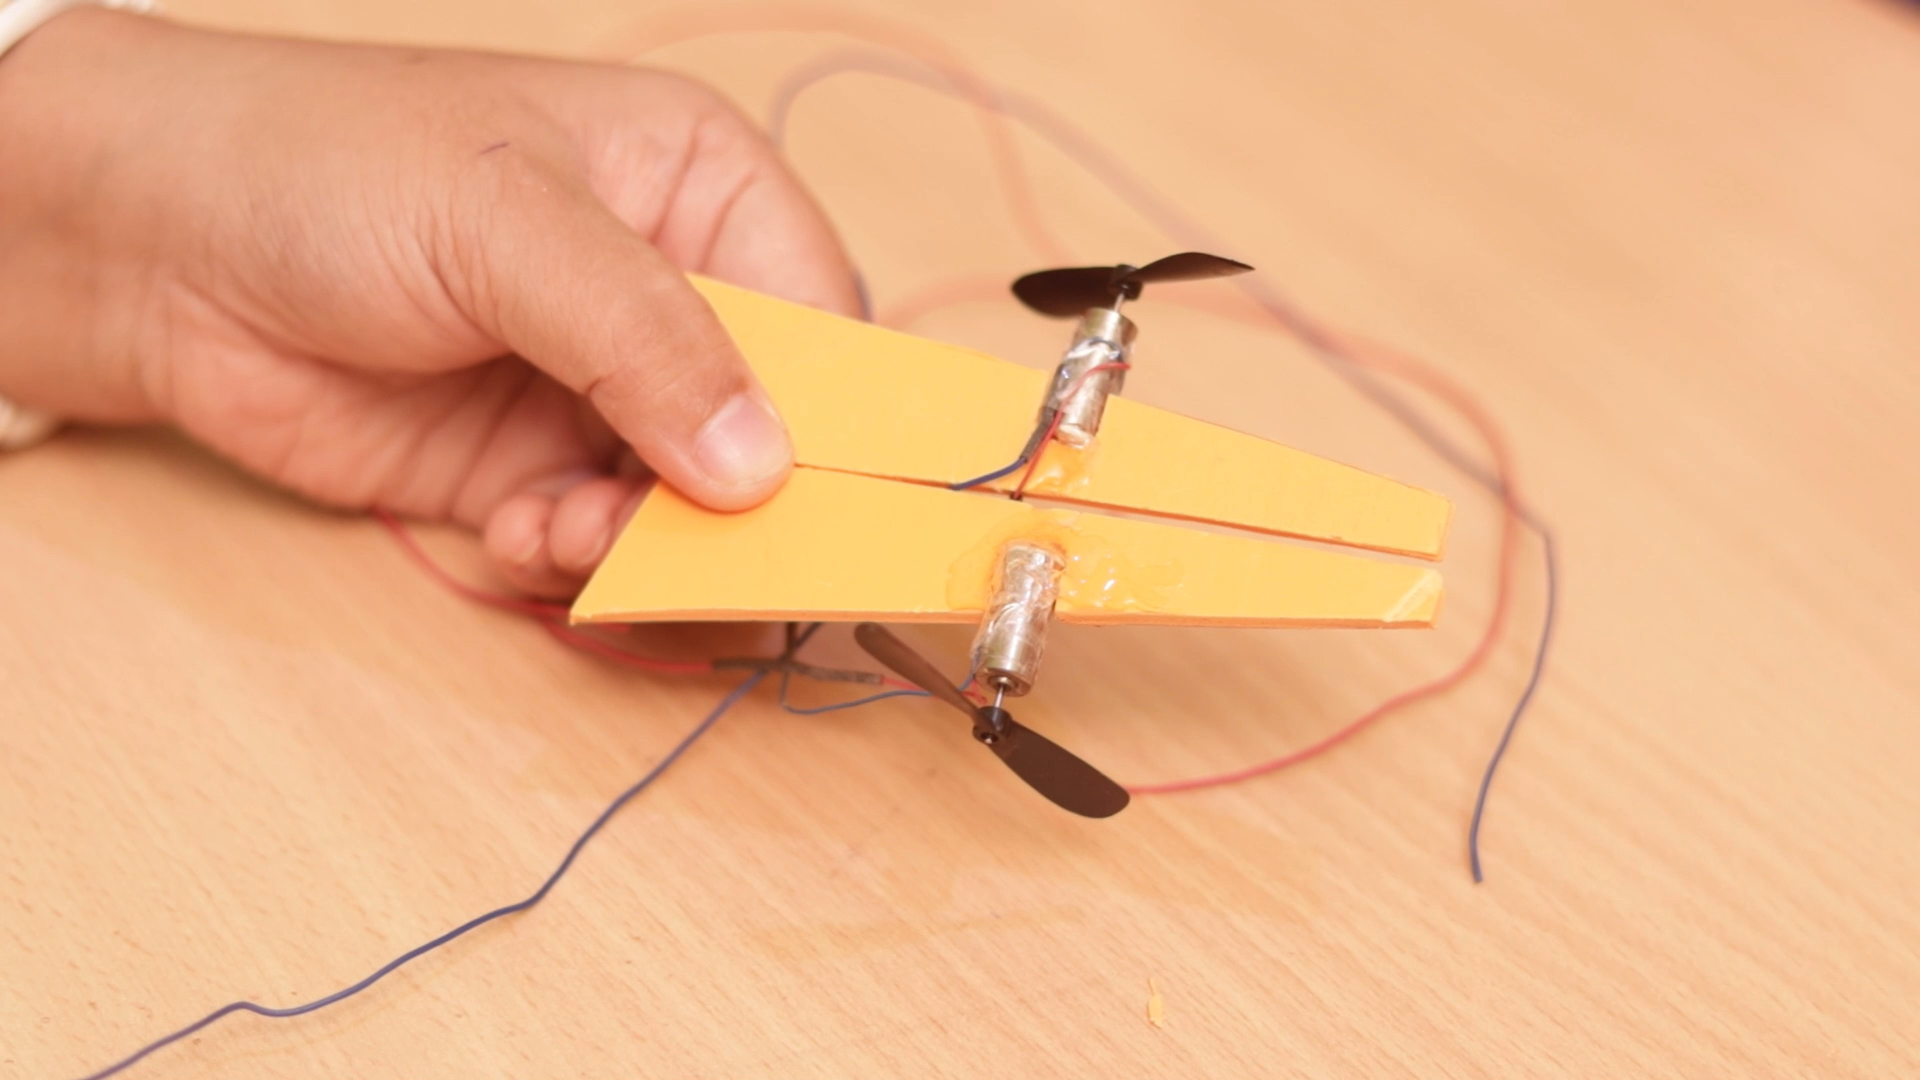
then you have to attach the motors with the dedicated port for motors on your PCB board and then the electronics part will be ready.

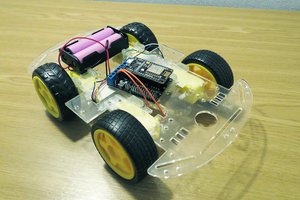
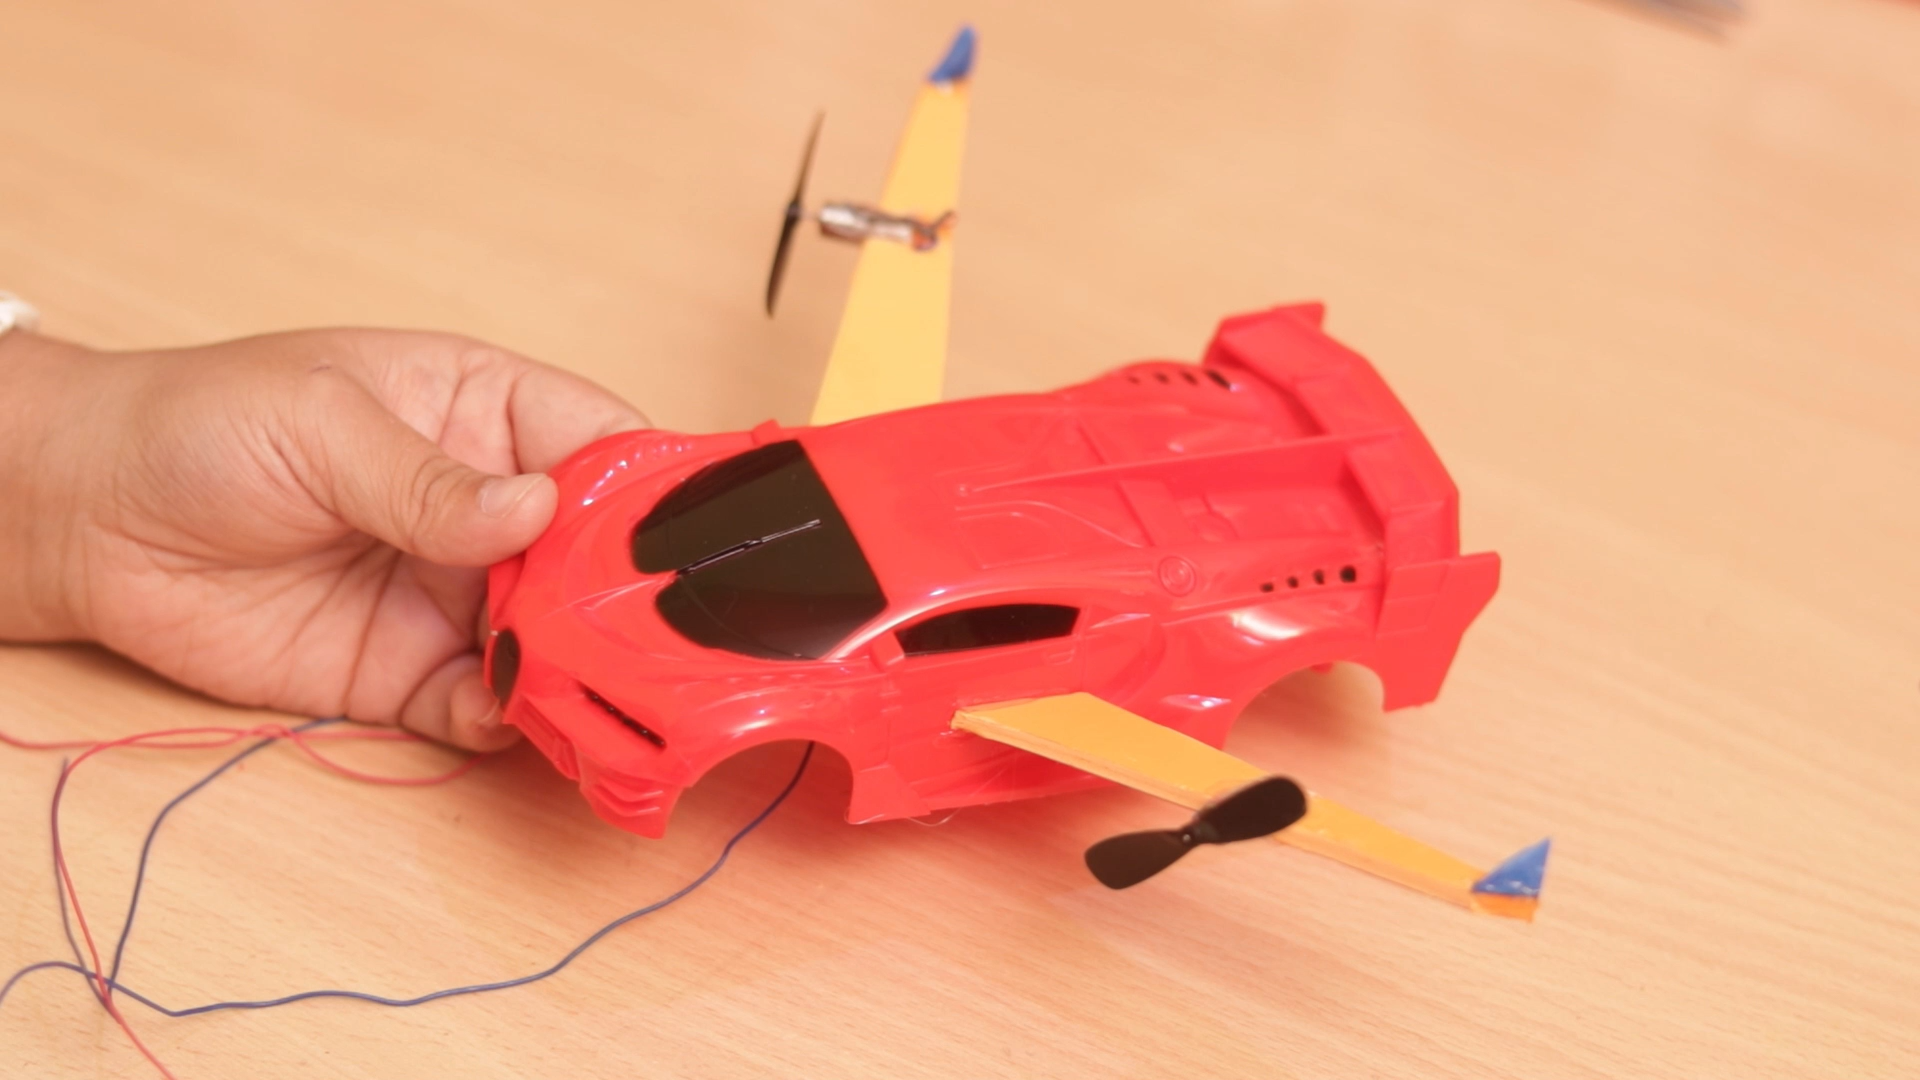
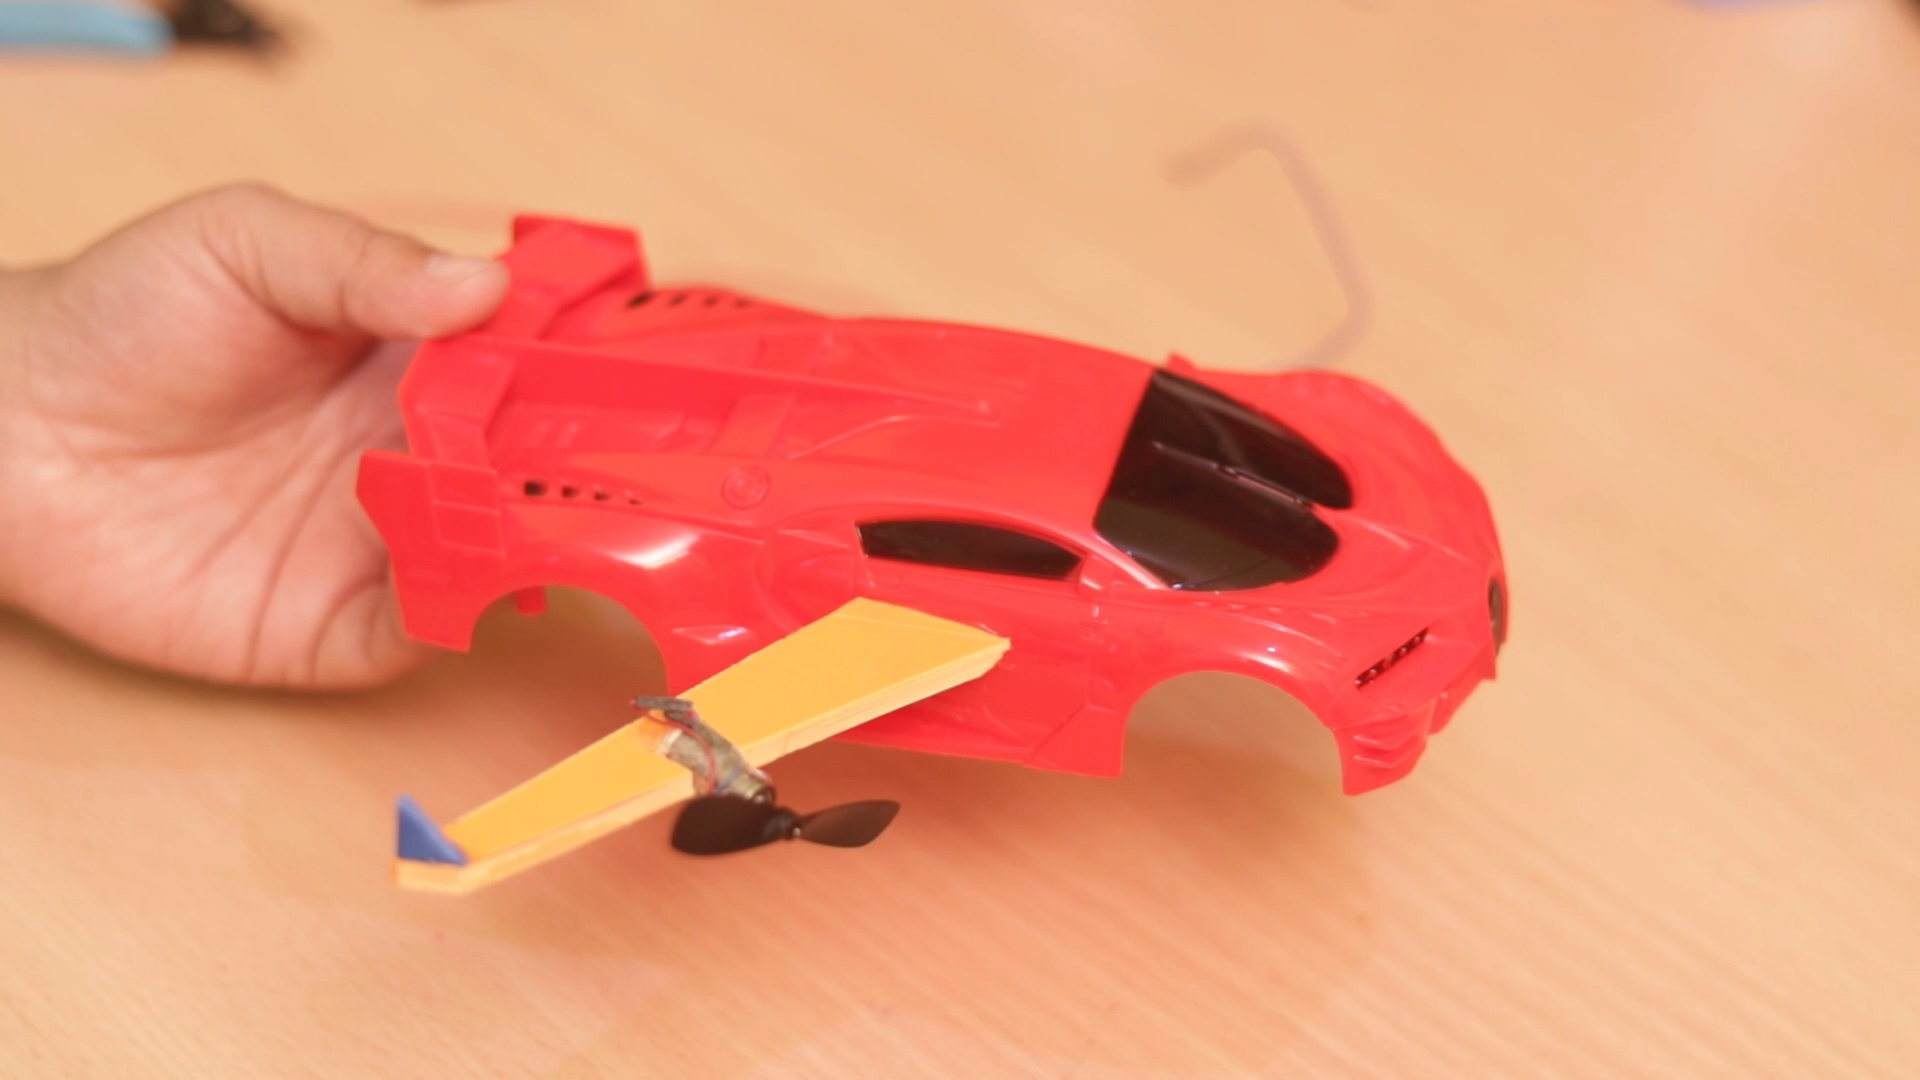
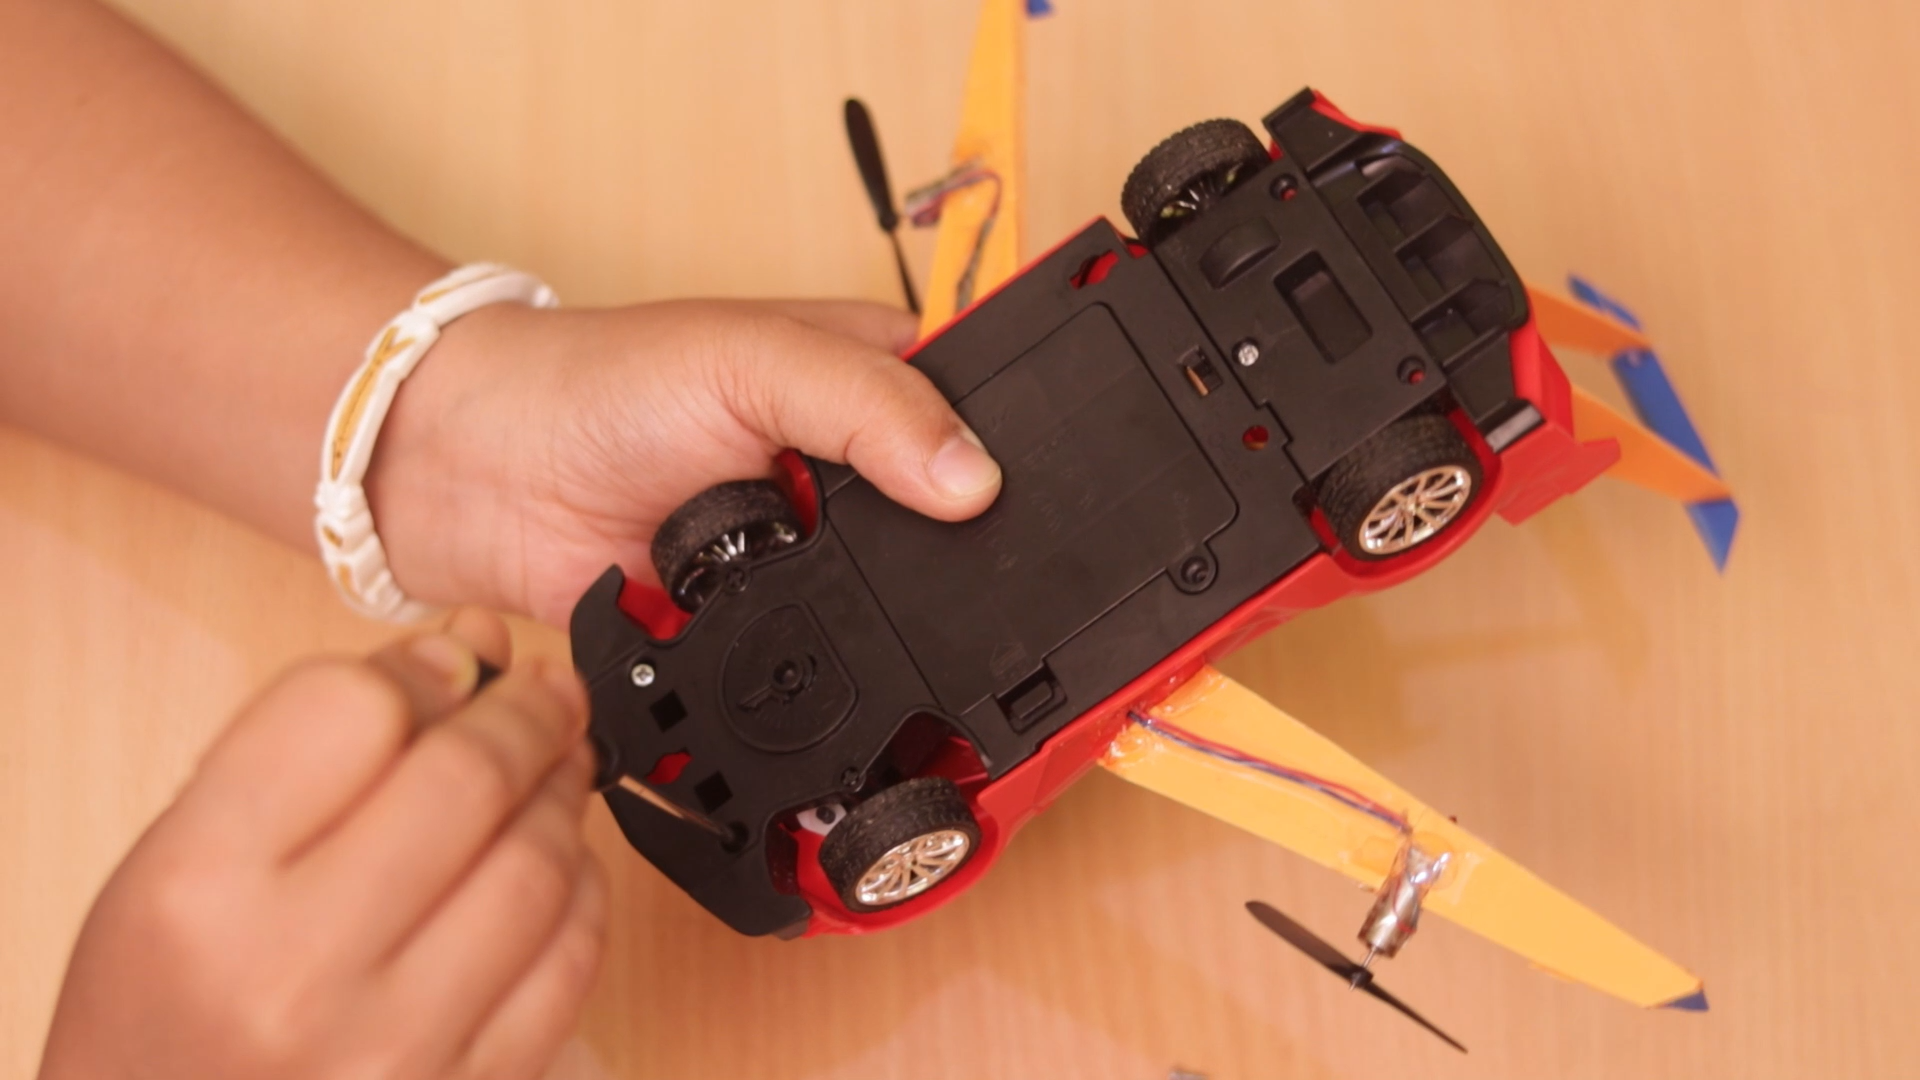
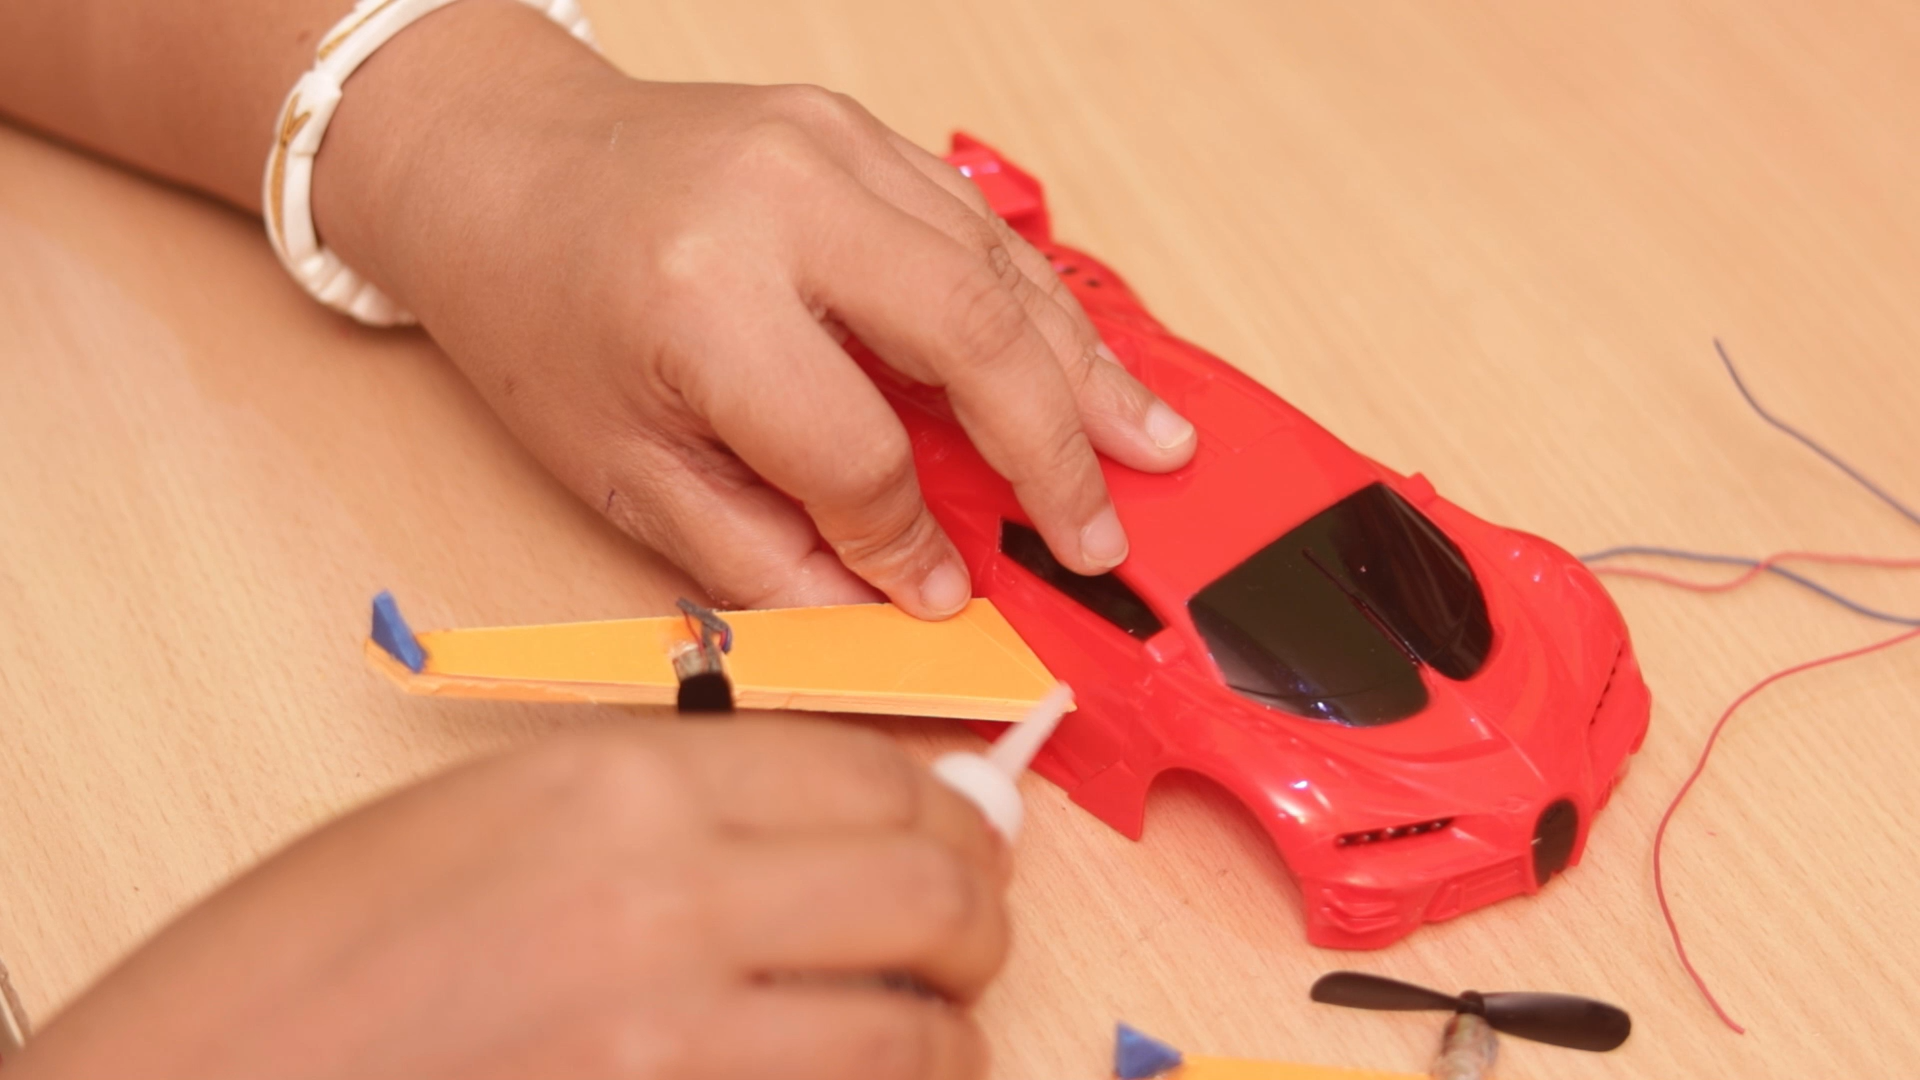
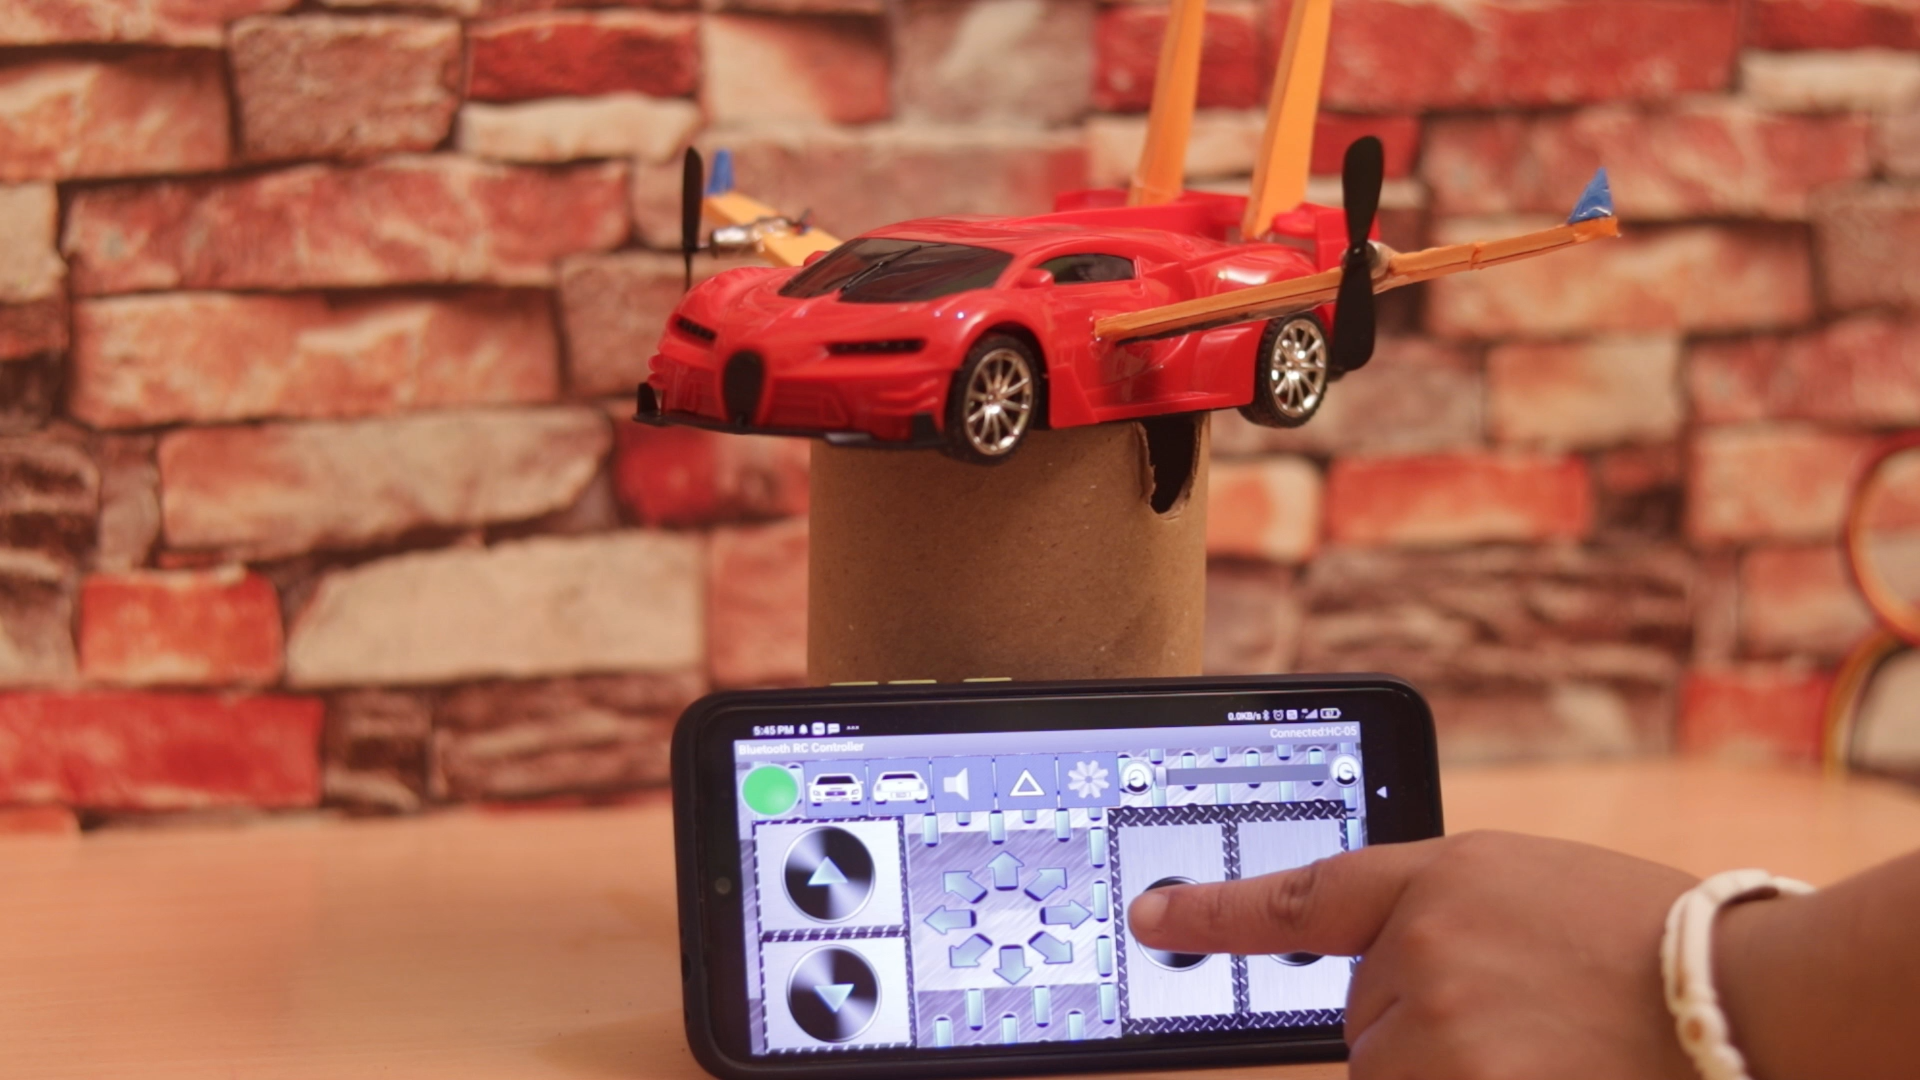
Though I have bought a toy car from the market to mechanical part in this project is very less. but if you want to change the design according to your choice then it will also be very appreciable.
Assemble Mechanical Parts Together


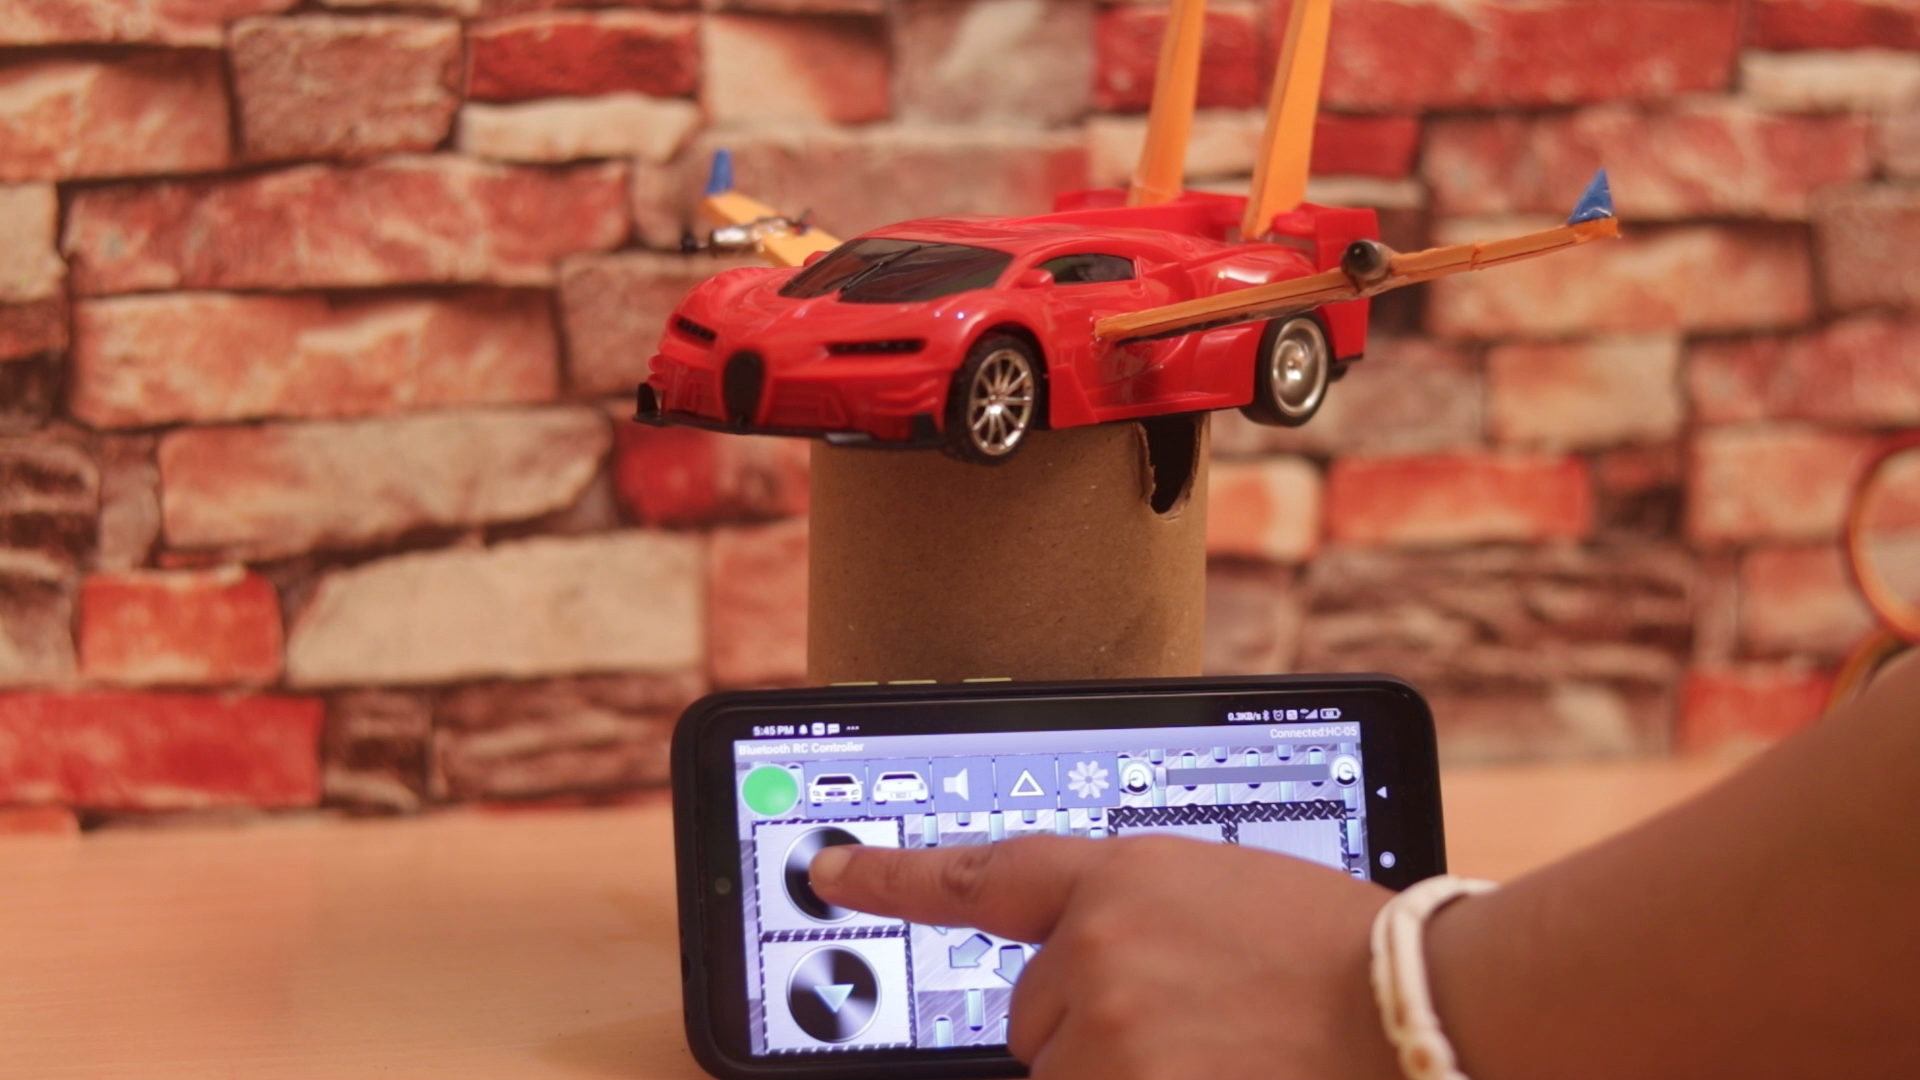
The last part is Uploading Arduino code to the robot and controlling it from your smartphone. Now we will discuss on this topic
Arduino Codeing & Communicating by Android Mobile
char t;
const int r1=13,r2=12,l1=11,l2=10;

void setup() {
Serial.begin(9600);
pinMode(r1,OUTPUT);   //right motors forward
pinMode(r2,OUTPUT);   //right motors reverse
pinMode(l1,OUTPUT);   //left motors forward
pinMode(l2,OUTPUT);   //left motors reverse
}

void loop() {
if(Serial.available()){
  t = Serial.read();
}

if(t == 'F'){            //move forward(all motors rotate in forward direction)
  digitalWrite(r1,HIGH);
  digitalWrite(r2,LOW);
  digitalWrite(l1,HIGH);
  digitalWrite(l2,LOW);
}

else if(t == 'B'){      //move reverse (all motors rotate in reverse direction)
  digitalWrite(r1,LOW);
  digitalWrite(r2,HIGH);
  digitalWrite(l1,LOW);
  digitalWrite(l2,HIGH);
}

else if(t == 'L'){      //turn right (left side motors rotate in forward direction, right side motors rotate in reverse direction for 100ms & stop)
  digitalWrite(r1,HIGH);
  digitalWrite(r2,LOW);
  digitalWrite(l1,LOW);
  digitalWrite(l2,HIGH);
  delay(100);
  t = 'S';
}

else if(t == 'R'){      //turn left (right side motors rotate in forward direction, left side motors rotate in reverse direction for 100ms & stop)
  digitalWrite(r1,LOW);
  digitalWrite(r2,HIGH);
  digitalWrite(l1,HIGH);
  digitalWrite(l2,LOW);
  delay(100);
  t = 'S';
}

else if(t == 'S'){      //STOP (all motors stop)
  digitalWrite(r1,LOW);
  digitalWrite(r2,LOW);
  digitalWrite(l1,LOW);
  digitalWrite(l2,LOW);
}
delay(100);
}


 ElectronicABC