 Magic Robots

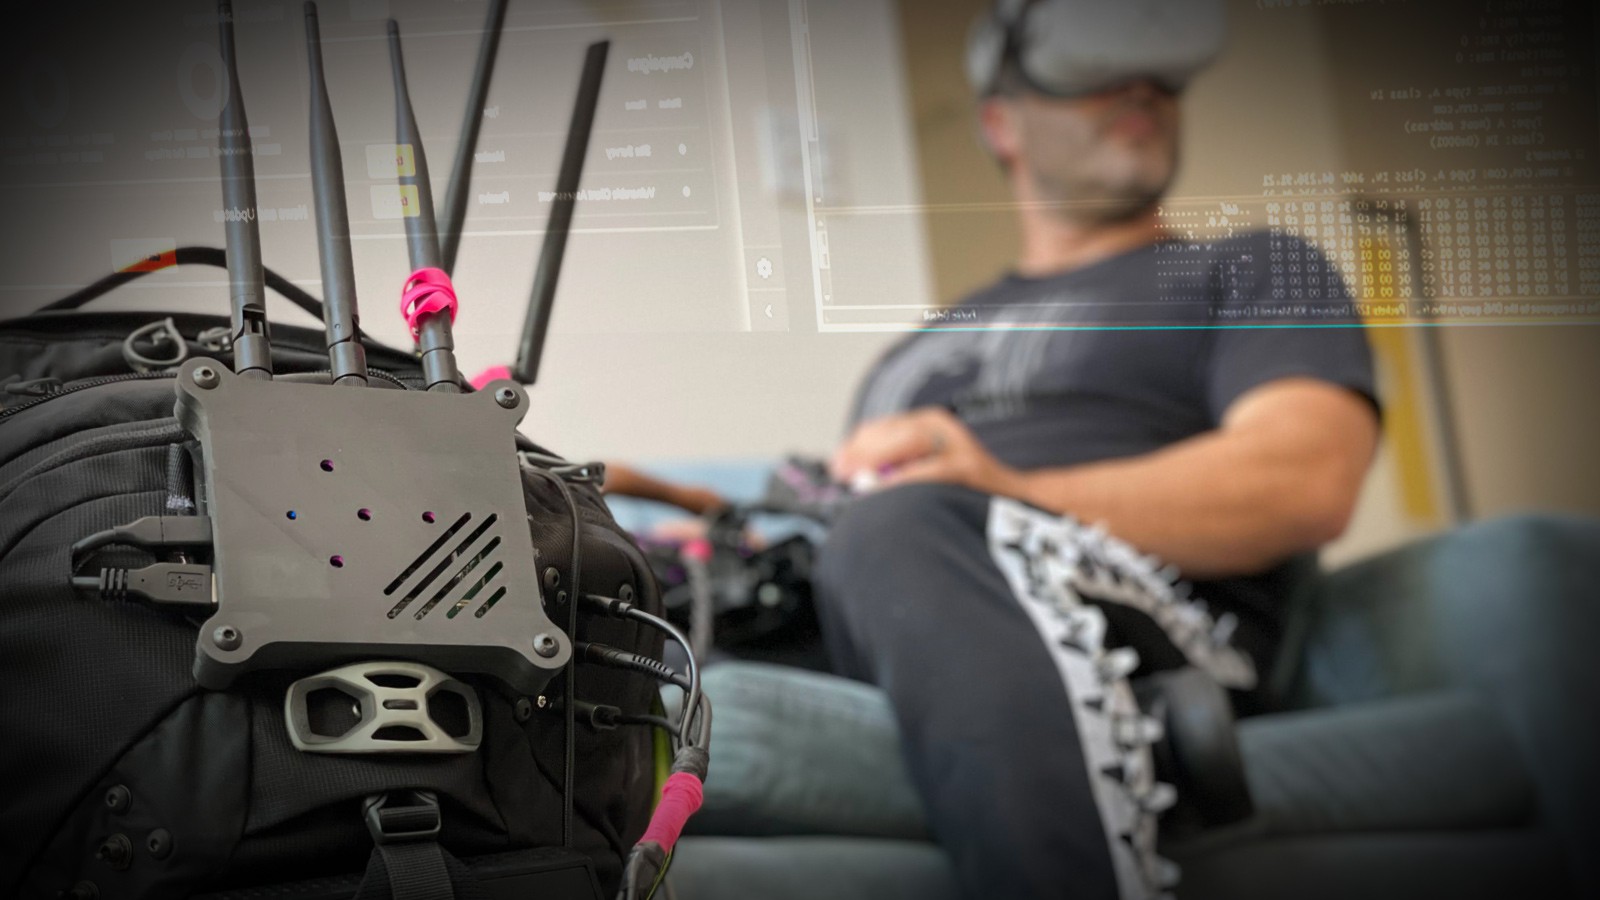
One thing that has consistently bothered me about cyberdecks is usability. I have typically viewed them as an art form; cool looking, minimally functional things. I know there are exceptions to this of course. I wanted to make something weird that was as functional as possible. I wanted ergonomics, and I didn't want a tiny little screen. I wanted to be able to use it while lounging comfortably on the couch, and I wanted it to have more capability than a laptop. Also, I want to be able to upgrade parts or swap them out at will; I don't want everything soldered into a tight fitting case that can only accommodate the exact combination of parts that the project started with.
Stuff I had lying around unused:
- raspberry pi 8gb with trashy little screen
- oculus quest 2
- external hdd
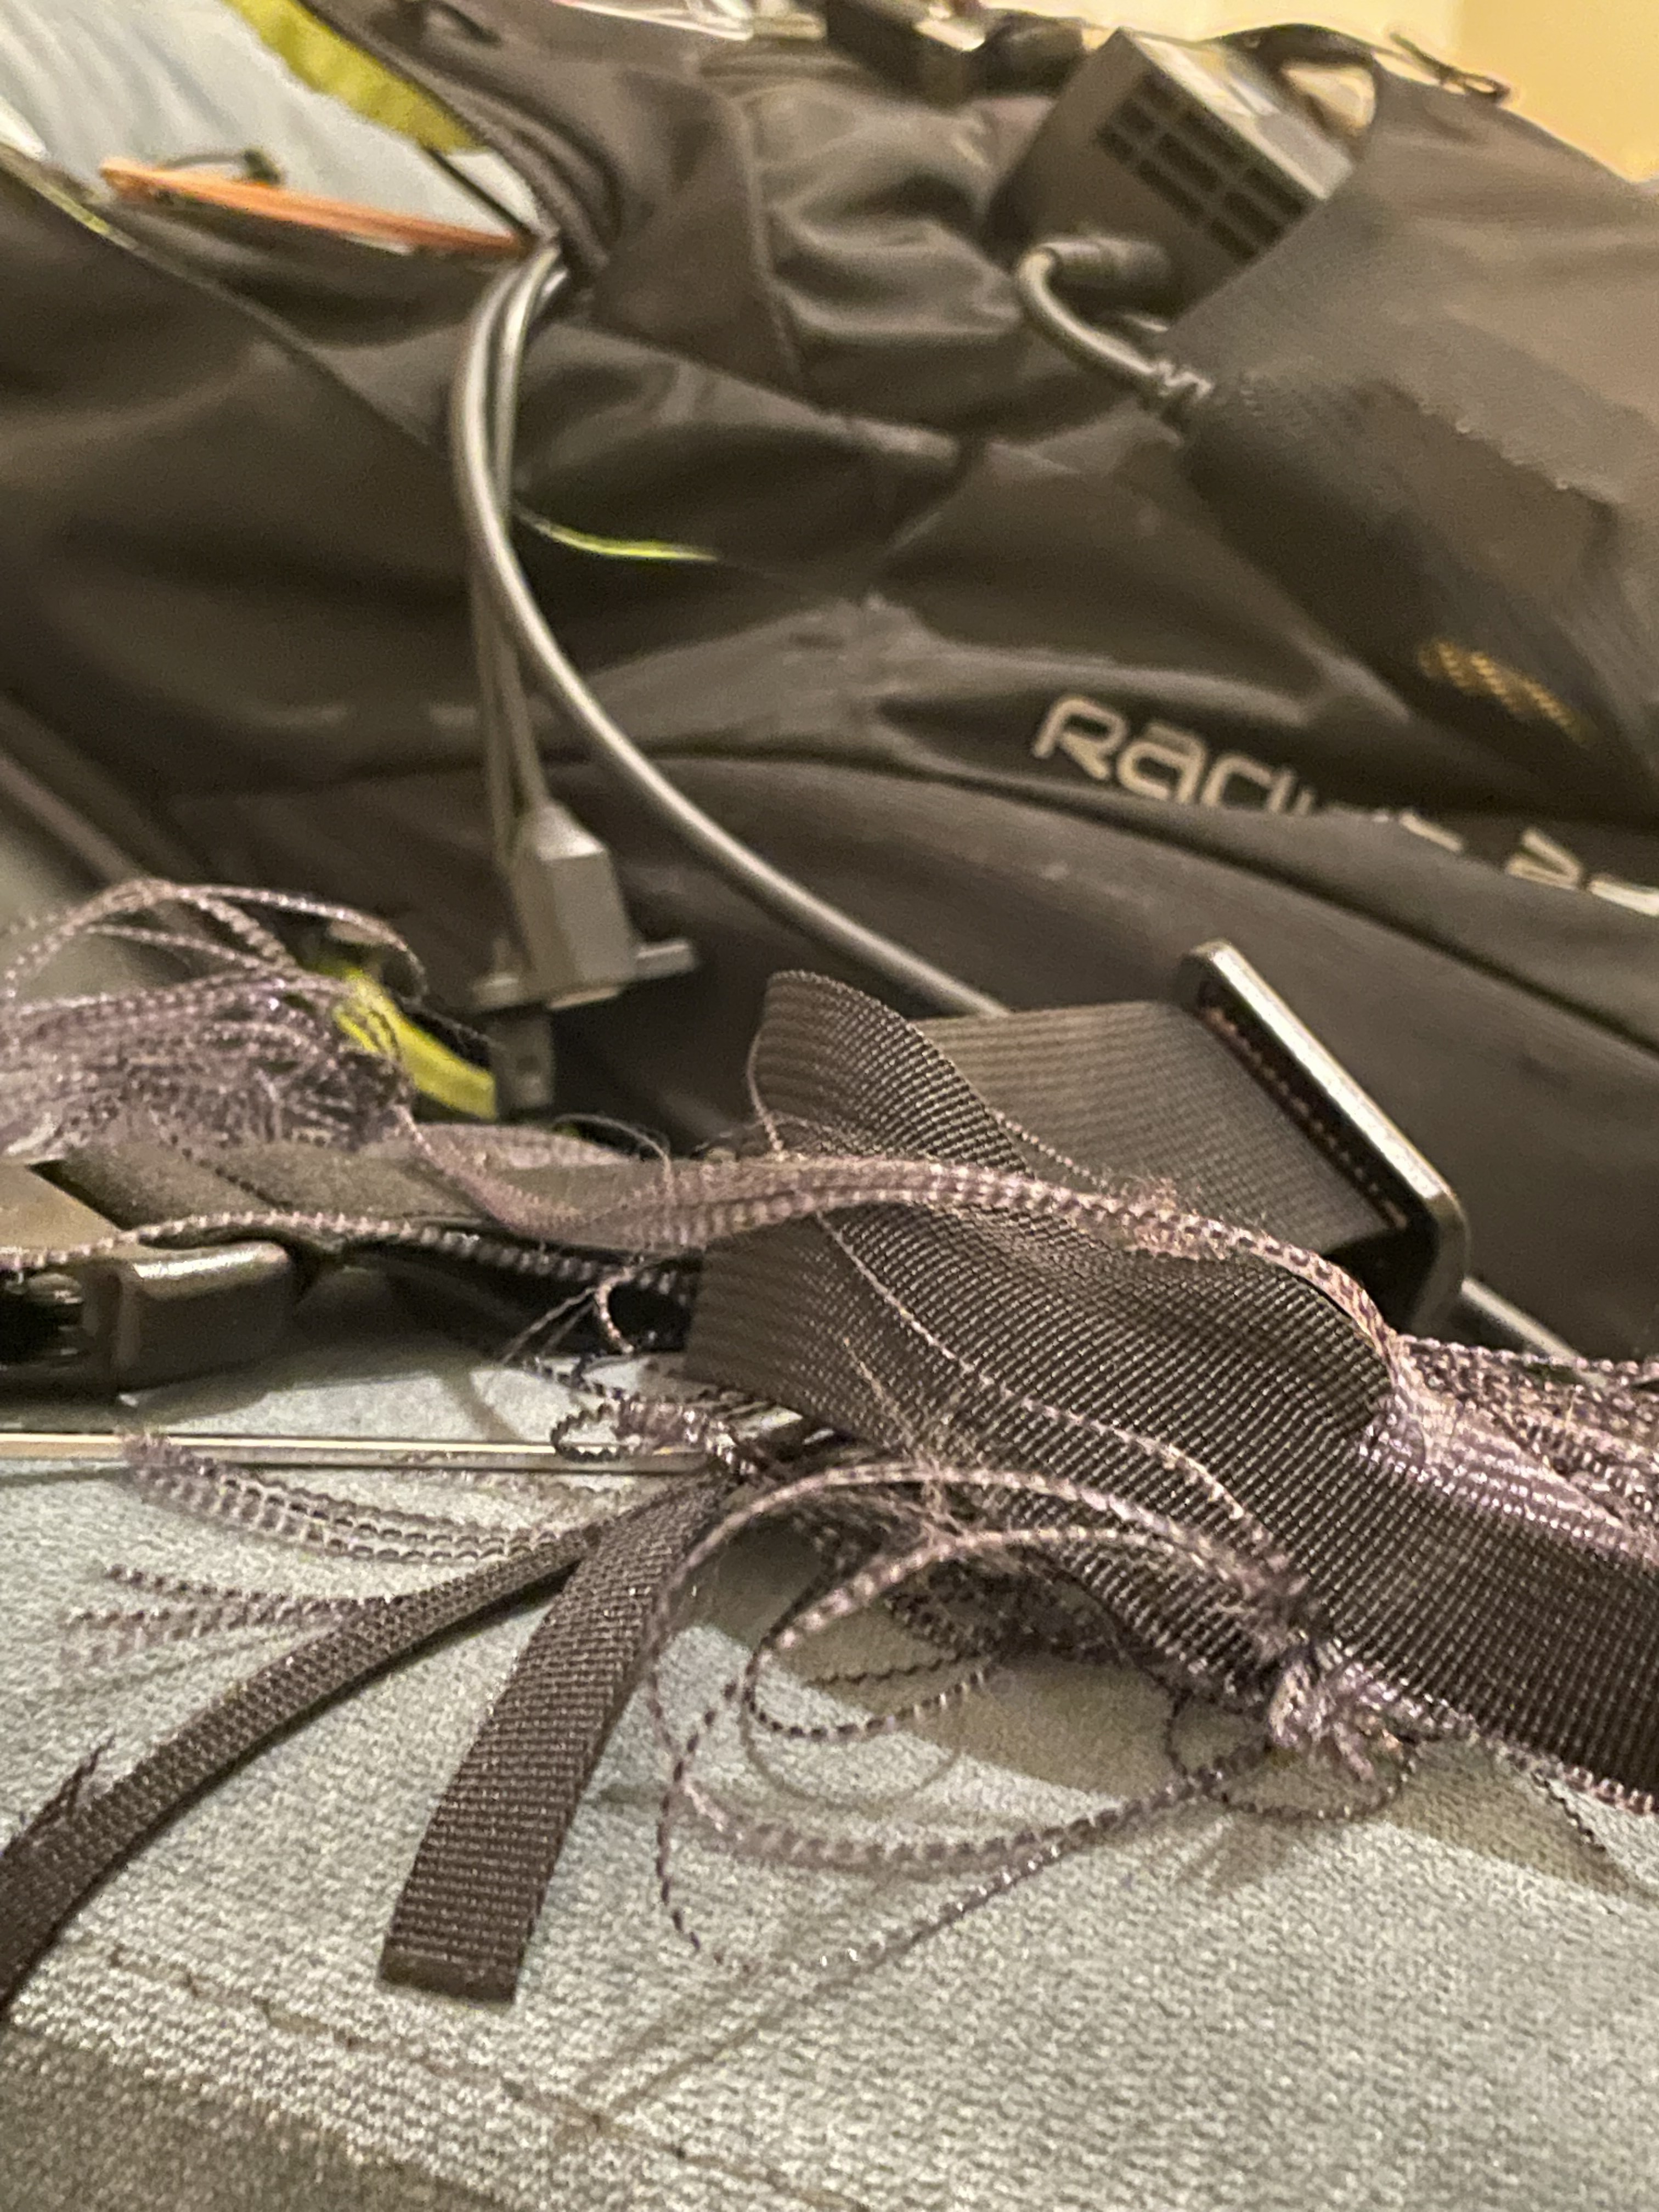
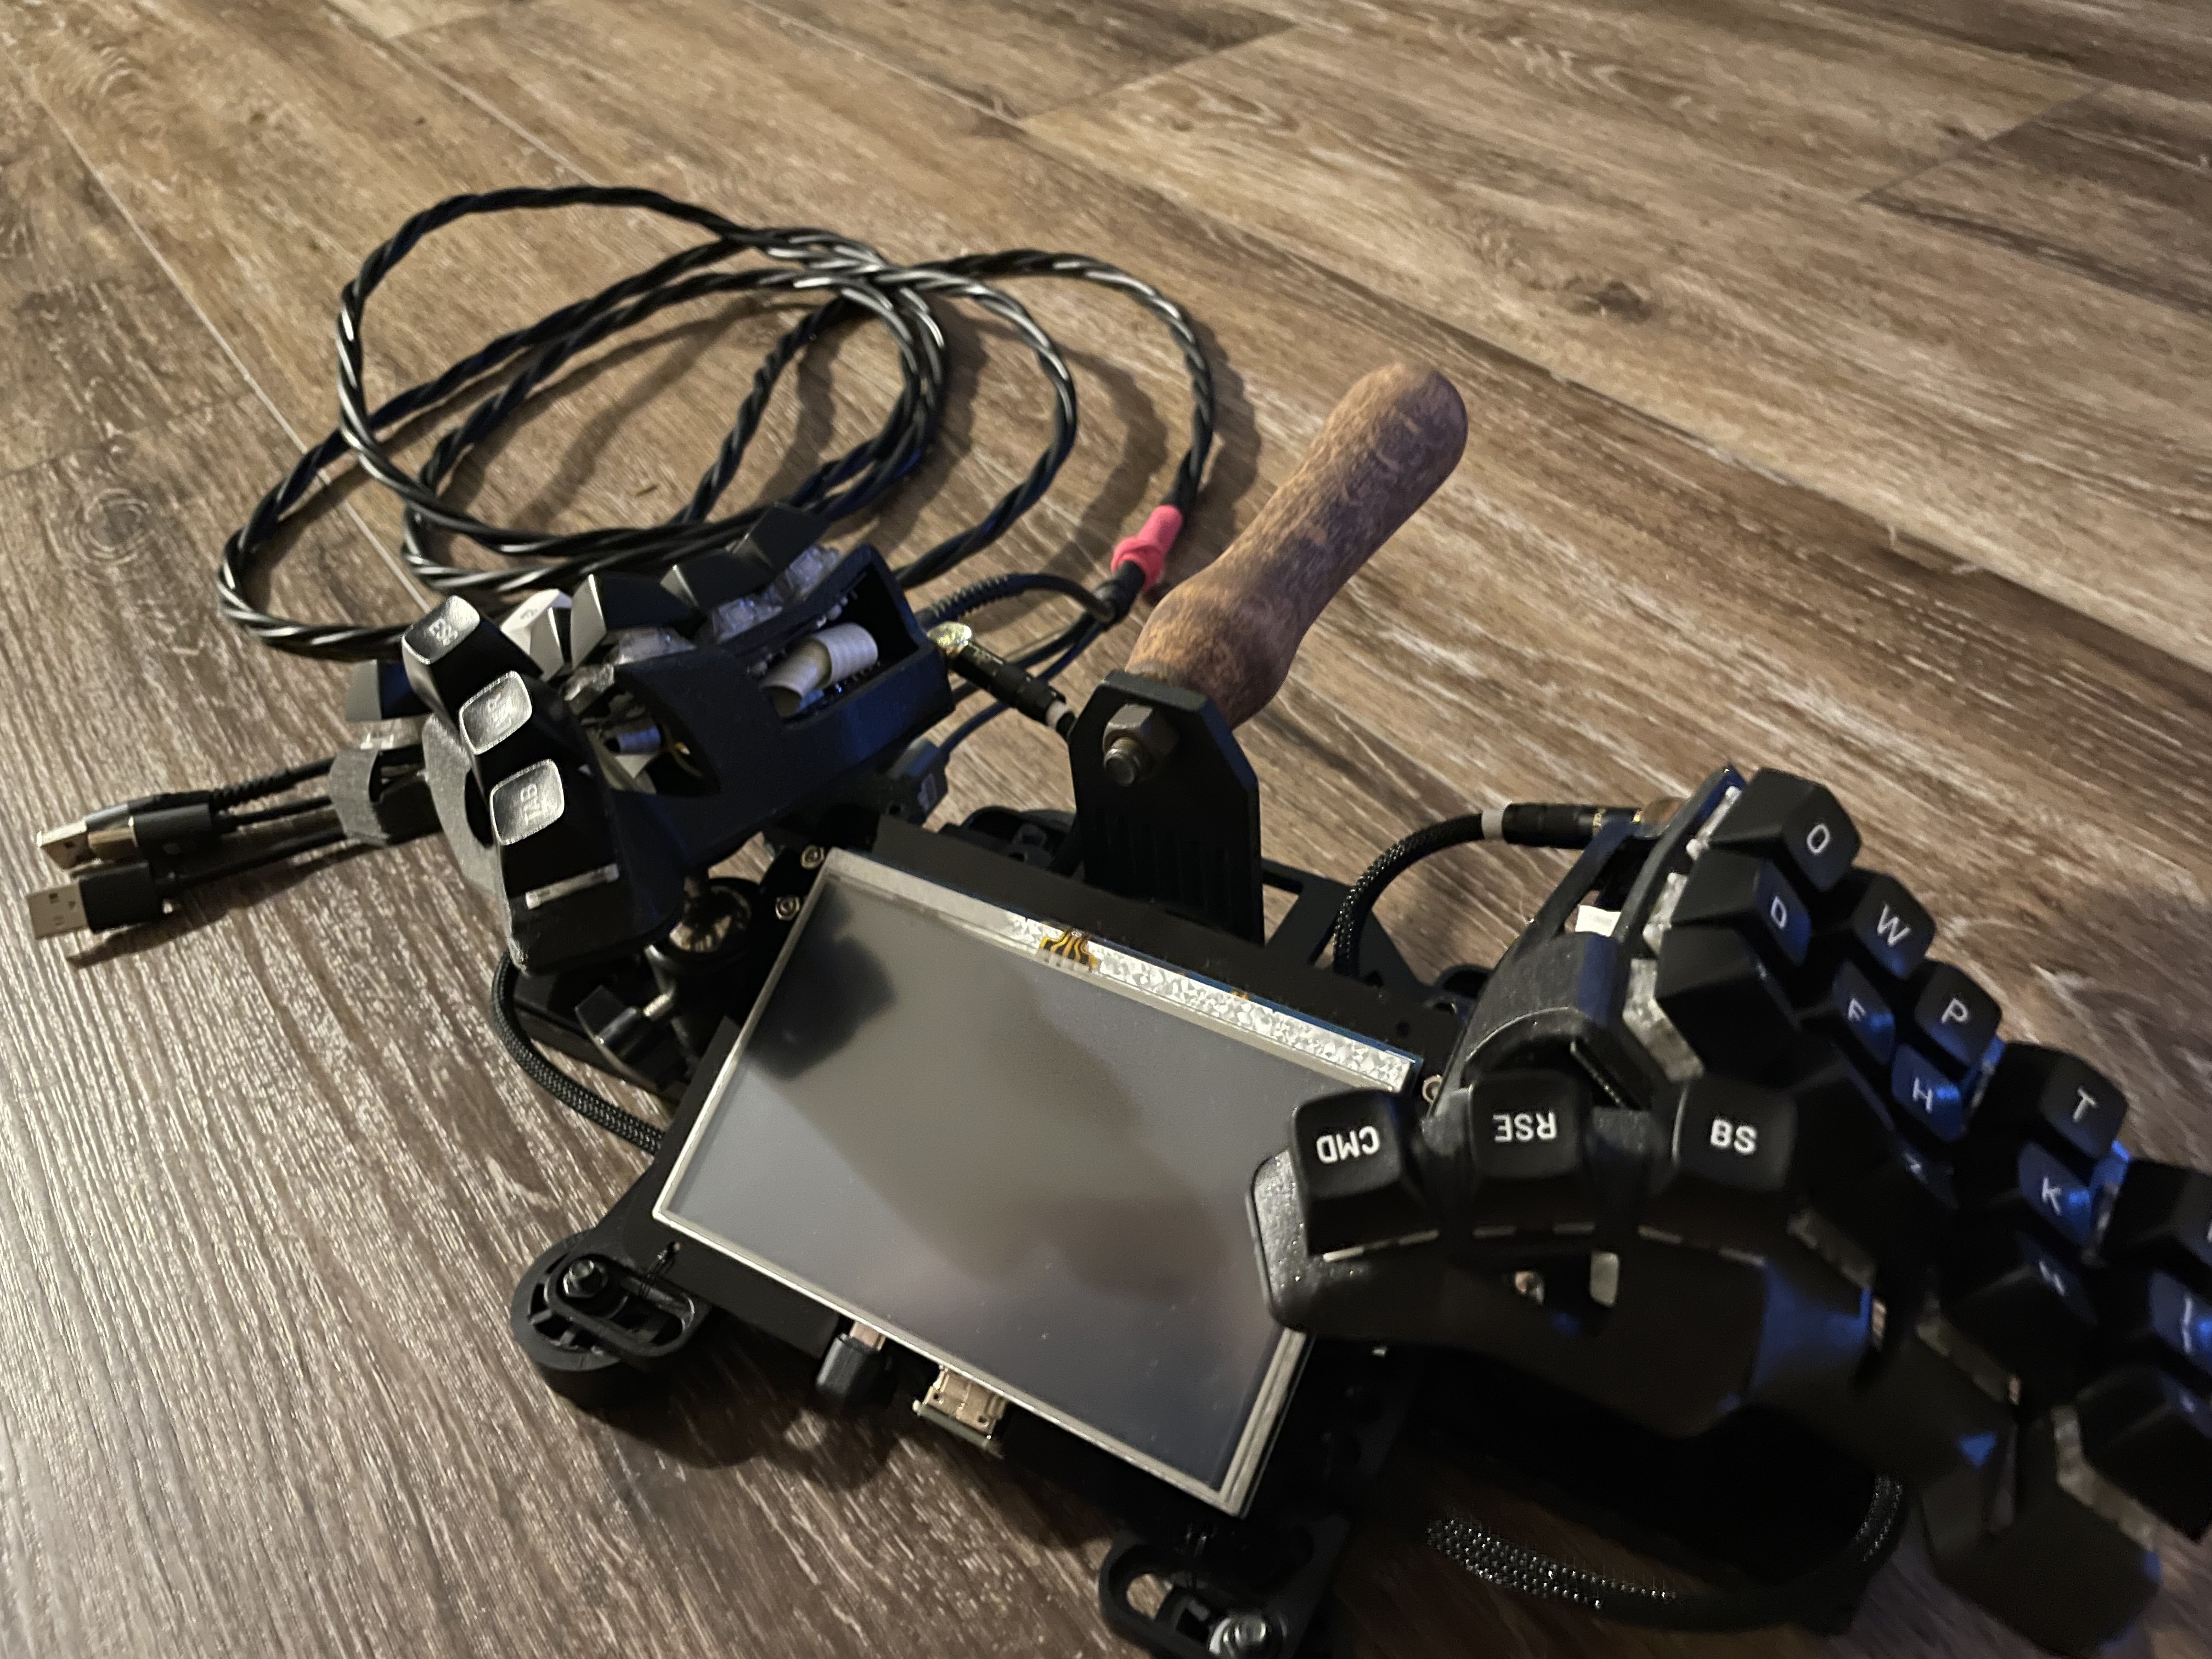
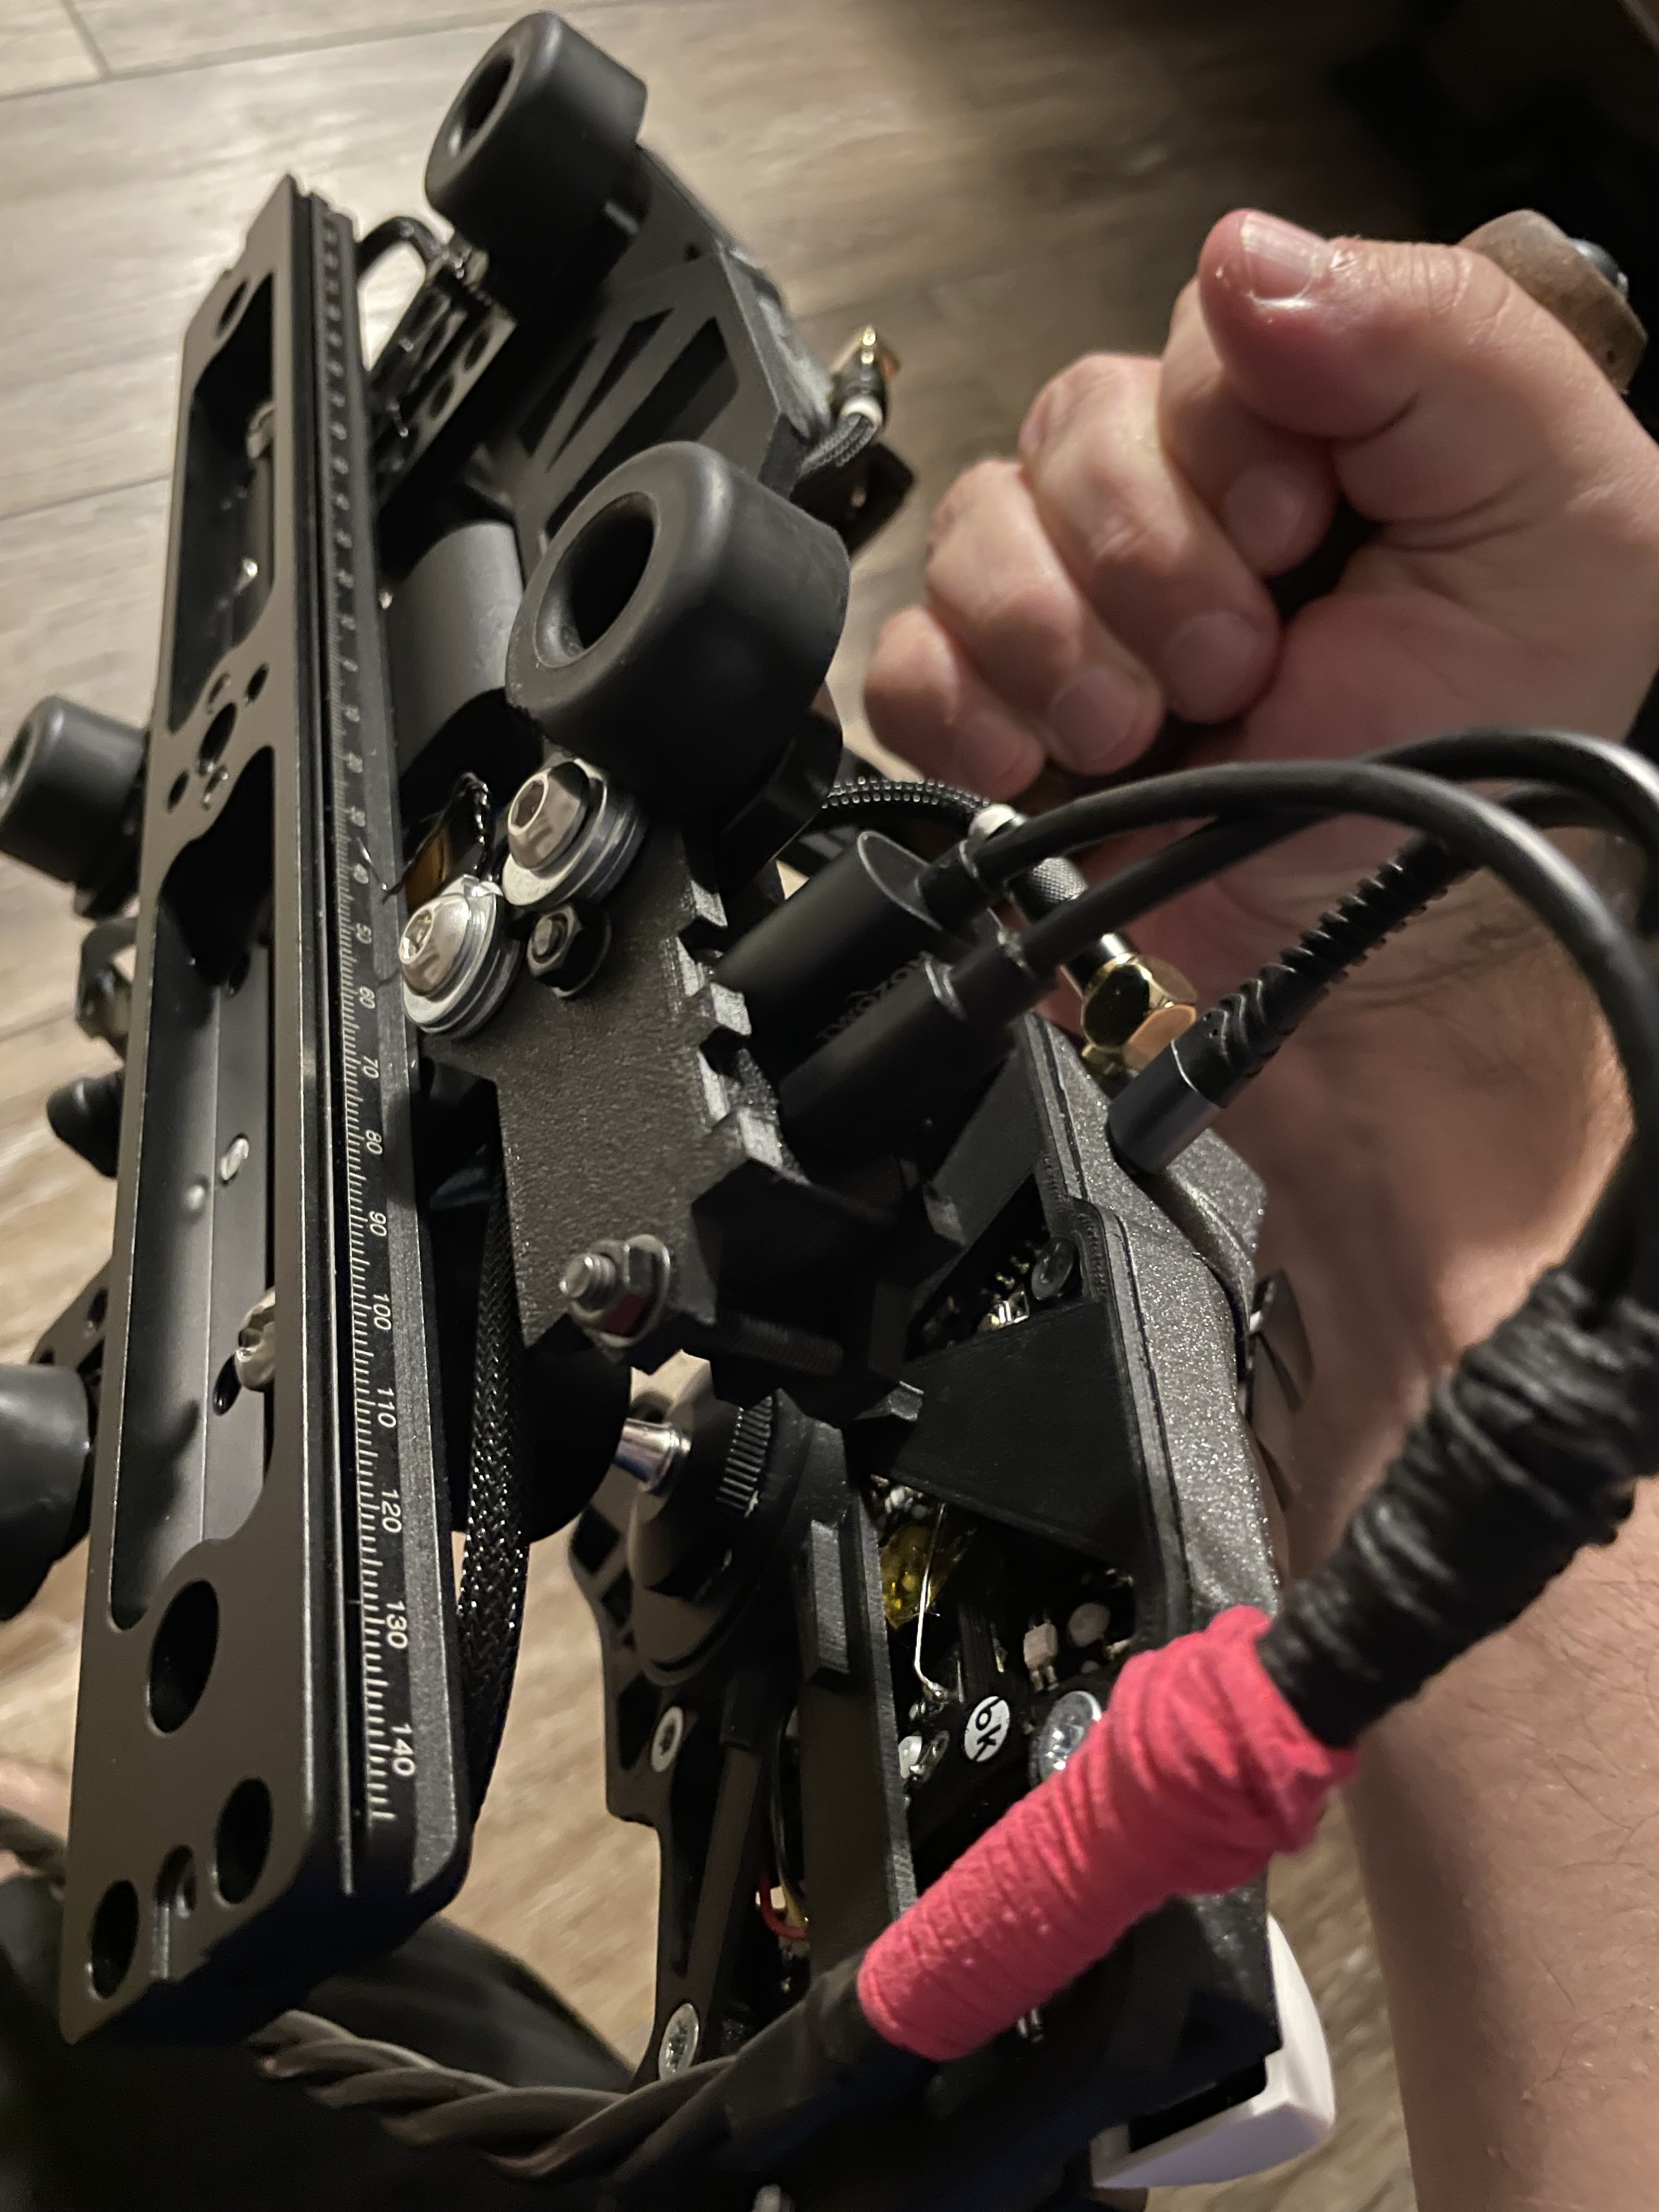
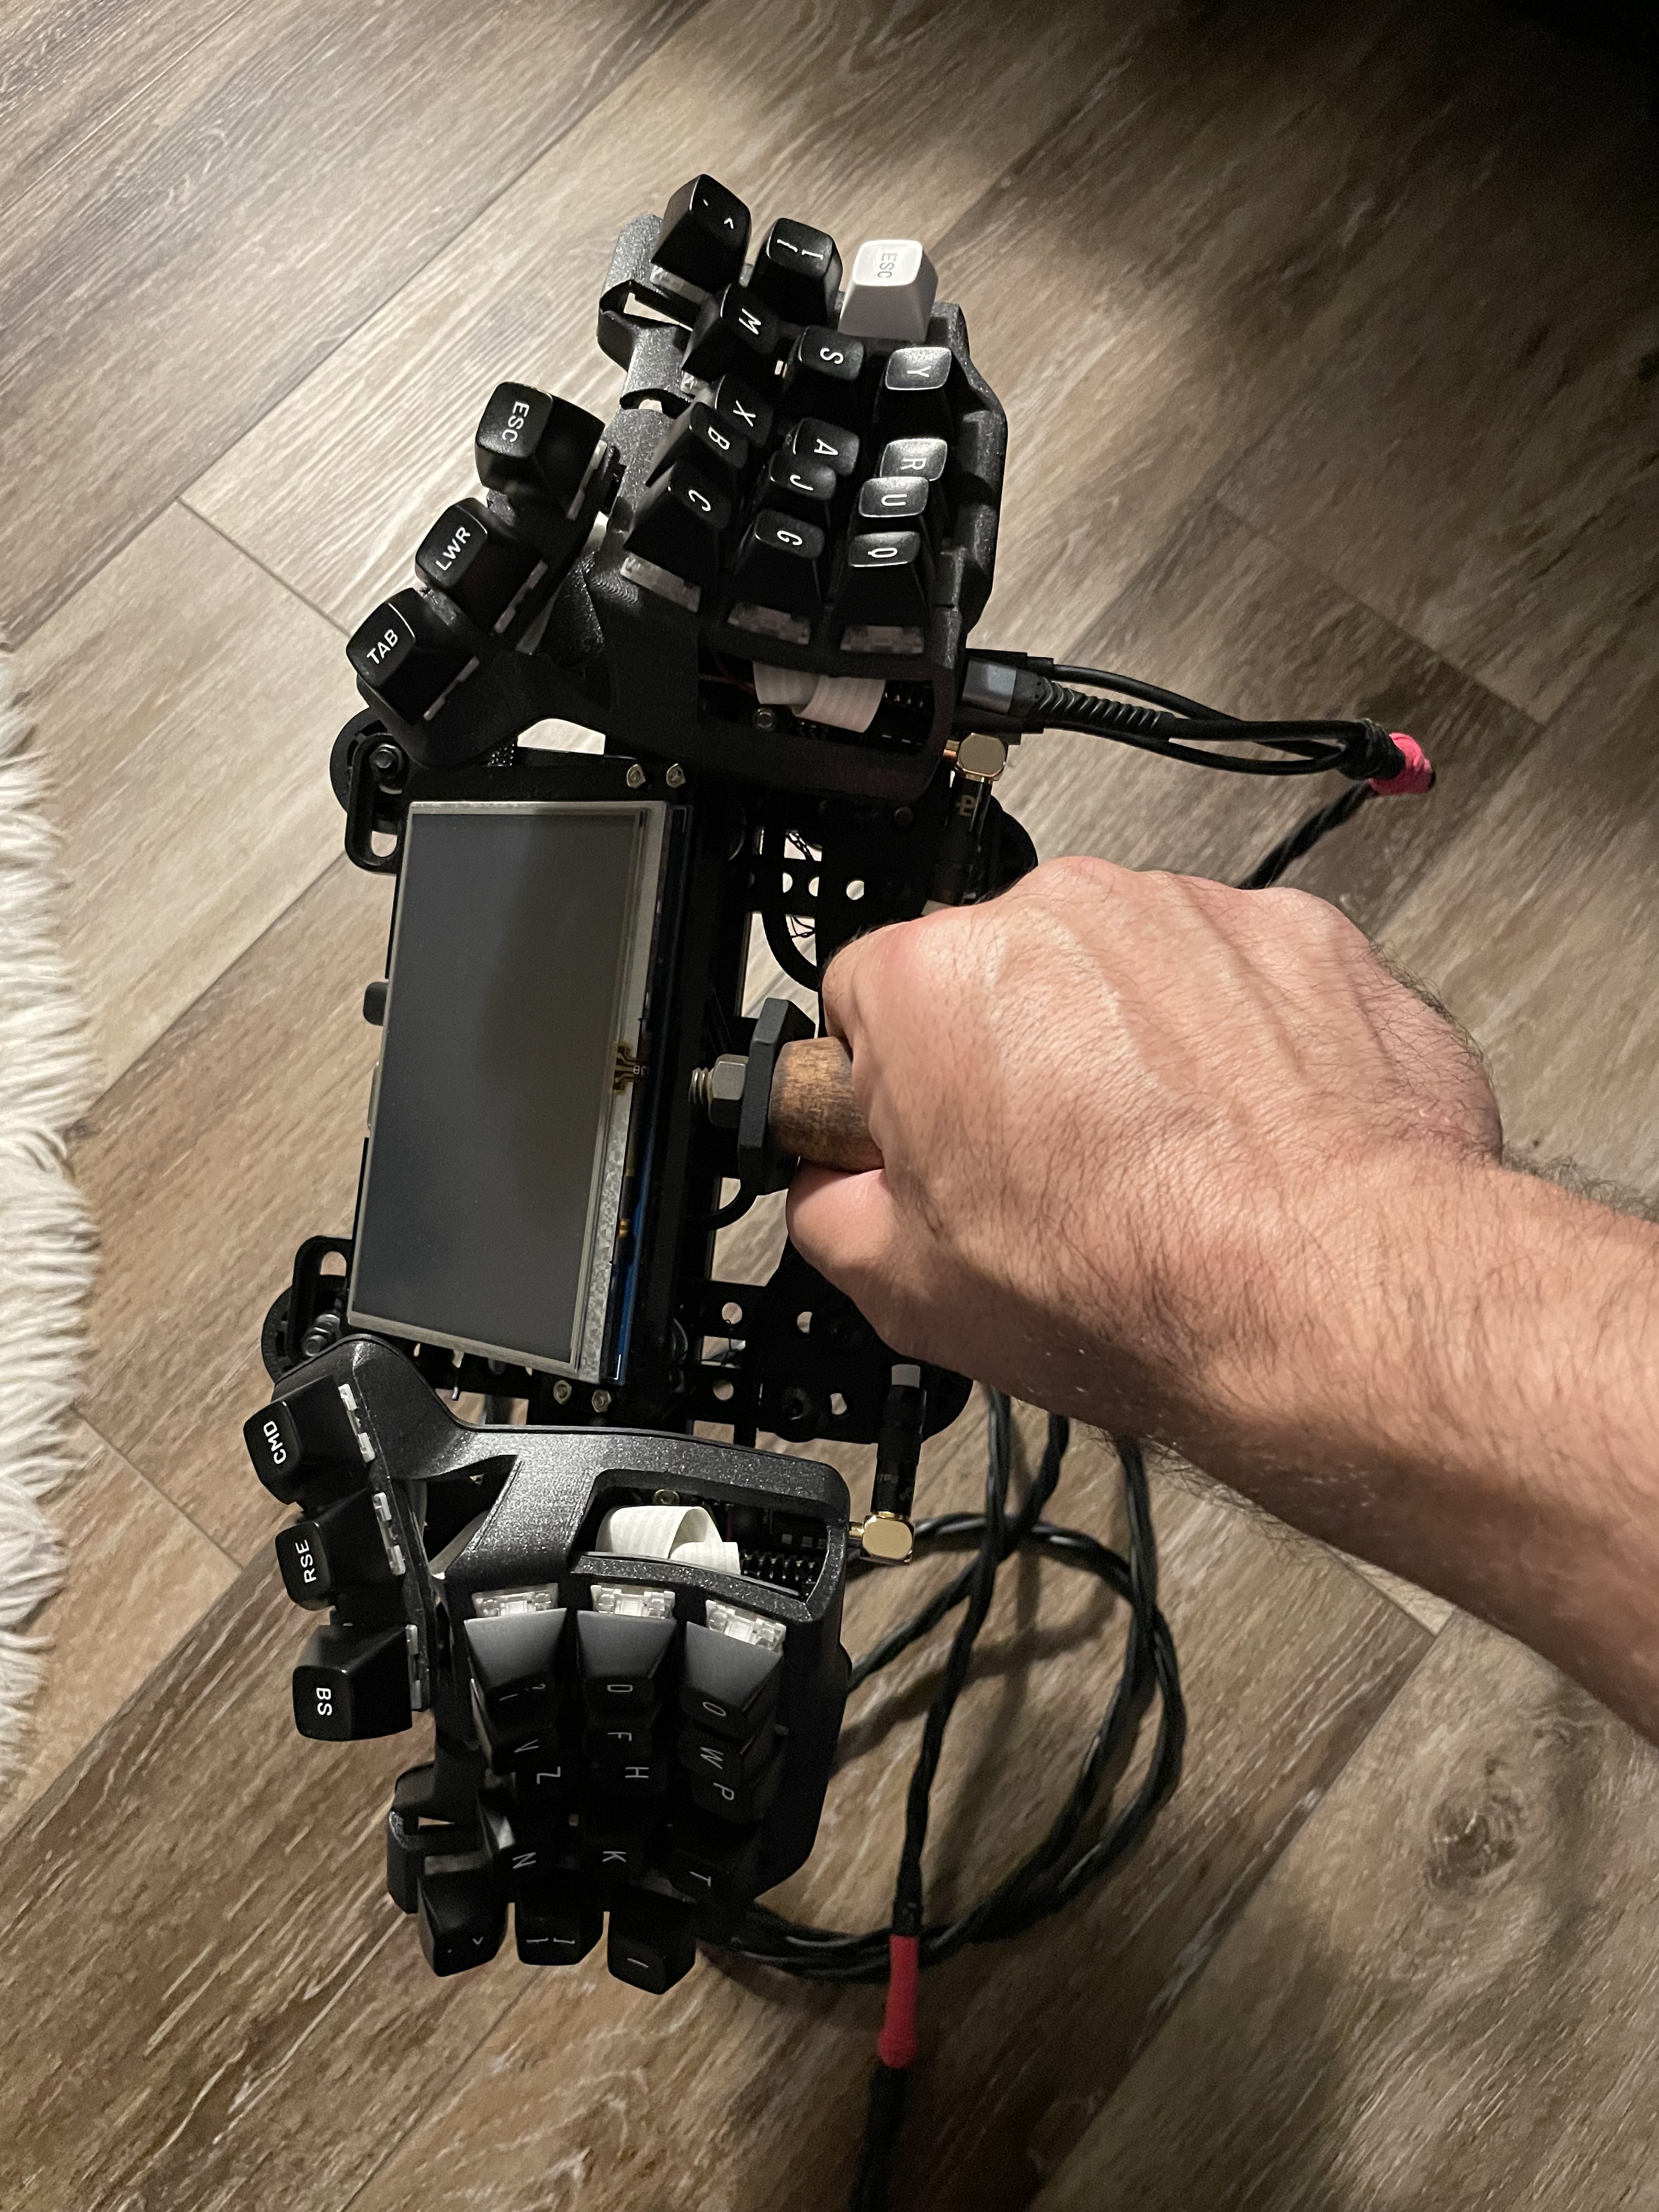
- a bunch of camera rigging with a rad ergo keyboard
- large portable battery
- wifi dongle
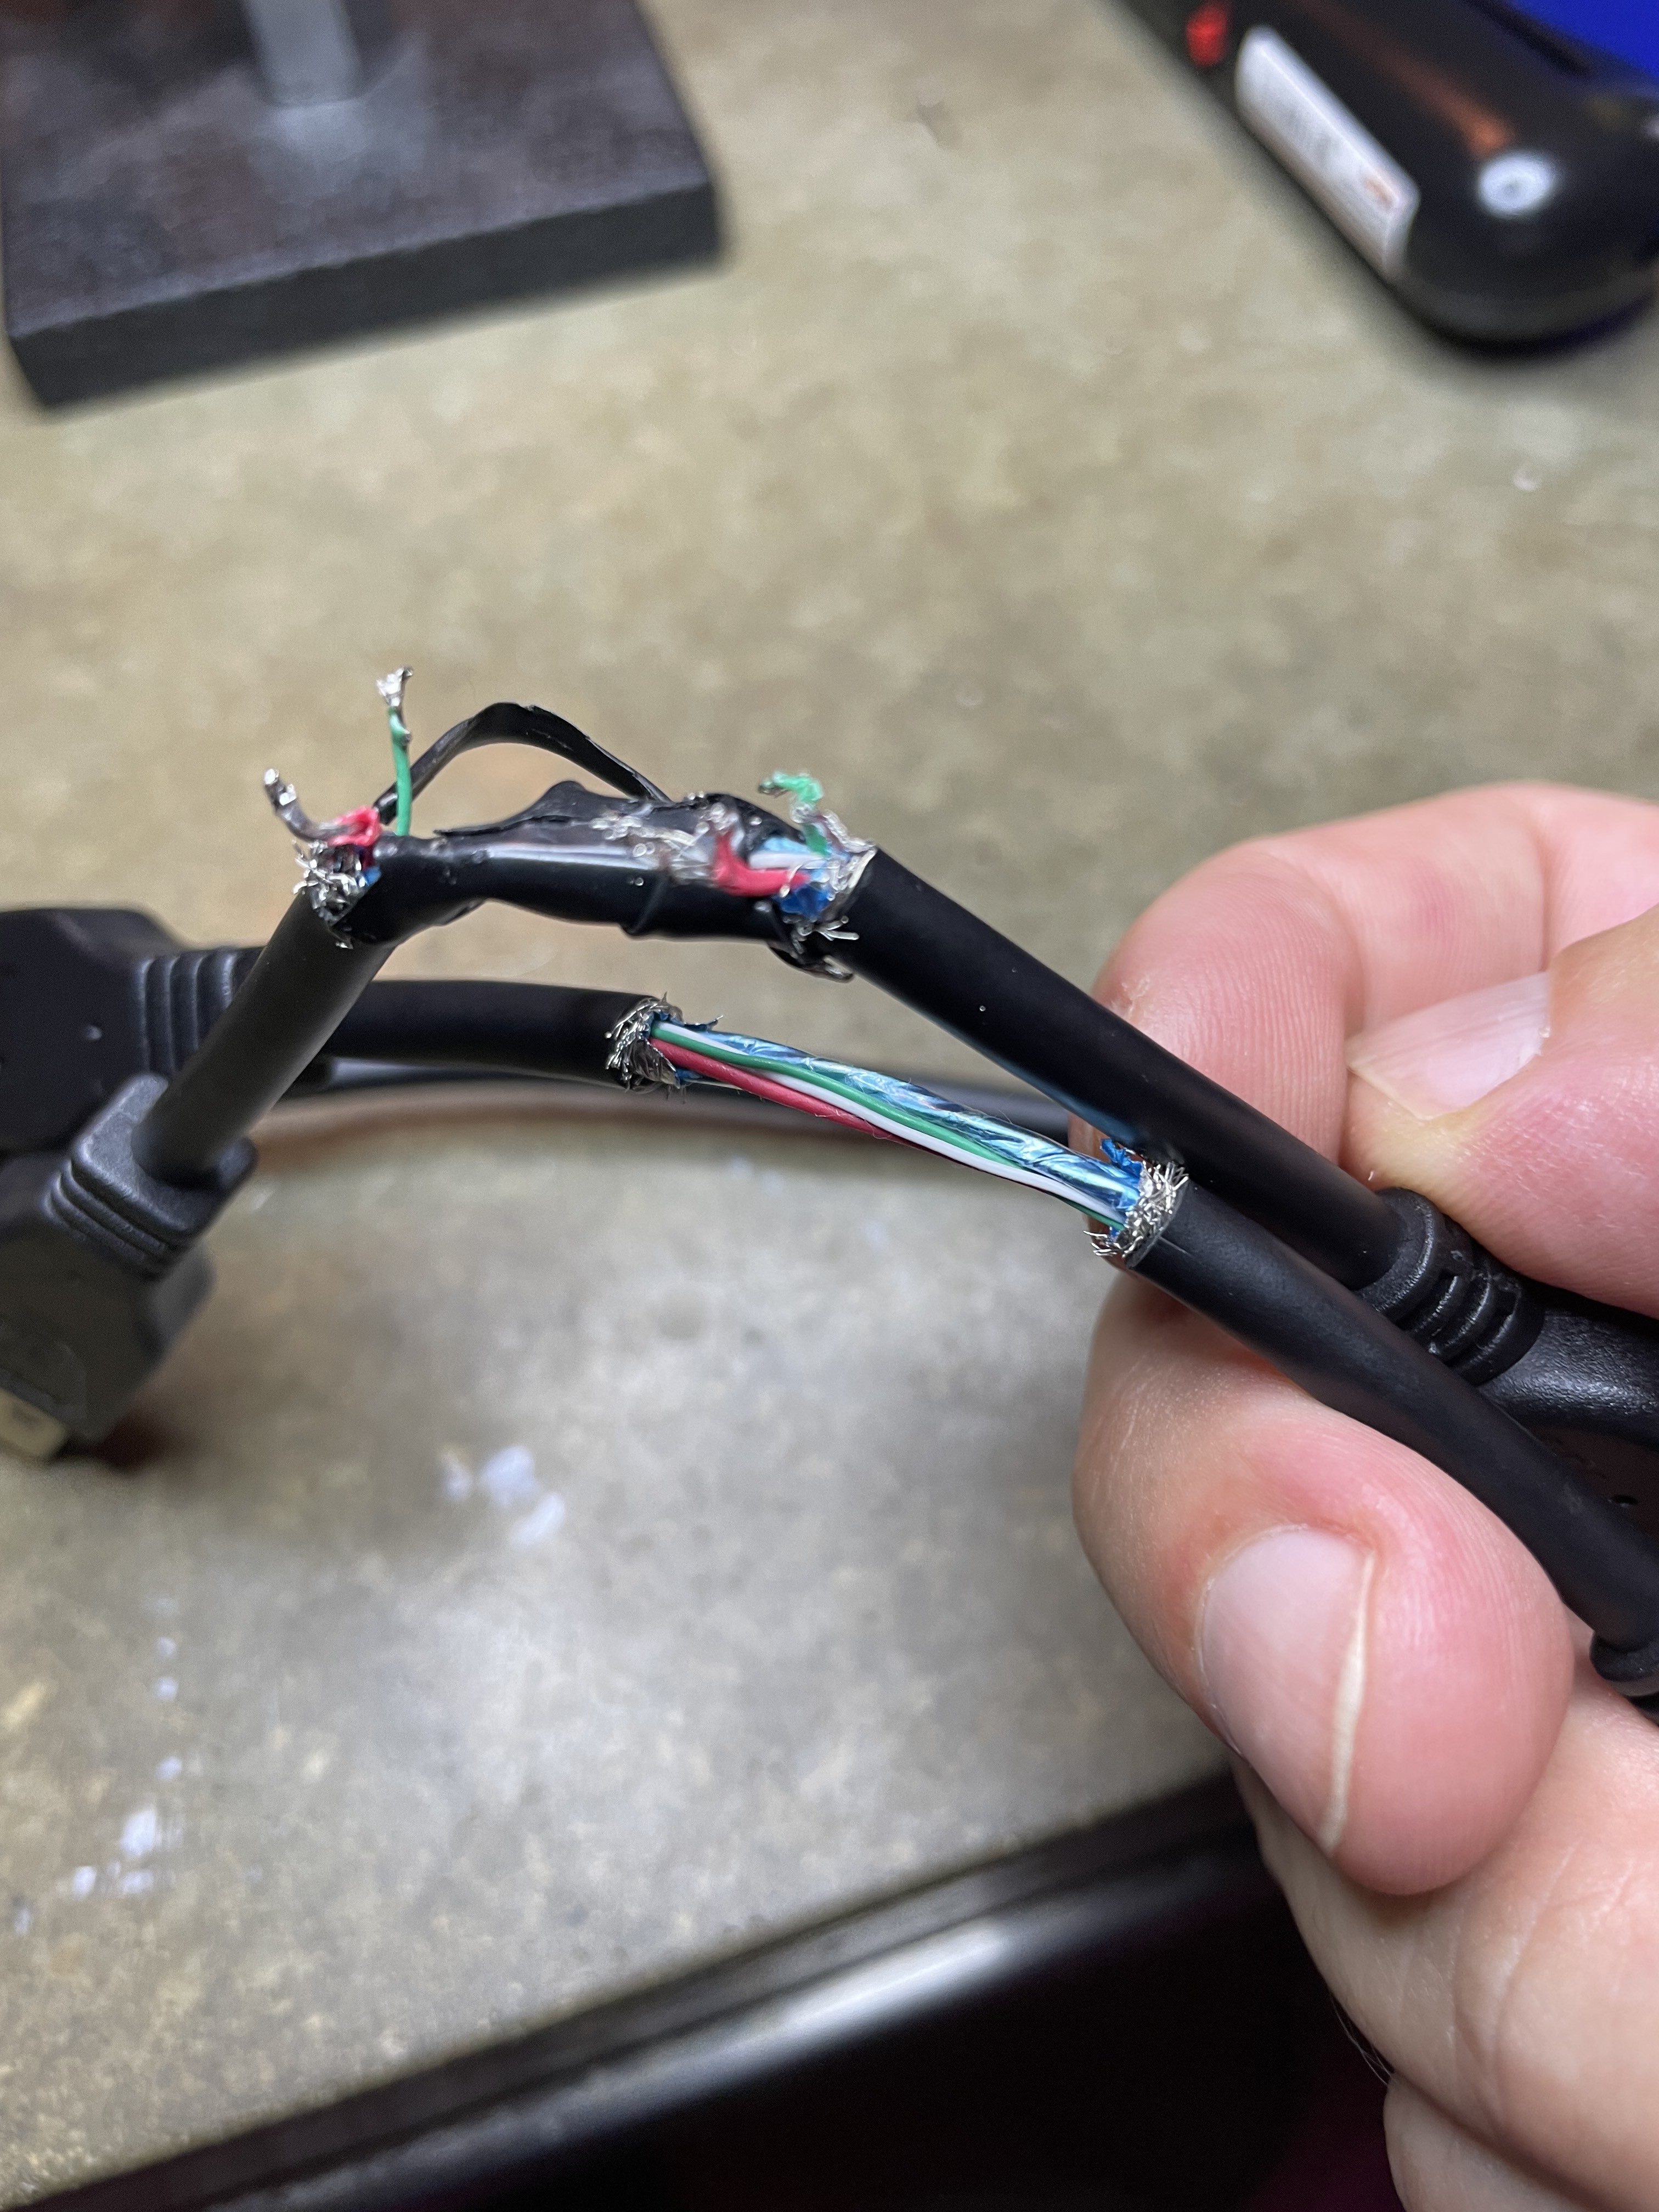
- tangled nest of wires
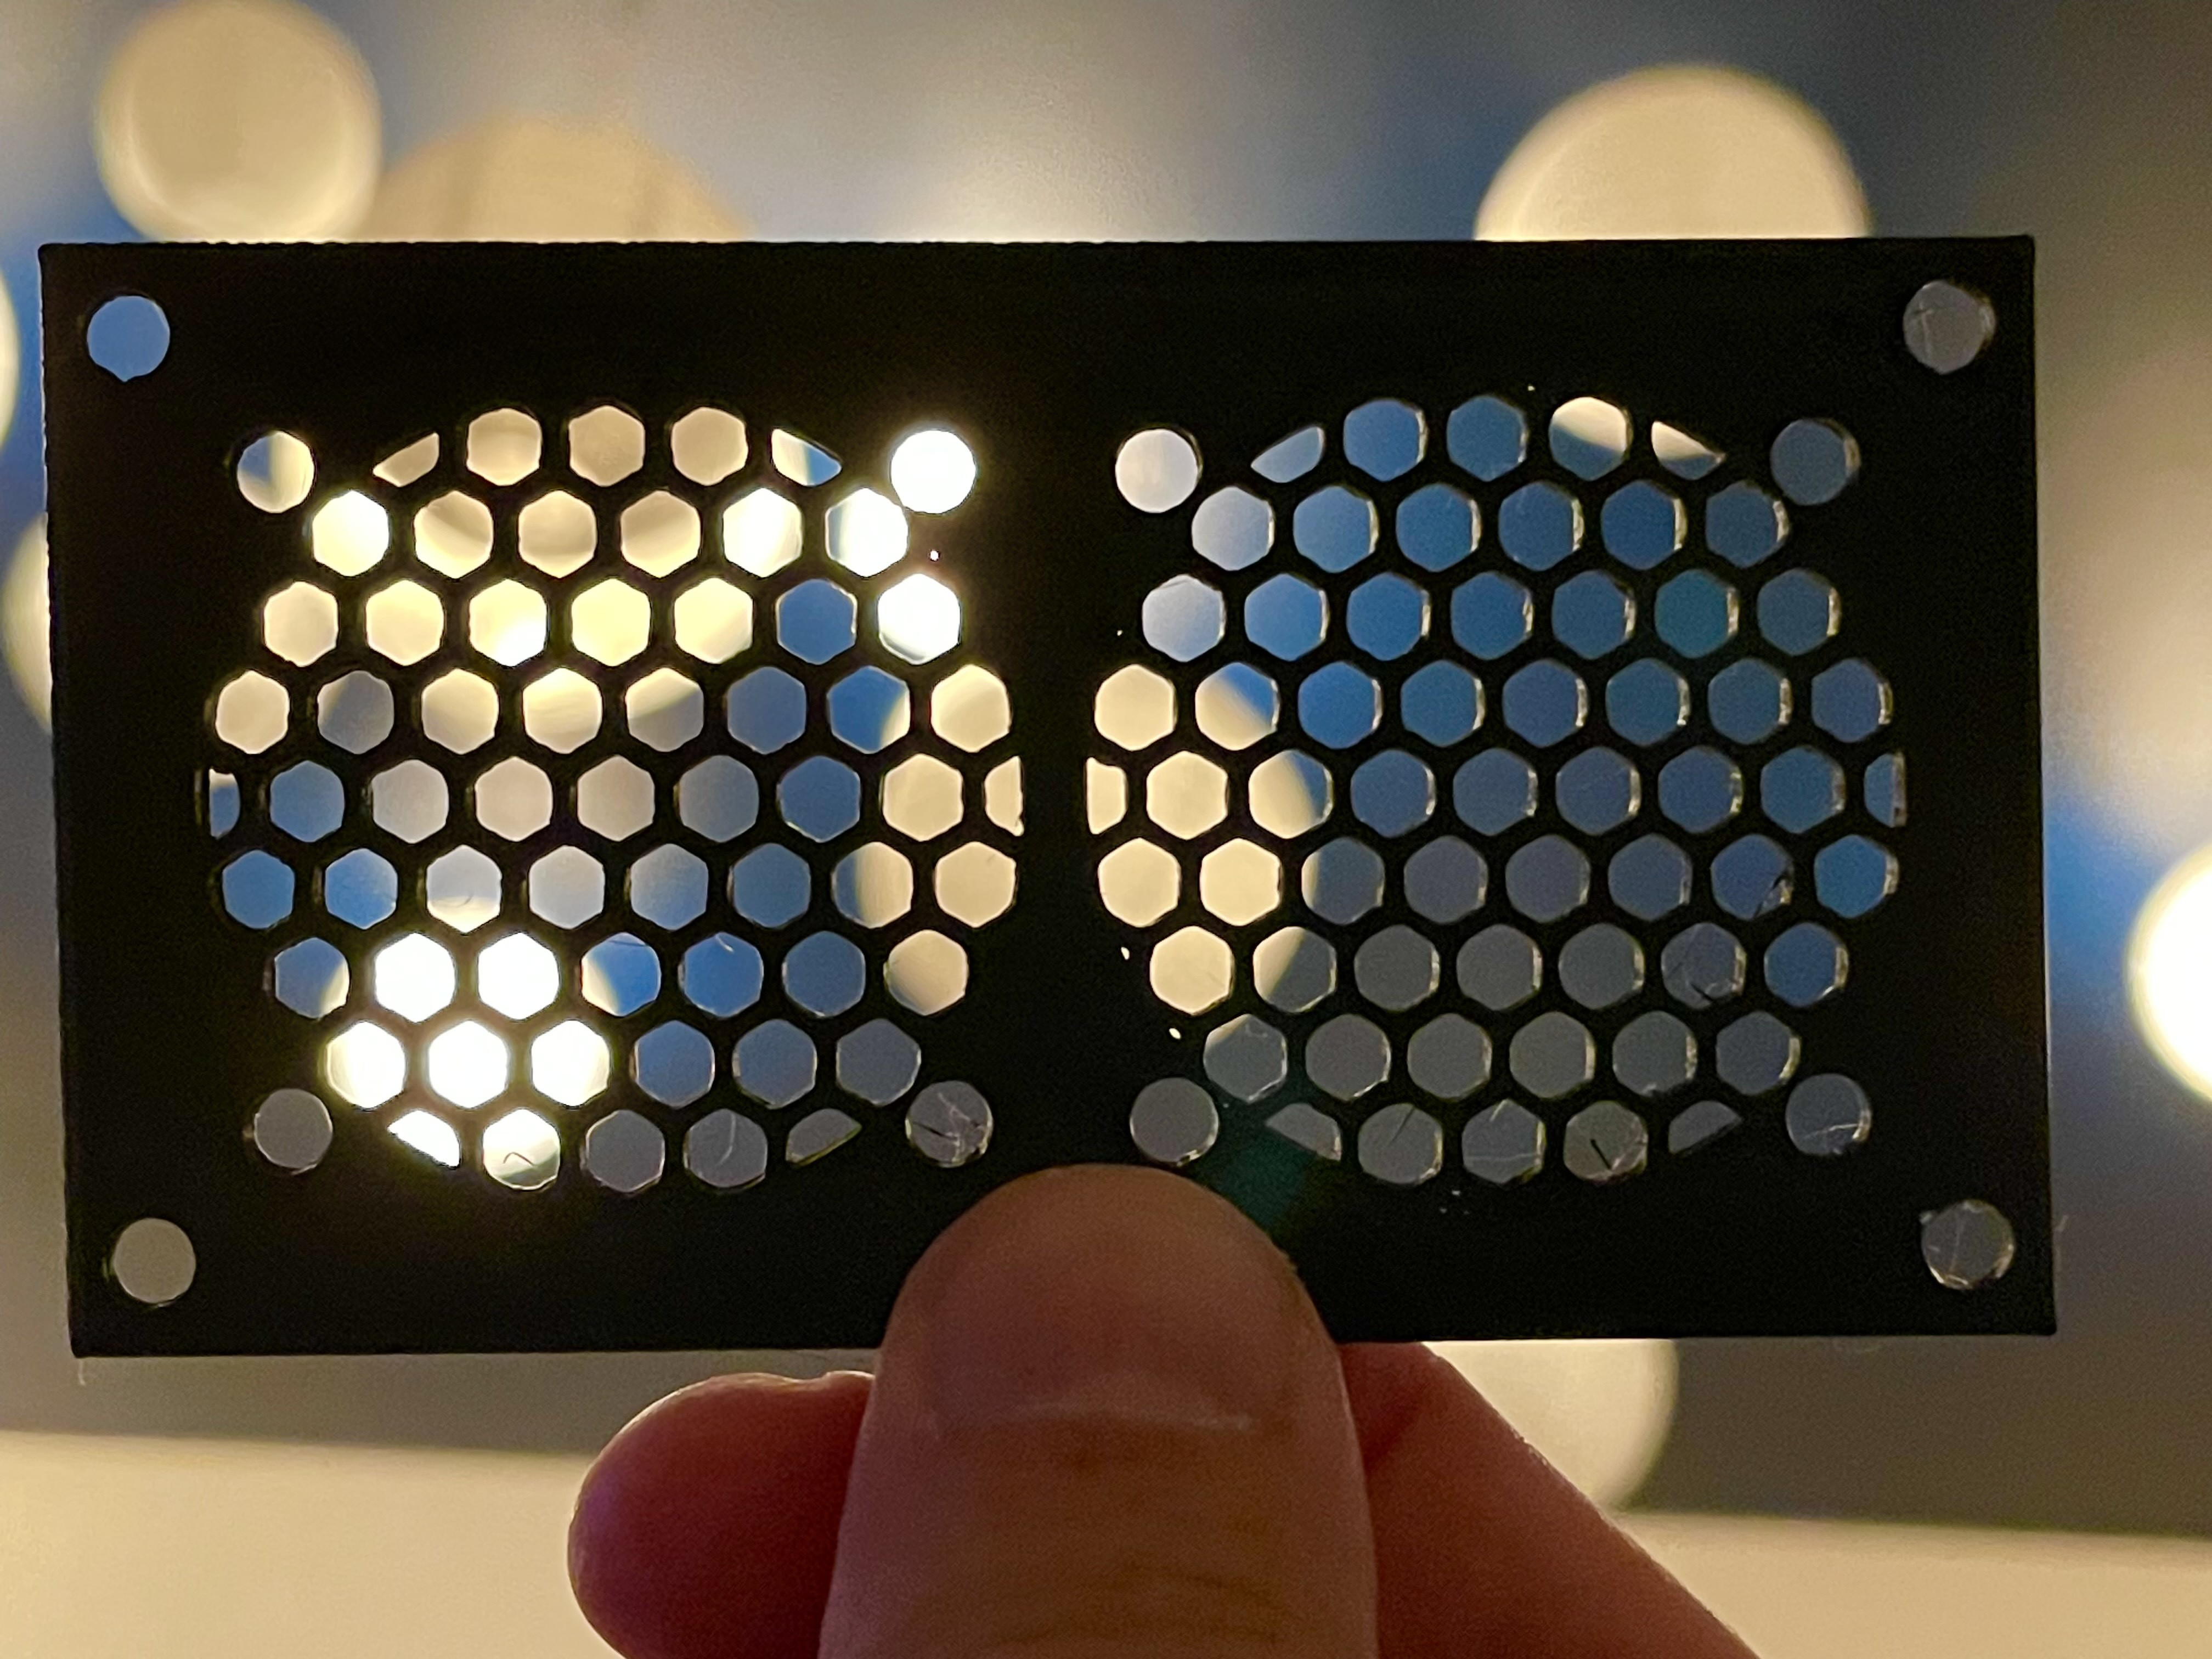
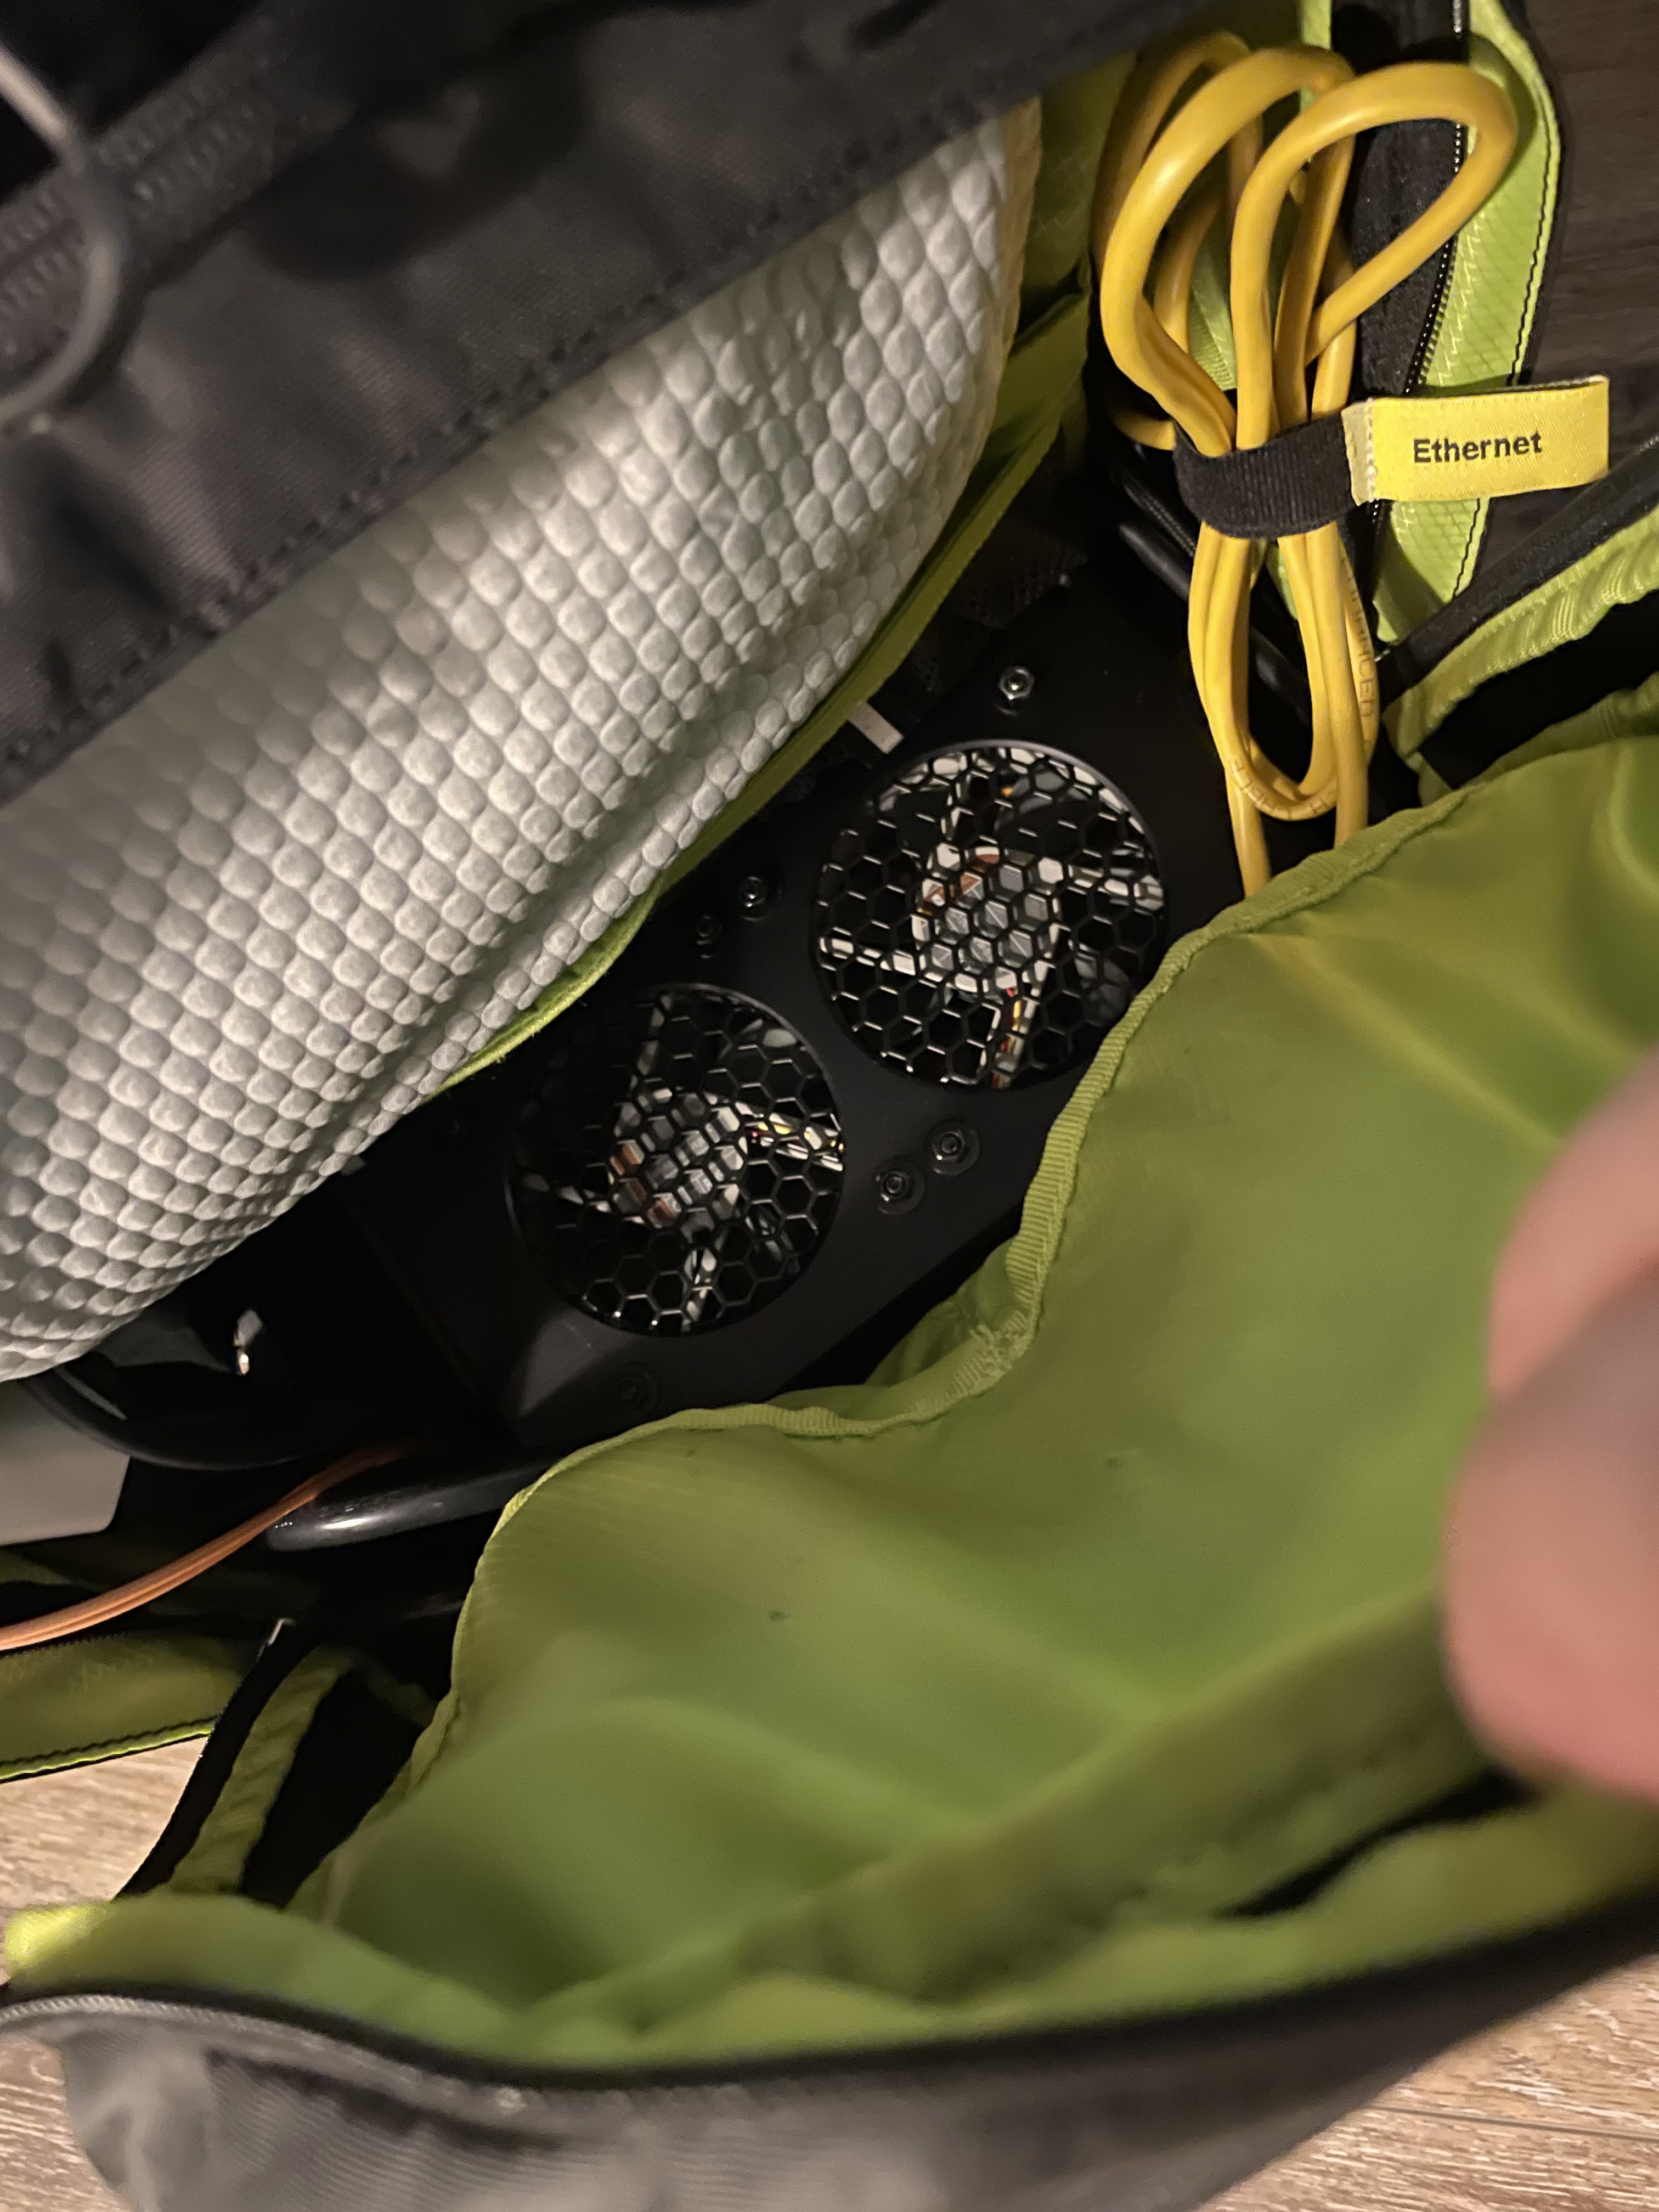
- some case fans
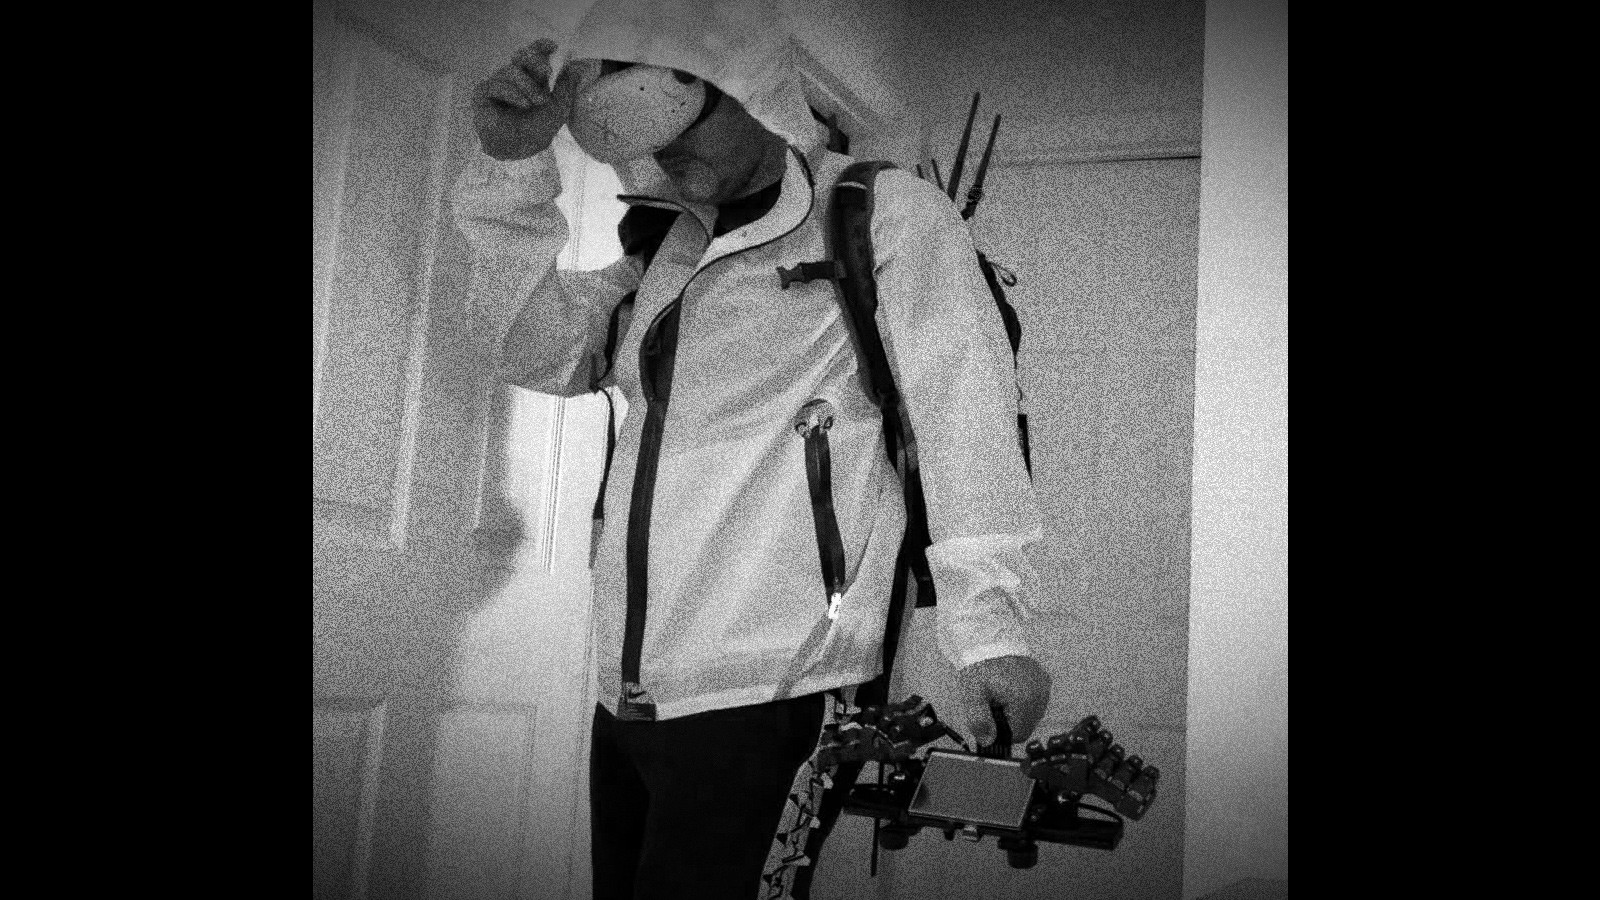
I originally envisioned attaching all of this to a jacket, but found the idea of having to always wear the hardware encumbering especially in the southern heat of a Savannah summer. Also every time I mocked it up, the process of putting it on and taking it off was comically awkward and clanky. I remembered a nice backpack I used to commute with in The Days Before which had been collecting dust in the closet for over 2 years. This could work!
Also I have developed a new interest: a deeper understanding of wifi, and control of my own home network even if my teenage kids become hackers.
How can I combine all of the above into a cyberdeck? After some research into a VR solution using an application called `Immersed` on the Quest 2, I found that a) it doesn't run on an rPi, and b) a windows PC runs the software a lot better than a linux machine so I decided to buy:
- a small PC to host the Immersed client, from which I can ssh or rdp to the linux pi.
- a tiny router to handle networking, both wired and wireless. I tried doing it all using the onboard NICs and a crossover cable and stuff, but the router just added a ton of flexibility and ease of use so I bit the bullet and bought the thing.
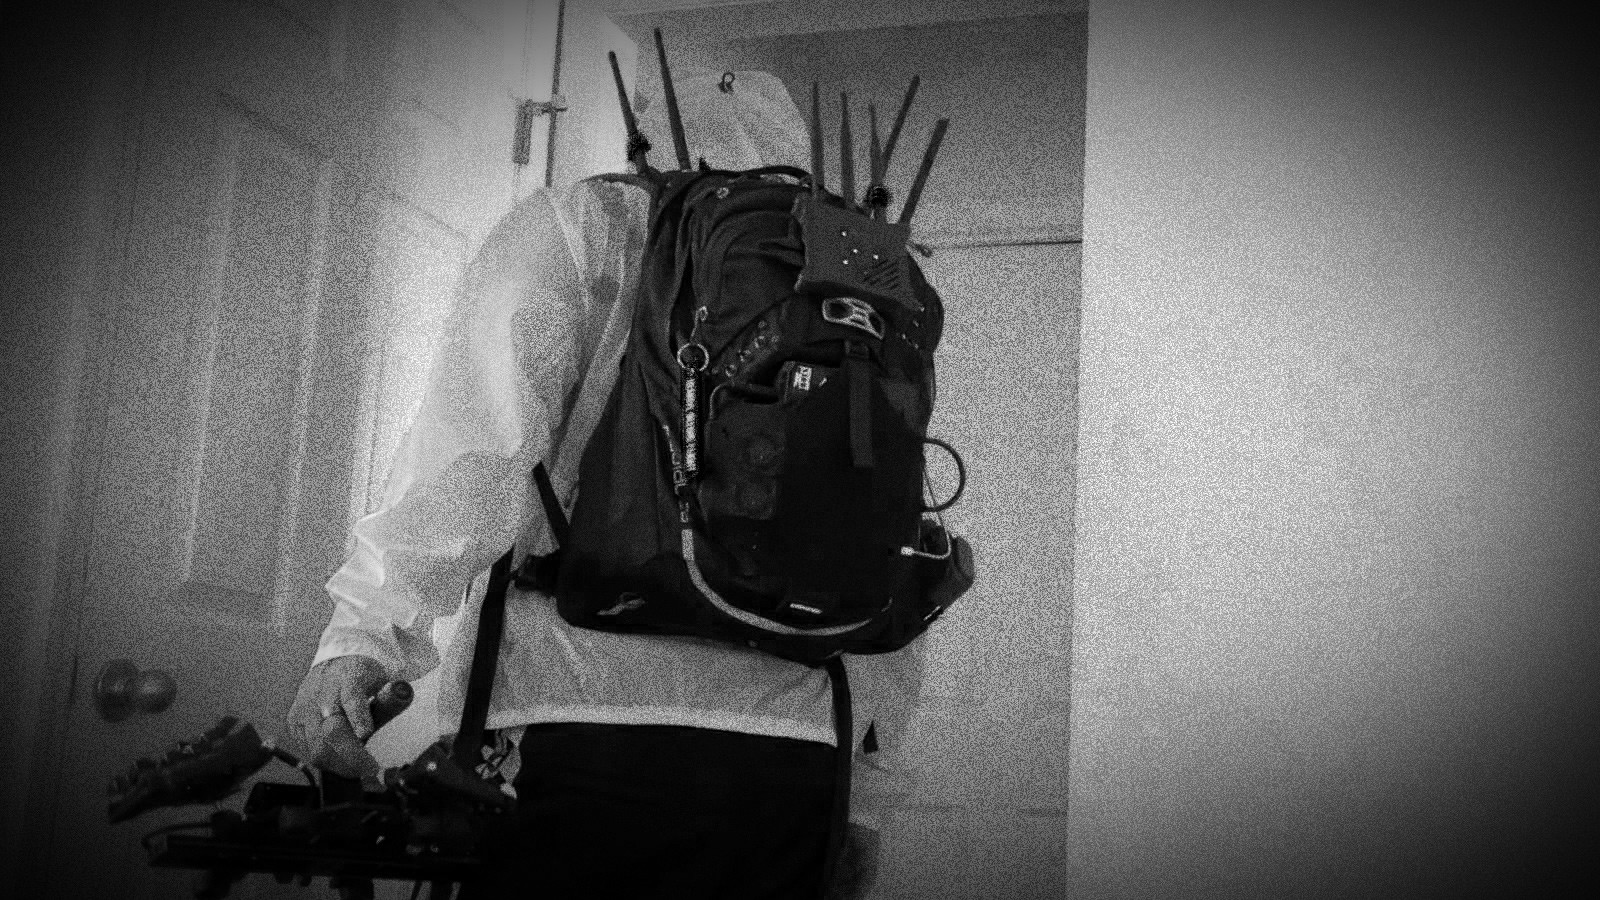
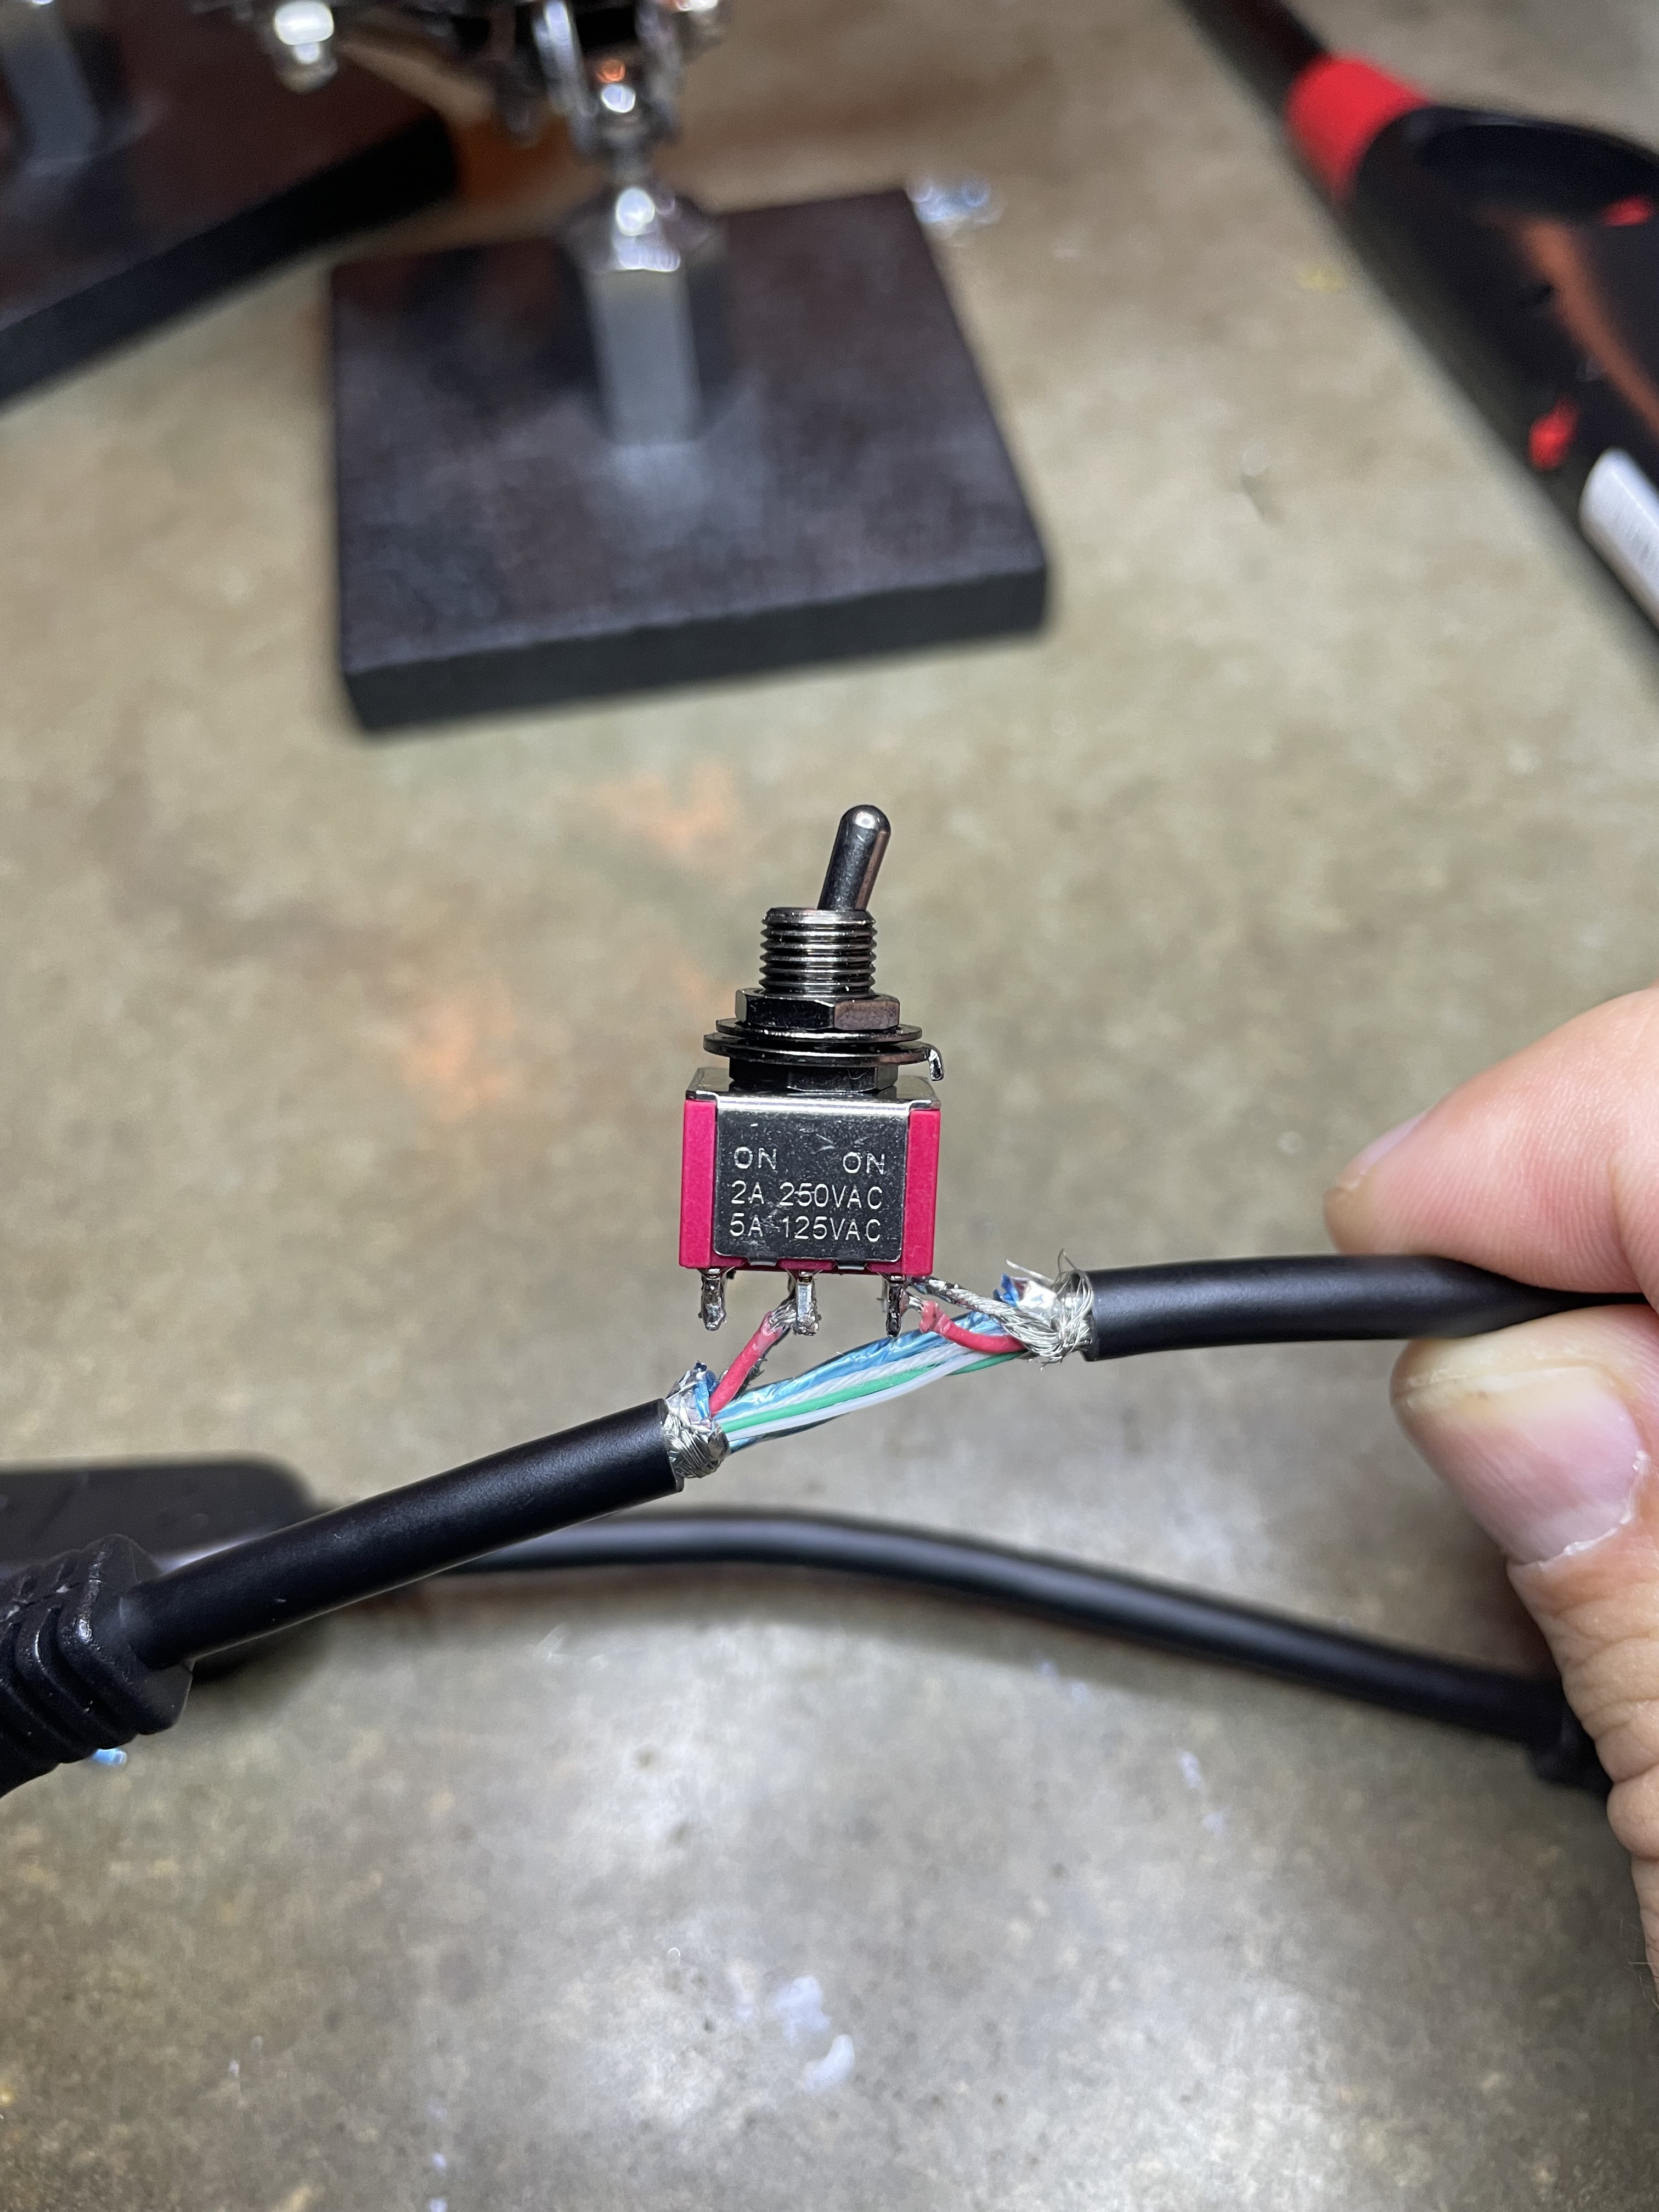
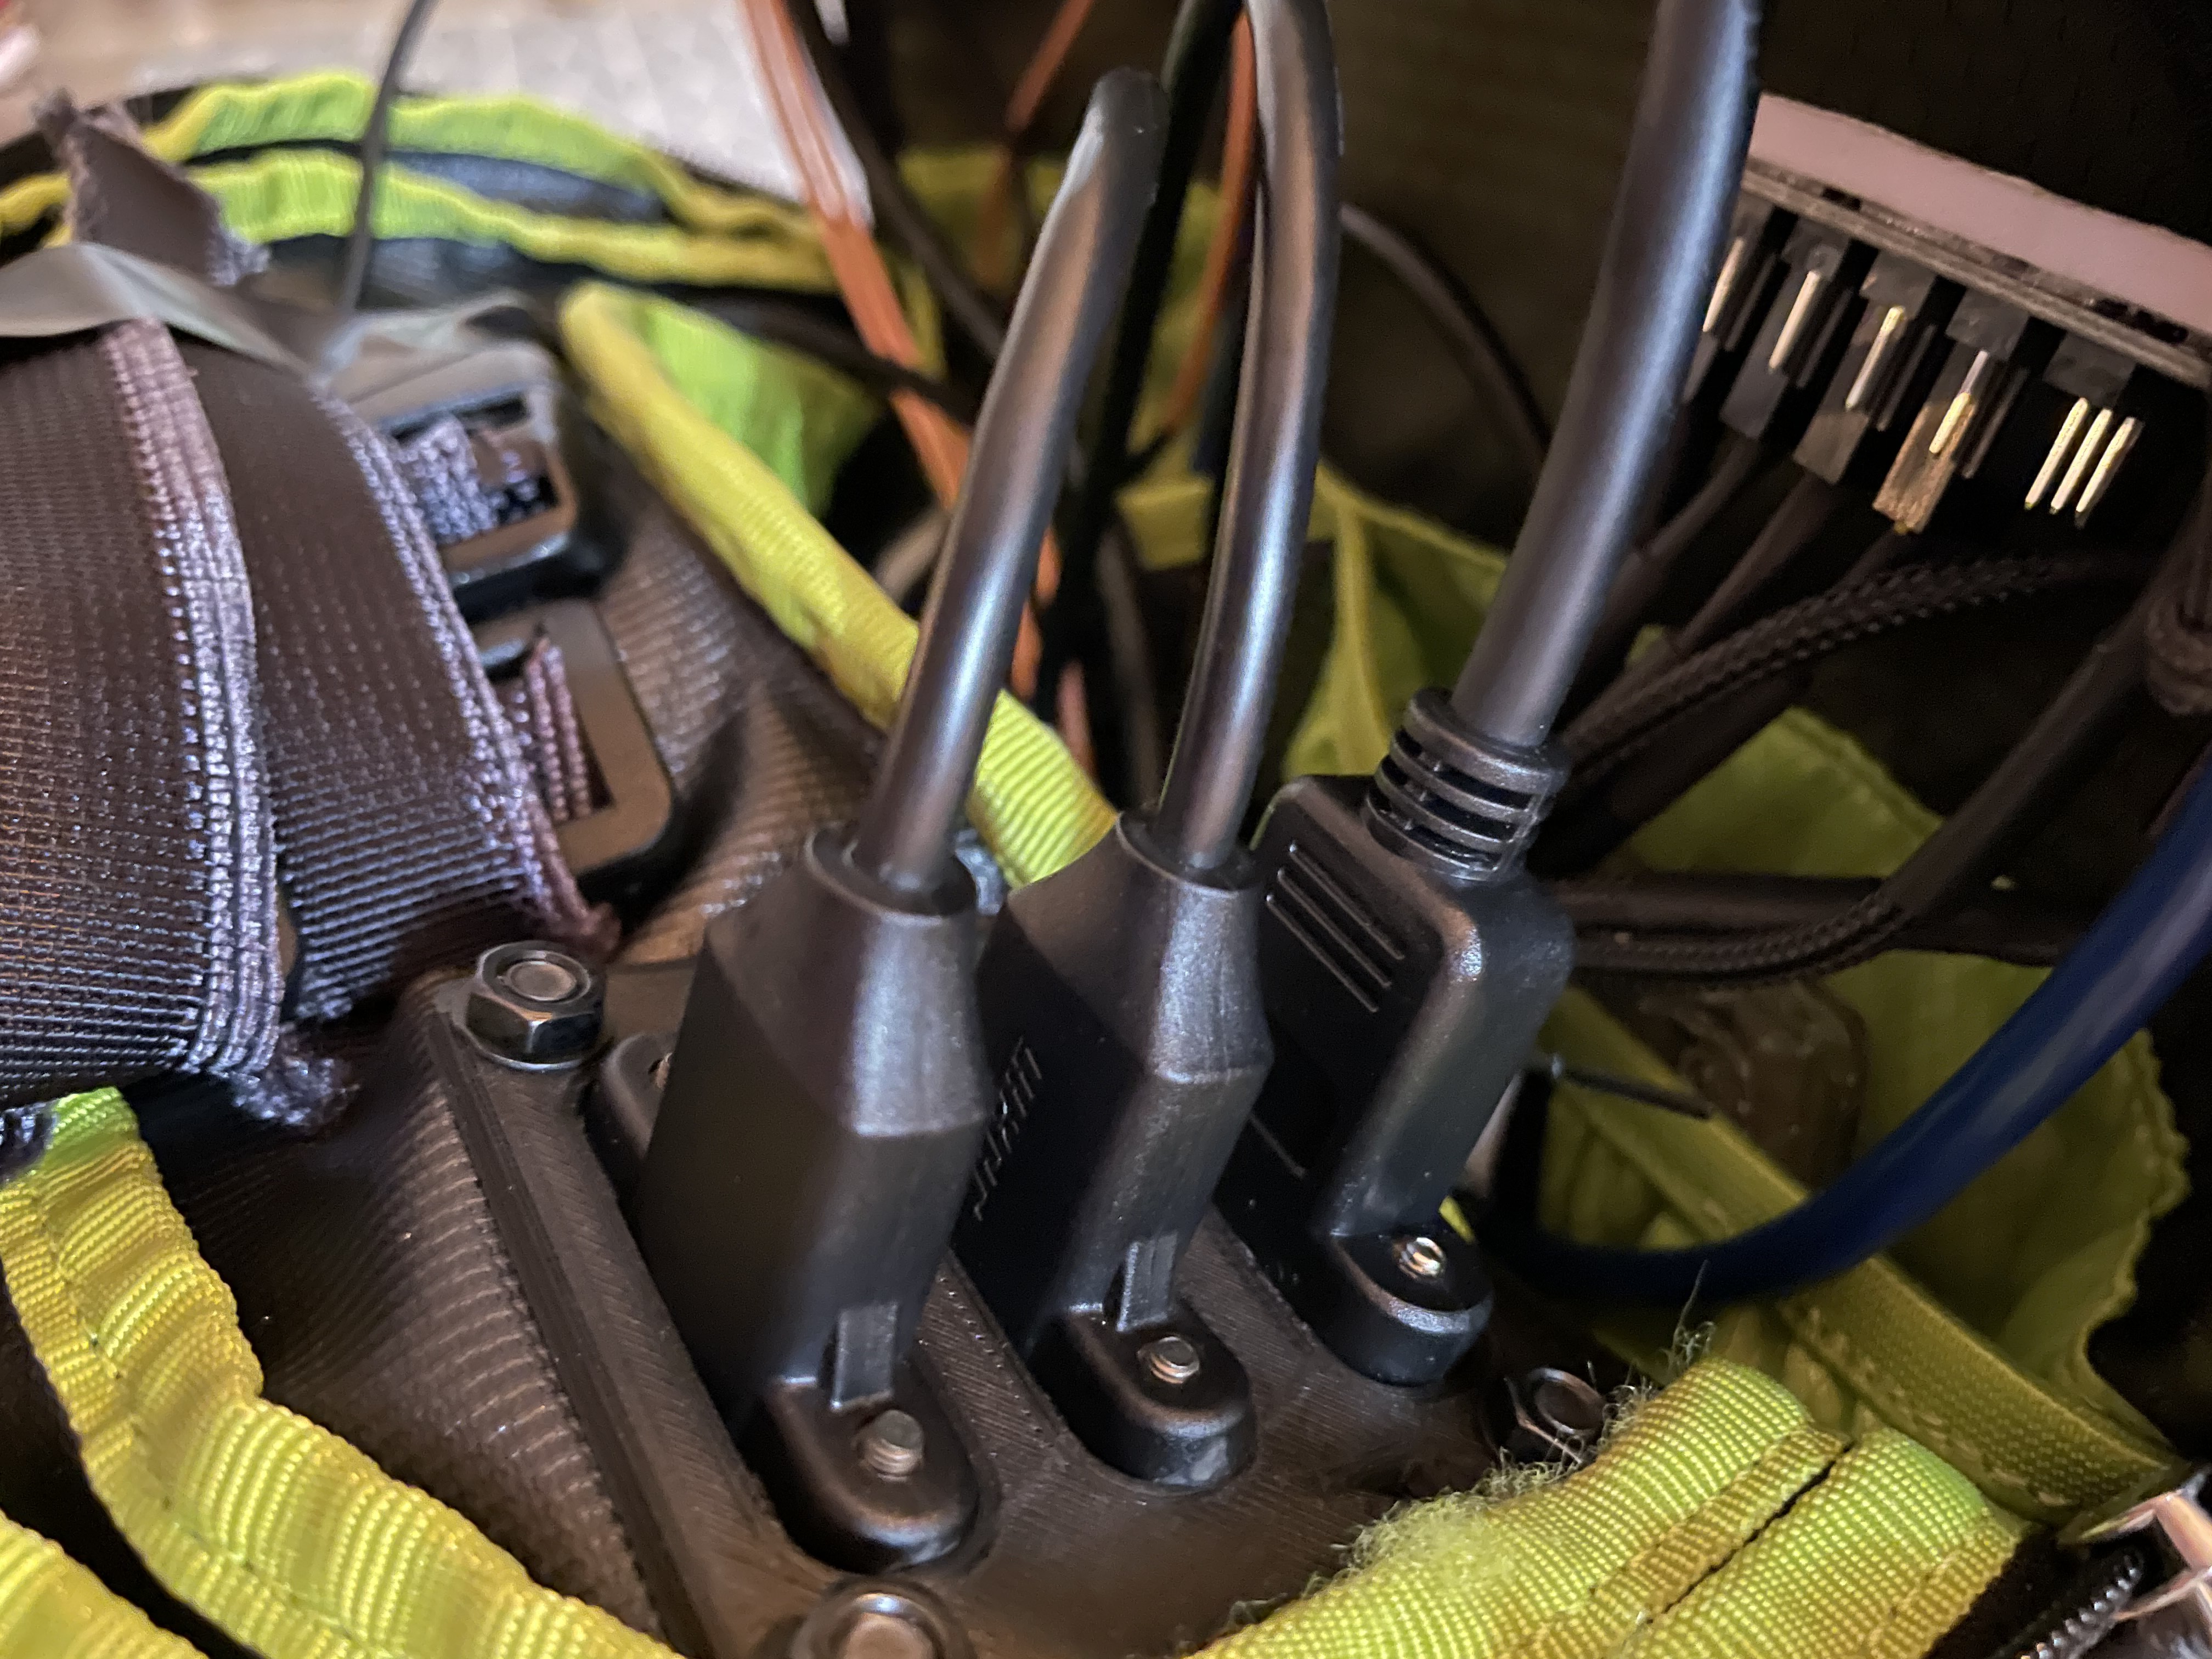
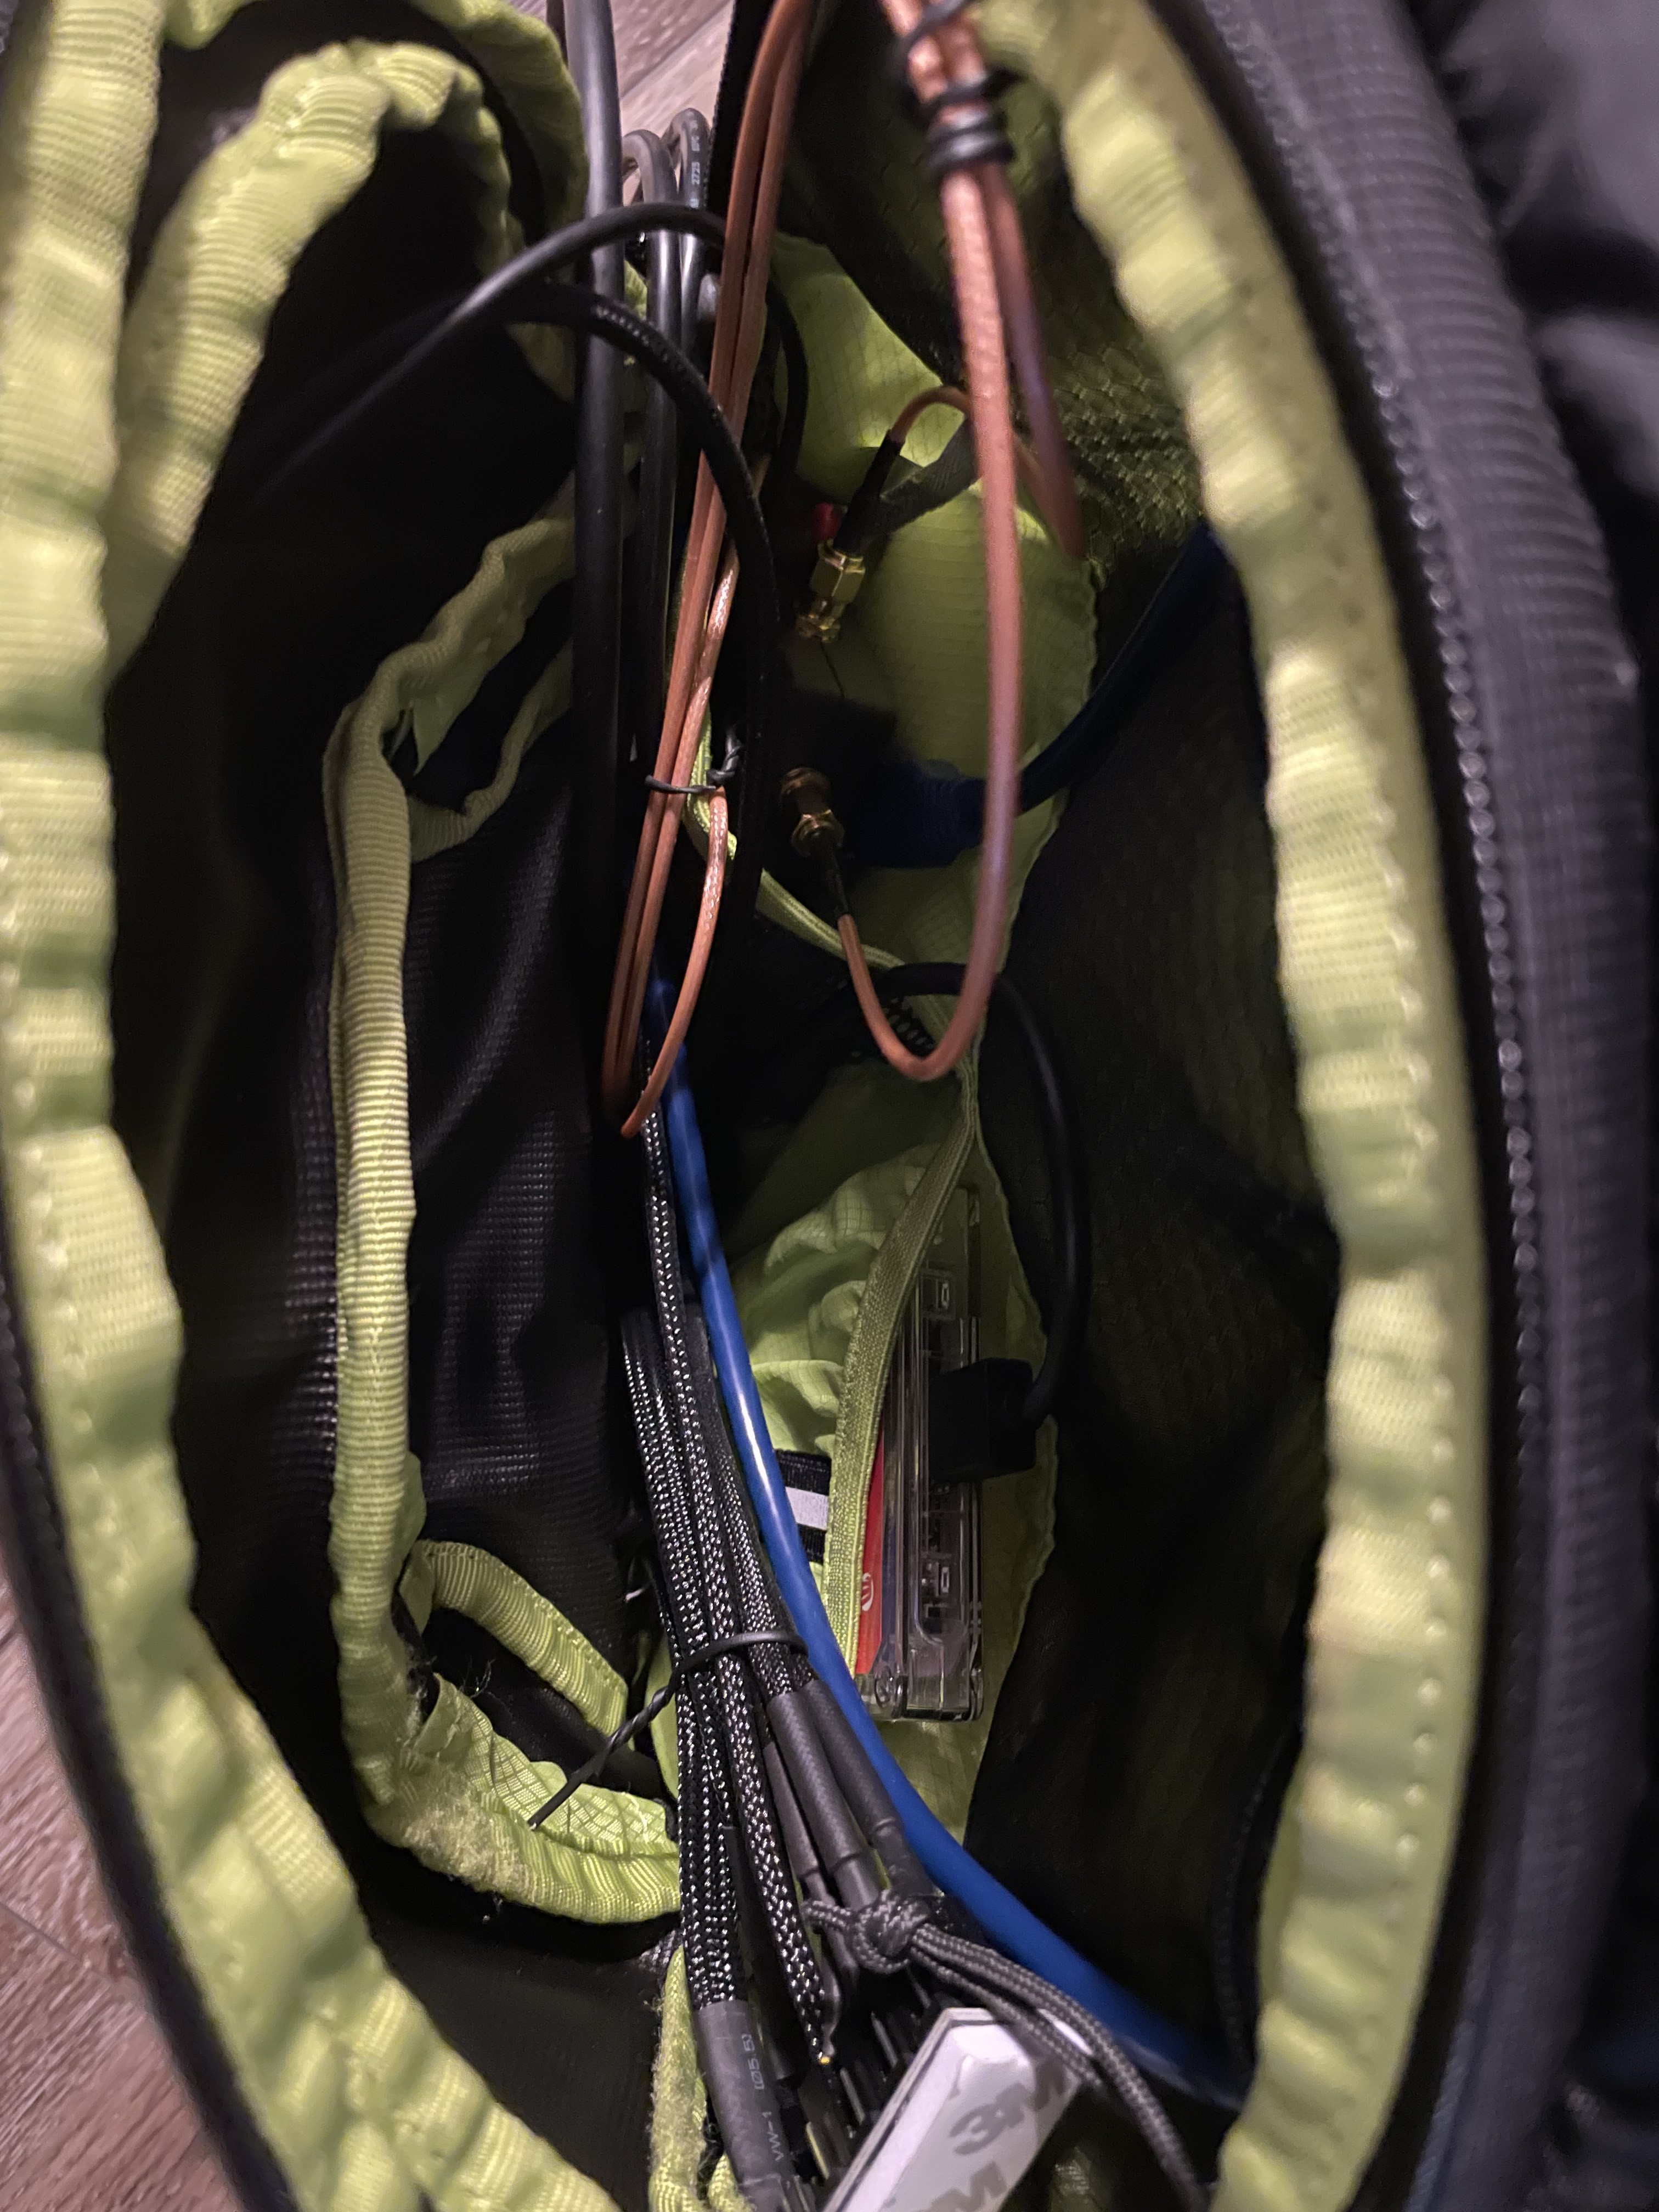
I stuffed everything into the backpack in what I thought would be logical places, and cut some holes within the backpack to internalize some wiring. Purchased some specific cables to improve wiring efficiency and some AC plugs that would actually fit in the backpack ... which still had to be whittled down a little to fit (that's safe right?).
Fun details:
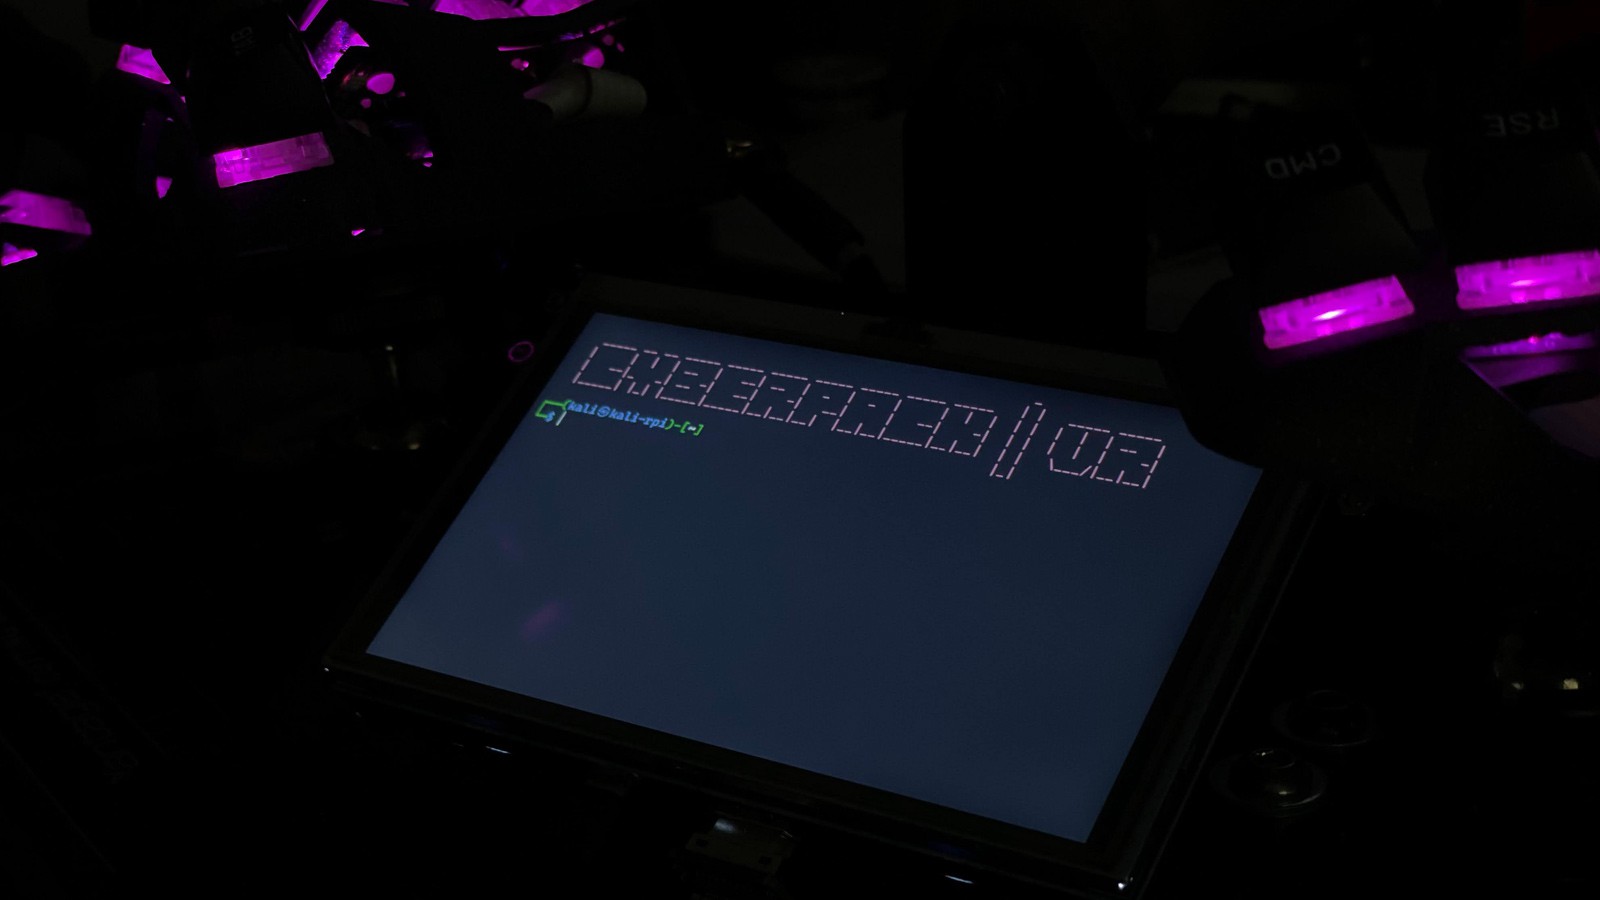
- terminal handle is from a wine opener
- backpack damage is from crashing while commuting on a onewheel
- battery is from commuting by onewheel; it would charge the onewheel 1.5x!
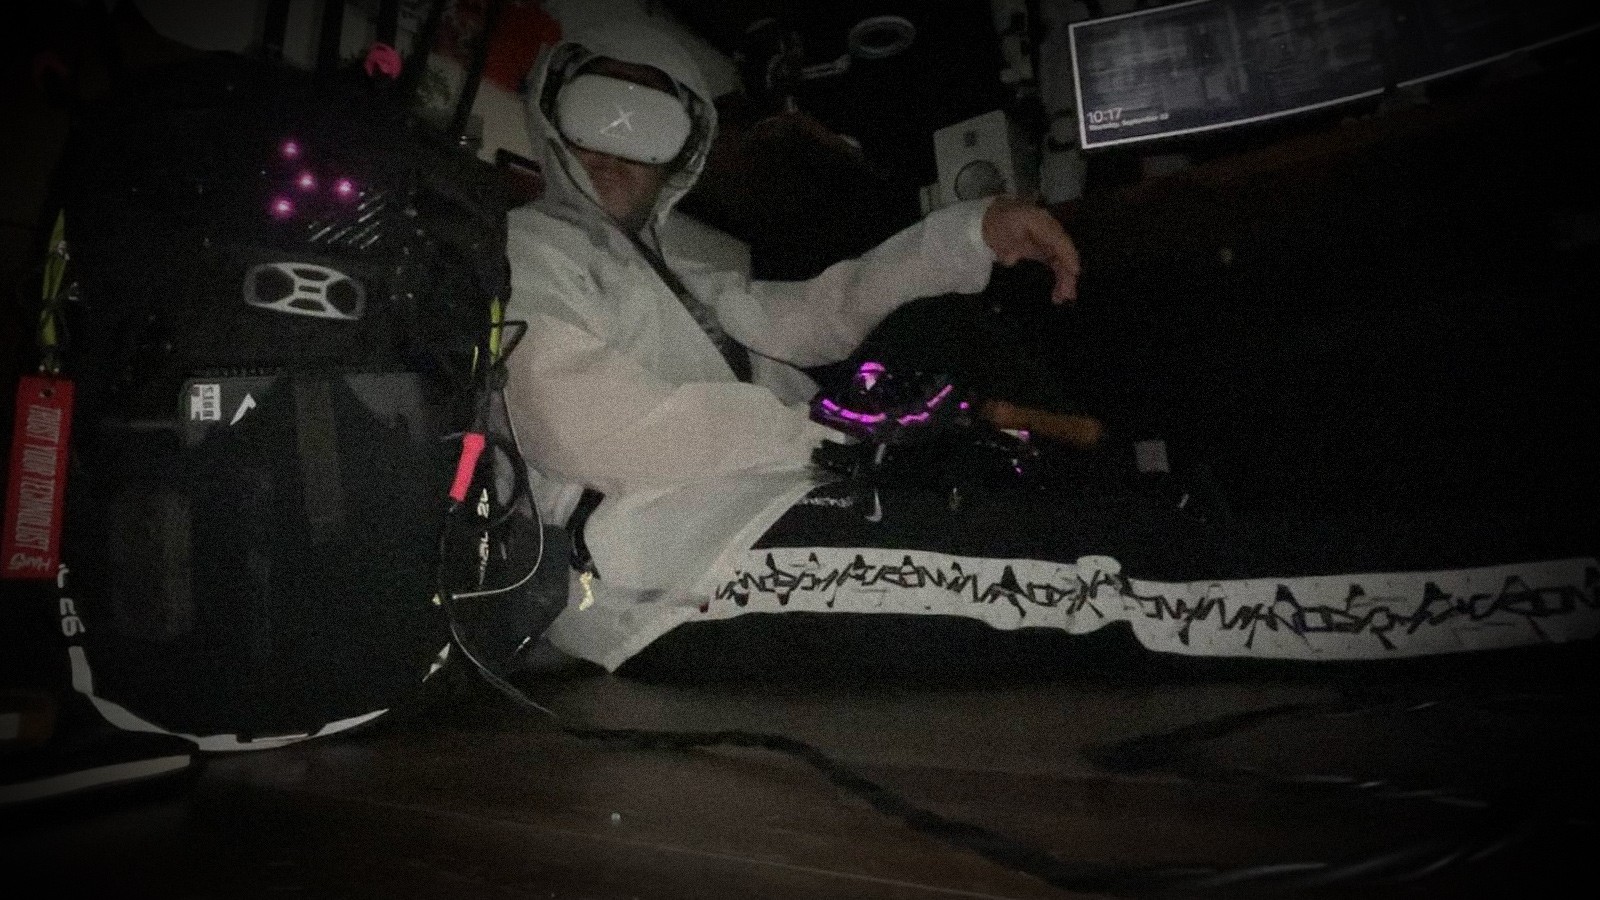
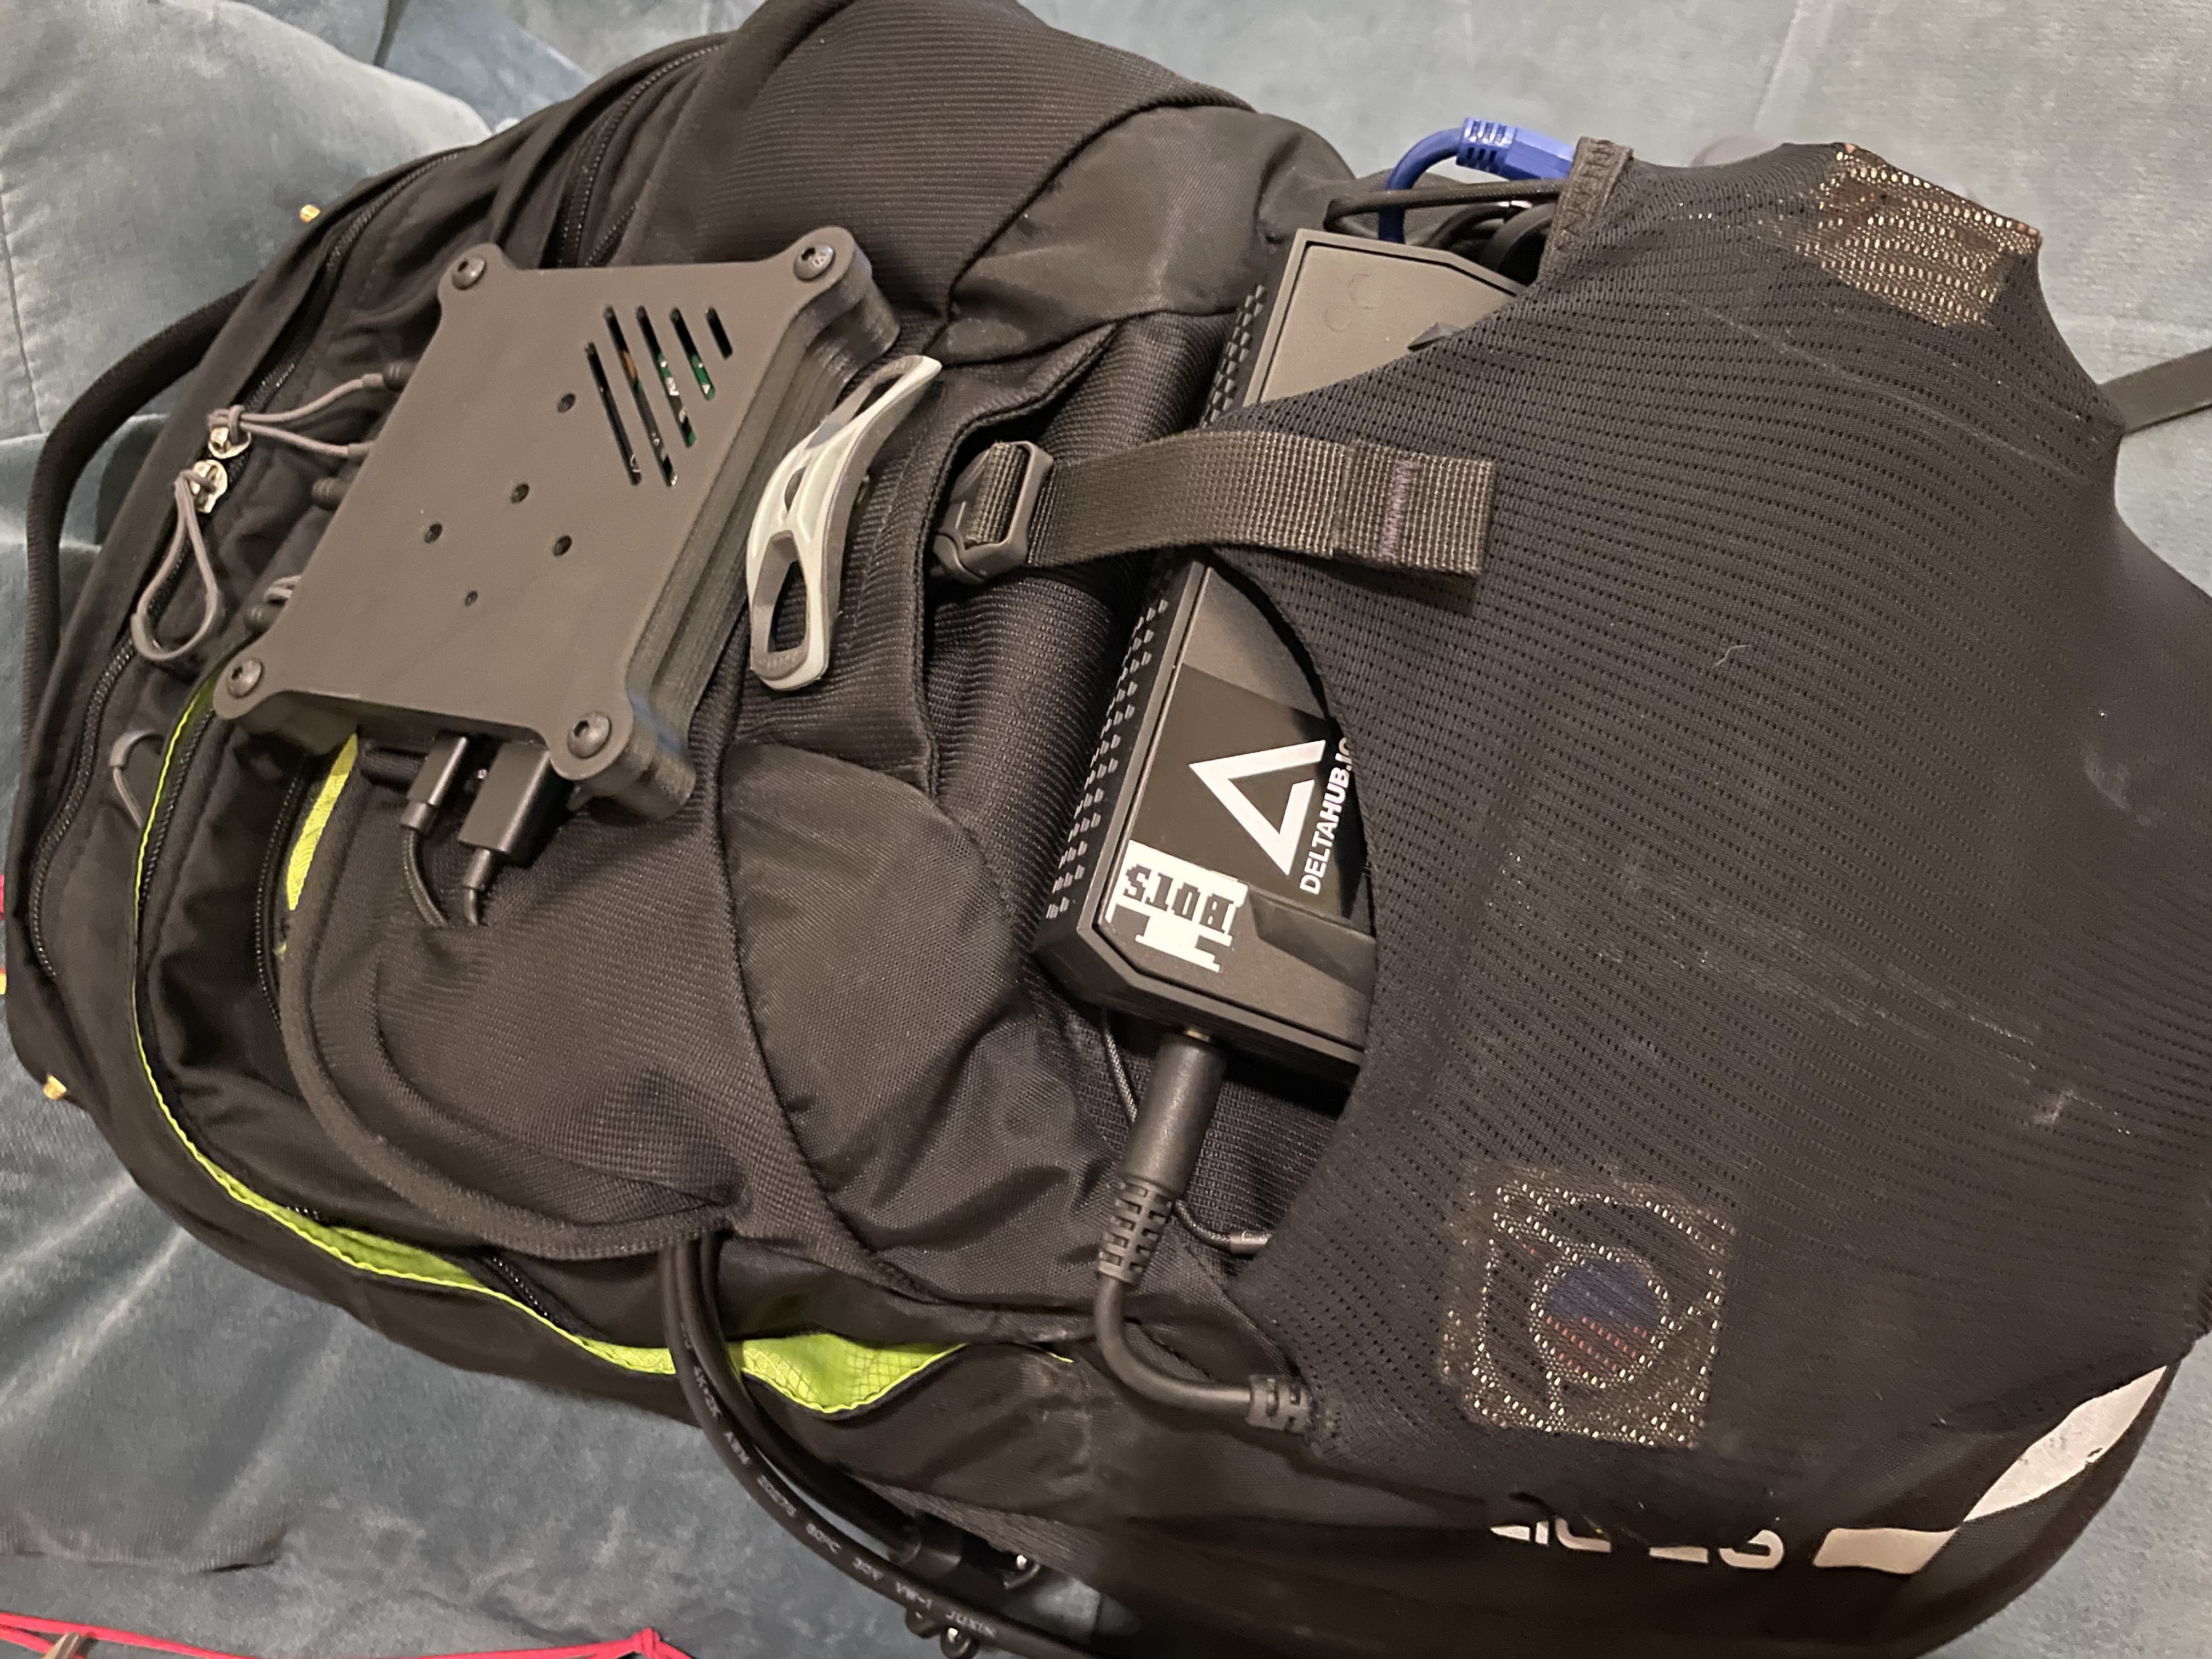
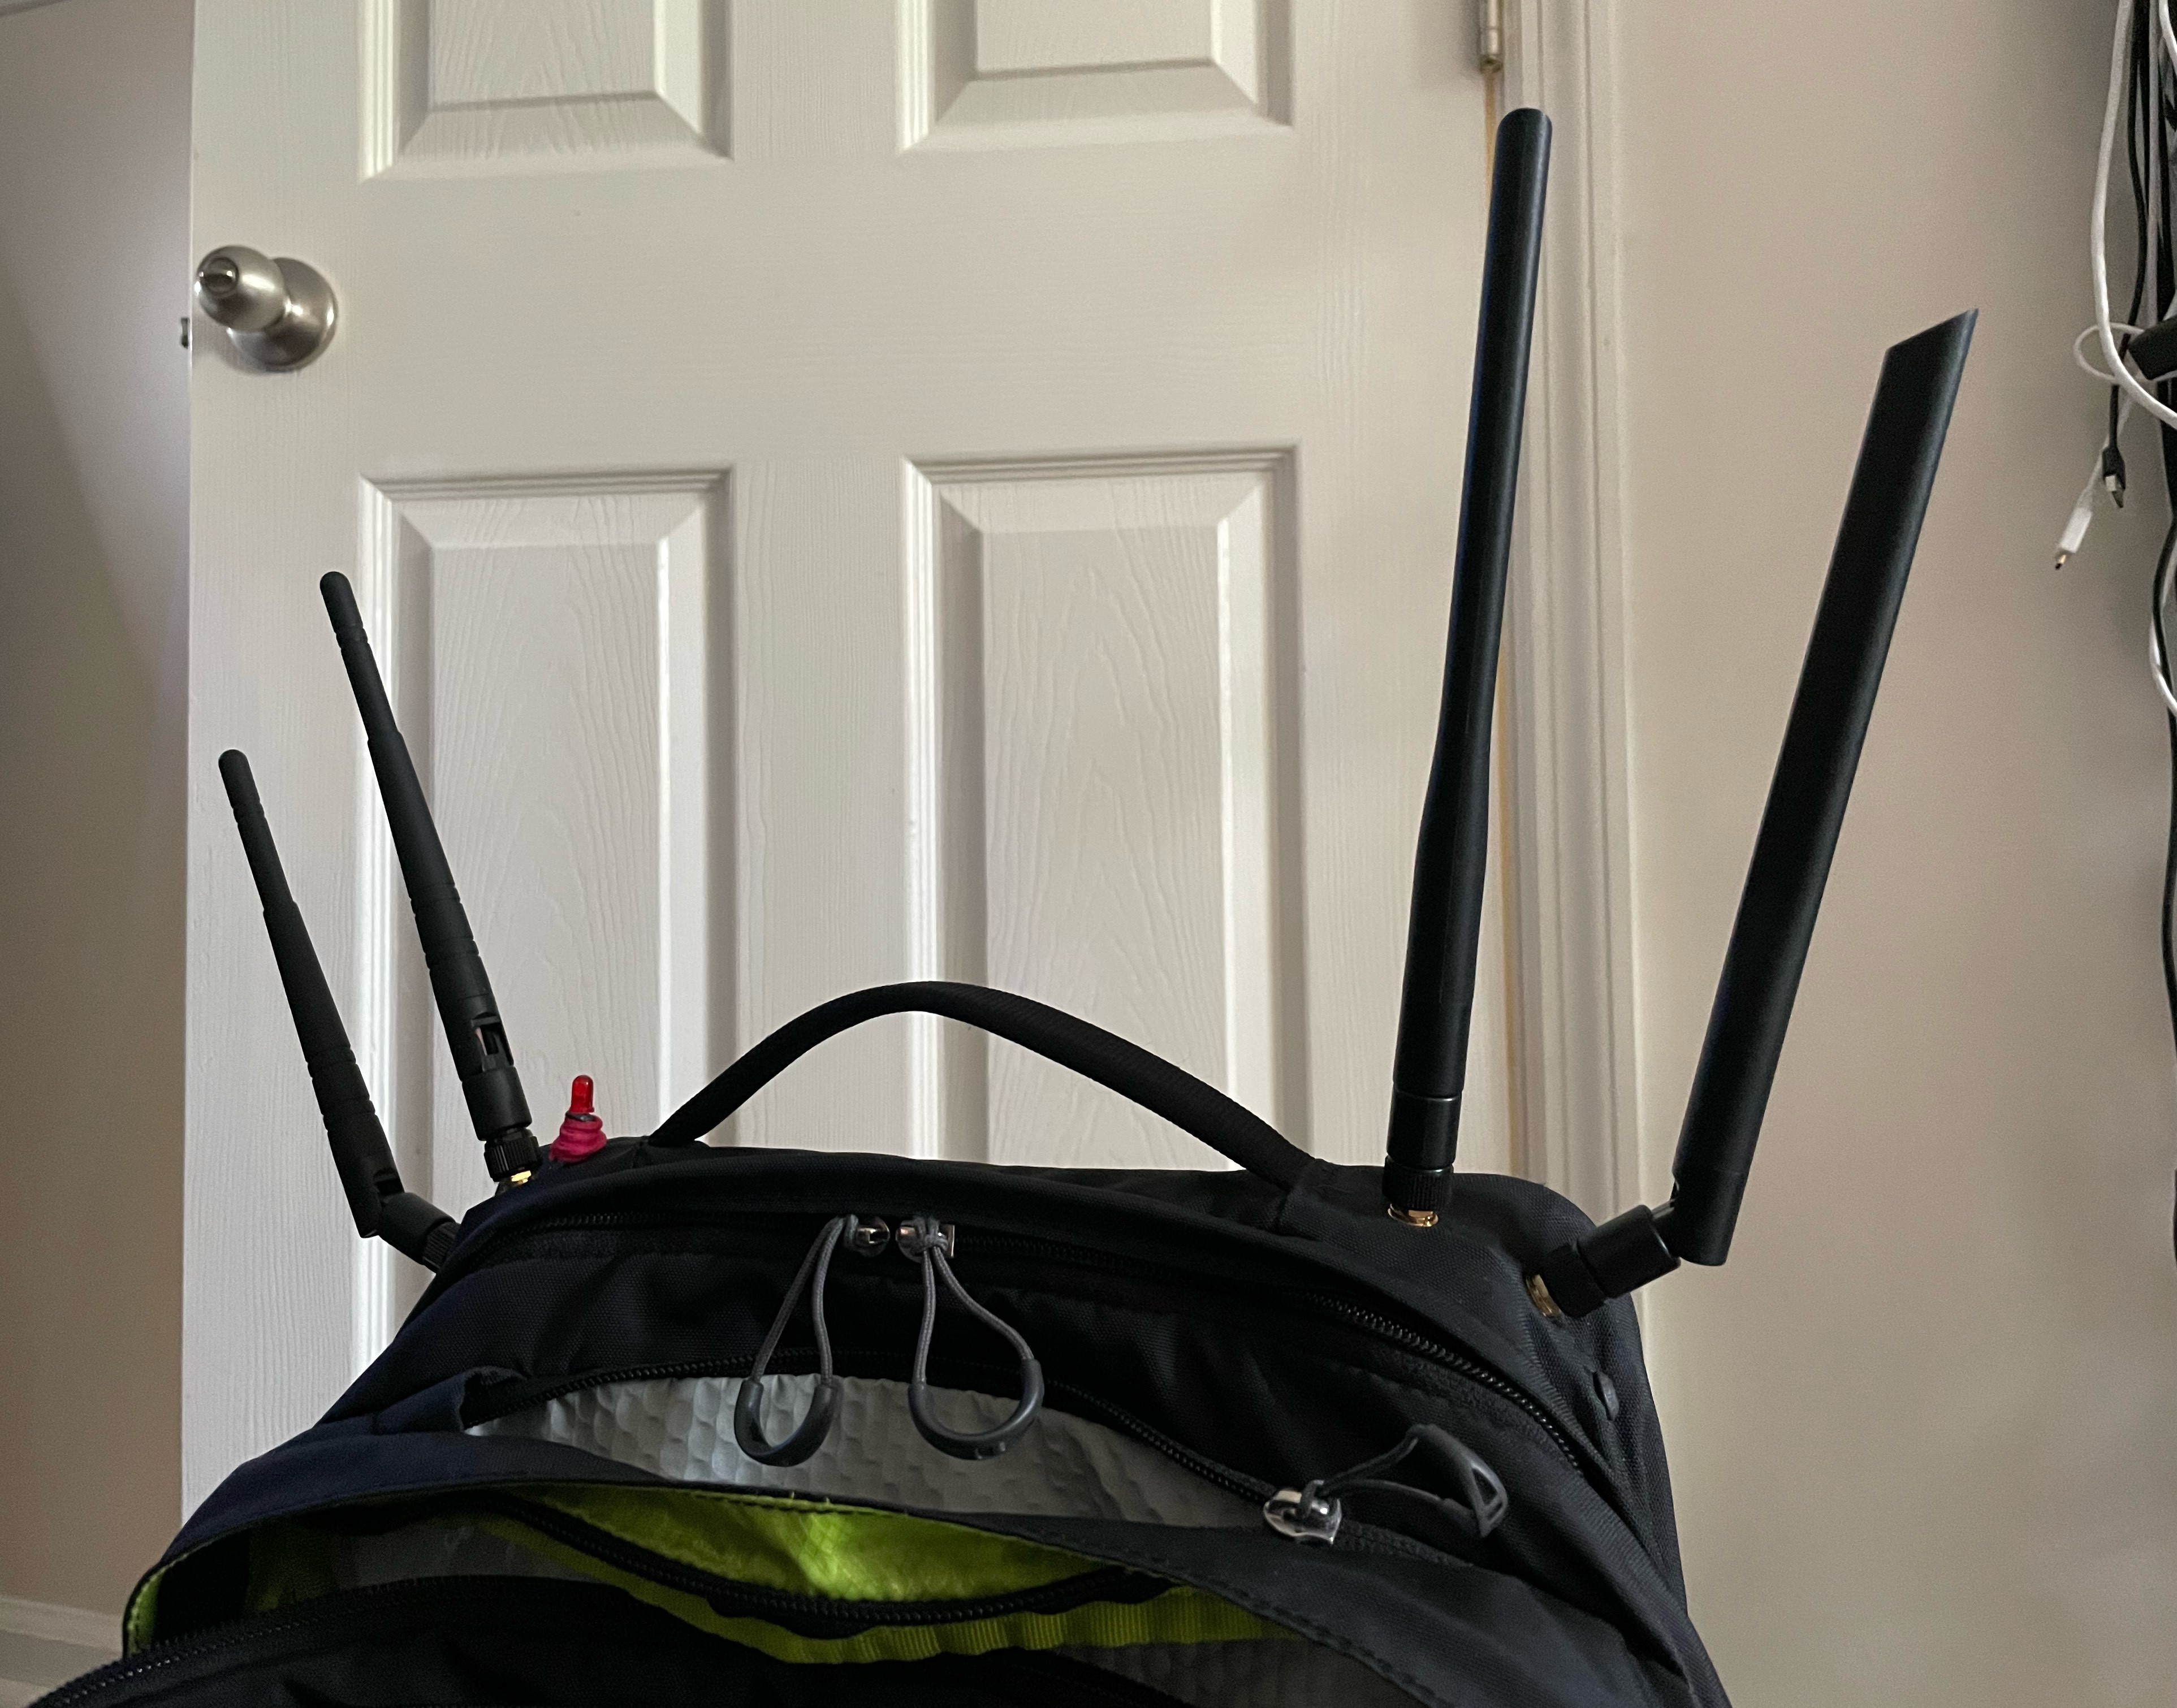
Here it is in full portable mode:
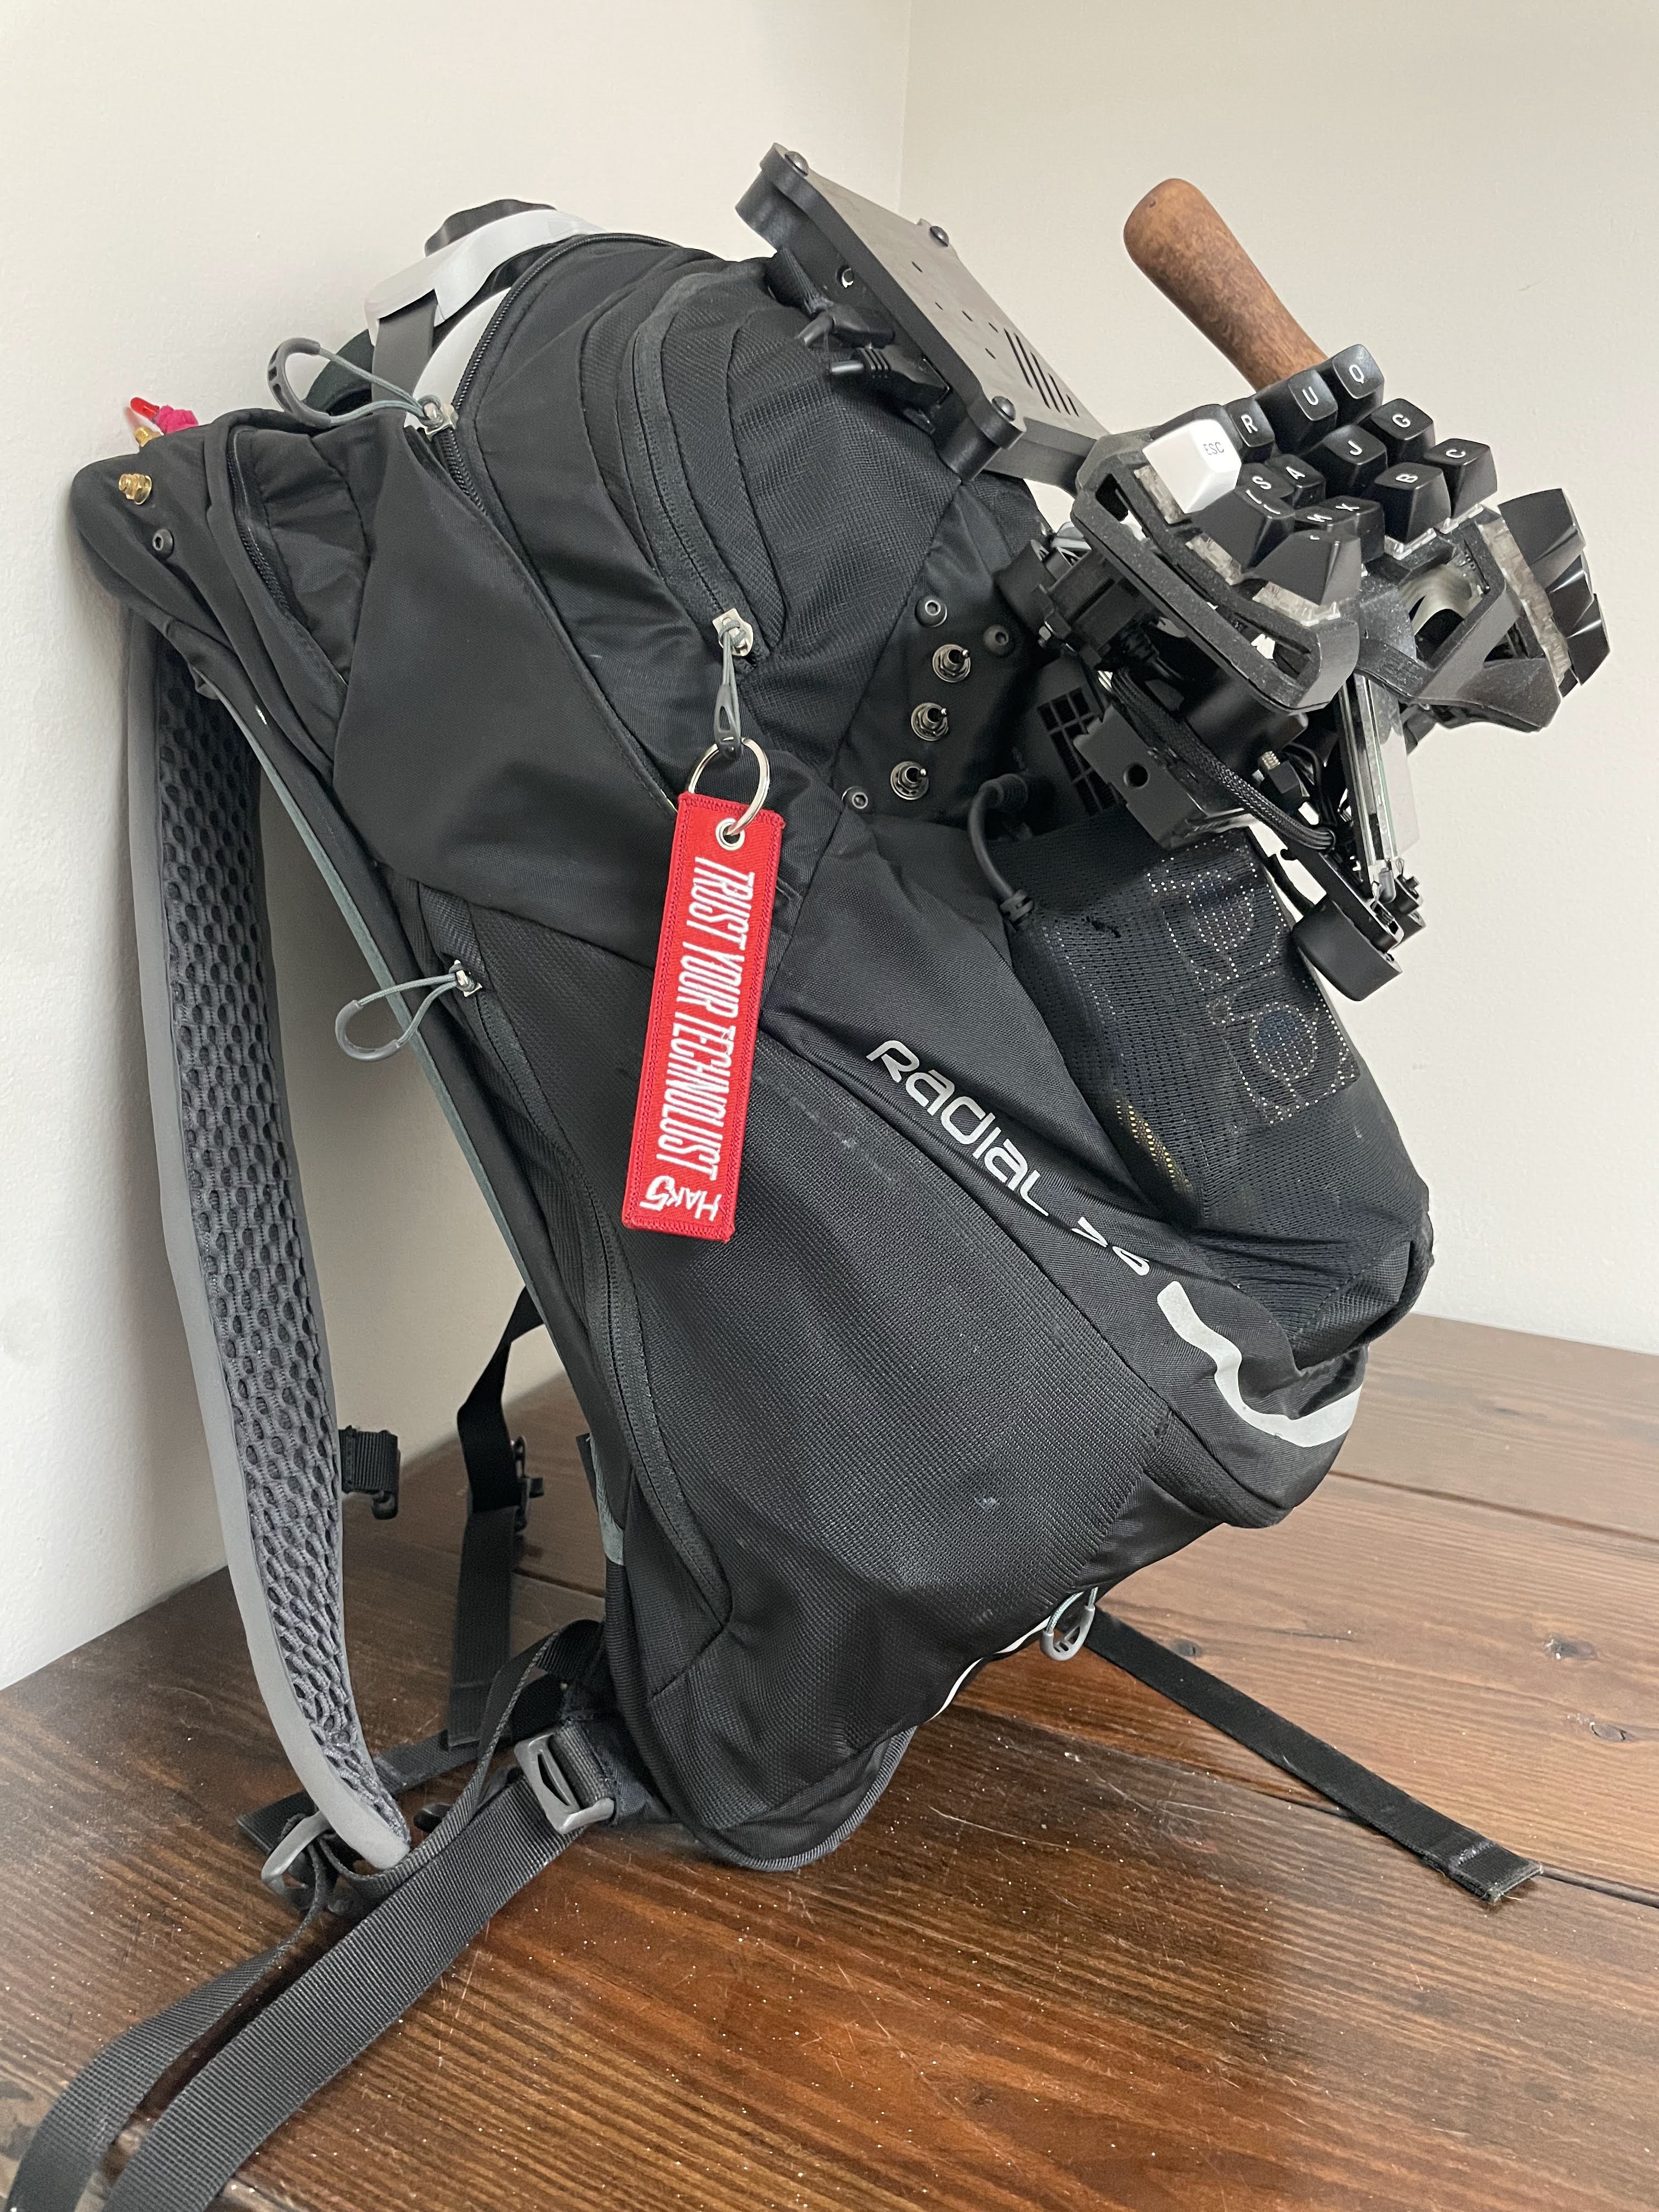
The quest 2 just about fits inside. I have a very comfortable halo head strap that is also pretty bulky. I could definitely find something collapsible that would fit inside the pack completely. Thinkin' about it.
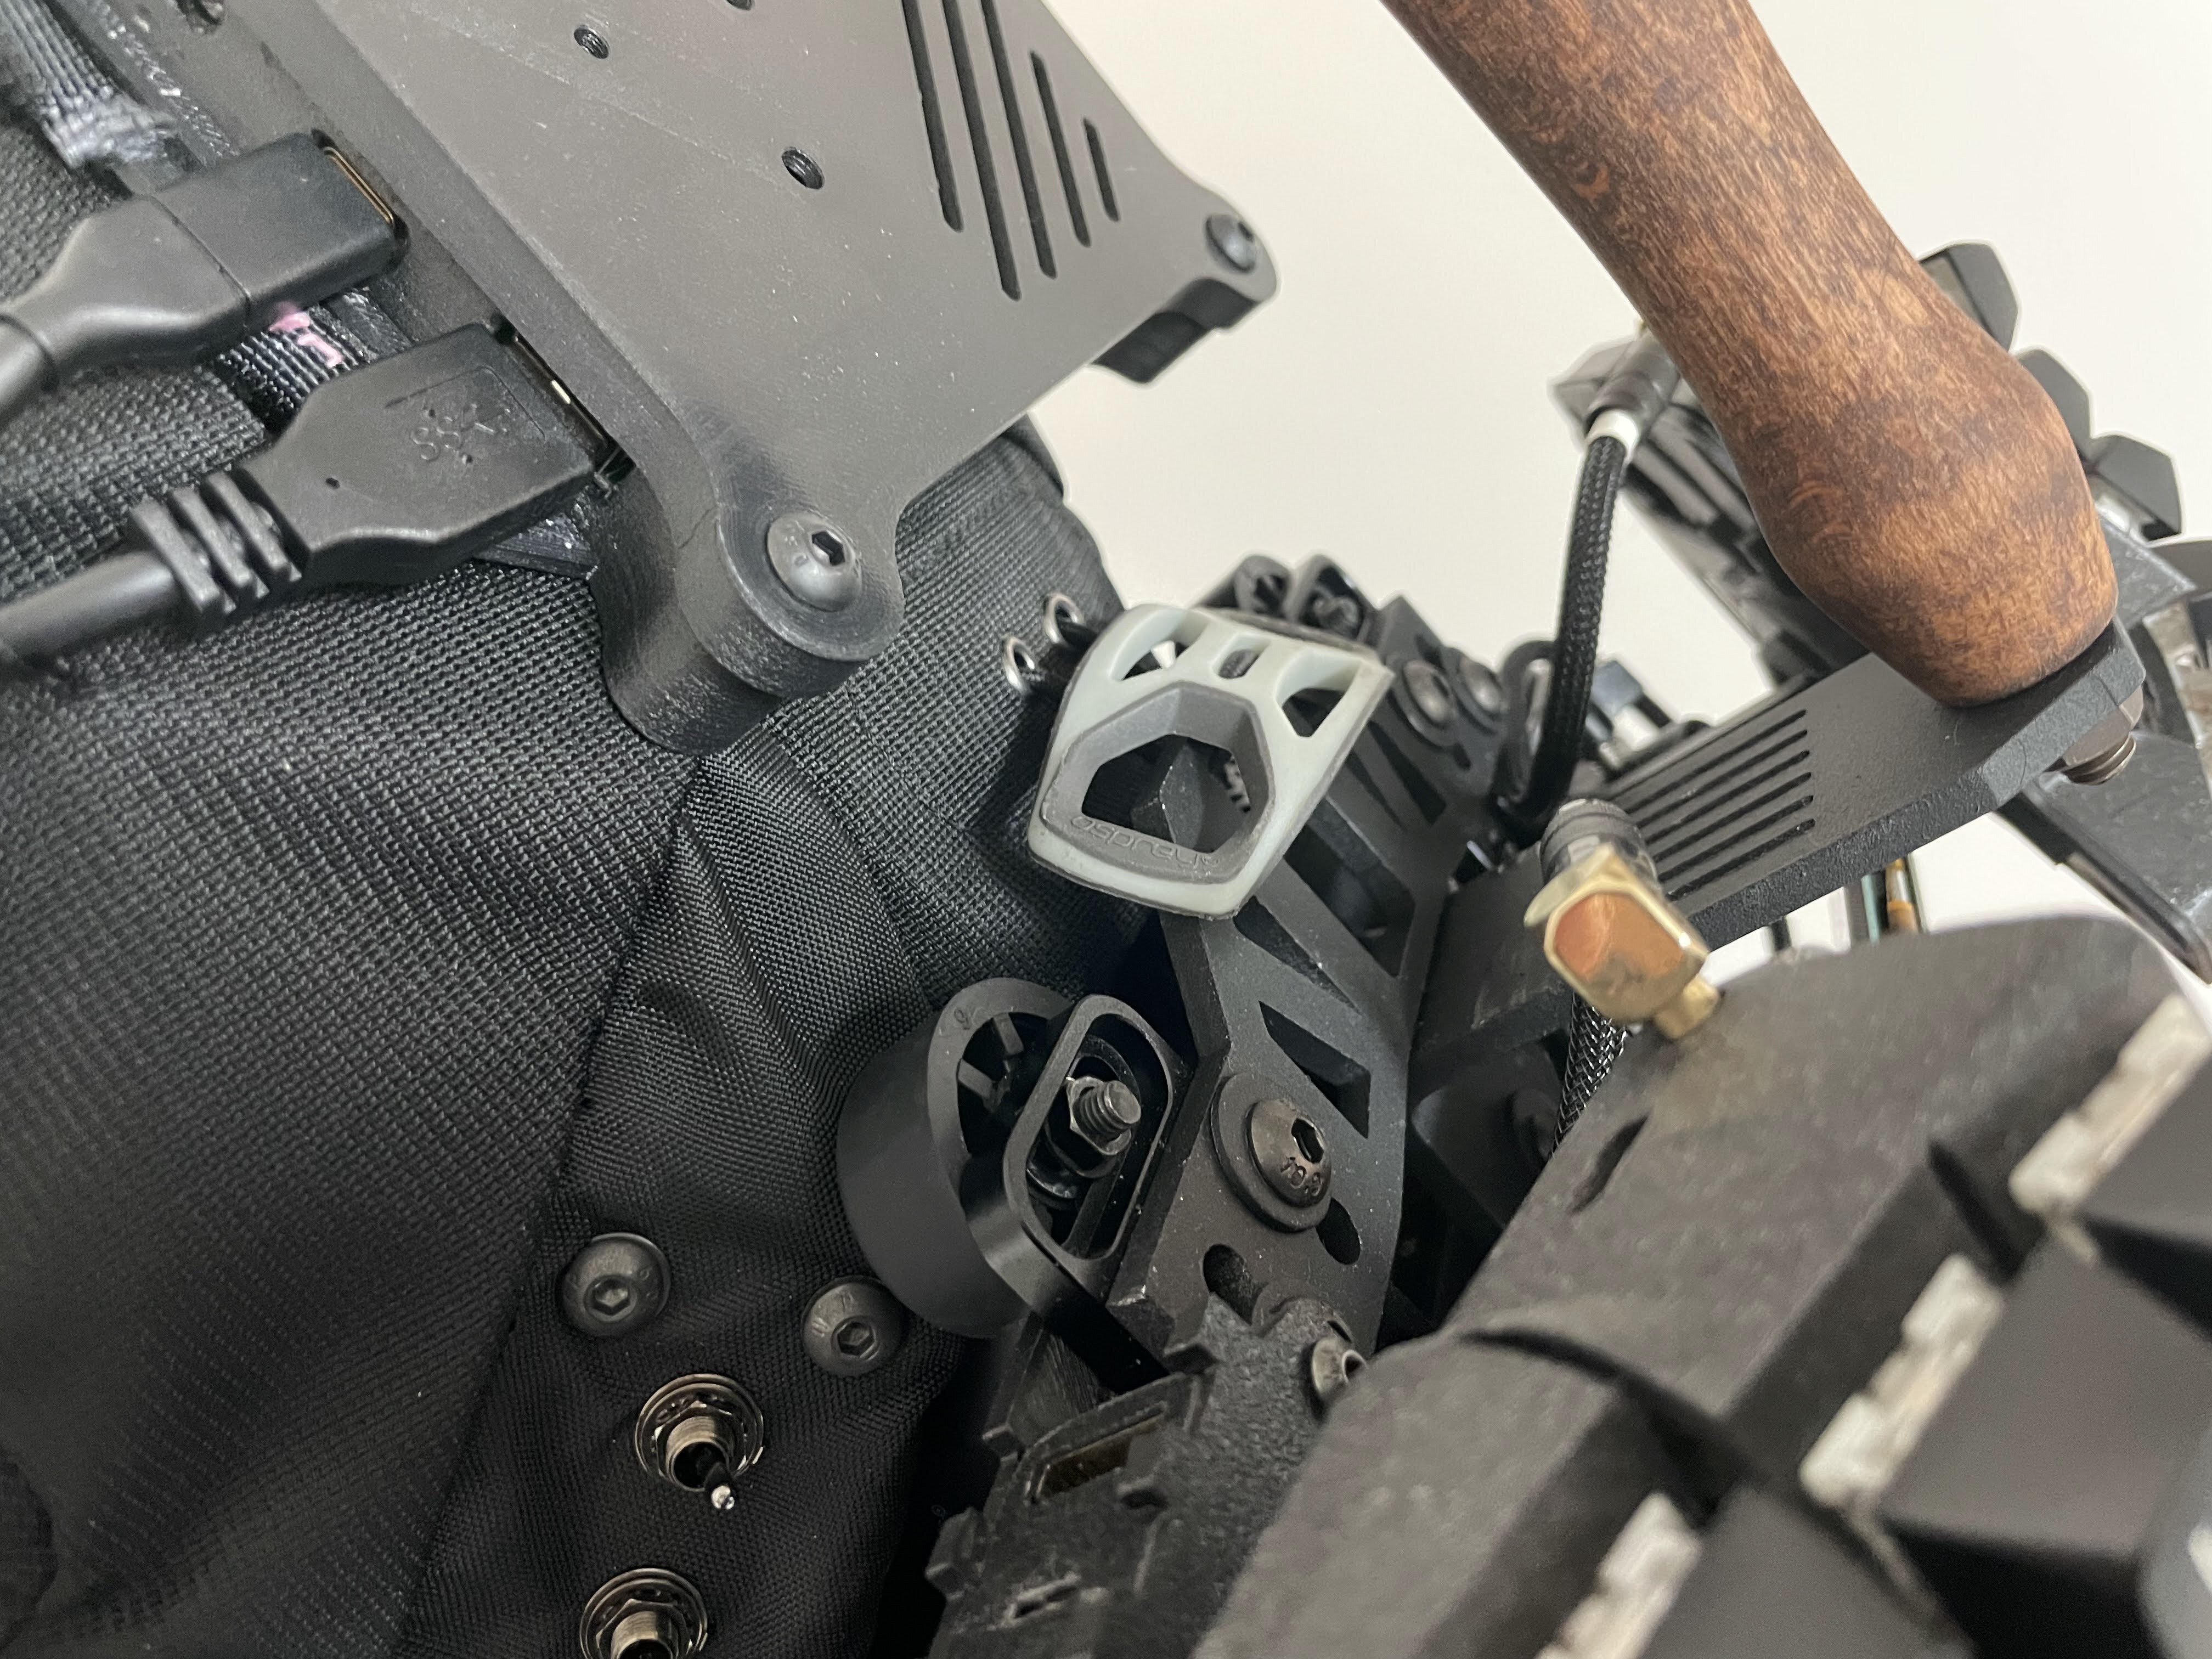
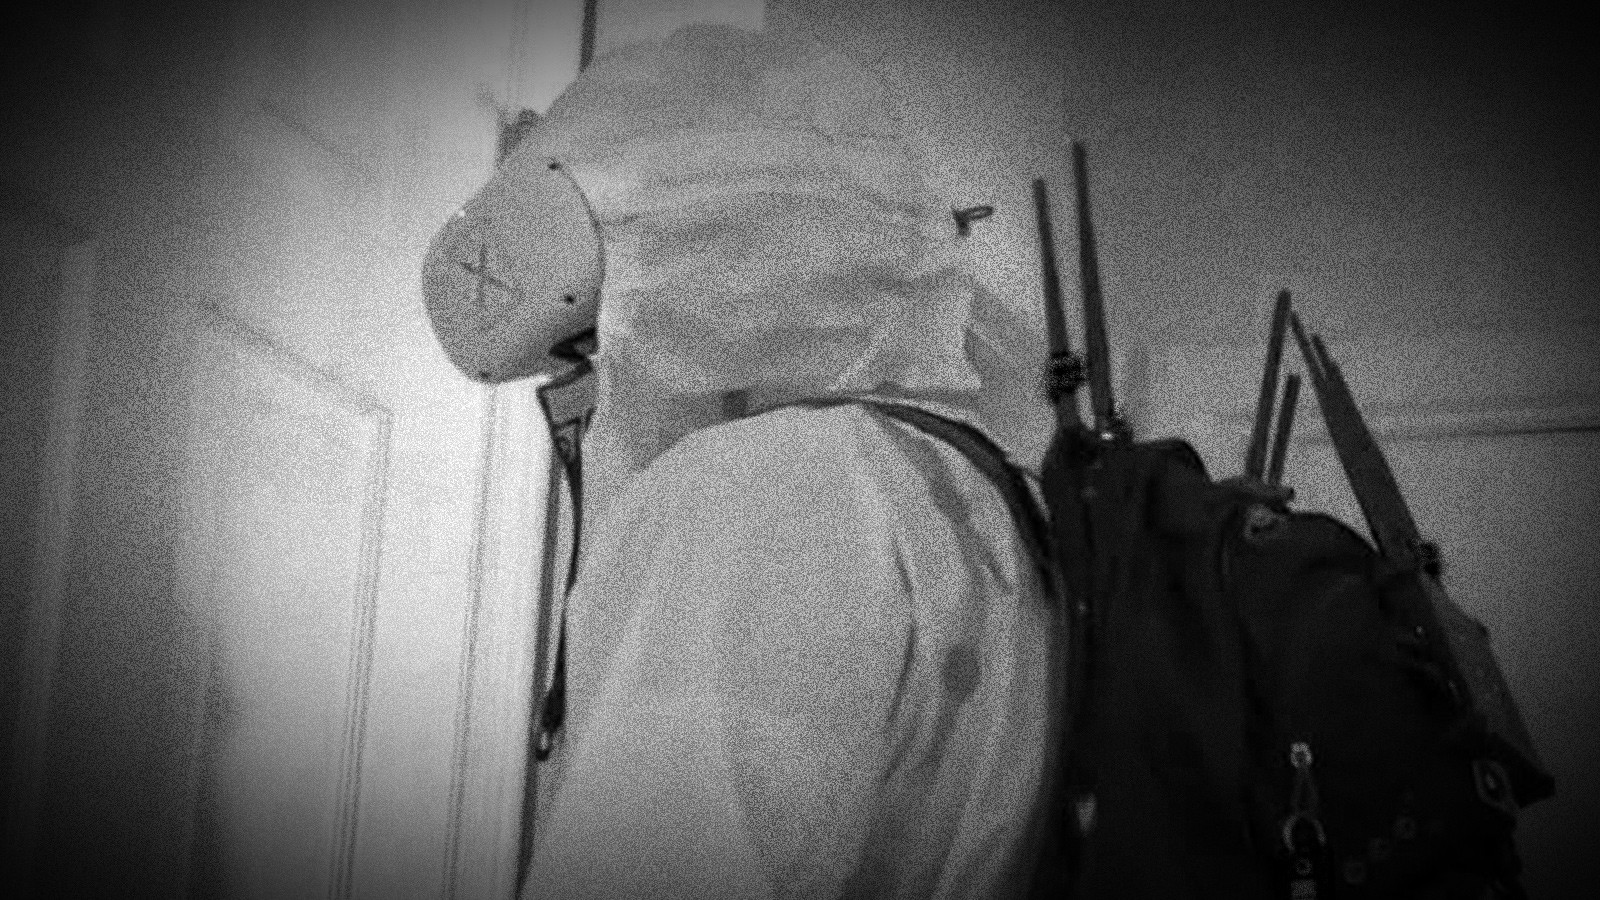
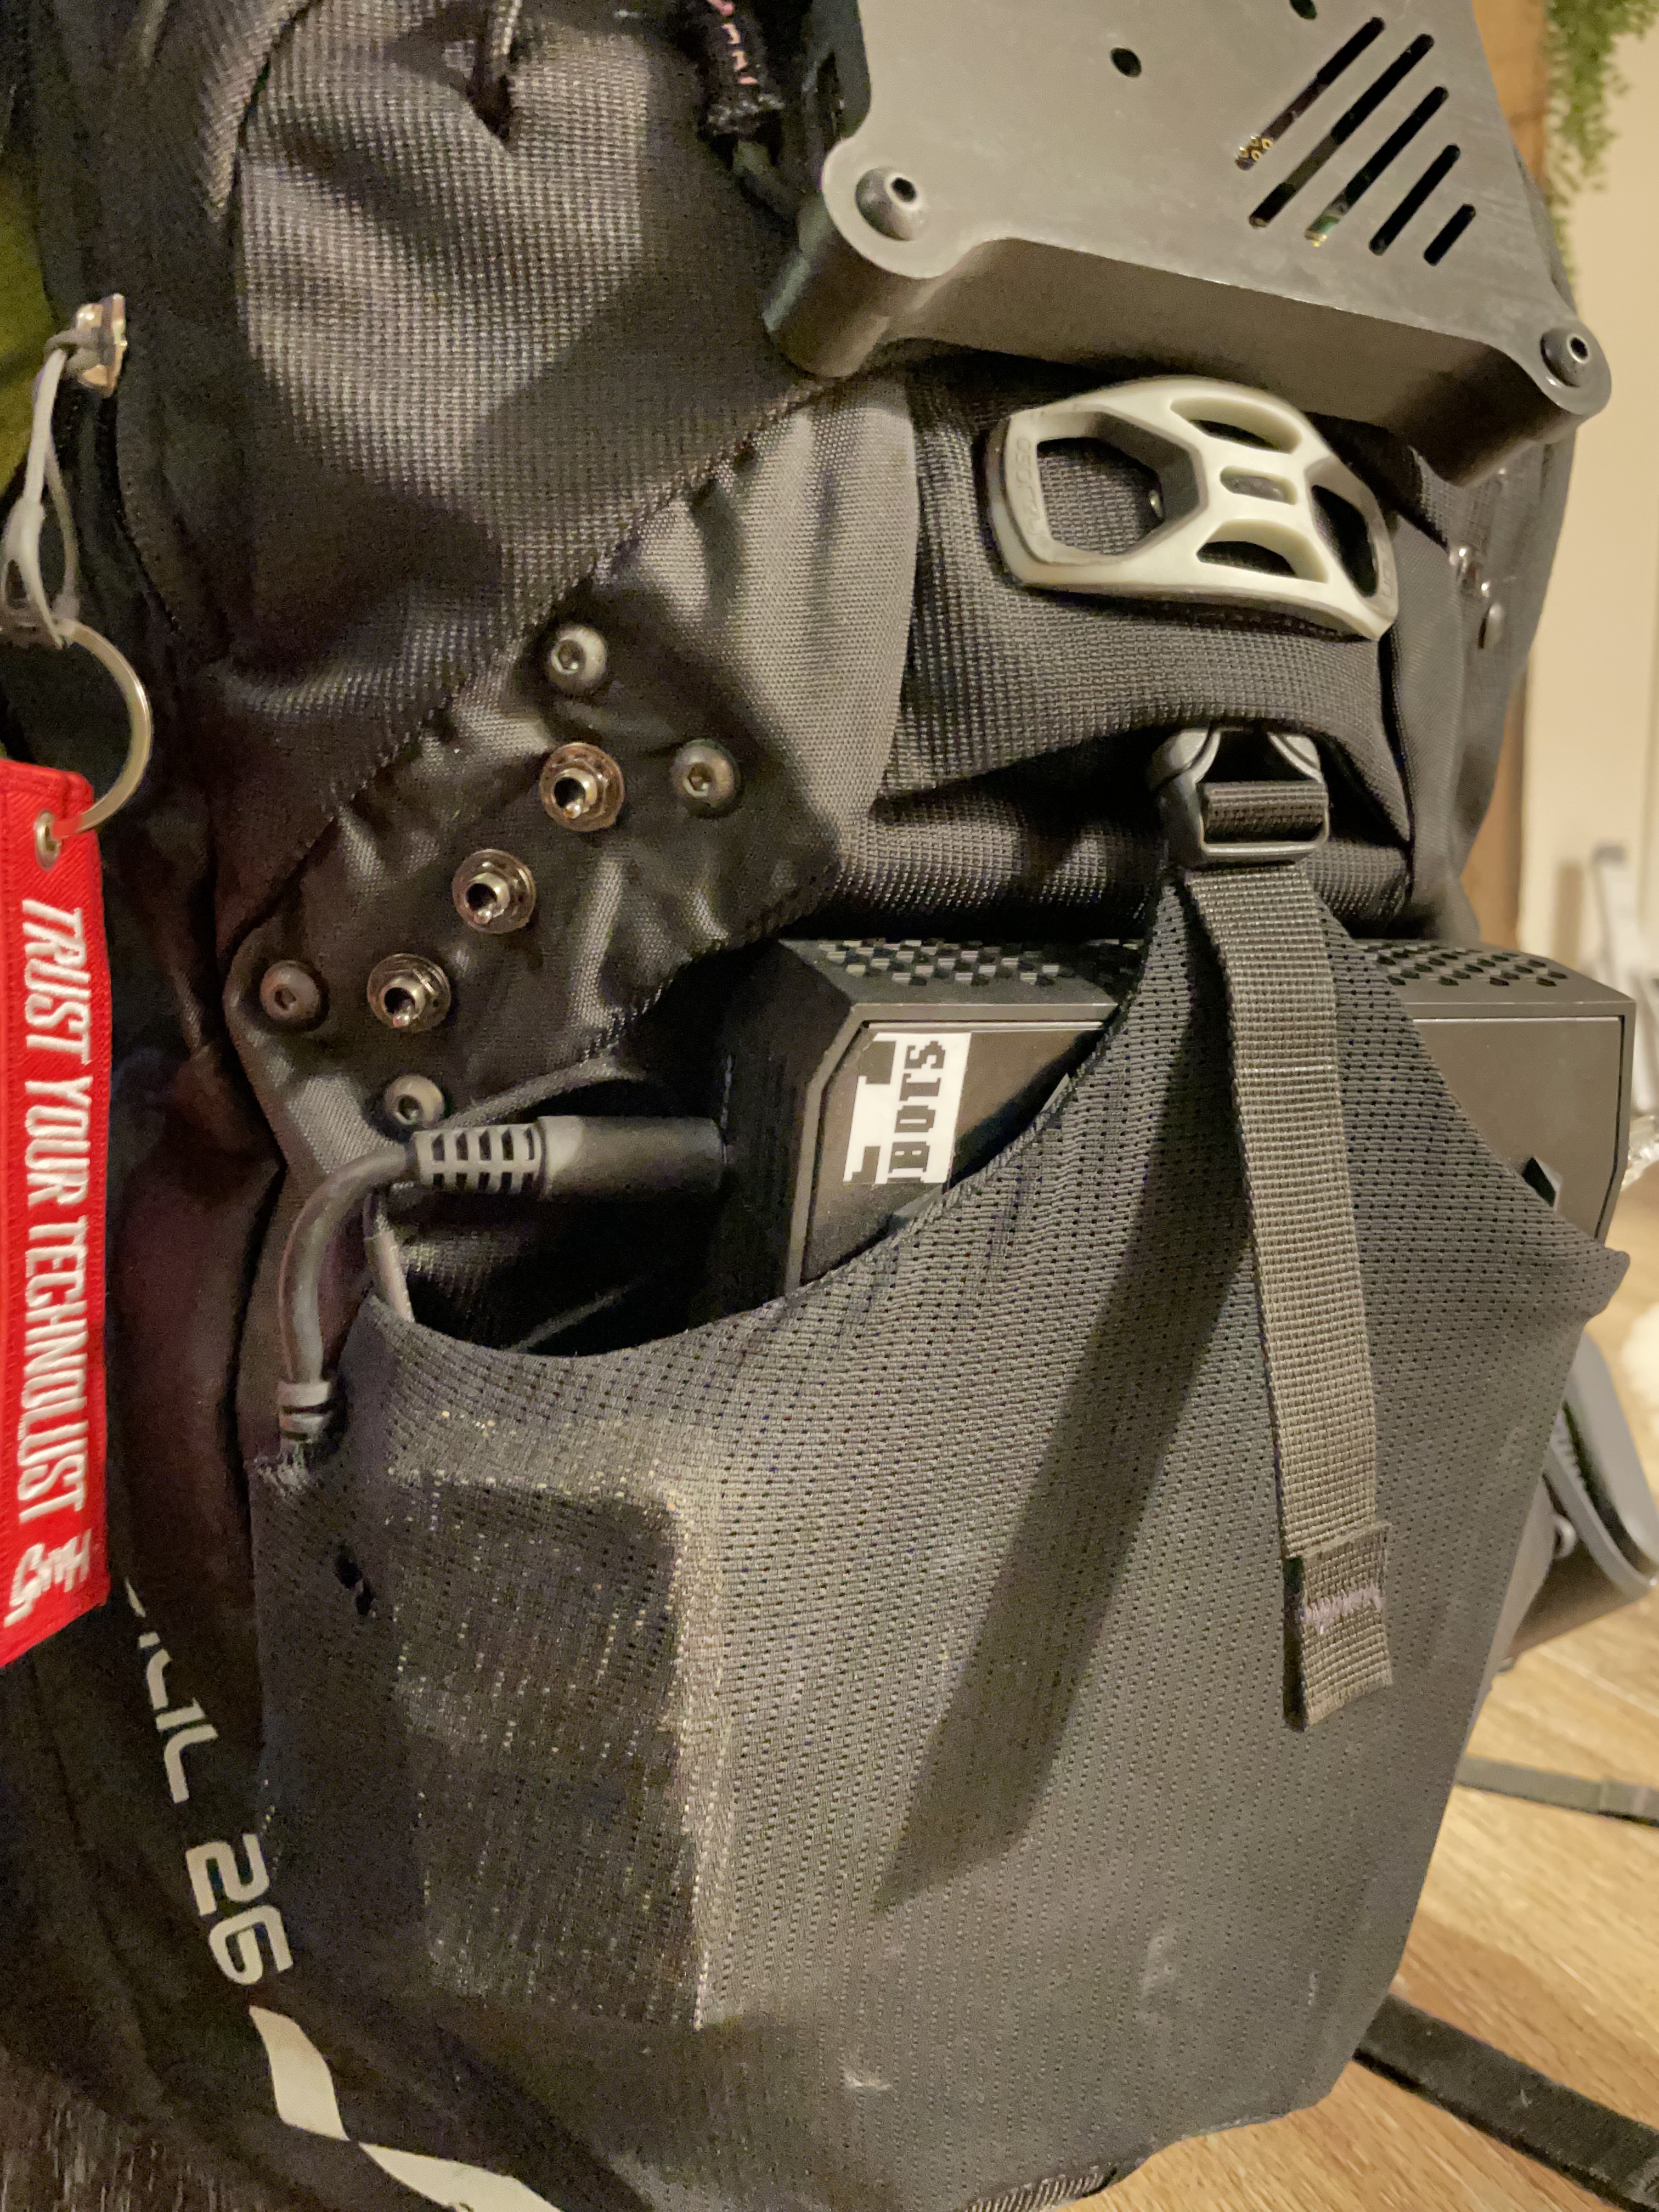
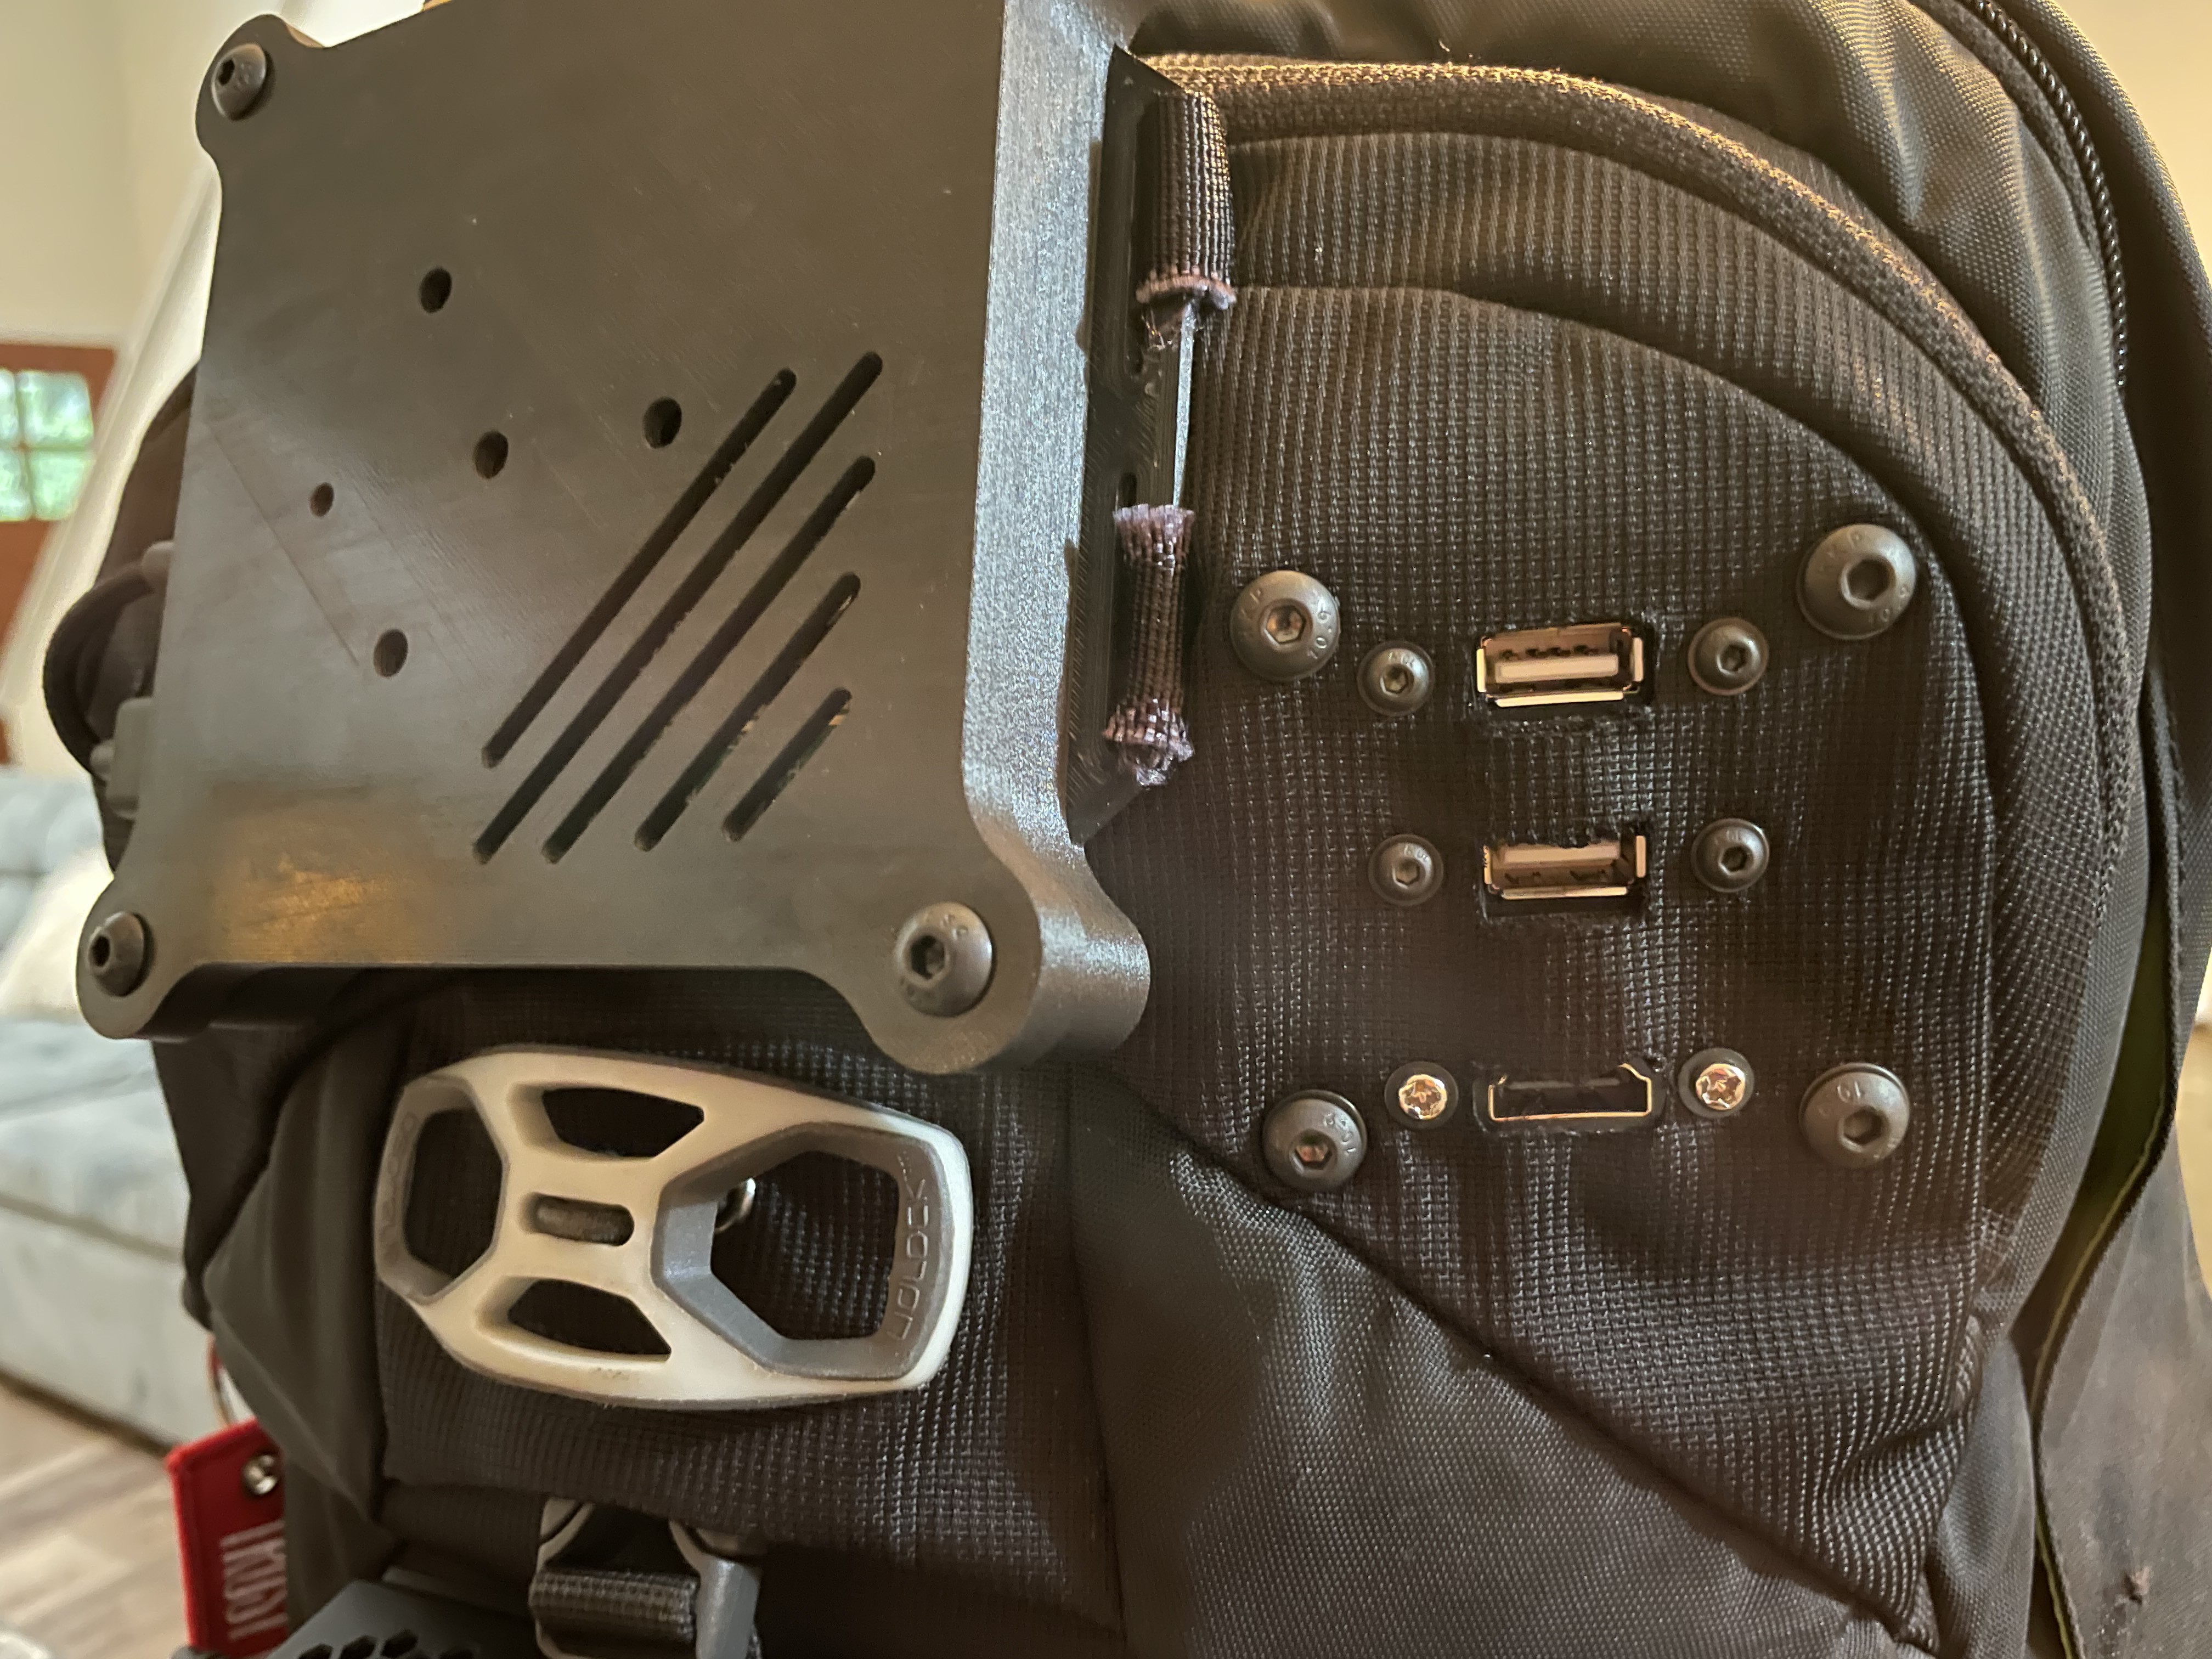
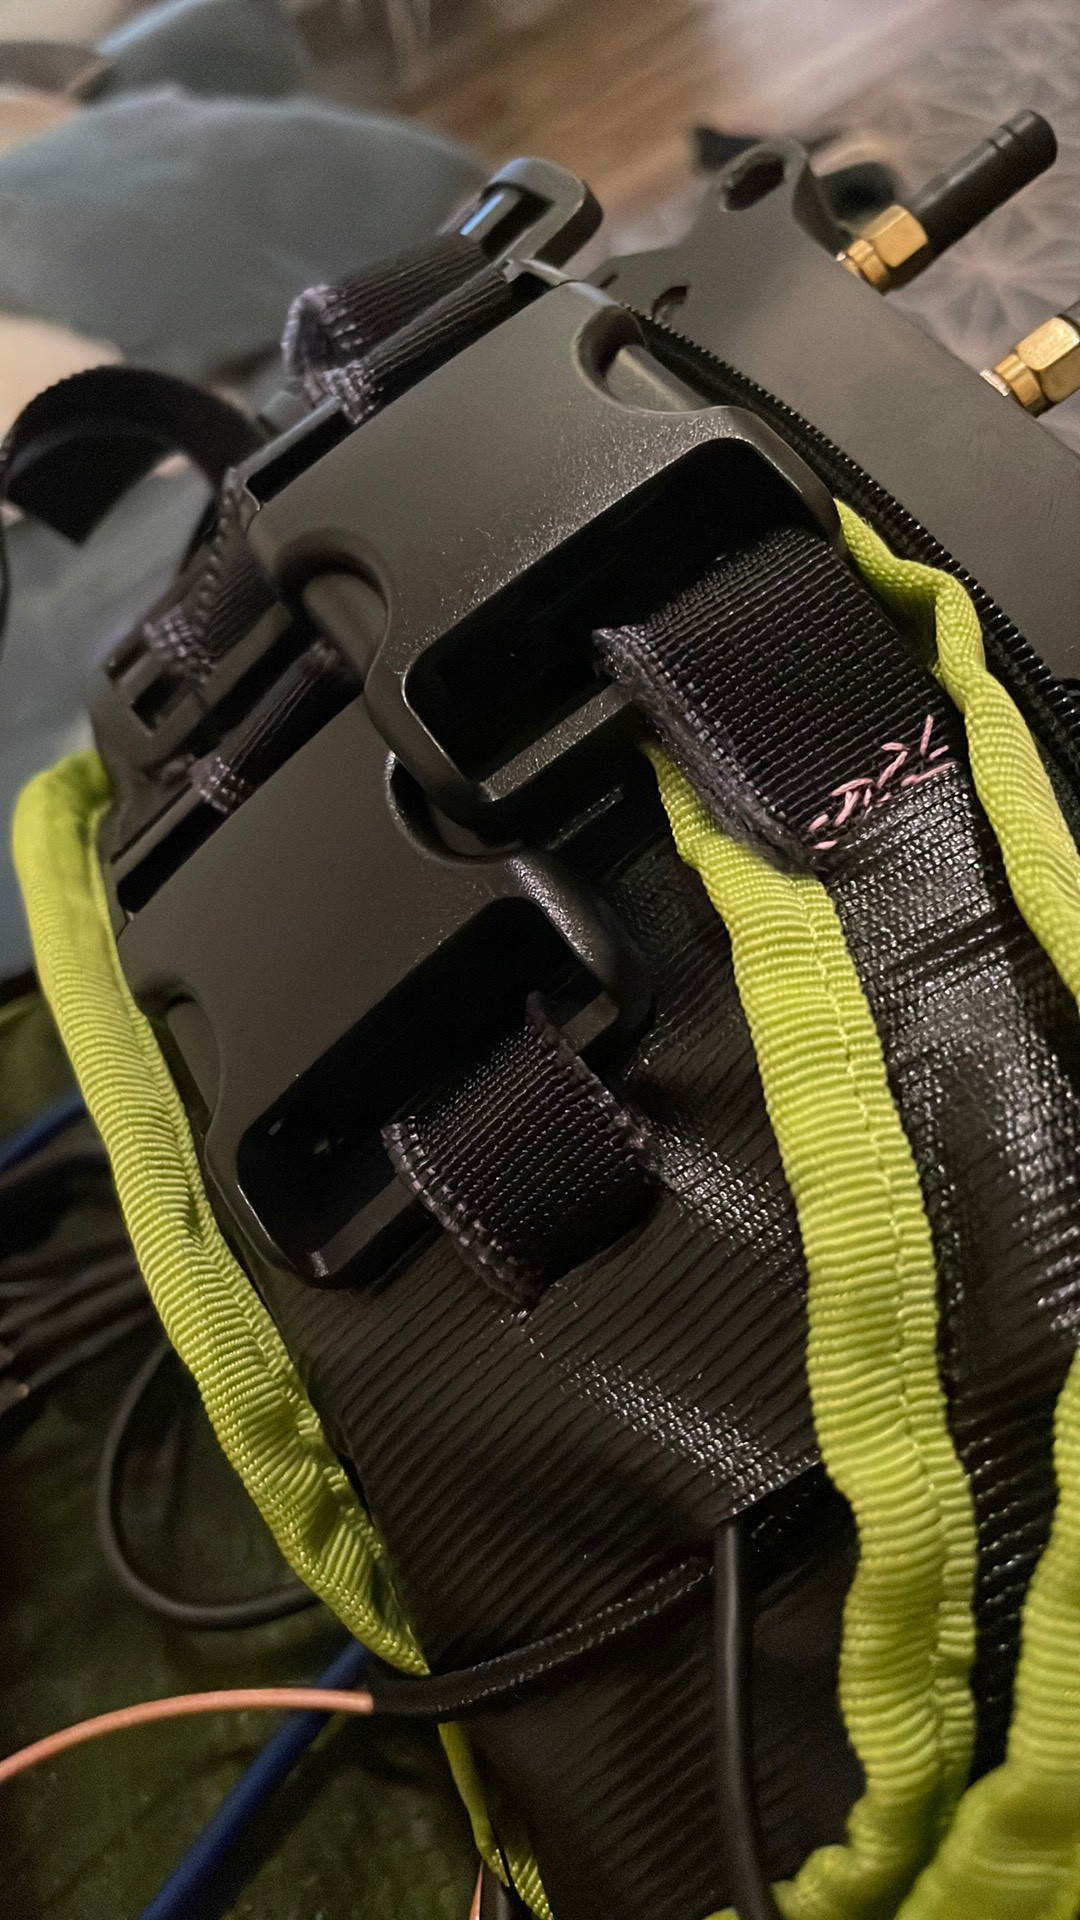
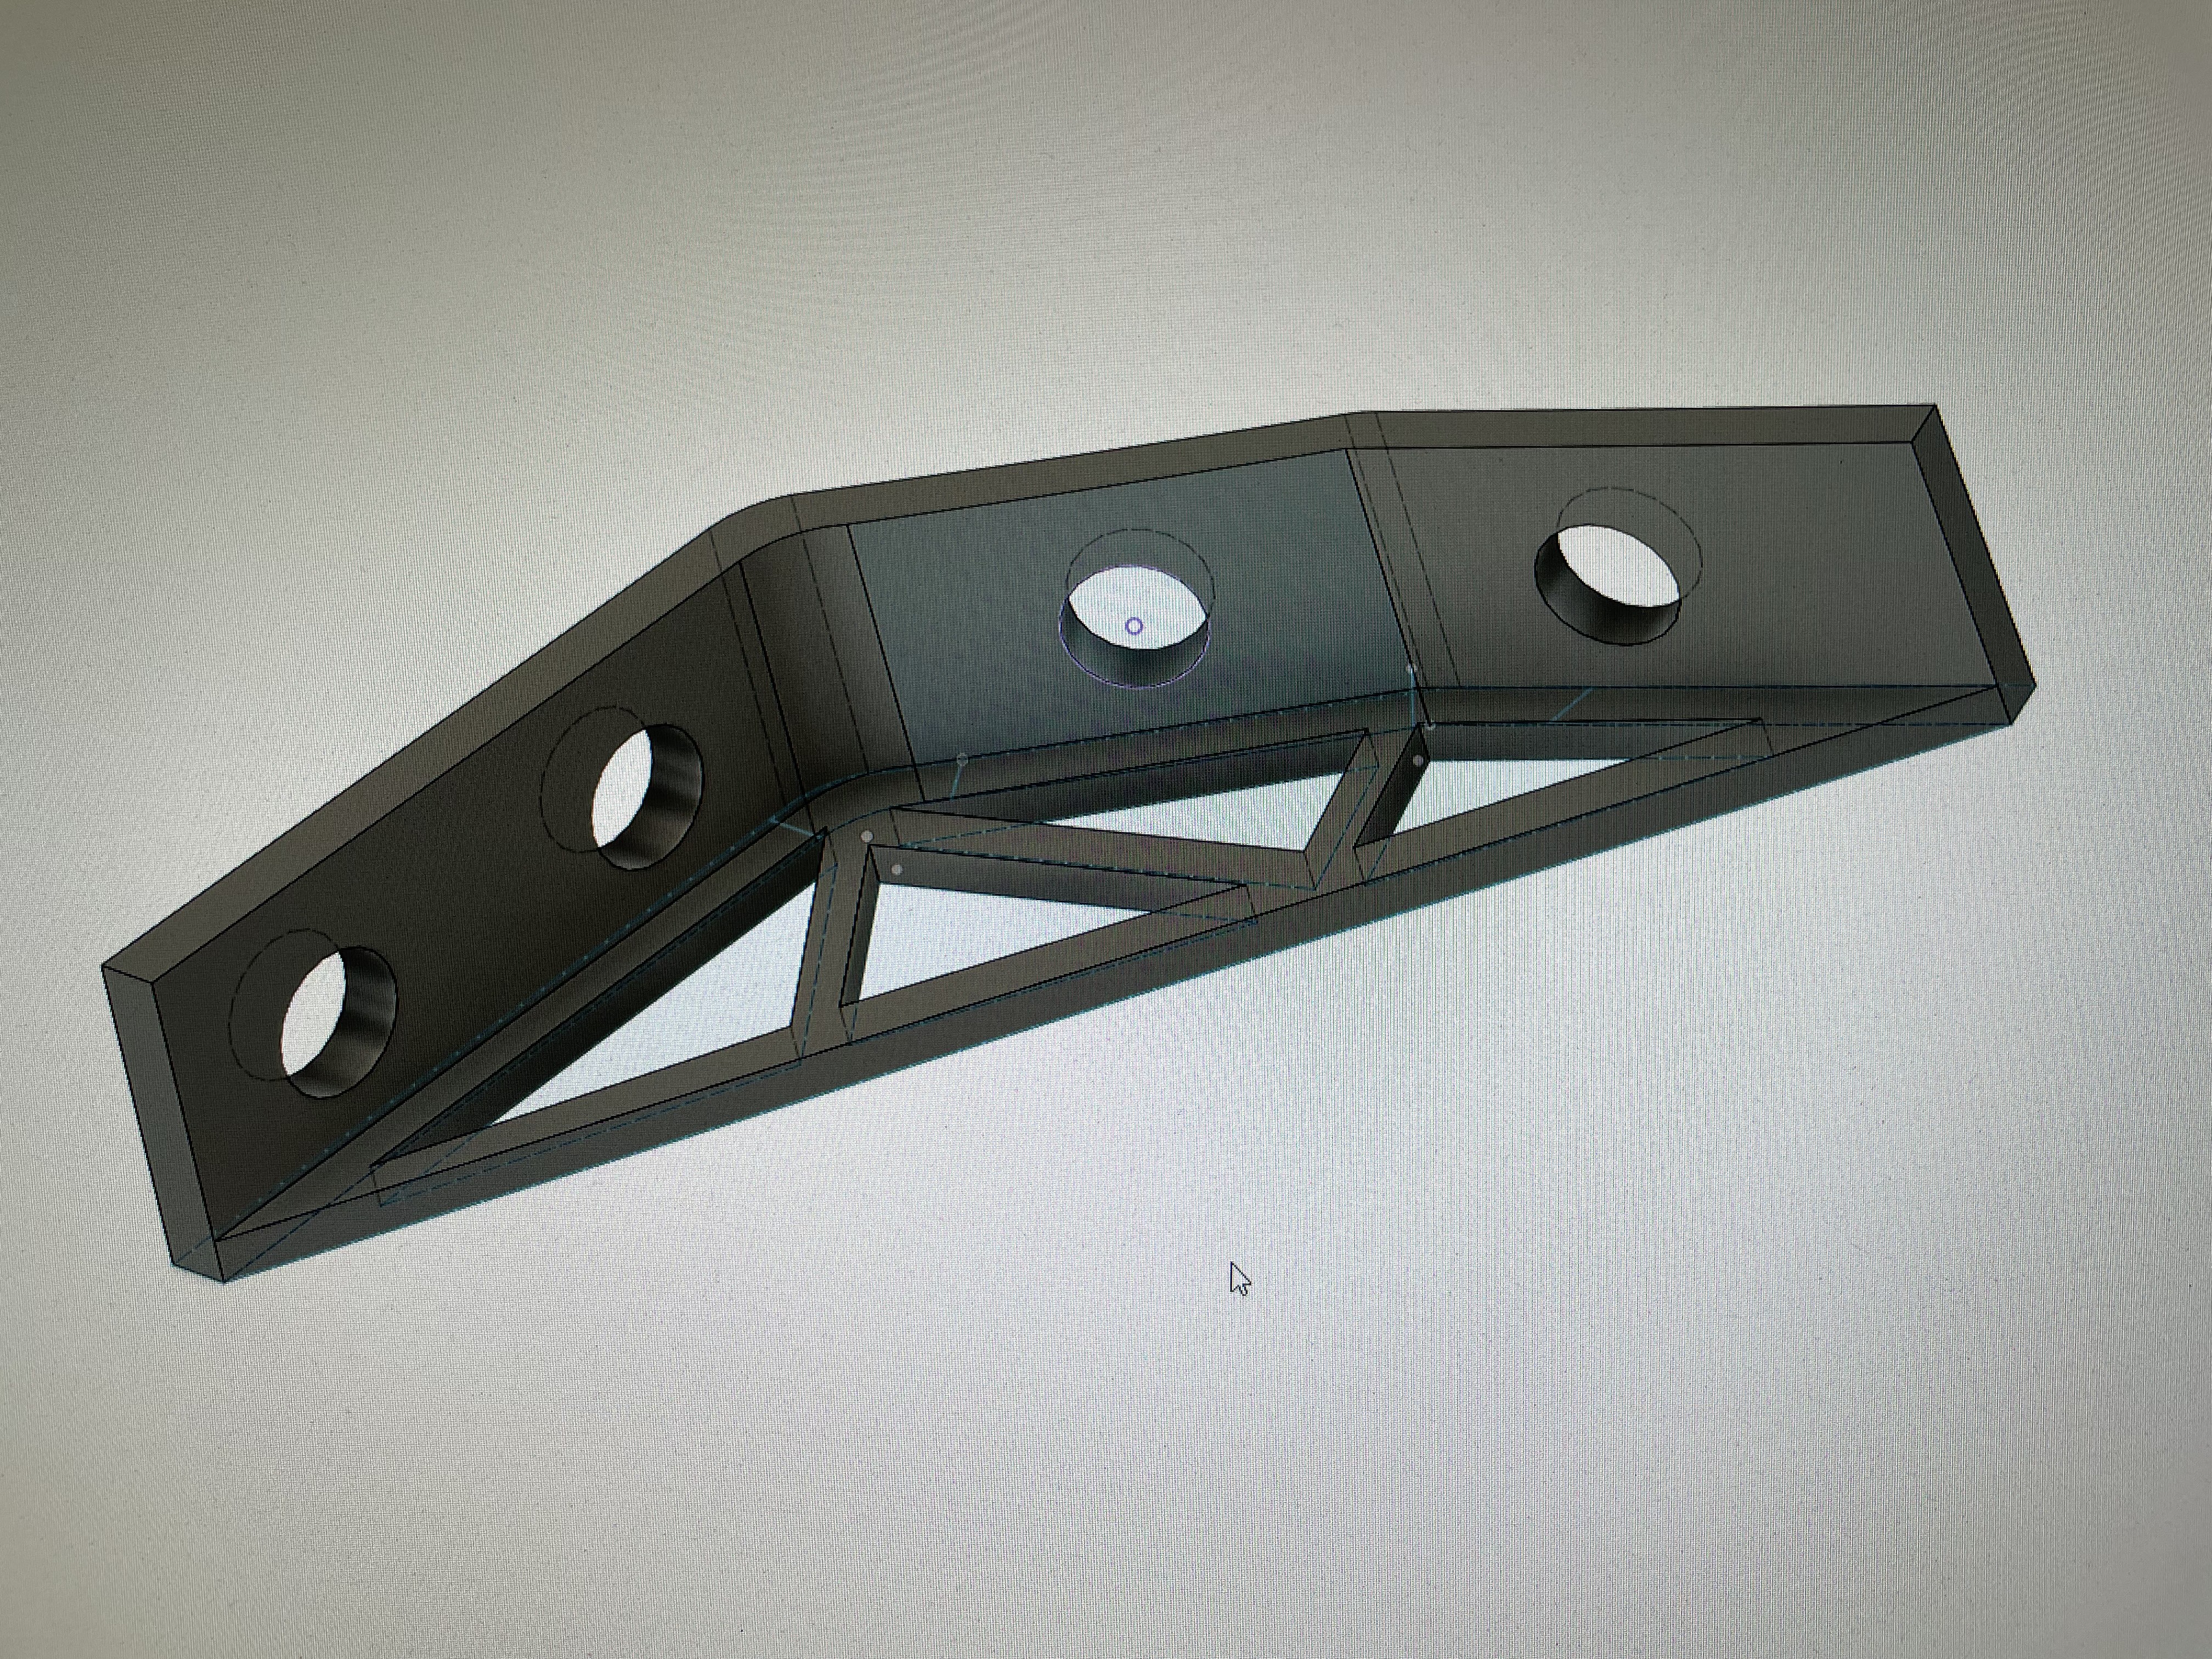
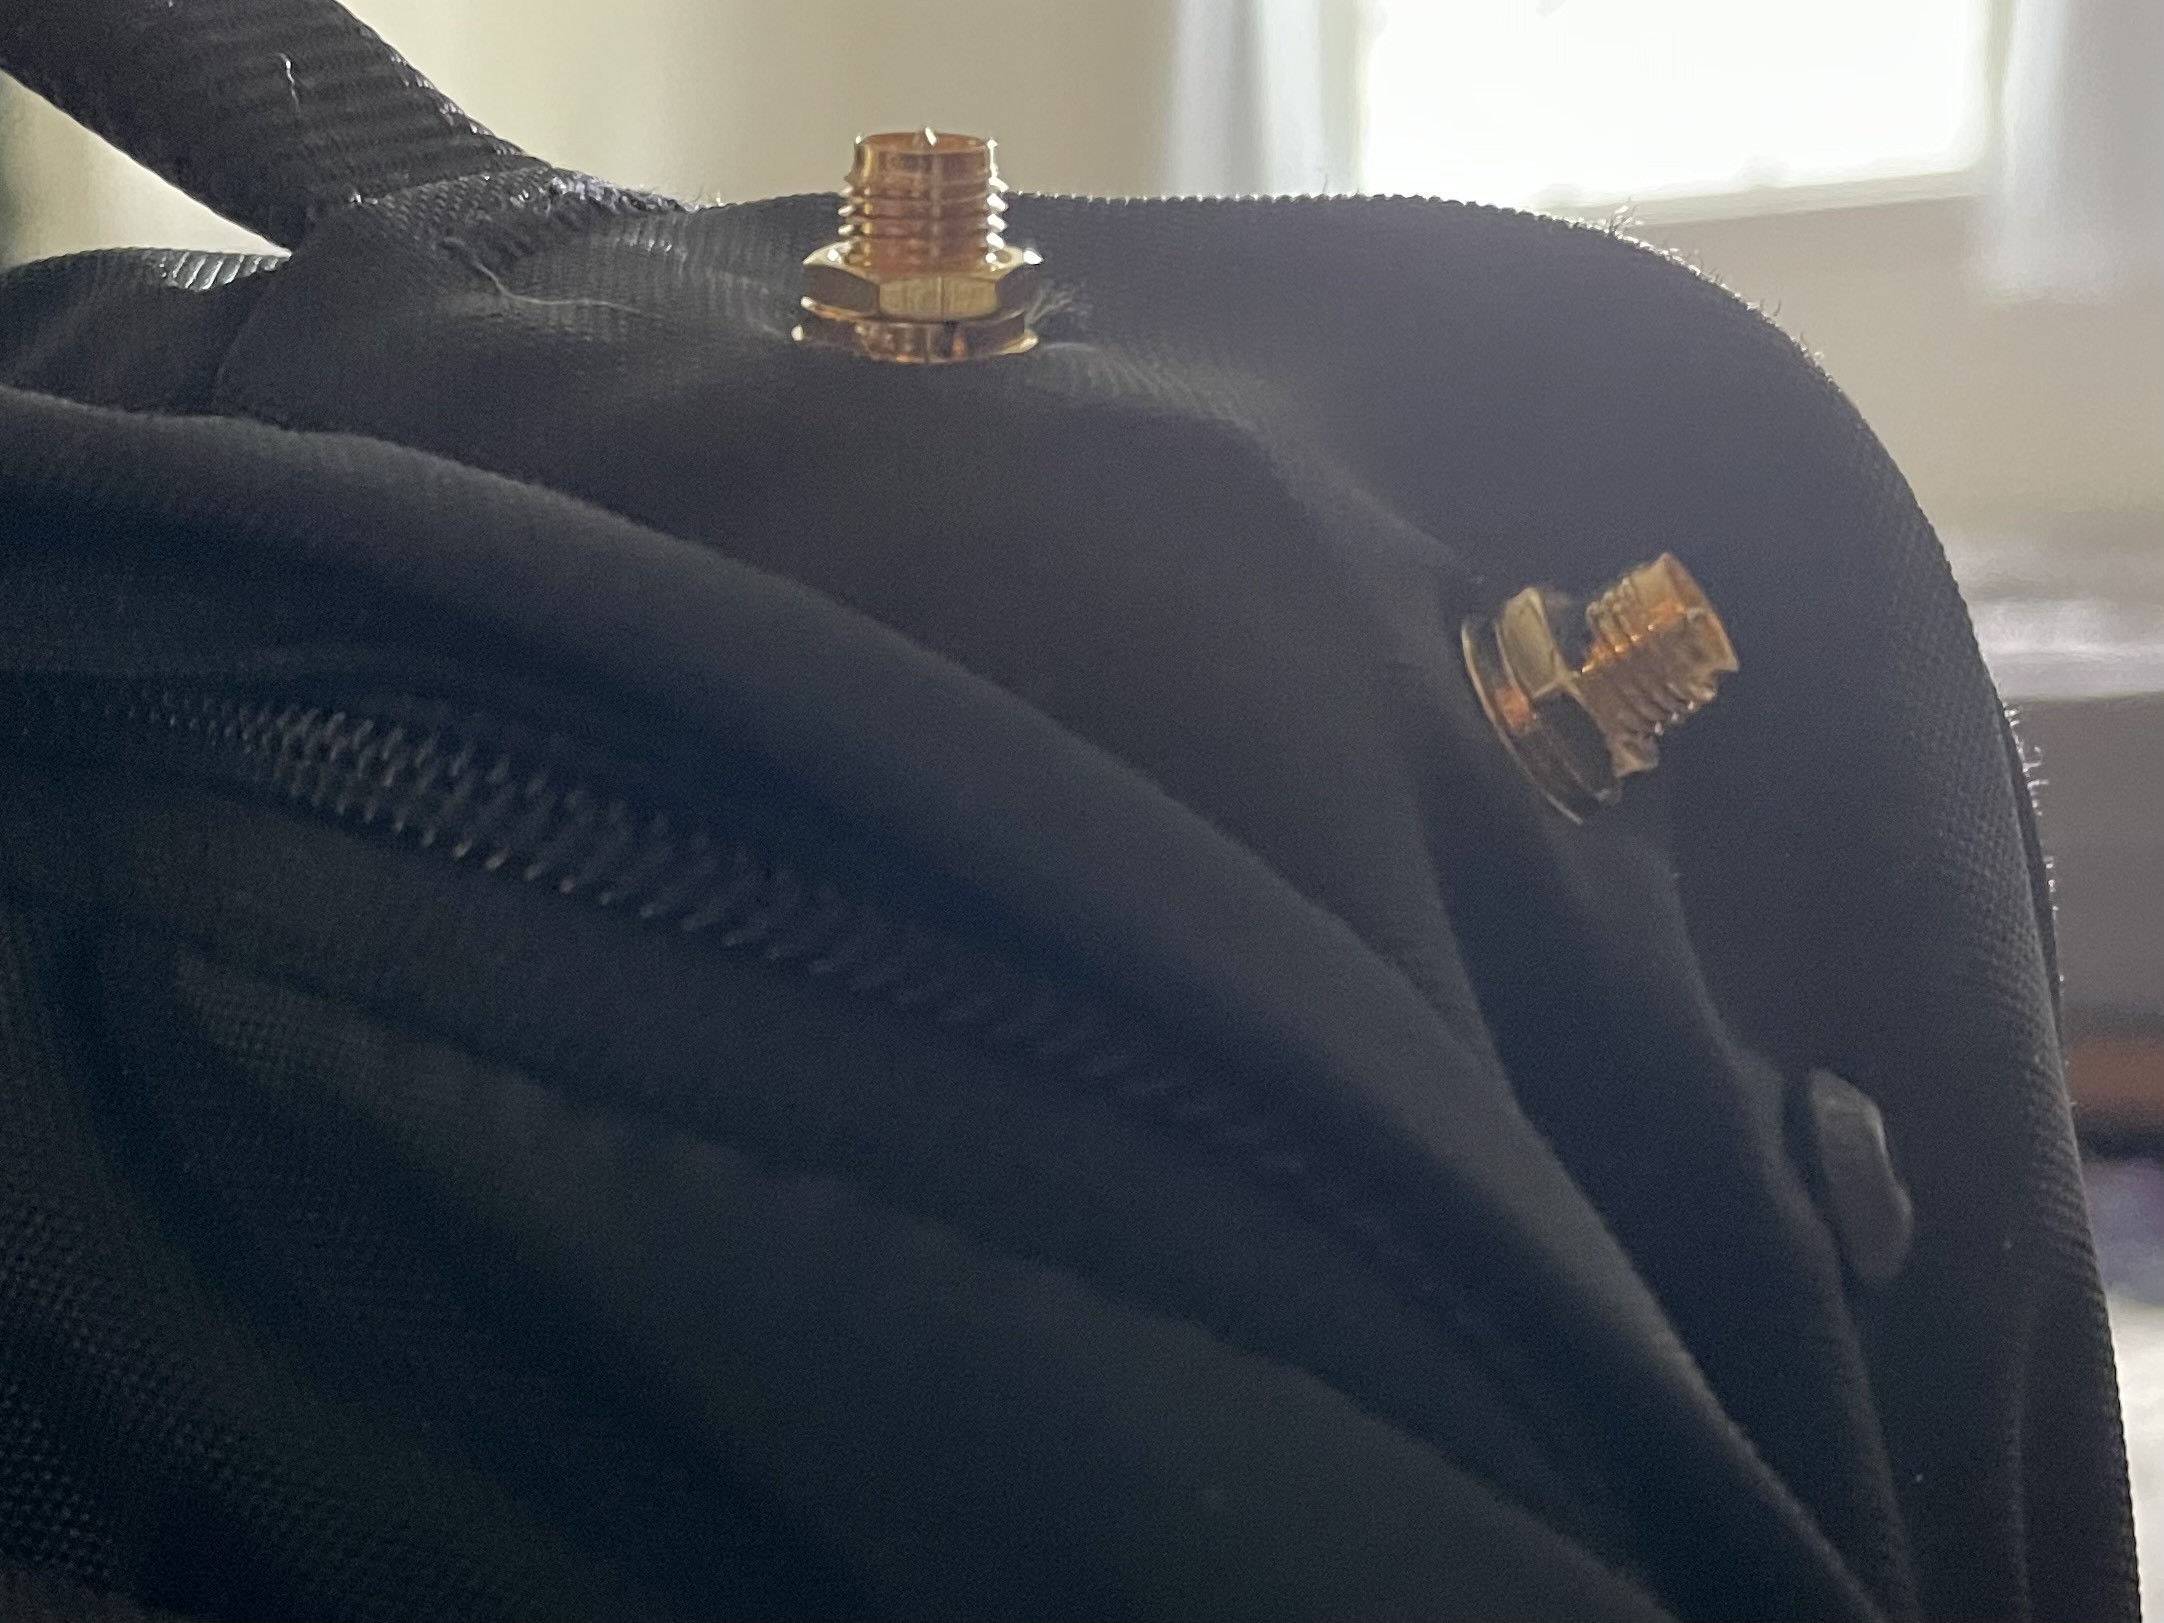
One neat detail: the pack was designed for cyclists, and has a feature on the back designed to secure a helmet to when not in use. I designed a slot in the terminal that affixes to this feature for carrying. It's a little sketchy since the terminal is heavy, but it works. Here's a detail of that:
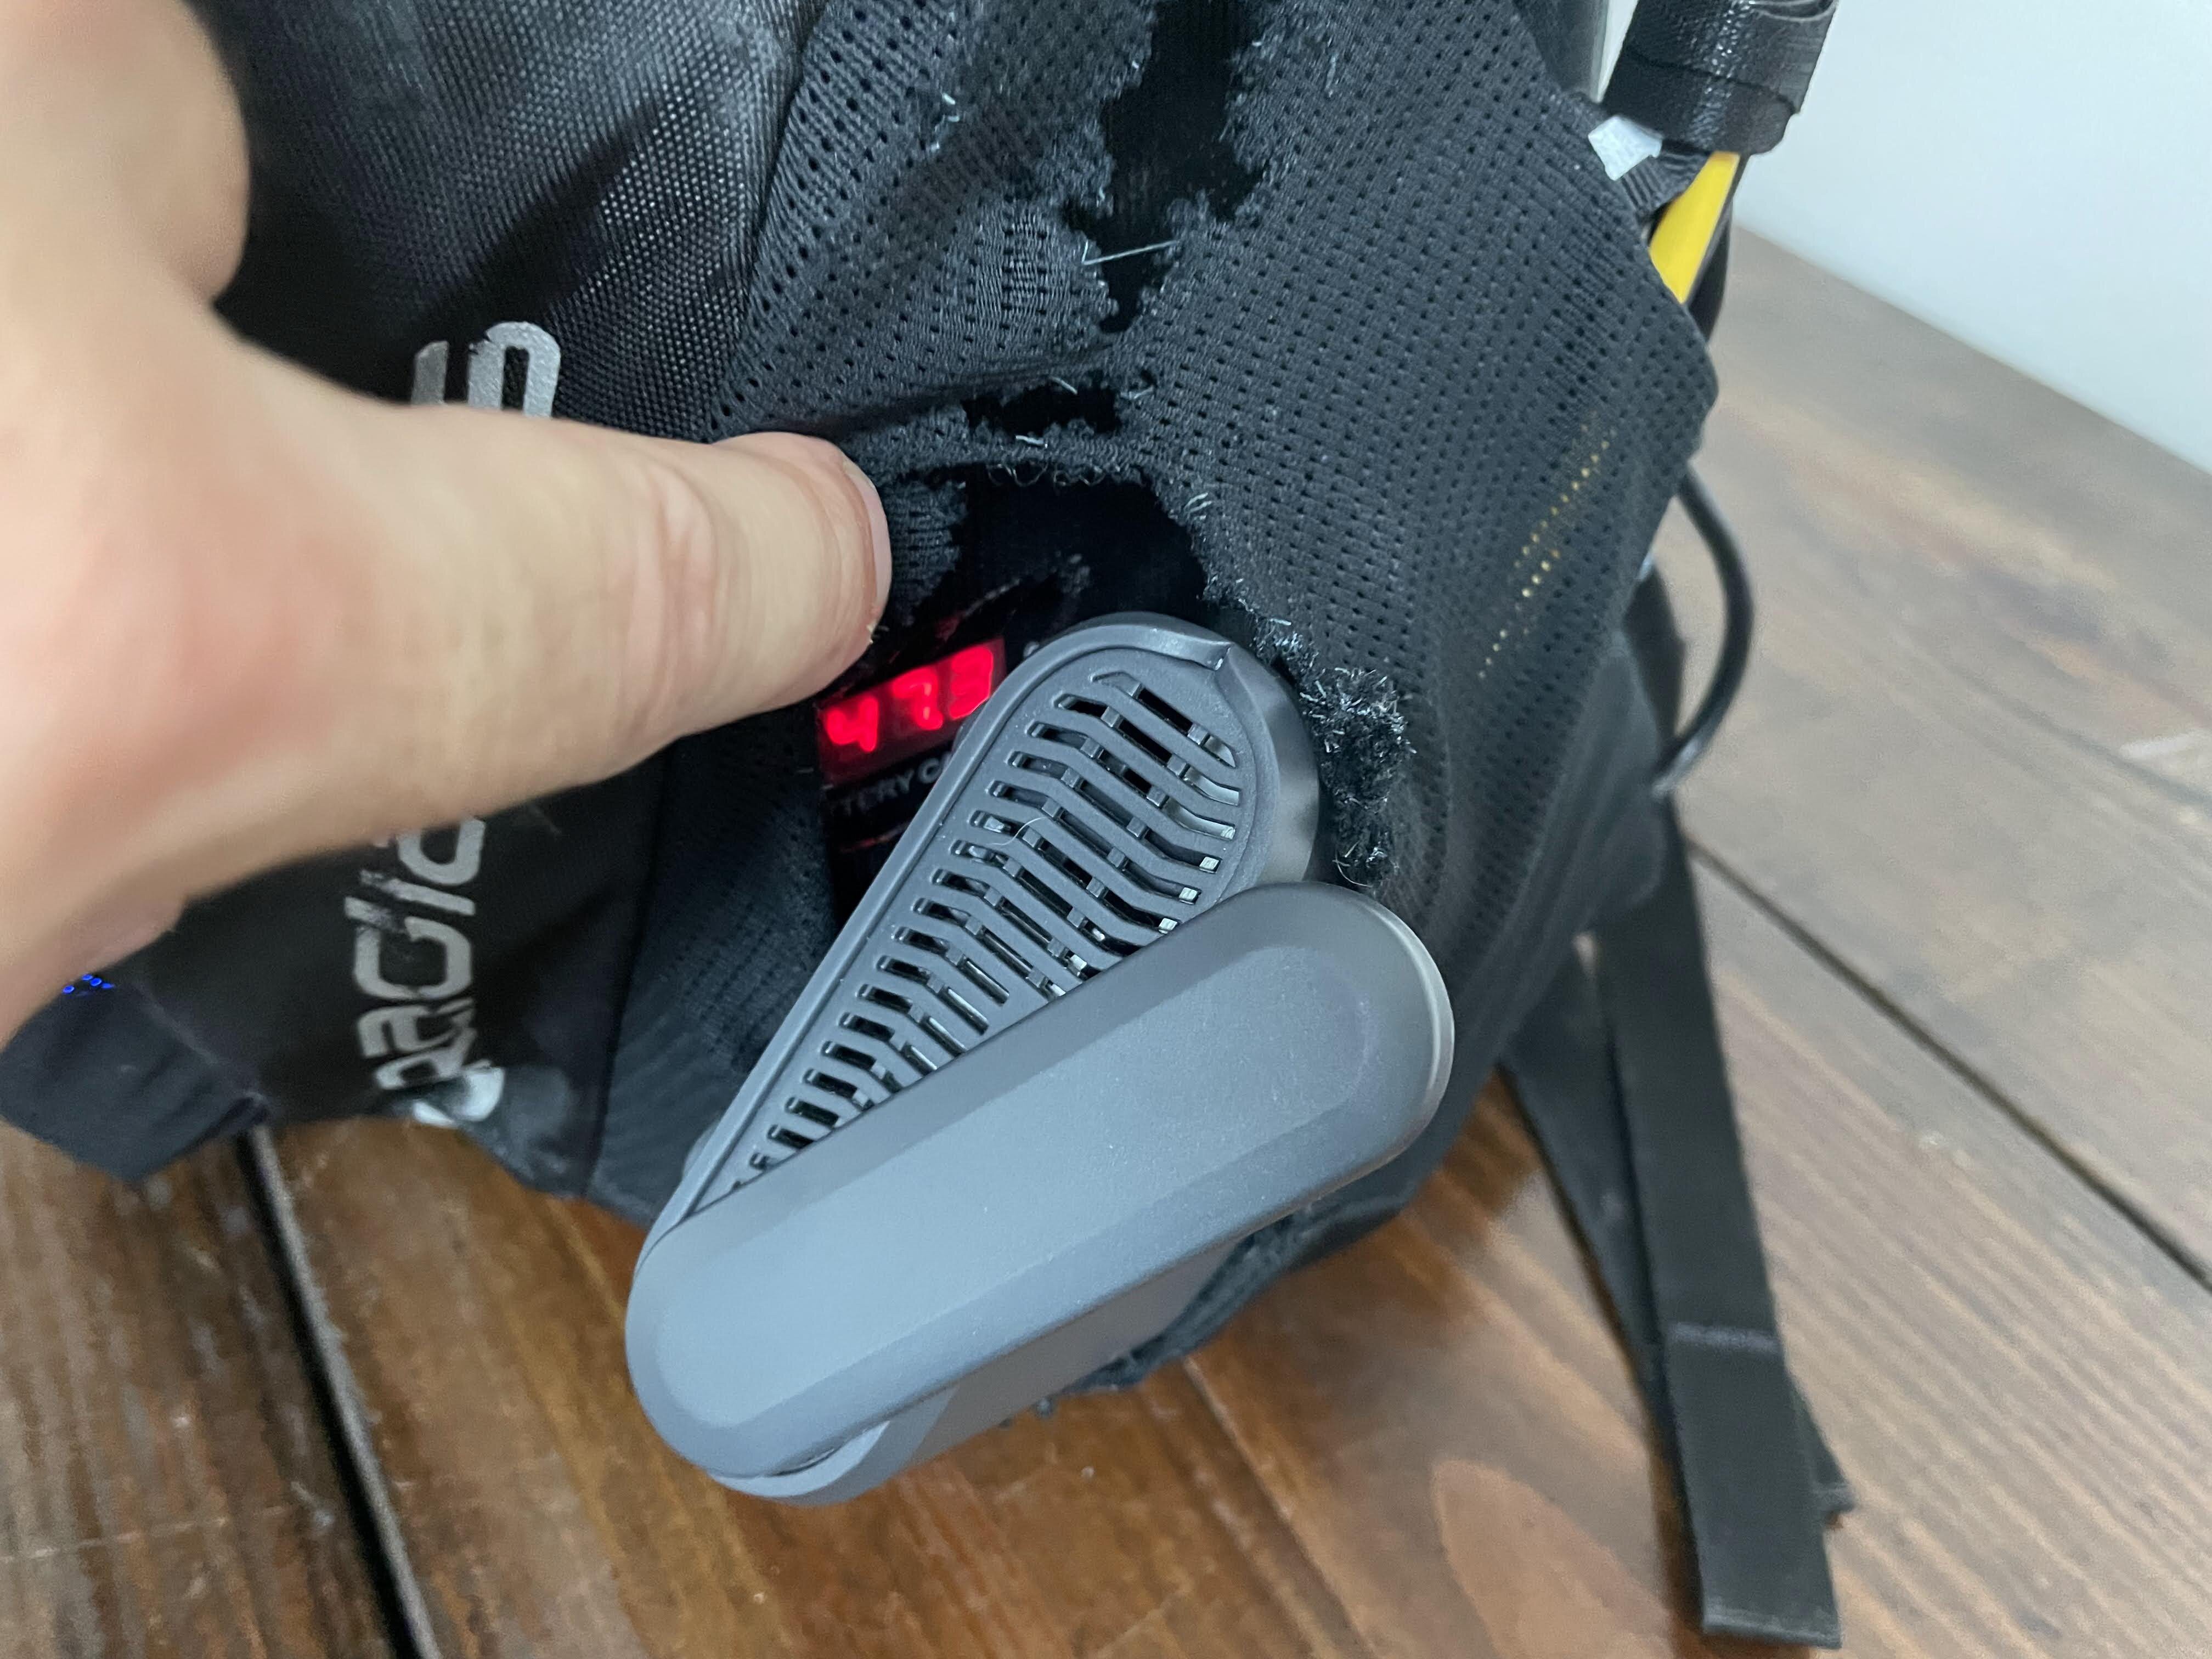
I did have a crash a couple years ago while wearing this bag in its previous life as just a bag. This scraped a hole in the side pocket, but gives a nice war torn location for the onboard wifi 6 / gigabit ethernet router. Also behind the router is a hole in the bag I cut to view the battery charge percentage:
I am not smart enough to design and build a battery pack with in built power supplies designed for each of these components, so I've just used the stock ones plugged into the AC ports of the giant battery in the bottom of the bag. It gets warm in there, especially when I plug the battery in to charge it while running everything, including charging the quest 2...
Read more »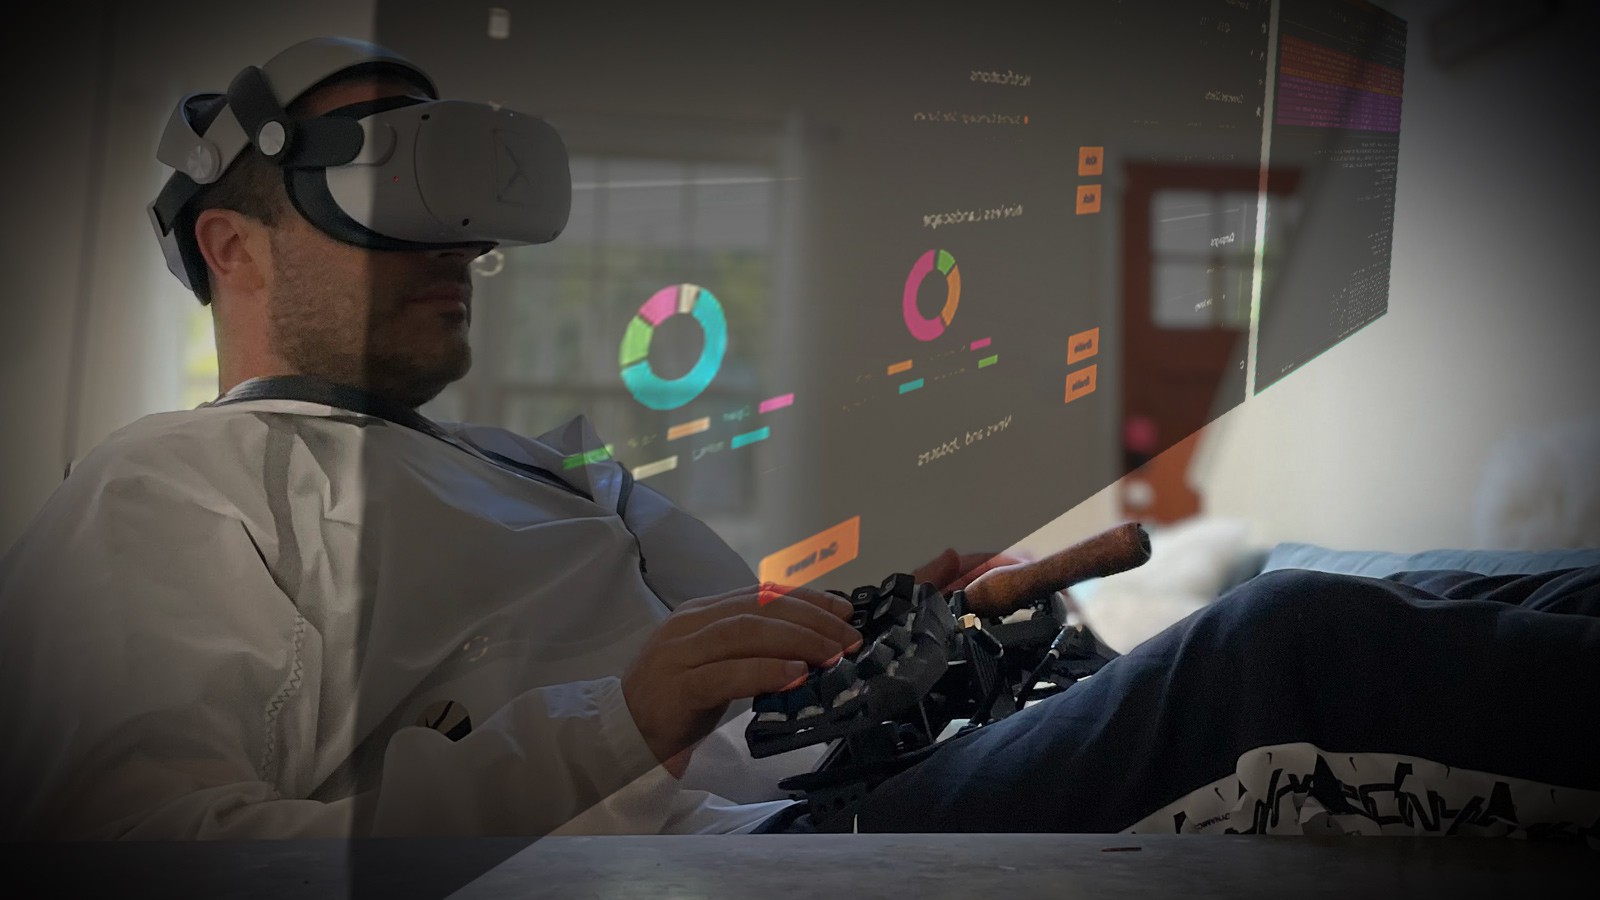


 Colin Alston
 Retroplayer
 Tom Nardi
 tomwsmf
this is an aweosme project!!