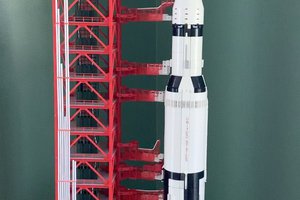
I have always wanted to model this and looked at the models from the big name plastic model makers. They are all too small and not enough detail. Paper models? Not my thing. Having taken my modeling to the next level with a 3D printer I looked into this as a possibility. Most people start with a model from farscape1 at https://www.thingiverse.com/thing:911891. This model is over 5 feet tall but lacks the detail you would expect in a model of this size. Fortunately there are many people out there adding and publishing details to add to the Launcher-Umbilical Tower (LUT). There is a guy from France that has made an incredible collection of rockets and for a nominal fee you can purchase his version of the Saturn V rocket. https://the-amphioxus.monsite-orange.fr. There are even people working on adding detail to the crane on top of the LUT. This is a massive project, but I am going to start at the bottom and work up. The lowest level component is the crawler.
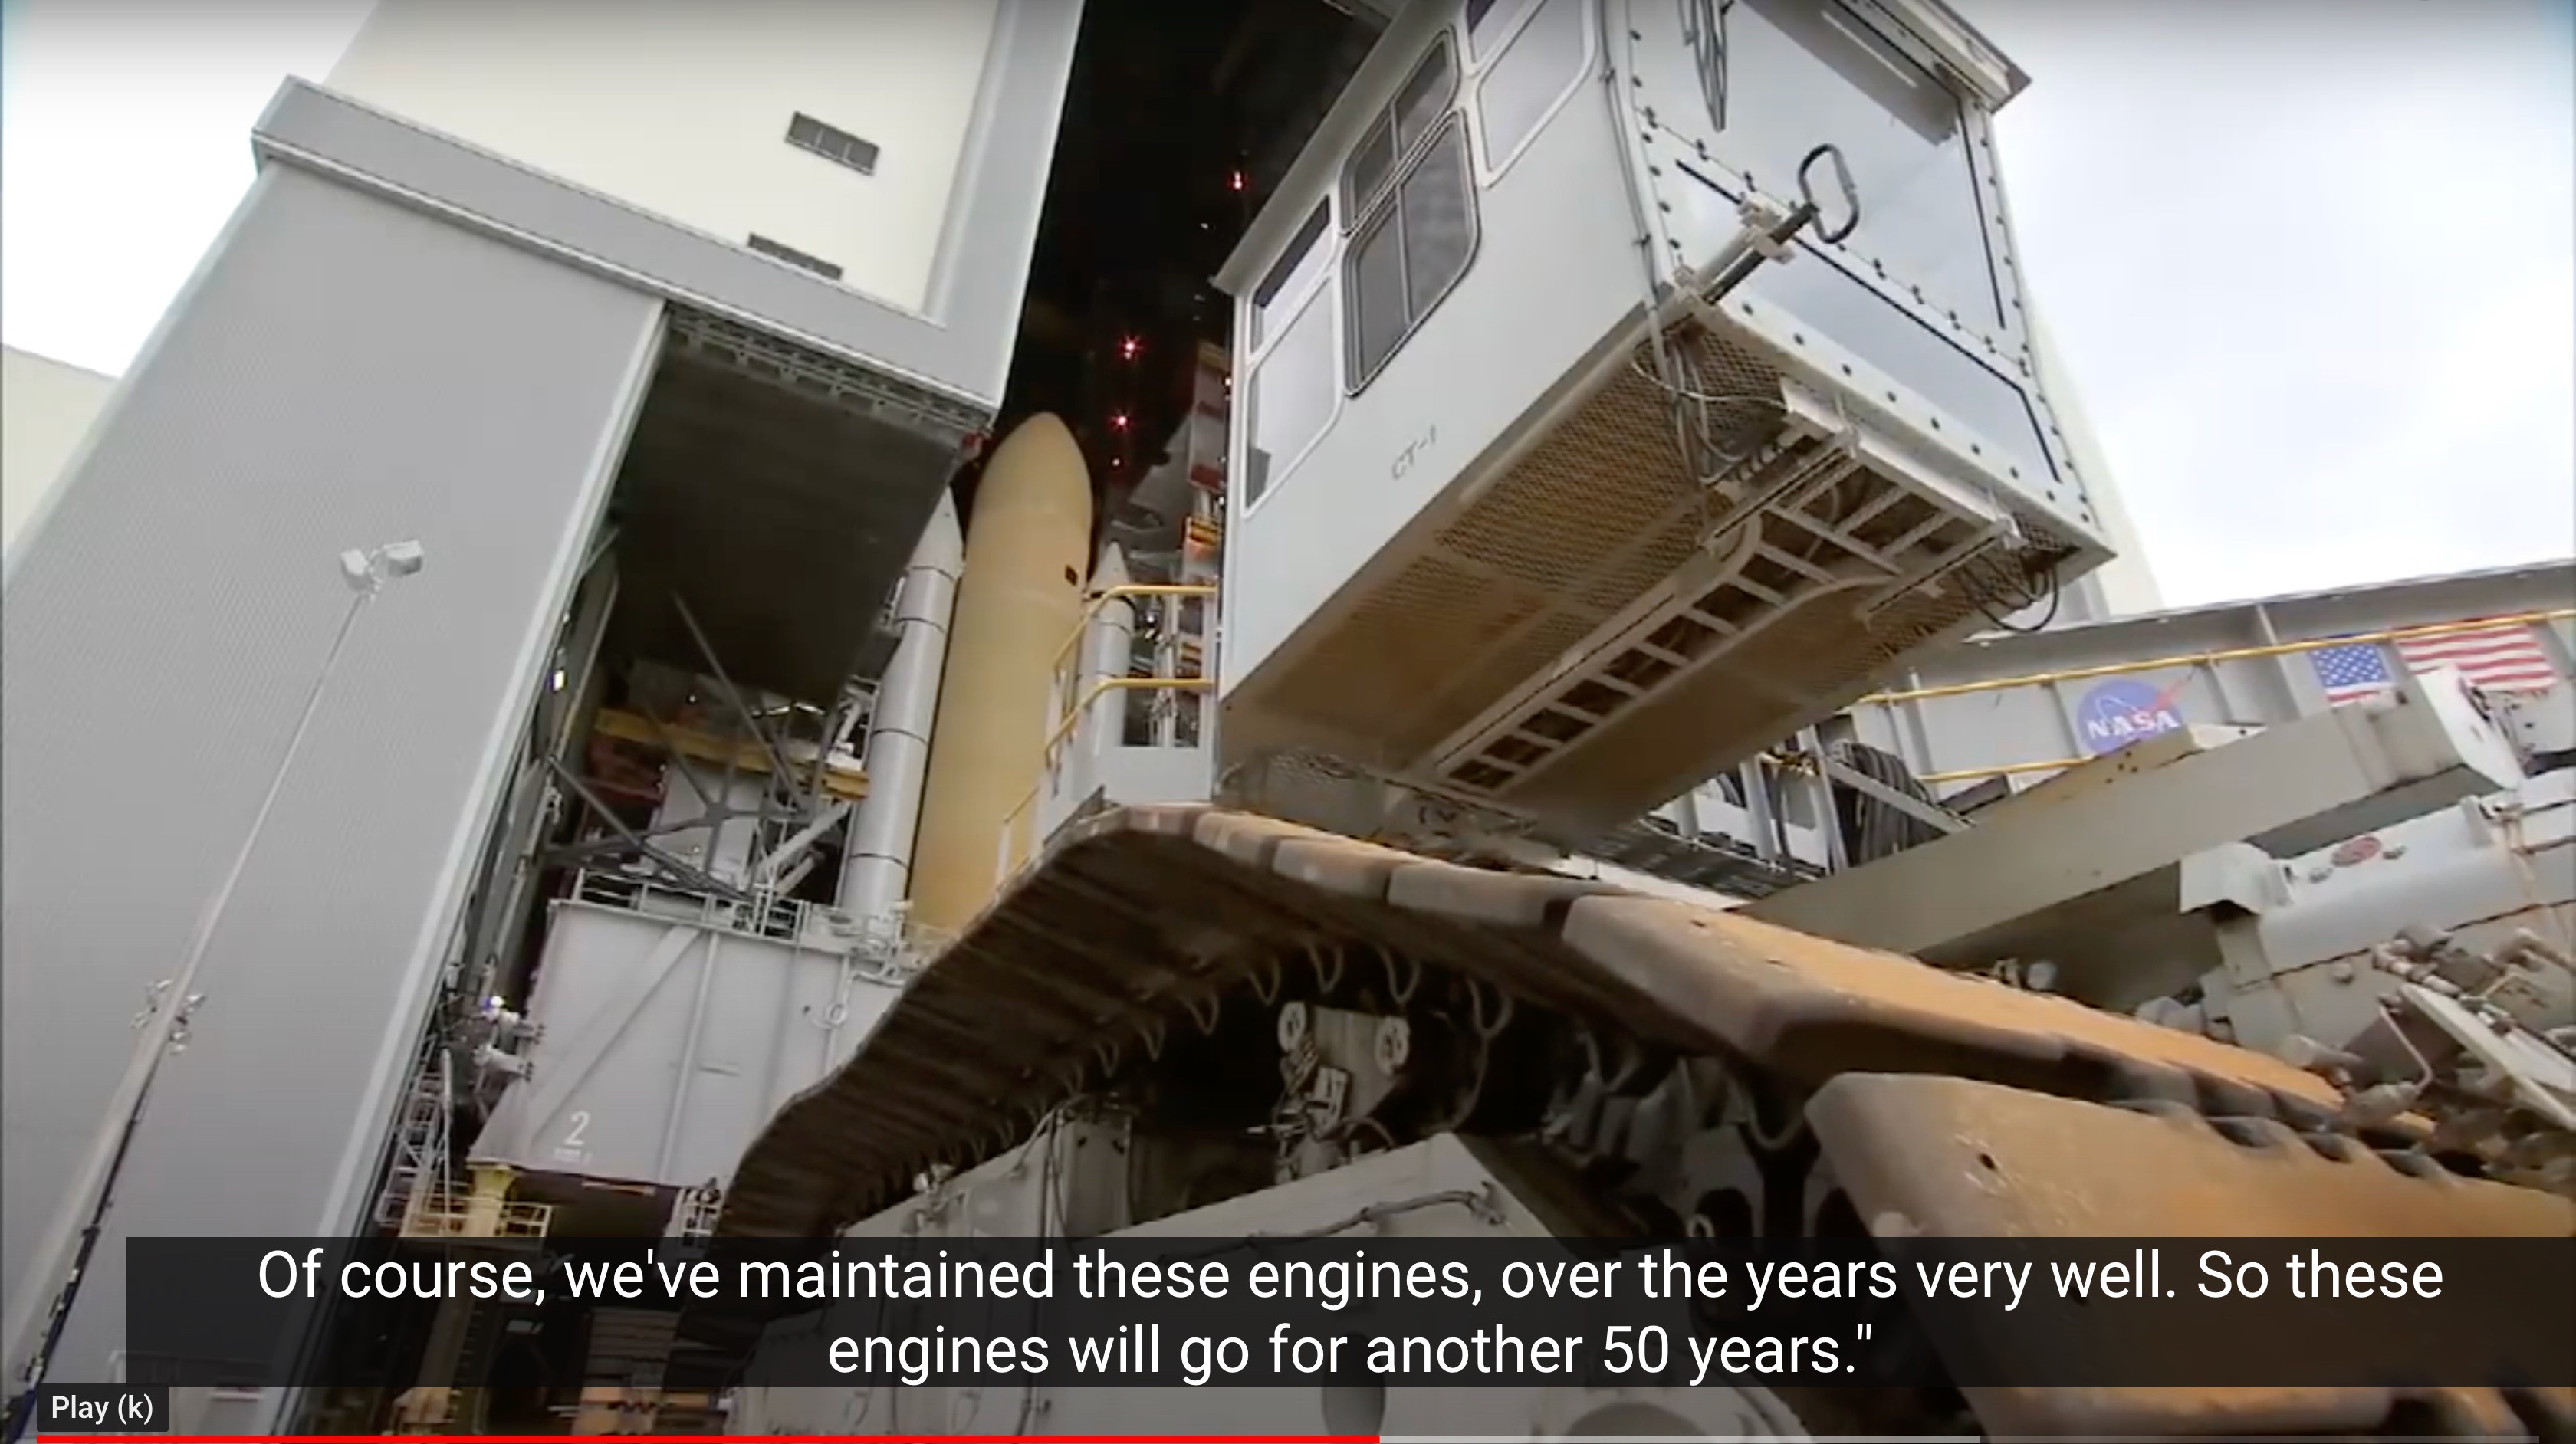
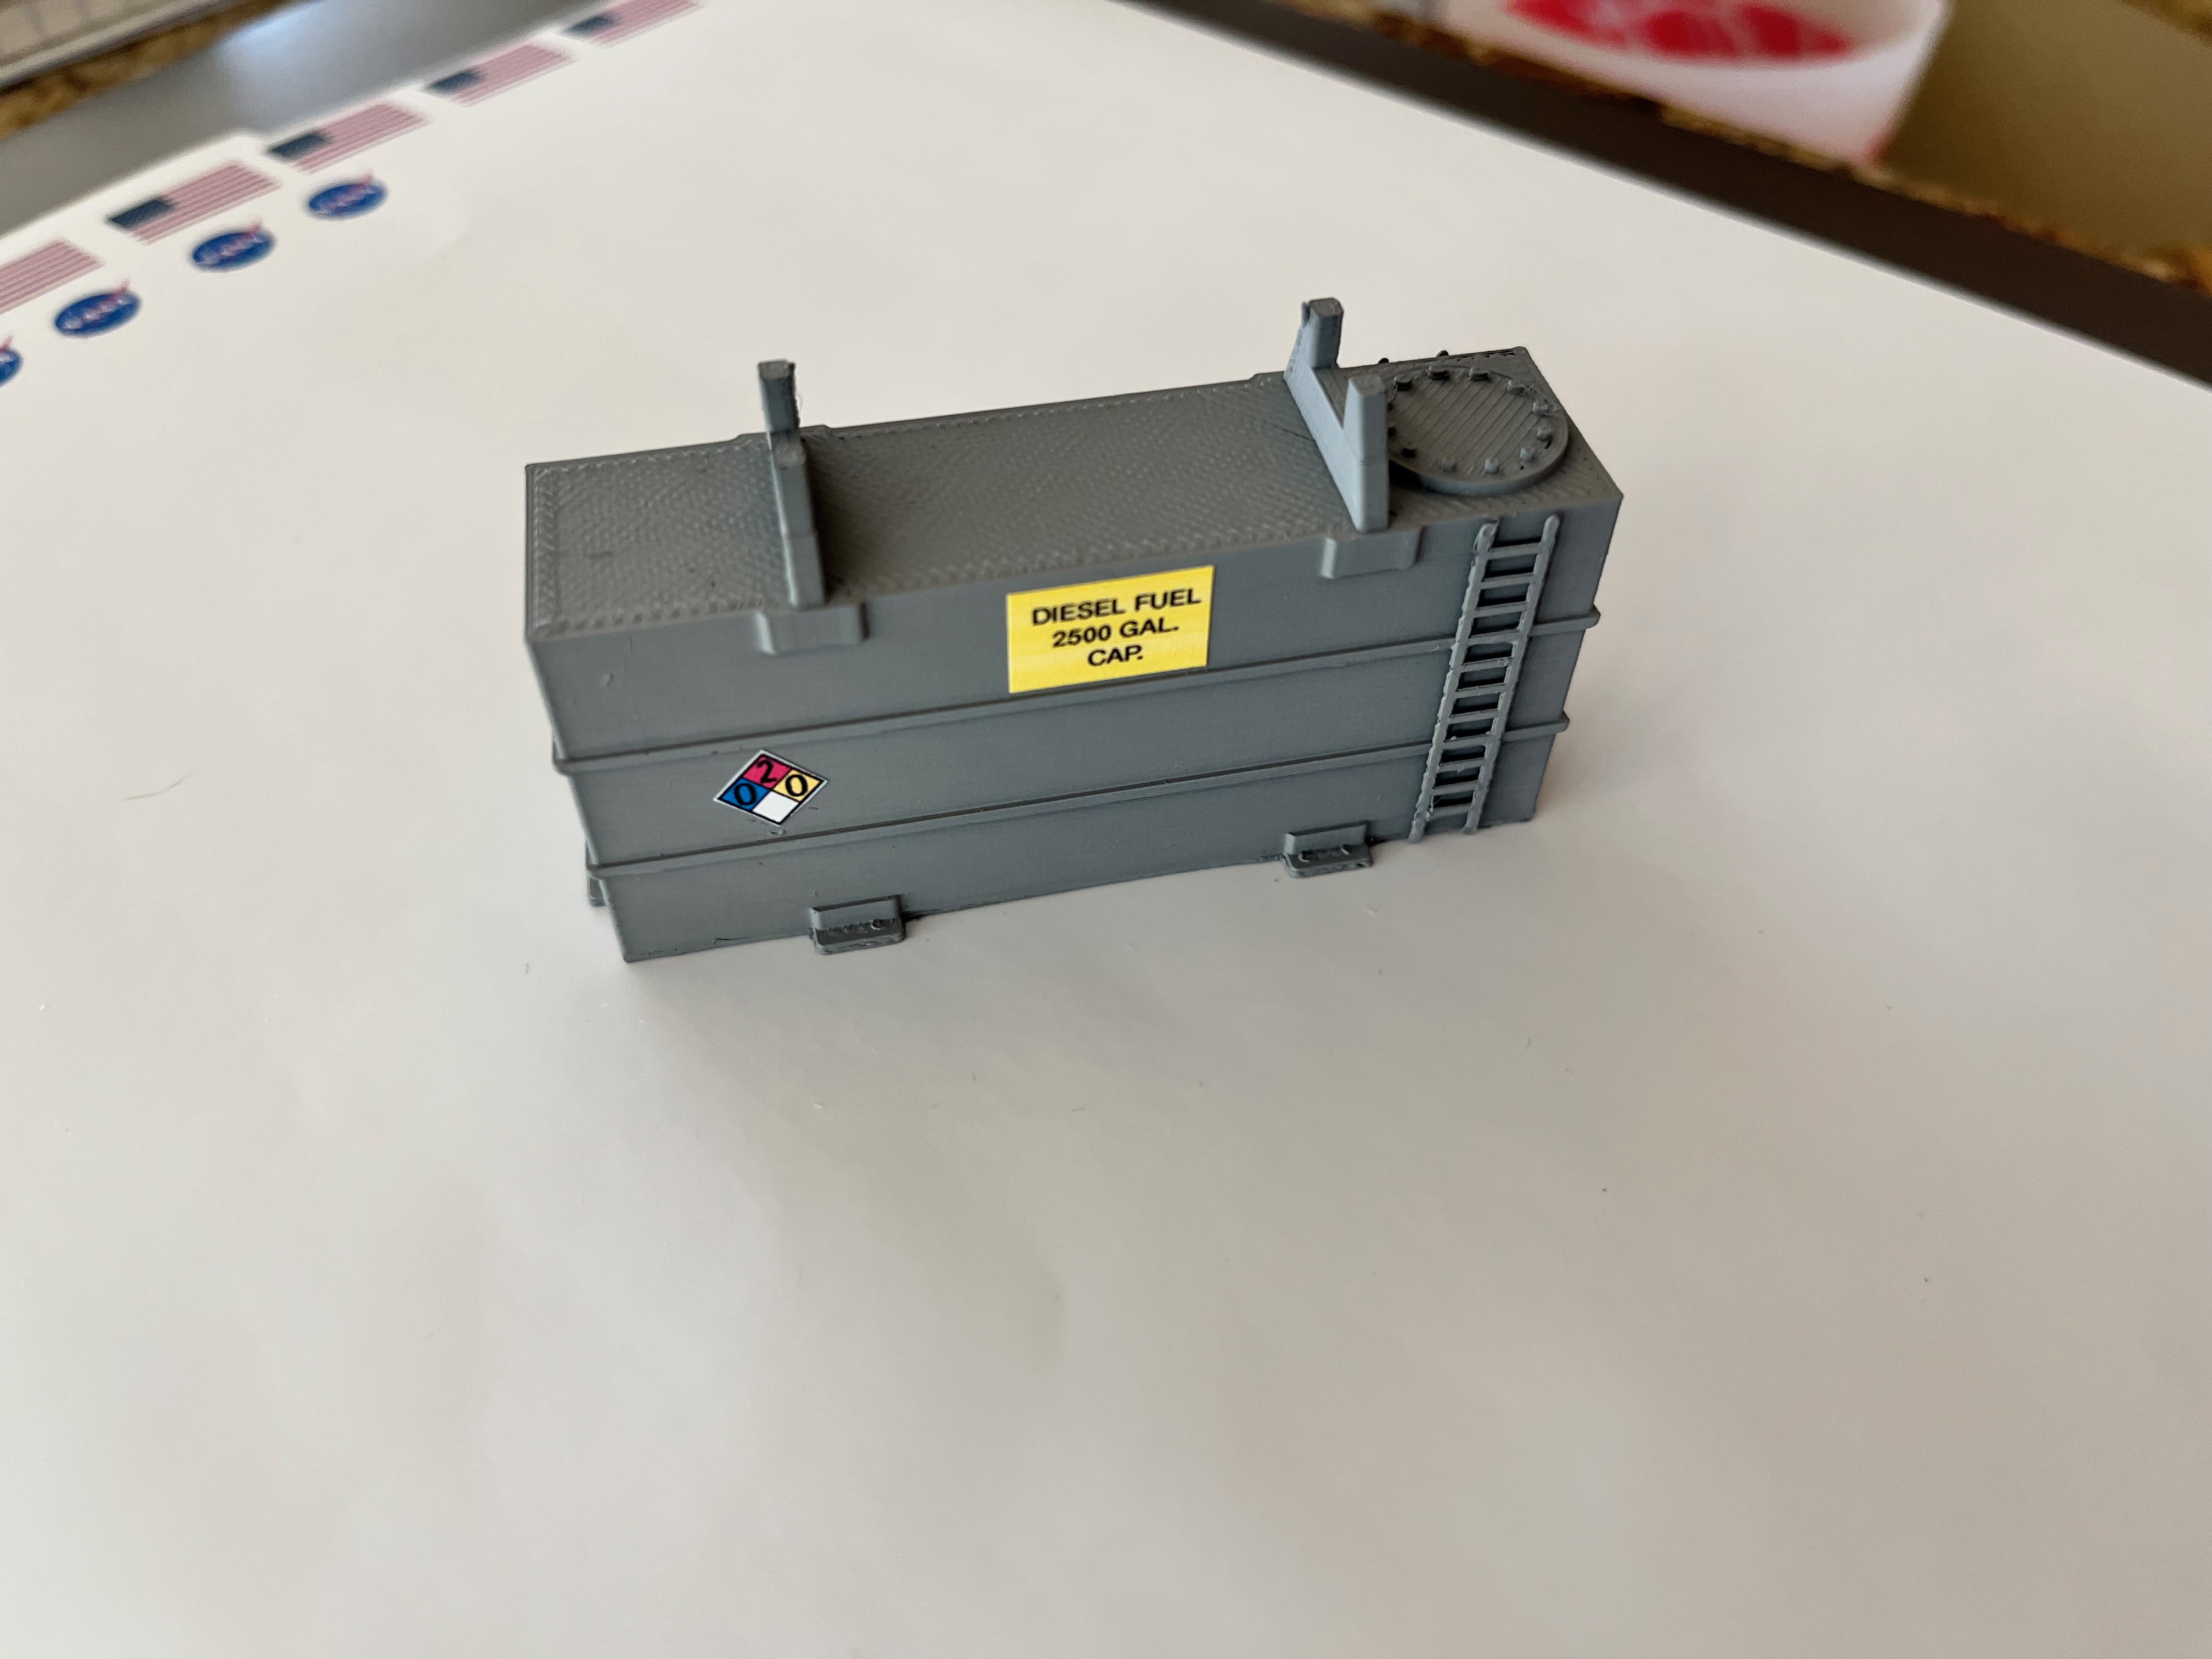
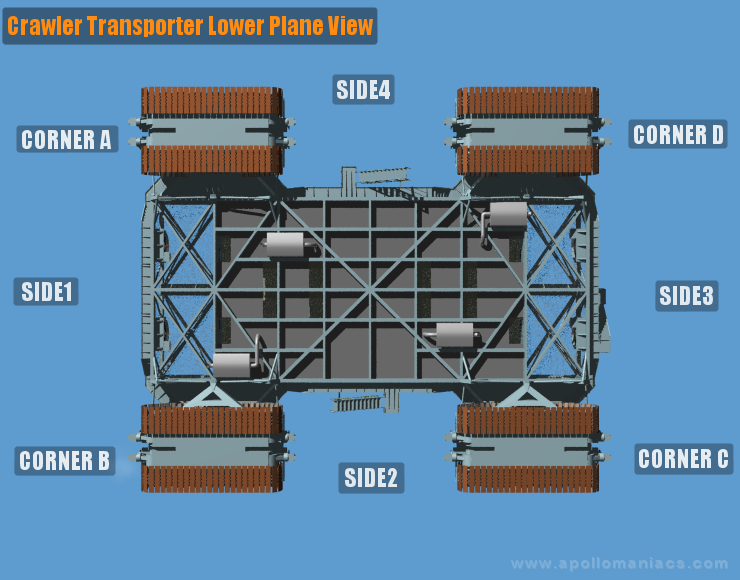
The crawler is 131 feet long and 114 feet wide with a variable height of 20 to 26 feet. It weighs approximately 6.6 million pounds and can haul 18 million pounds. The top speed loaded is 1.0 MPH and uses 150 gallons per mile. The tracks are driven by sixteen 375 hp electric motors. The electricity is generated by four 1,000 kw generators driven by two 2,750 hp Diesel engines. There are four hydraulic pumps for steering and leveling the platform that are driven by electricity generated by two 750 kw generators driven by two 1,065 hp Diesel engines. Two of these crawlers were built and they were supposedly named Hans and Frans.
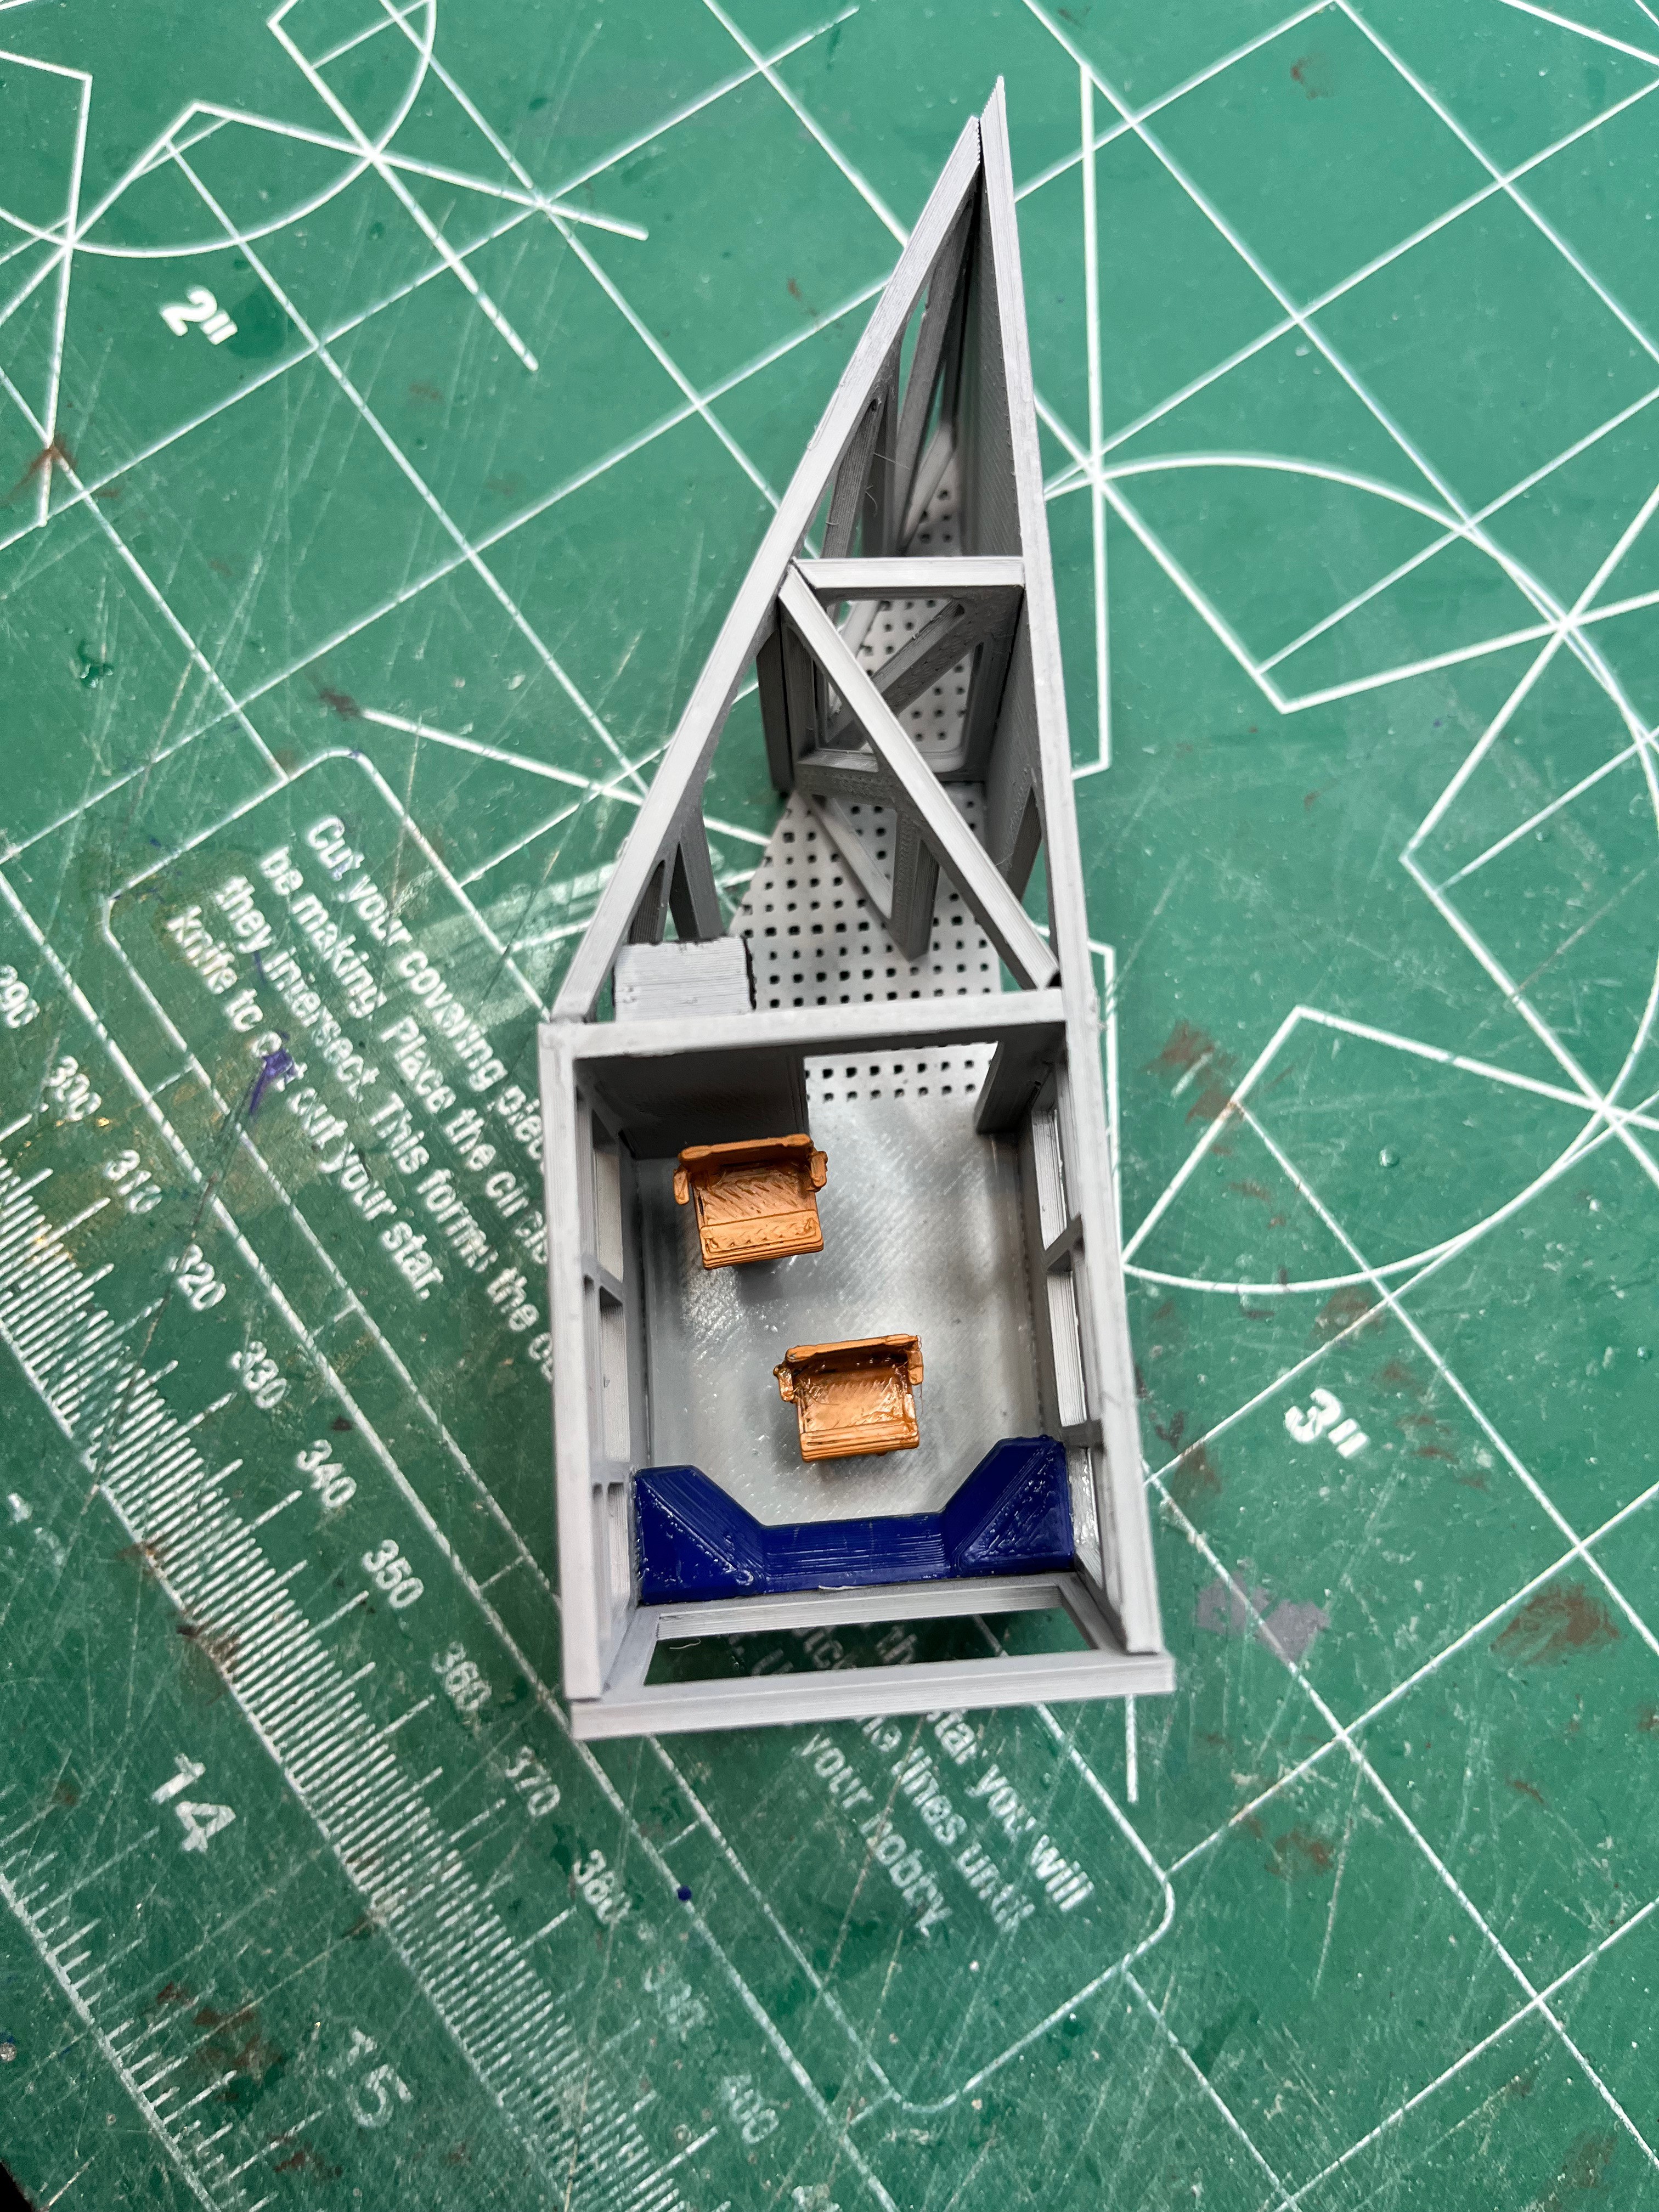
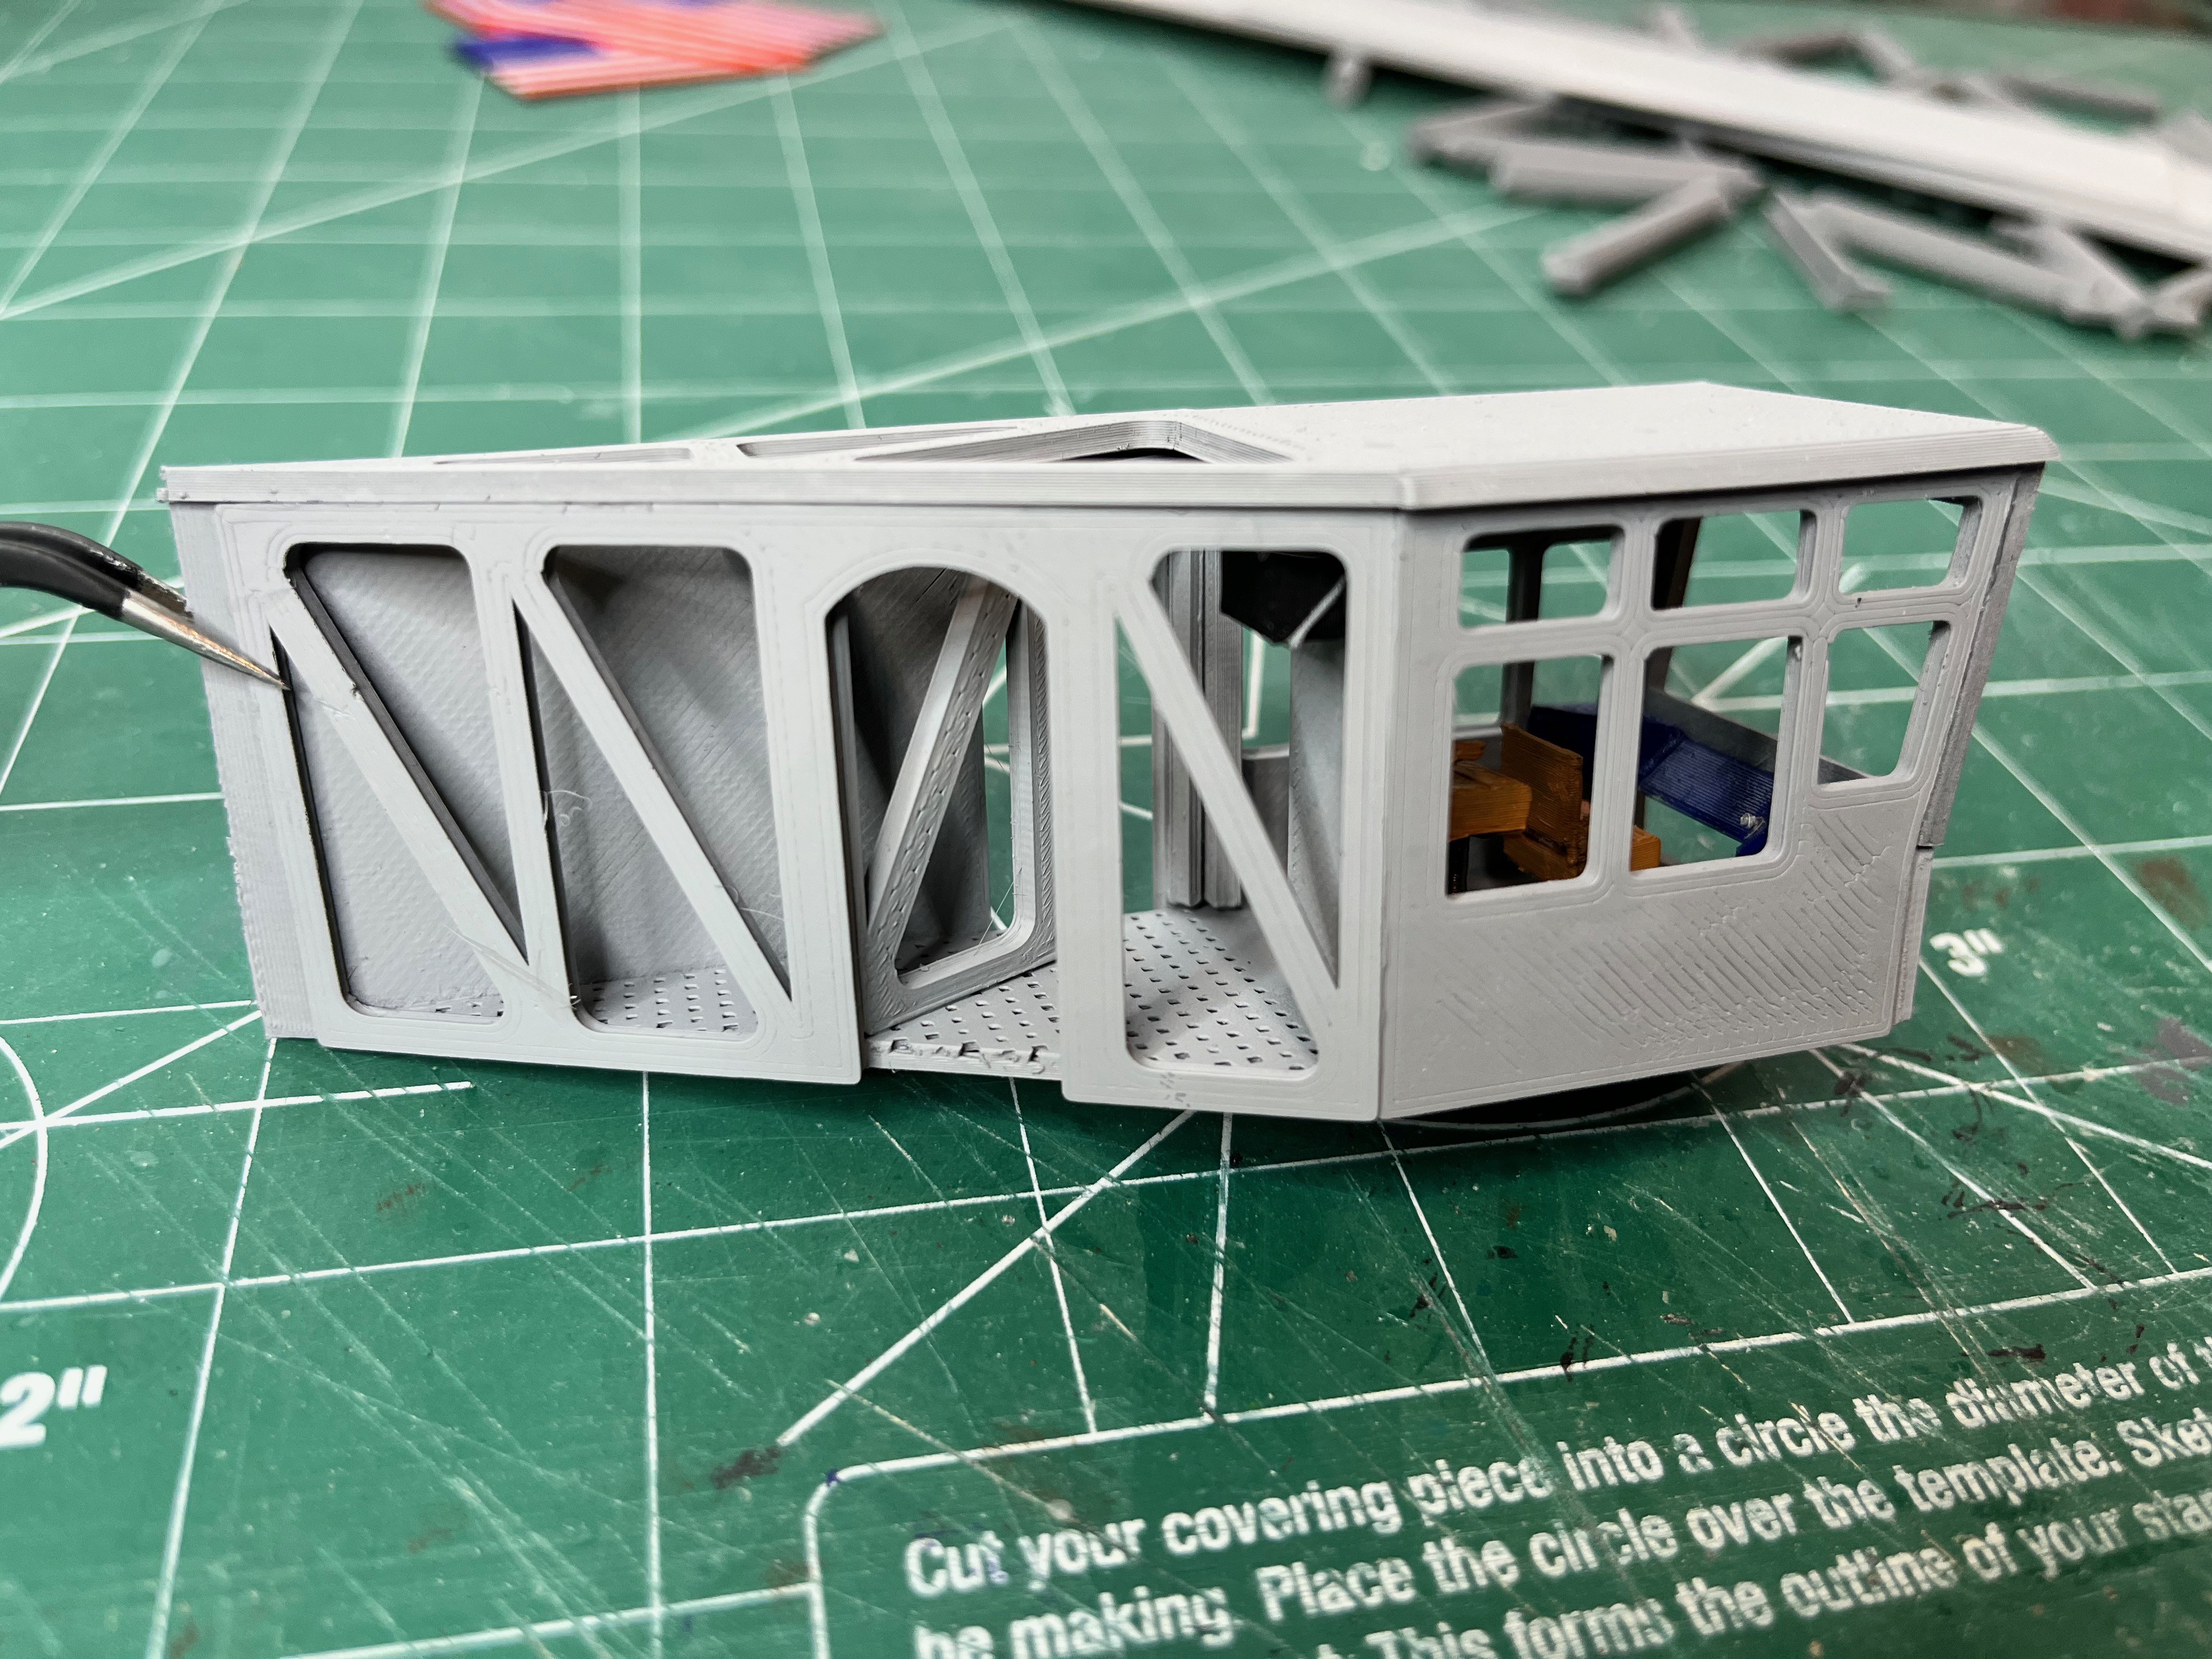
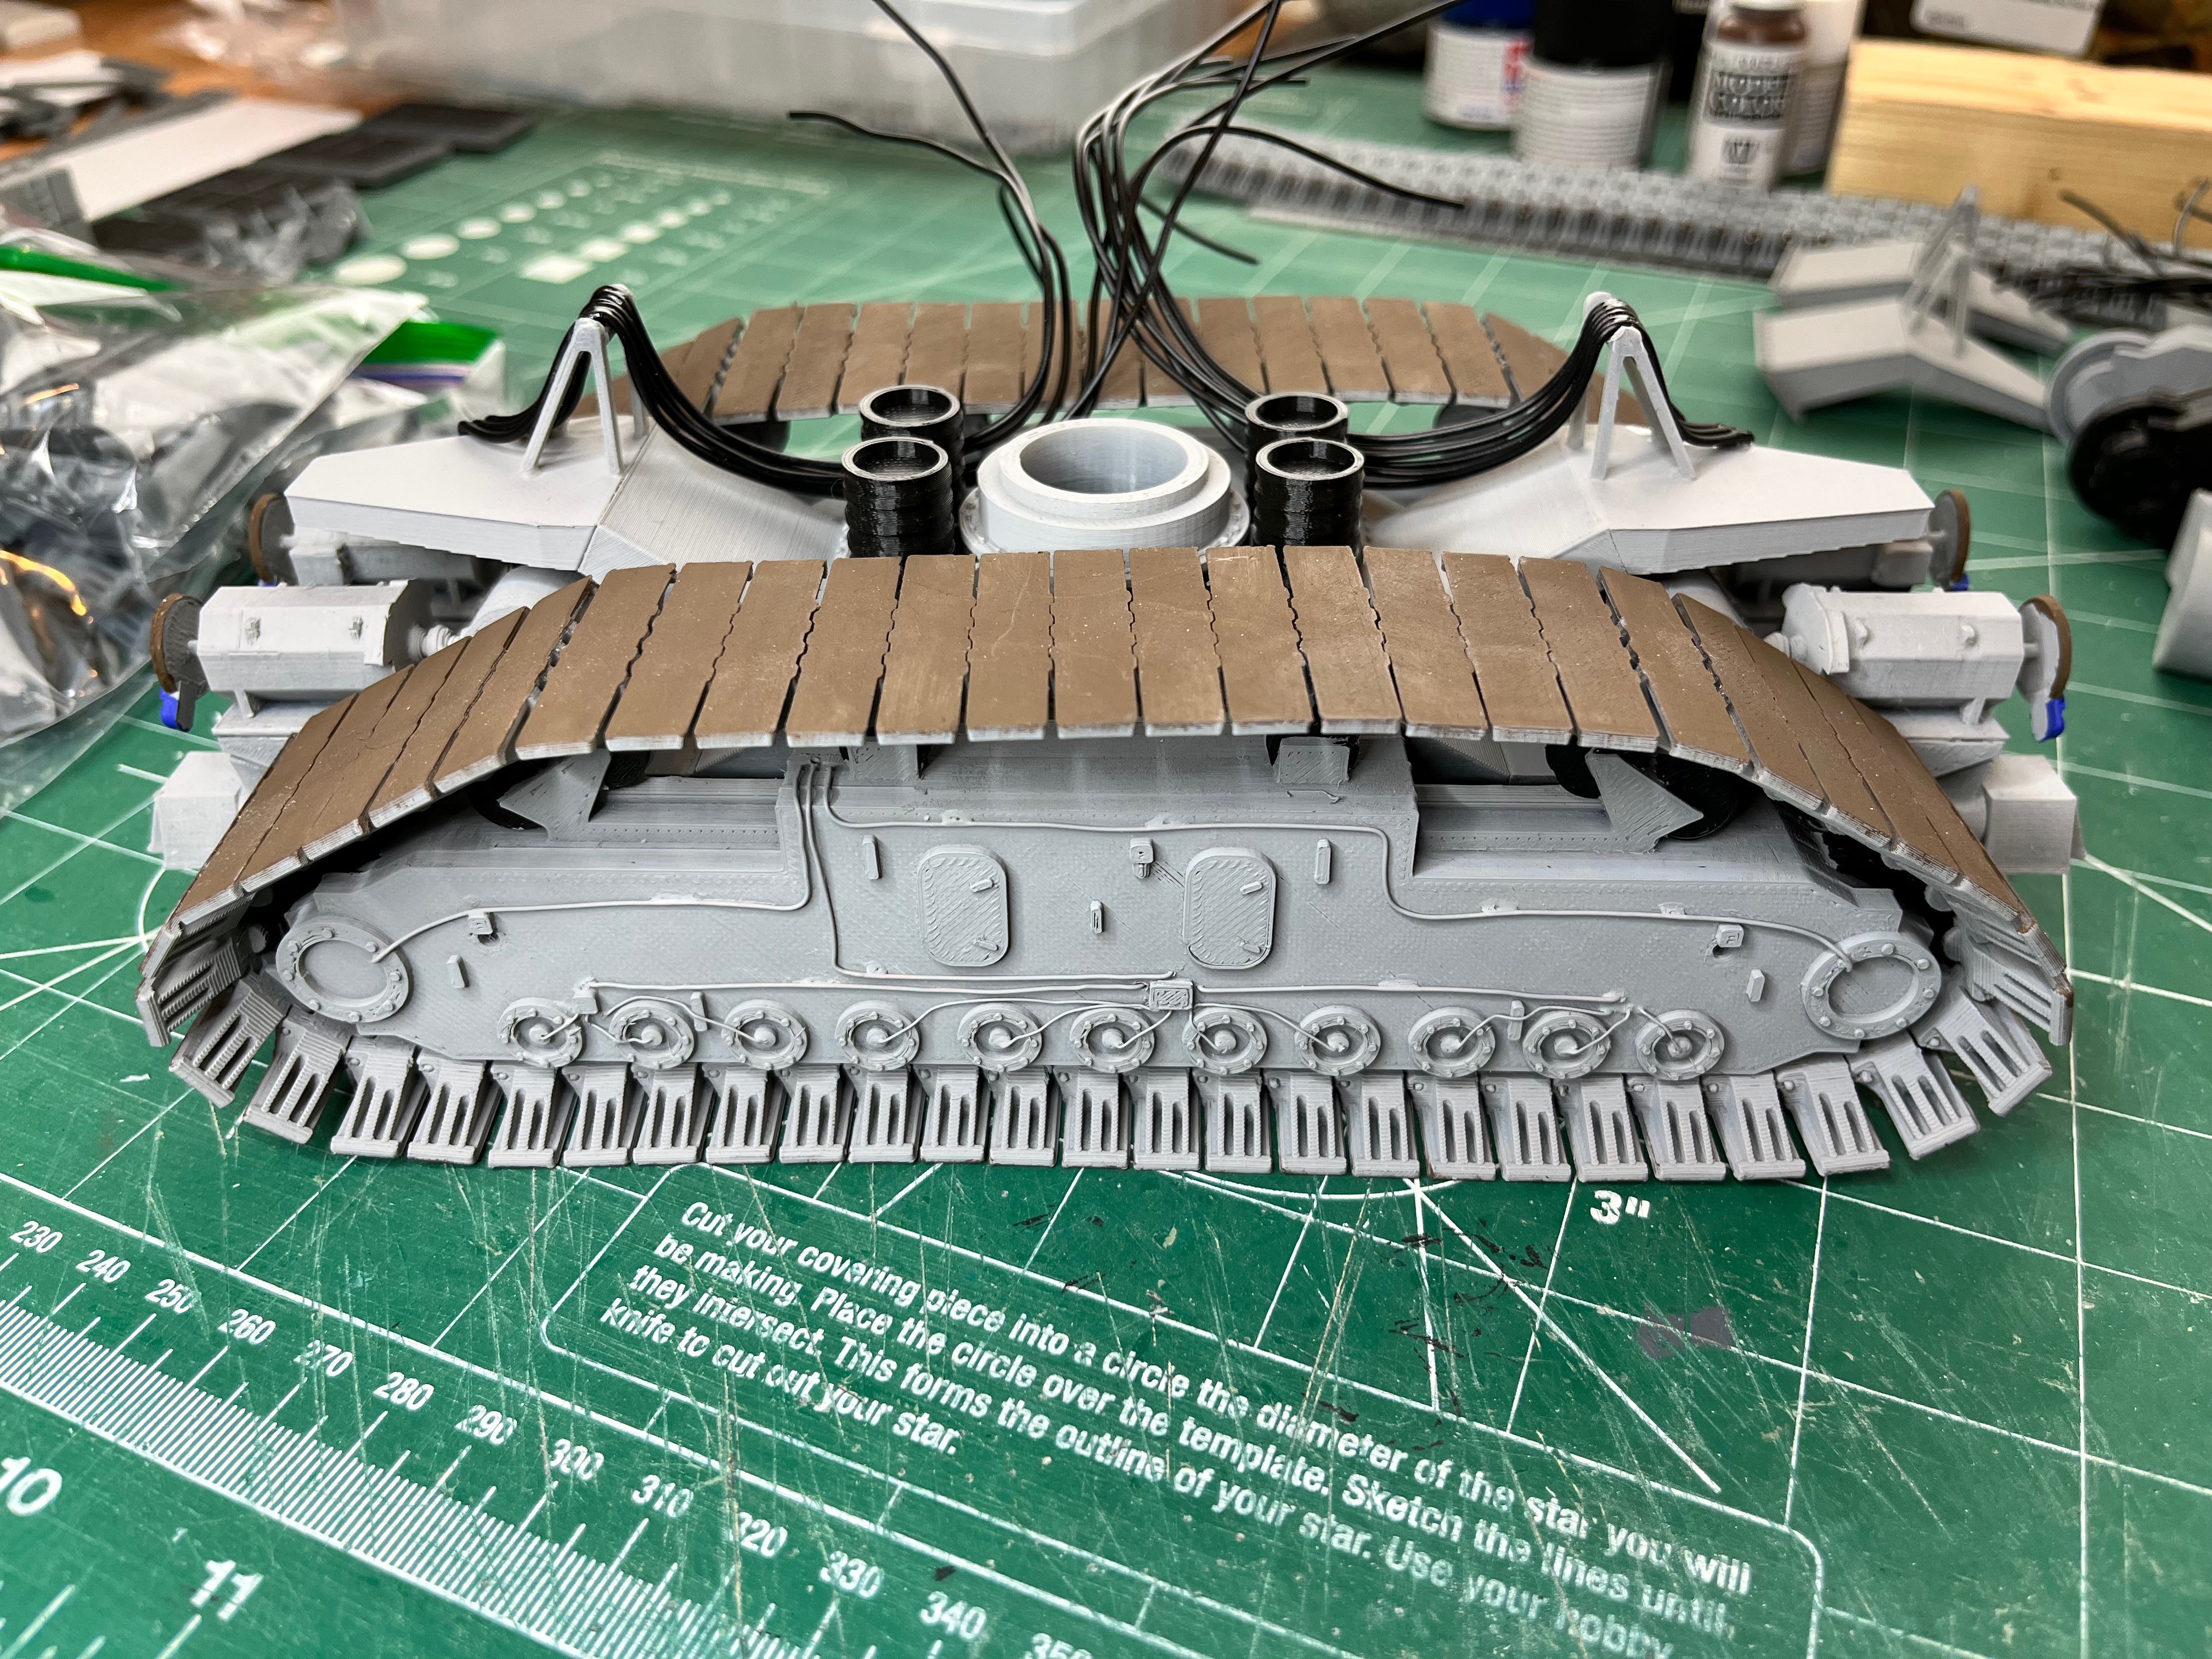
There is a model out there, not the correct scale and not much detail at https://www.thingiverse.com/thing:4563734. This is a good start. The modeler had a good idea of creating a central box and skinning the box. For me he took the box out too far. There is an internal room housing the engines and generators. I will start with this model and make the following modifications to add detail.
1) Change the scale from 1:70 to 1:60
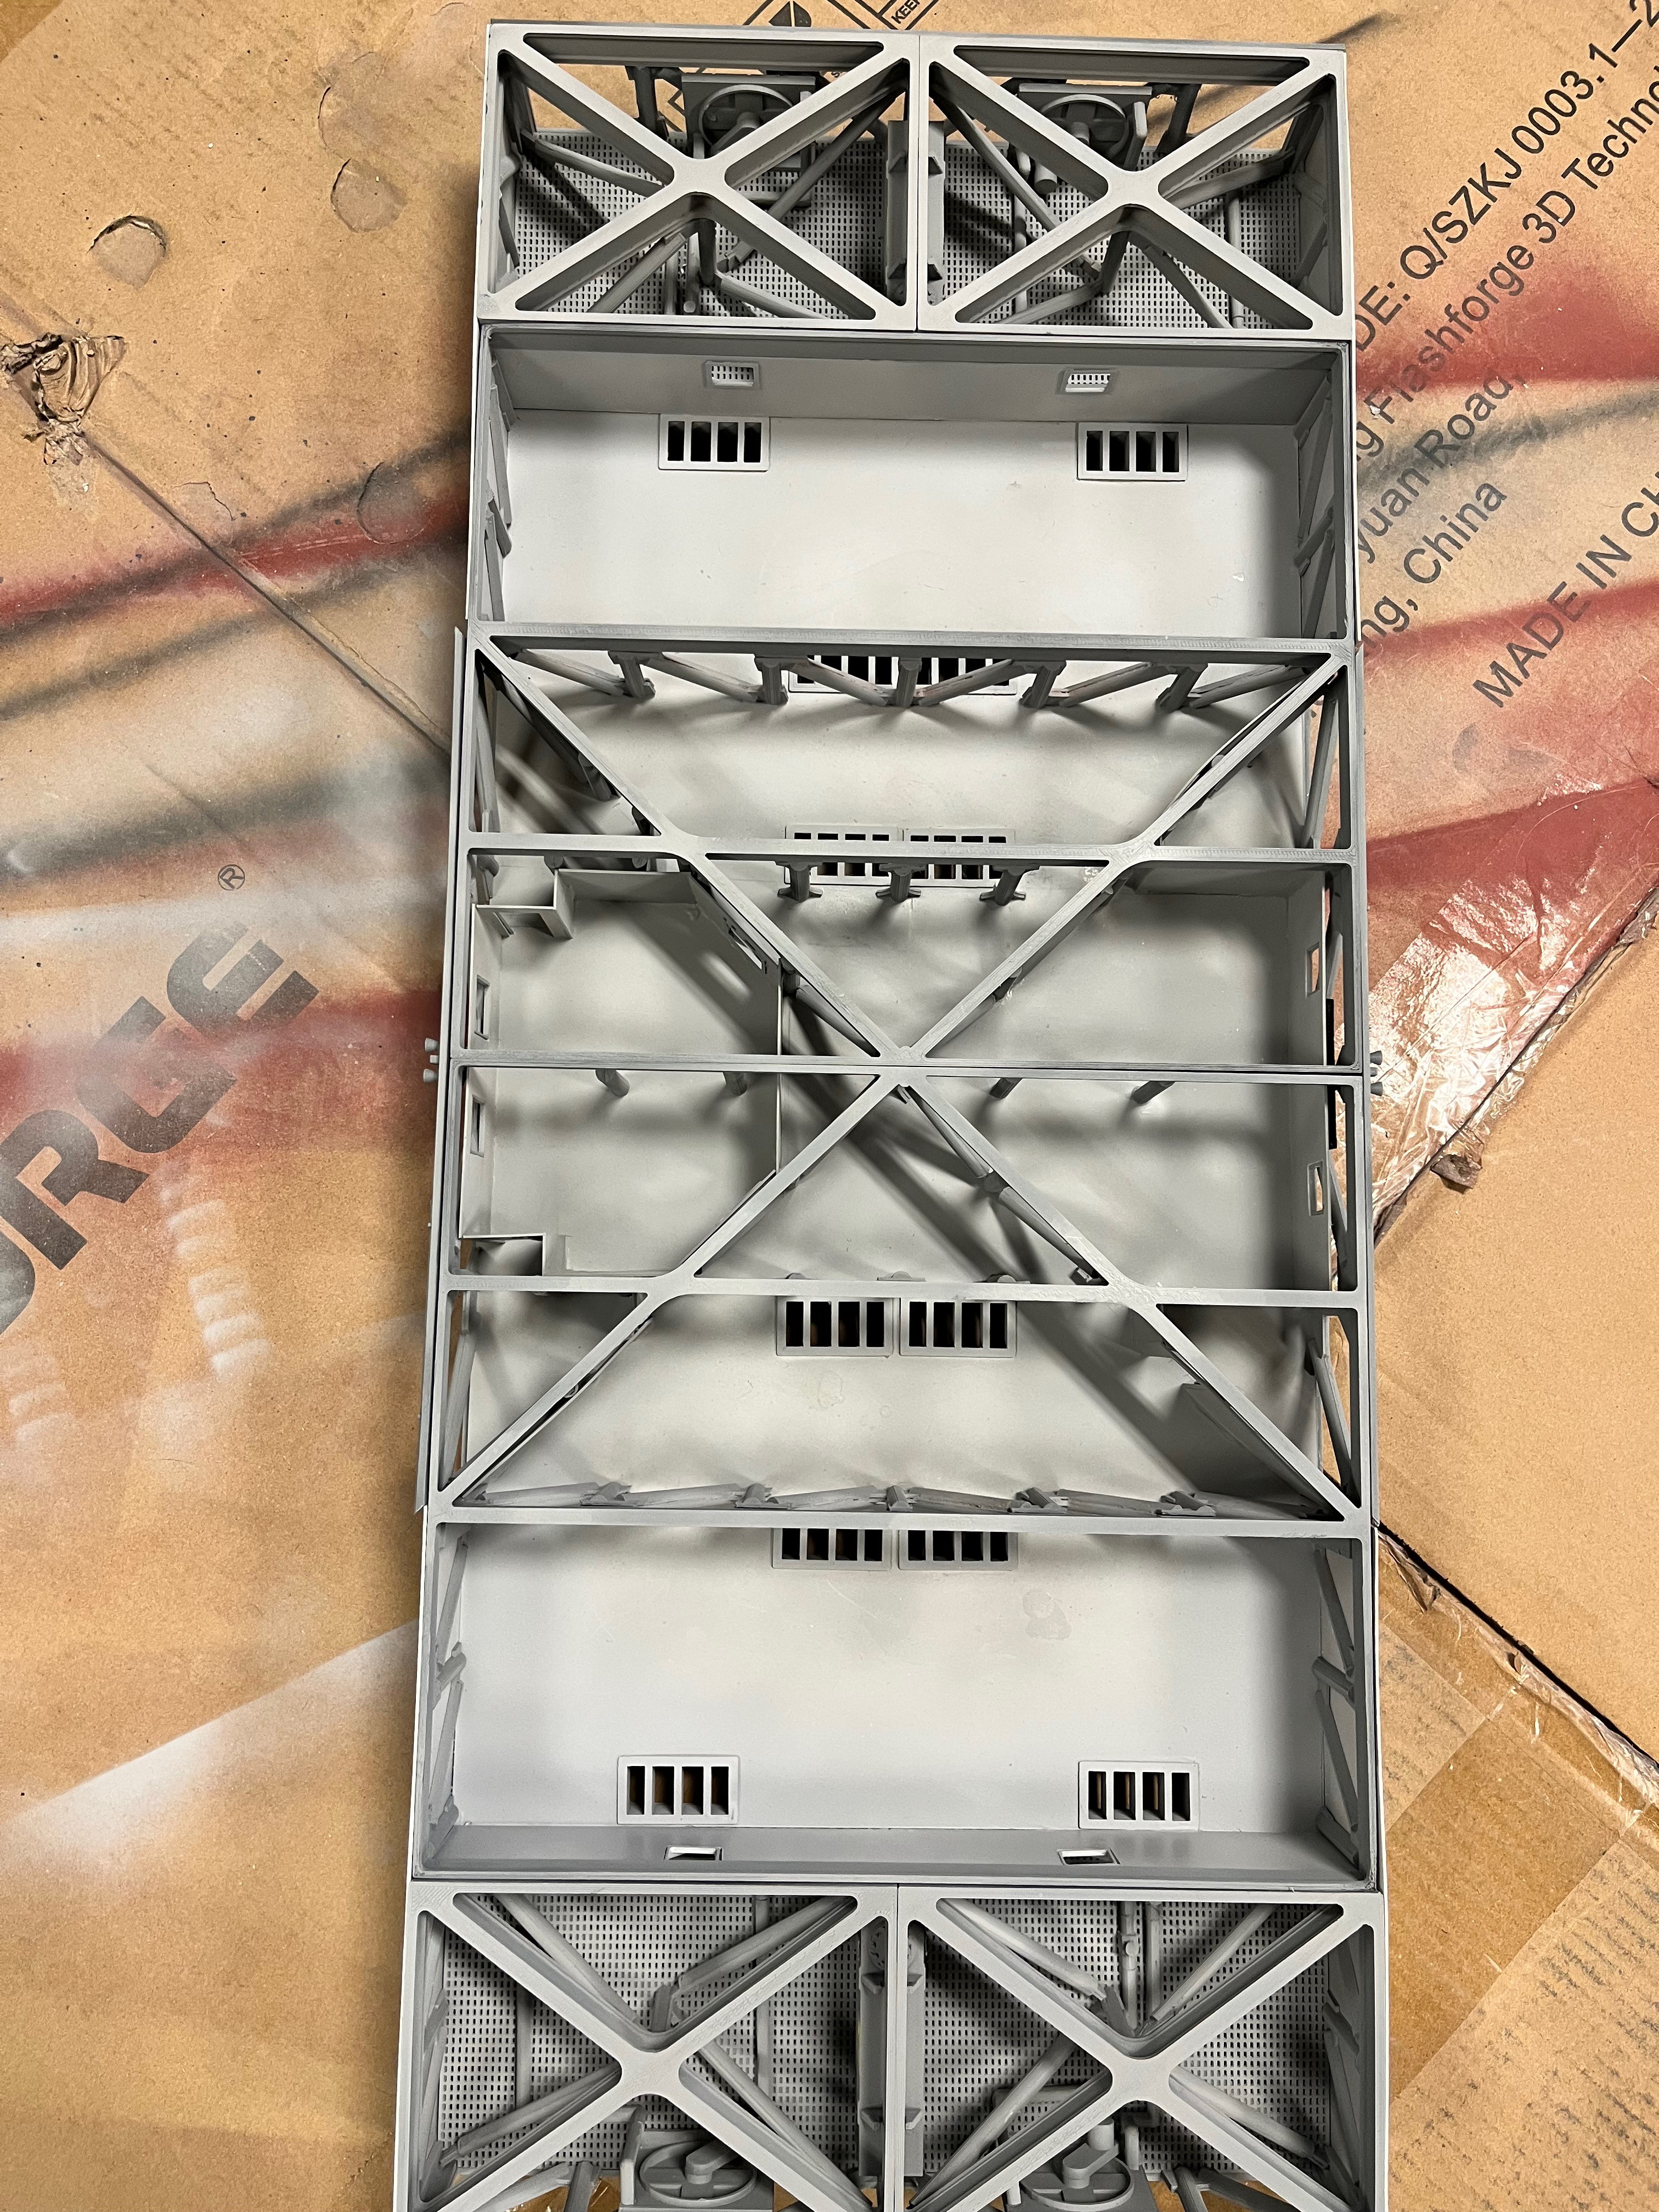
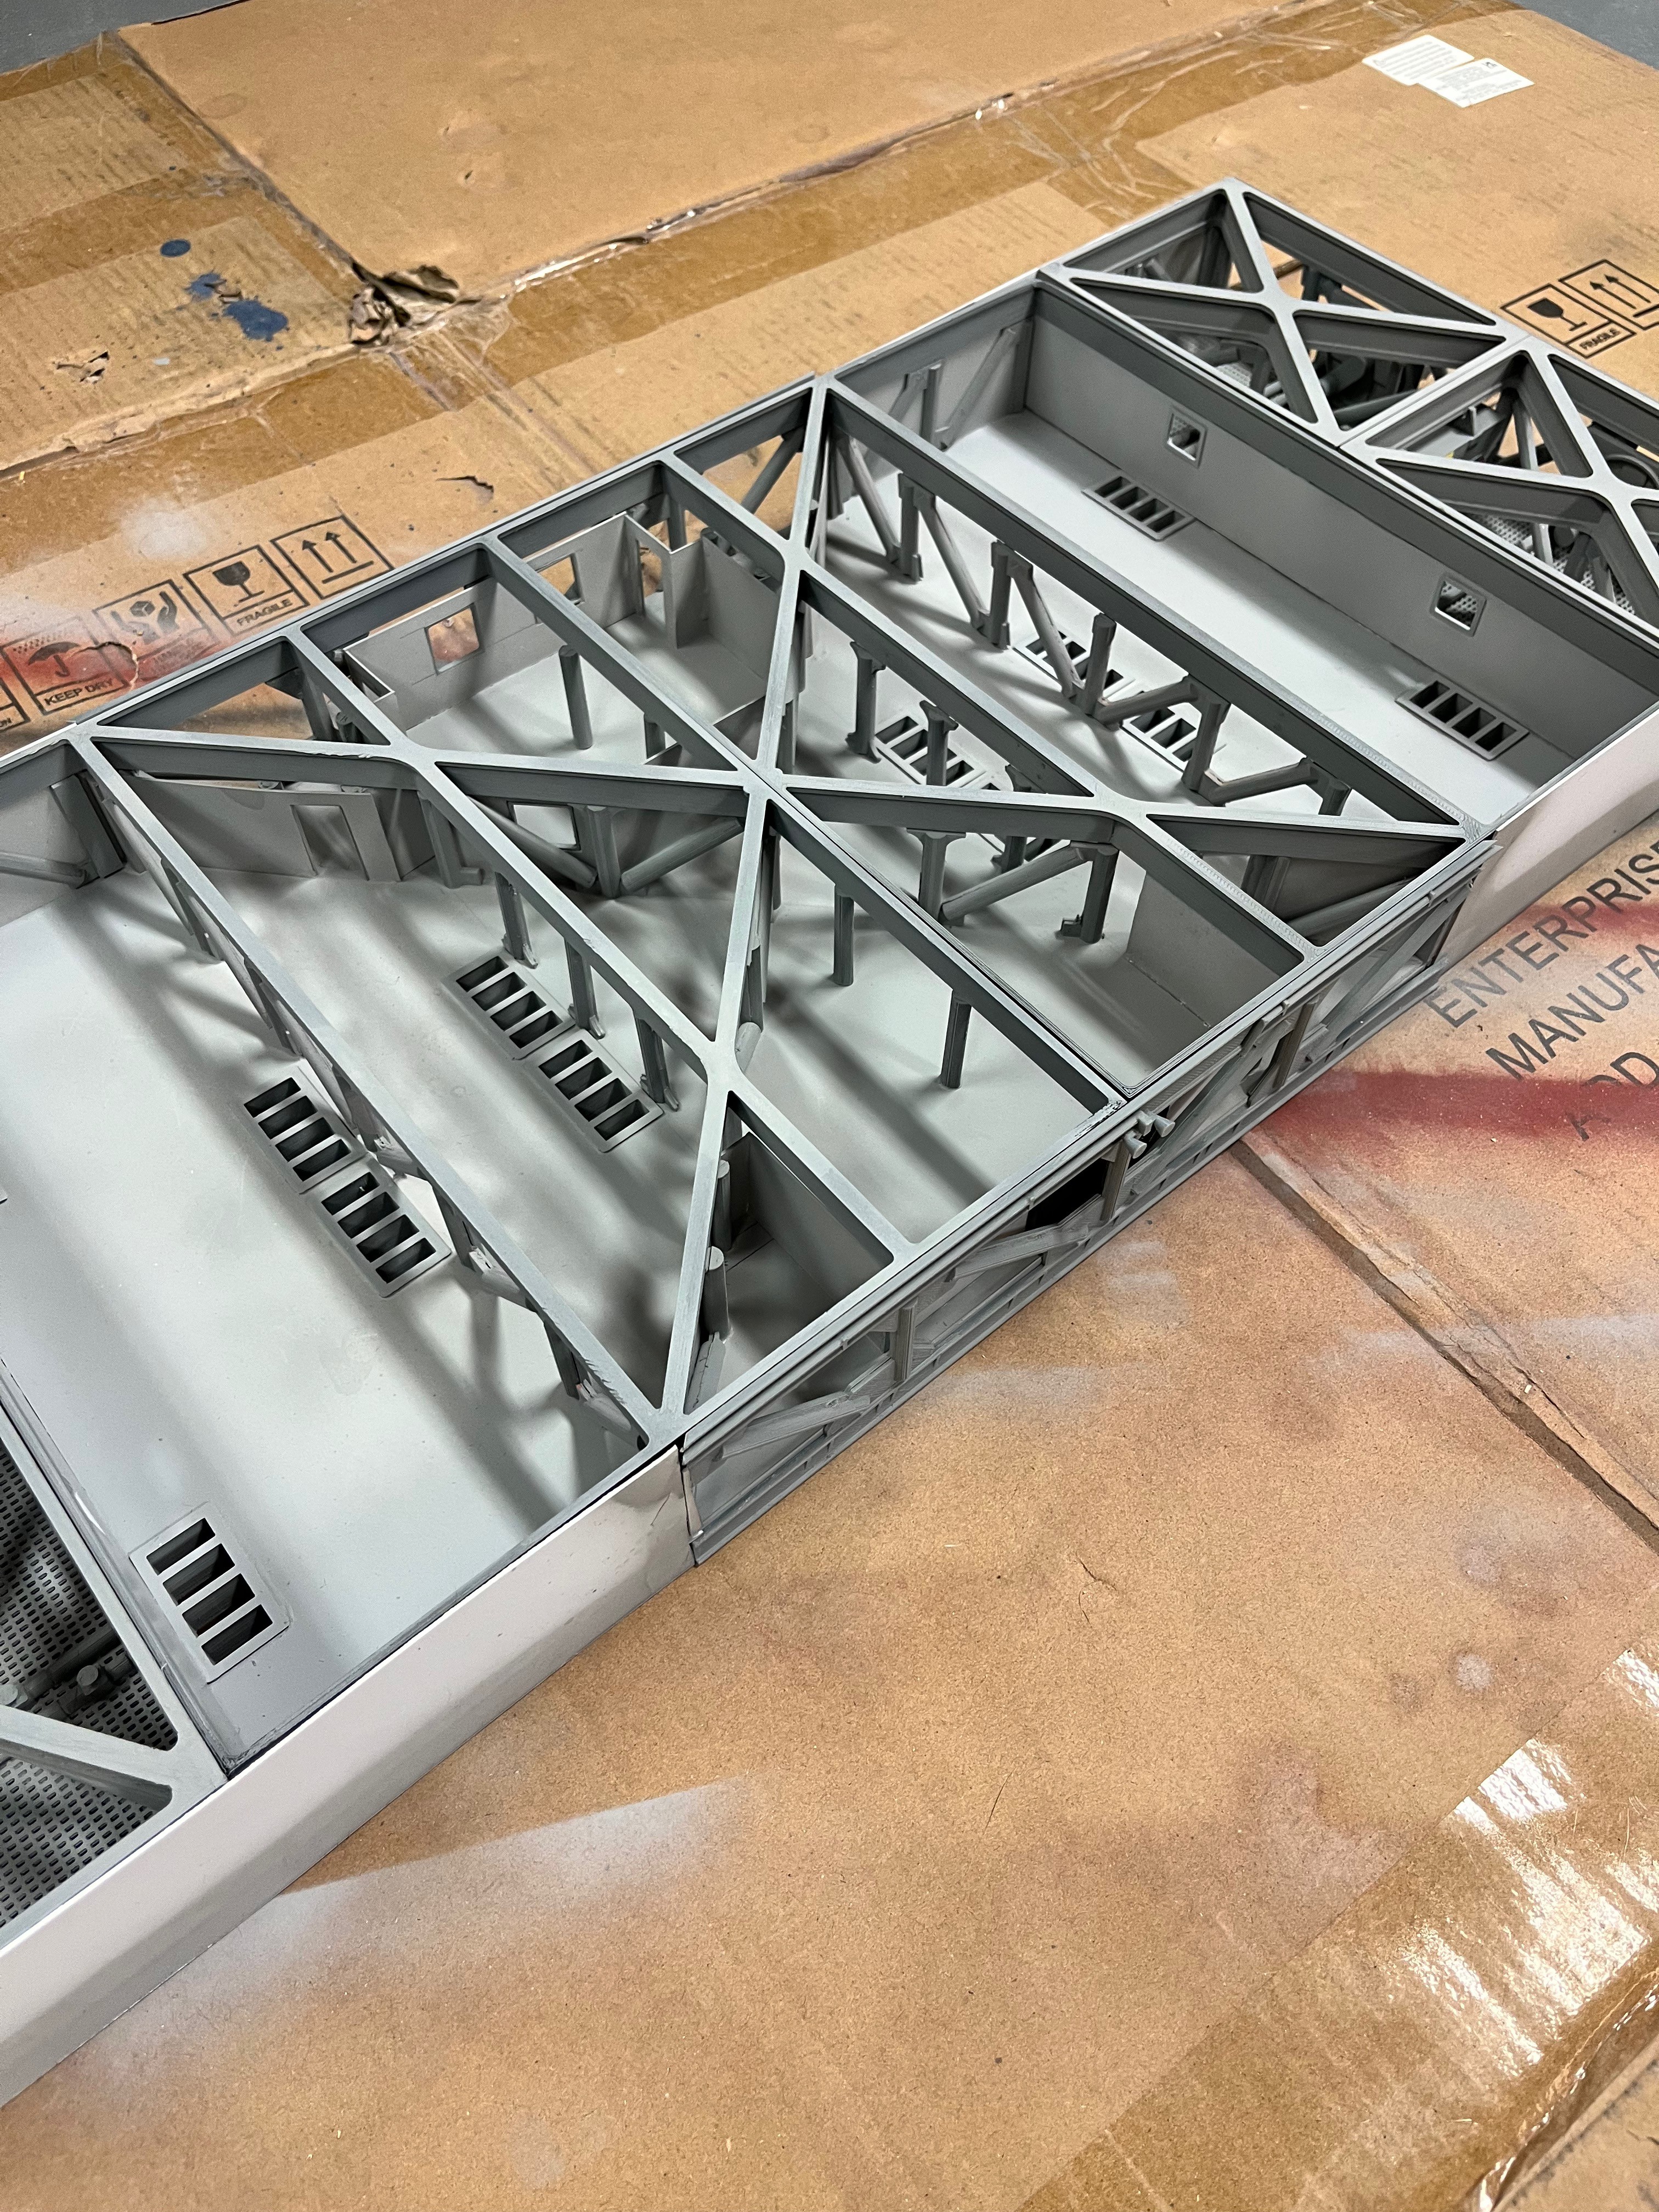
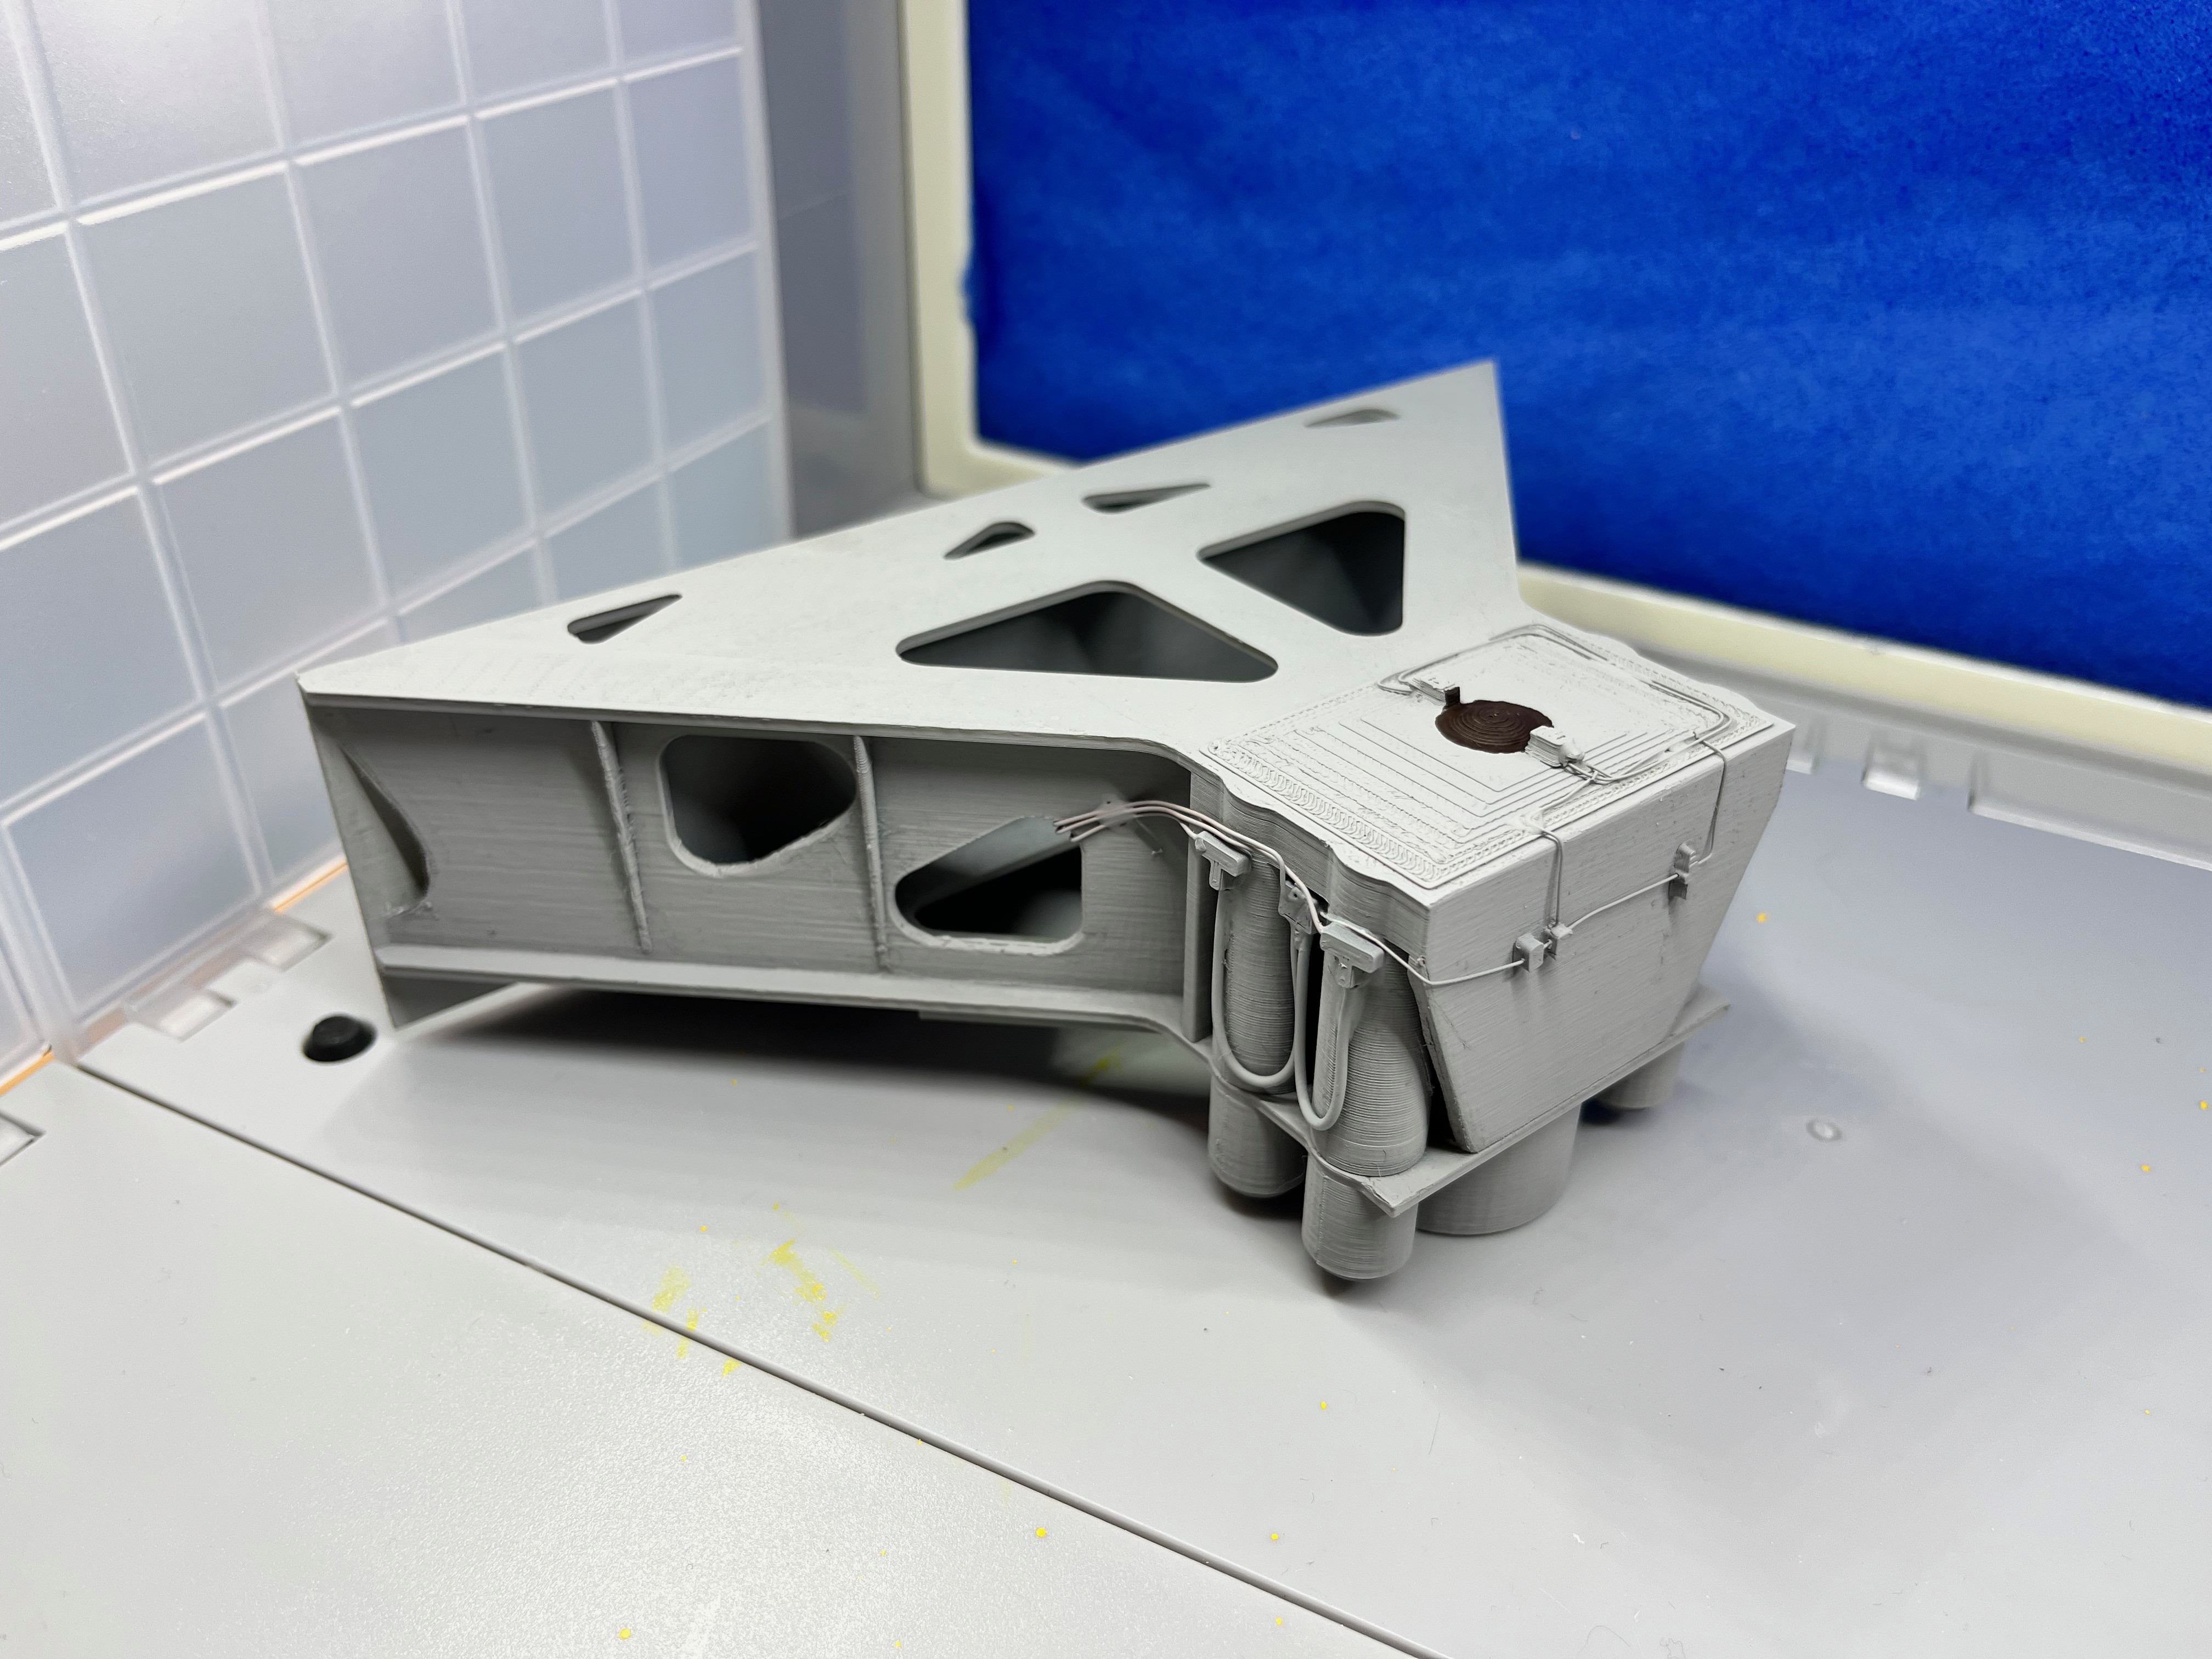
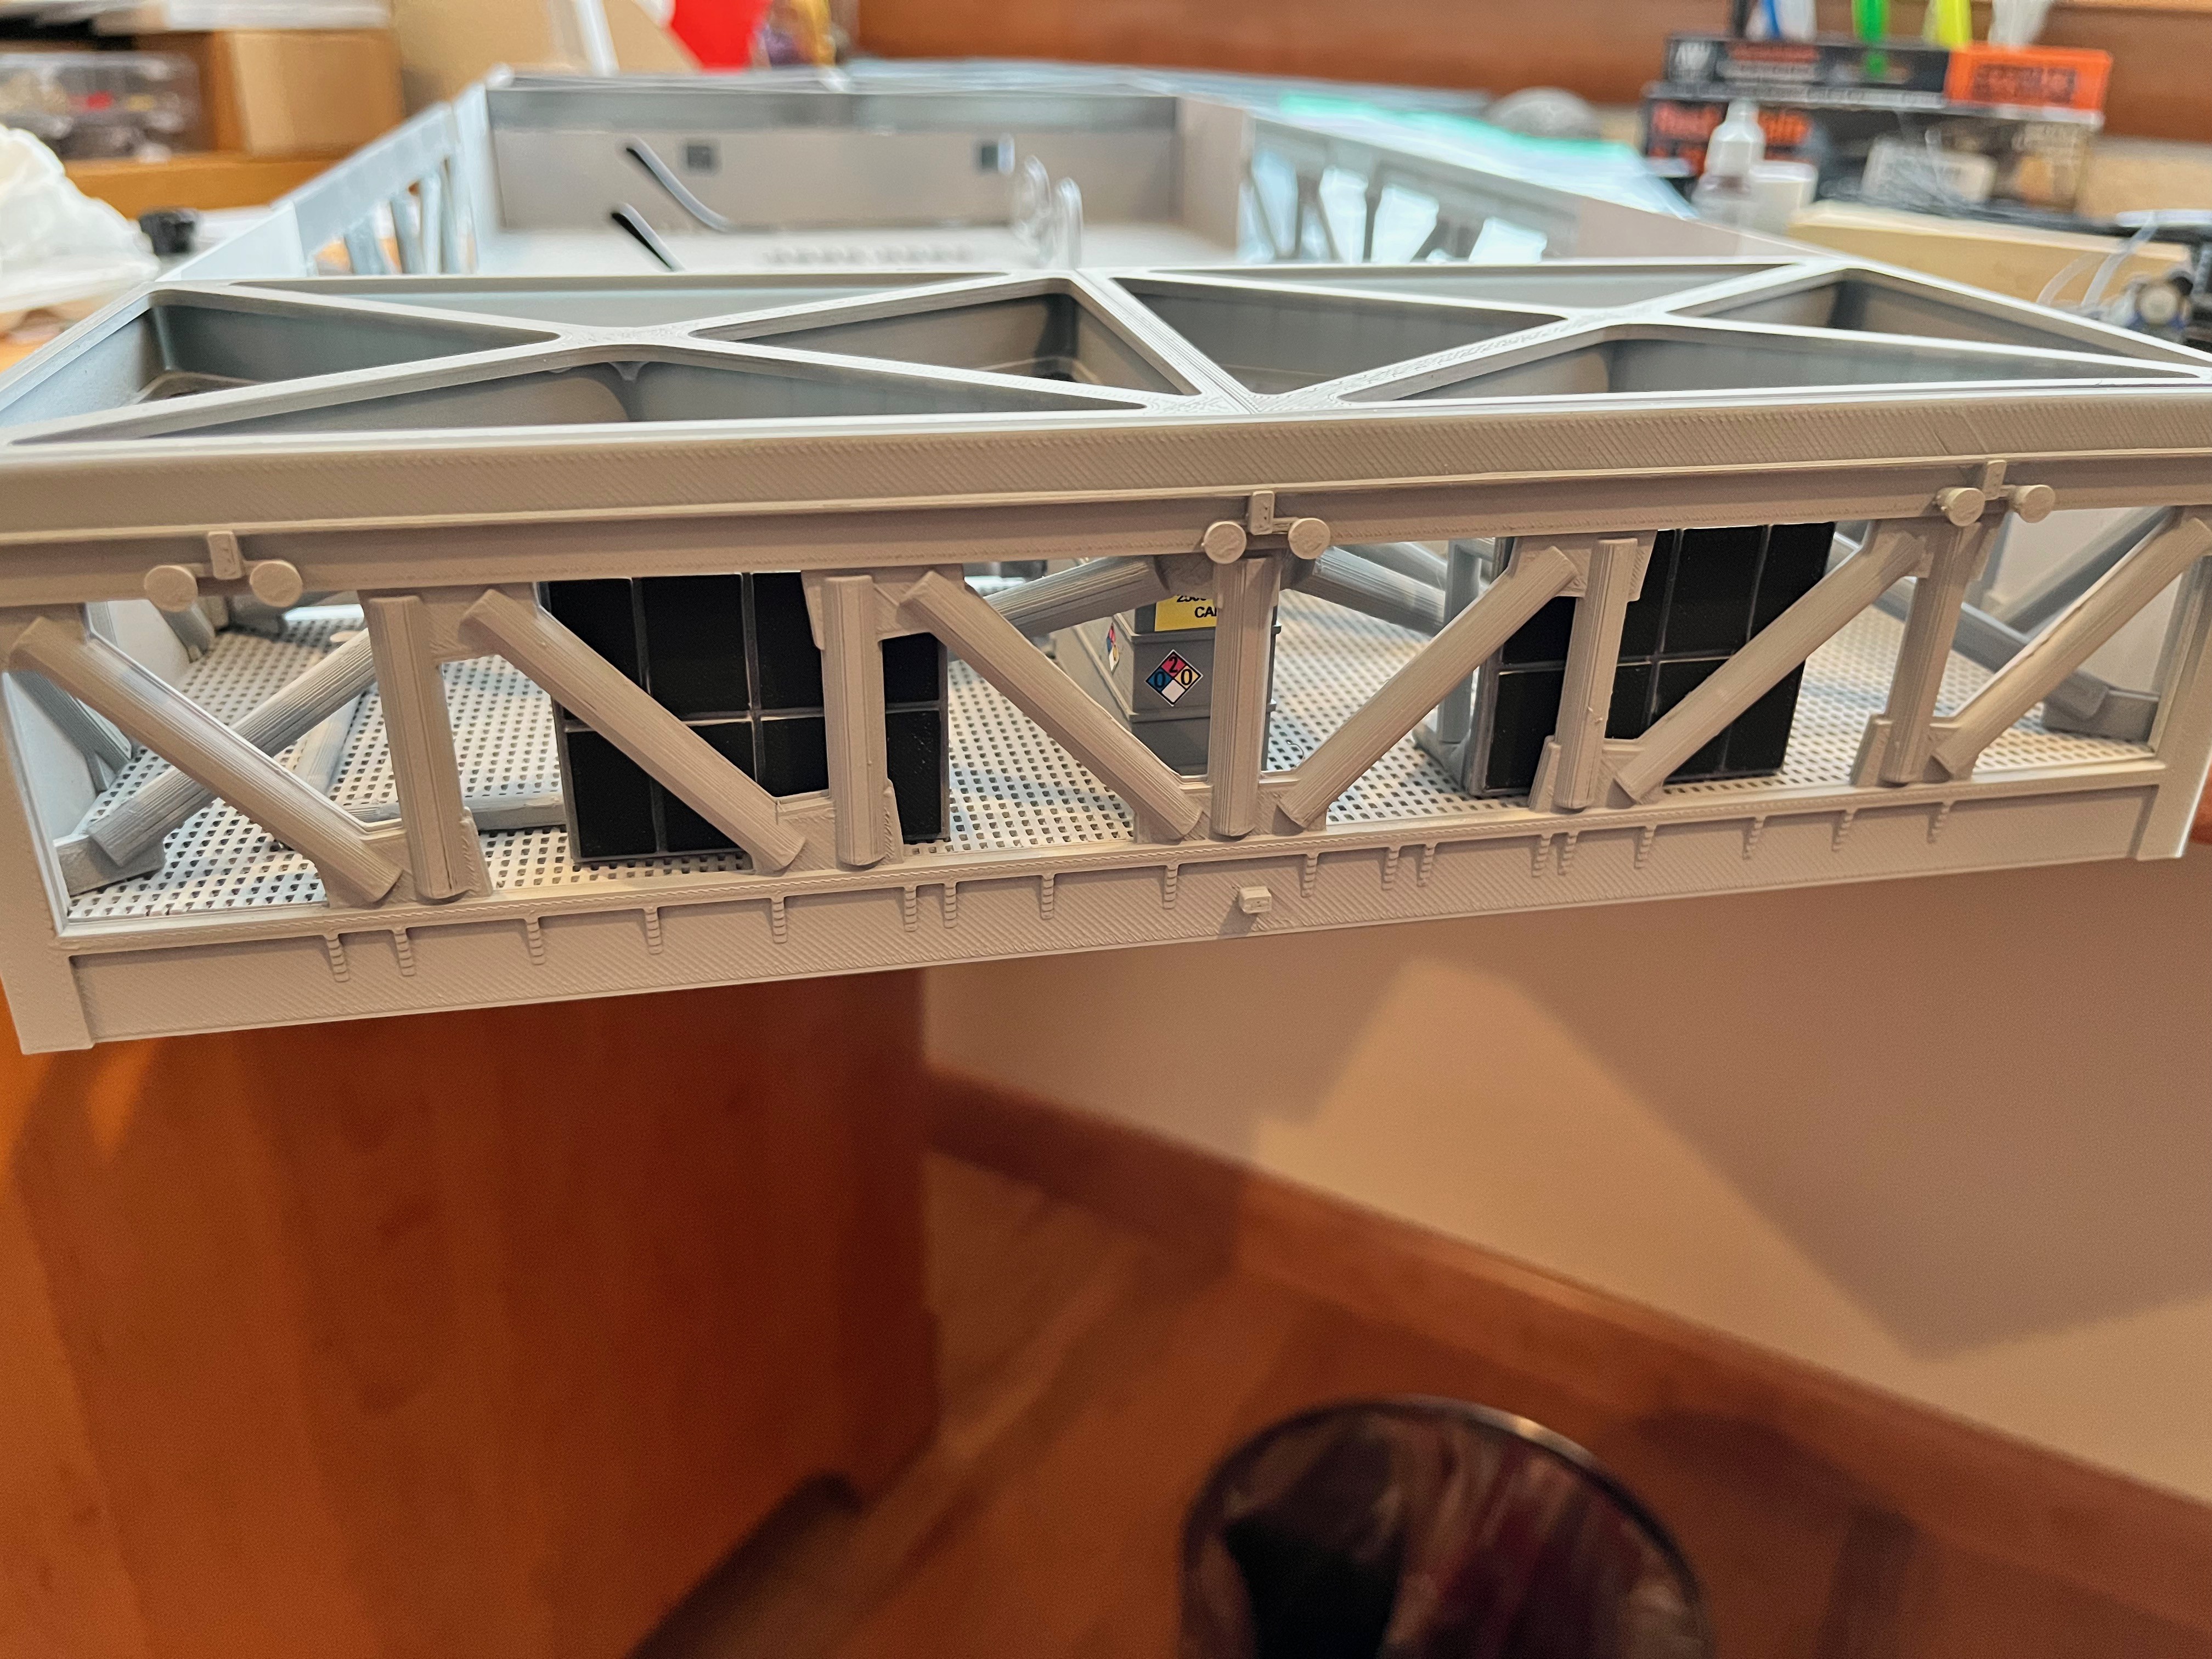
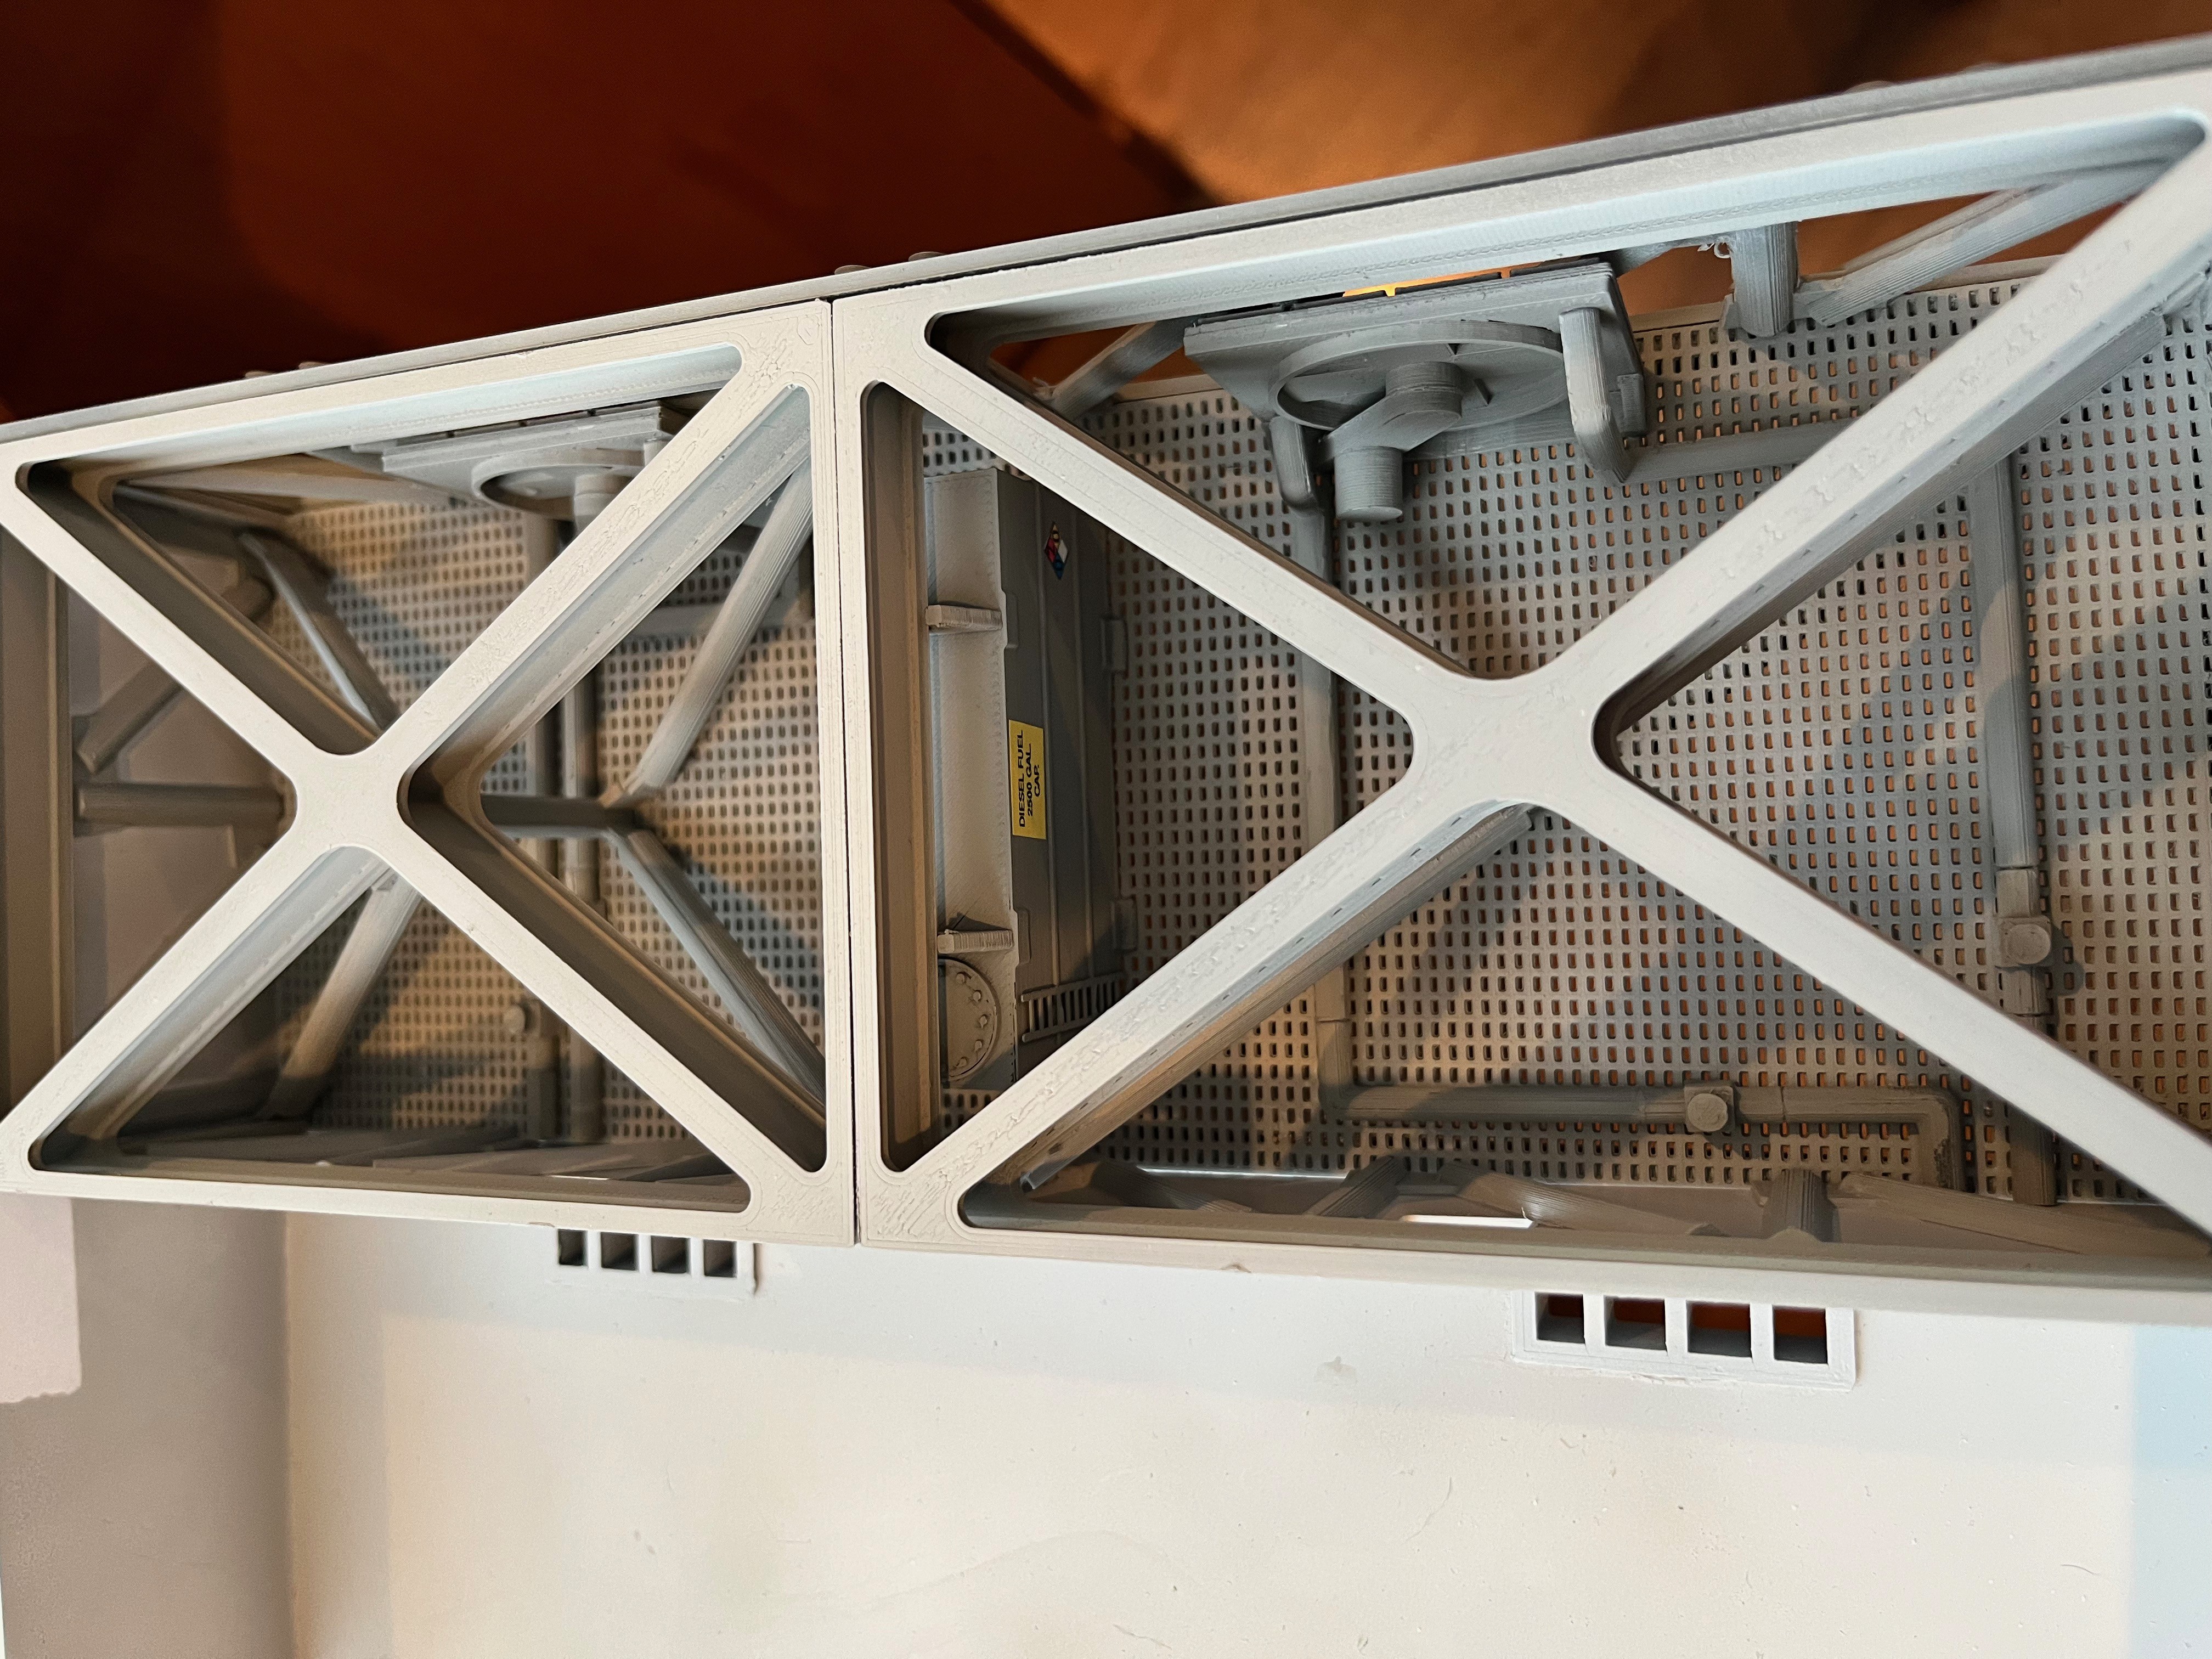
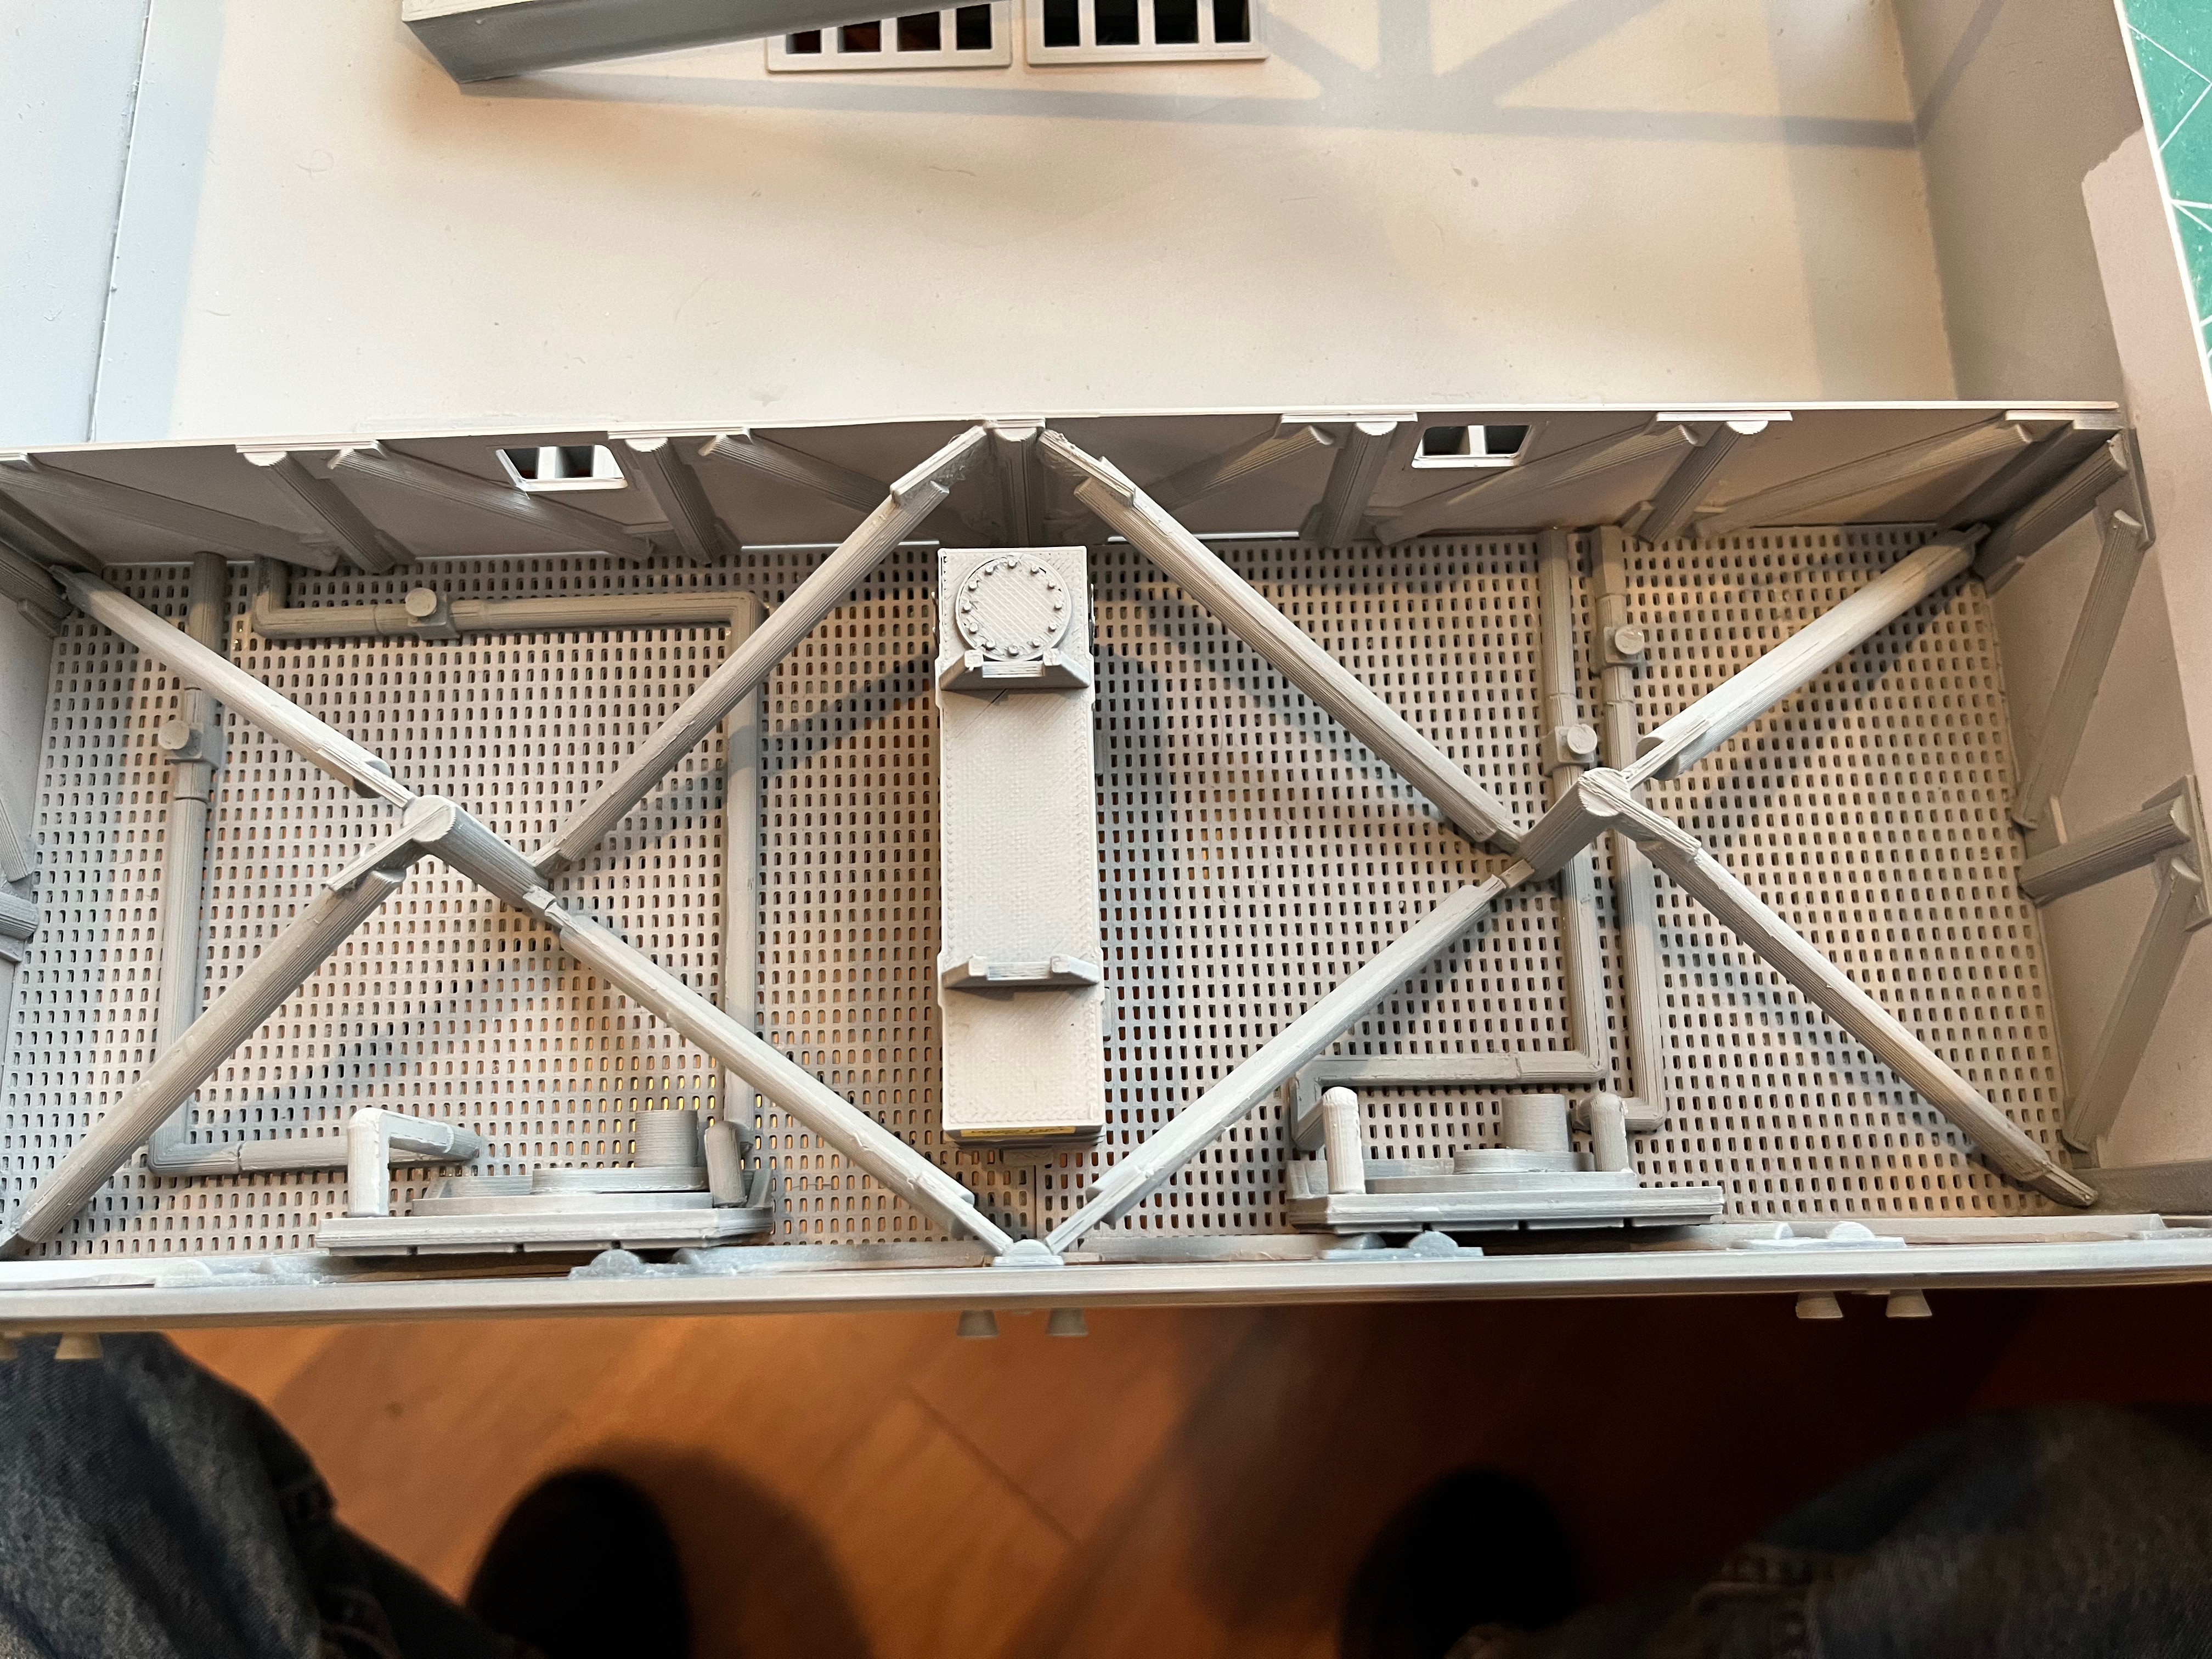
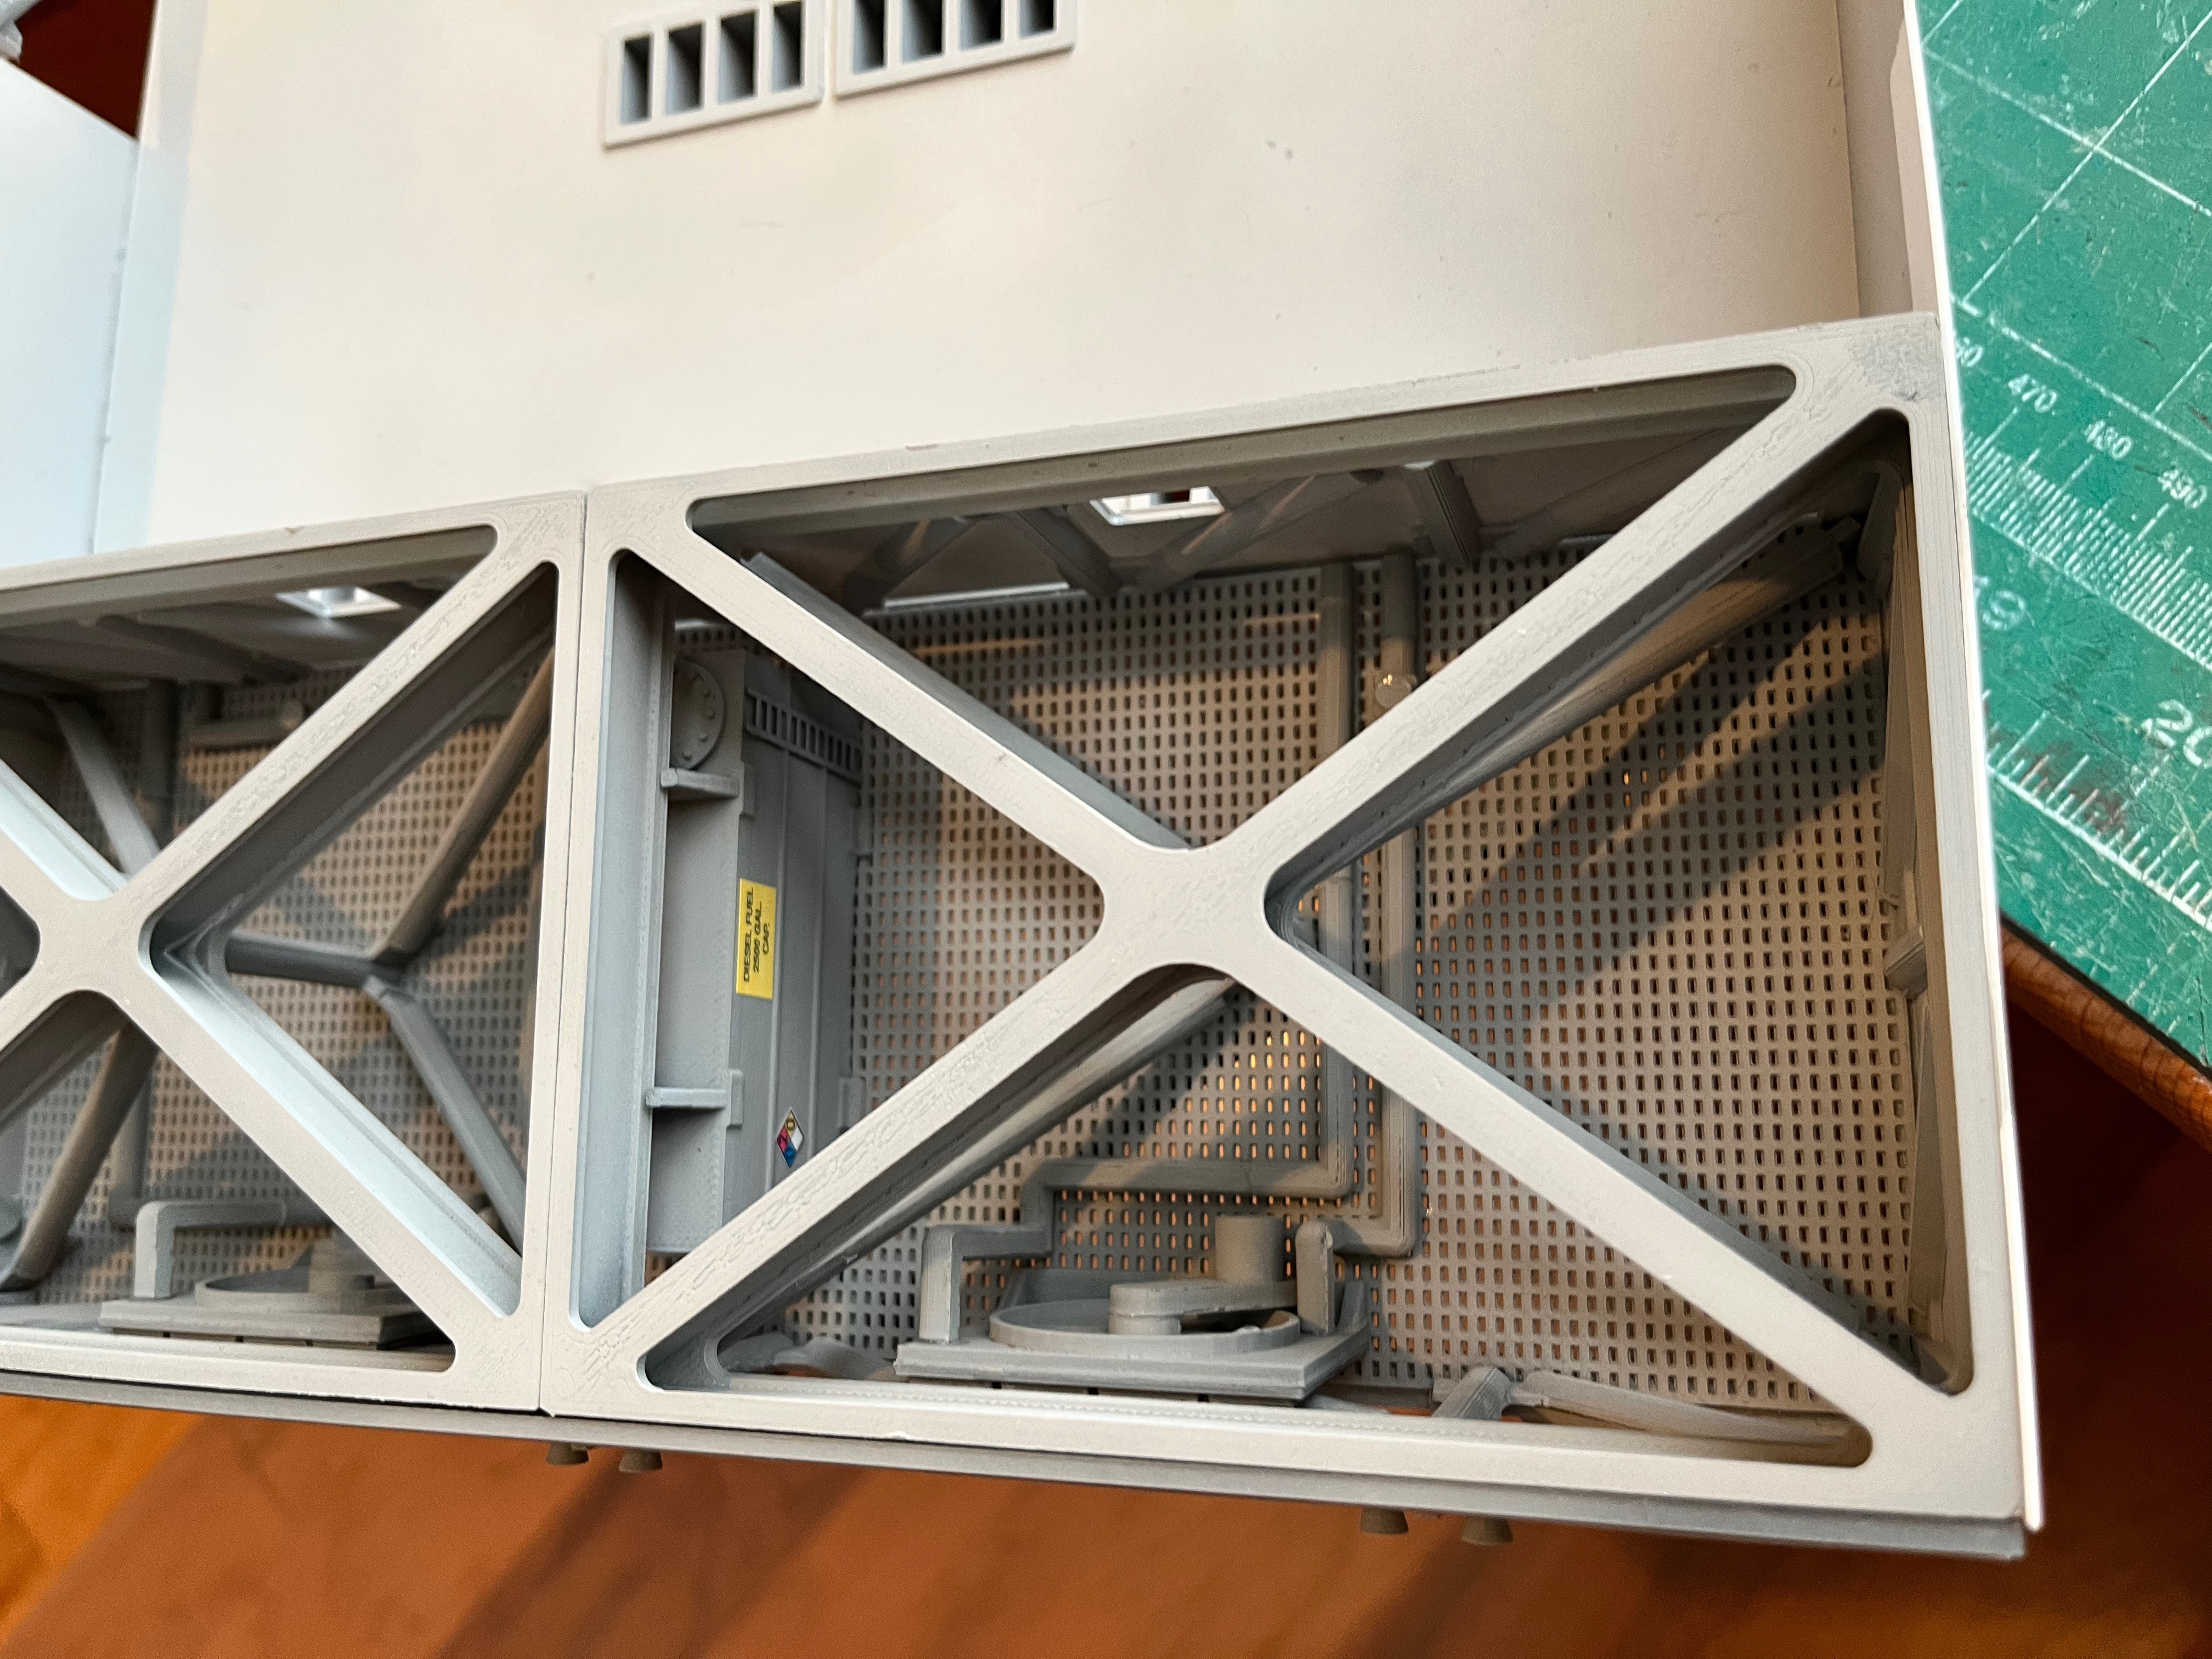
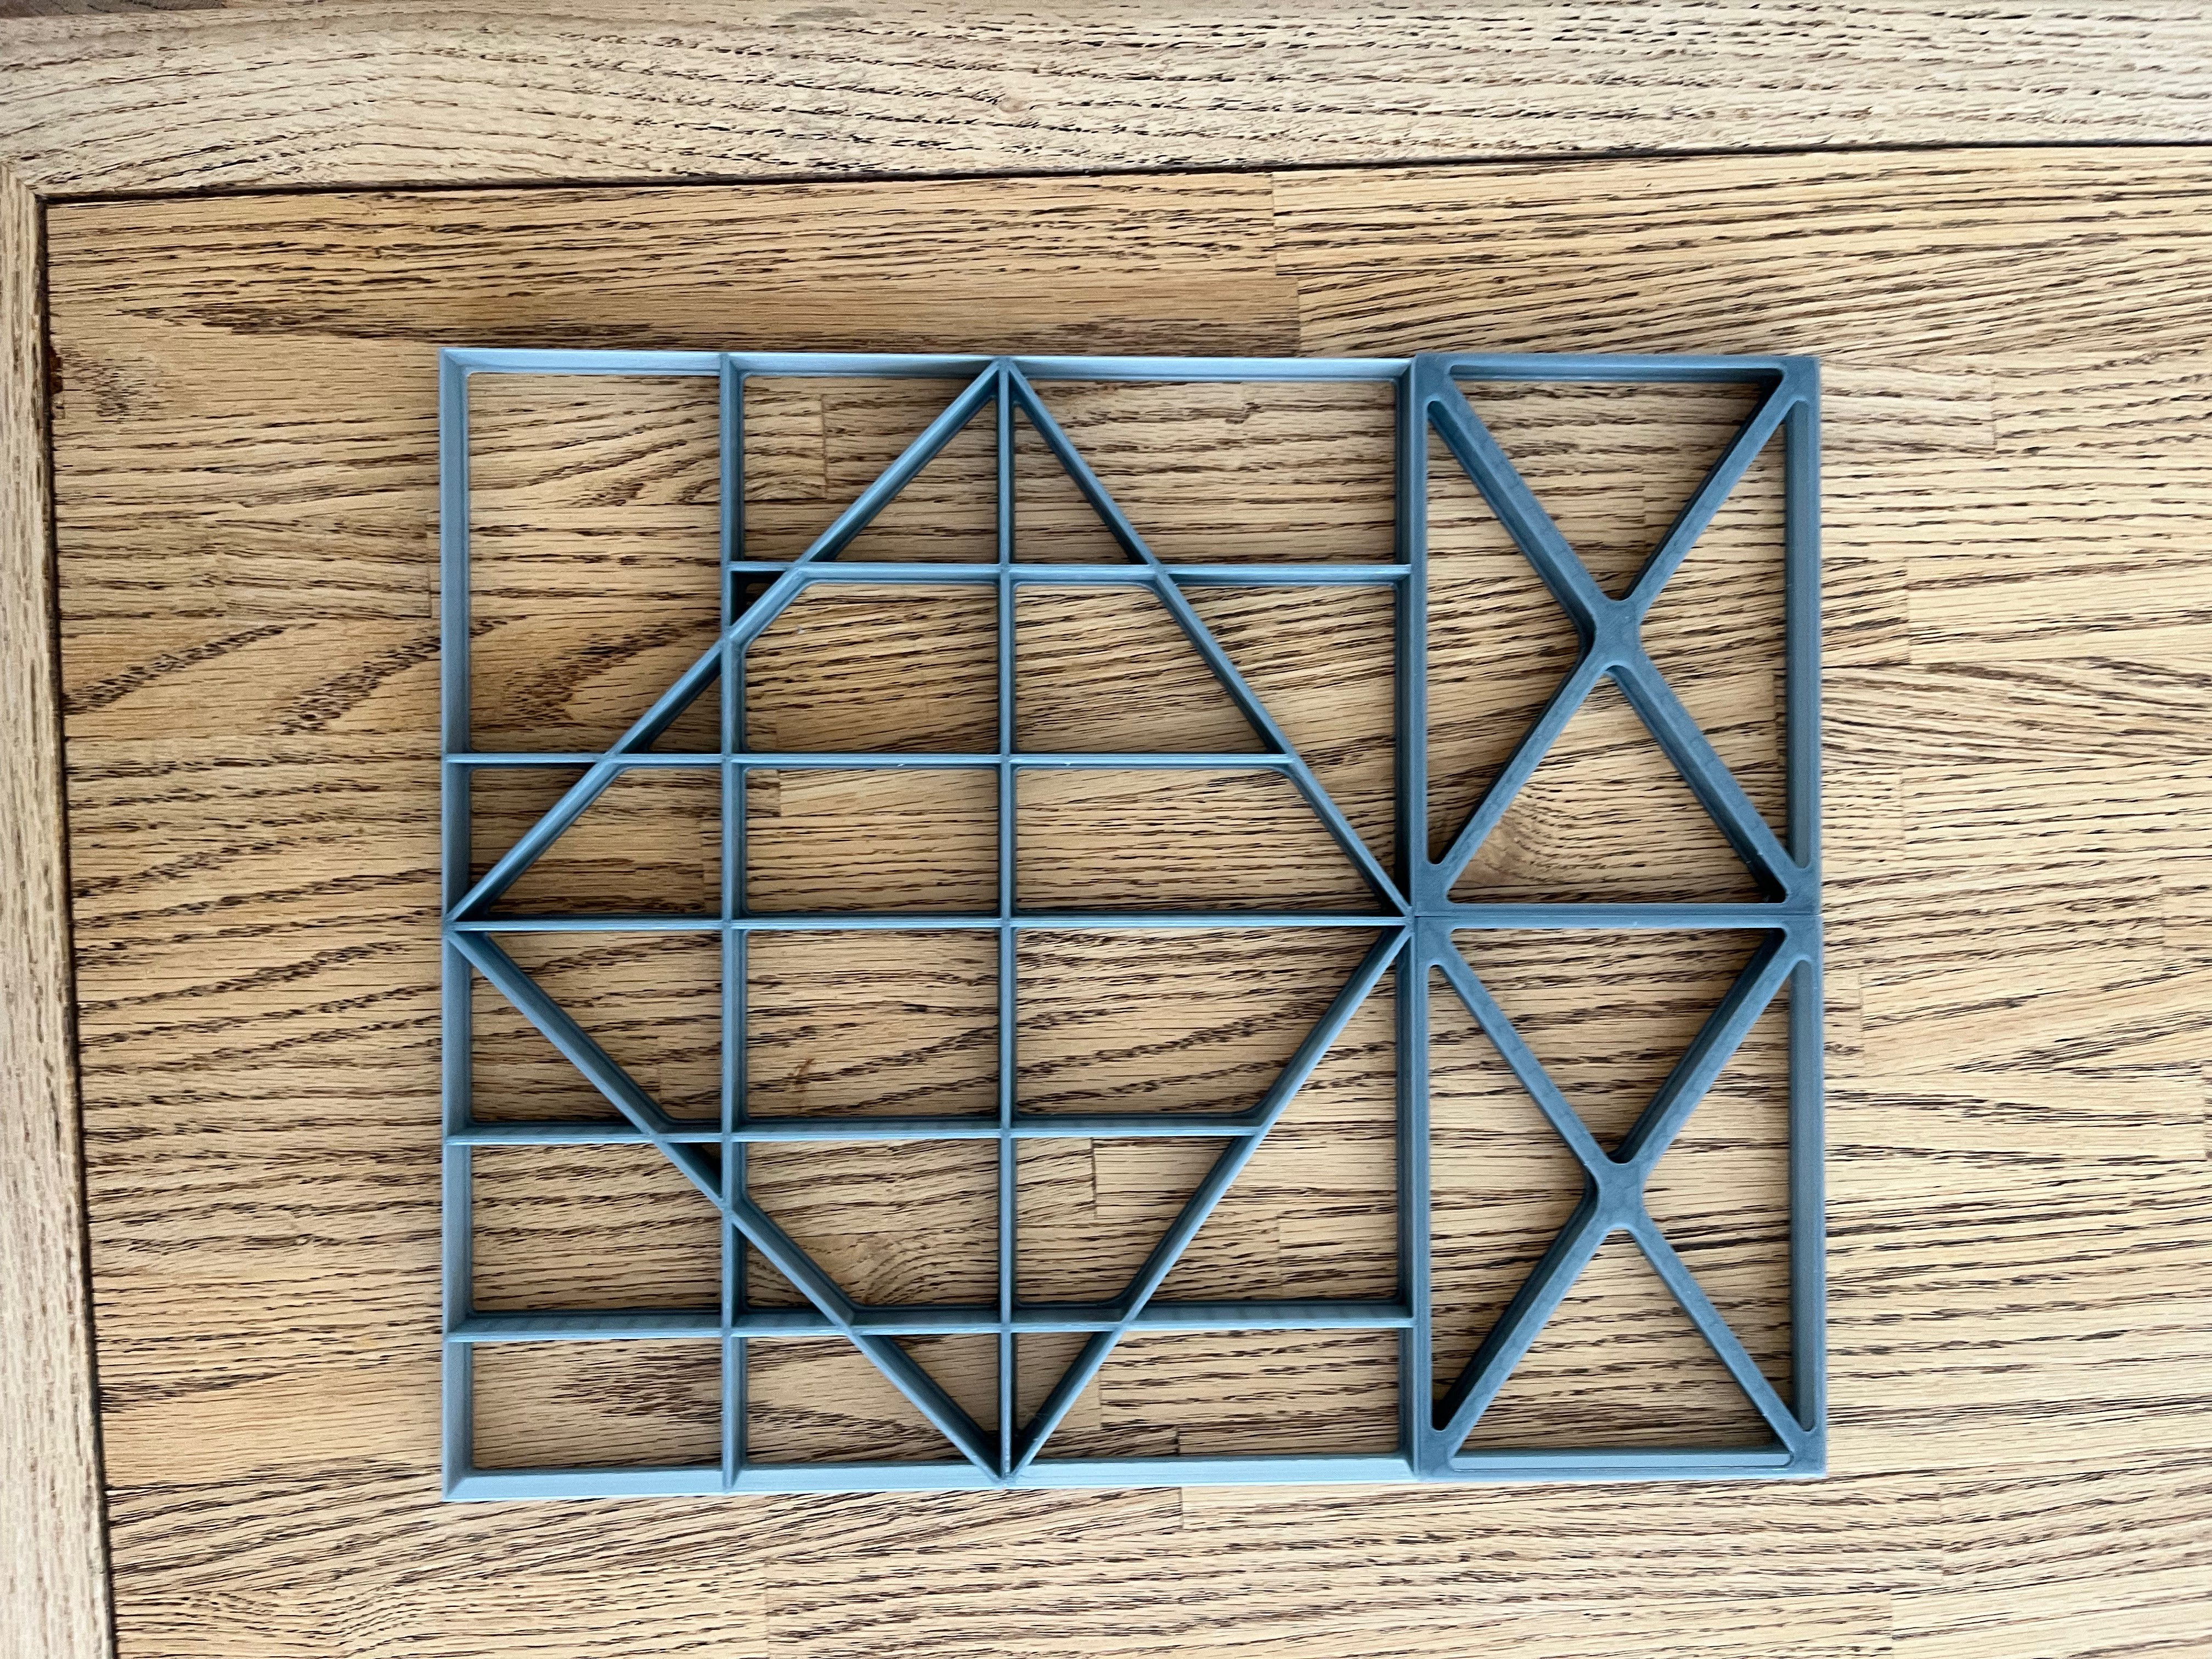
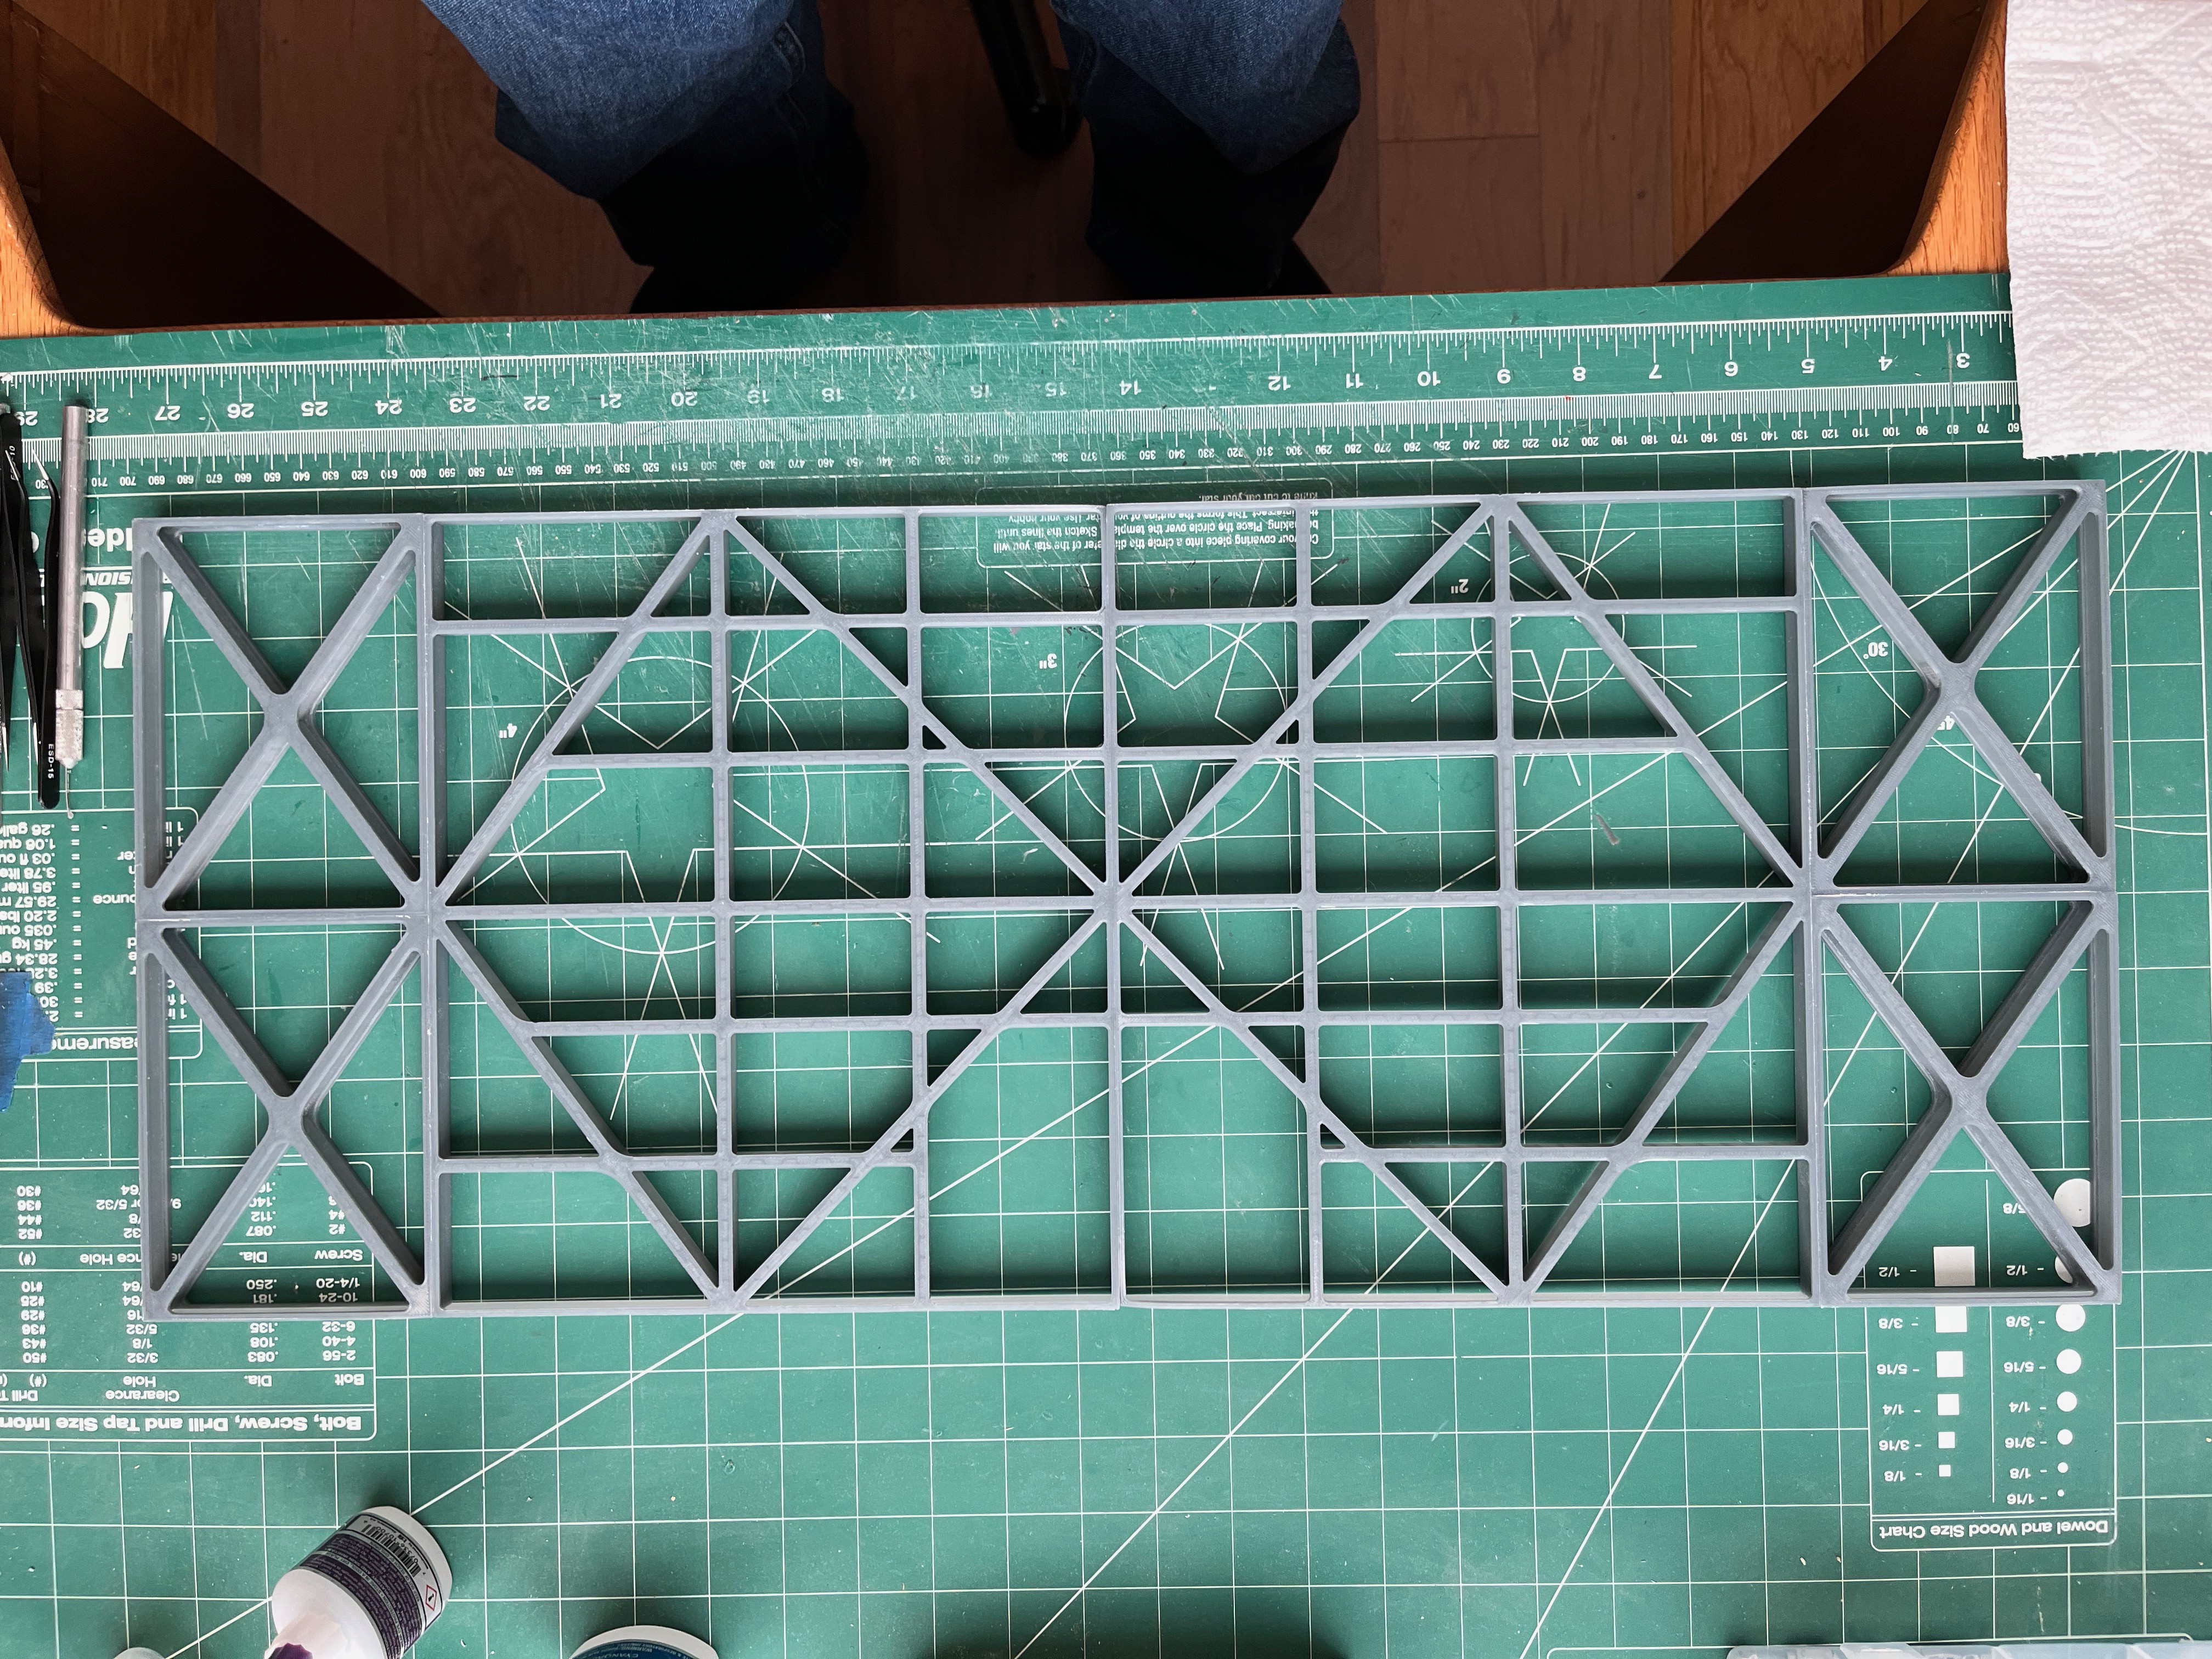
2) Add the I-beam structure to the underside of the main chassis.
3) Make the internal box the same size as the original internal room.
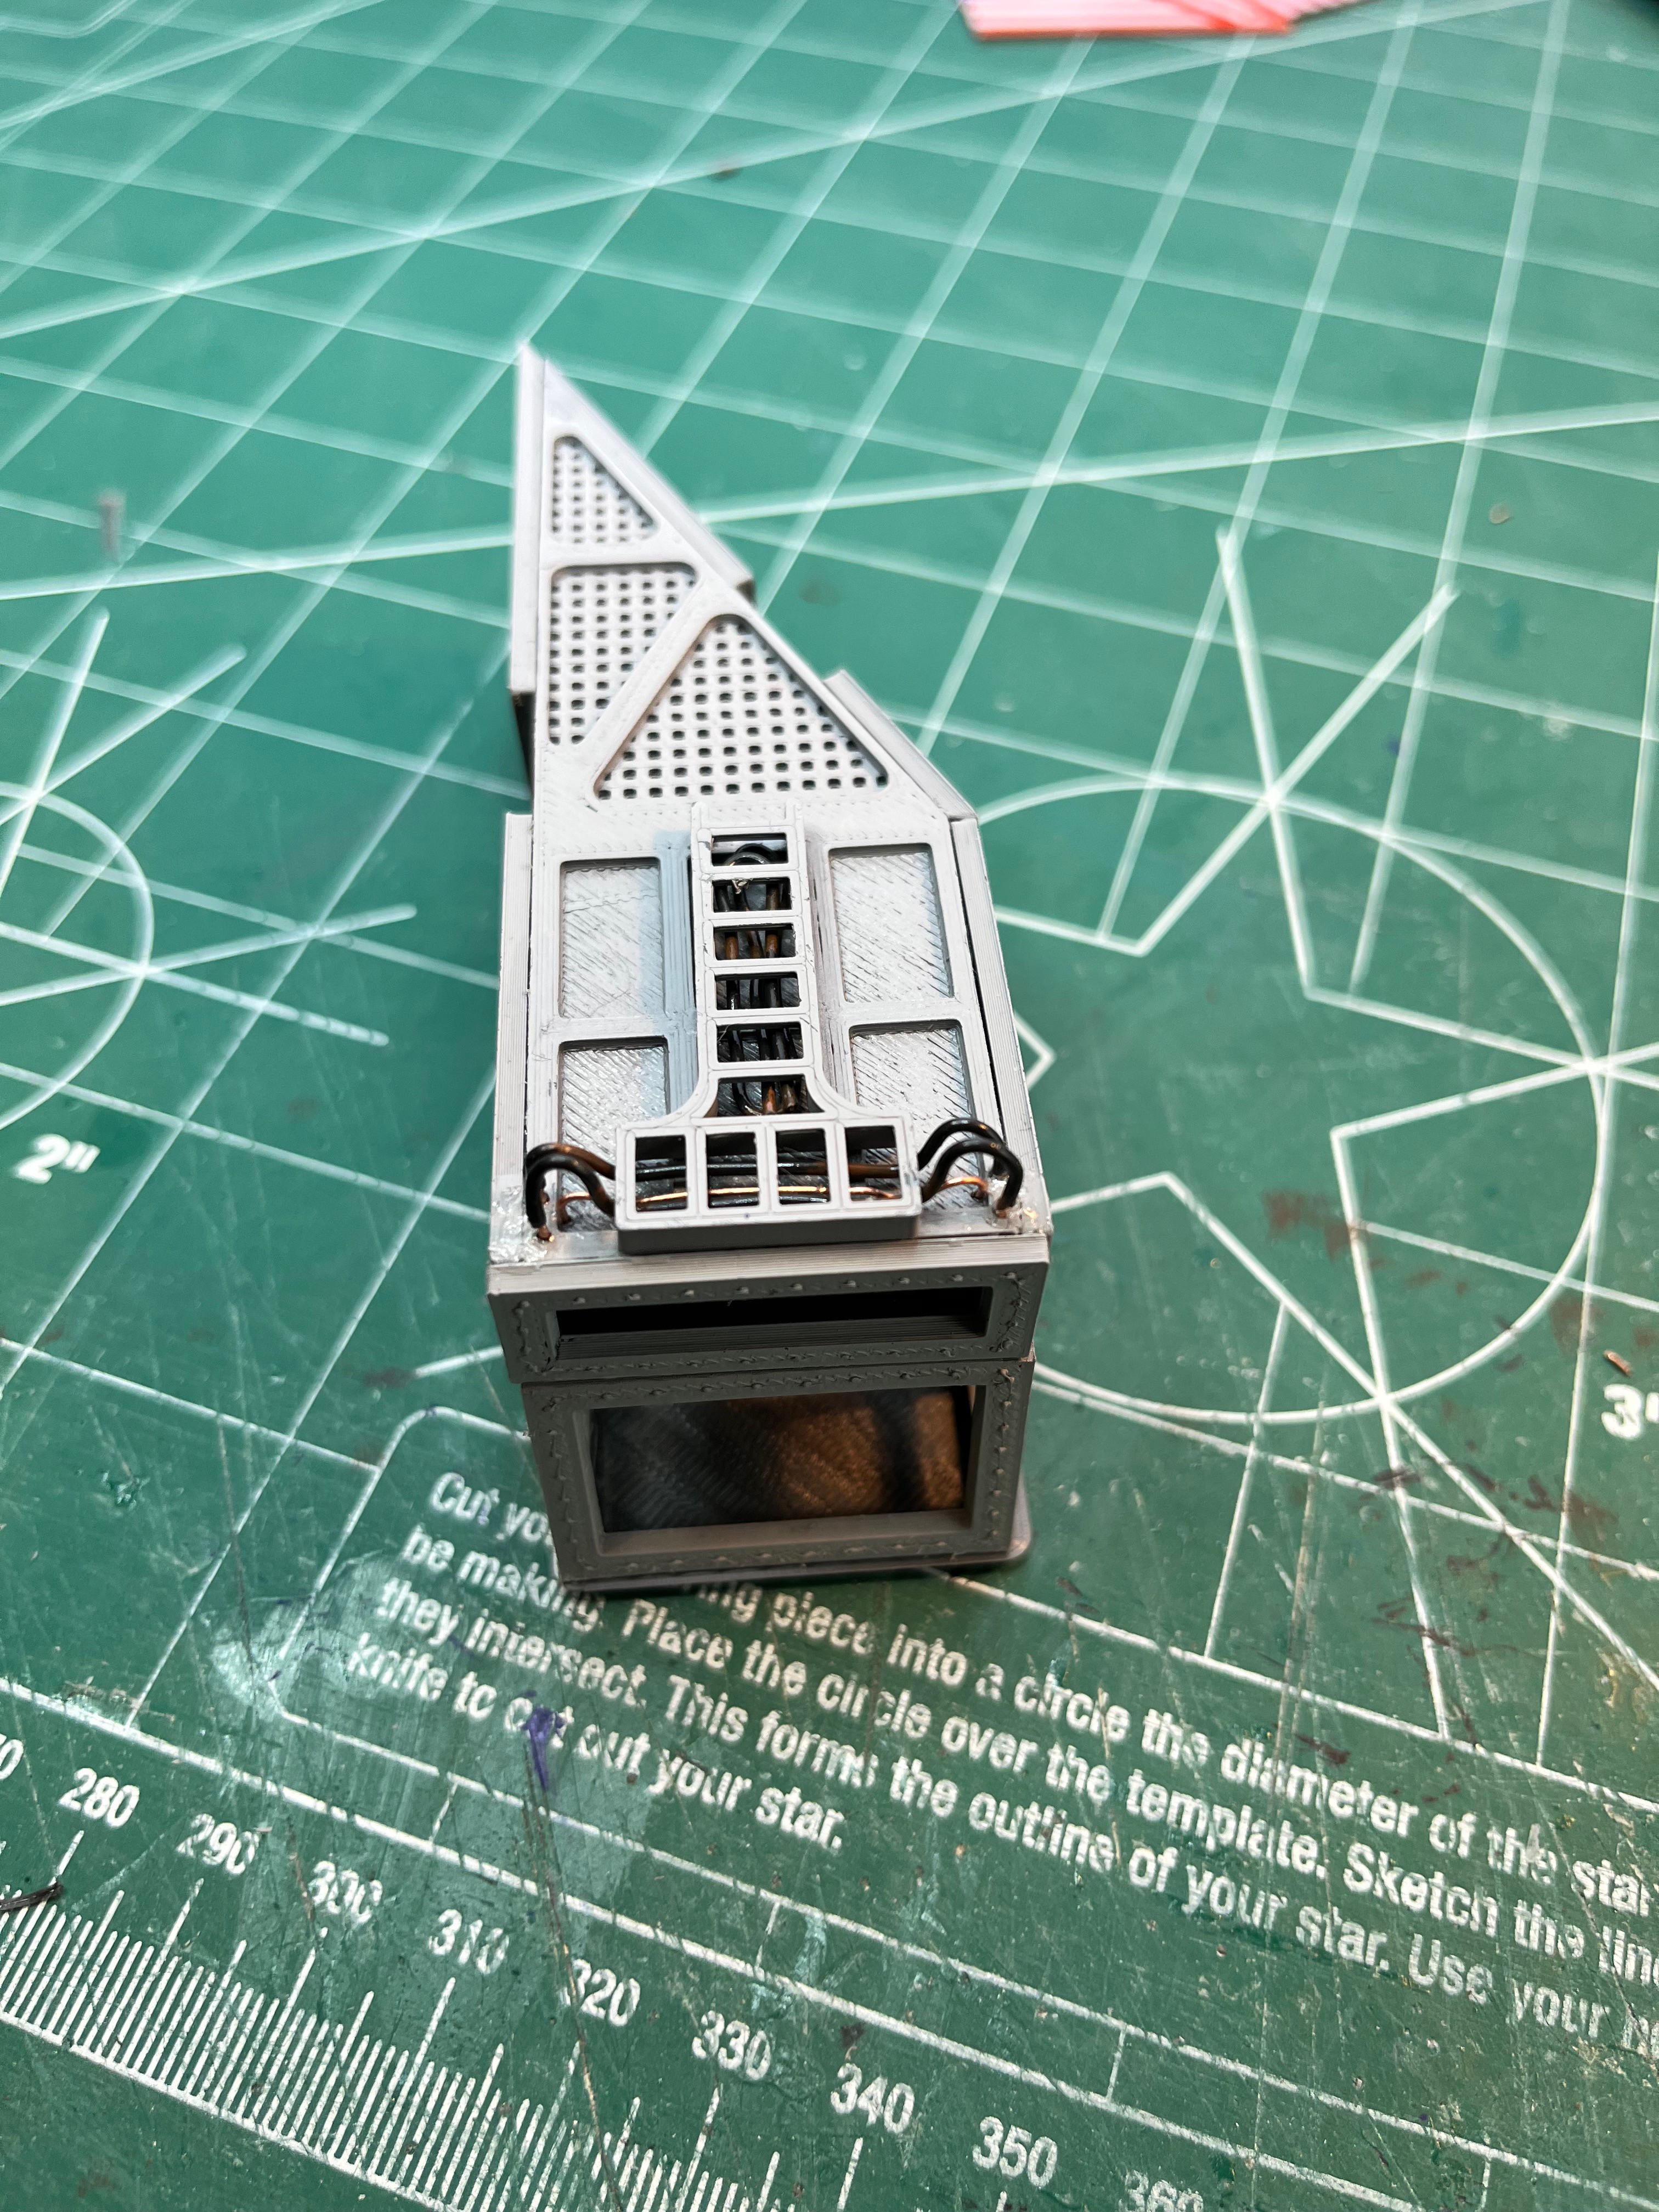
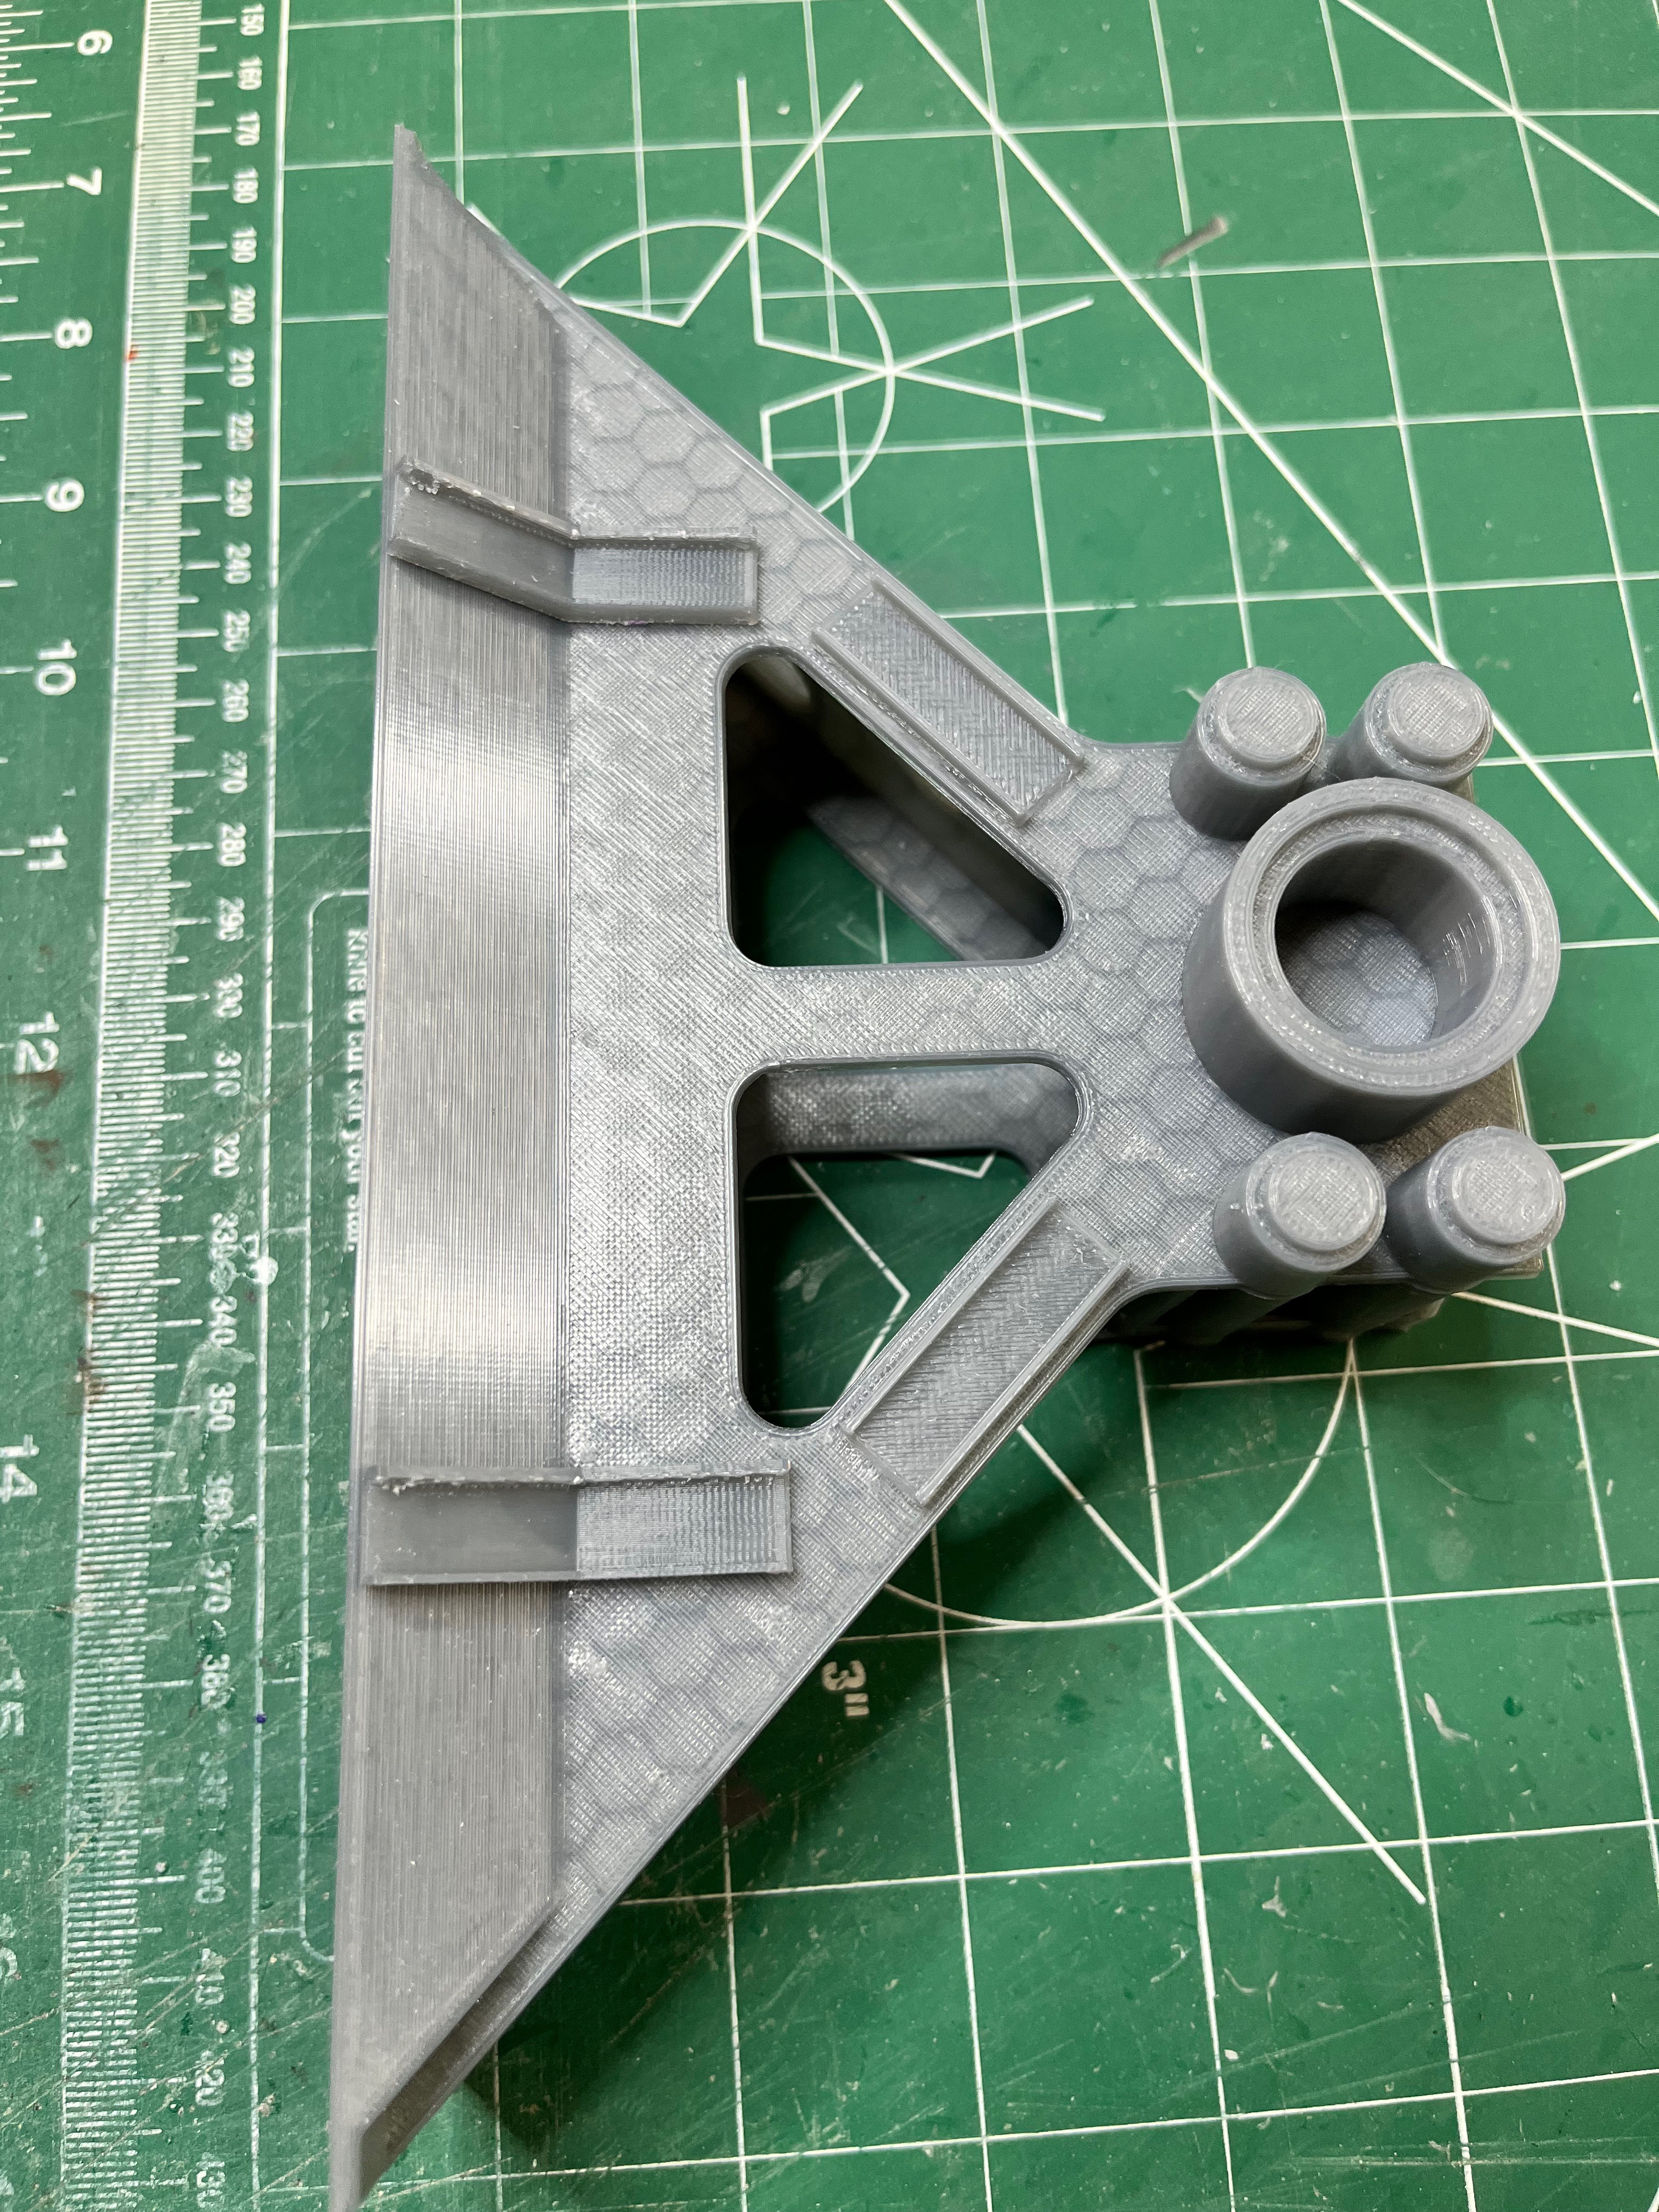
4) Make the side arms more accurate and detailed.
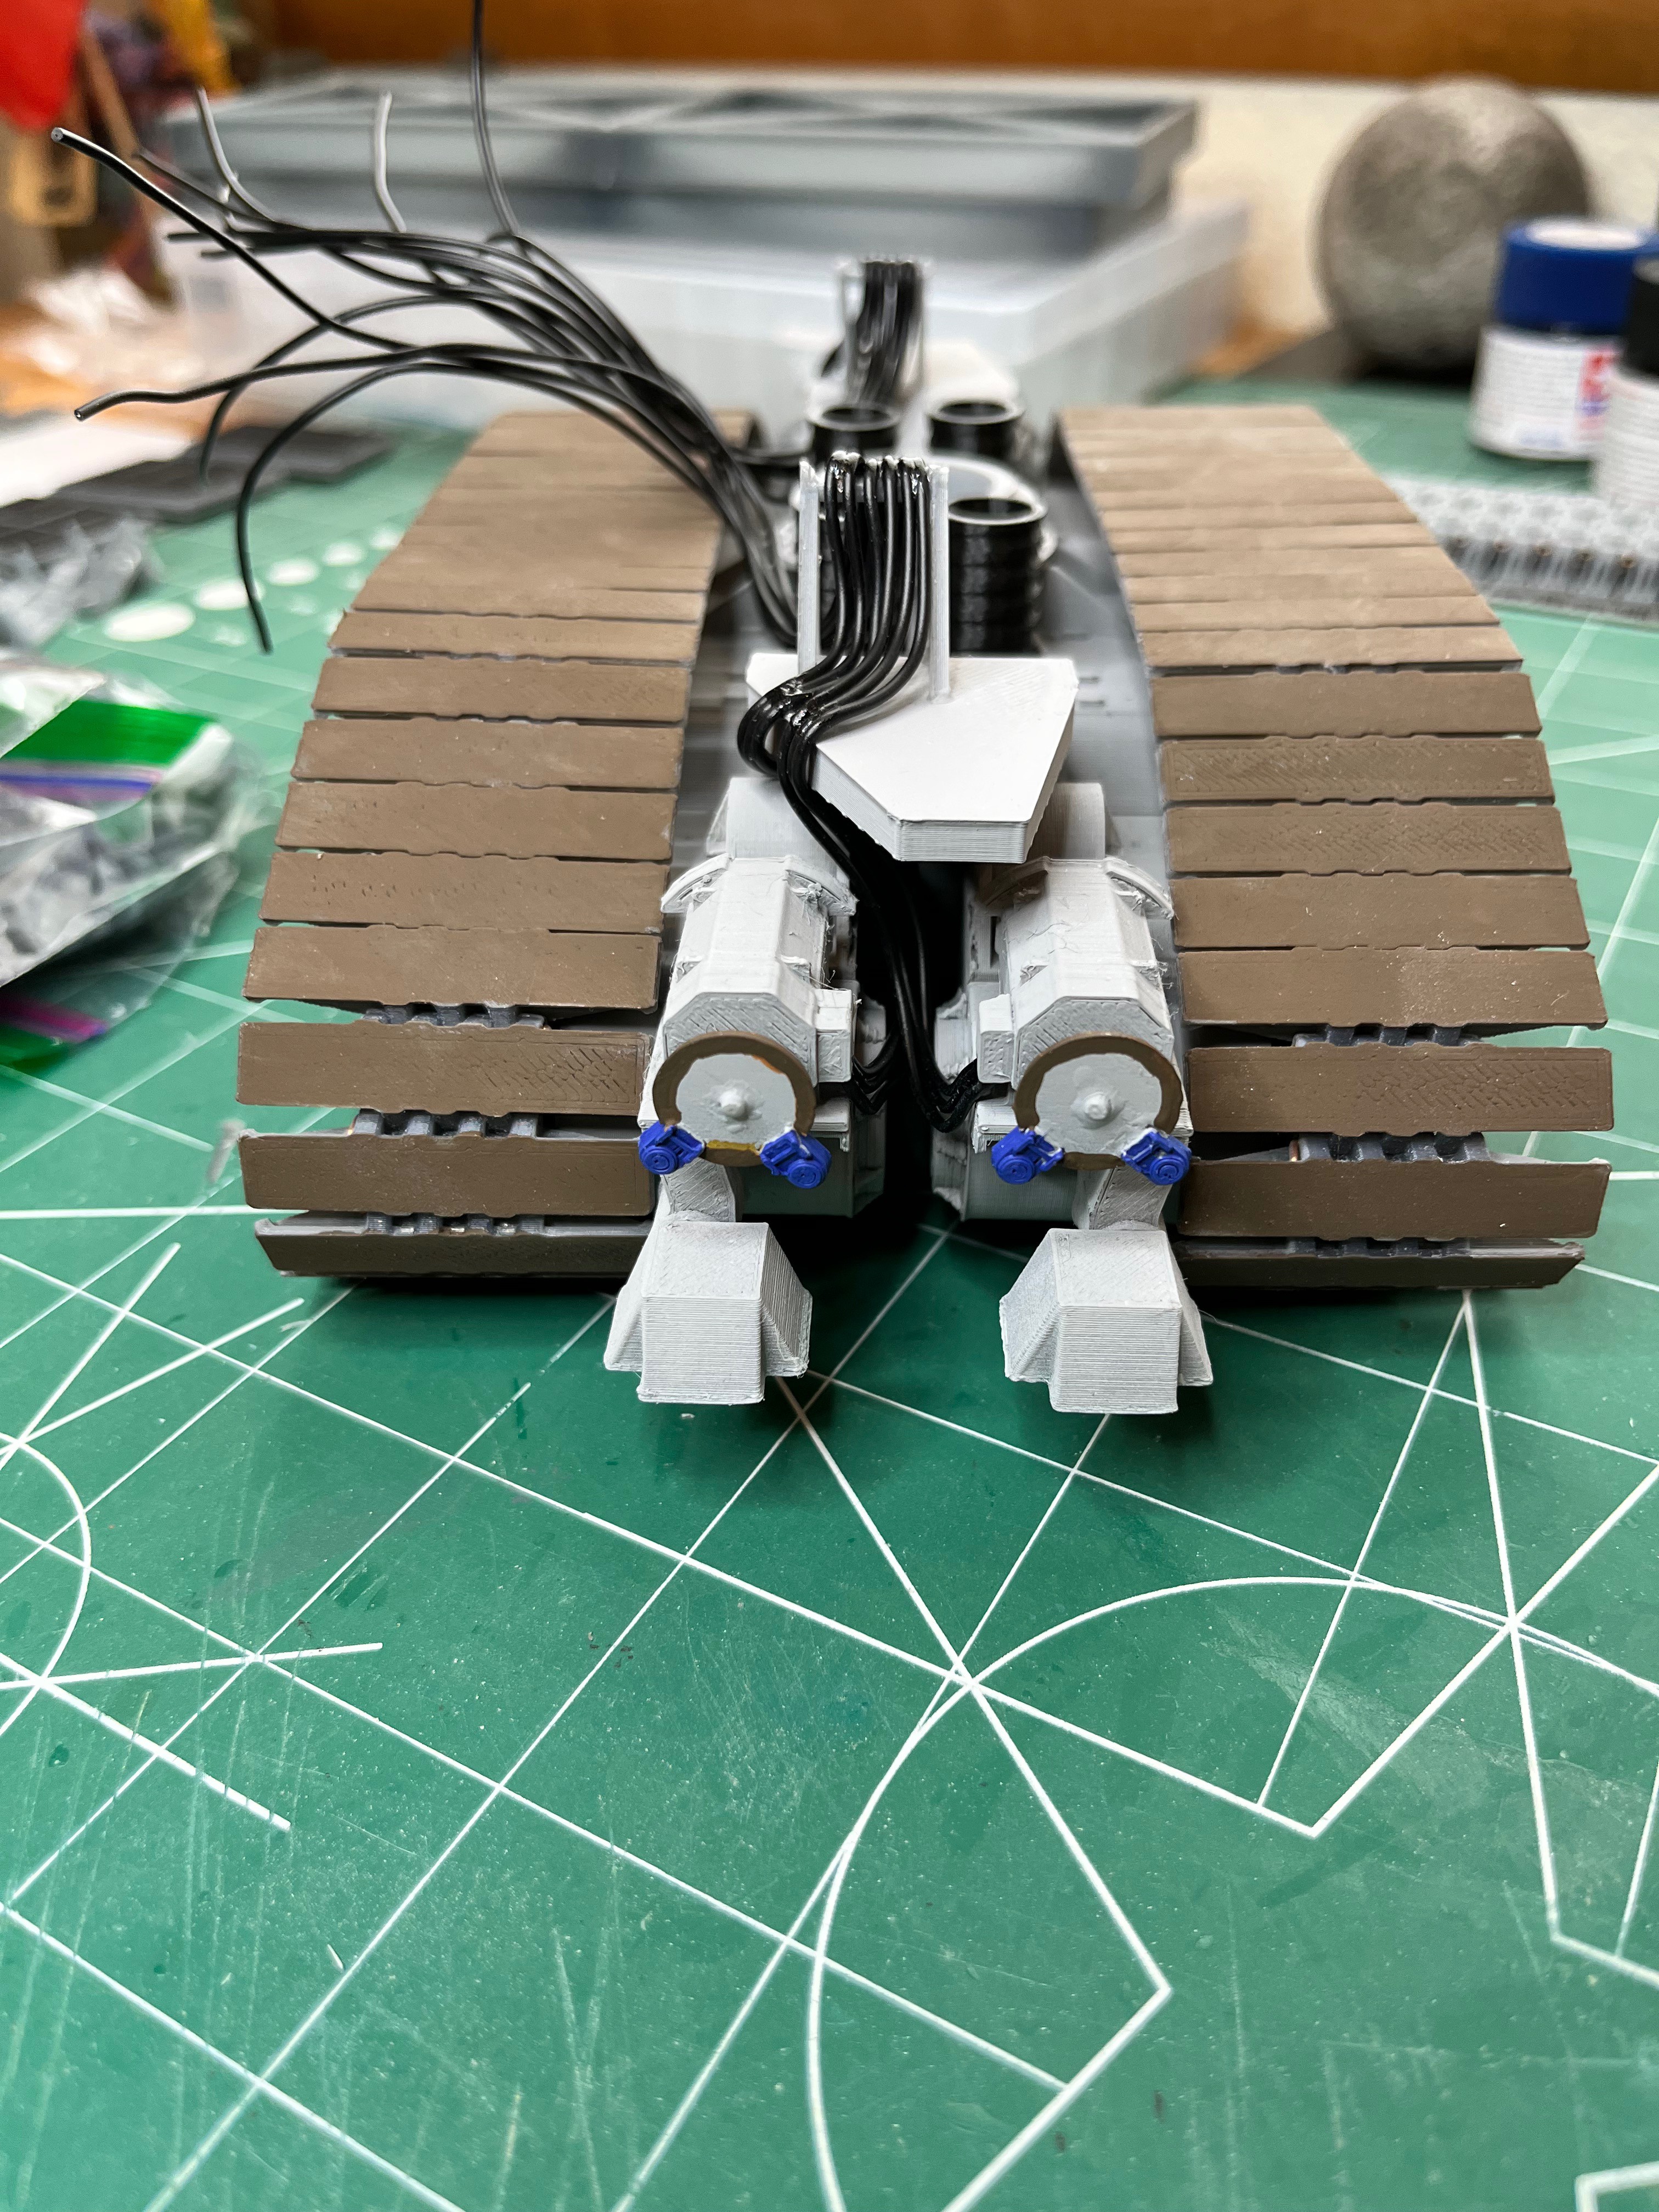
5) Add more detail to the electric motors.
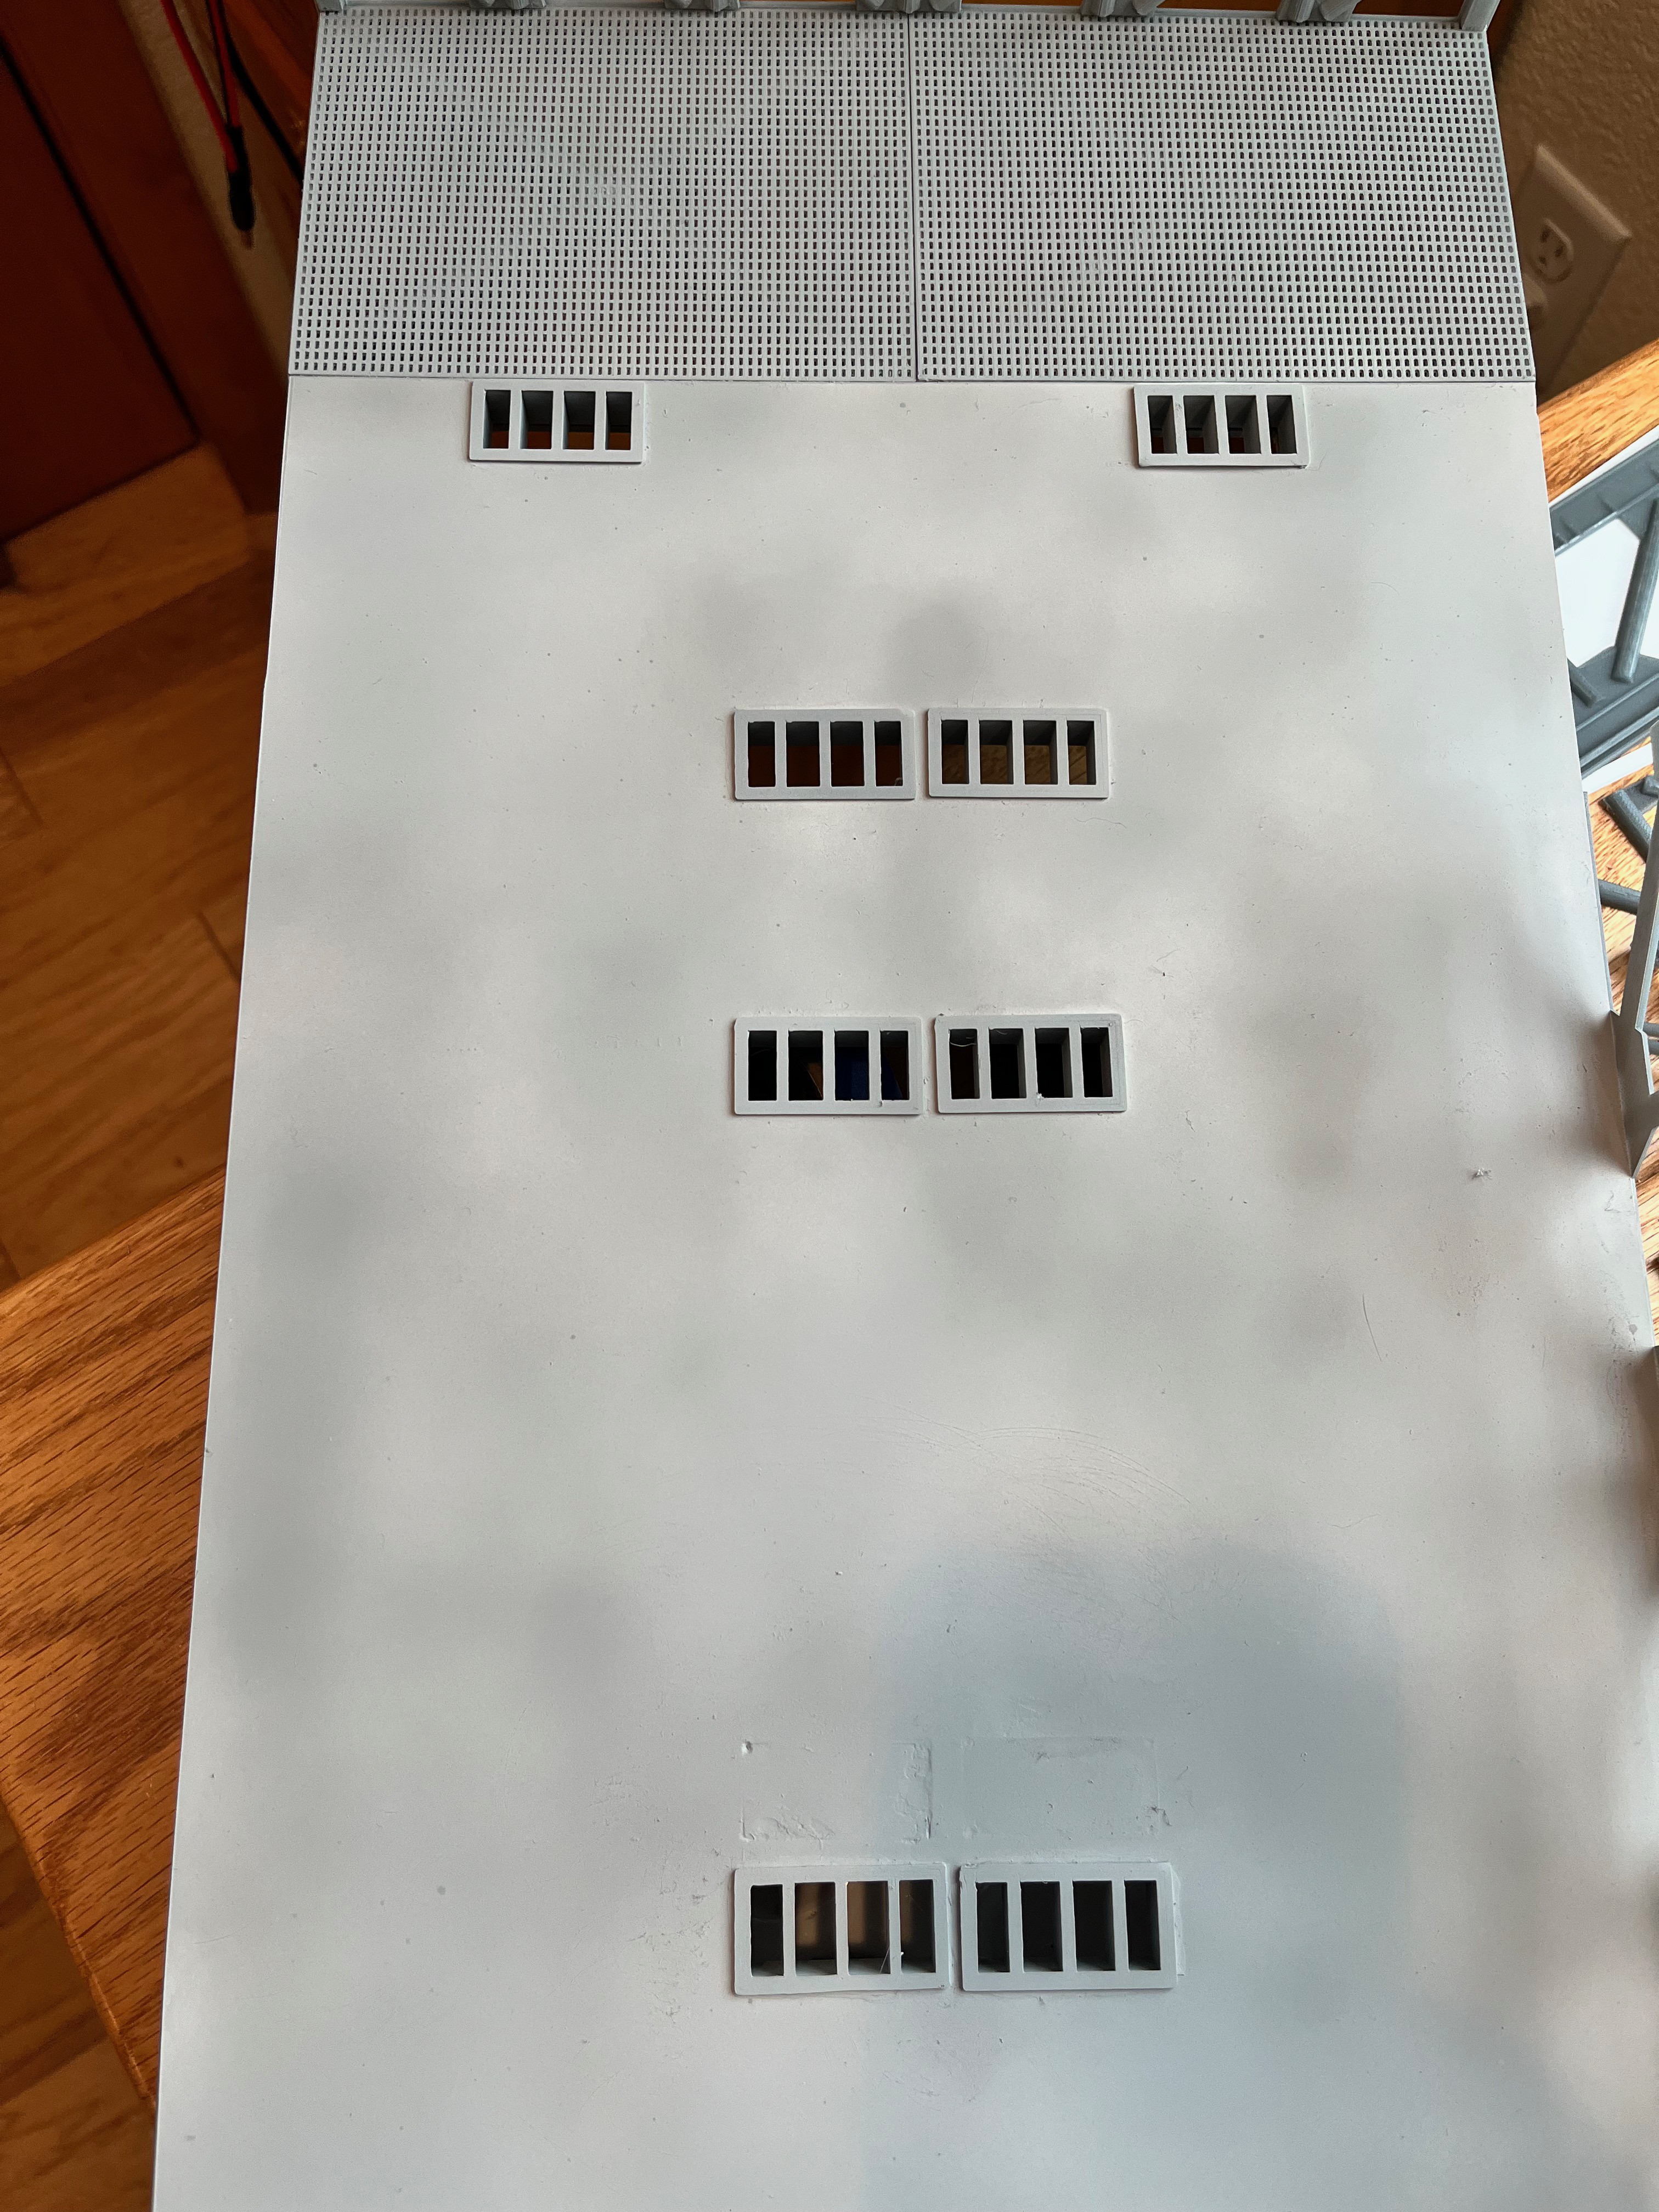
6) Add grating floors to open chassis ends.
7) Add disk brake calipers.
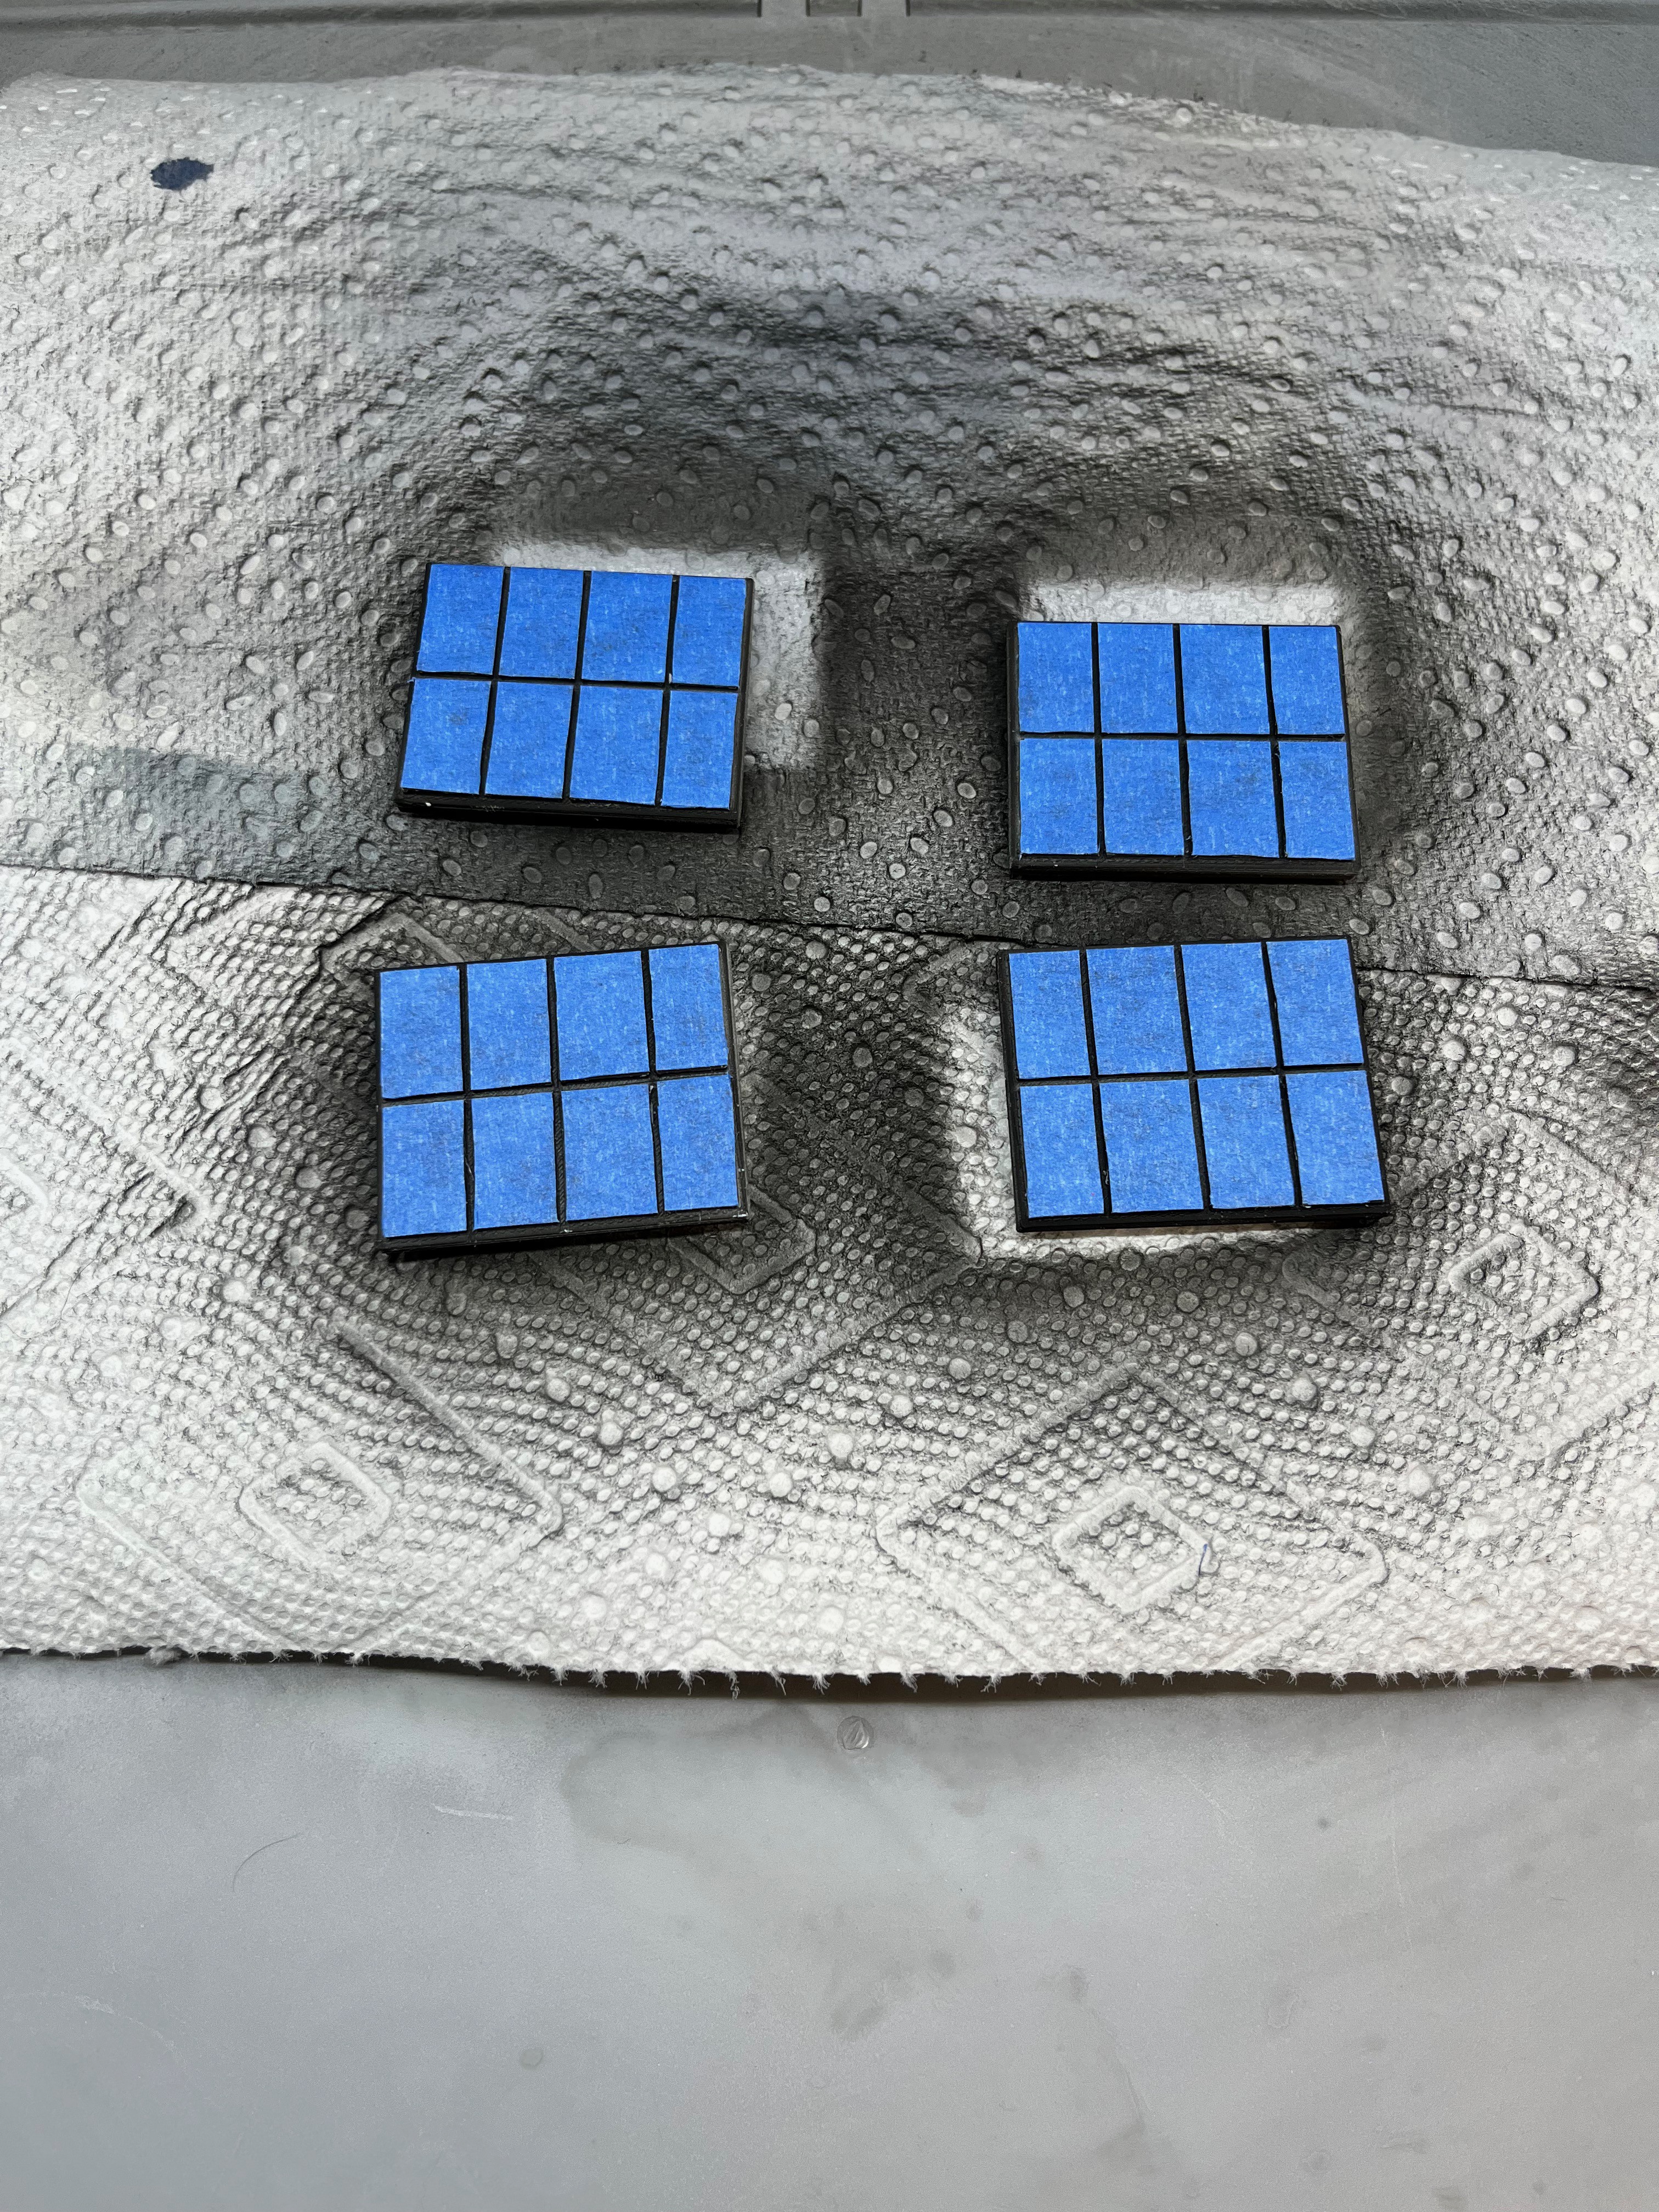
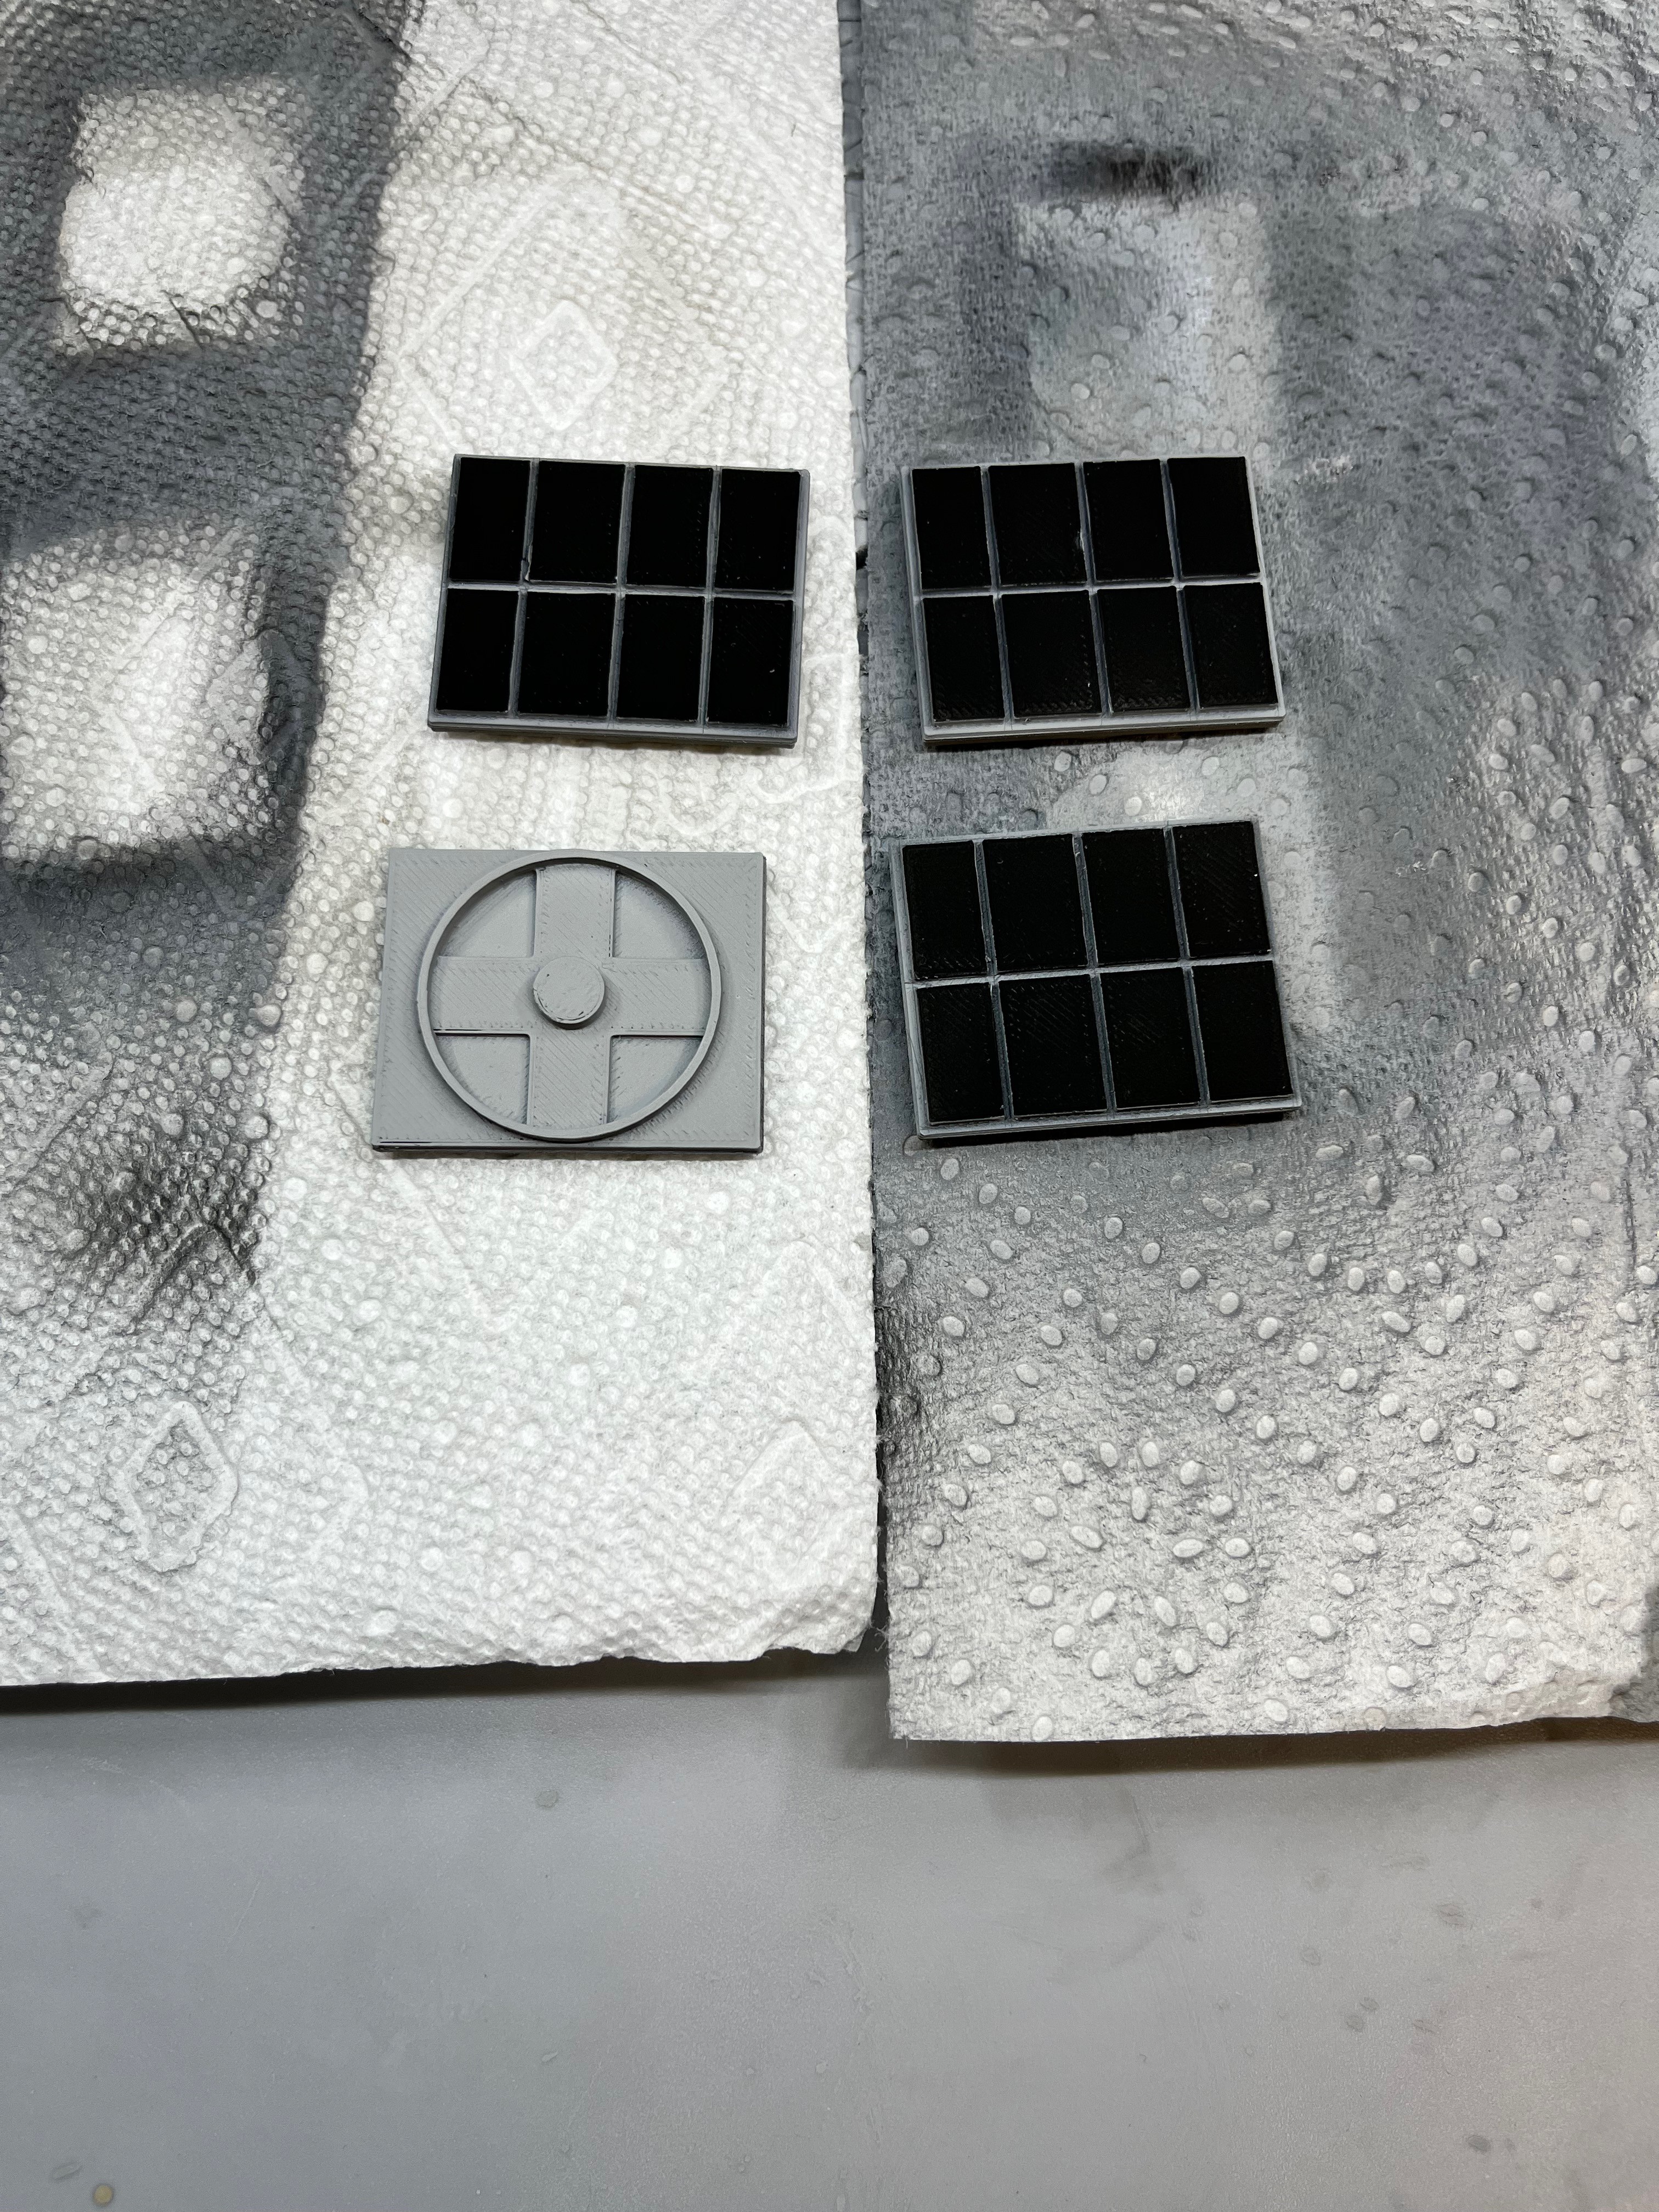
8) Paint various parts to make it look more realistic.
I'm sure there will be more modifications as I get deeper into the project.
The STL files are located on Printables at https://www.printables.com/model/268295-apollo-crawler. They are easier to manage on this site. Notice that at the highest level I have a spreadsheet that tracks the parts. Some parts are used as is, some I modified and some I created from scratch. I am updating this file as parts are completed.
Since starting this model I found a site dedicated to everything Apollo and modeling of Apollo. So I am abandoning the documentation of this build on this site and moving over to http://www.spacemodels-forum.com. See you there!


 Mark Howe
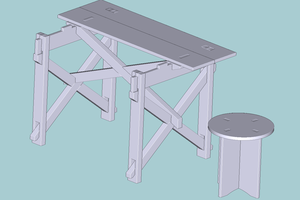
 mclien
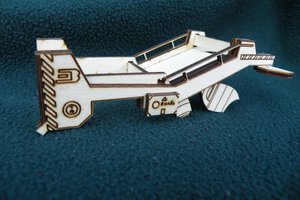
 Mark Langford