Close
0%
0%

Apollo Crawler

A 1:60 scale model of the Apollo crawler used to transport the Saturn V rocket and LUT.

Public Chat
Similar projects worth following
I have always wanted to model the Saturn V rocket along with its Launcher-Umbilical Tower (LUT) and crawler transport vehicle. This is a lot to take on and I will start at the bottom and work up. The bottom of the stack is the crawler. This will be mostly 3D printed.

I have always wanted to model this and looked at the models from the big name plastic model makers. They are all too small and not enough detail. Paper models? Not my thing. Having taken my modeling to the next level with a 3D printer I looked into this as a possibility. Most people start with a model from farscape1 at https://www.thingiverse.com/thing:911891. This model is over 5 feet tall but lacks the detail you would expect in a model of this size. Fortunately there are many people out there adding and publishing details to add to the Launcher-Umbilical Tower (LUT). There is a guy from France that has made an incredible collection of rockets and for a nominal fee you can purchase his version of the Saturn V rocket.  https://the-amphioxus.monsite-orange.fr. There are even people working on adding detail to the crane on top of the LUT. This is a massive project, but I am going to start at the bottom and work up. The lowest level component is the crawler.

The crawler is 131 feet long and 114 feet wide with a variable height of 20 to 26 feet.  It weighs approximately 6.6 million pounds and can haul 18 million pounds.  The top speed loaded is 1.0 MPH and uses 150 gallons per mile.  The tracks are driven by sixteen 375 hp electric motors.  The electricity is generated by four 1,000 kw generators driven by two 2,750 hp Diesel engines.  There are four hydraulic pumps for steering and leveling the platform that are driven by electricity generated by two 750 kw generators driven by two 1,065 hp Diesel engines.   Two of these crawlers were built and they were supposedly named Hans and Frans.  

There is a model out there, not the correct scale and not much detail at https://www.thingiverse.com/thing:4563734. This is a good start.  The modeler had a good idea of creating a central box and skinning the box.  For me he took the box out too far.  There is an internal room housing the engines and generators.  I will start with this model and make the following modifications to add detail.

1) Change the scale from 1:70 to 1:60

2) Add the I-beam structure to the underside of the main chassis.

3) Make the internal box the same size as the original internal room.

4) Make the side arms more accurate and detailed.

5) Add more detail to the electric motors.

6) Add grating floors to open chassis ends.

7) Add disk brake calipers.

8) Paint various parts to make it look more realistic.

I'm sure there will be more modifications as I get deeper into the project.

The STL files are located on Printables at https://www.printables.com/model/268295-apollo-crawler.  They are easier to manage on this site.  Notice that at the highest level I have a spreadsheet that tracks the parts.  Some parts are used as is, some I modified and some I created from scratch. I am updating this file as parts are completed.

Since starting this model I found a site dedicated to everything Apollo and modeling of Apollo.  So I am abandoning the documentation of this build on this site and moving over to http://www.spacemodels-forum.com.  See you there!
CrawlerParts.pdf

A list of all the parts that need to be printed.

Adobe Portable Document Format - 212.38 kB - 10/07/2022 at 15:51

Preview

Truck Assembly.pdf

How to assemble the trucks.

Adobe Portable Document Format - 66.53 kB - 10/07/2022 at 15:51

Preview

Center Structure Assembly.pdf

How to assemble the center structure.

Adobe Portable Document Format - 46.68 kB - 10/07/2022 at 15:51

Preview

Crawler Assembly.pdf

An overview of the entire crawler assembly, including the main structure in detail.

Adobe Portable Document Format - 65.01 kB - 10/07/2022 at 15:51

Preview

End Structure Assembly.pdf

How to assemble the end structures of the main structure.

Adobe Portable Document Format - 51.83 kB - 10/07/2022 at 15:51

Preview

View all 7 files

  • Center Structure

    wglasford10/13/2022 at 23:14 0 comments

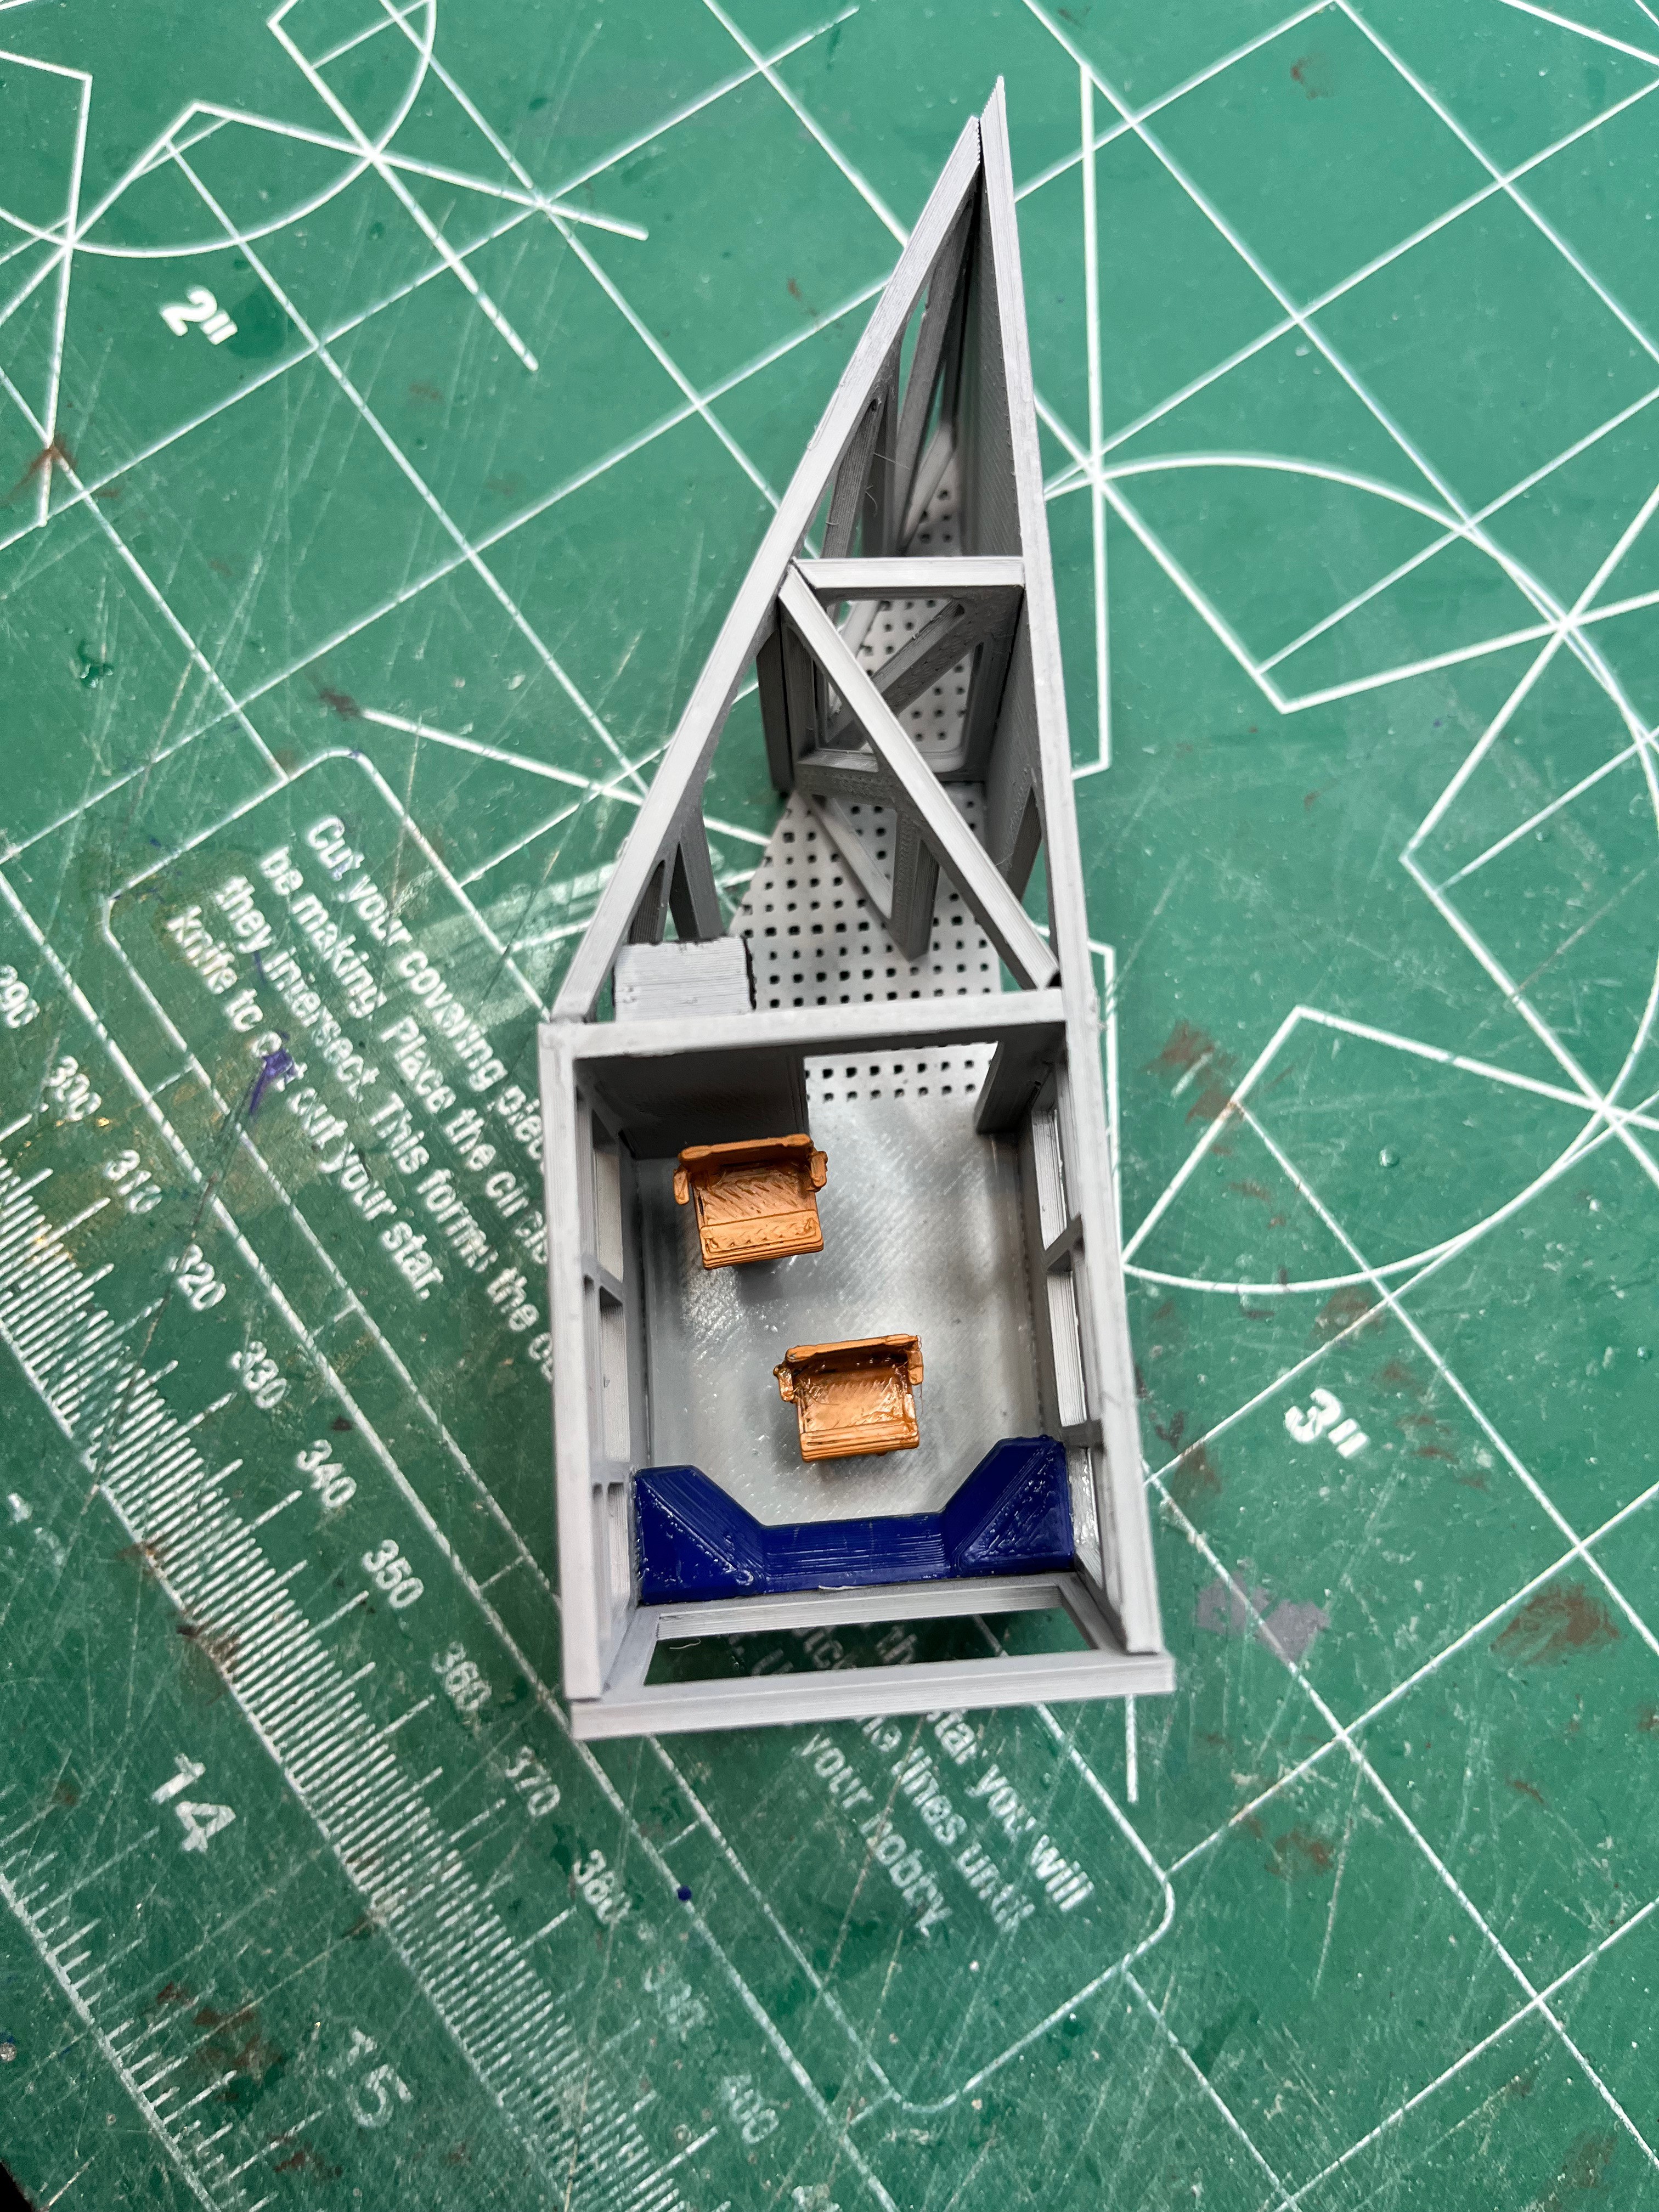
    The center structure consists of a whole lot of I-beams and posts.  There are also walls containing windows and doors.  Within these walls is a computer room that is walled off from the engines and pumps.  I have glued in everything except the top two I-beam pieces.  These will be glued in later when the interior parts, engines and pumps are installed.  Once the top pieces are glued in, I can true up some of the misaligned posts. The entire structure is 3 dimensional except for where the truck arms will attach. At that point you can see sheets of styrene.  I wanted to get a really good attachment point for these arms.  Now that I think about it, if you mount the LUT and Saturn V on top of this model, all the weight is placed on top of the truck arms and goes straight through to the trucks.

  • Cabs

    wglasford10/07/2022 at 15:49 0 comments

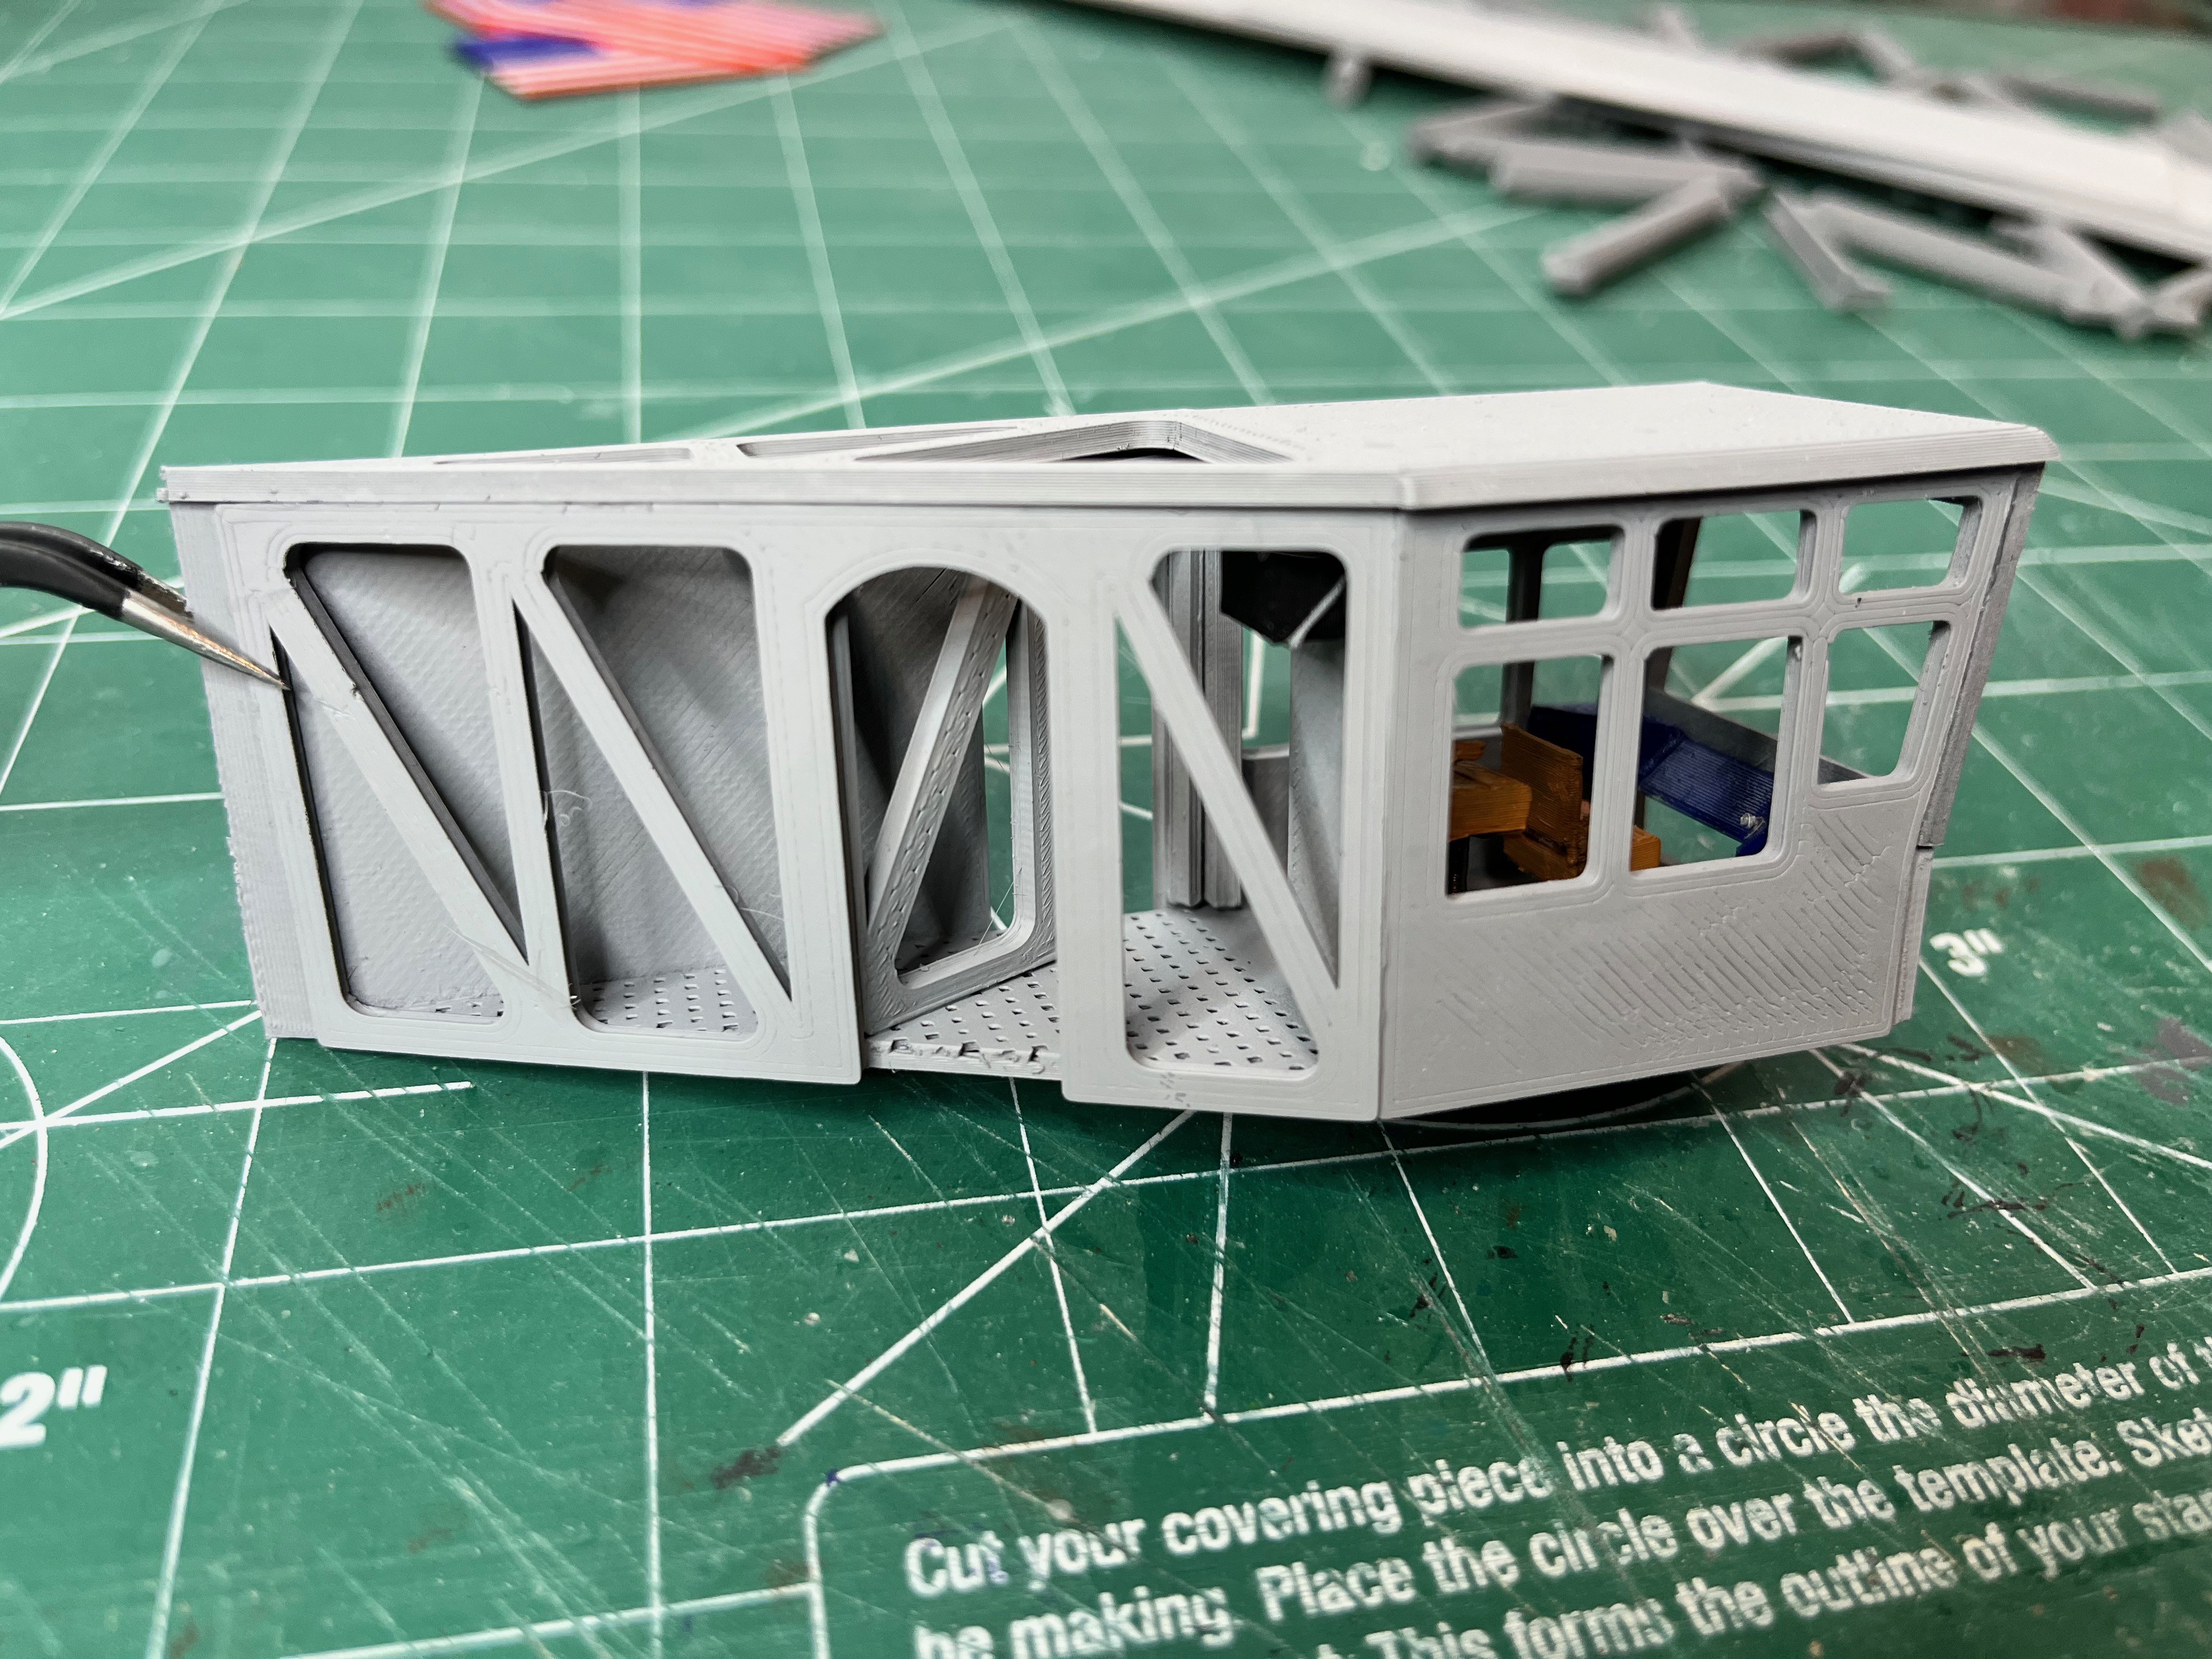
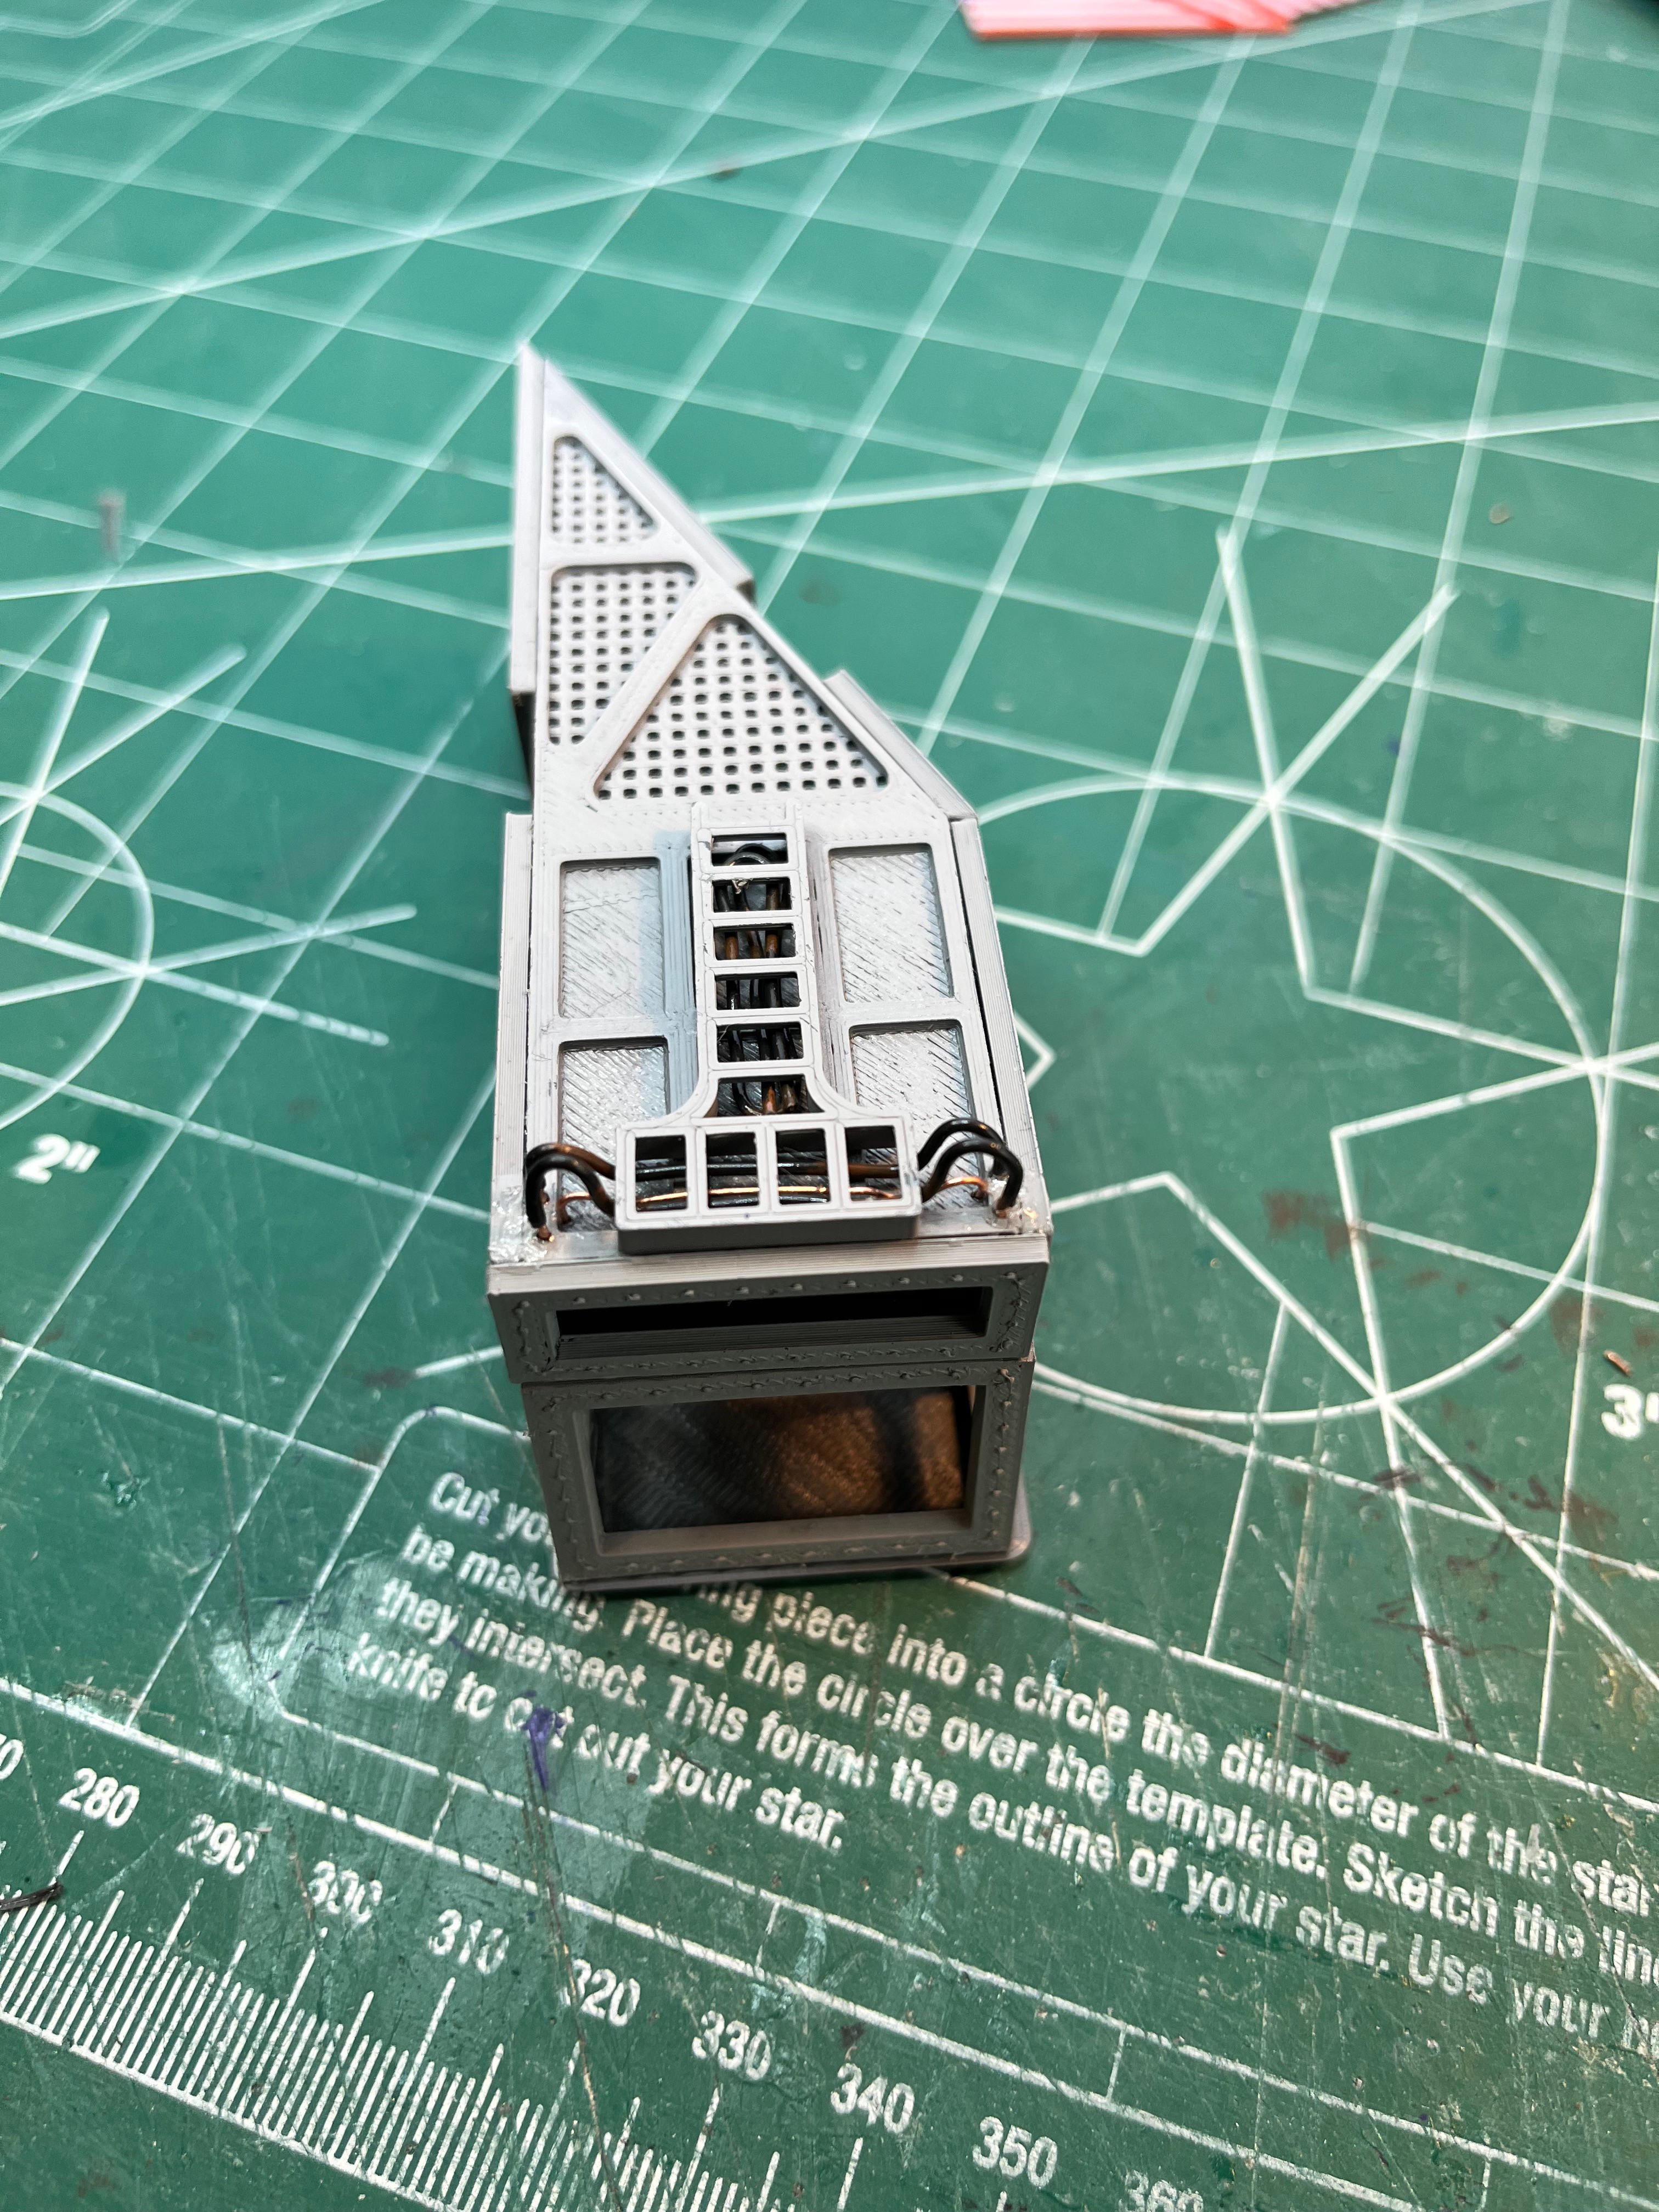
    There are two cabs mounted on opposite truck arms.  These cabs are where the drivers sit.  The one detail left to add is the big red wheel that steers the crawler.  

    From the side you can see an A/C window unit that cools the cab.

    On the underside I added wires.  It's the little details that add to the model.

  • Truck Arms

    wglasford09/29/2022 at 14:16 0 comments

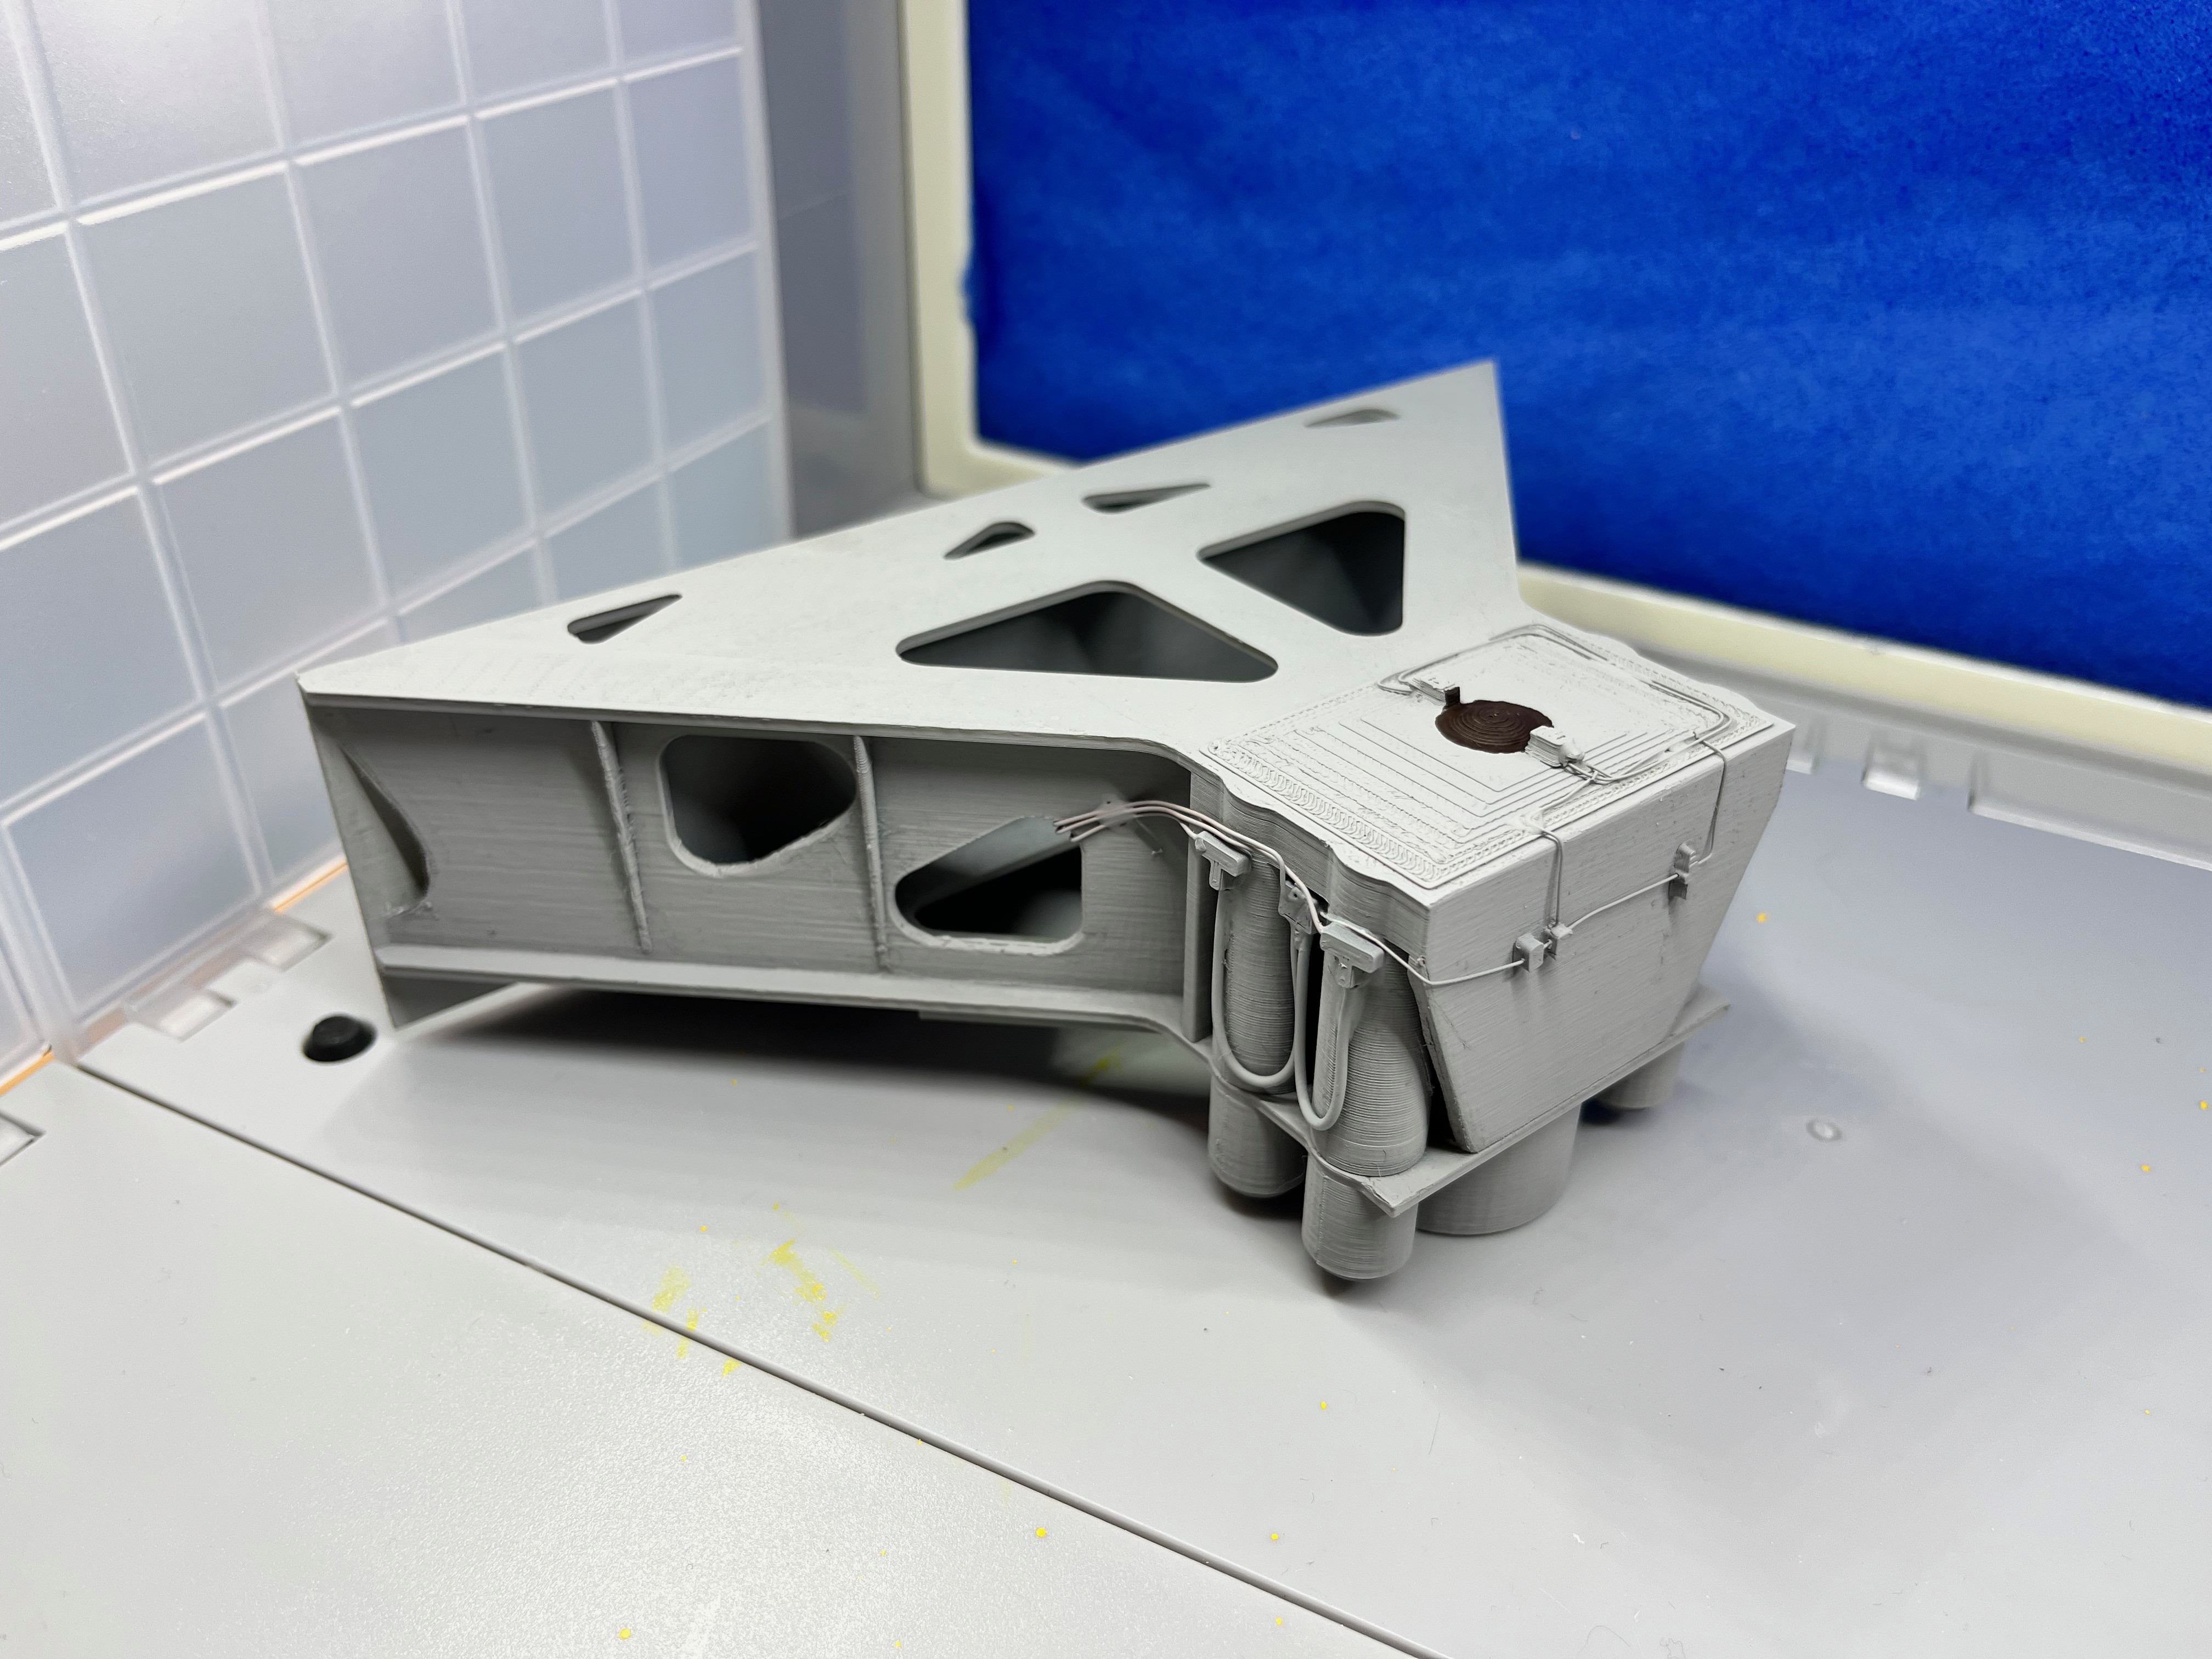
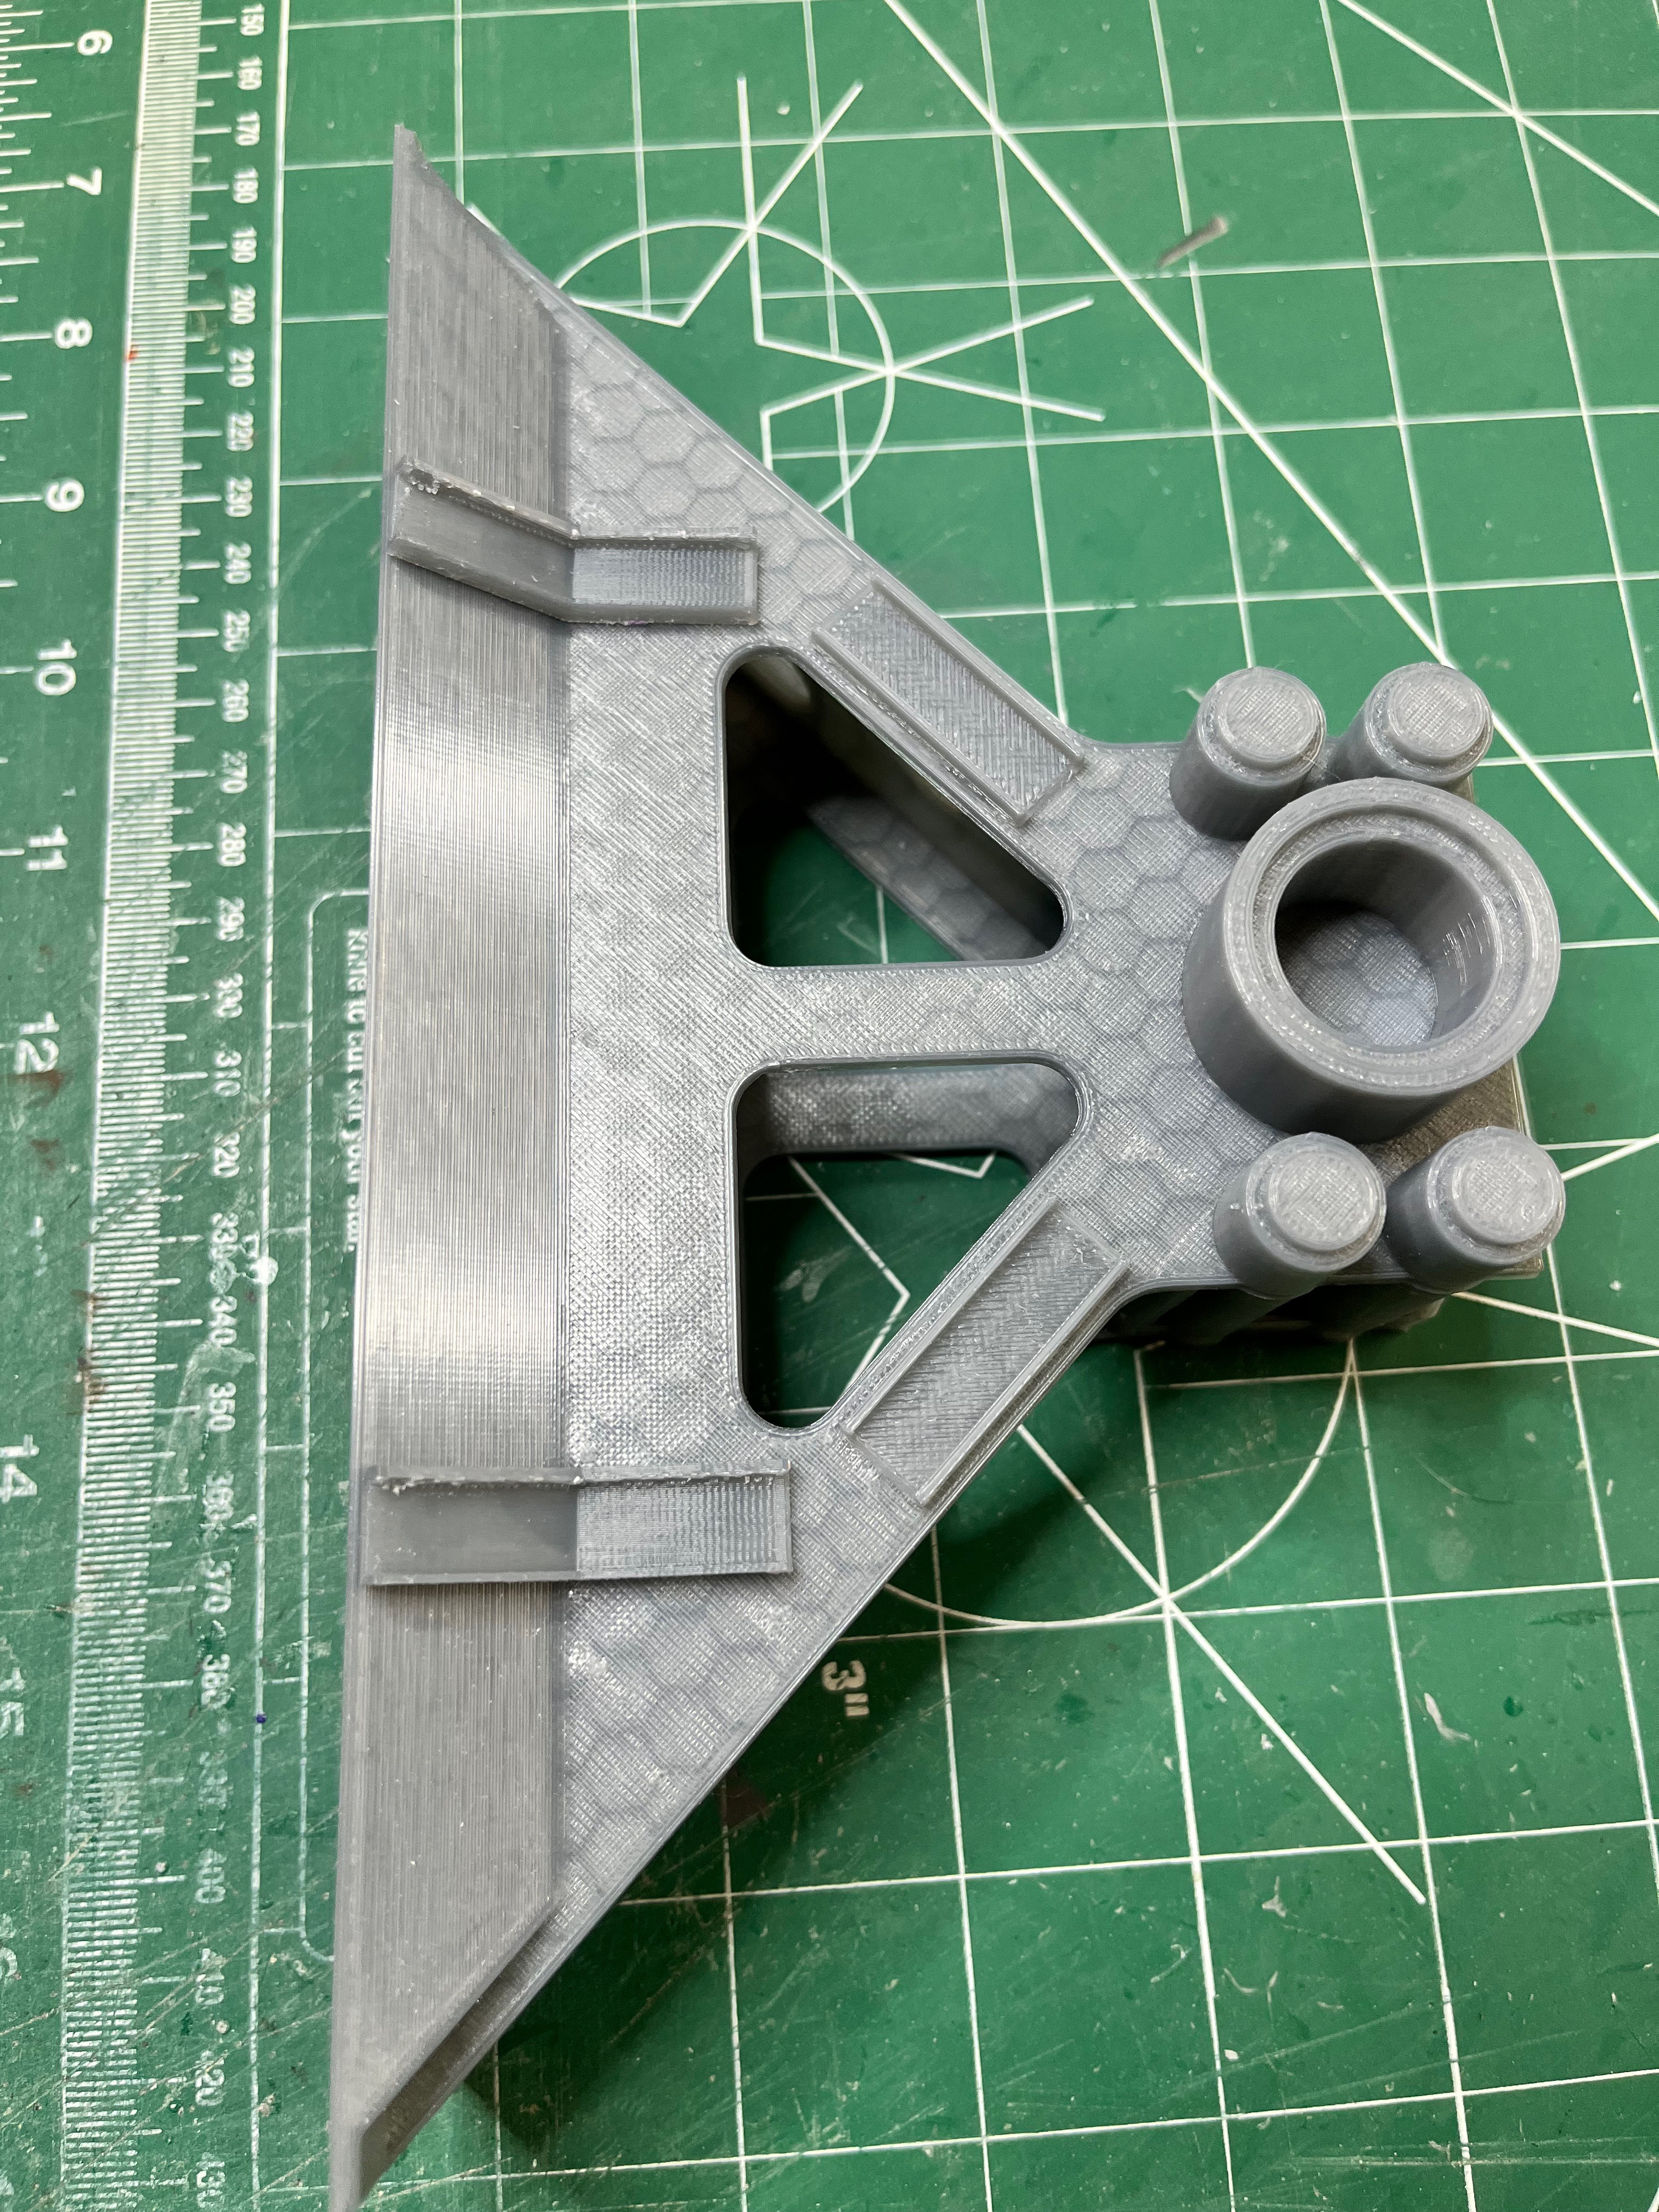
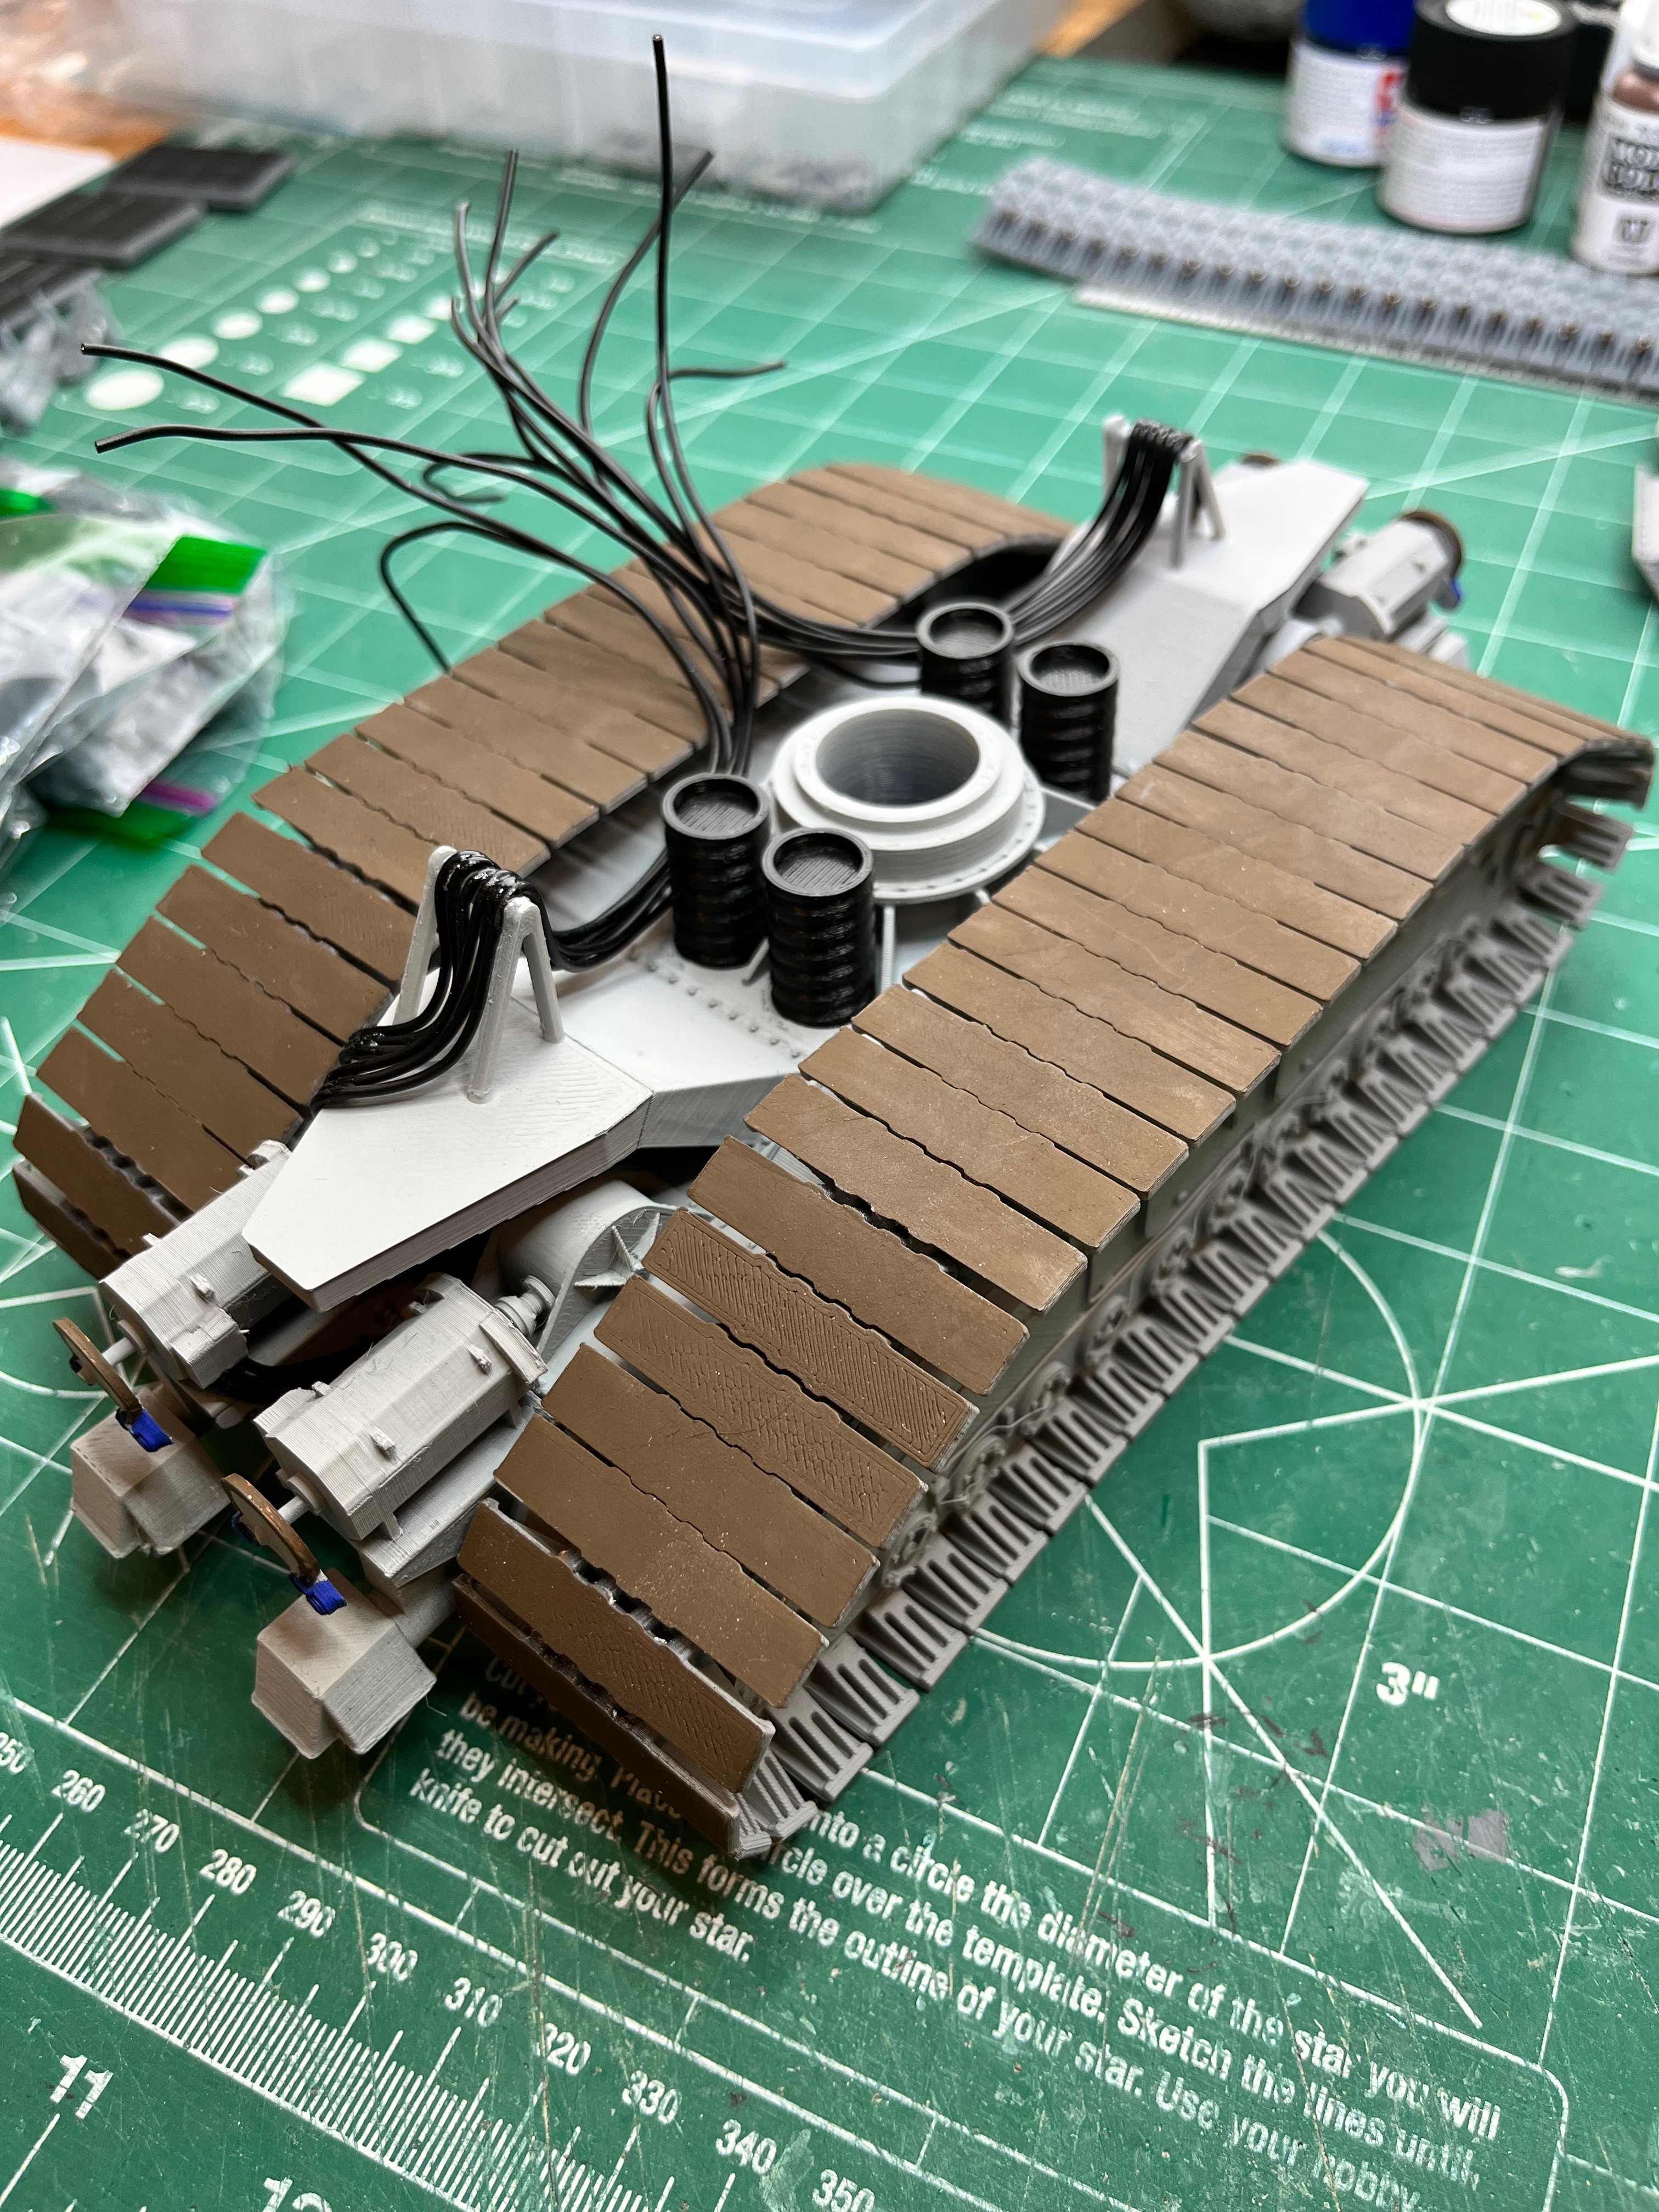
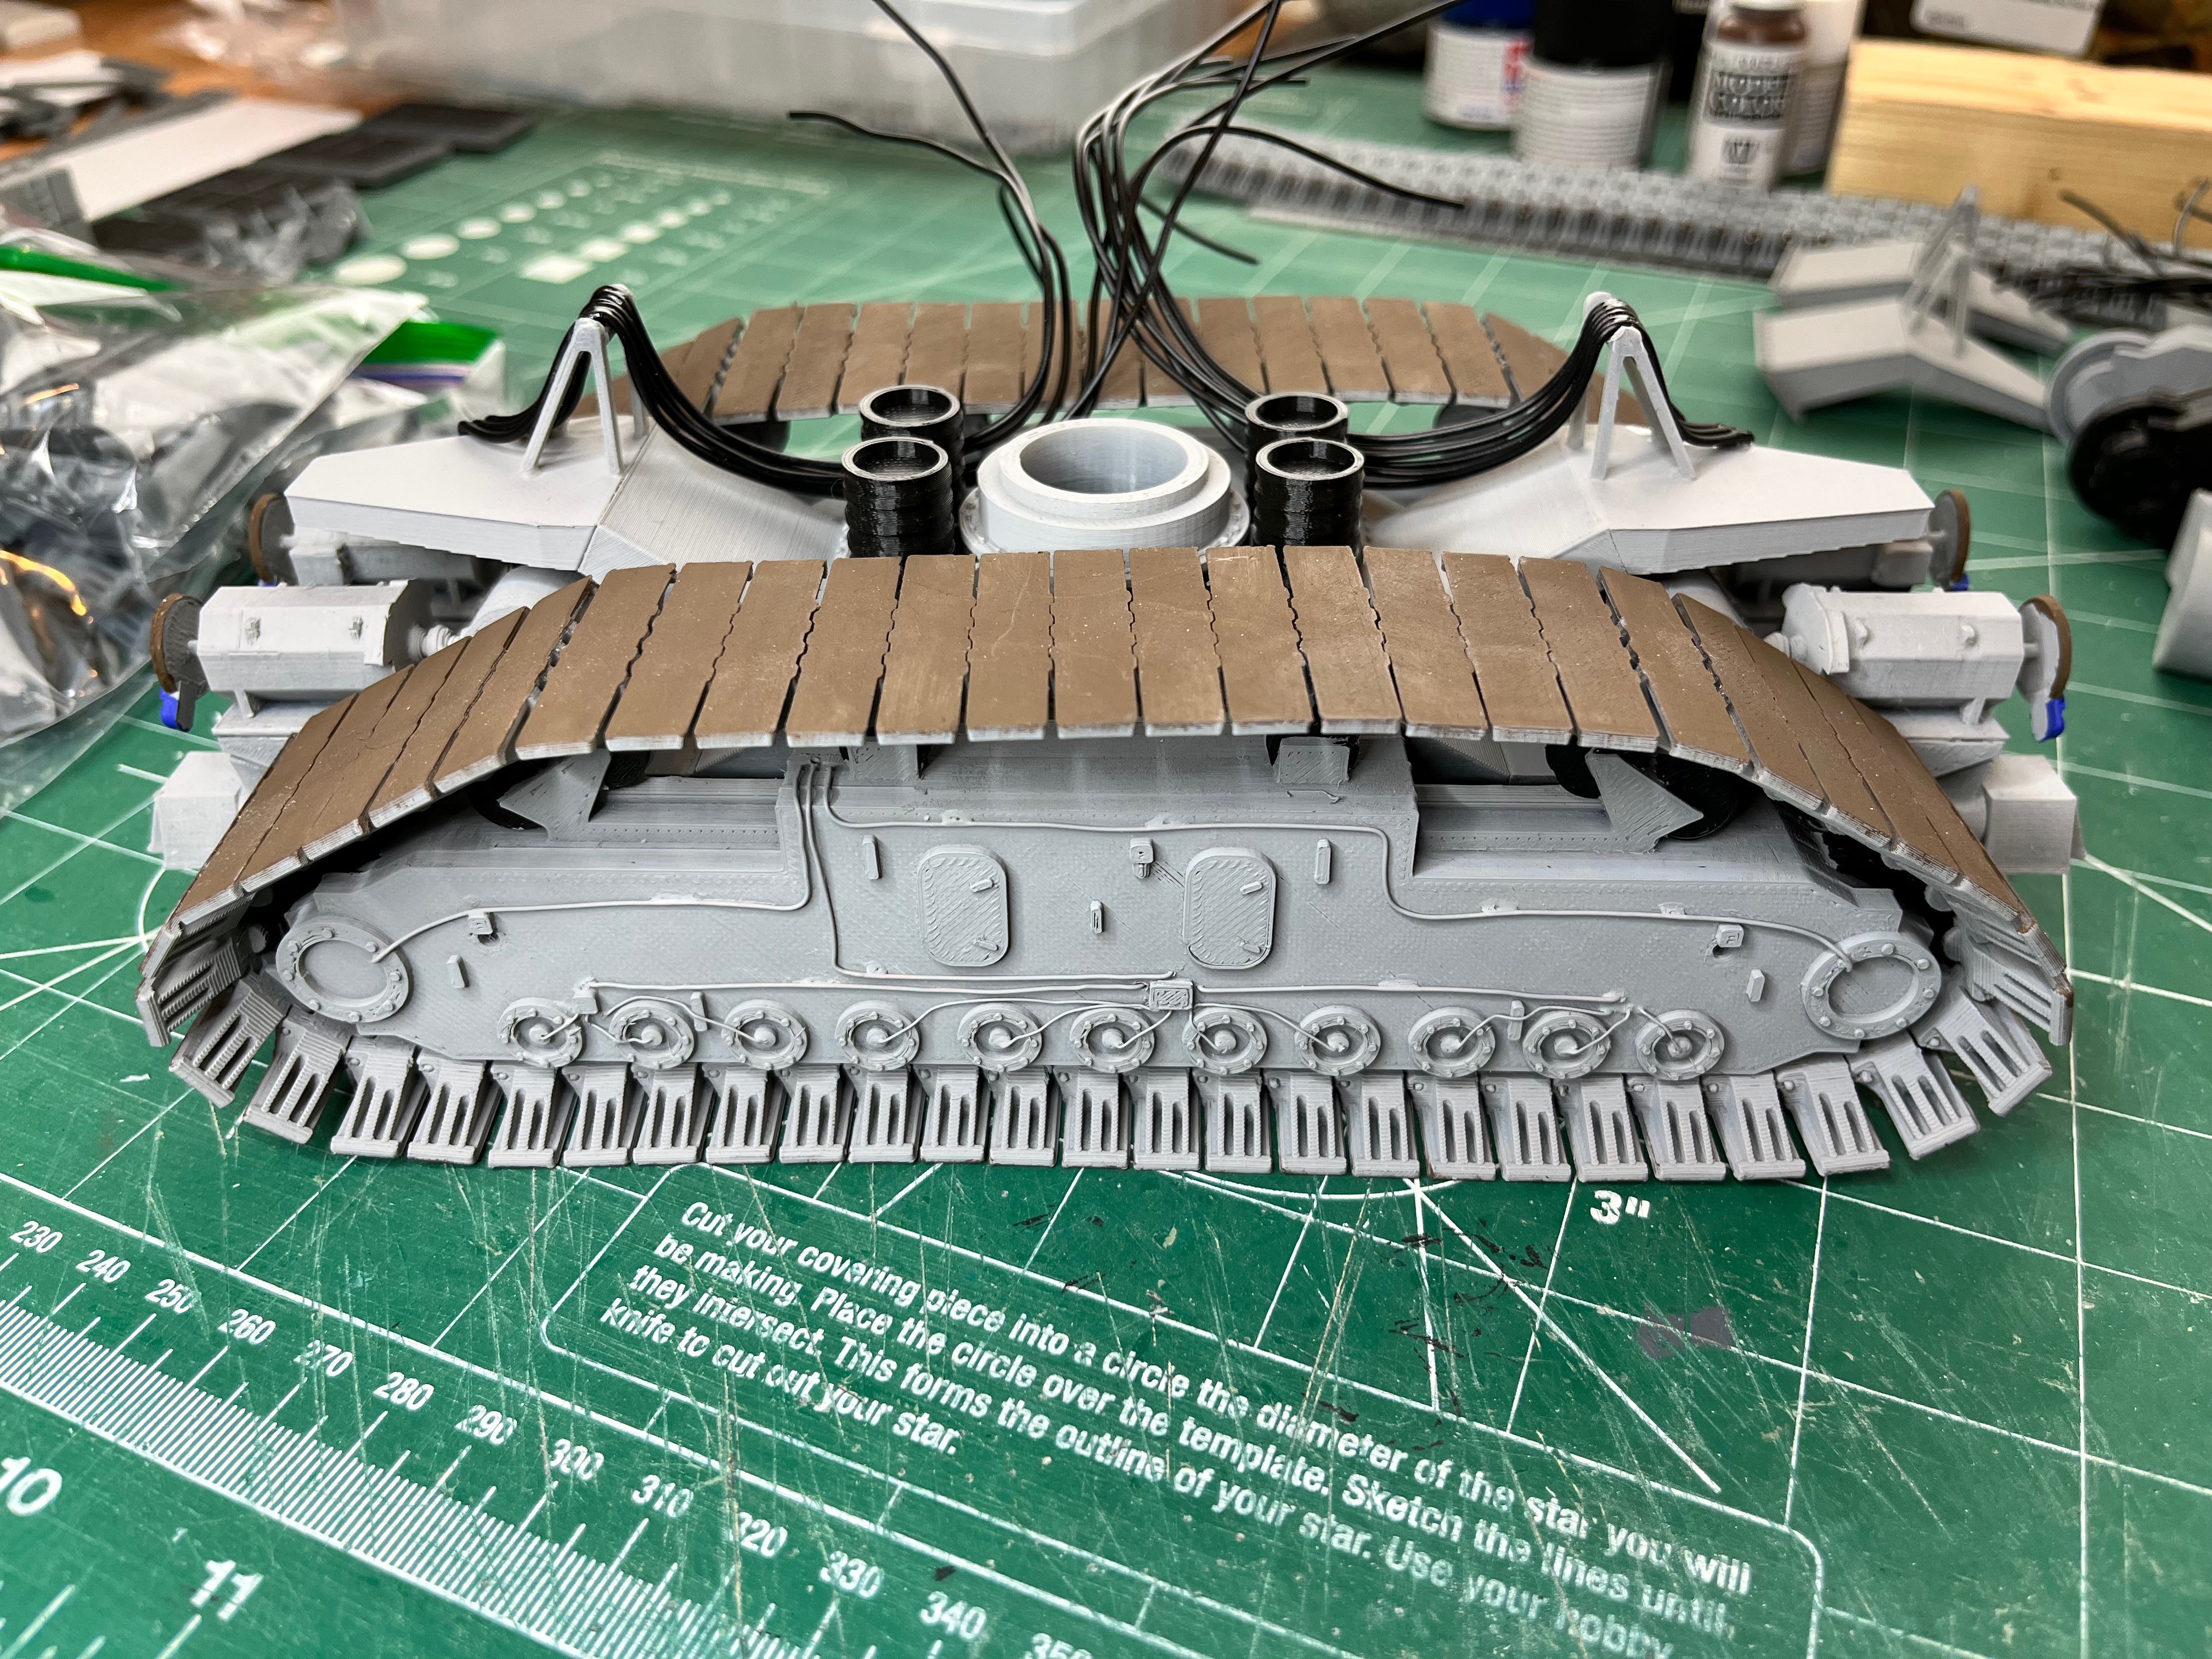
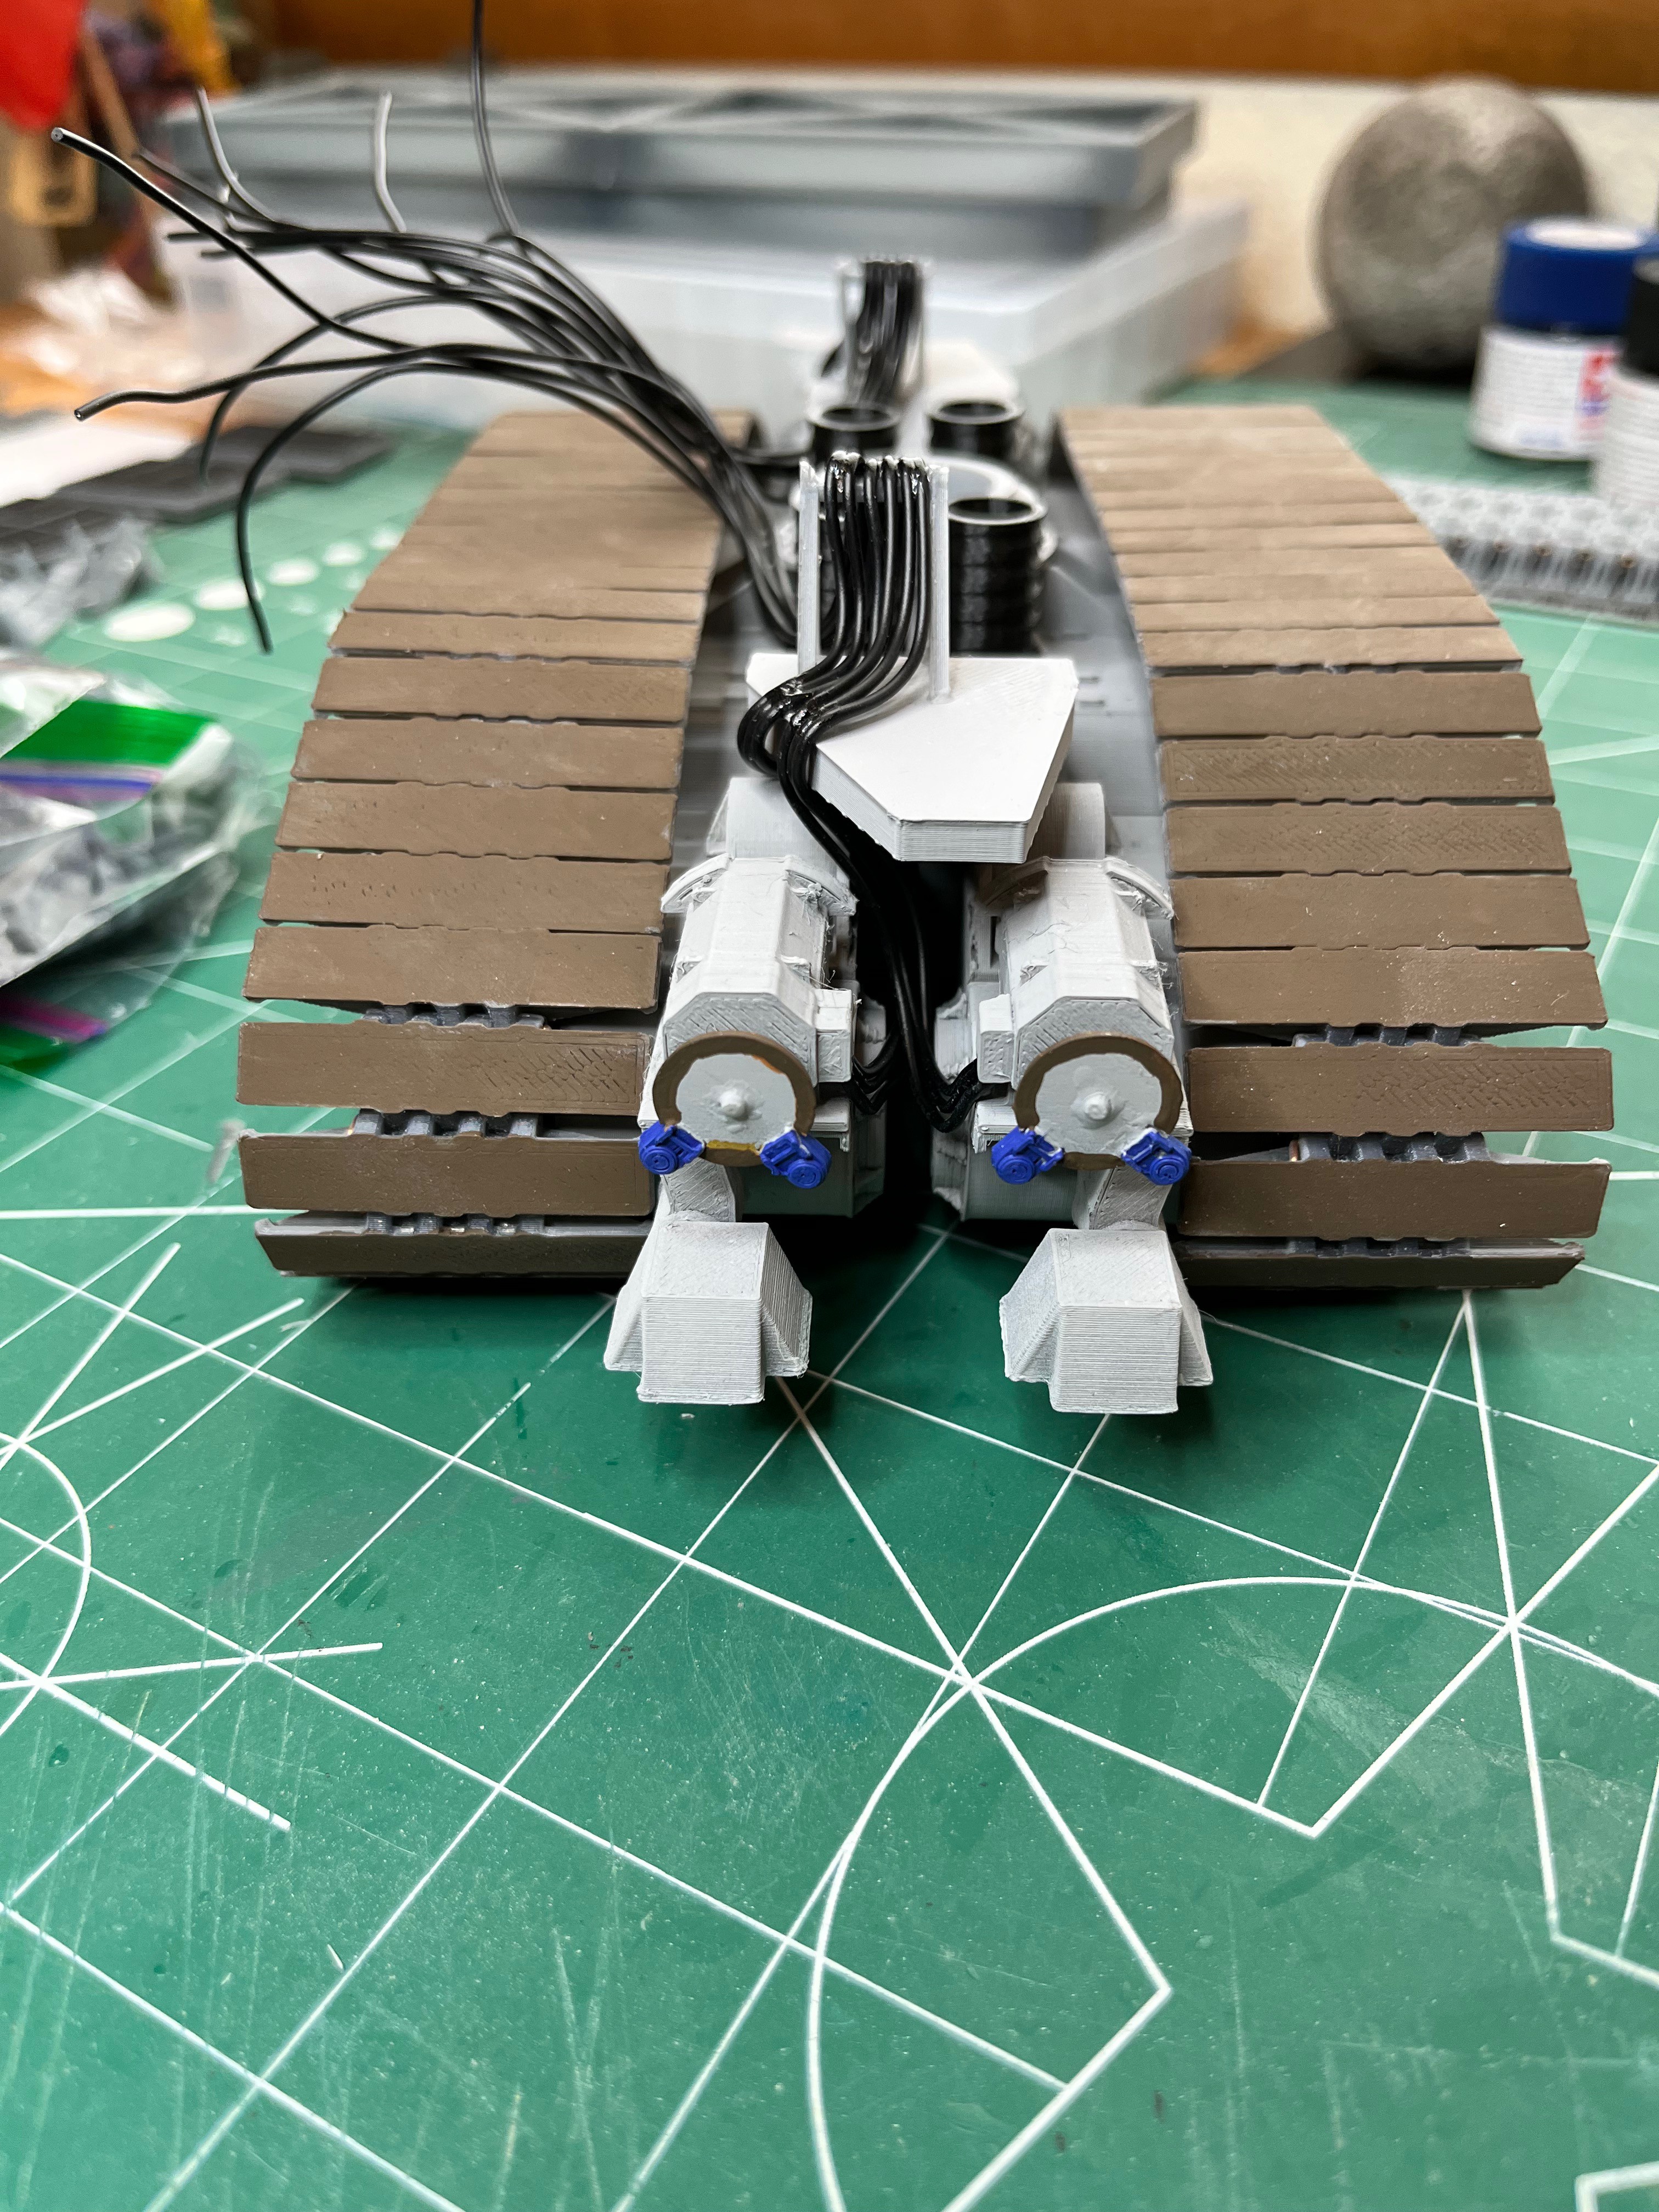
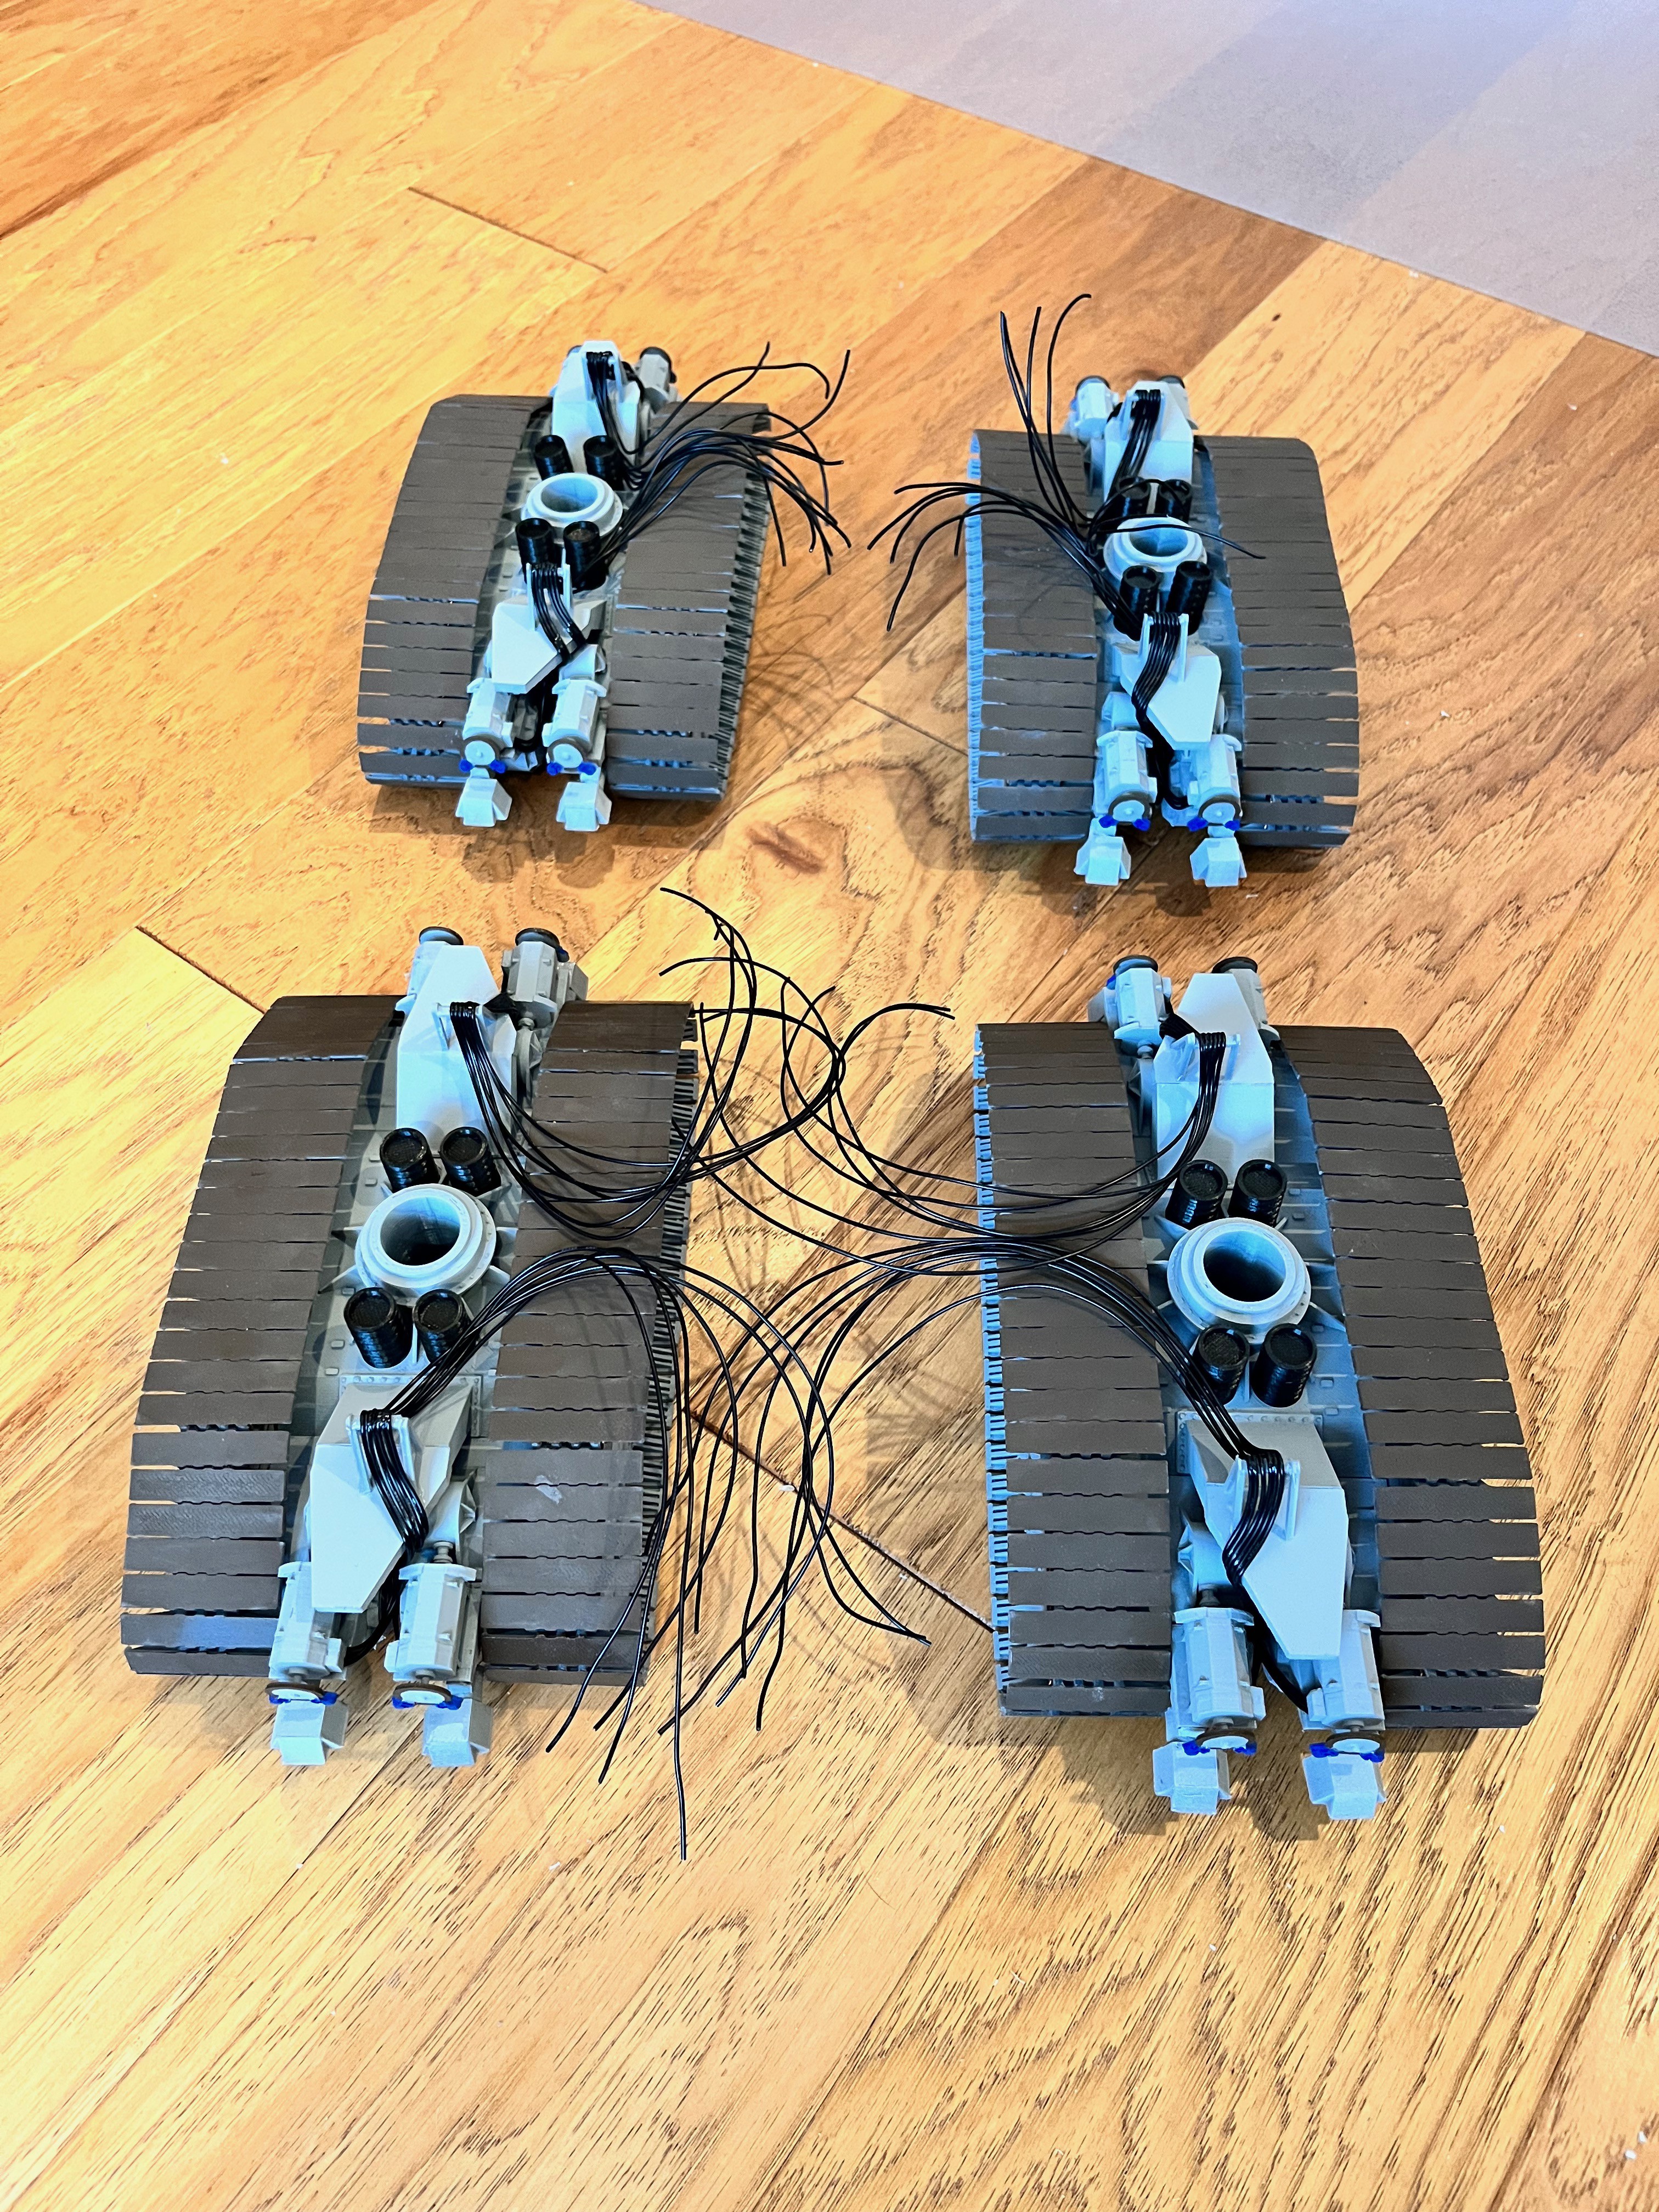
    The truck arms extend from the main structure and hold the trucks.  Again I added wire and small bits to simulate piping.  These small pieces are getting rather pixelated due to the resolution limitations of 3D printers.  If you have a resin printer you could get more detail in these pieces.  On the underside I added cable trays which will route the wires from the trucks over to the main structure.  

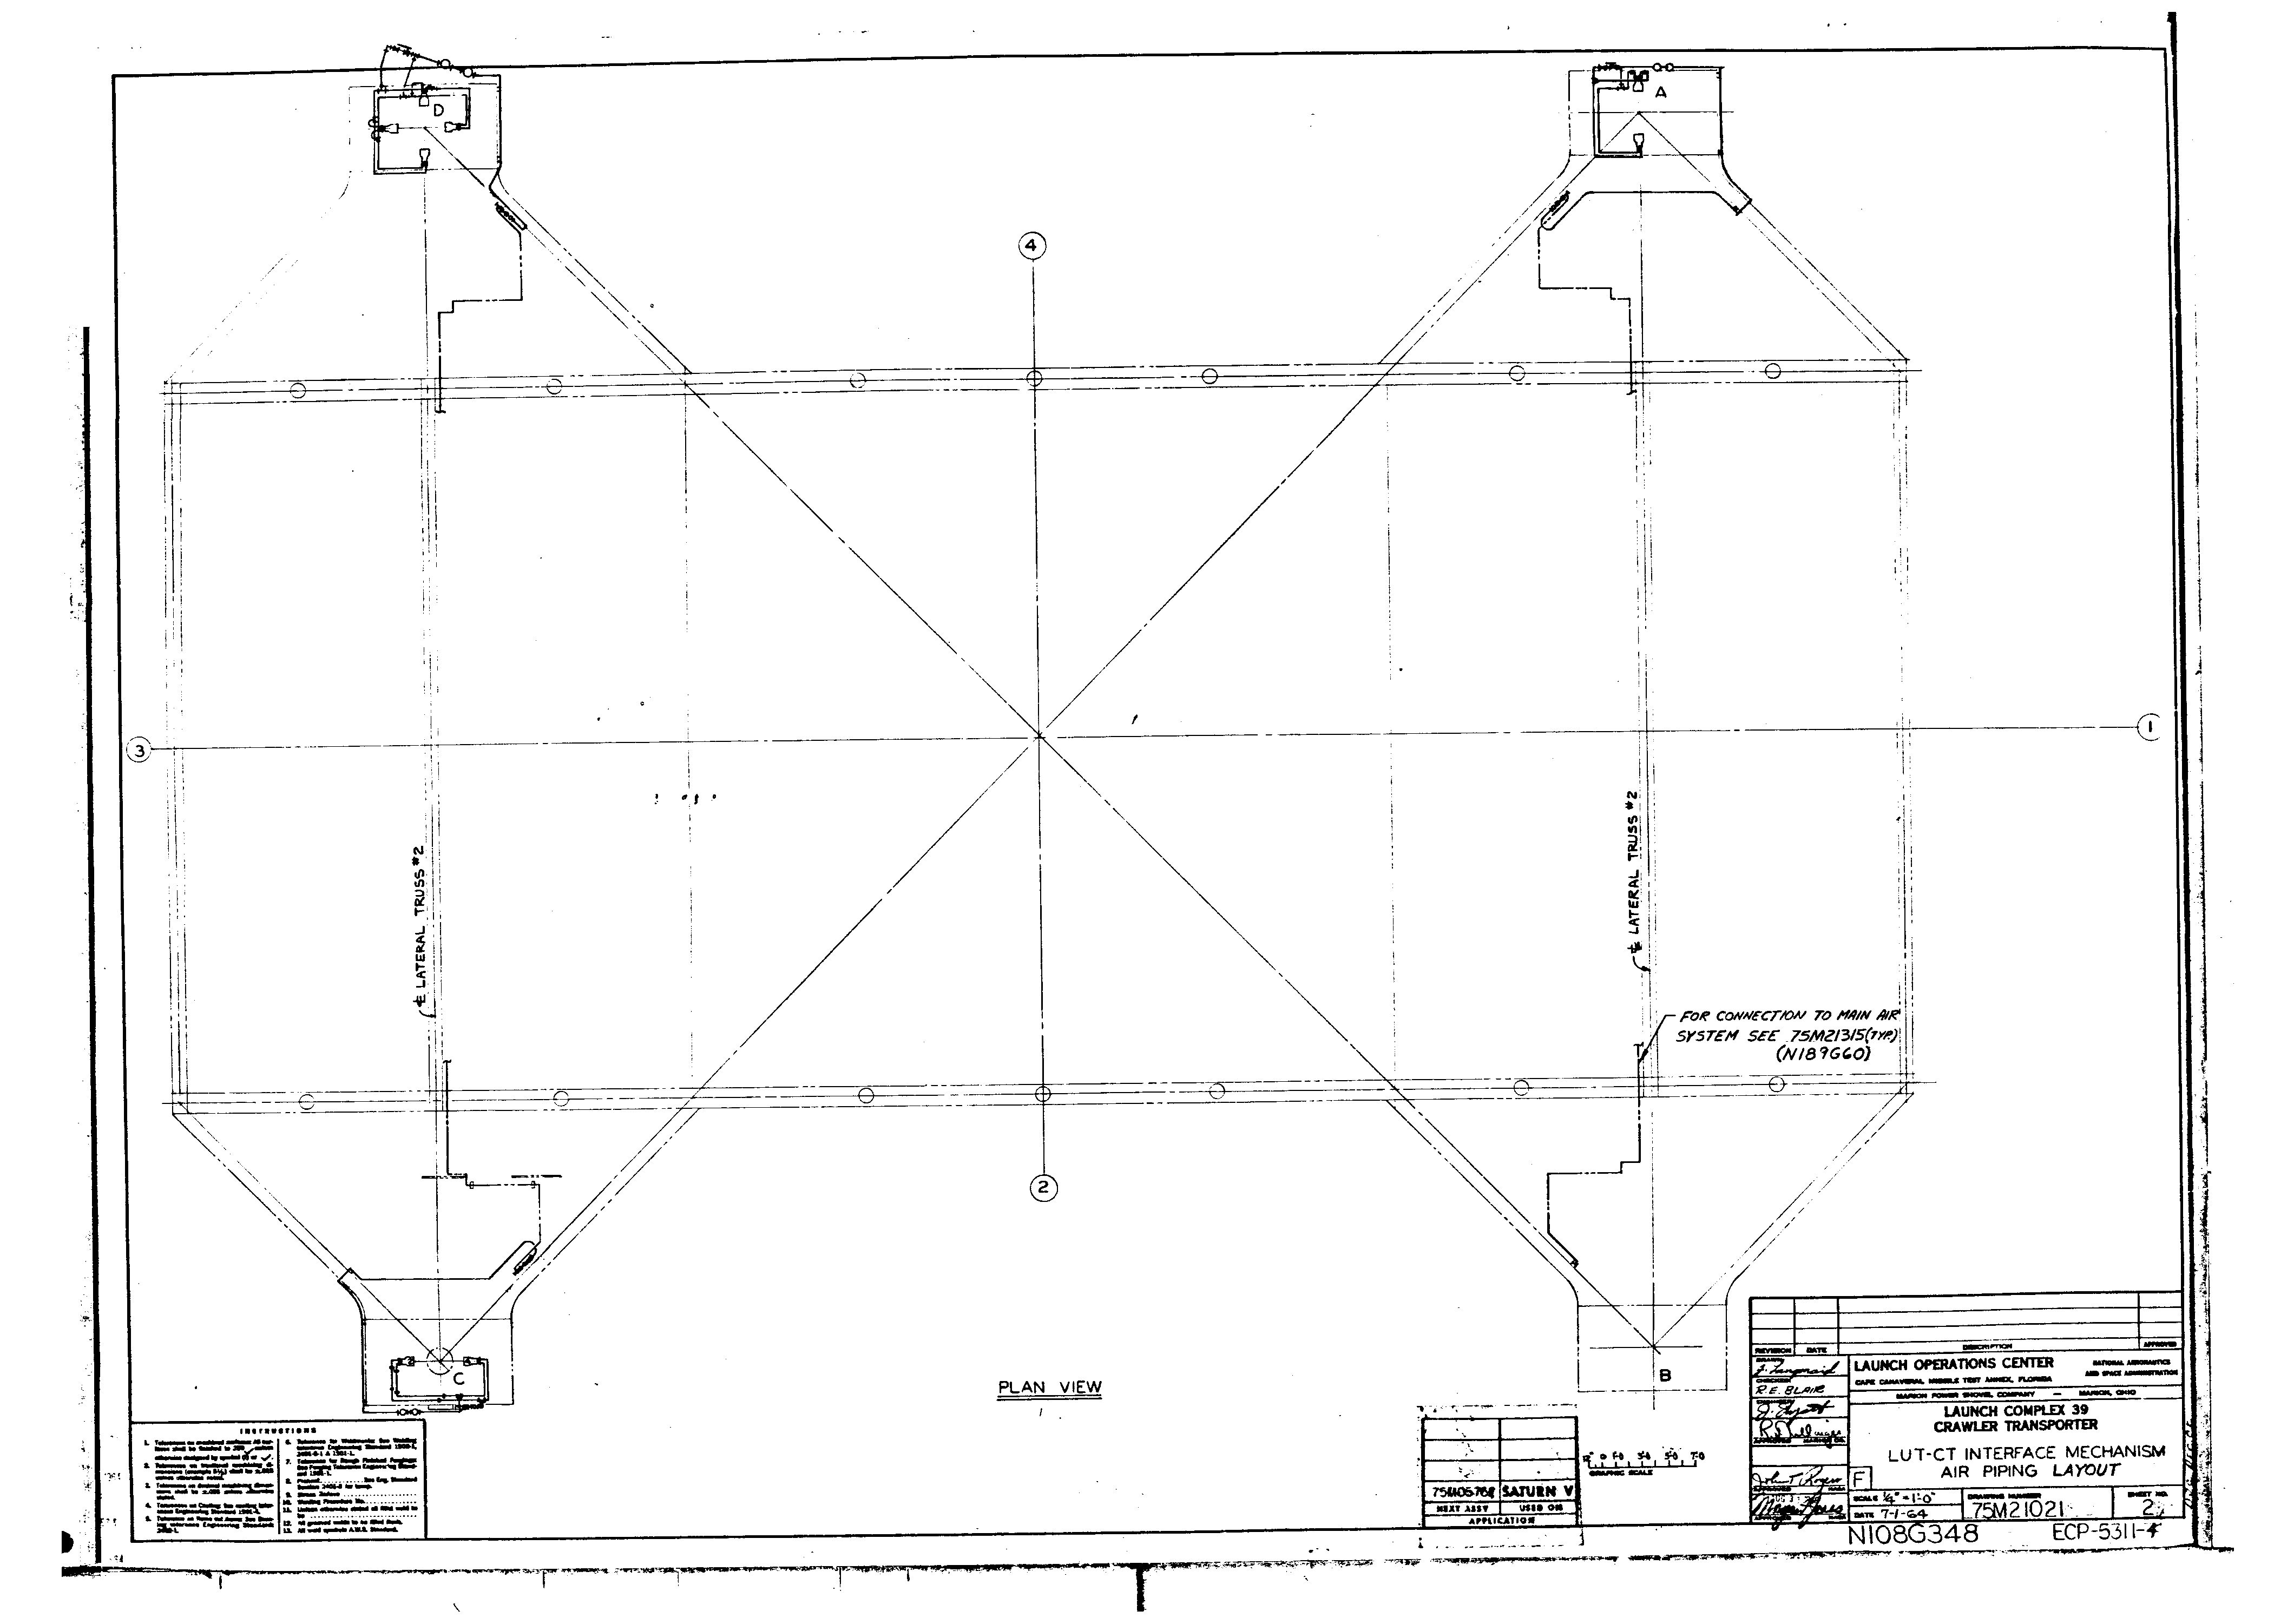
    On top there are attachment points where the LUT sits.  Notice that each corner has a different configuration of hold downs.  The following drawing shows these.  One corner has four, one corner has none and the other two corners have two each that are in different directions.  I have added the other detail NASA drawings for this detail out on the website where I am documenting this build in more detail.  http://www.spacemodels-forum.com 

  • End Structure

    wglasford09/29/2022 at 14:07 0 comments

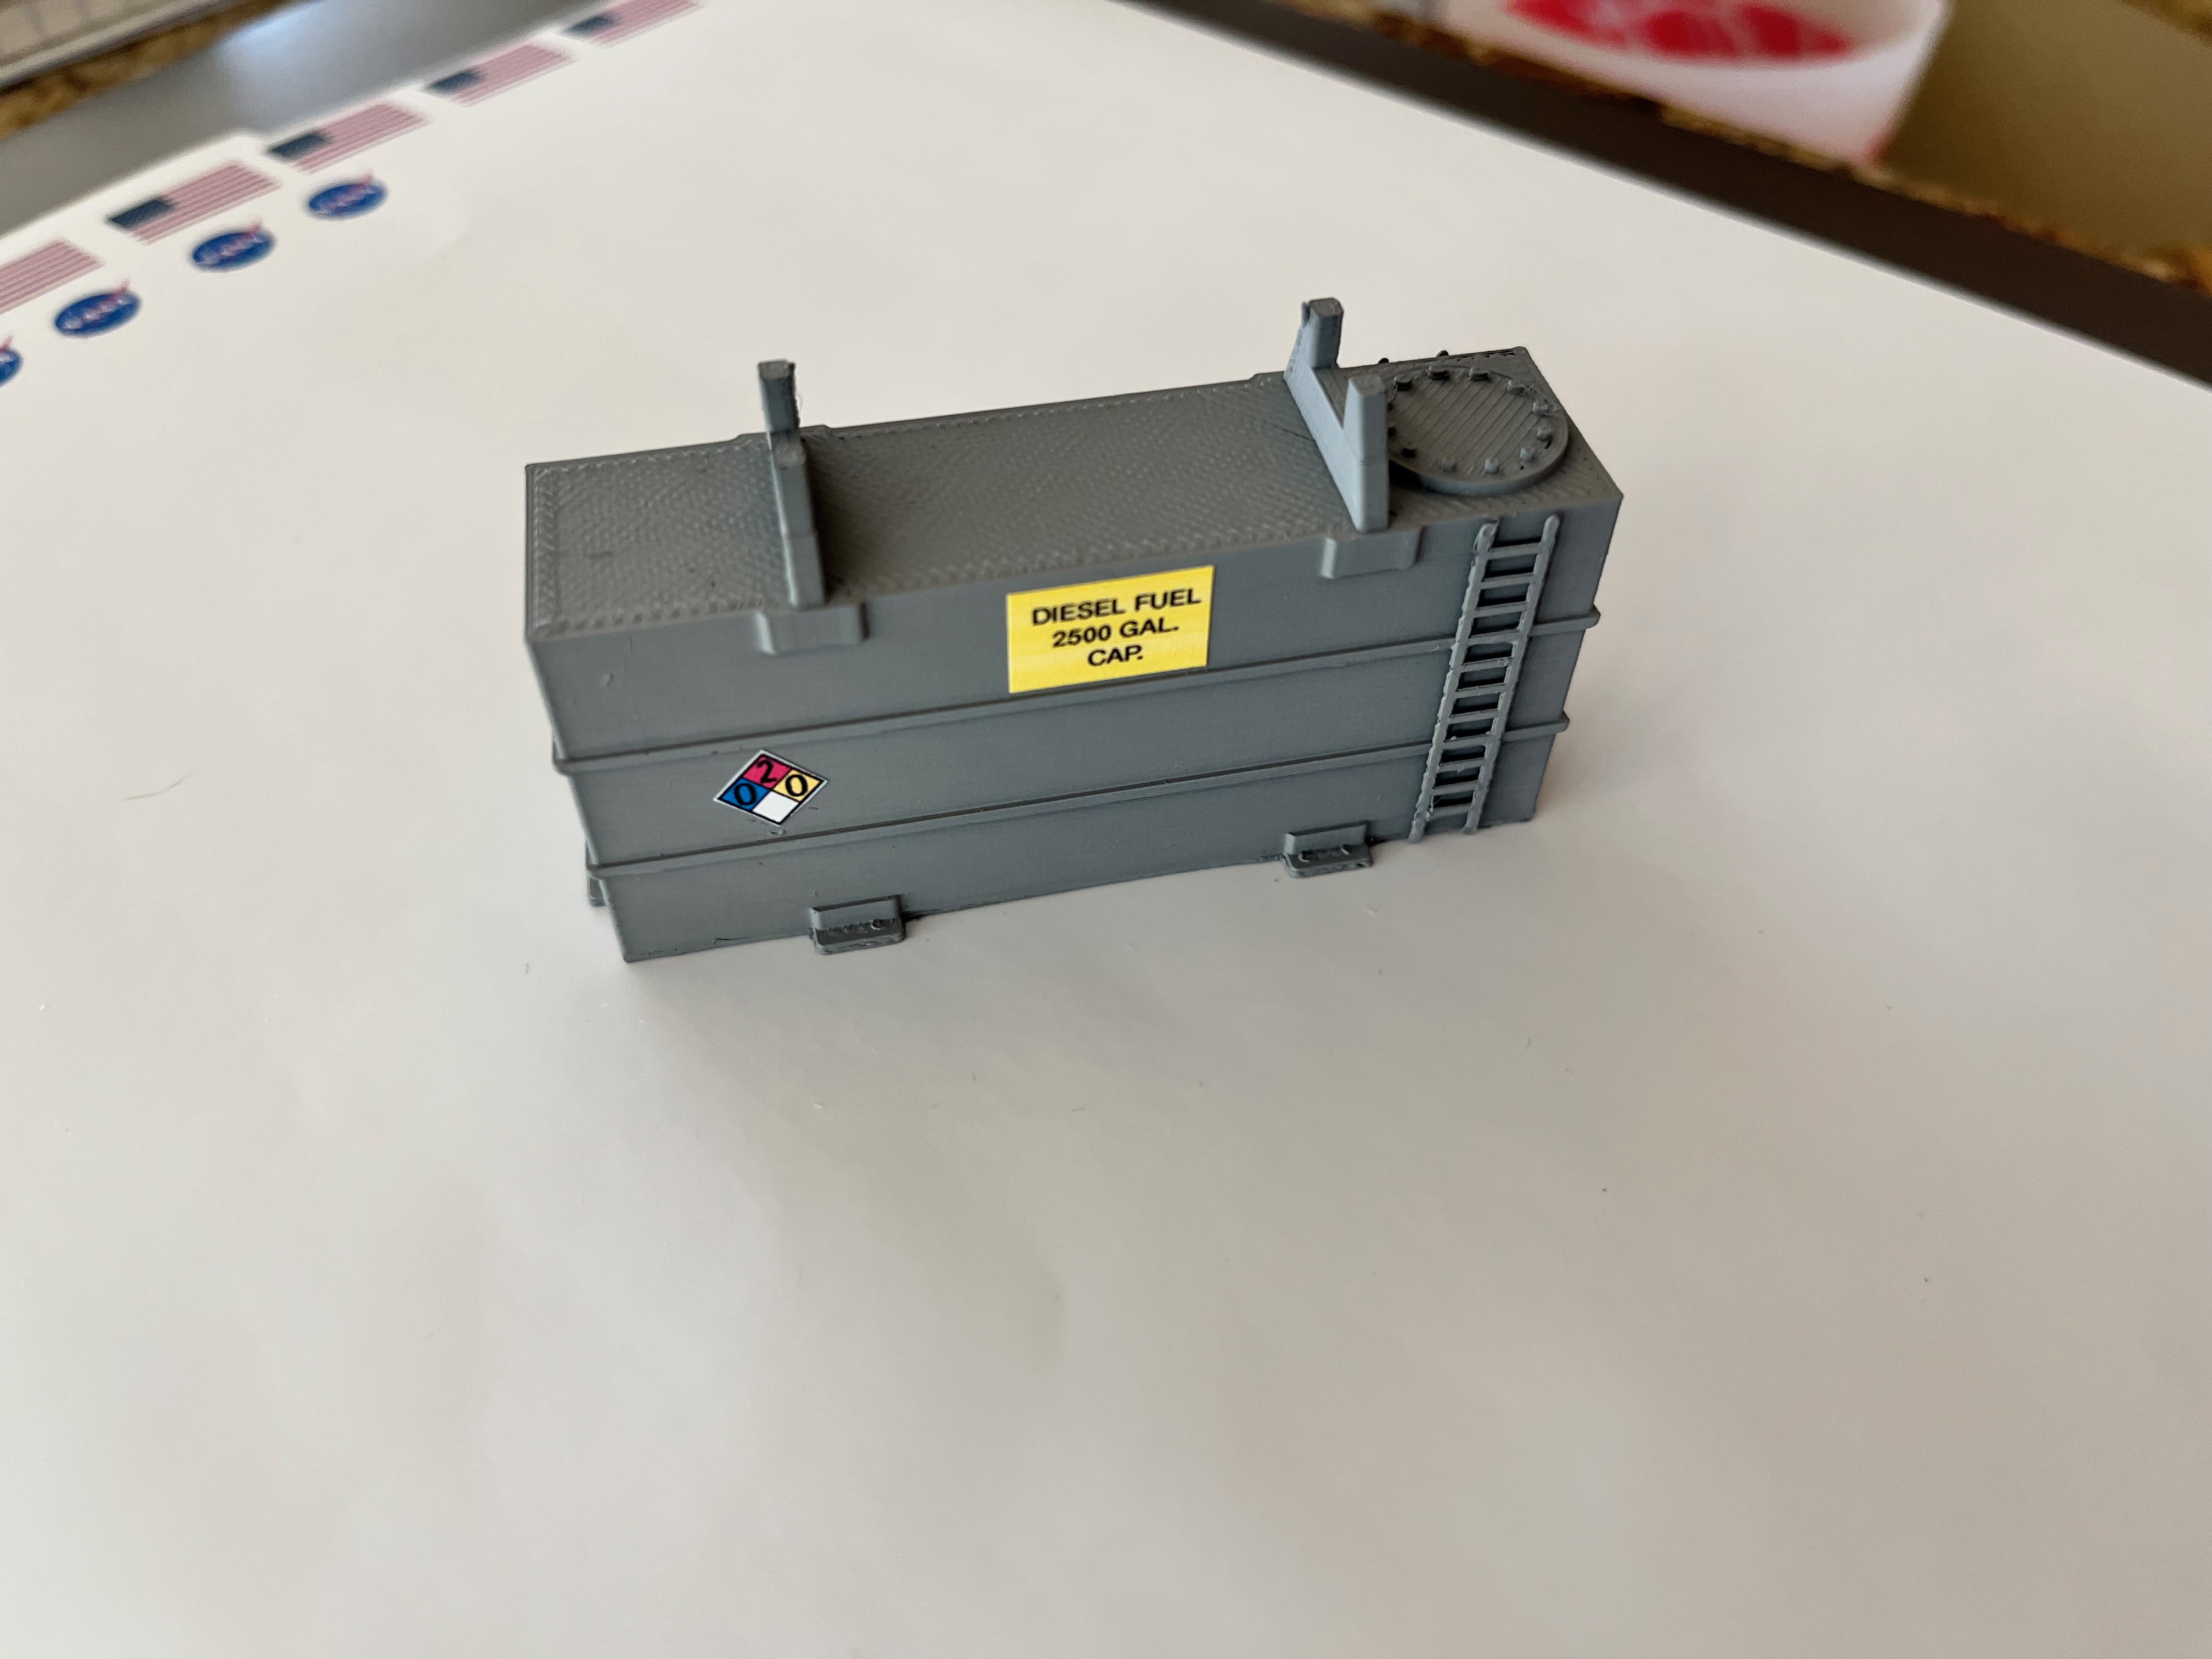
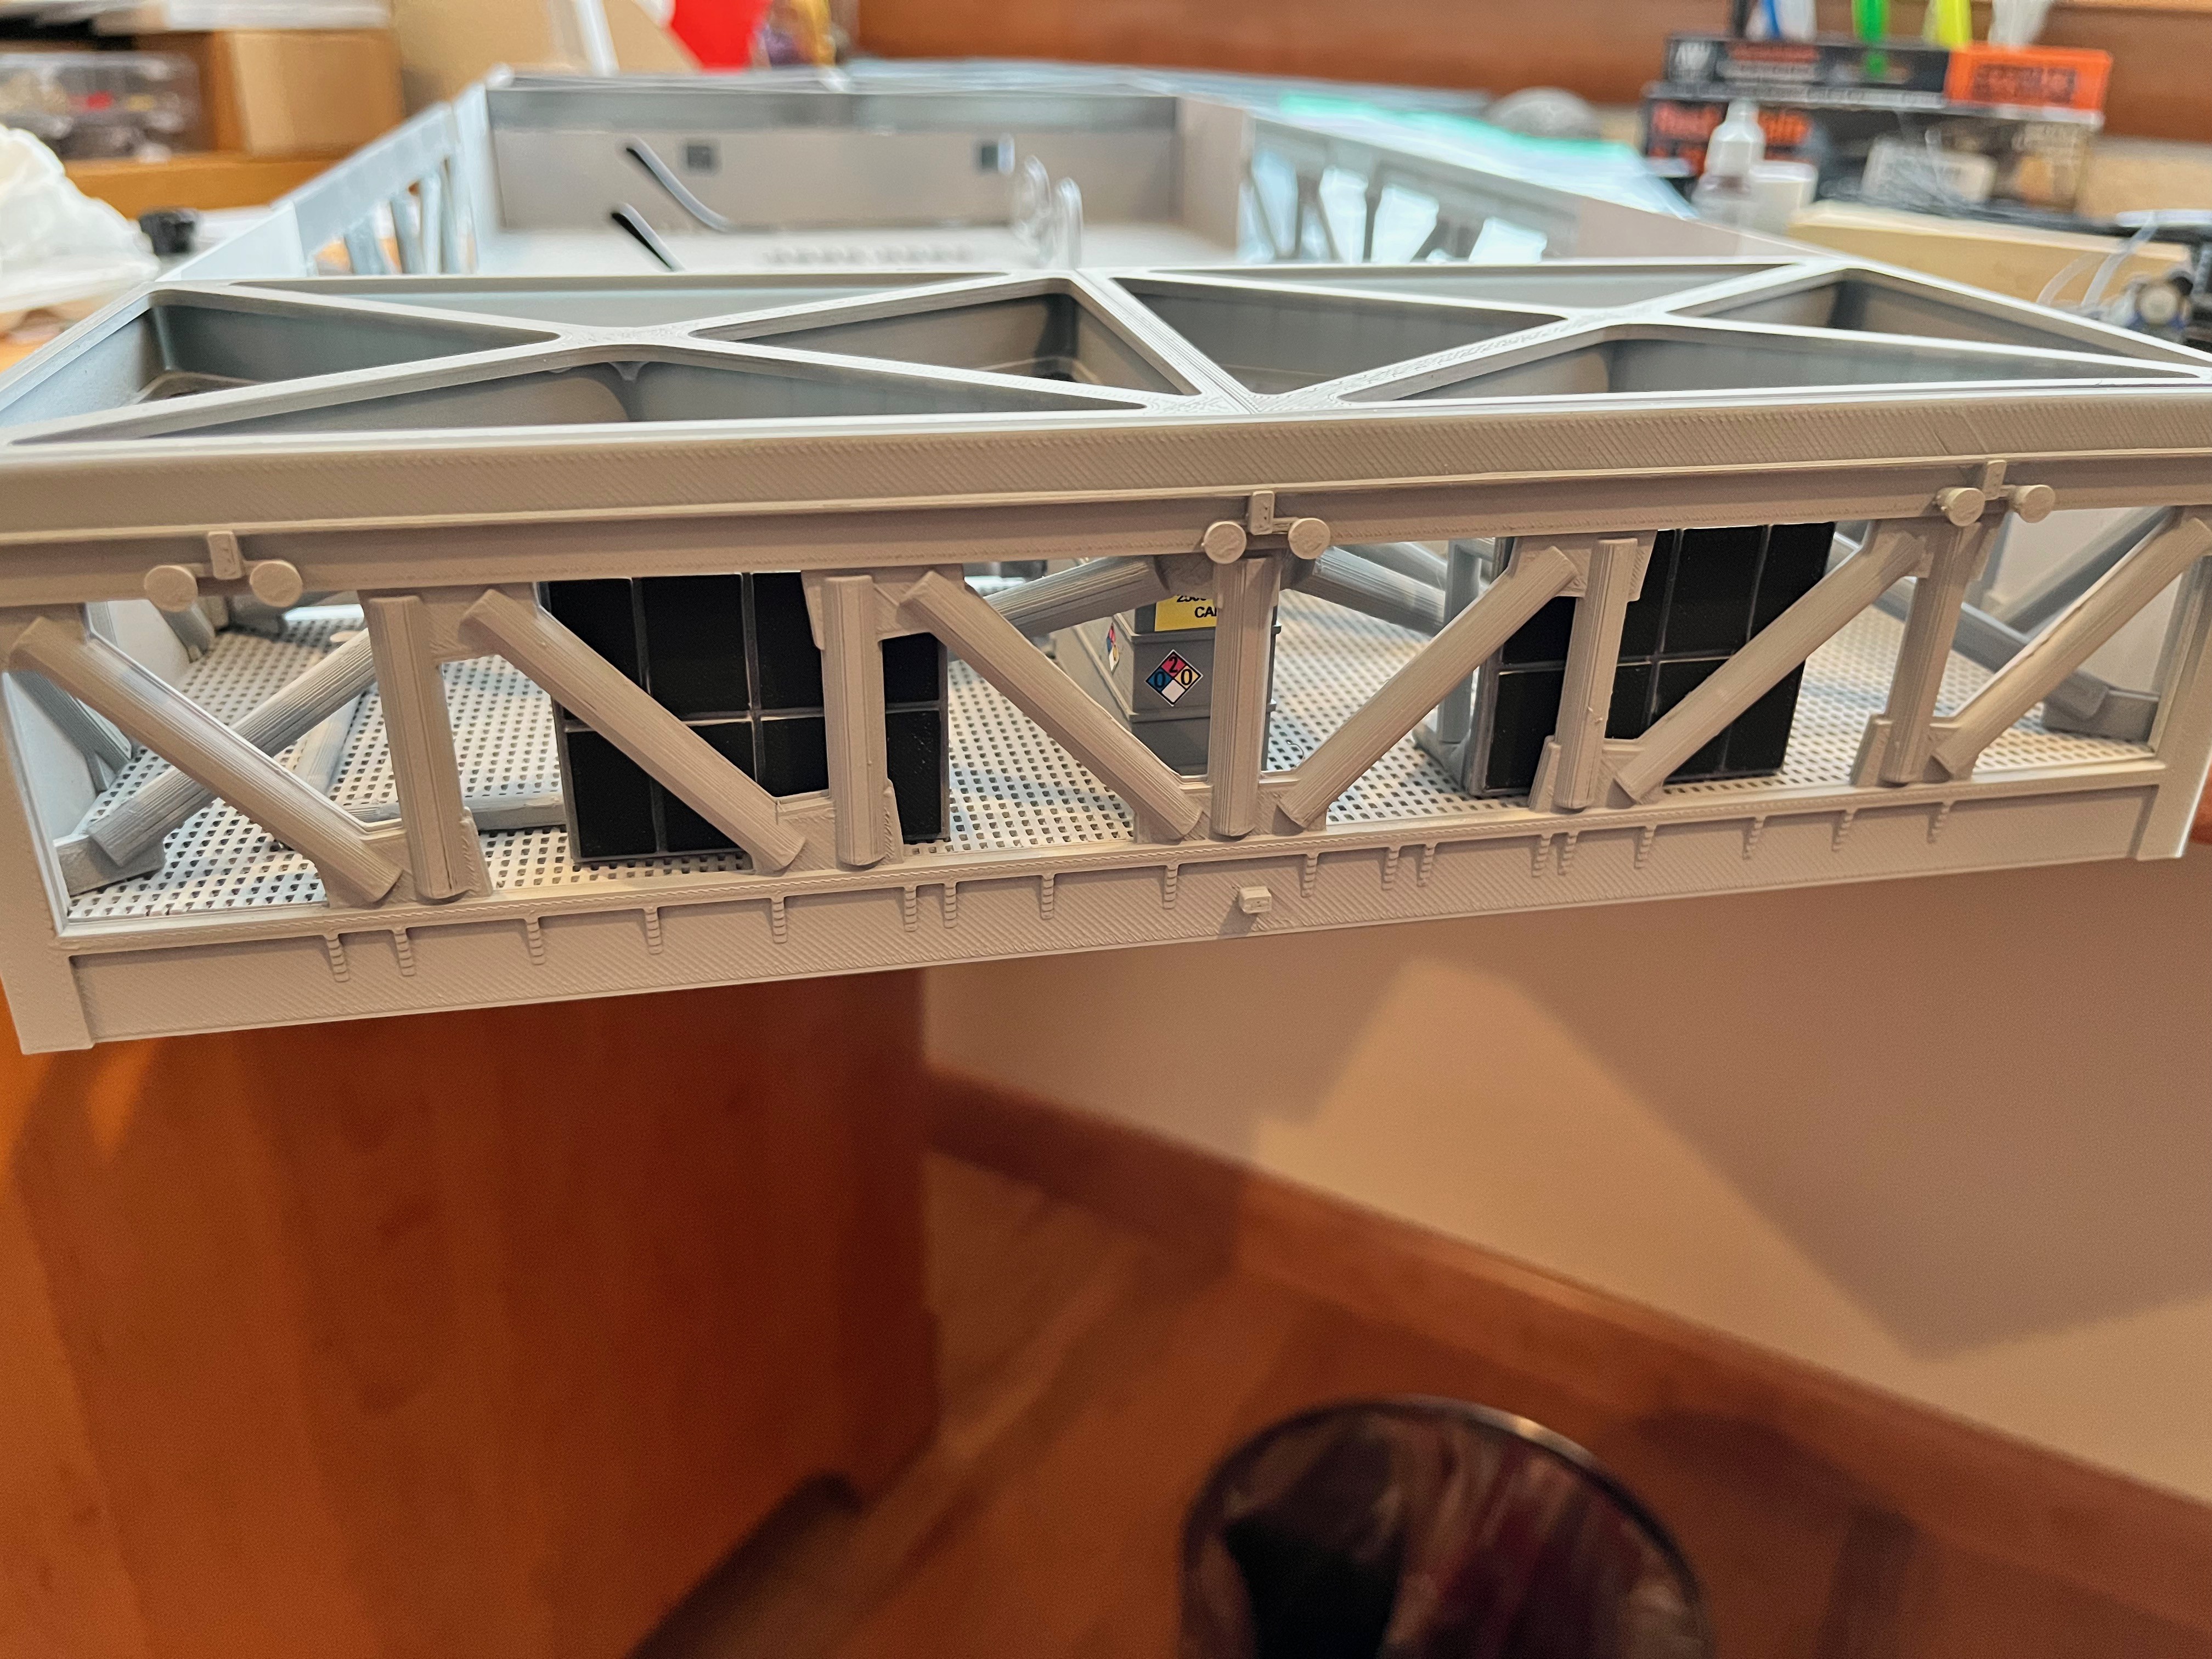
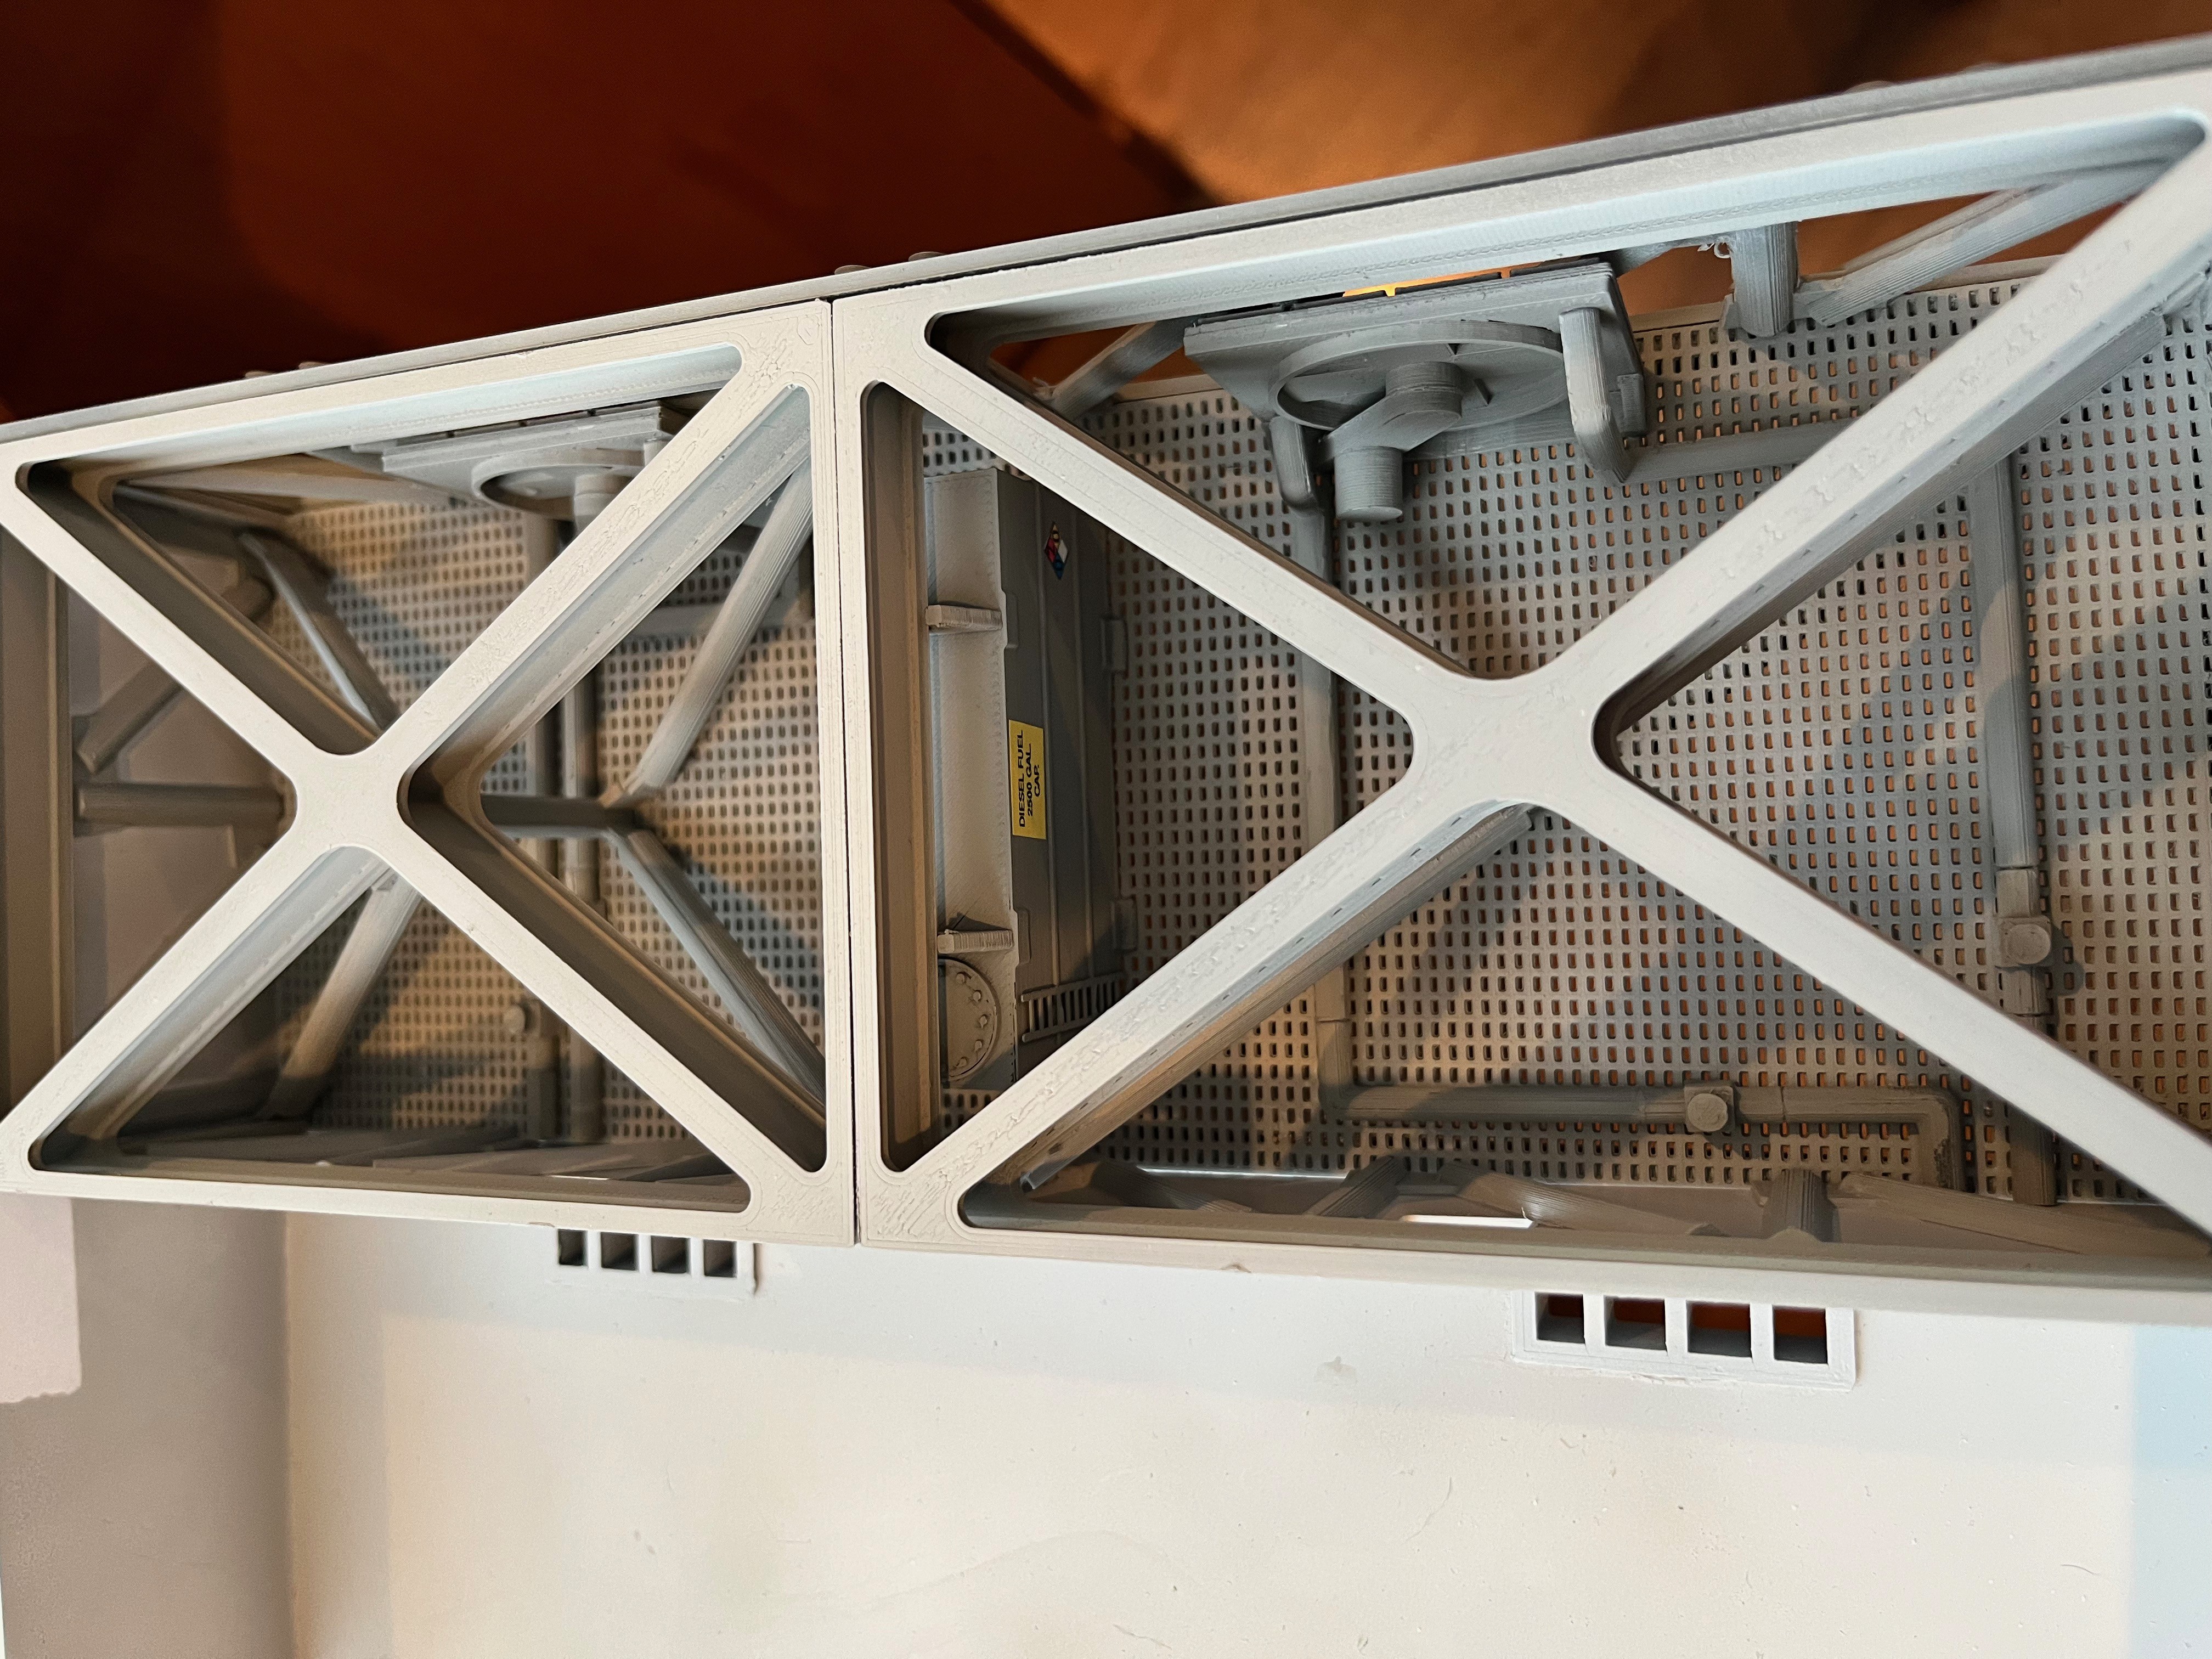
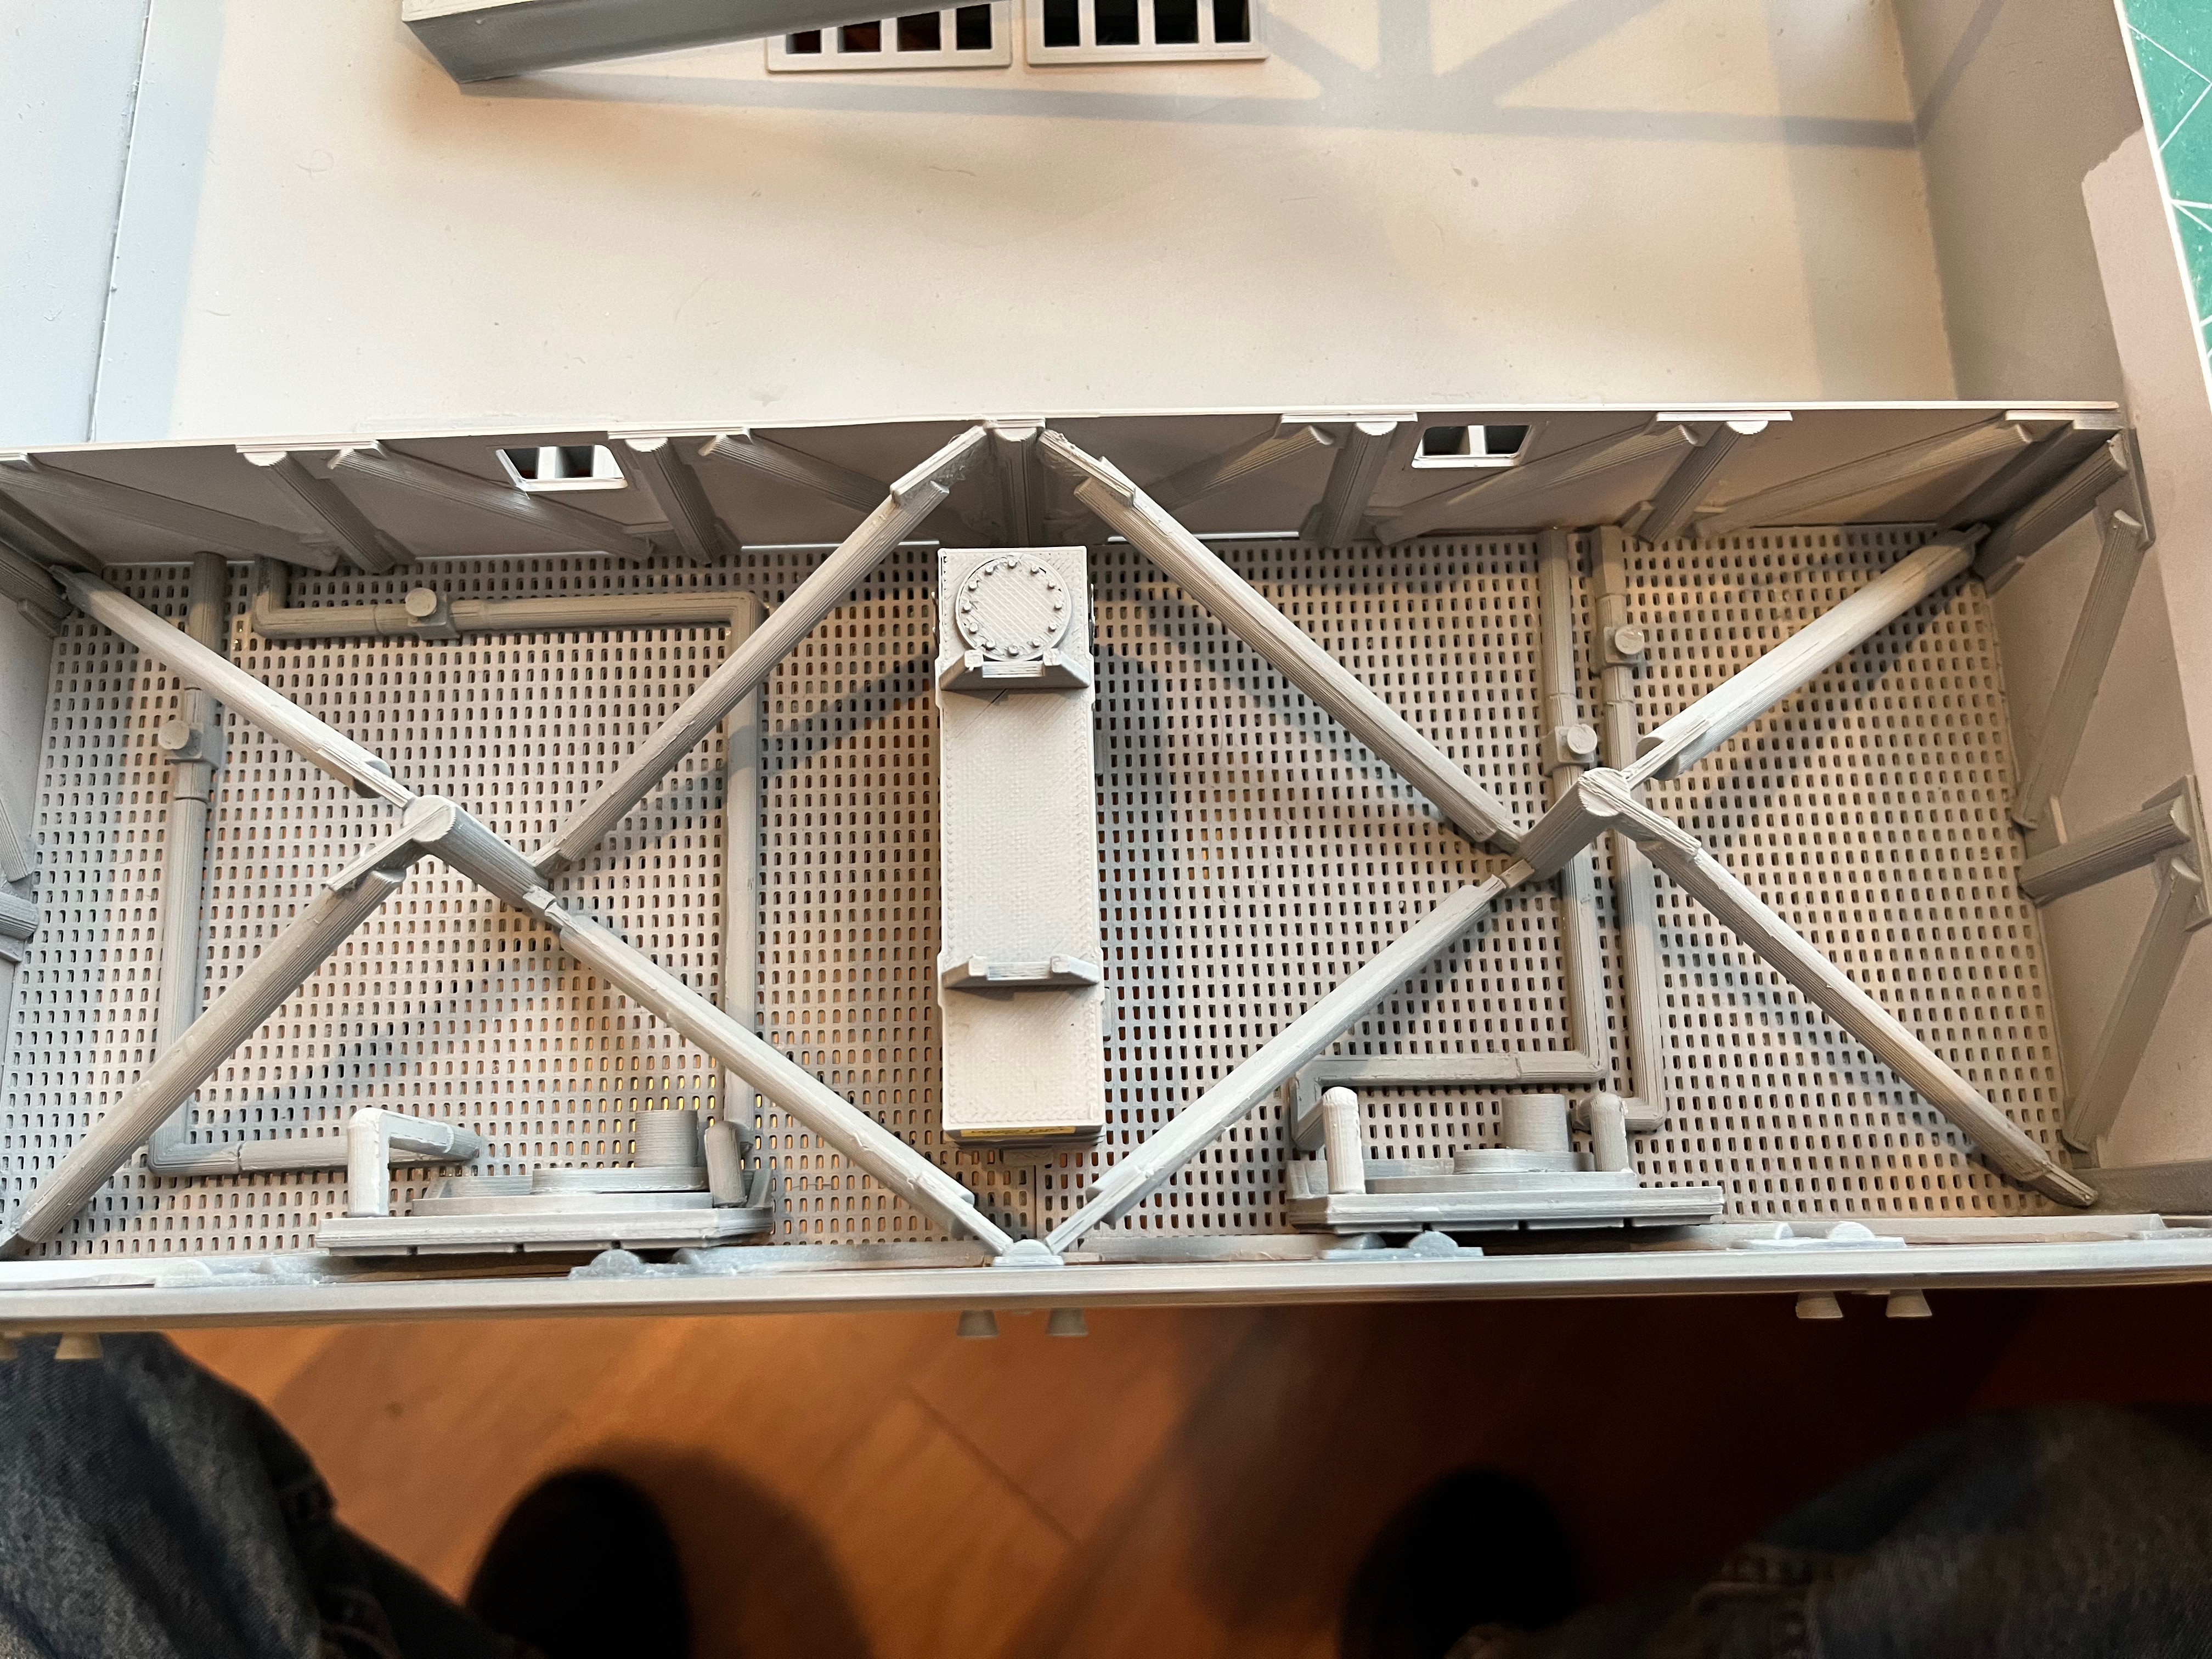
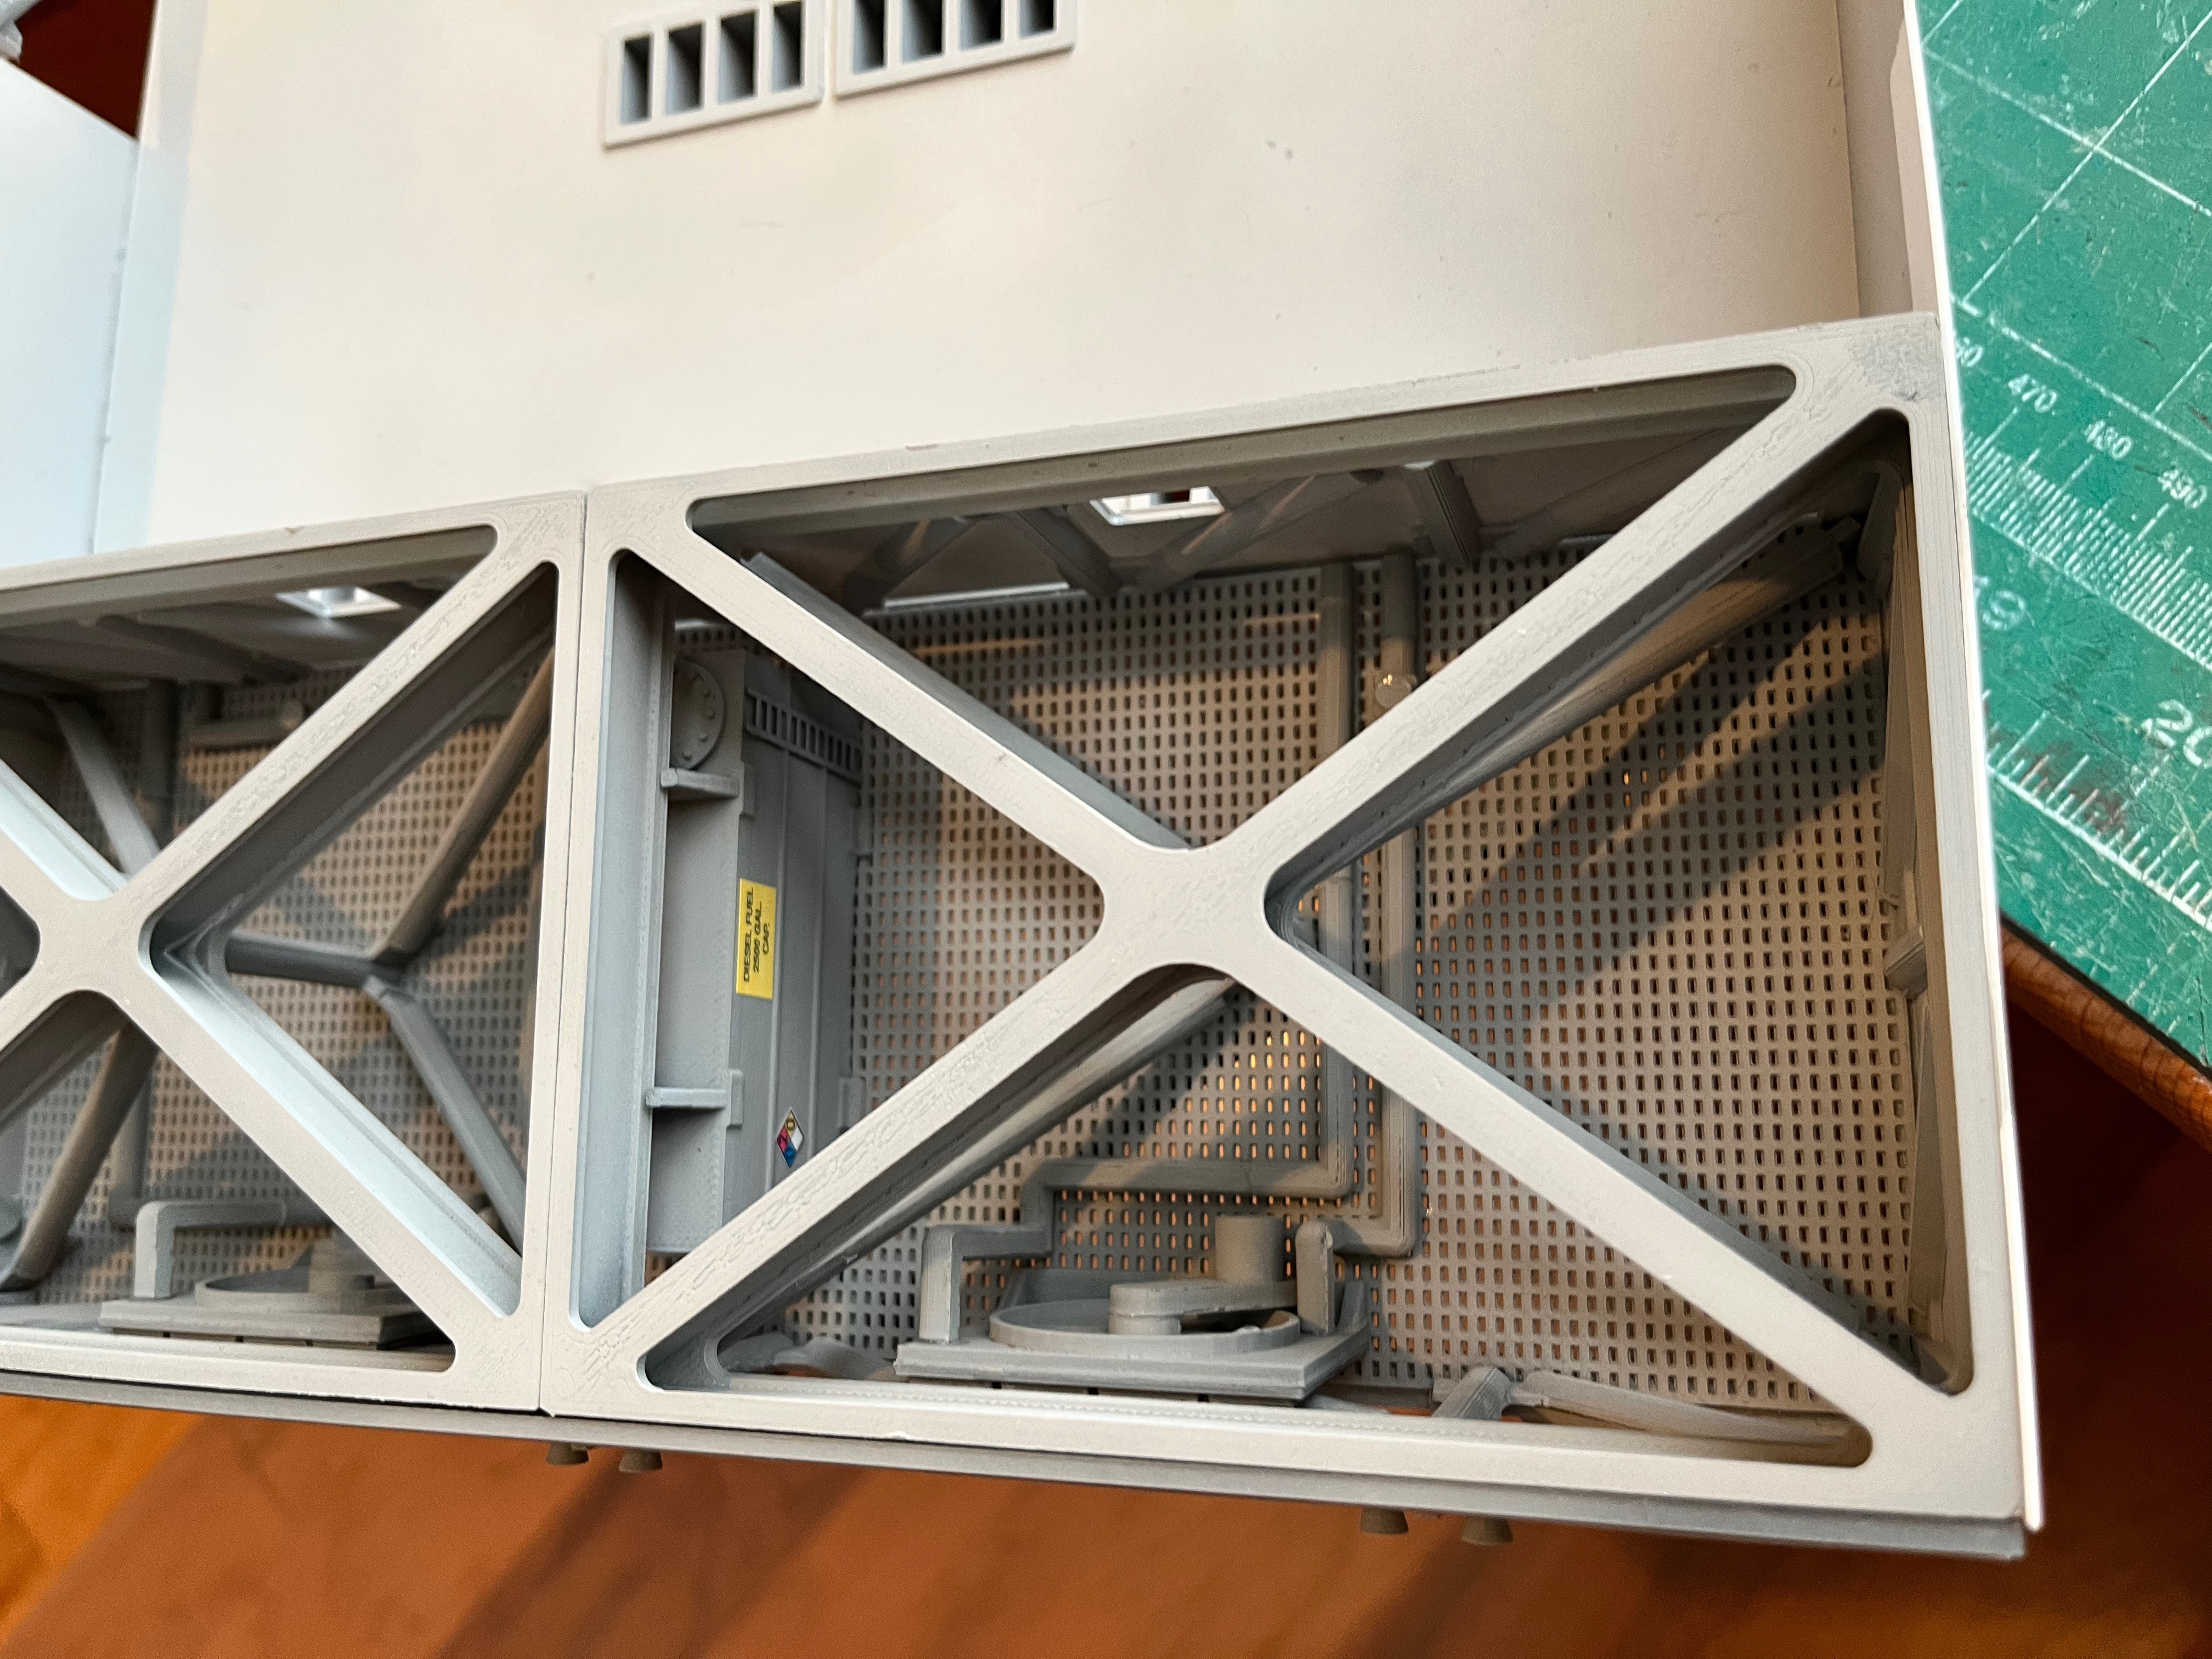
    The end structures are open and contain the fuel tanks and some of the radiators.  I added vinyl decals to the fuel tanks.  

  • Trucks

    wglasford09/29/2022 at 14:03 0 comments

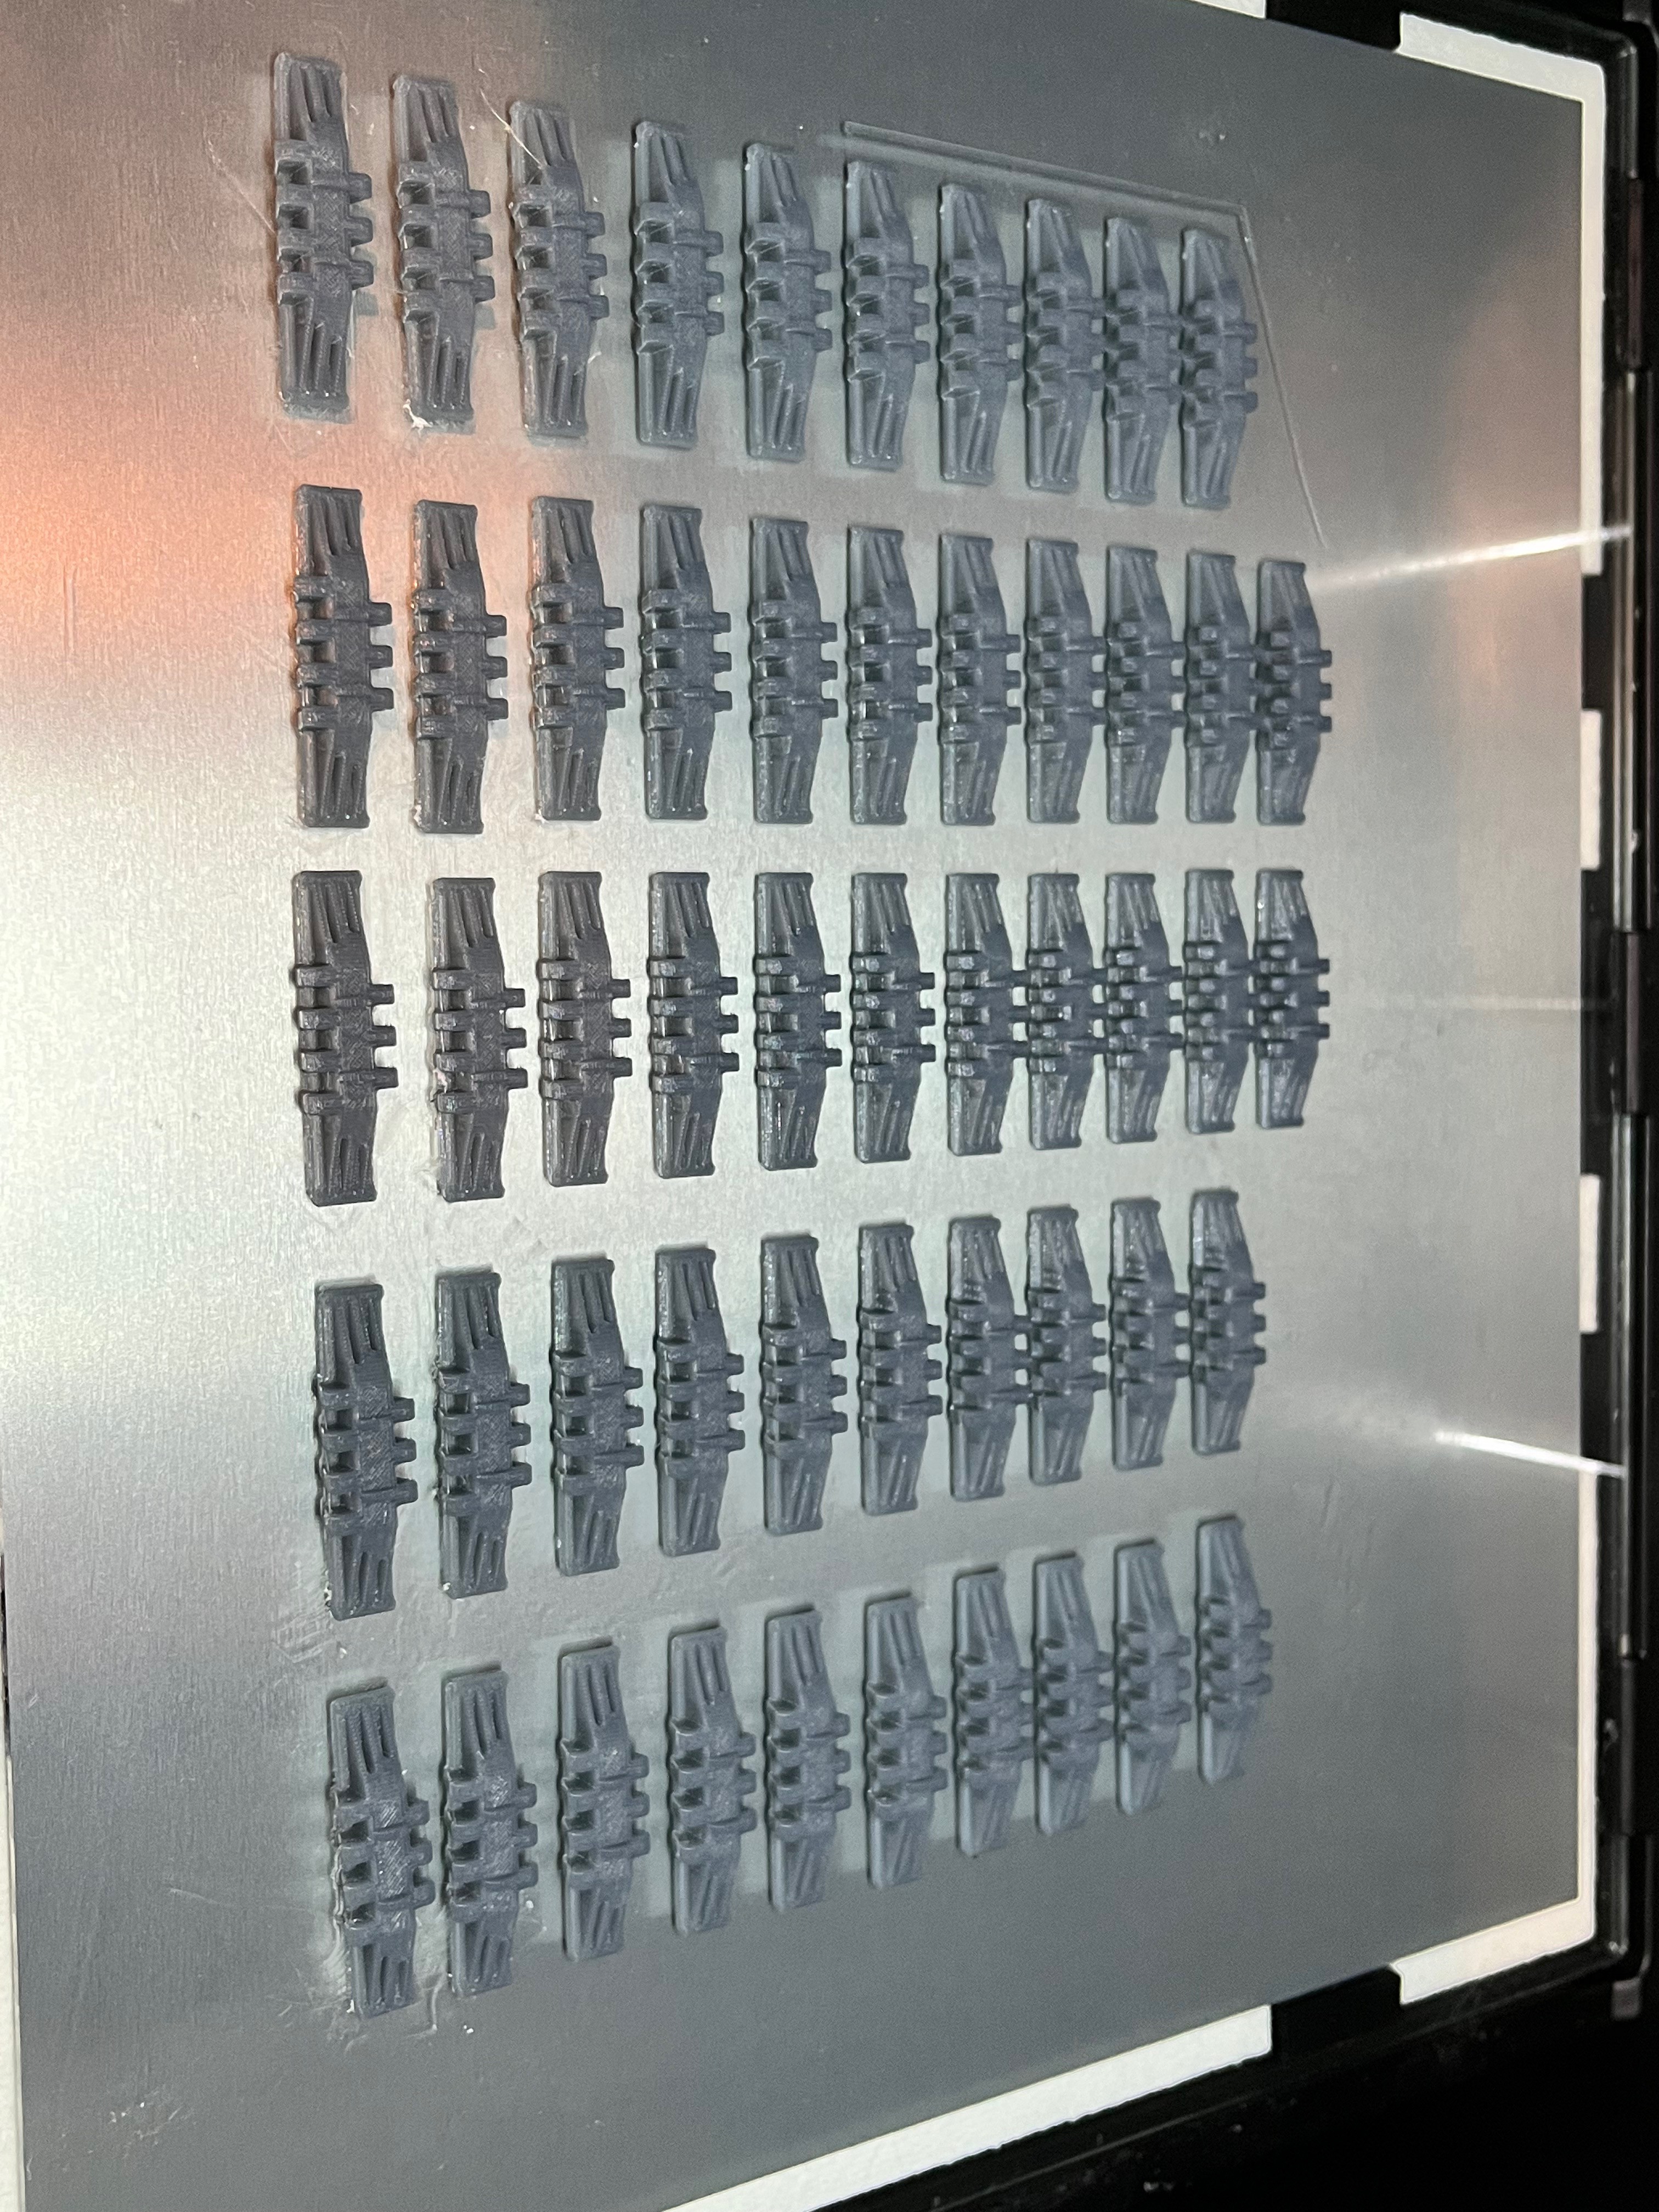
    There are four trucks that move the crawler.  Each truck has a pair of tracks that are each driven by two electric motors.  I added wire to simulate the piping.  The tracks require 52 pieces each.  The pieces are attached together with a small piece of wire.

  • Main Structure

    wglasford08/23/2022 at 19:33 0 comments

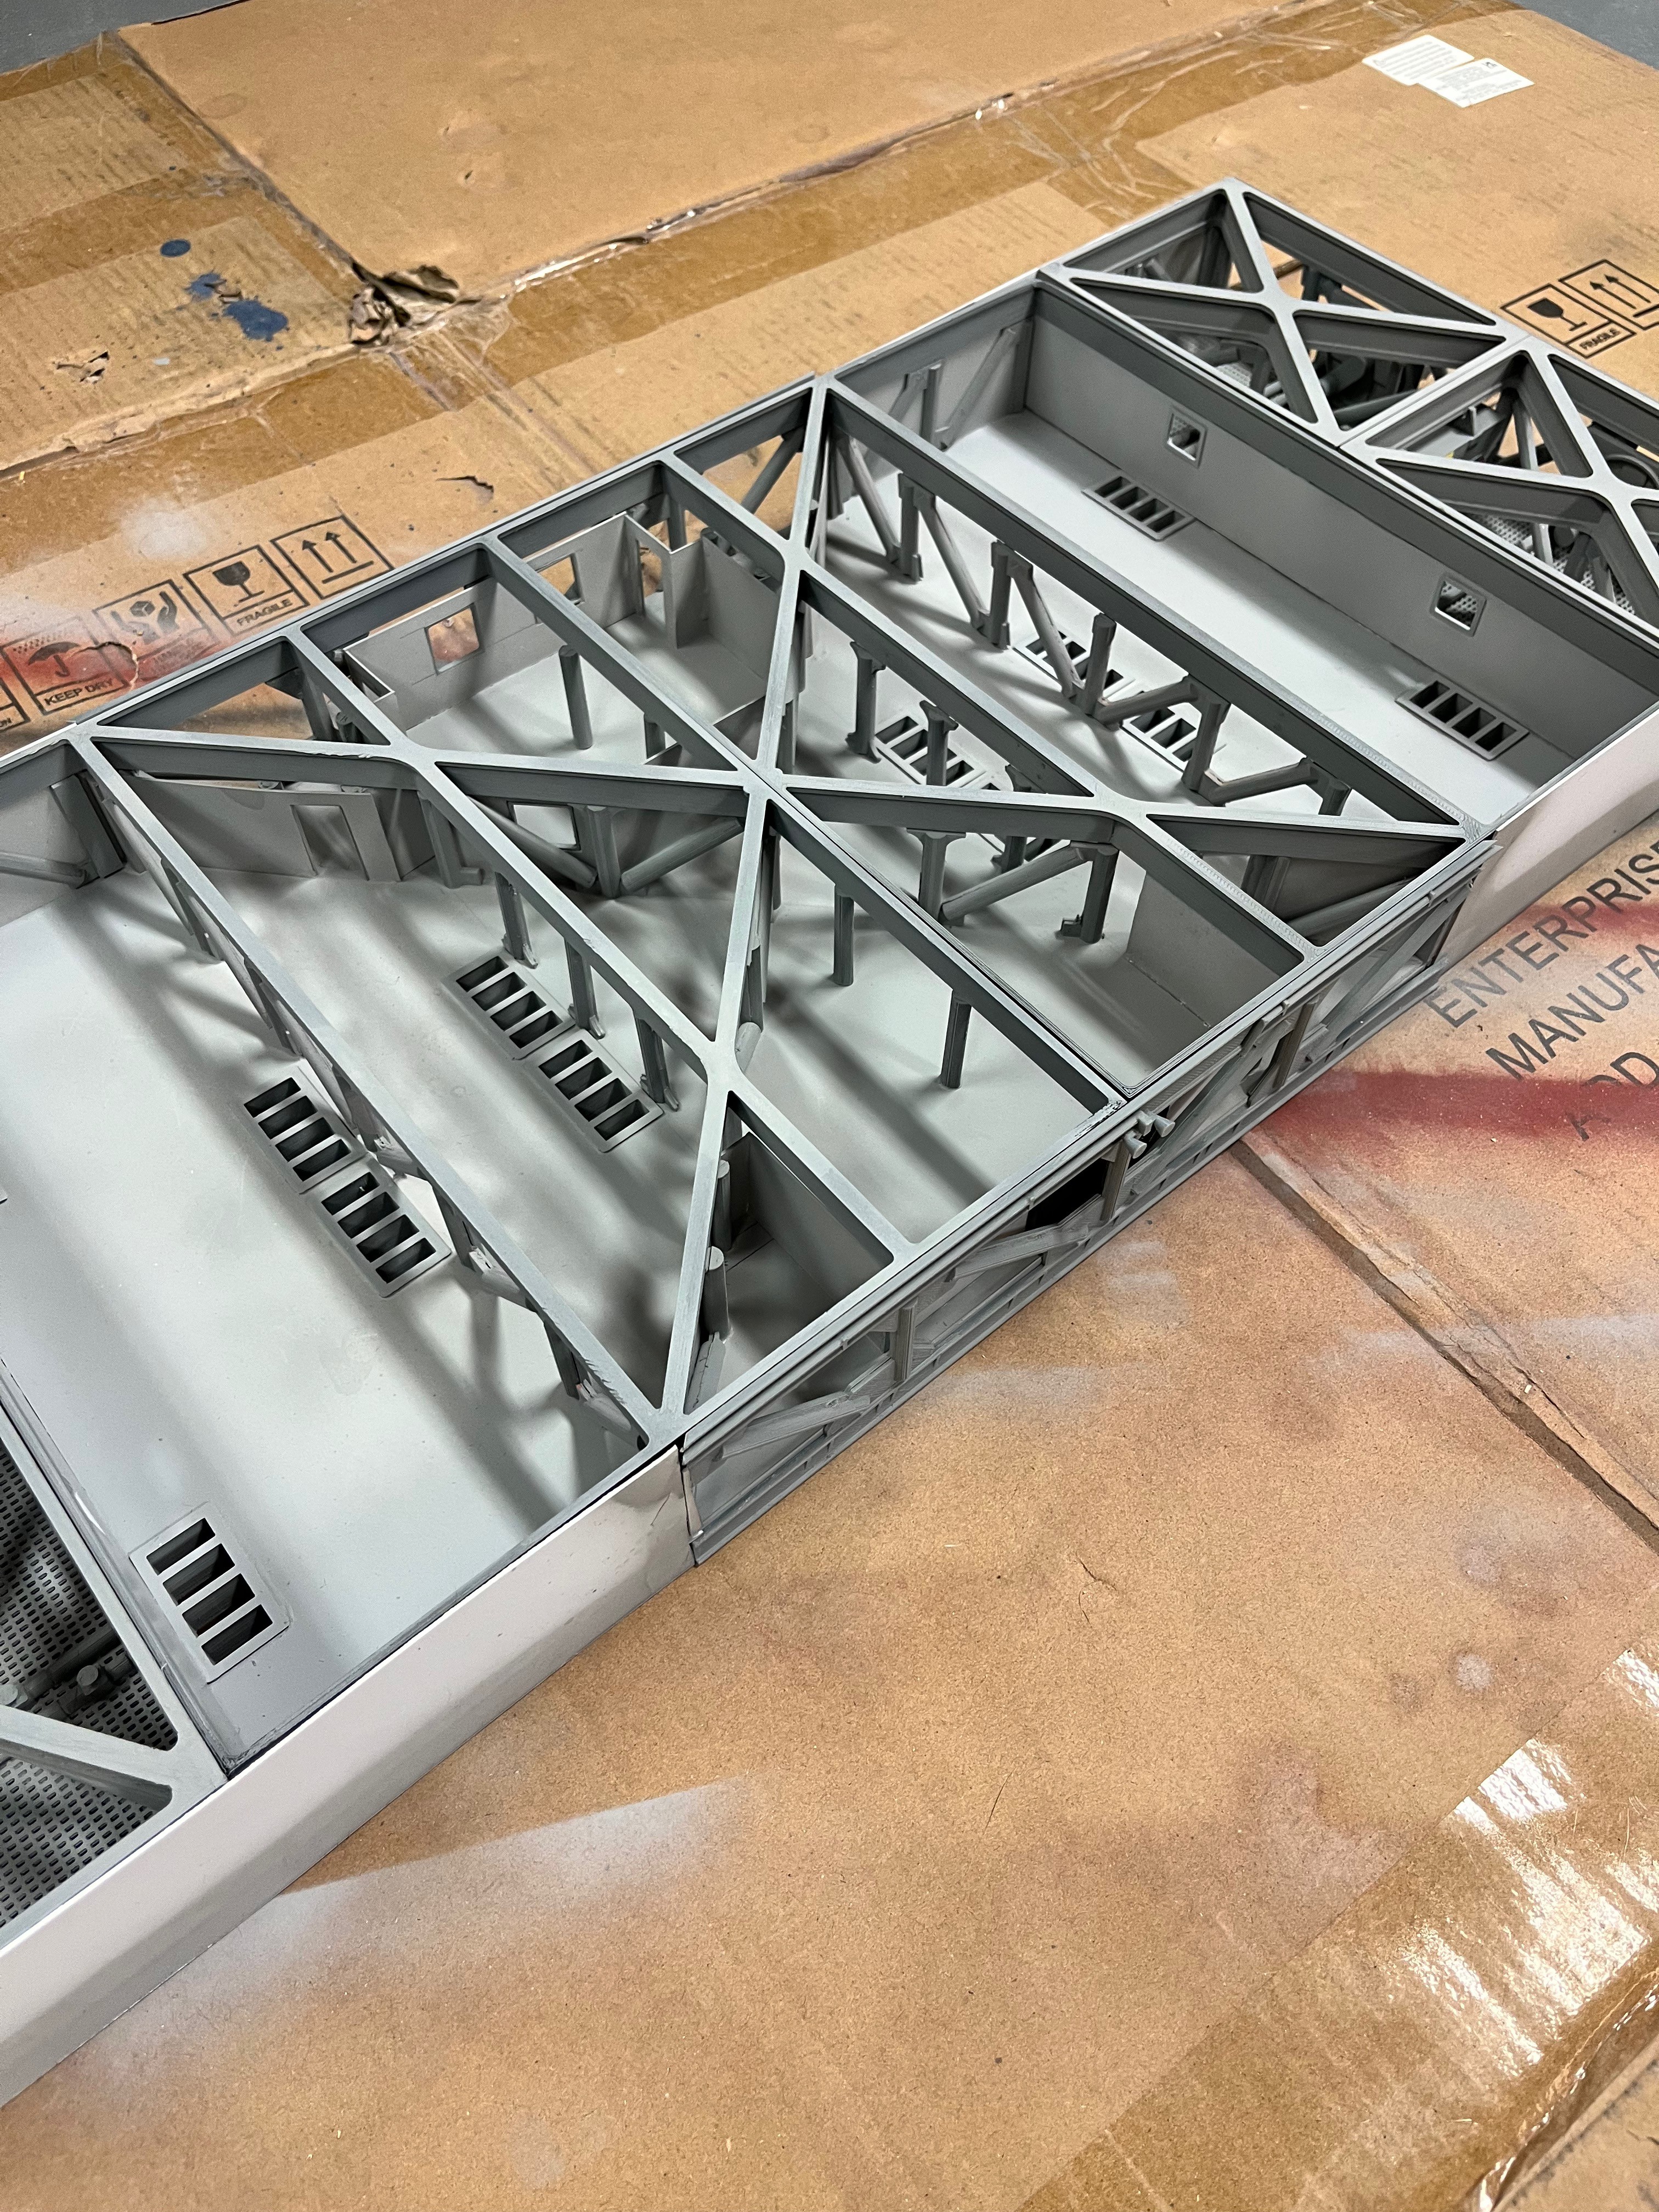
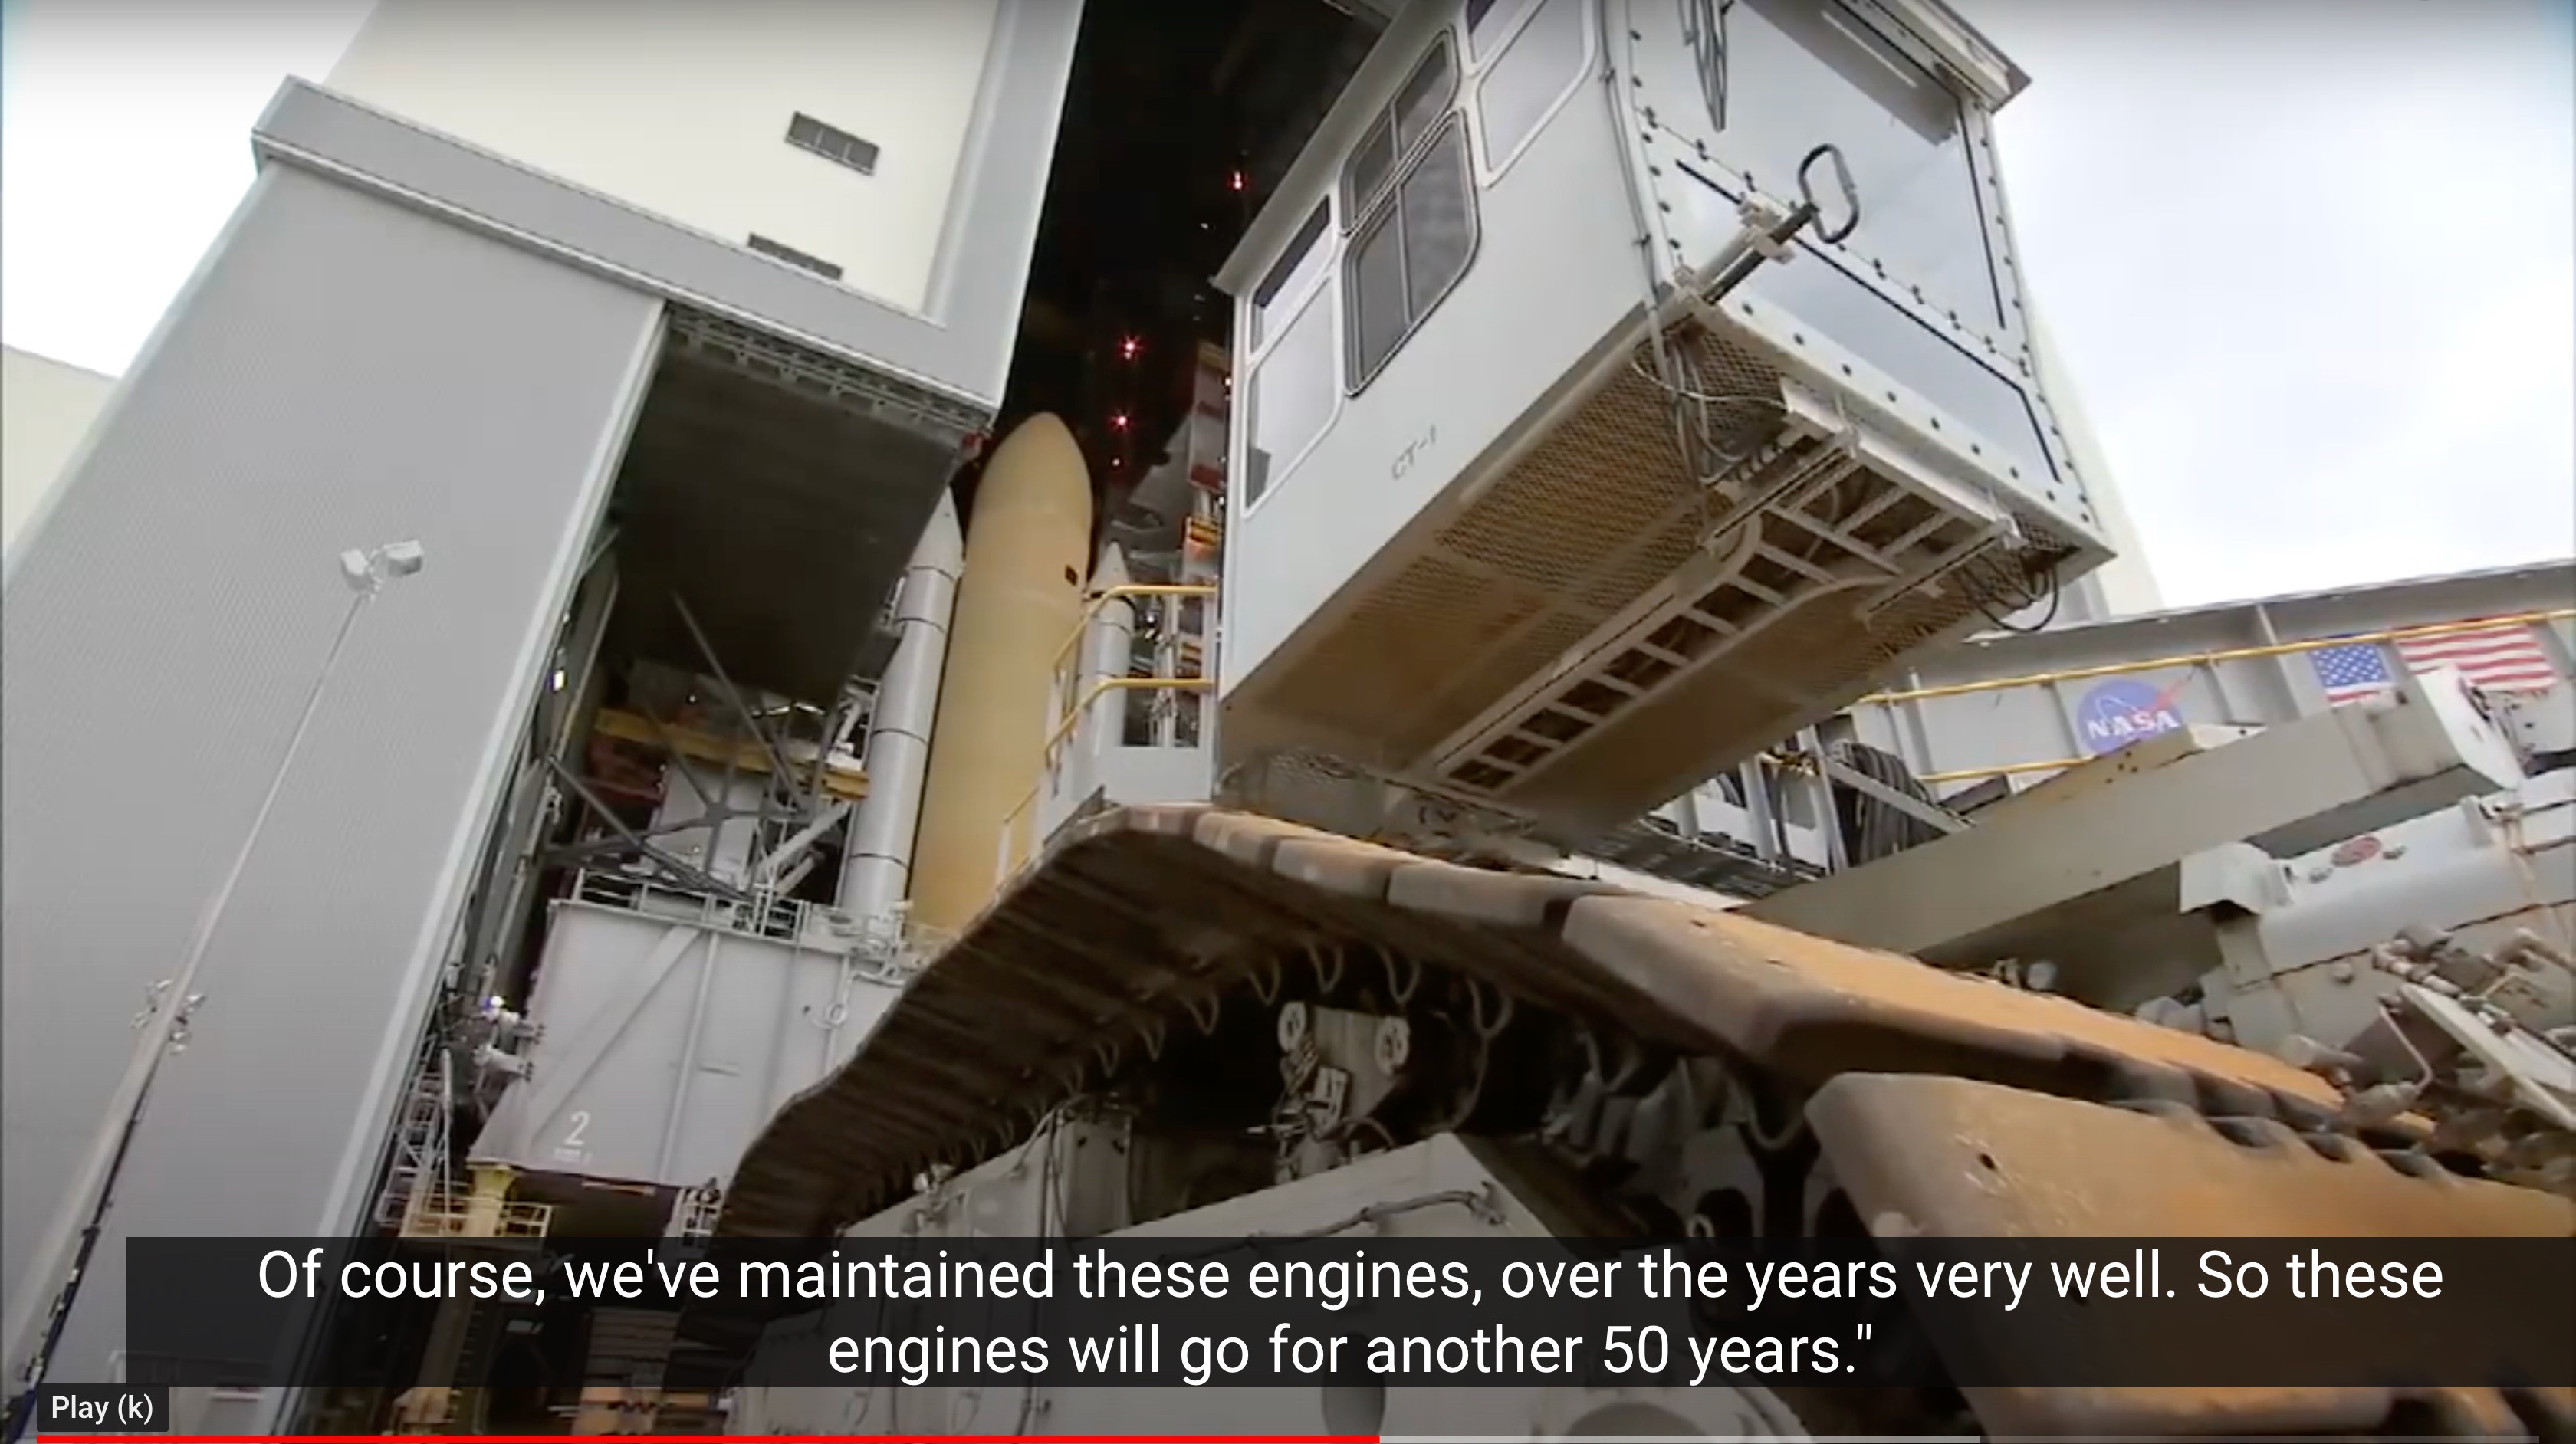
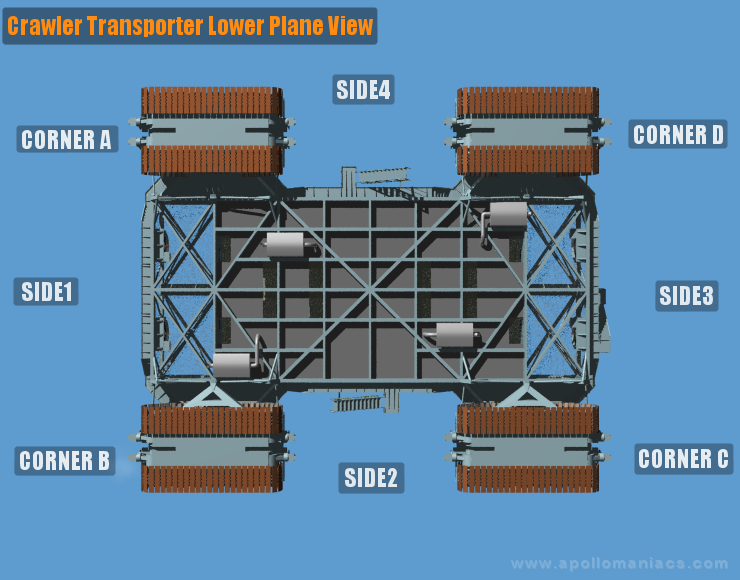
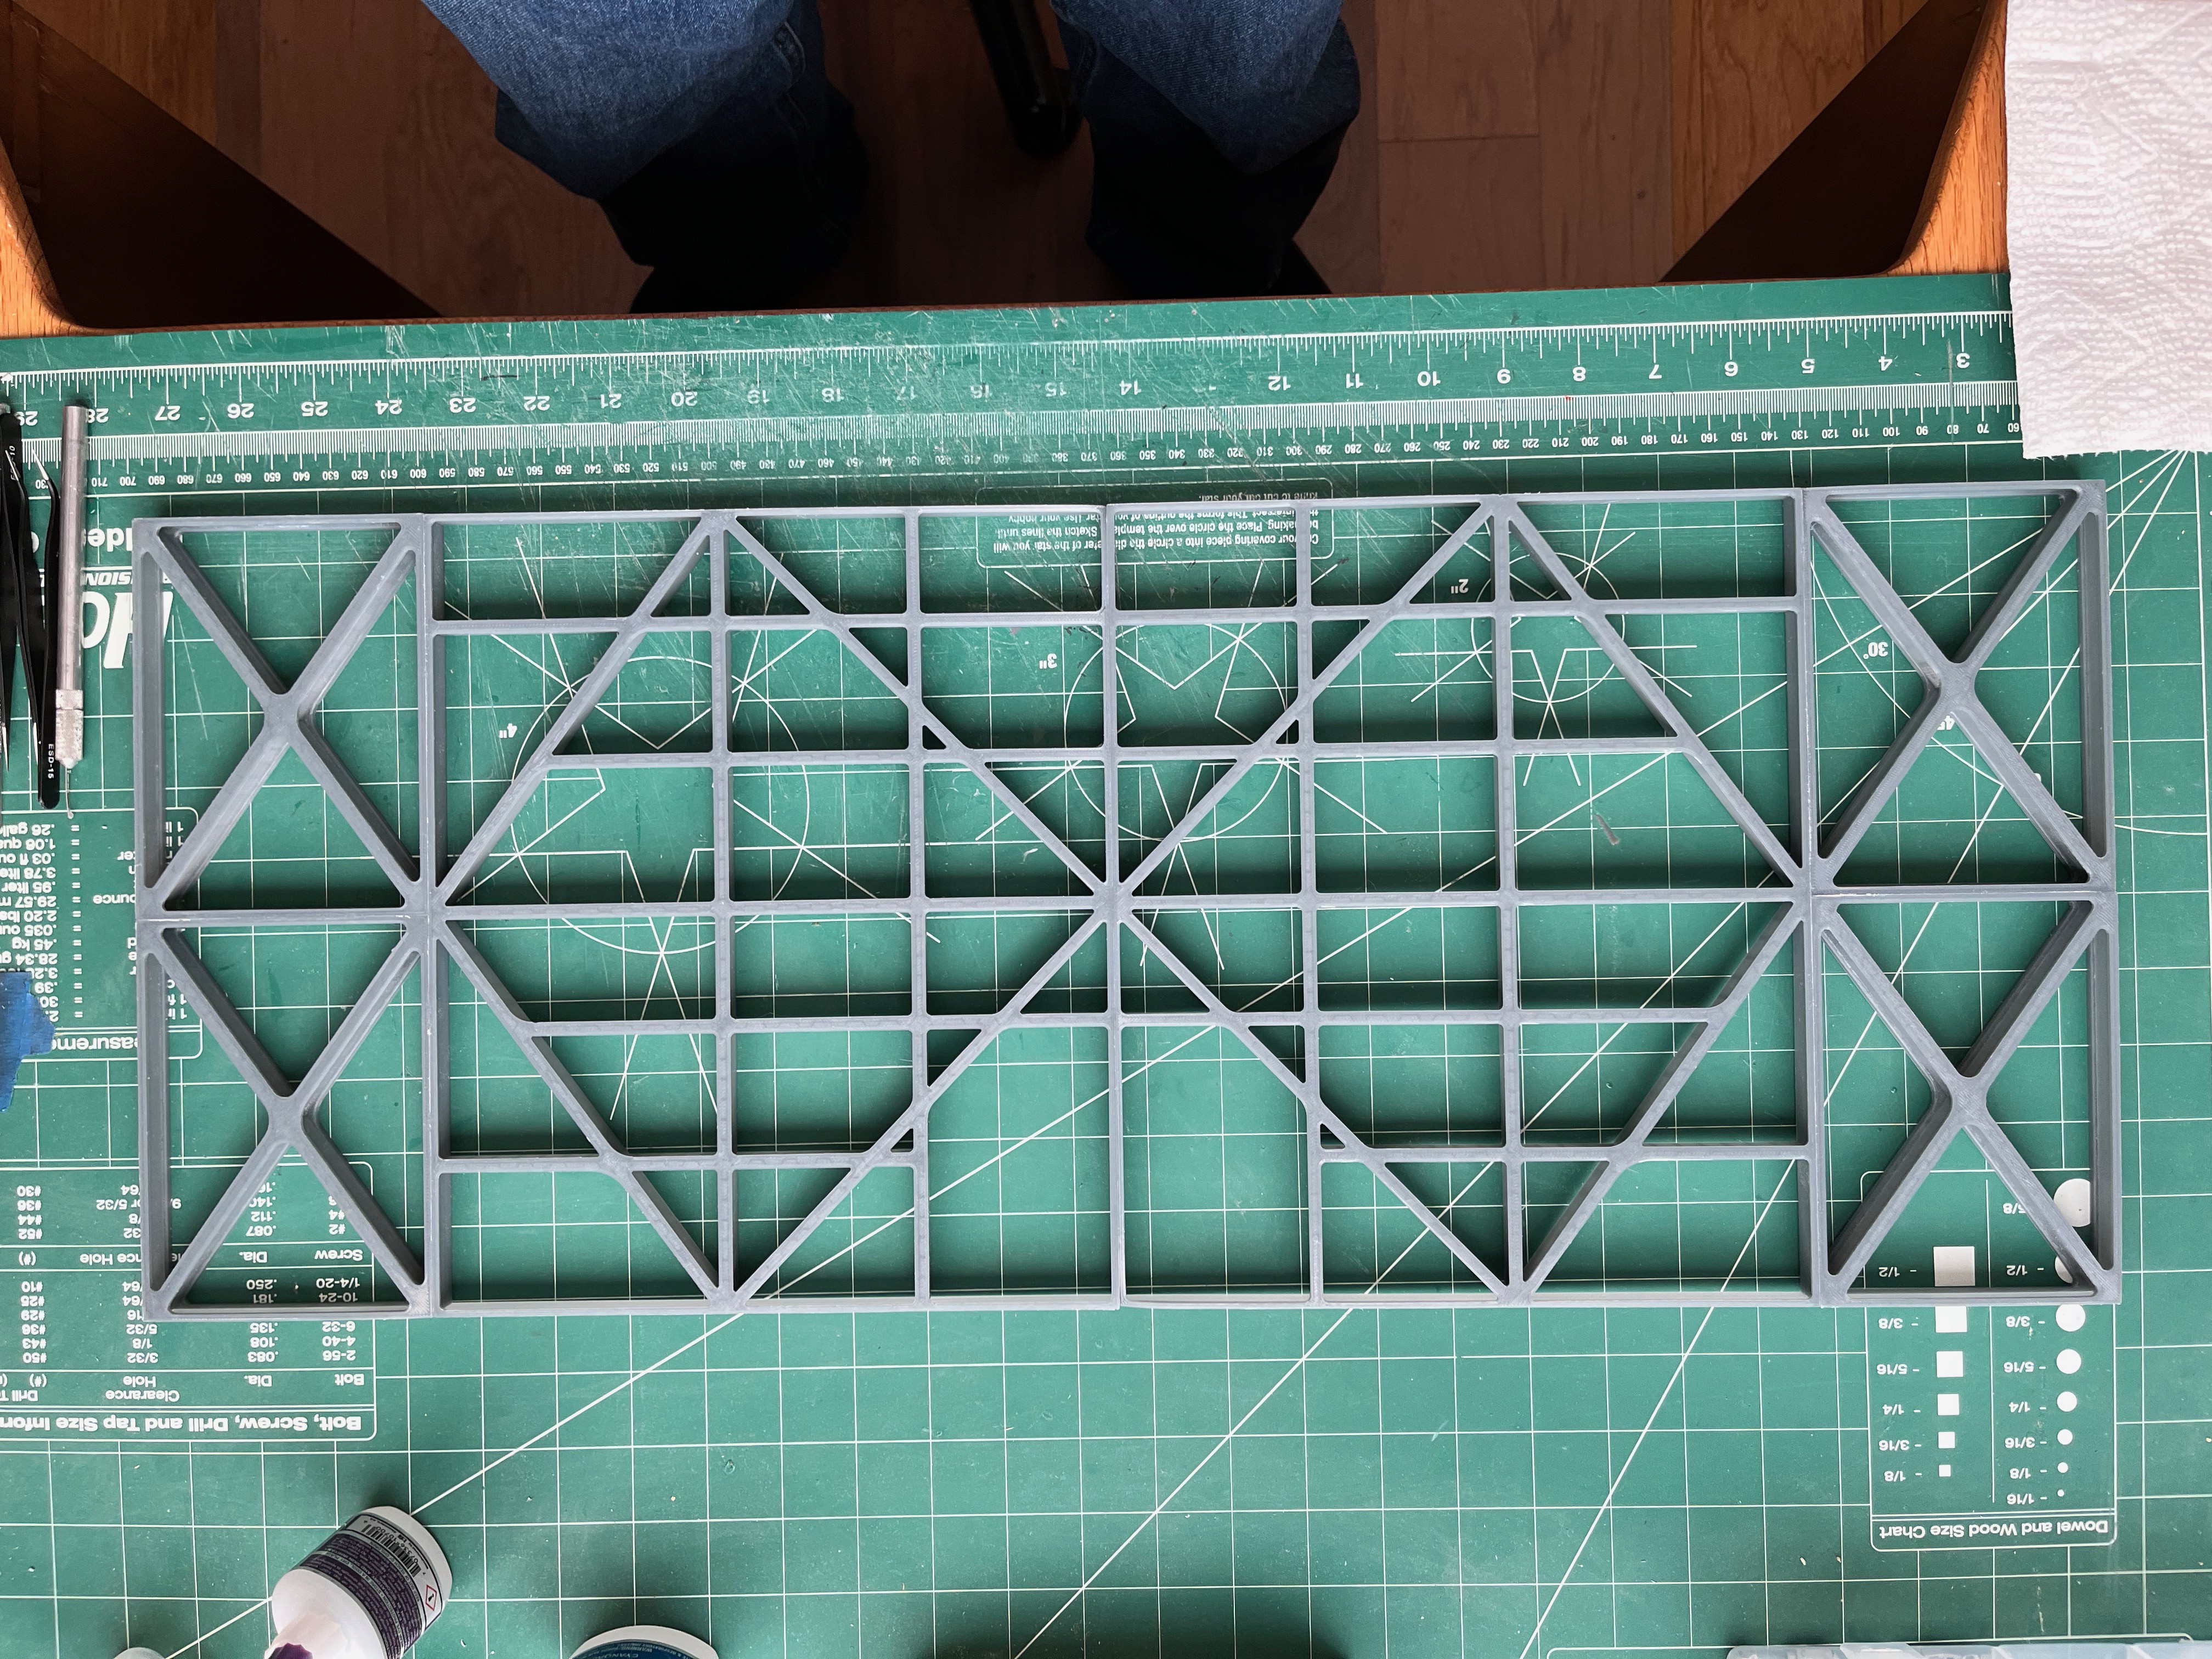
    The main structure or chassis is the framework that consists of I-beams and columns.  Contained within this structure is a large room that contains the engines and generators that will not be modeled as they are not visible unless the top is removable.  The original model has STLs for the end portions that are exposed.  The remainder of the structure in the original model was a styrene box.  I have chosen to model the underside exposed I-beam structure.  Here is a picture I found of the underside.

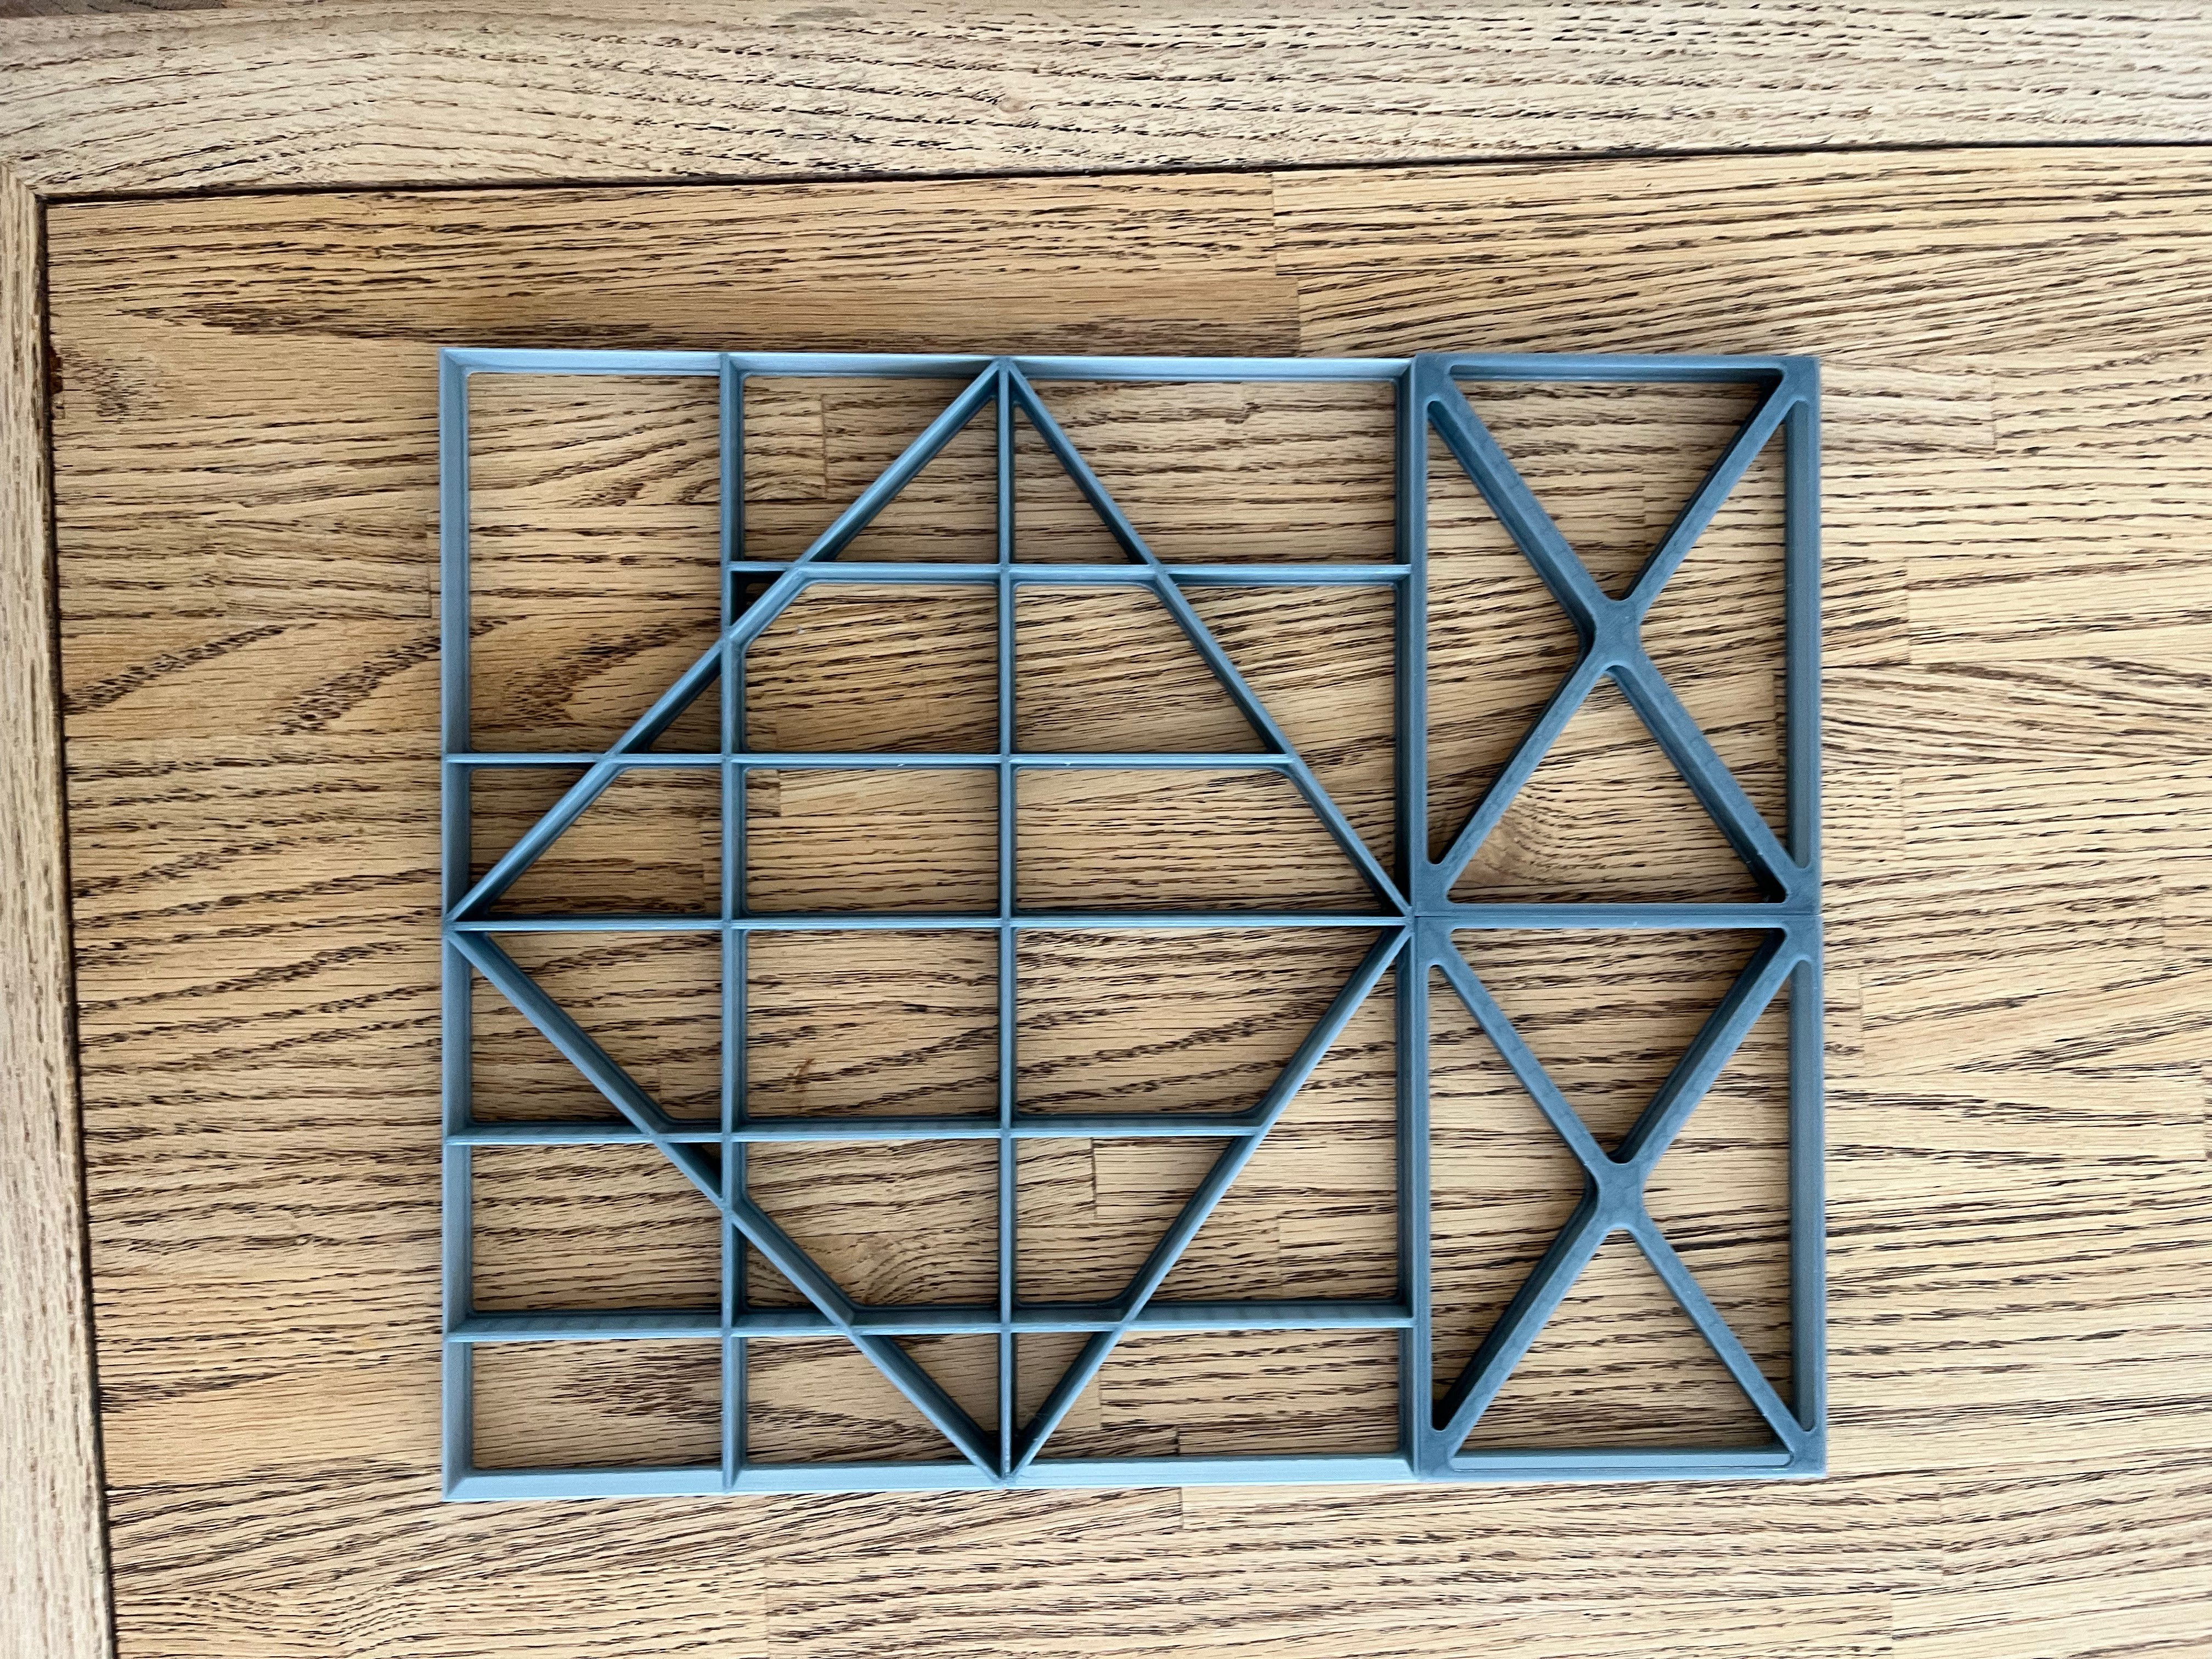
    And here is half of the underside parts printed up.  The other half is a mirror image.

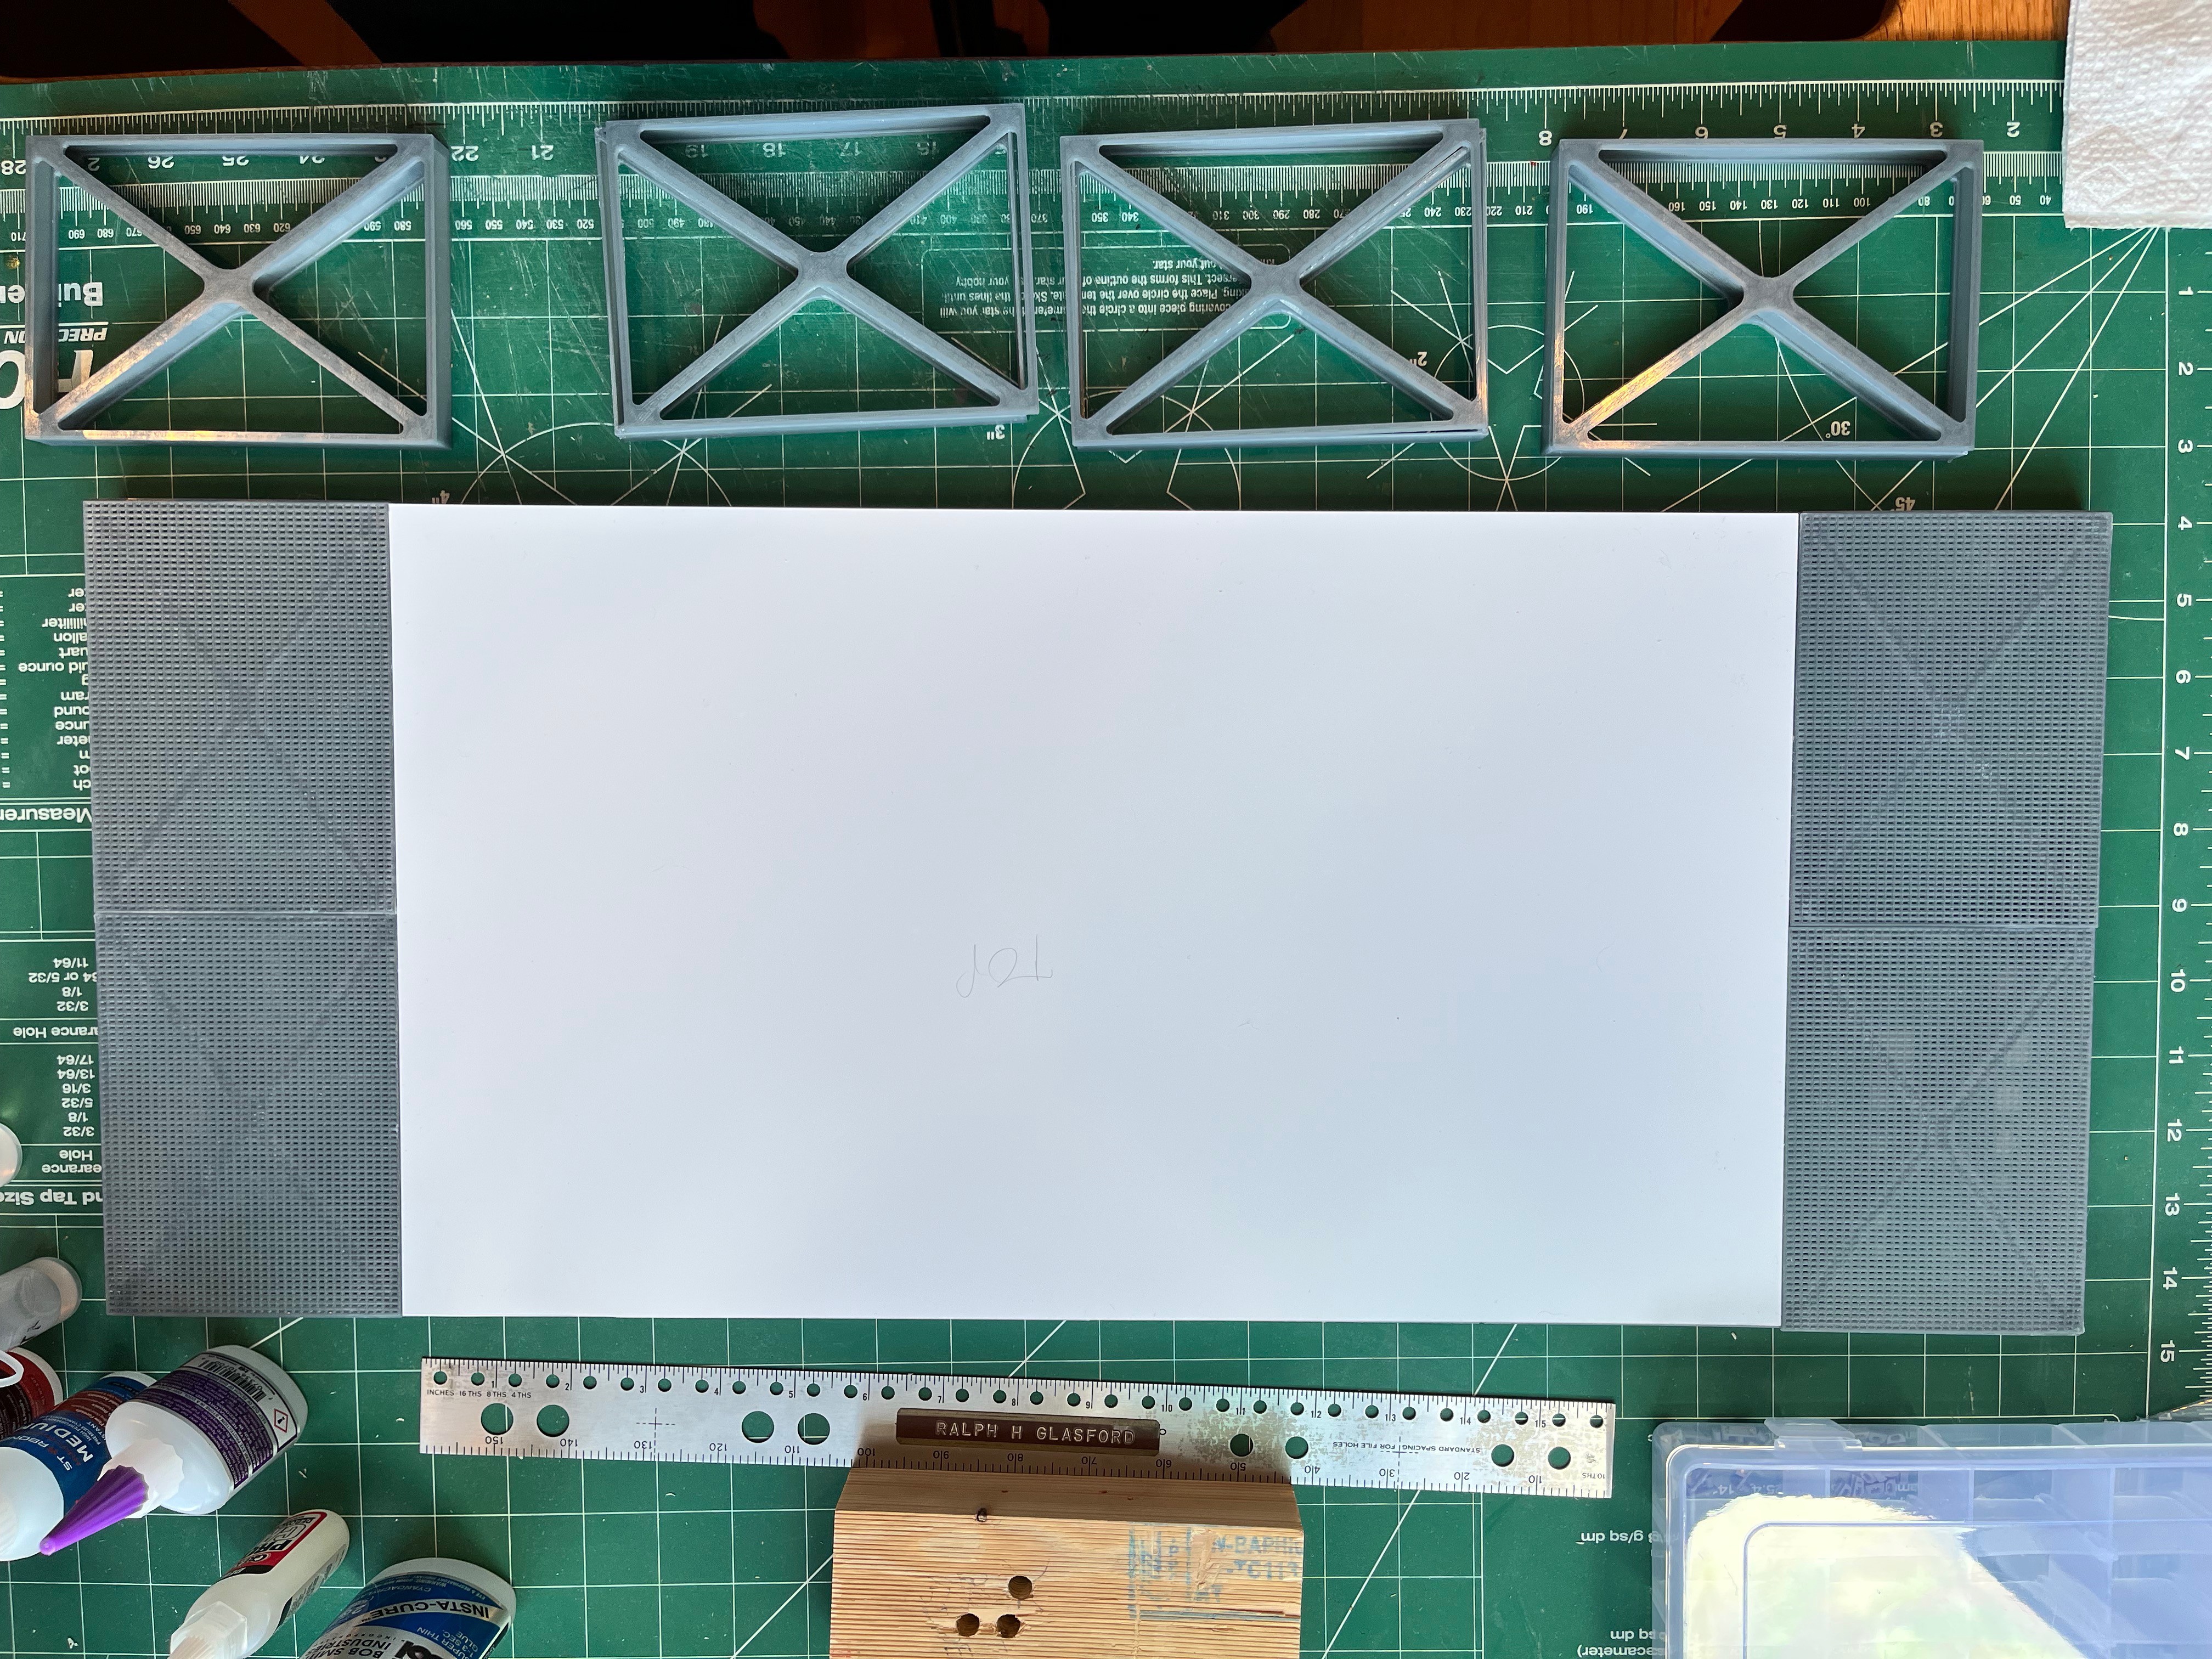
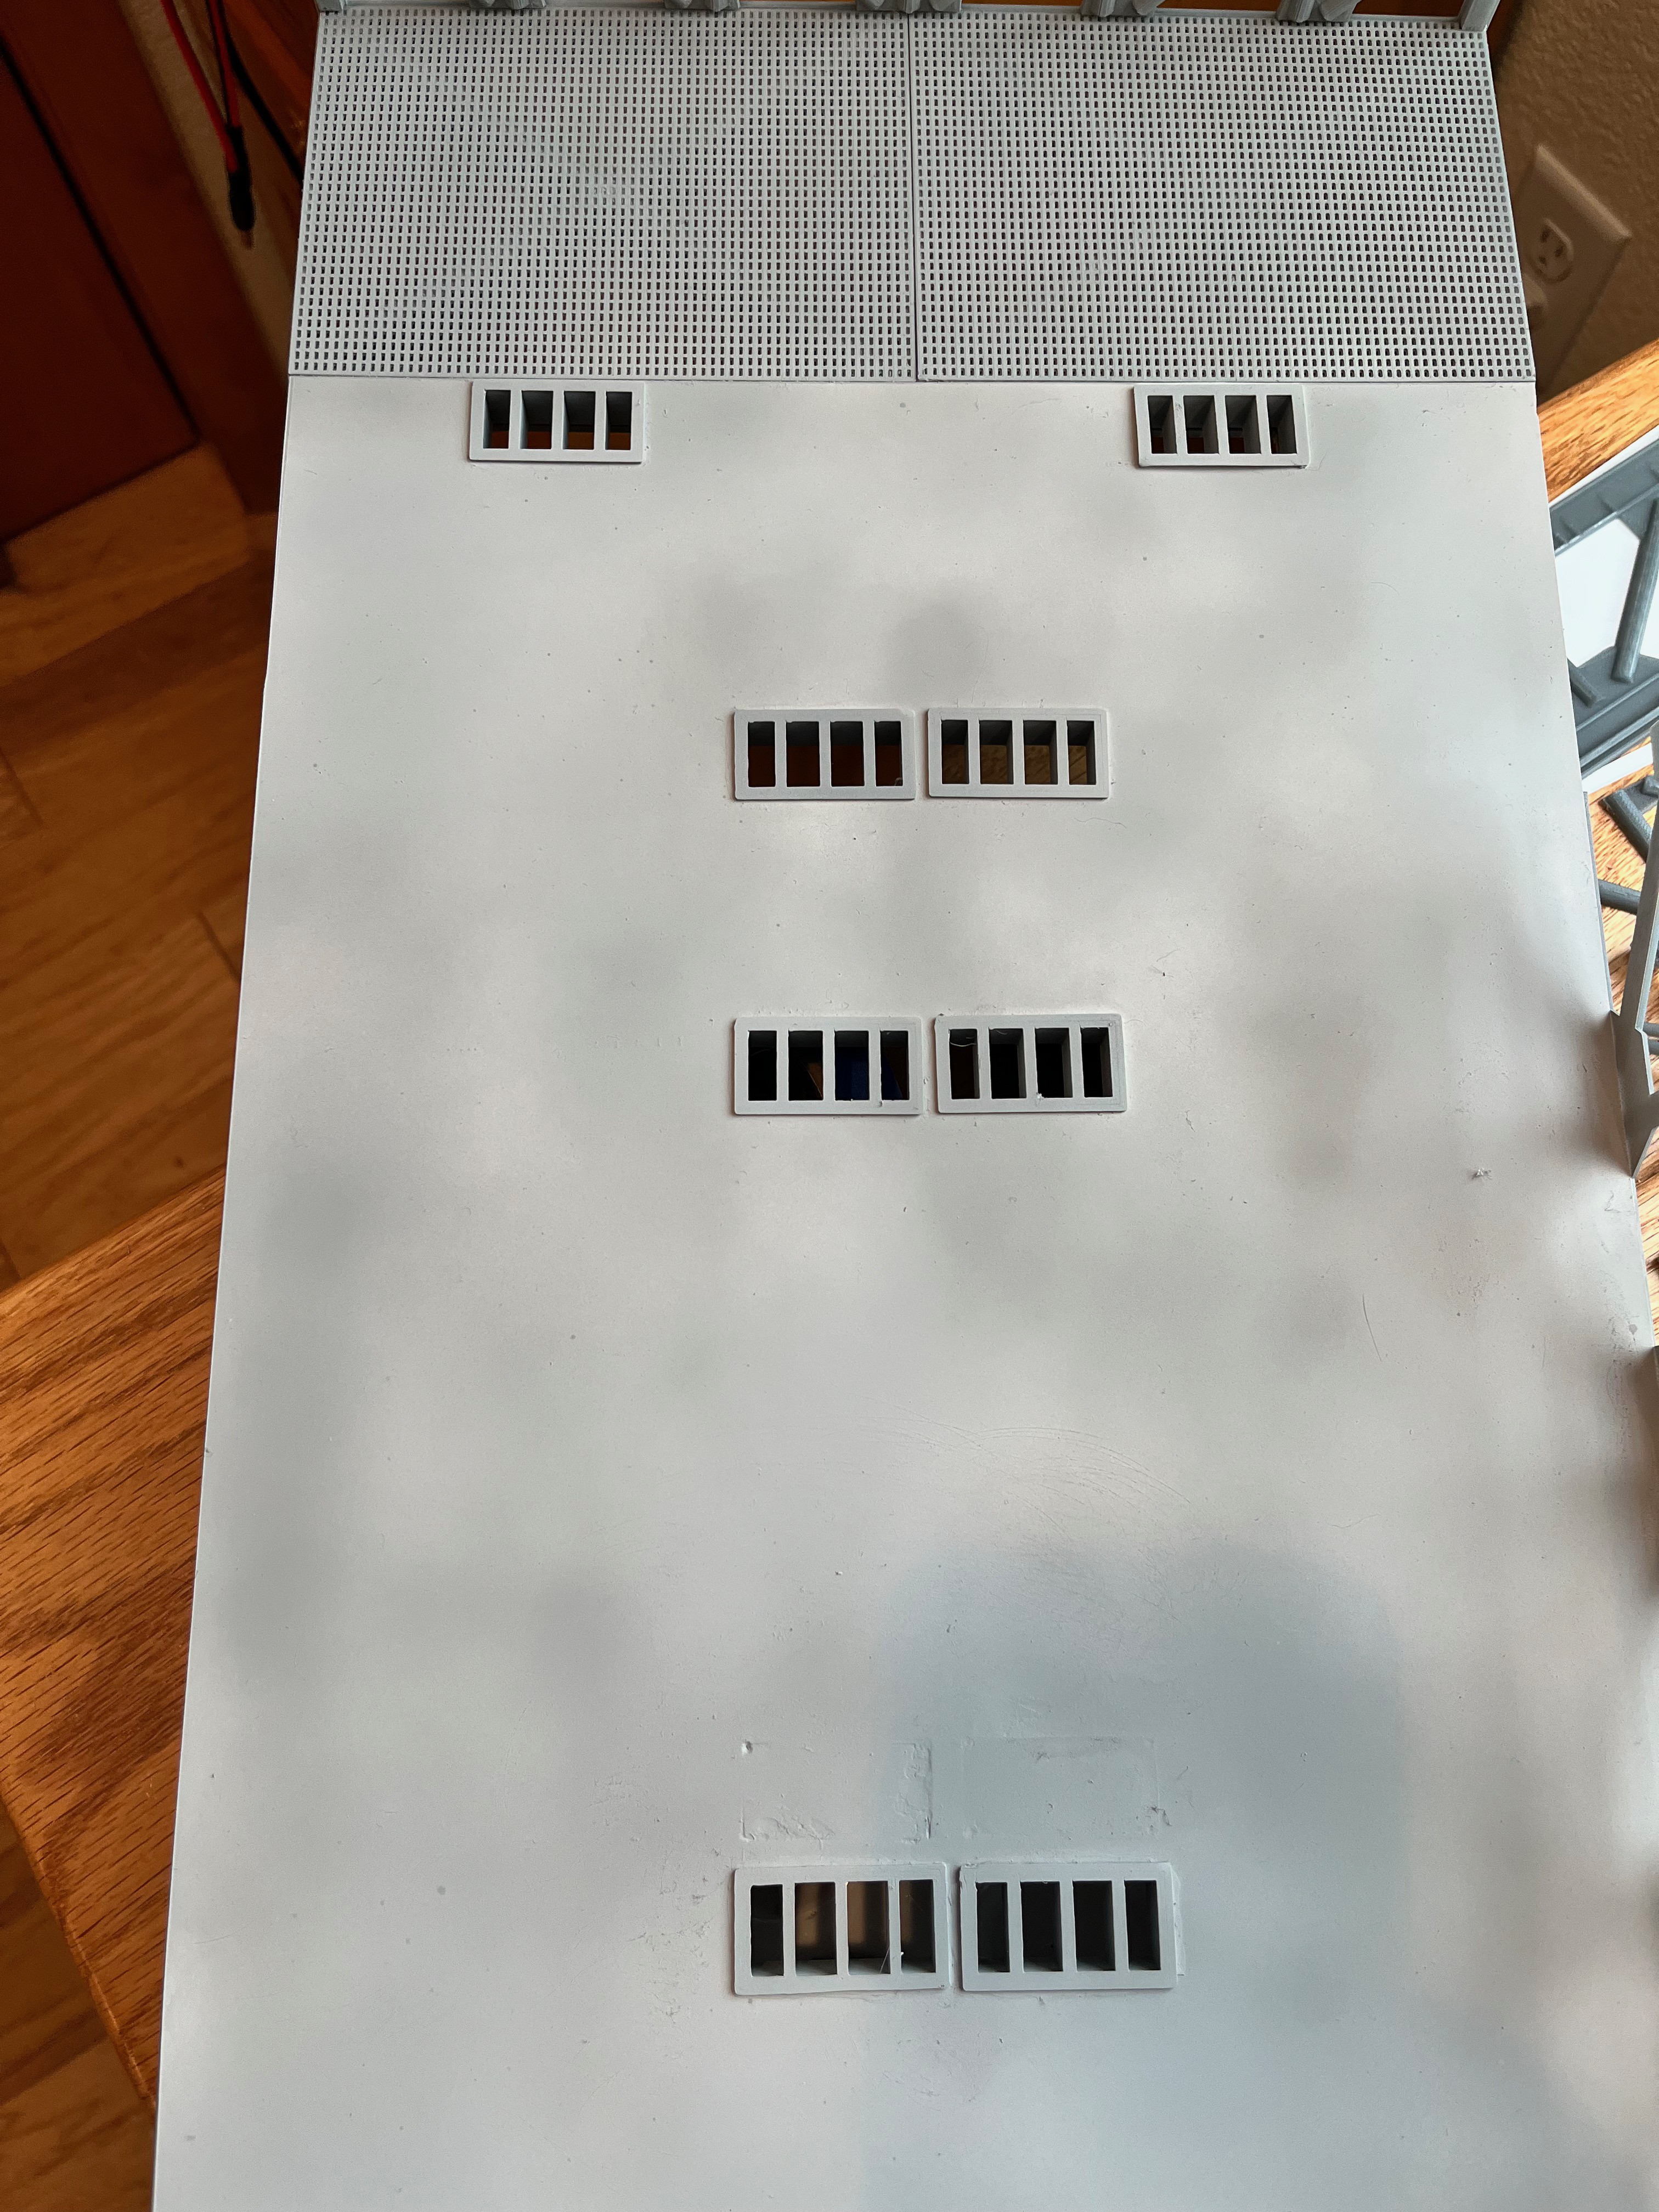
    I will glue a 0.030" thick styrene sheet on top of the center section and I have created mesh flooring for the exposed ends.

    Here is a picture of the completed bottom I-beam structure.

    I have glued the floor grating to the exposed ends and the center floor which is a sheet of 0.030" styrene.  You will need 3 - 1'x2' sheets.

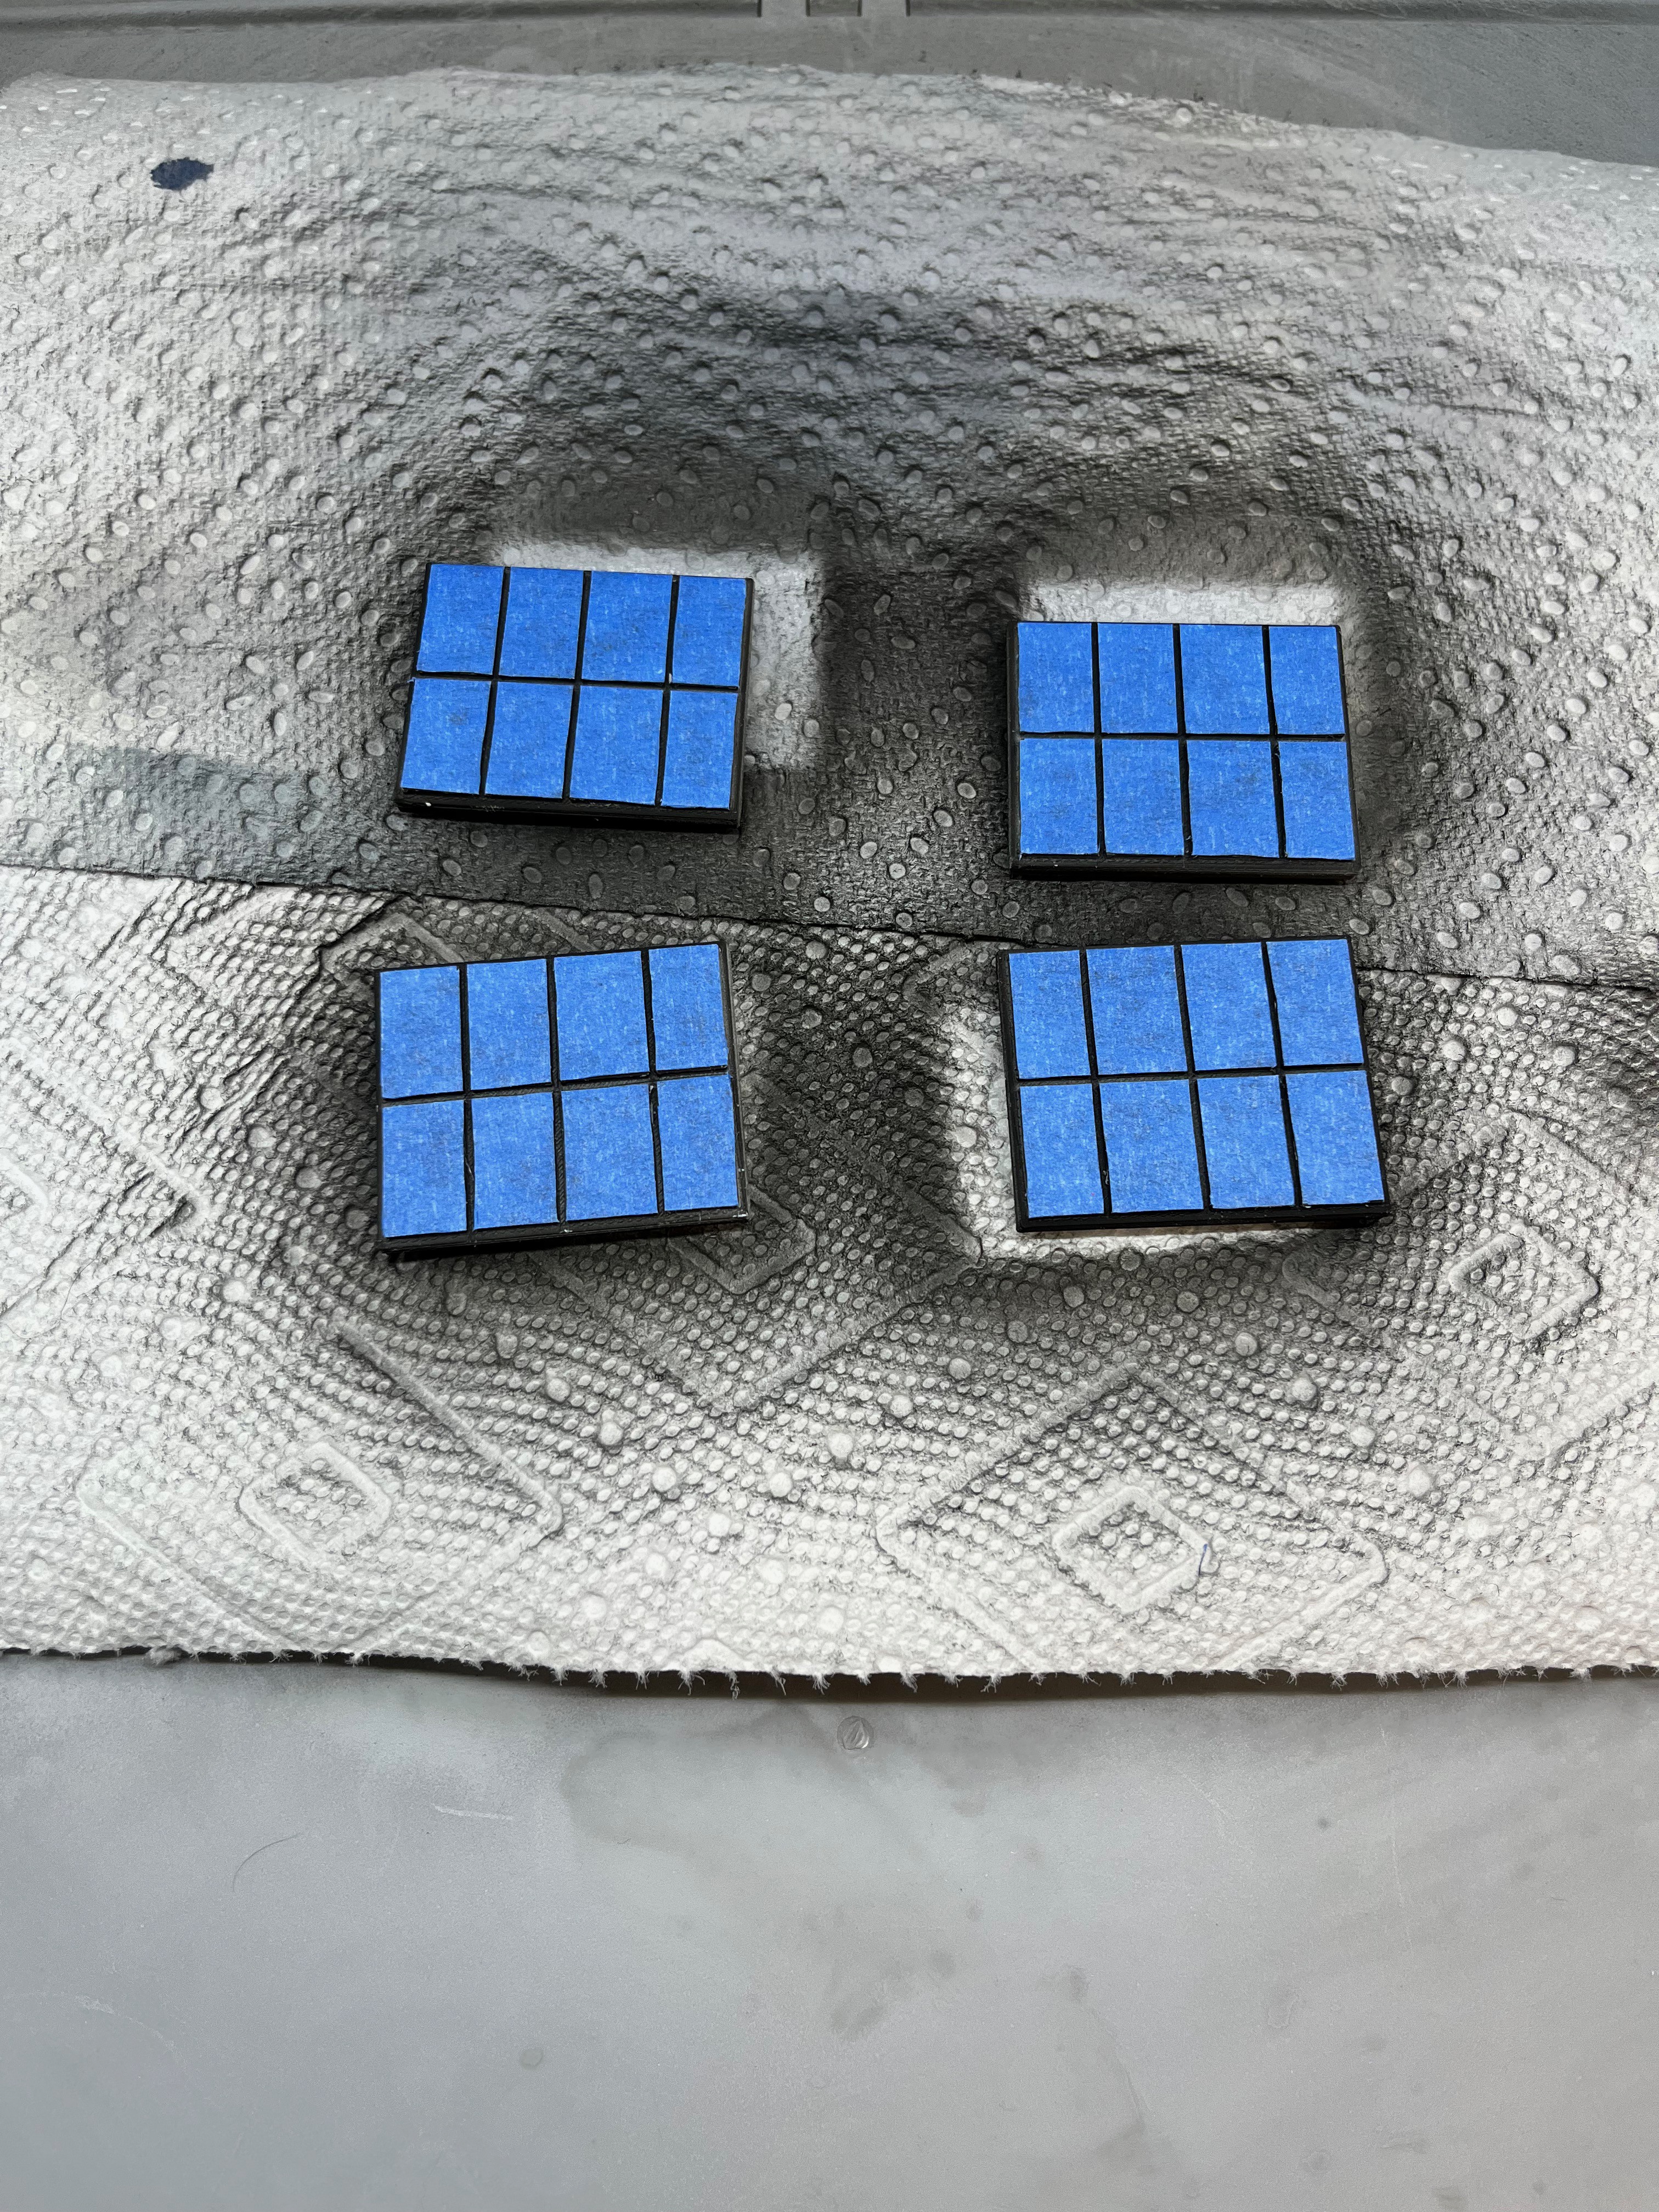
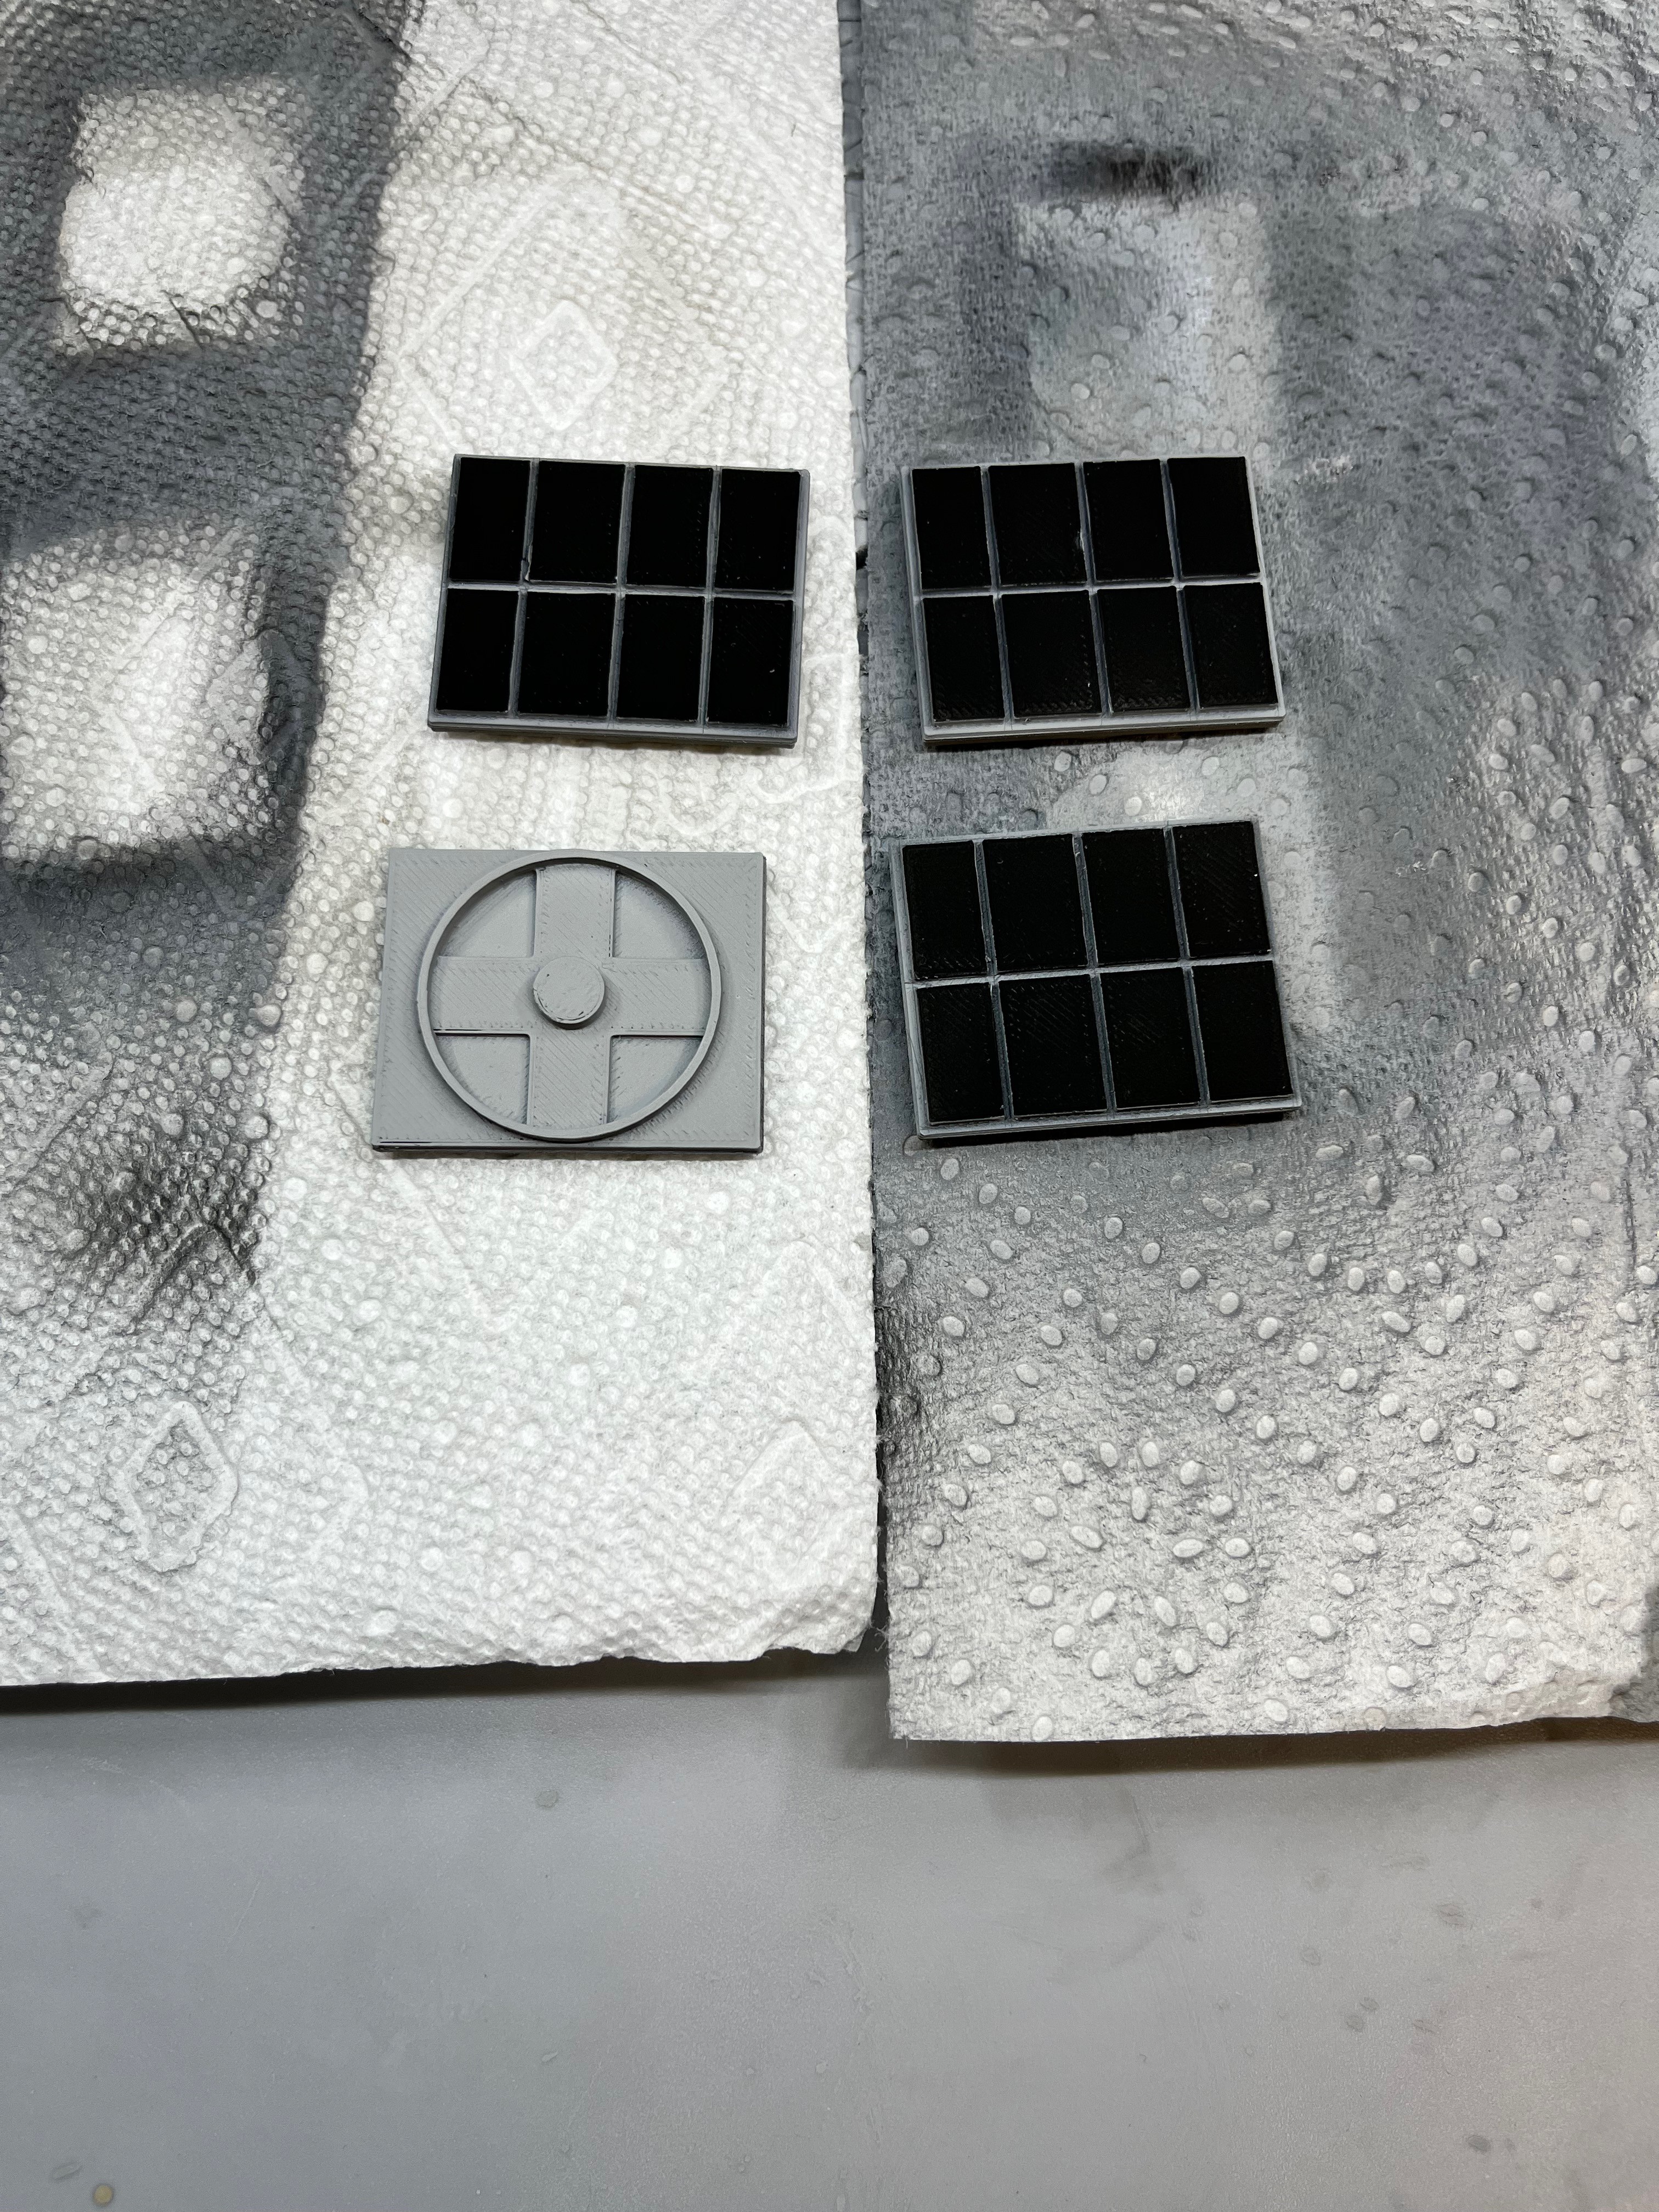
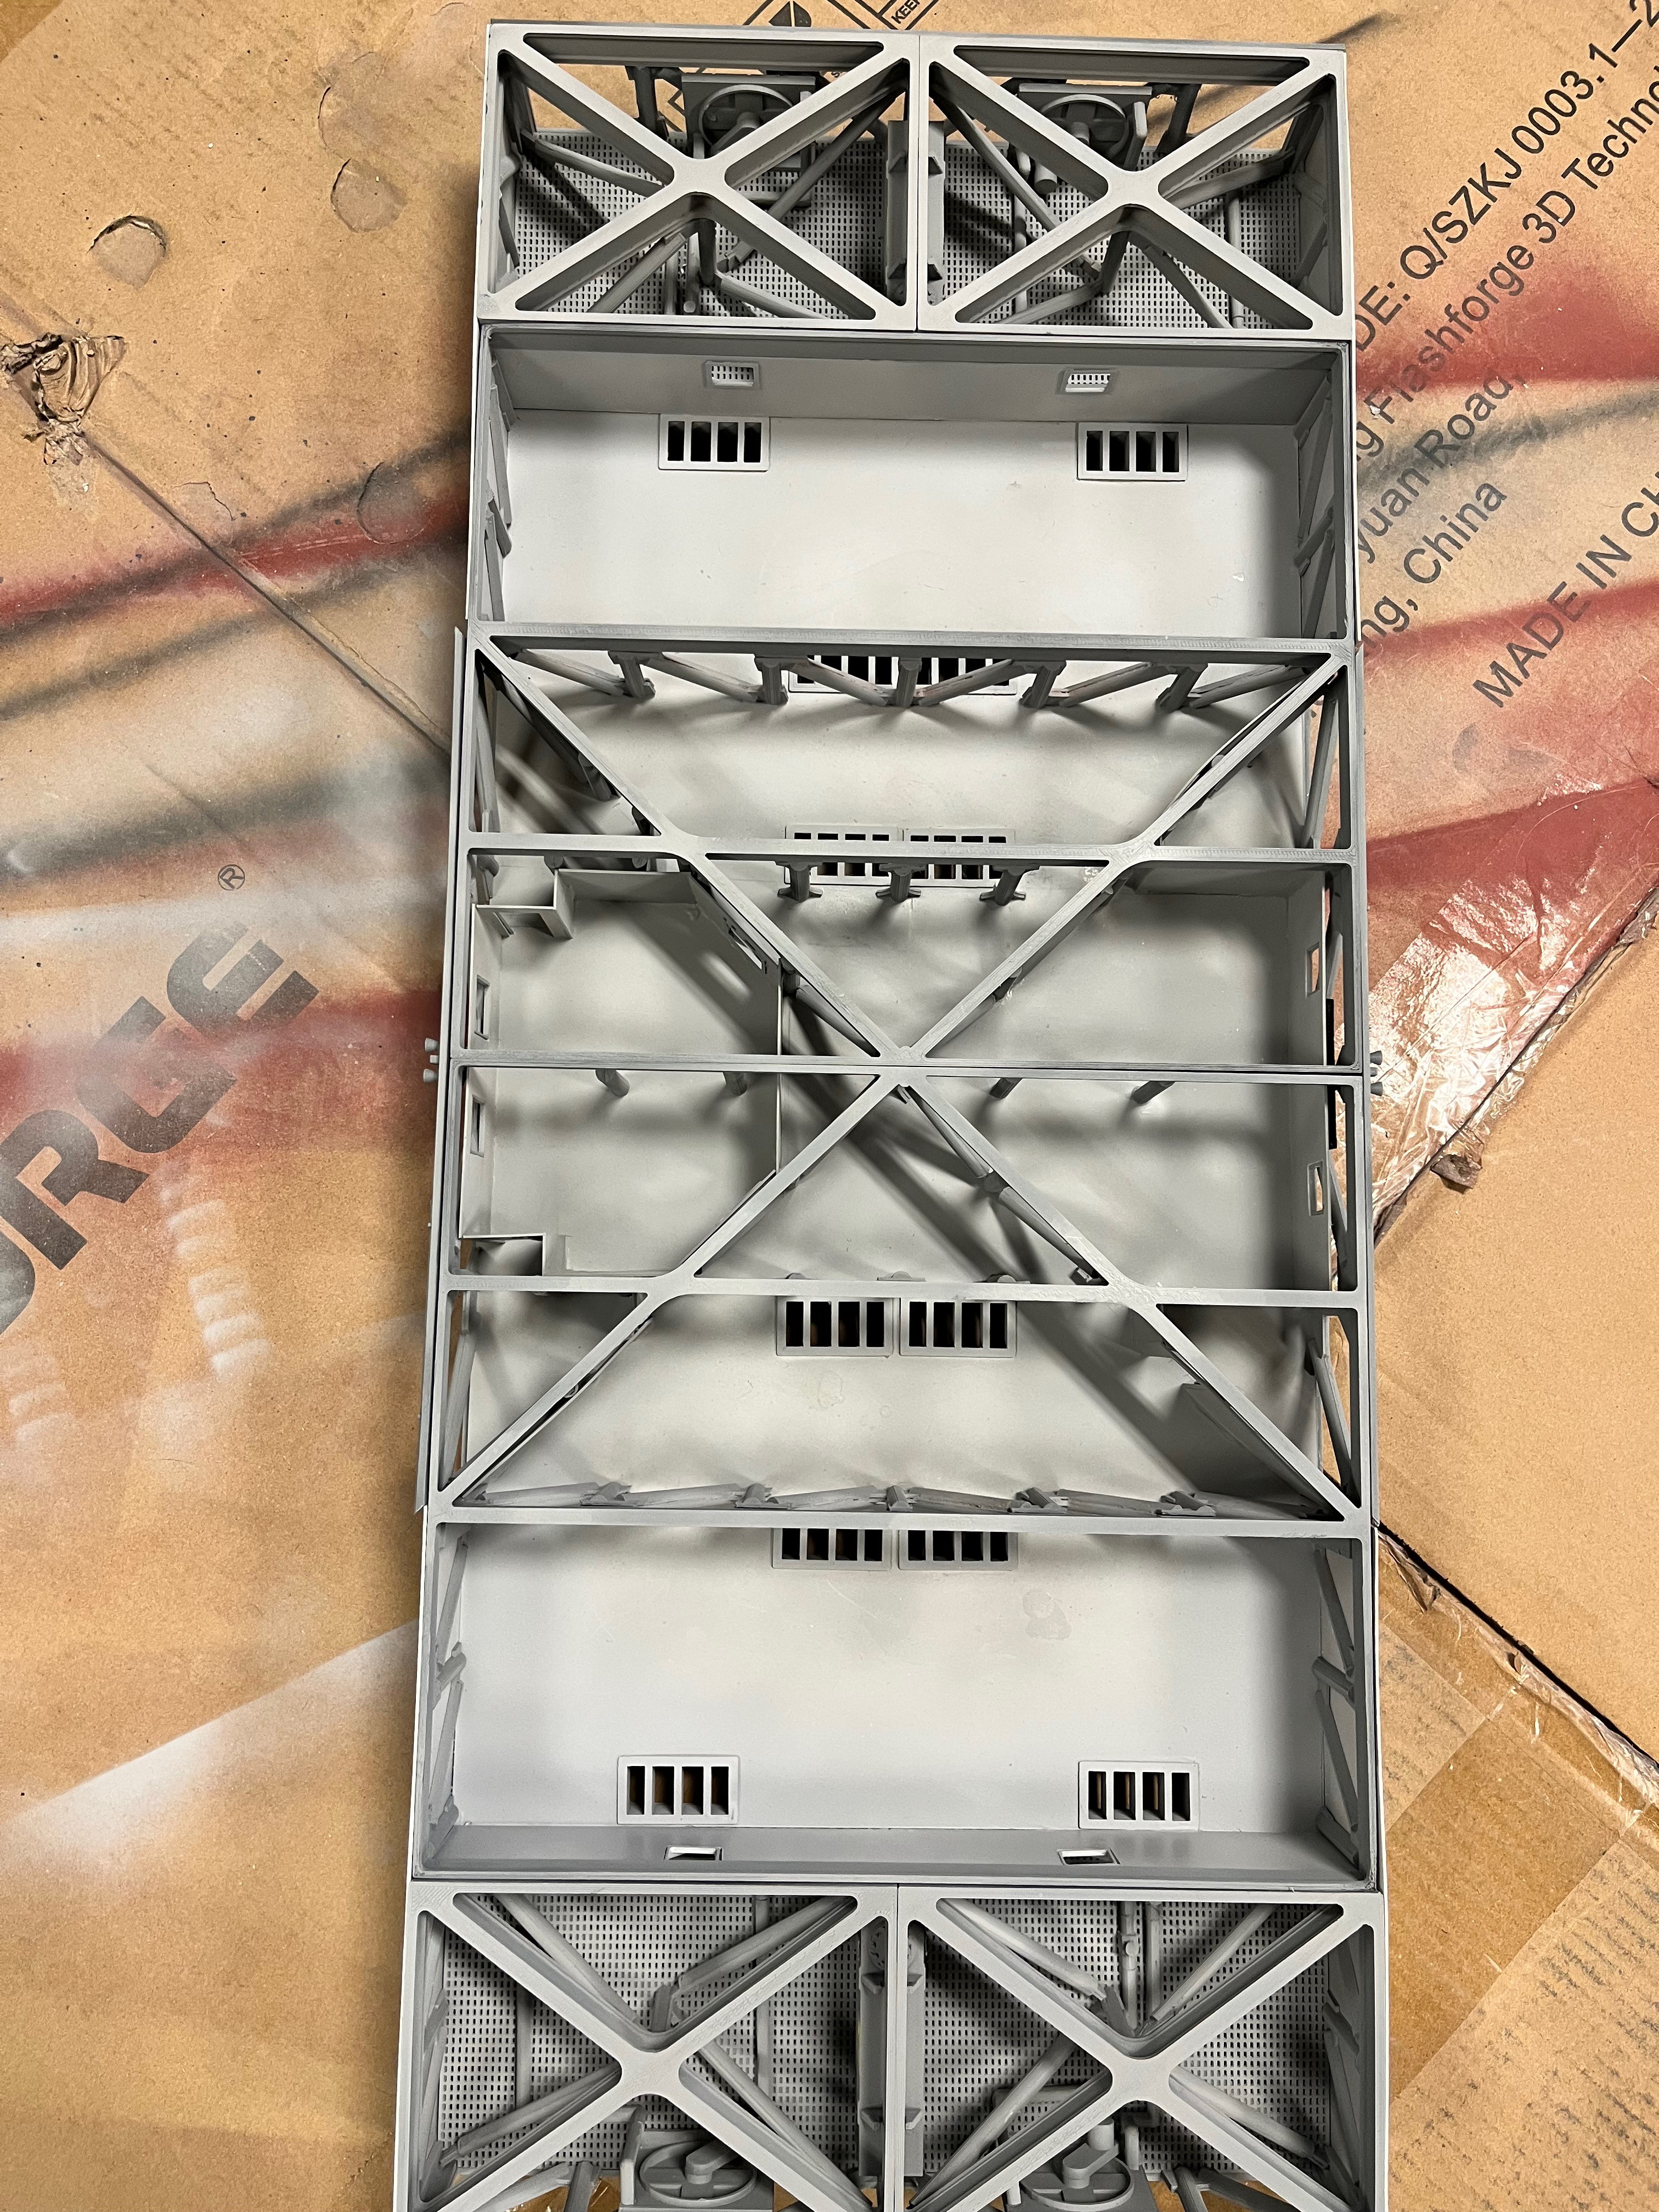
    I am going to print the model using Tamiya acrylic paint.  The vast majority of the model is a light gray.  I will use XF-19 Sky Gray.  Here are pictures of the four radiators that will be placed in the exposed ends of the structure.  After priming I painted the front a flat black, masked off the black and then painted the rest gray.

    Here is the main structure with the flooring installed along with floor vents.

View all 6 project logs

Enjoy this project?

Share

Discussions

Similar Projects

Does this project spark your interest?

Become a member to follow this project and never miss any updates