 Peter Lyons
I recently moved my home electronics lab to a different room, and found a couple of hours today to get started on this build. I don't have much experience with SMD soldering. I watched a youtube and re-read the relevant section of the guide I'm following, and I think I did OK. But we'll need to wait until I get zmk setup and flash the MCUs to be sure.
The Kailh Choc Hotswap sockets first went in - attached to the bottom side of the PCBs.
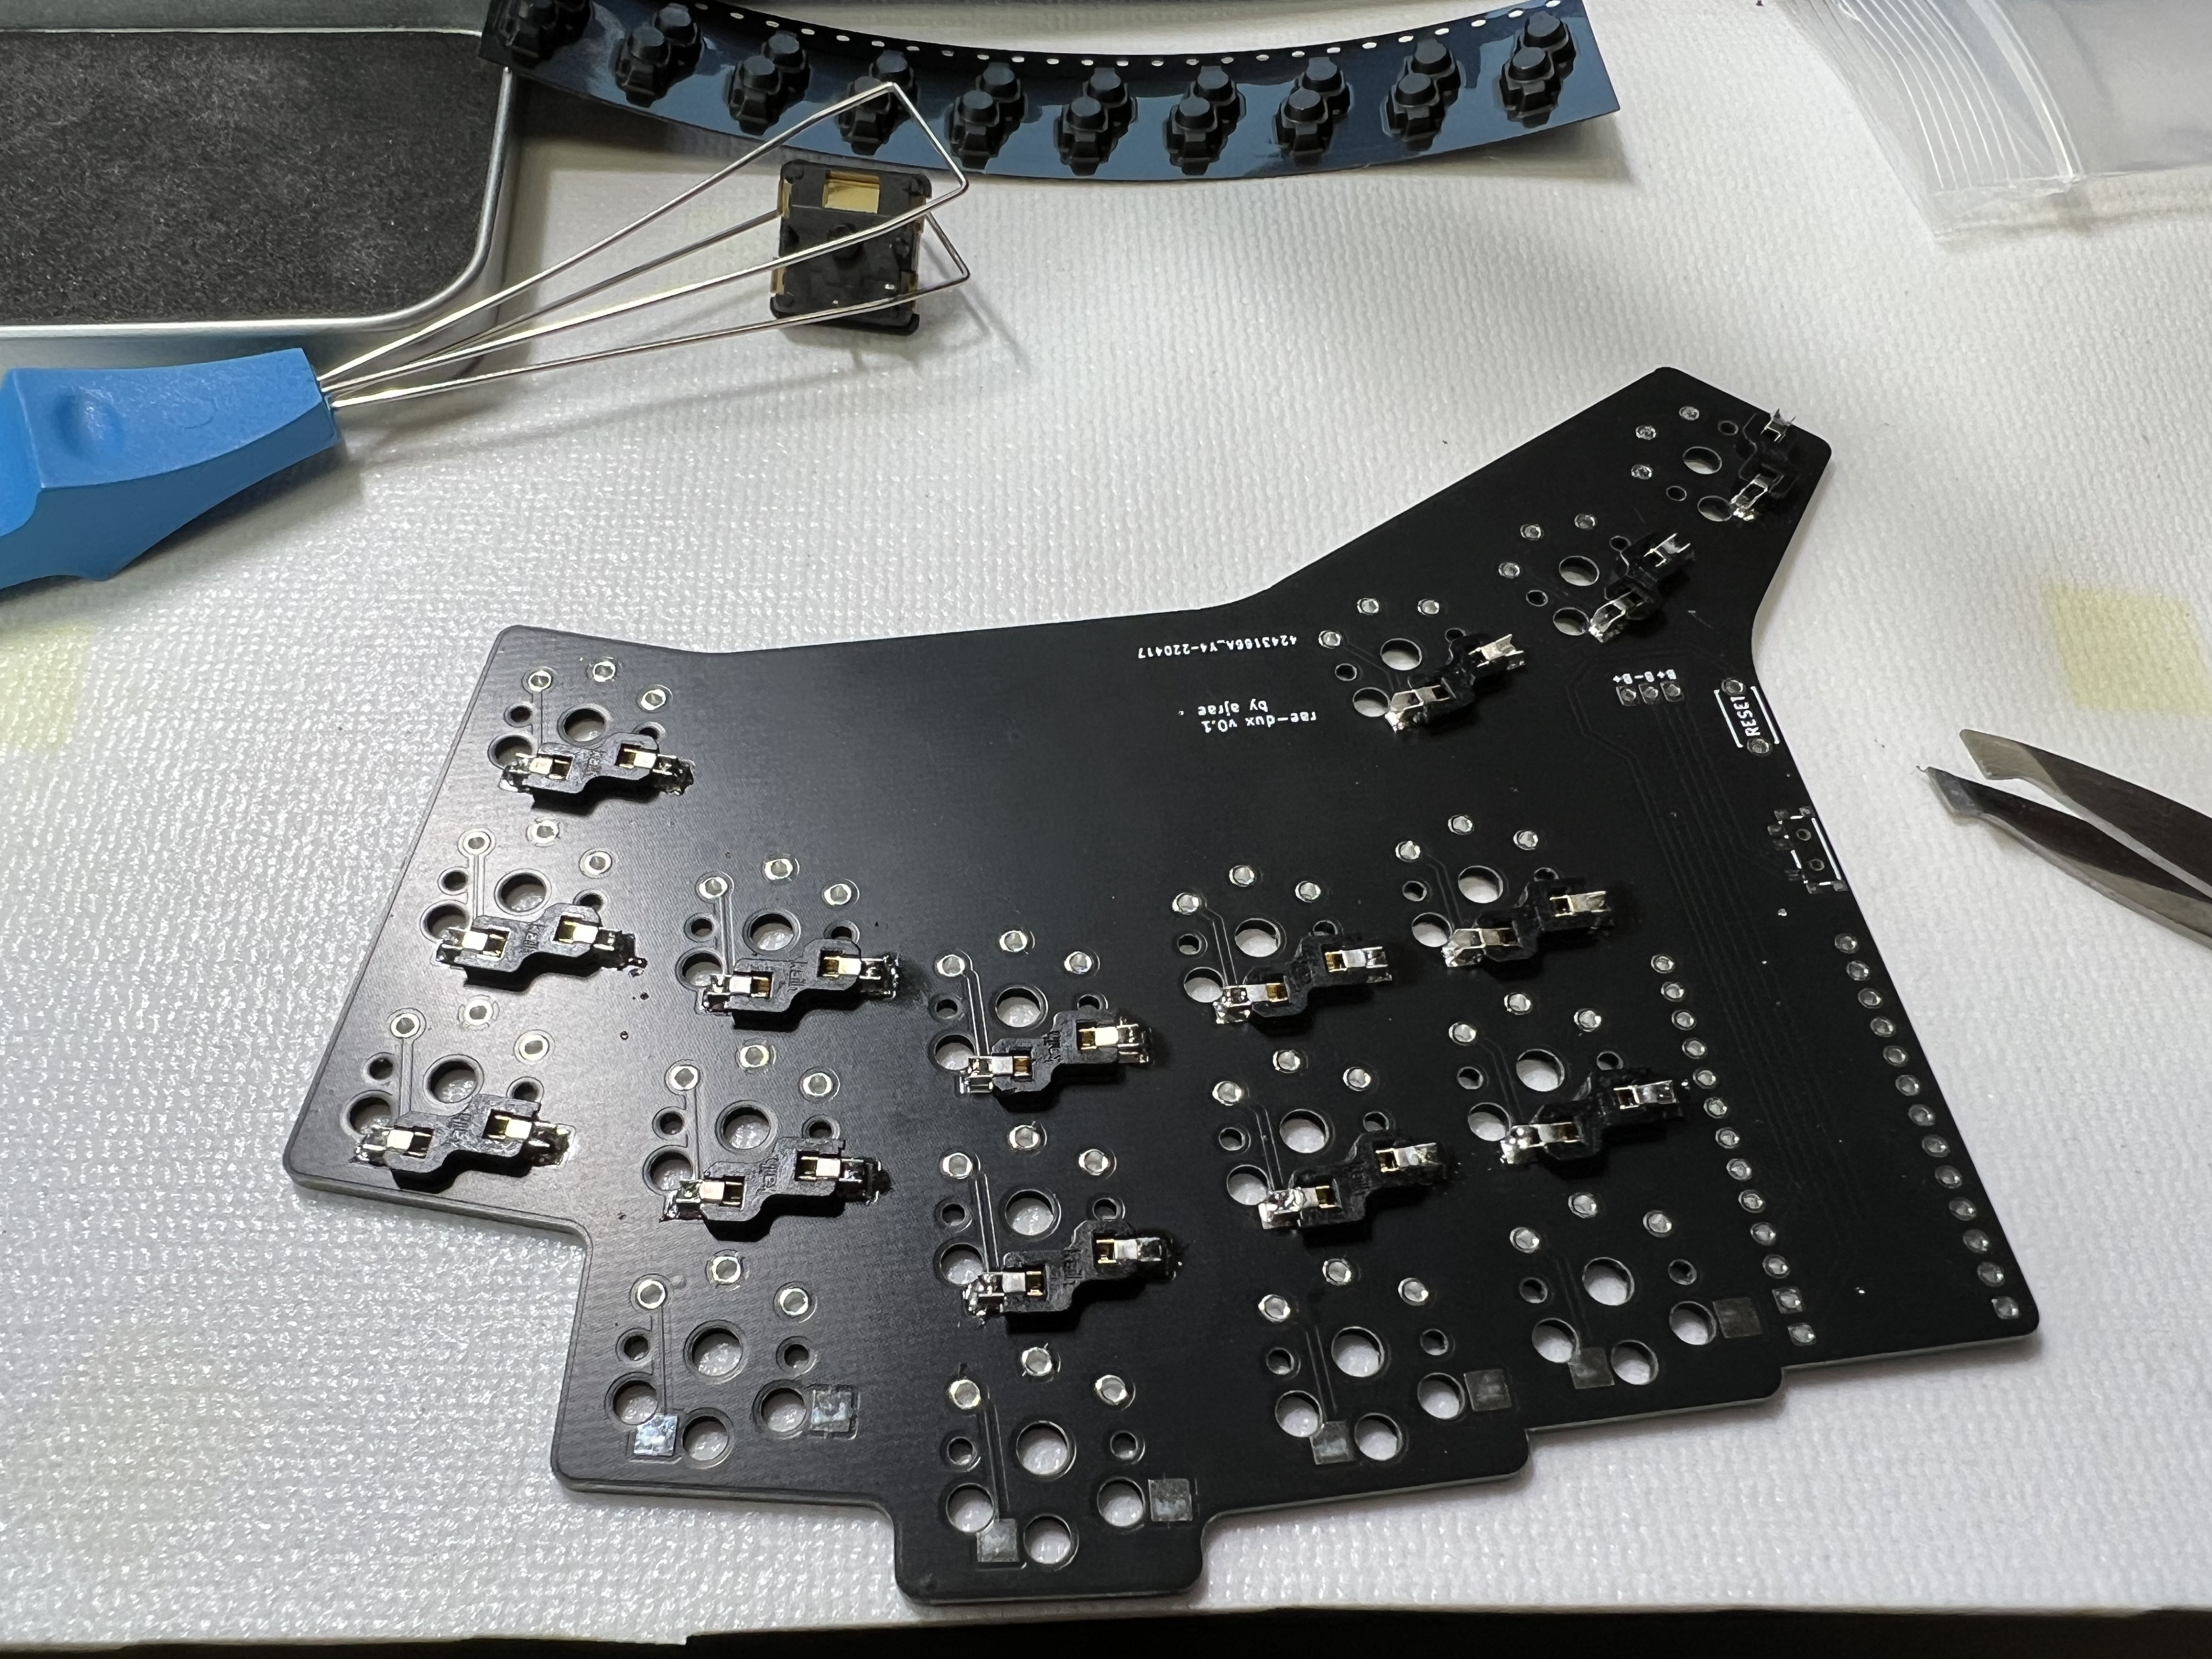
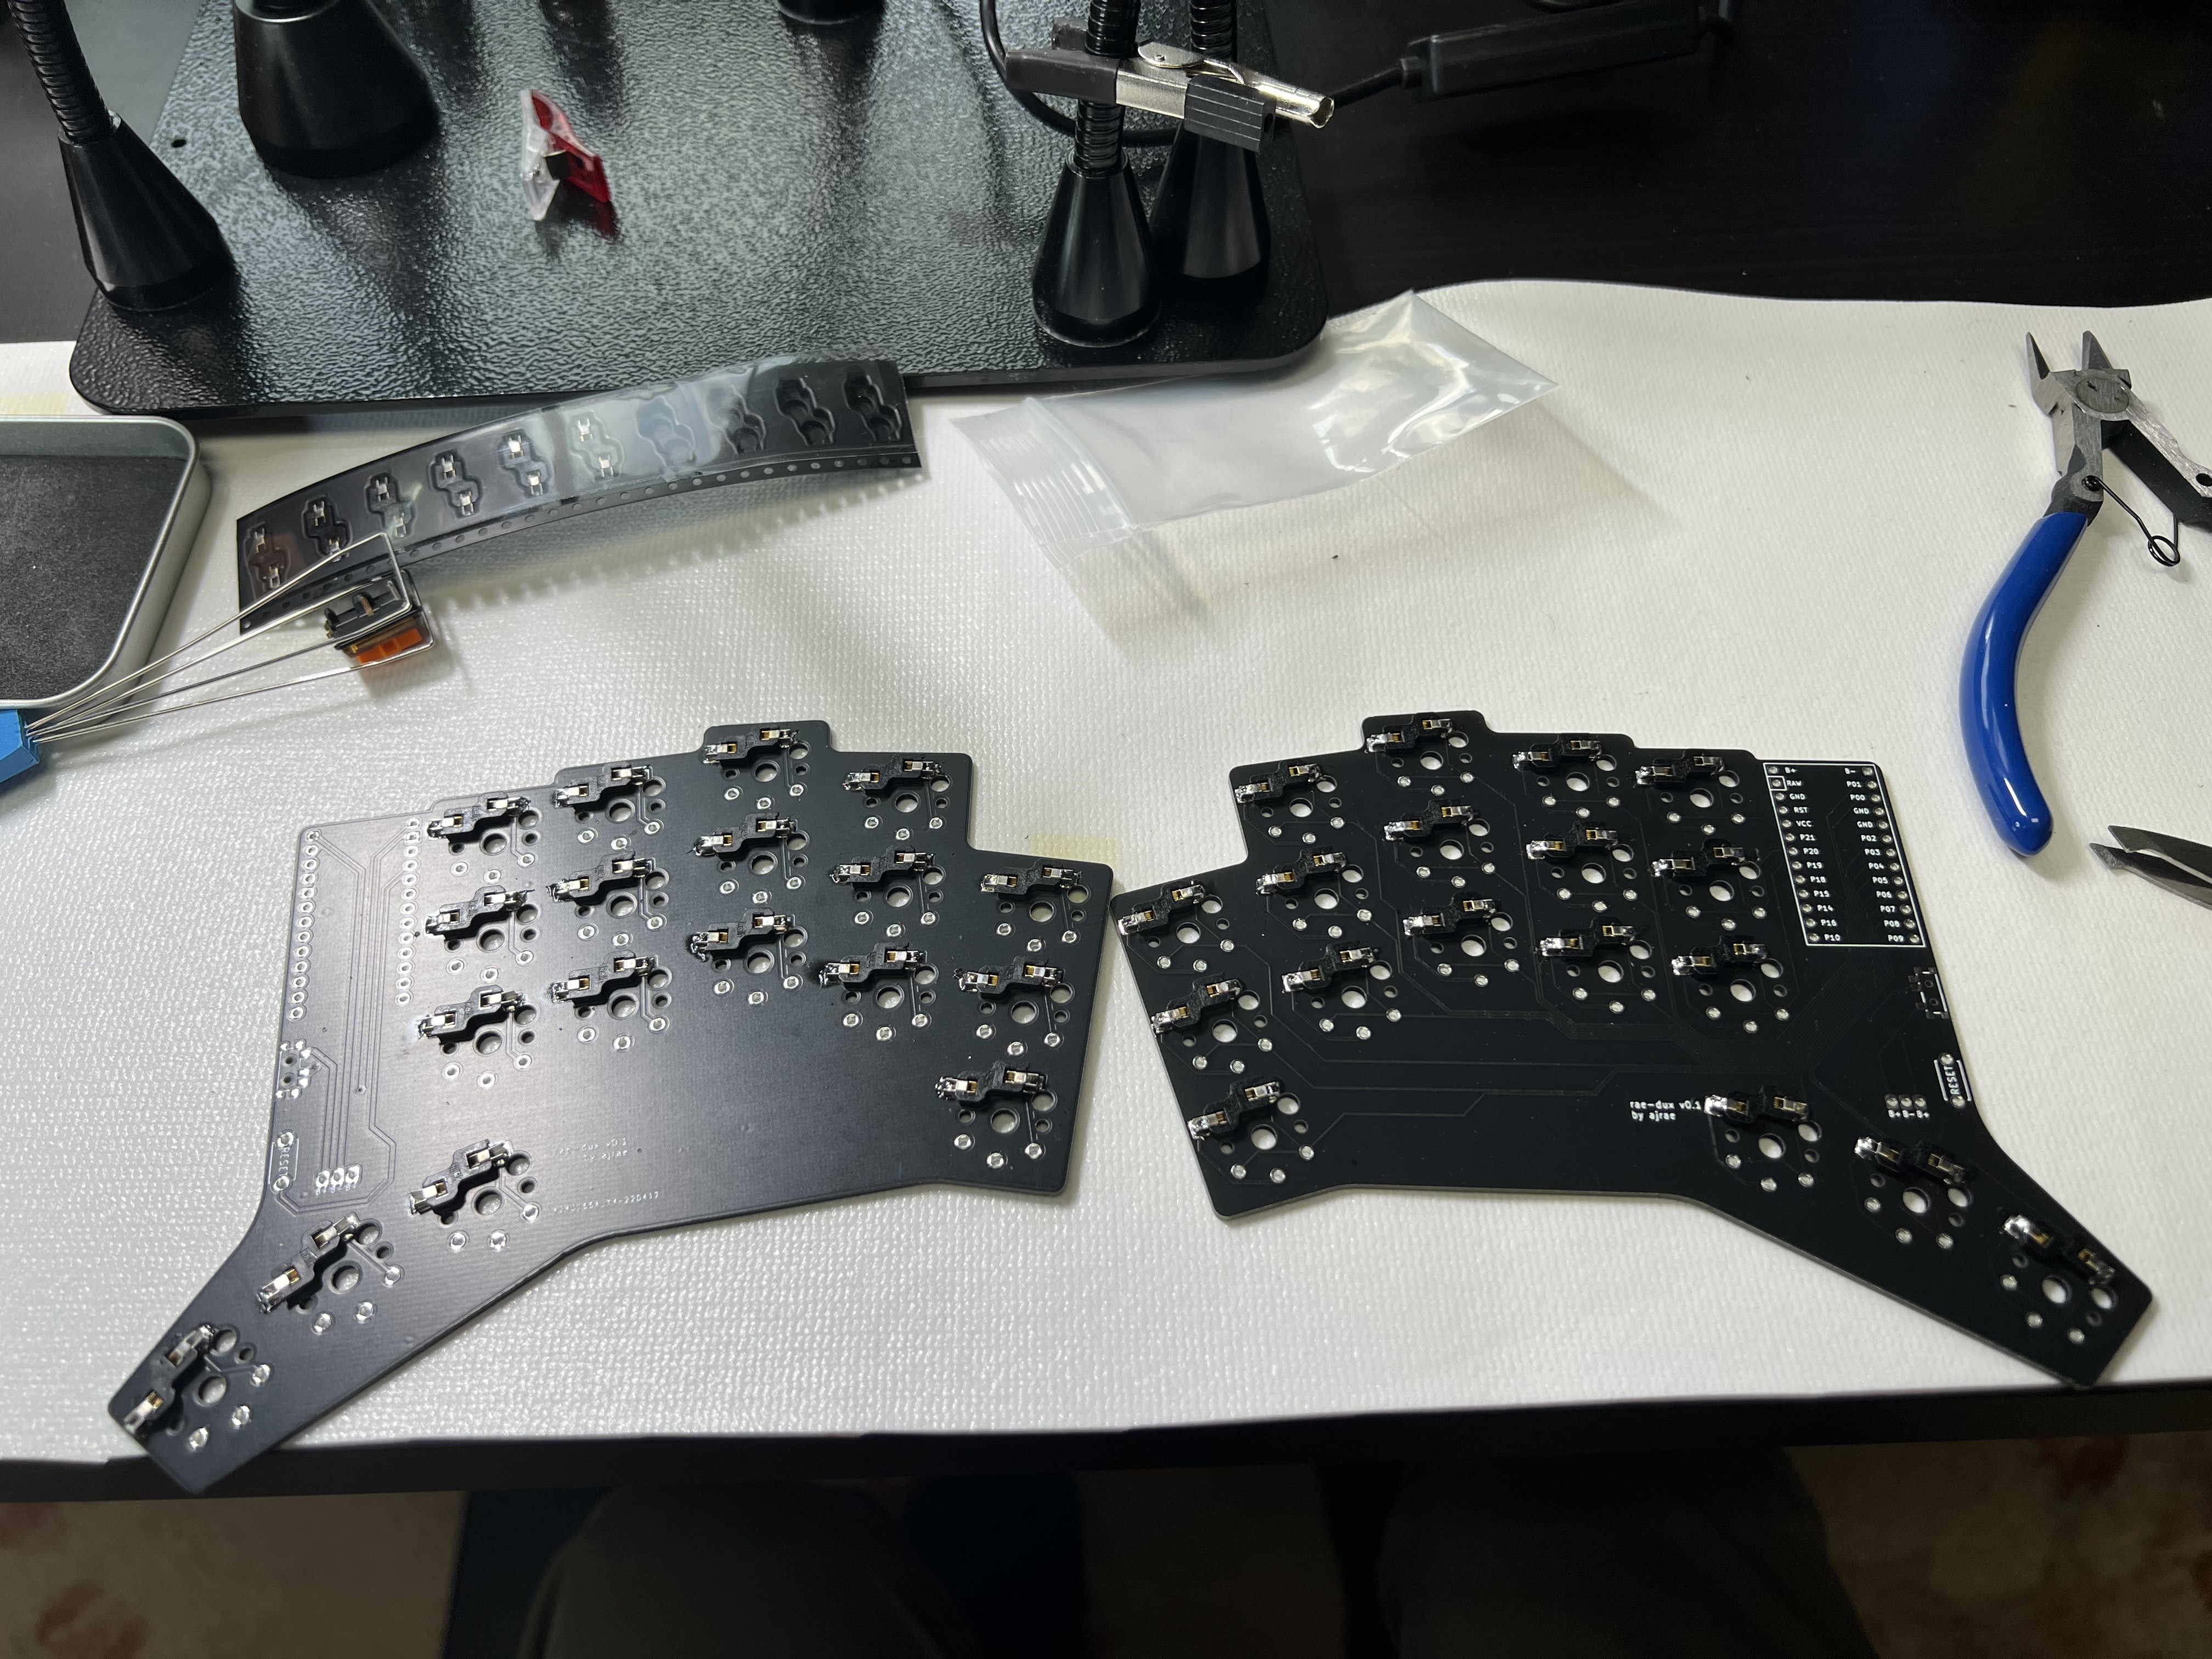
Then I did the power switches.

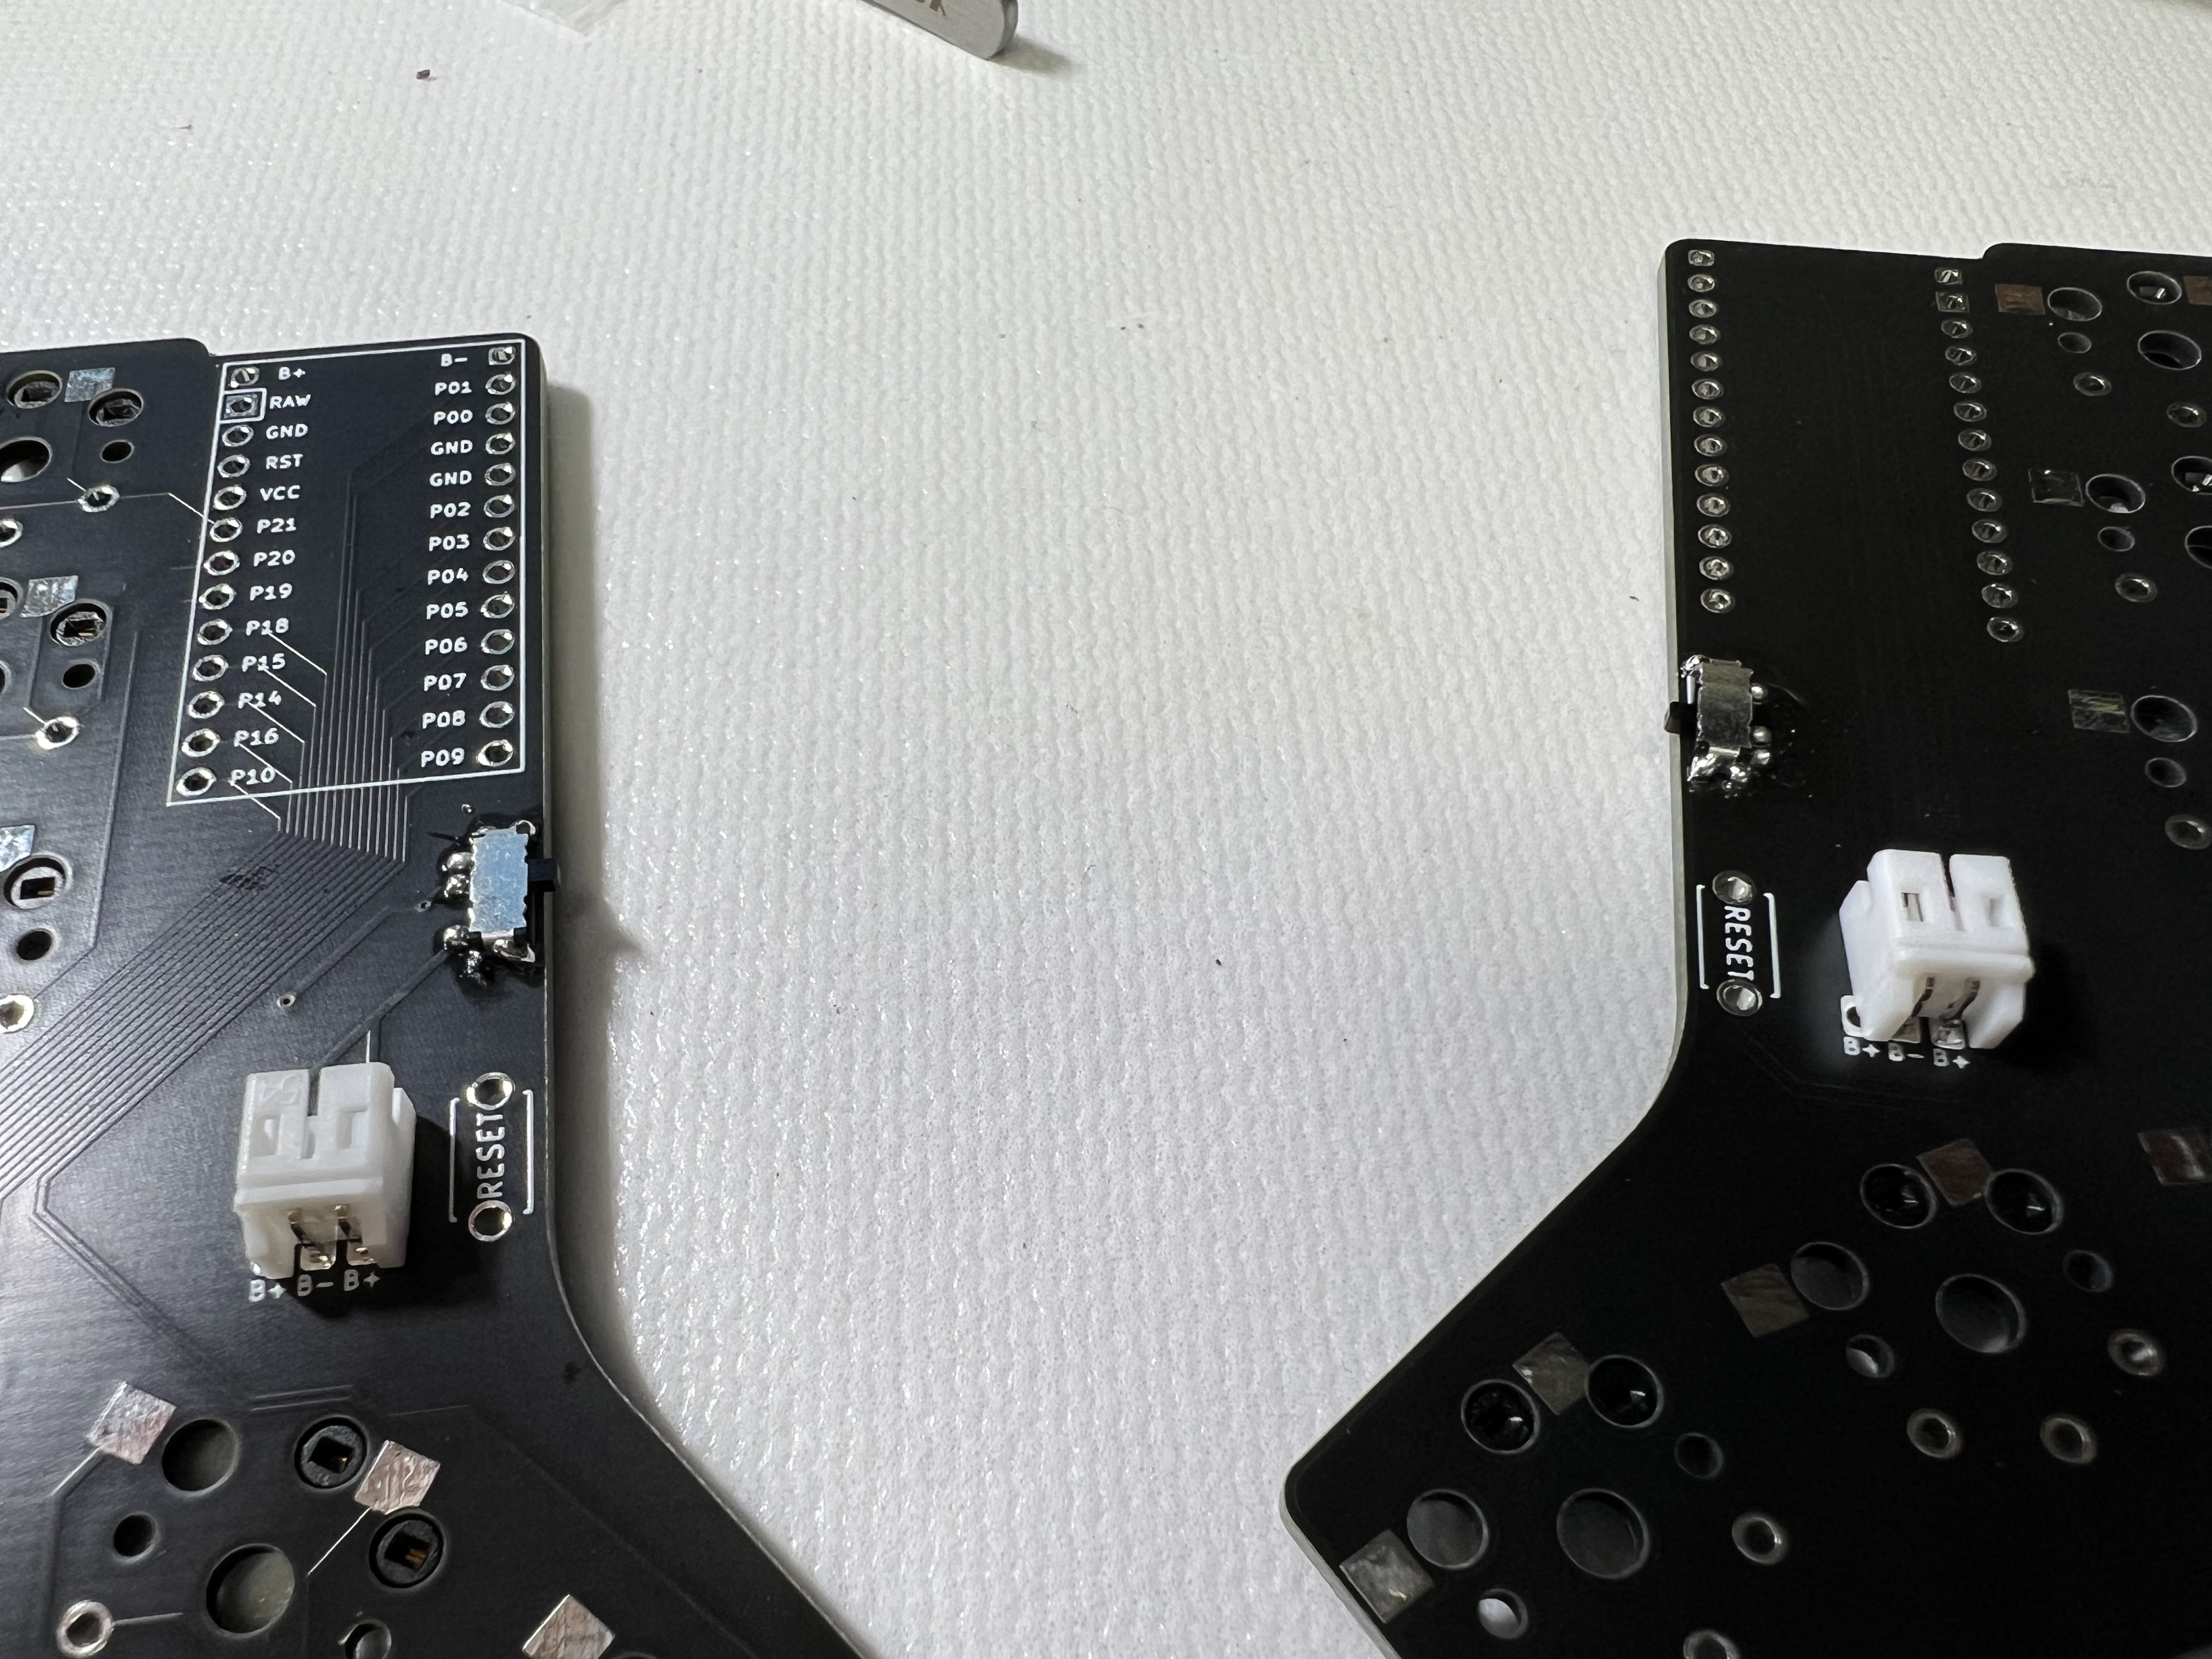
Then the JST connectors.
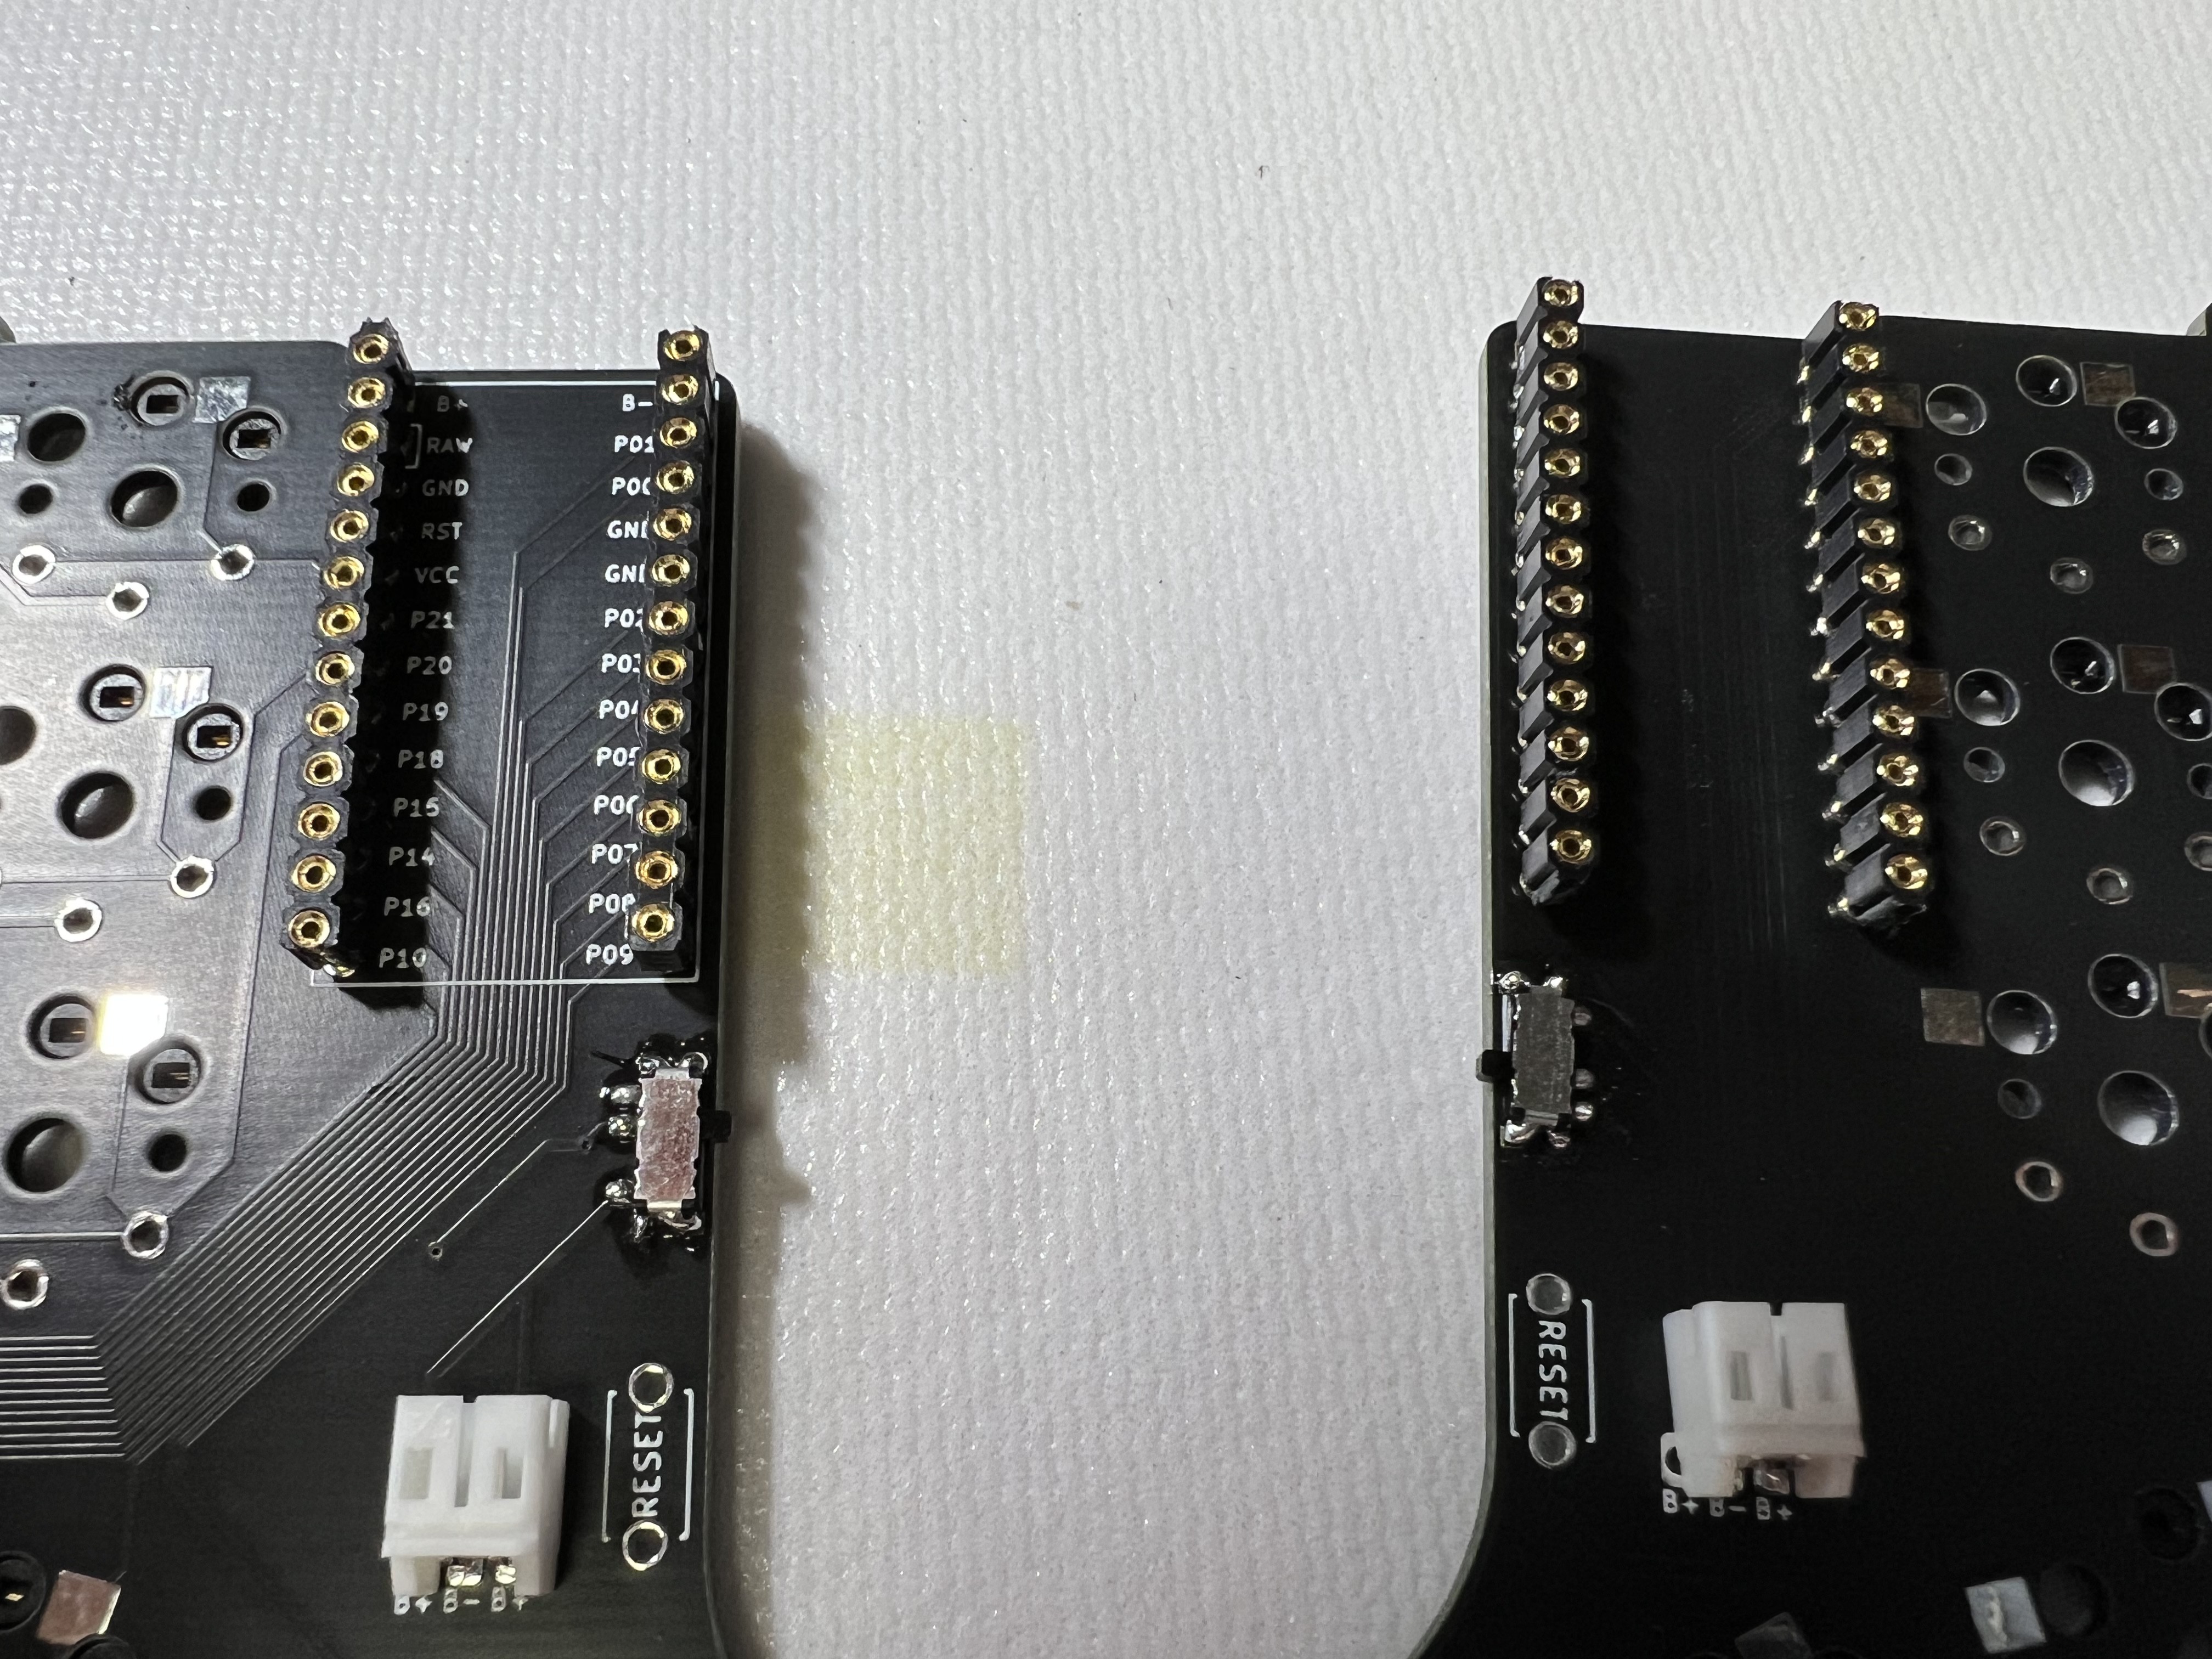
I have 2 available reset button hardware options but neither seems to match these PCBs. My big through-hole ones have a bigger square footprint and the legs don't align with the holes. The smaller SMD ones that came bundled with the power switches from MKUltra seem to also not be quite right. These are non-essential though so I can get by shorting the holes with a piece of wire or something until I confirm and get the right reset button part.
I socketed one of the nice!nanos so far. I am using diode legs instead of mill max pins. I made the mistake of trying to set all the diode legs and then slot the MCU over them. This is not doable due to alignment issues and warping the legs get when you snip them off. So I pulled all diode legs out, place the MCU directly on top of the sockets, then threaded the diode legs down through the MCU holes into the sockets. That seemed to work fine, so I soldered them on and clipped the excess.
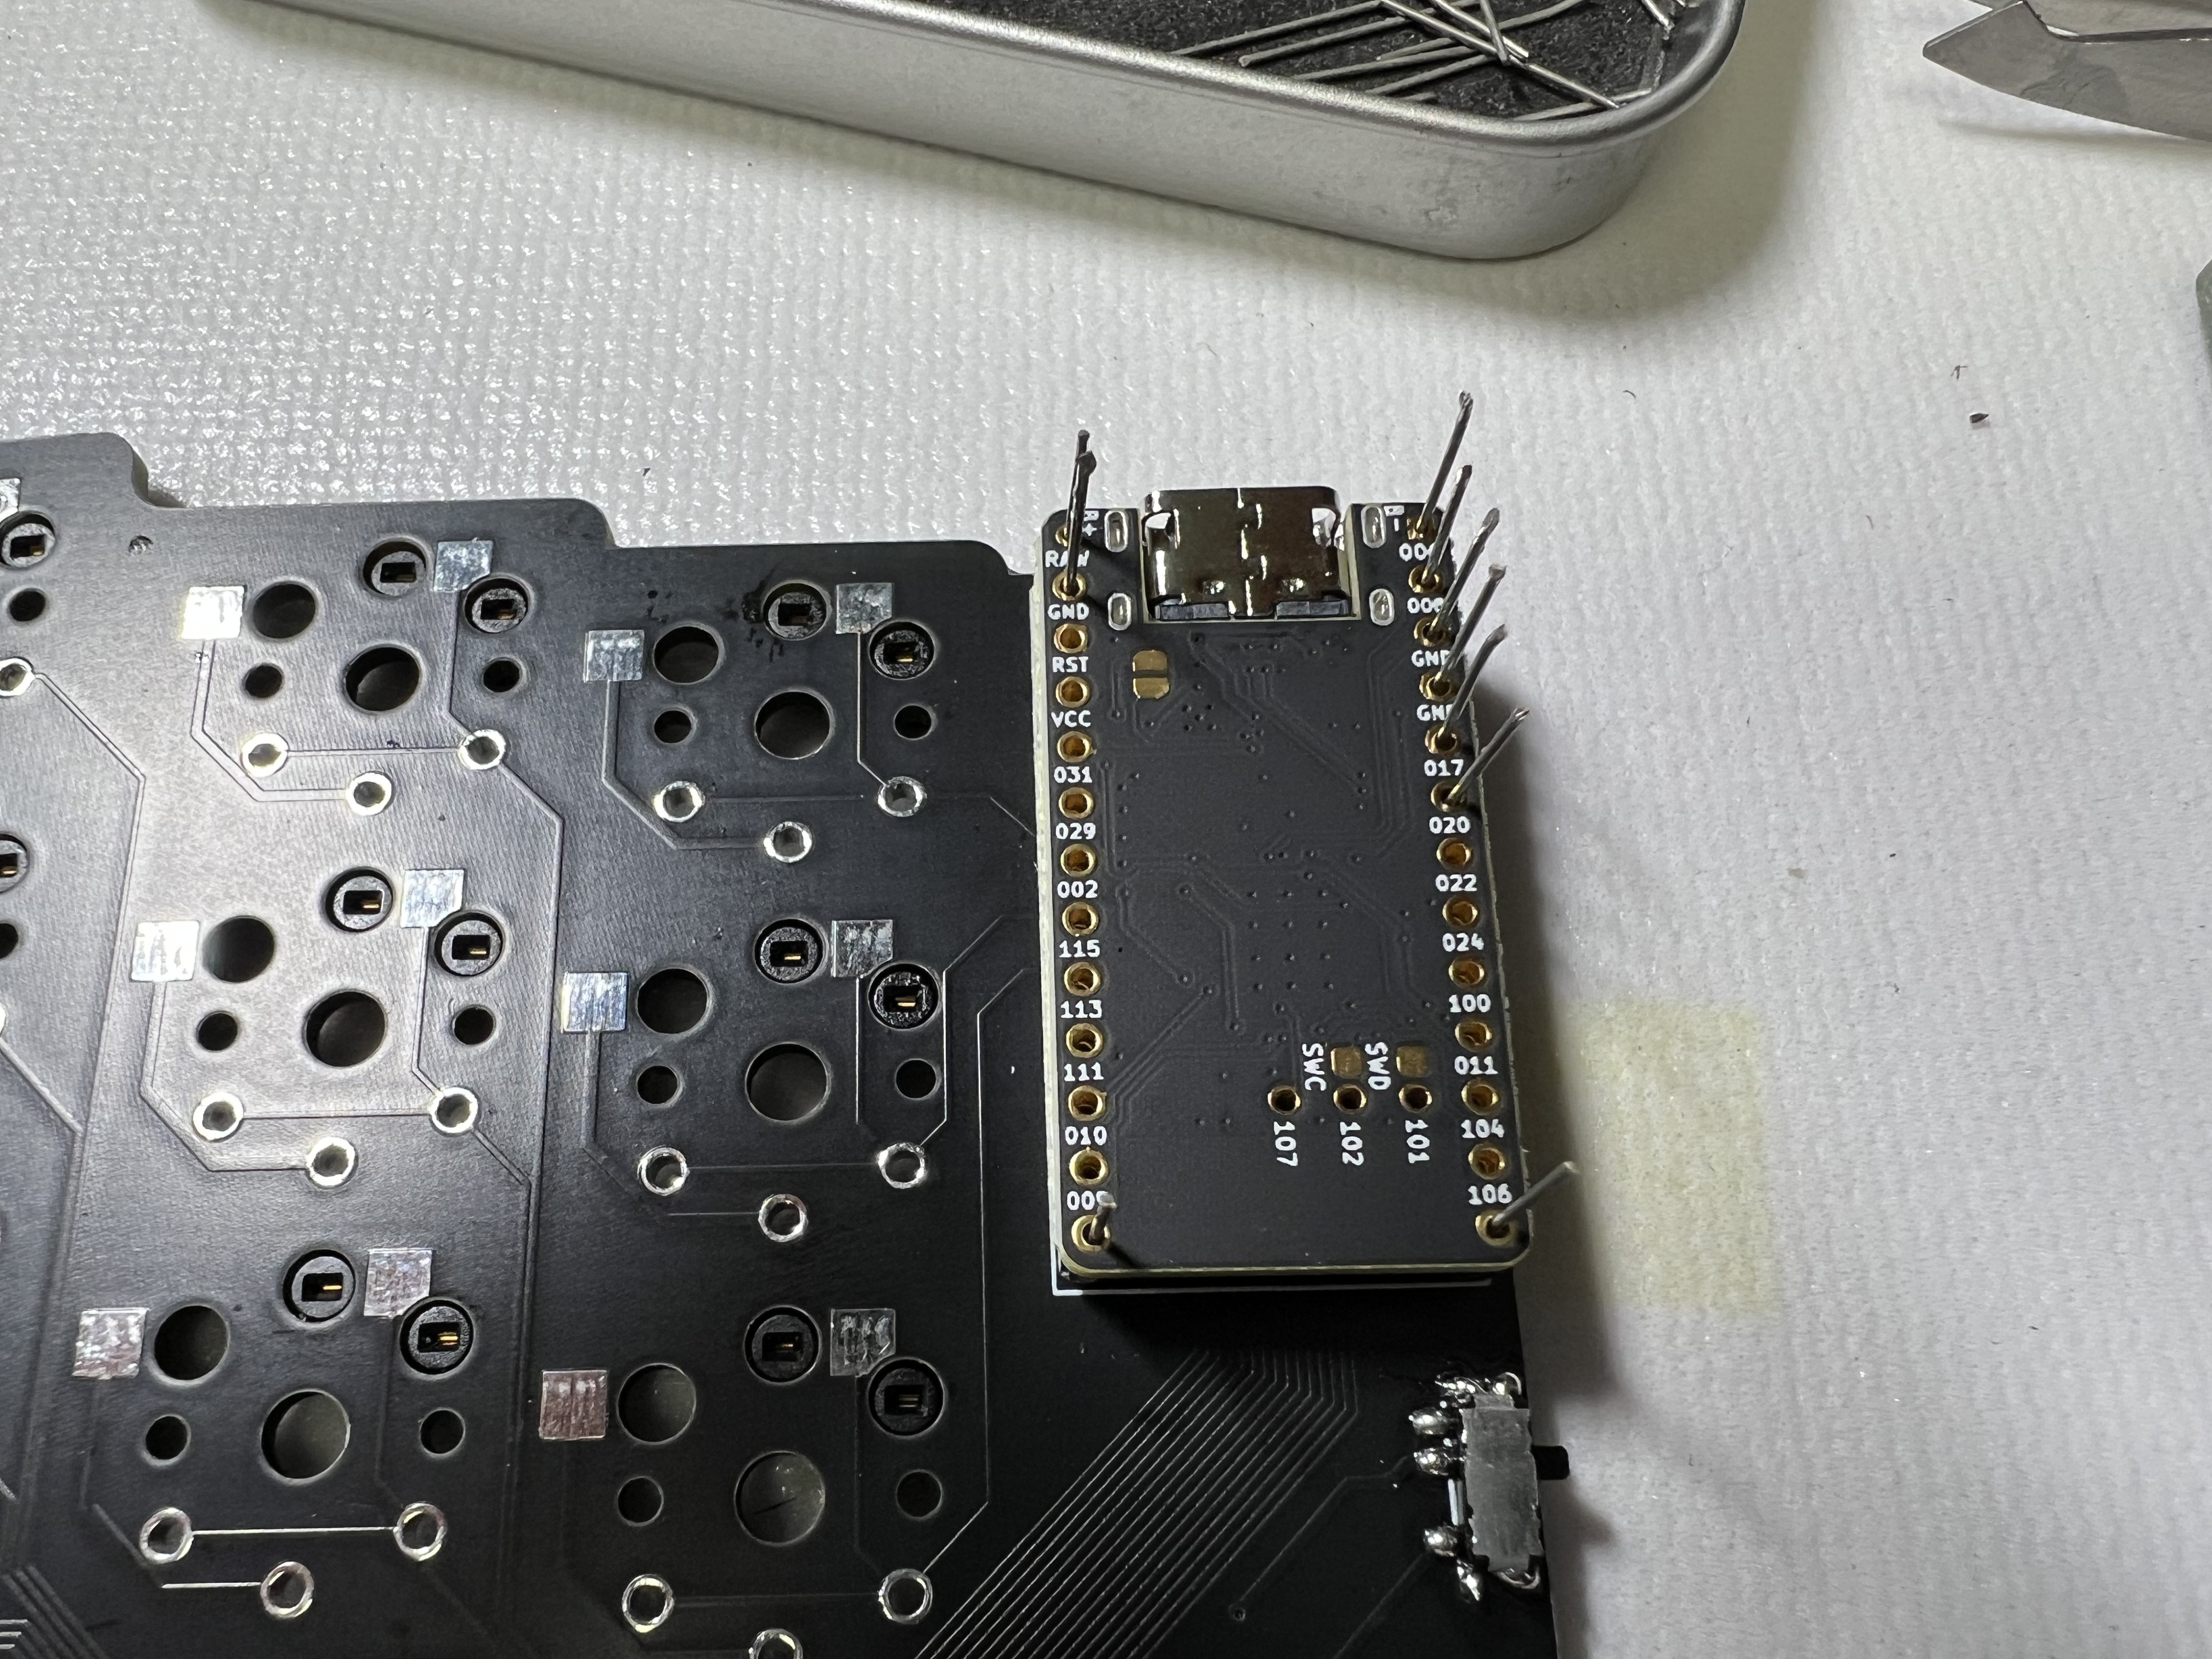

I was able to slot the battery in underneath the MCU without having to pry it out of the socket, which is a relief. Usocketting and resocketting is fraught with peril of bending tiny diode legs and creating a fiddly mess.
Discussions
Become a Hackaday.io Member
Create an account to leave a comment. Already have an account? Log In.