 Arnov Sharma
Story Behind the Idea of Recreating the Macintosh 128K Themed PC

This all starts with the original Macintosh 128K, I'm from India, and computers were introduced to the public in the late 90s. my father bought an old Macintosh 128K that he used to prepare some documents. I used it for playing games mostly.
My first PC was a Compaq Desktop that run windows98 and that was a massive change from Mac's black and white interface to a full-color display and it had soo many things on it.
Macintosh was better looking because it was an all-in-one PC of early age which was a cool thing, its hardware might not be better than my later PC but it still had an Aesthetic impact on me to this day.
the Goal of this project was to recreate a Retro icon with new hardware, so I took inspiration from the Macintosh 128K and model my own version in Fusion360.
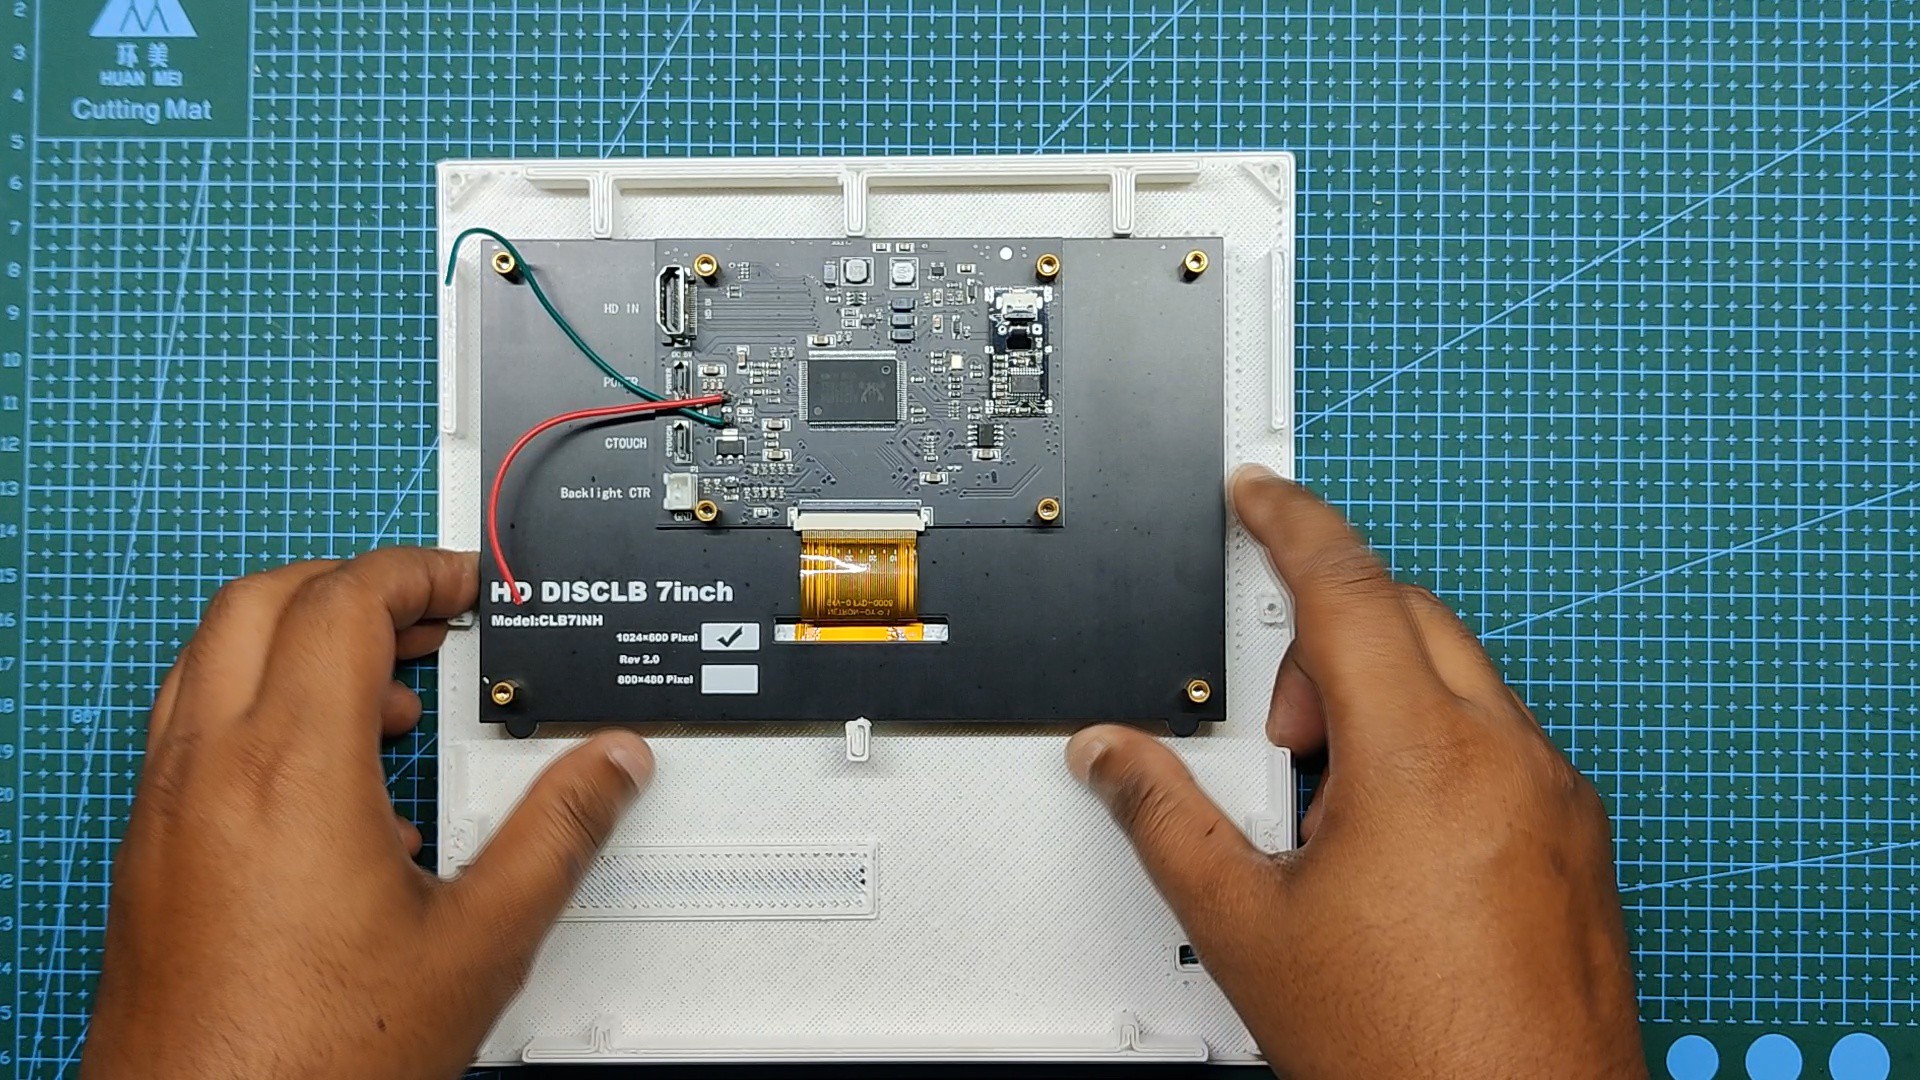
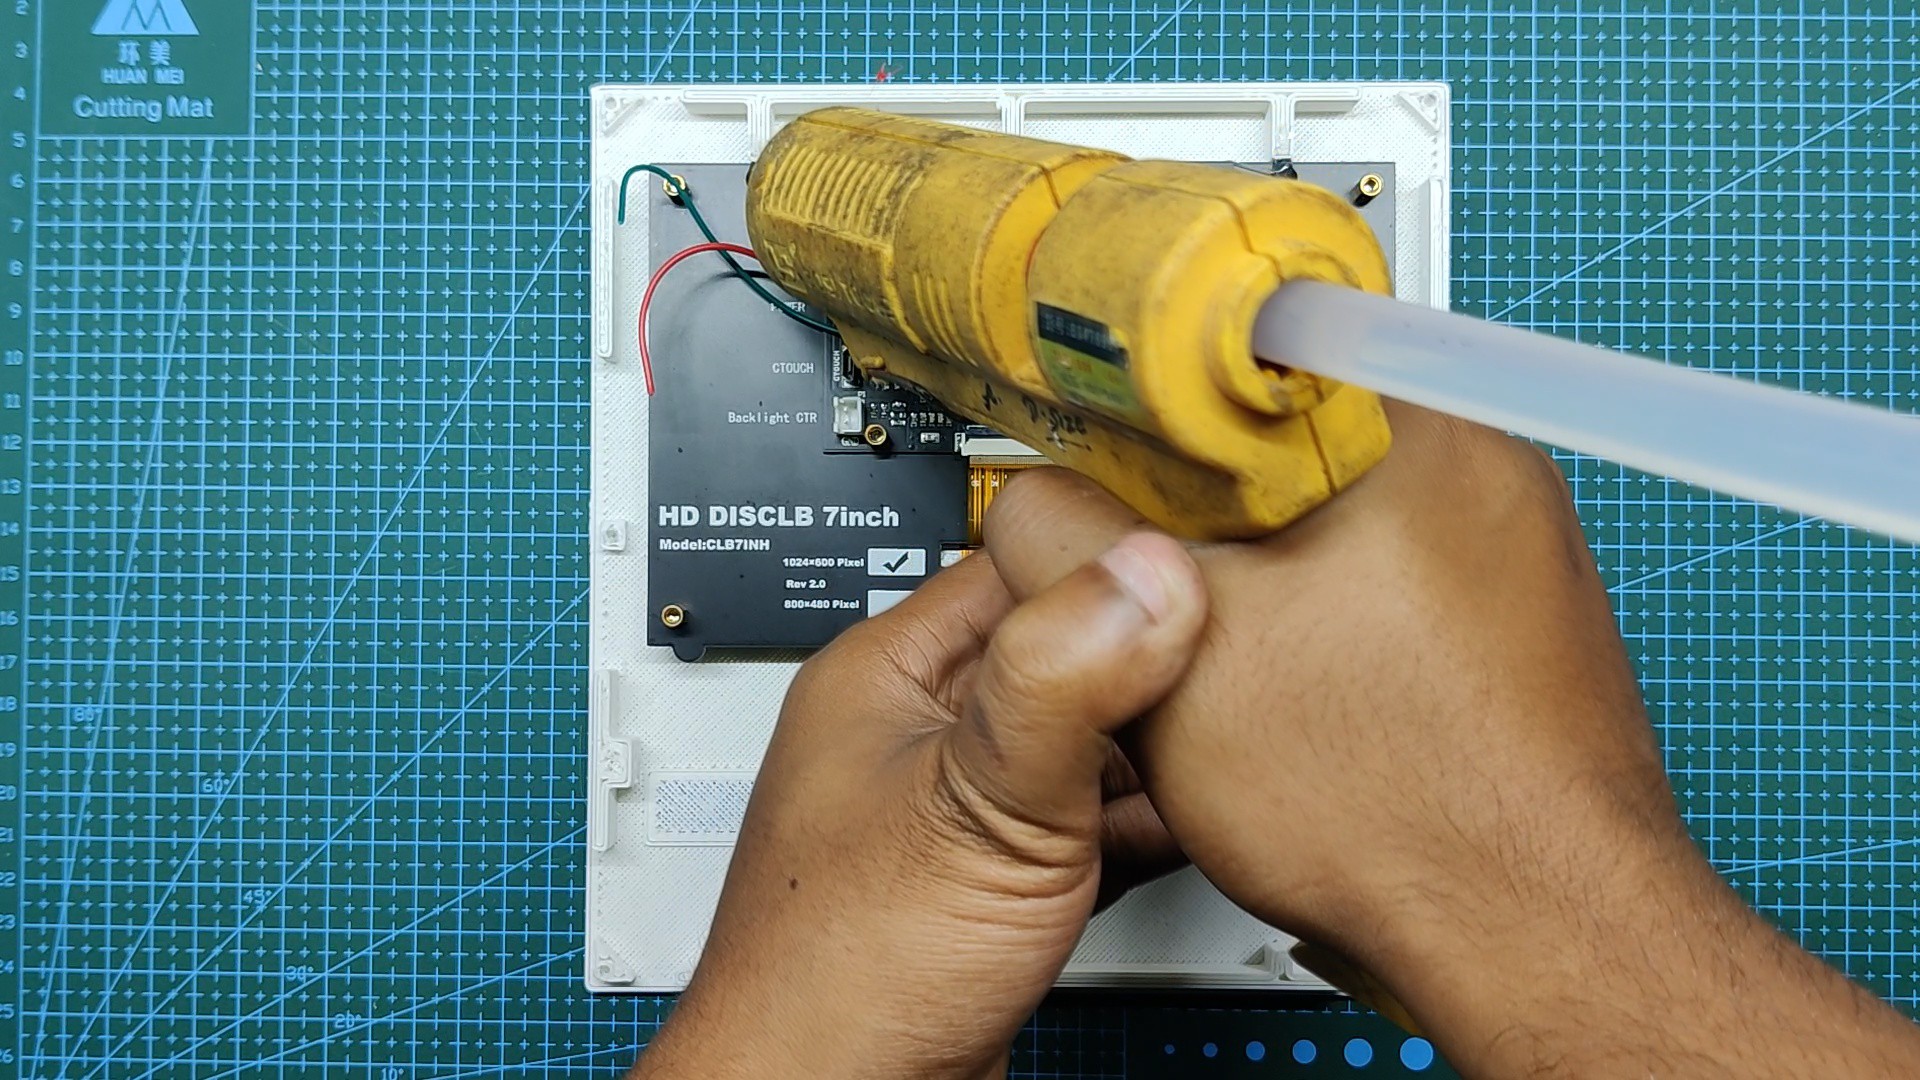
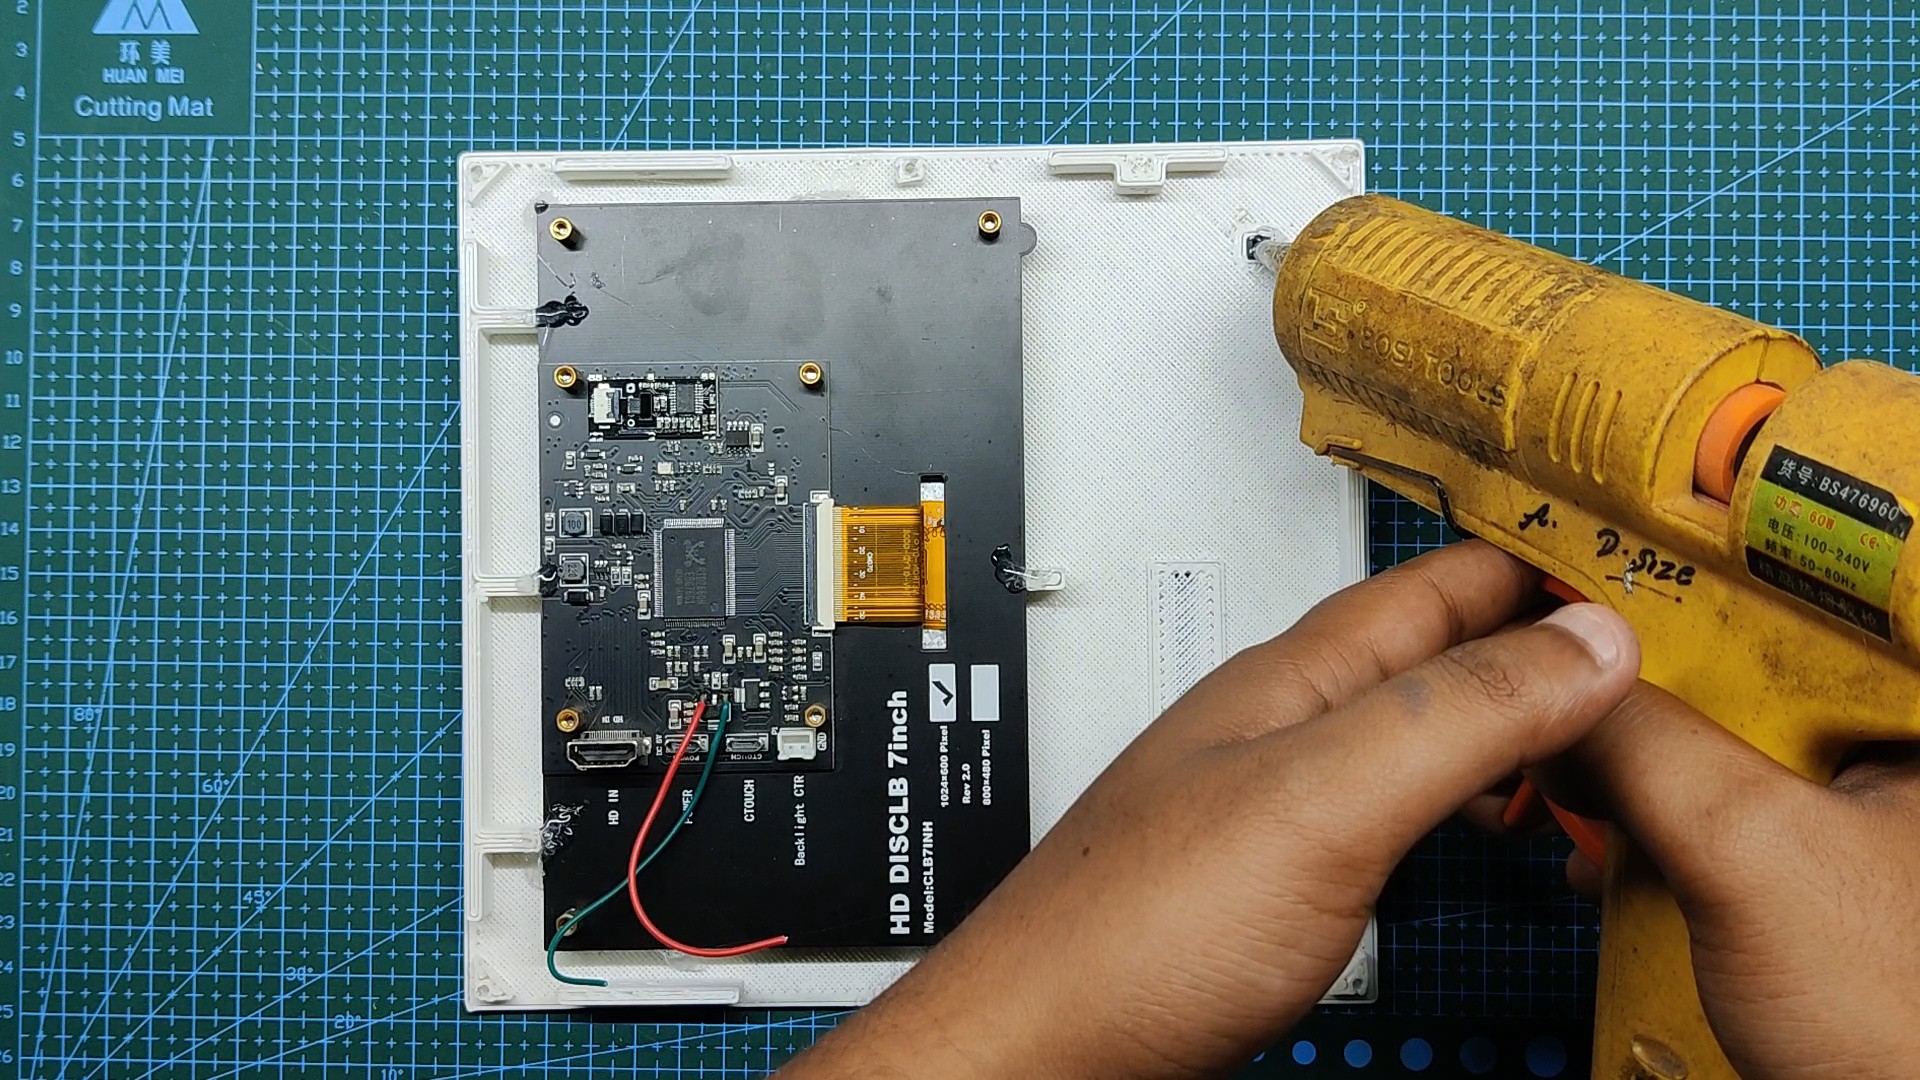
For the screen, I used a 7-inch Display that was salvaged from a previous project I built, I modeled it and prepared the body around the display.
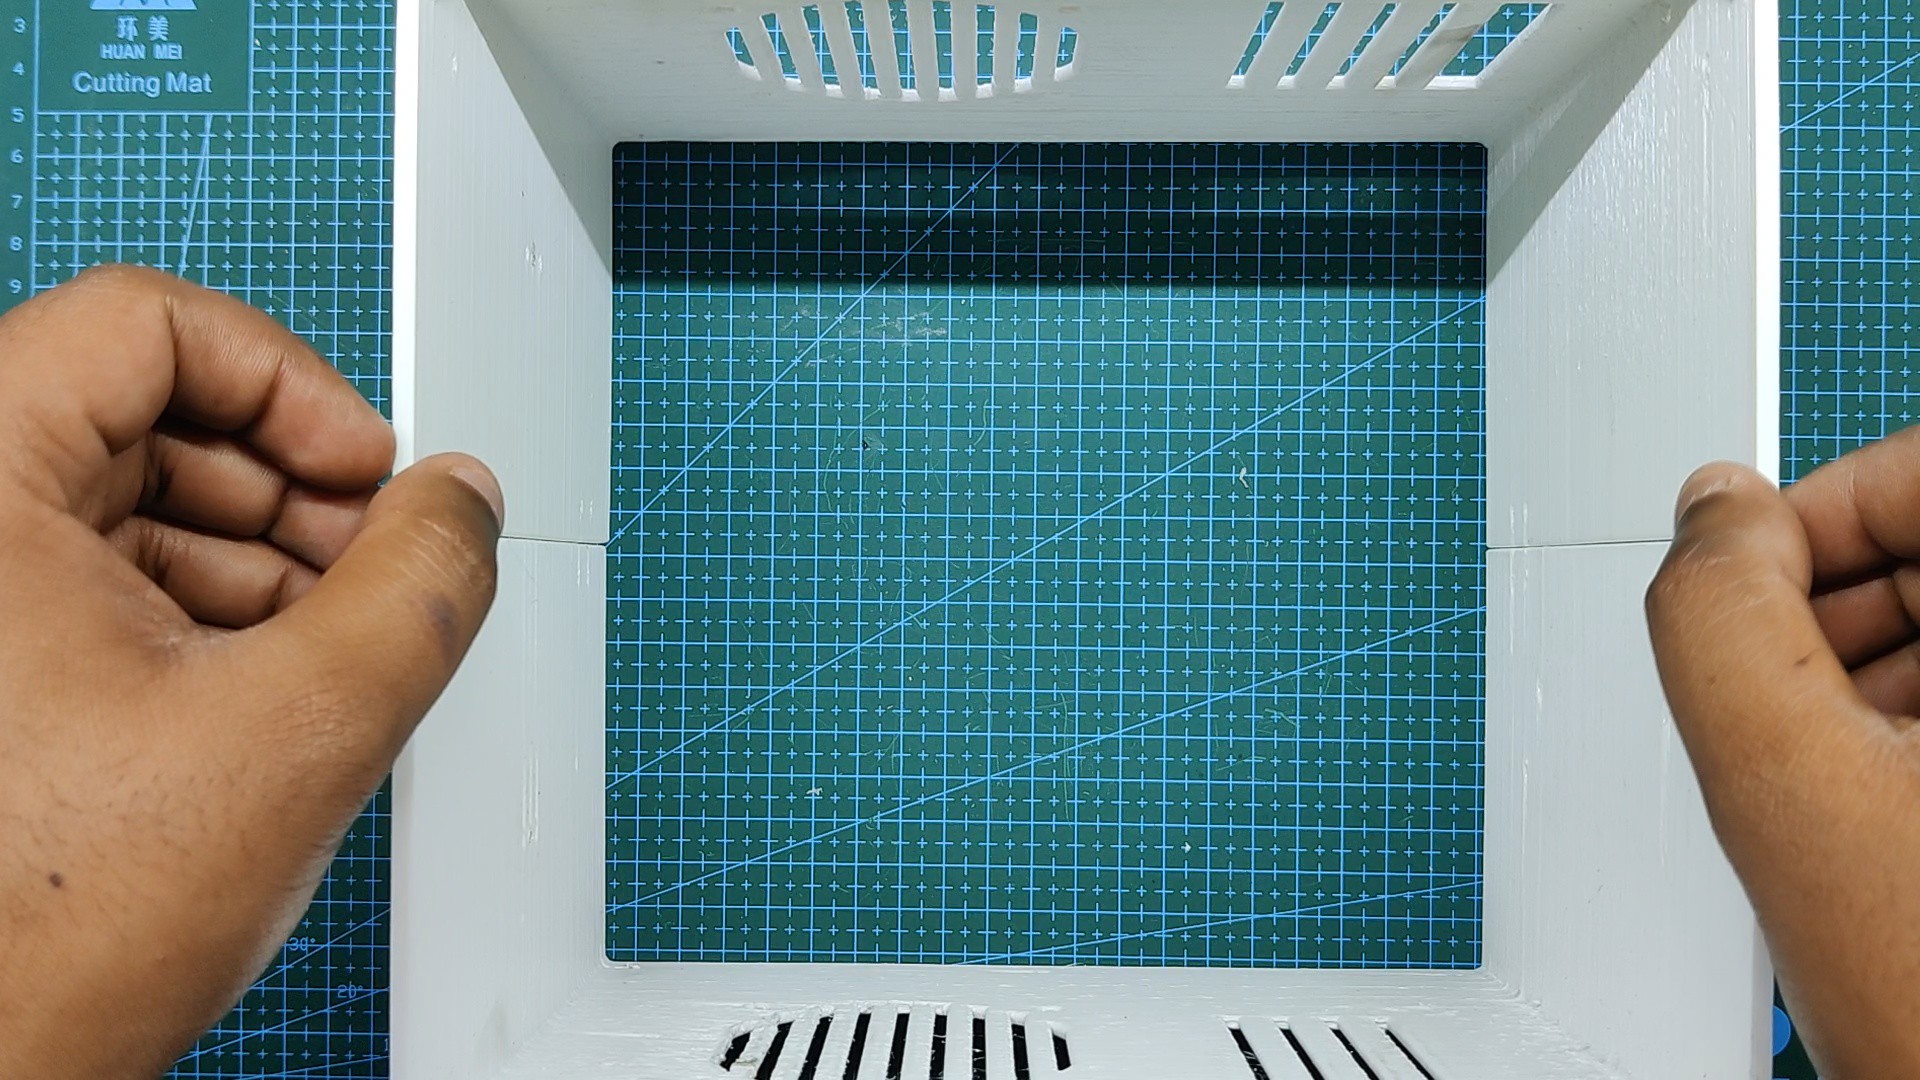
Because it's a Big Project to build and 3D Print, I made the model in 3 Parts, the Base body or Front Cover, the Middle part, and the bottom lid.
Front Cover Holds the Display, the Middle part holds the single board computer, and the bottom lid holds the fan.
Basic Setup
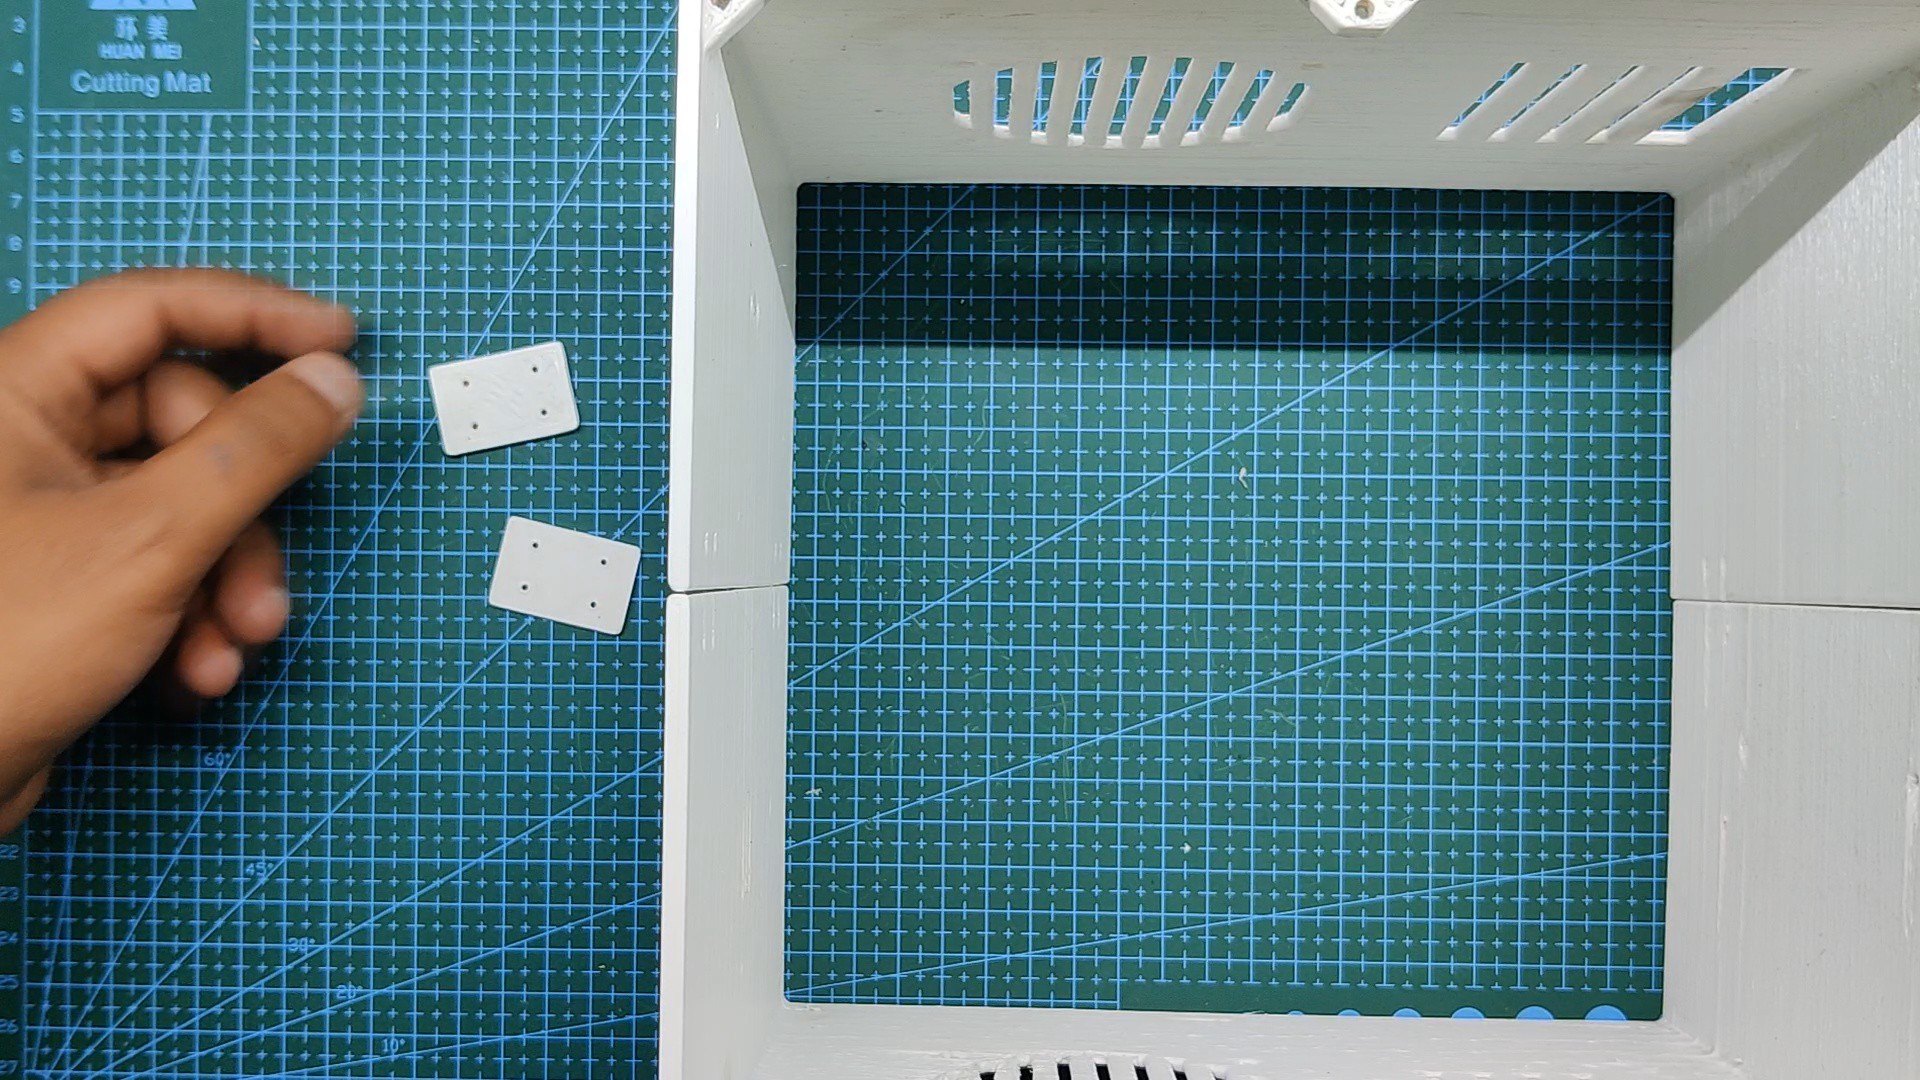
The Main Model consists of a total of 13 parts that are the base body, middle body, back lid, funnel, handle, three internal supporting pillars, four middle body holders, logo, false floppy add-on, funnel, adaptor holder, and lid of the lid.
The Base body holds the display, logo, and the false floppy disk add-on.
Middle Body holds the speaker, Latte panda, and three internal supporting pillars.
Middle Body is divided into two parts for reducing the print time from 19 hours to 10 hours by using a 1mm Nozzle.
The back lid contains the DC Fan with a funnel for airflow and the Latte Panda's adaptor holder, it also contains the lid of the lid which is a part that we add to the back lid, it can be opened to see what's happening inside the PC.
As for 3d printing all the parts, I used Cura with these below settings-
- Nozzle - 1mm
- Layer Height - 0.32mm
- Infill- 50% cubic
- Fan 20% Speed
- Material - PLA
We need to print the following parts-
- base body
- middle body
- back lid
- funnel
- handle
- internal supporting pillar 1 x 2
- internal supporting pillar 2 x 1
- middle body holder x 1
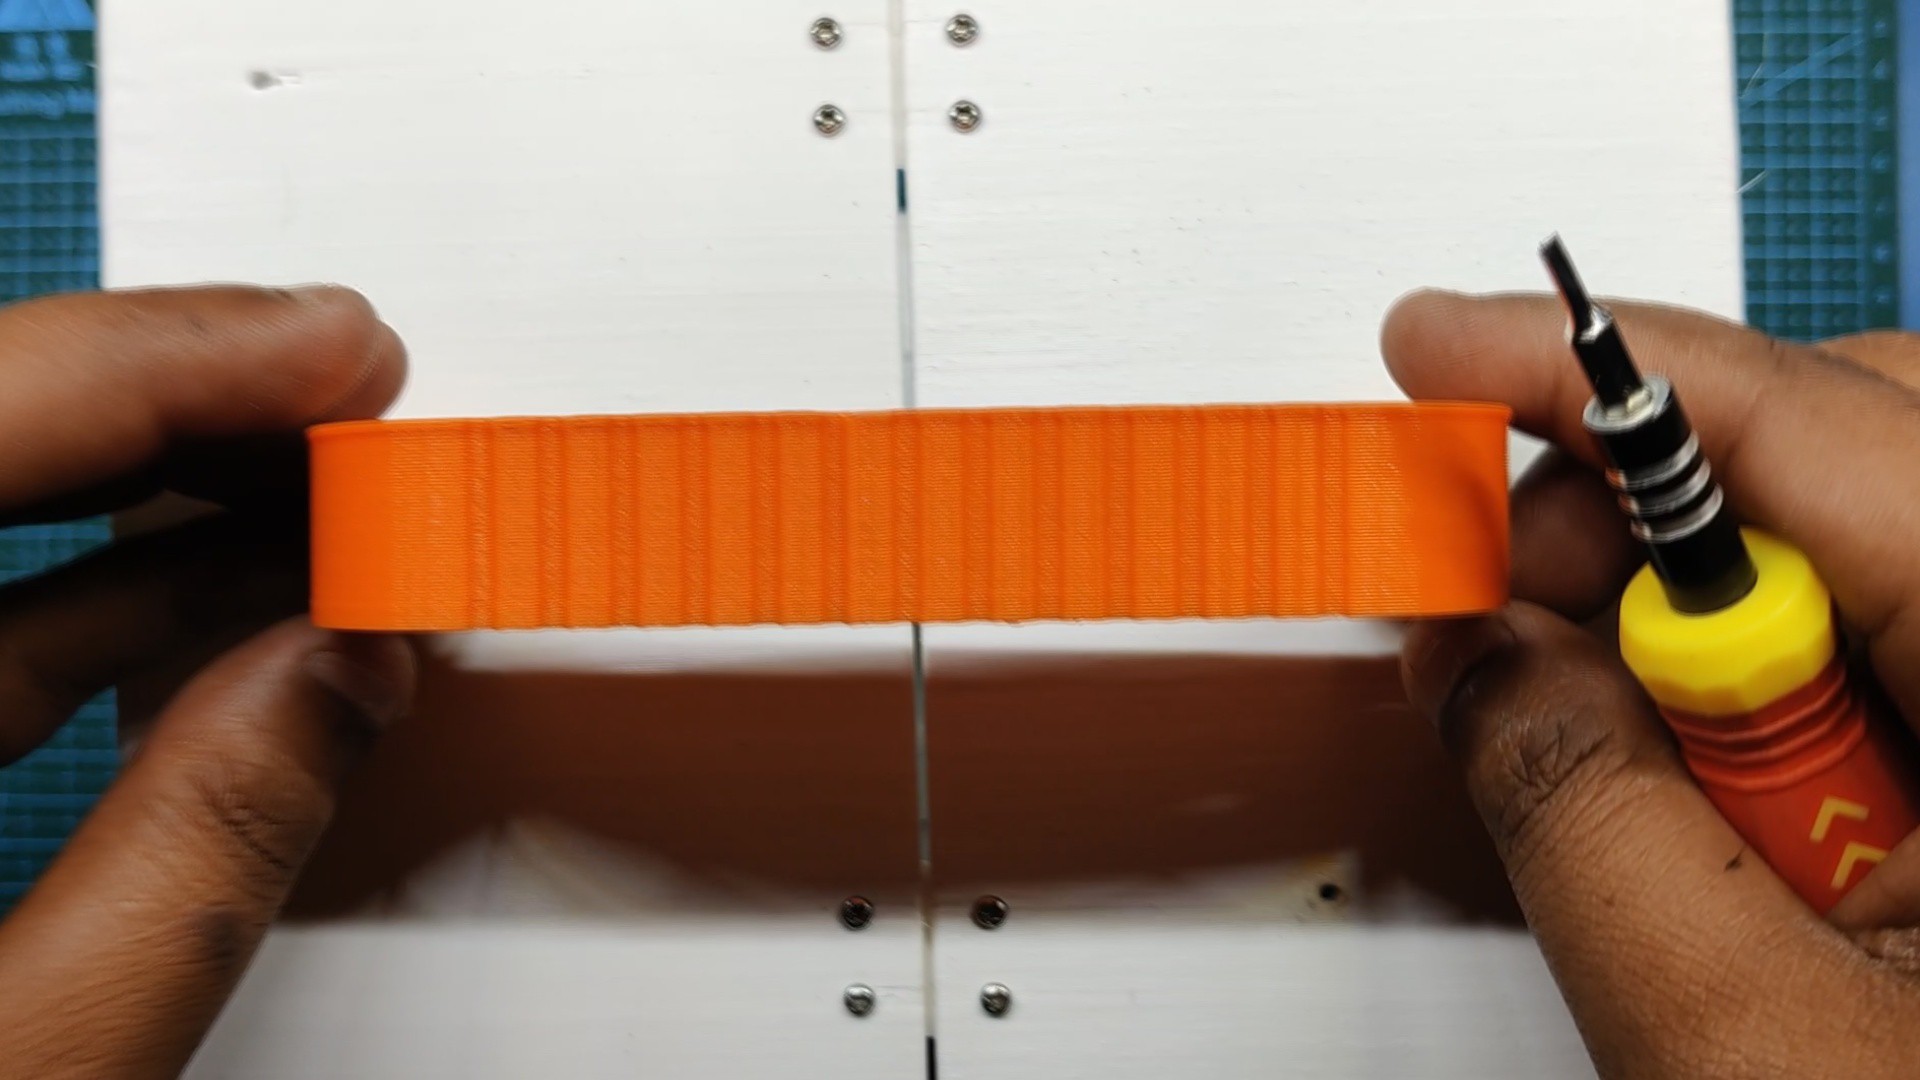
- logo x 1 with Orange PLA
- false floppy add-on x 1 with Orange PLA
- funnel x 1
- adaptor holder x 1
- the lid of the lid x 1 with Orange PLA
 Brian Huang
 M.daSilva
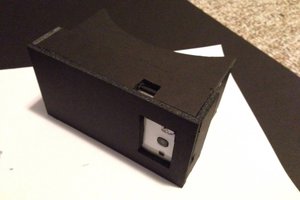
 ThunderSqueak