lambtor
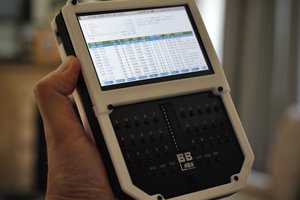
Like most of these types of projects, I figured the easiest starting point would be a raspberry pi400. Then I found a screen in a perfect form-factor. Throwing those in a shell should be no problem.
Form factor comes from pictures listed on reddit over a year ago:
https://www.reddit.com/r/cyberDeck/comments/o8fs93/cyberdecks_in_neon_genesis_evangelion/
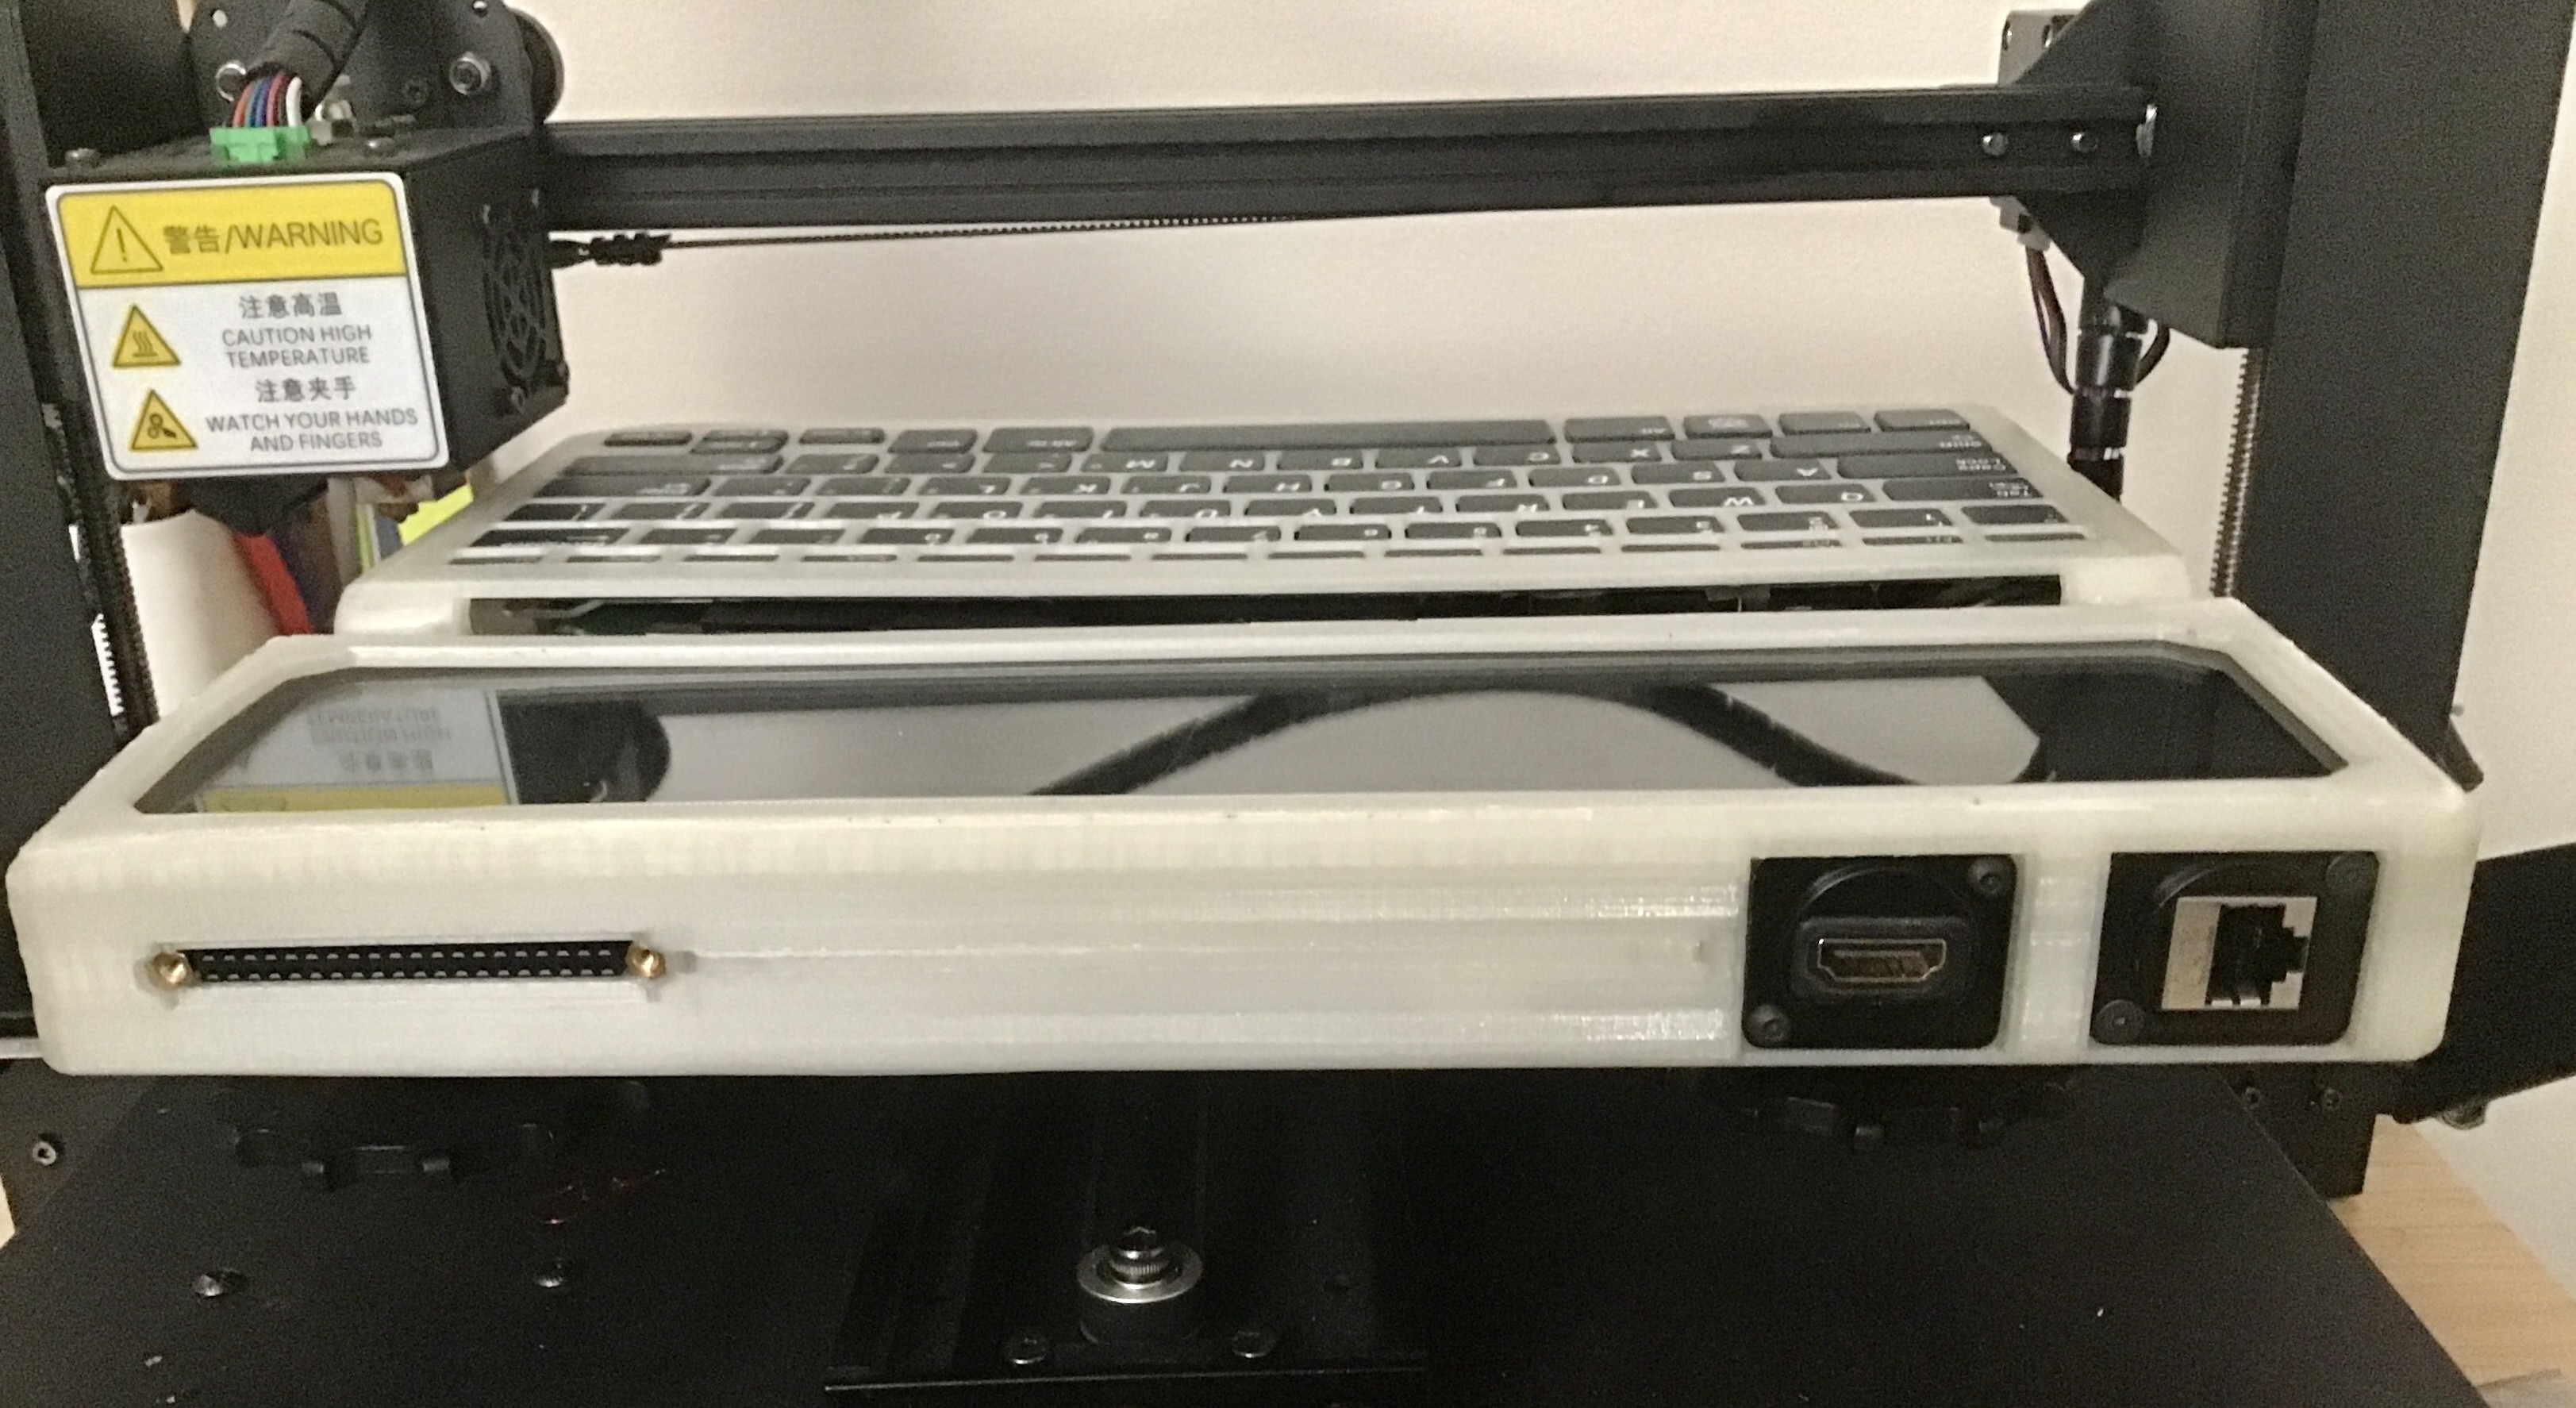
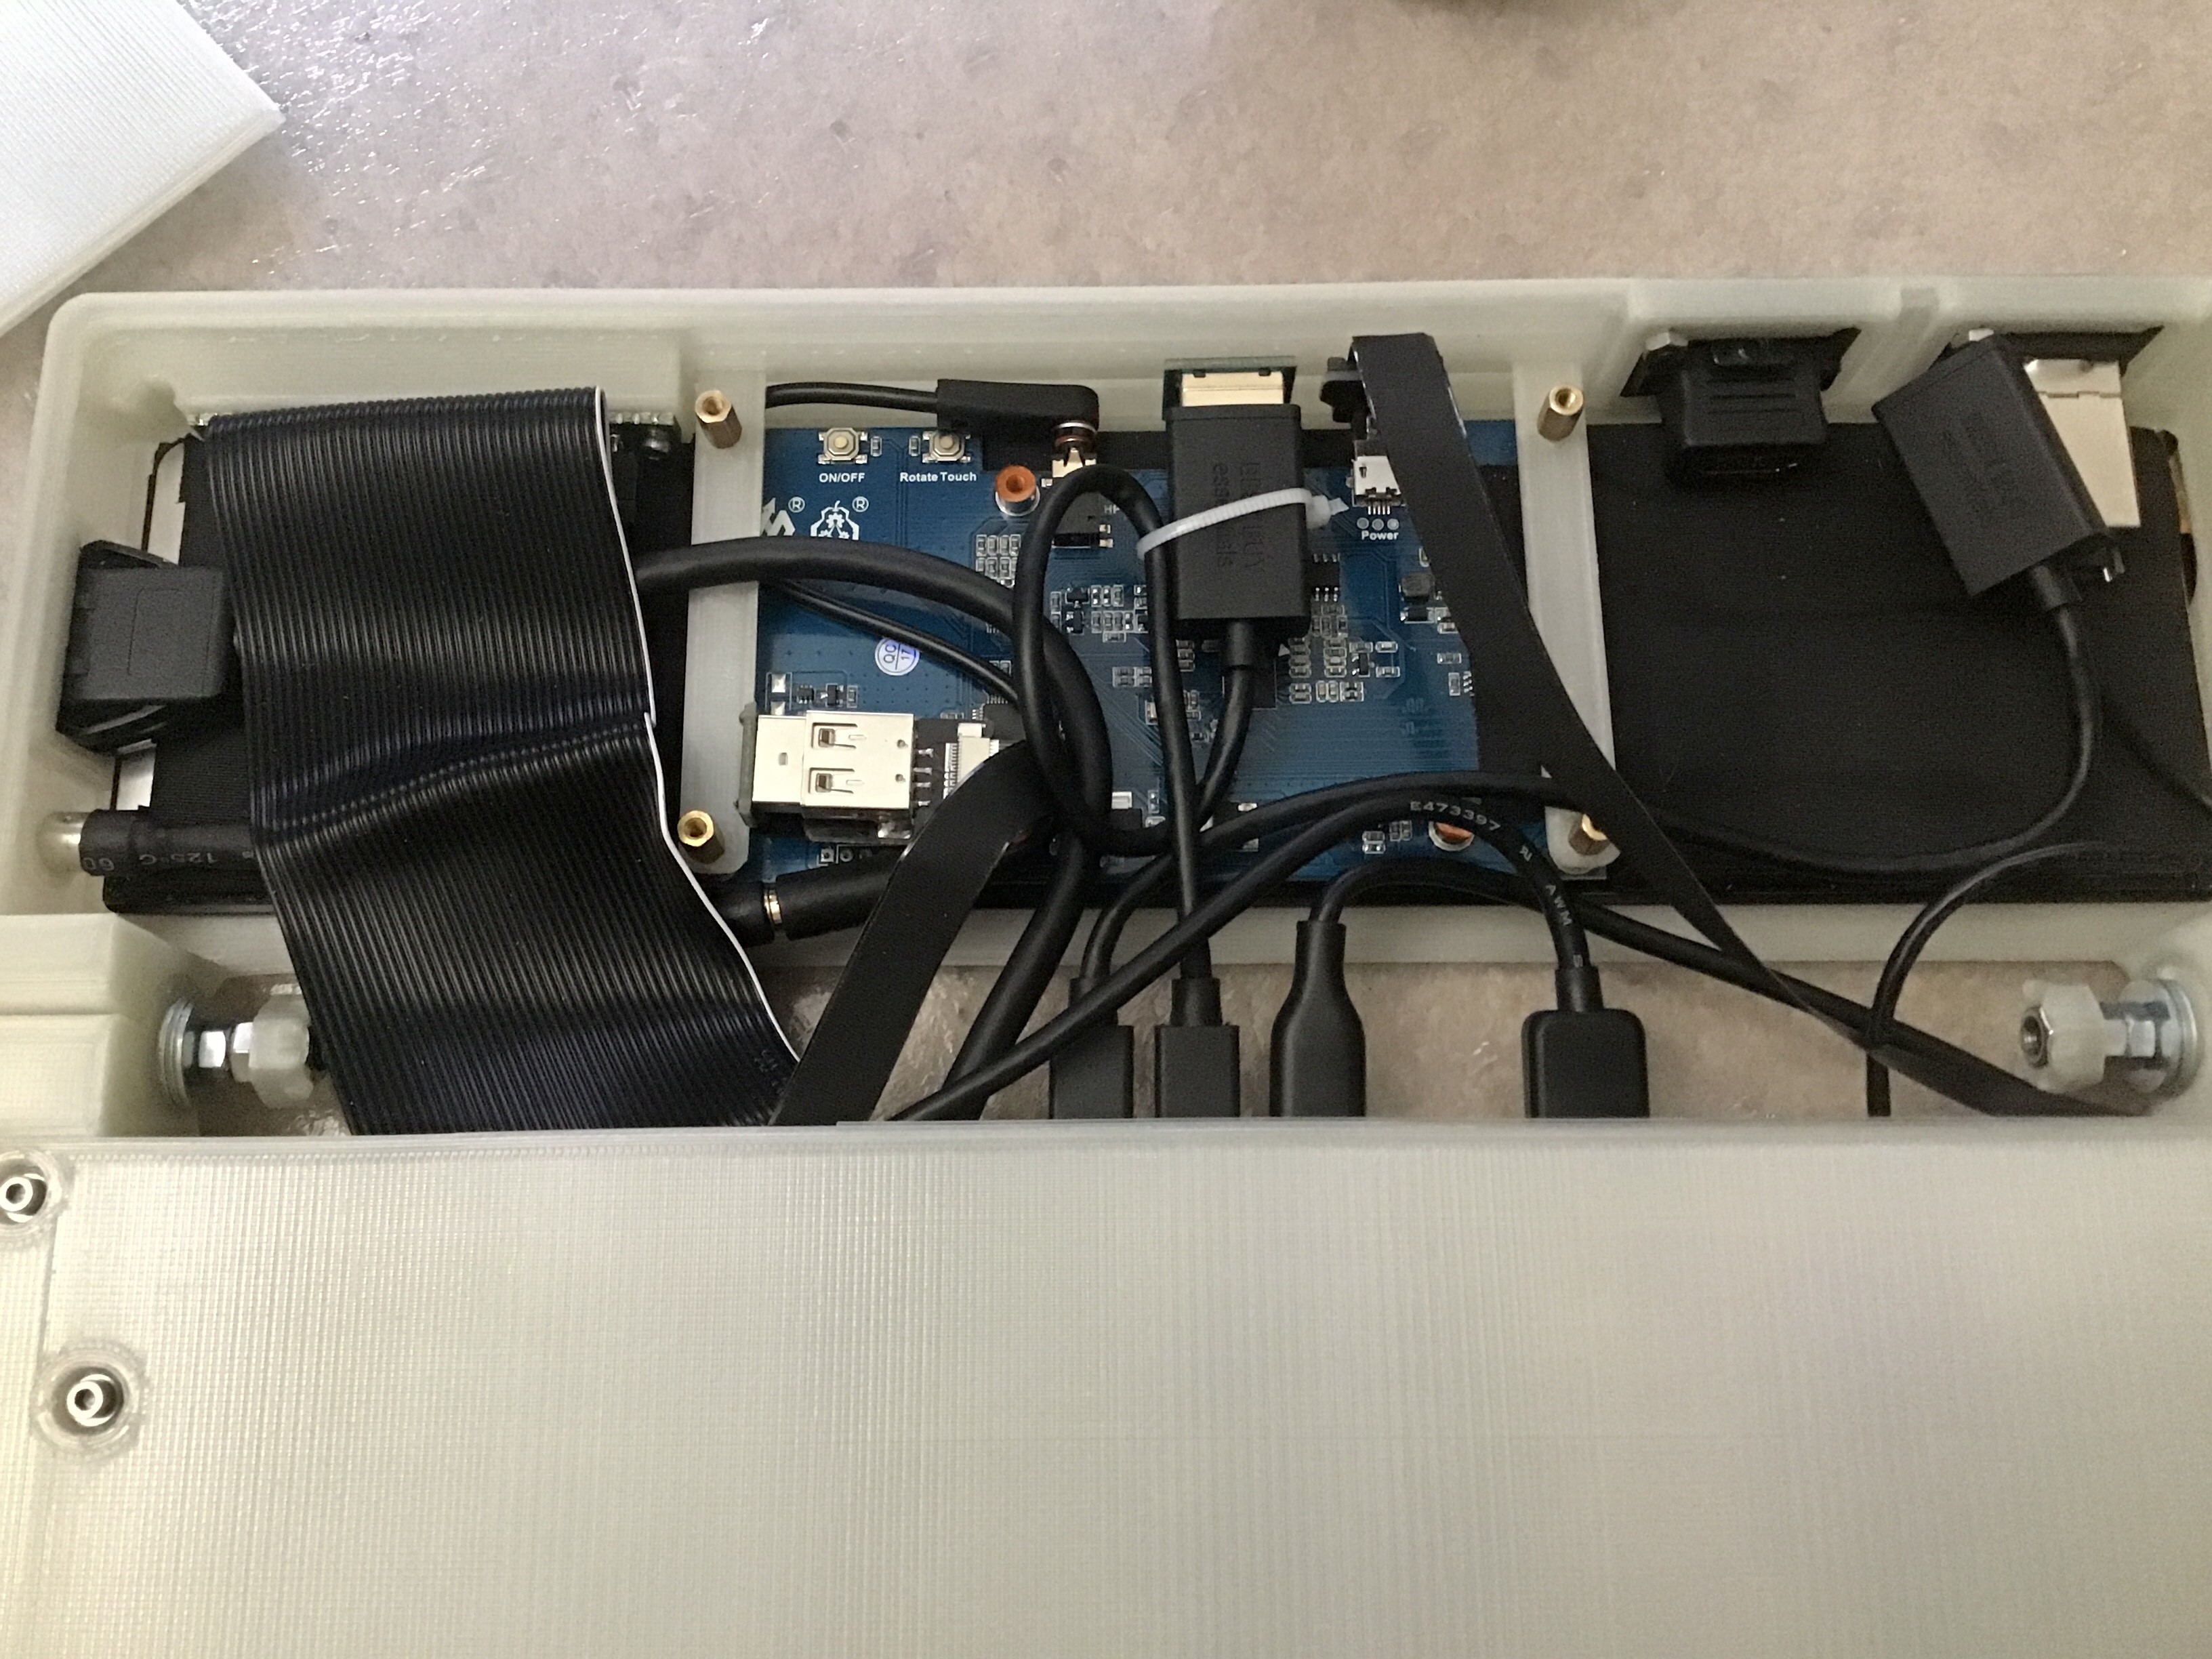
I wanted access to all the pi400 ports and GPIO. A hacker deck is all but worthless if you can't actually interface with data pins on other devices. The biggest challenge with this was finding clean panel mounts for the ports. Not many places make really small cables with a focus on thinness. I had wanted clean seams around the entire case- at least for the ports- but that wasn't possible. Panel mount ports were the best option to screw into the shell, but the footprints on them are really large.
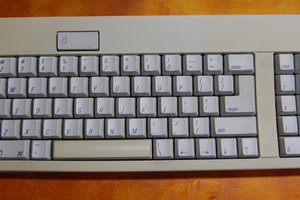
To go for a cleaner look, I ended up buying a separate raspberry pi keyboard in black. The same cable is used for the standard keyboard keys as the pi400 keyboard, so that was a simple swap.
Initially I just wanted the large flat brick form-factor, but the utility of the screen being able to tilt to 90° was just too nice. I struggled trying to find ways to design this until I found a solution on thingiverse using M5 screws, nuts, and washers: https://www.thingiverse.com/thing:5420983
Power is also kind of a pain to manage, though the pi400 has a keyboard button combo for power. The whole thing runs off an ANKER 10k mah portable charger. The specific model was chosen for both its capacity and the fact that it outputs the 5V 3A required by the pi400.
I was tempted to print the shell in a flourescent color, but found a glow in the dark filament at Form Futura. You need to leave the deck in the sun for a few hours, but you don't need internal RGB when the shell itself glows in the dark.
This project could certainly use some clean-up. The top section's USB panel mount is 2.0 - a 3.0 cable is supposed to be available soon. The secondary HDMI panel mount cable is super awkward and takes up way too much space - that will also get replaced when an alternative is found.
Parts list:
hdmi panel mount
waveshare 11.9" touch screen
cat6e panel mount plug
usbc panel mount plug
usb3 panel mount plug
usb3 panel mount cable
stereo 90deg male plug
stereo female breakout plug
diy usb cables, 8cm x2 female->male micro male 90 deg up -> usbA male
usb 2.0 hub 2-4 port, flattest & smallest possible
micro hdmi to hdmi plug
pi400
black raspberry pi keyboard (optional - only if you don't want to have white keys)
https://www.adafruit.com/product/4112
anker 10k charger/battery with usb A and usb C
m5x35 screws *2, nuts*12, washers*12
m2.5 standoffs, screws
ultra slim 6" cat5e cable
pi ribbon cable female to female, 6"
protoboard for stacking gpio male->female

 Benchoff
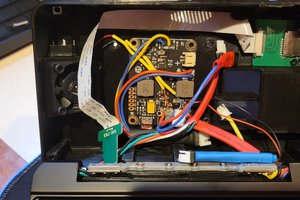
 Richard