Wernsey
-
Photos
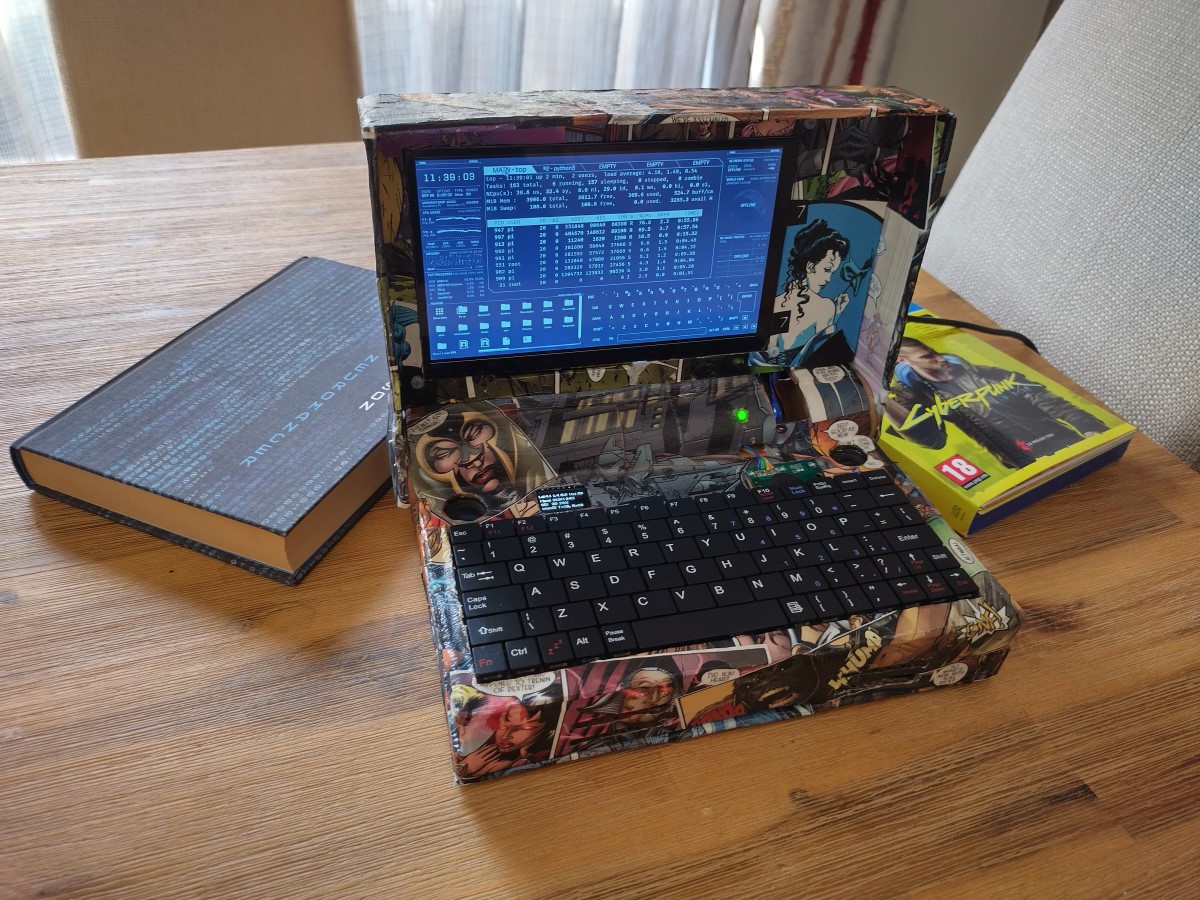
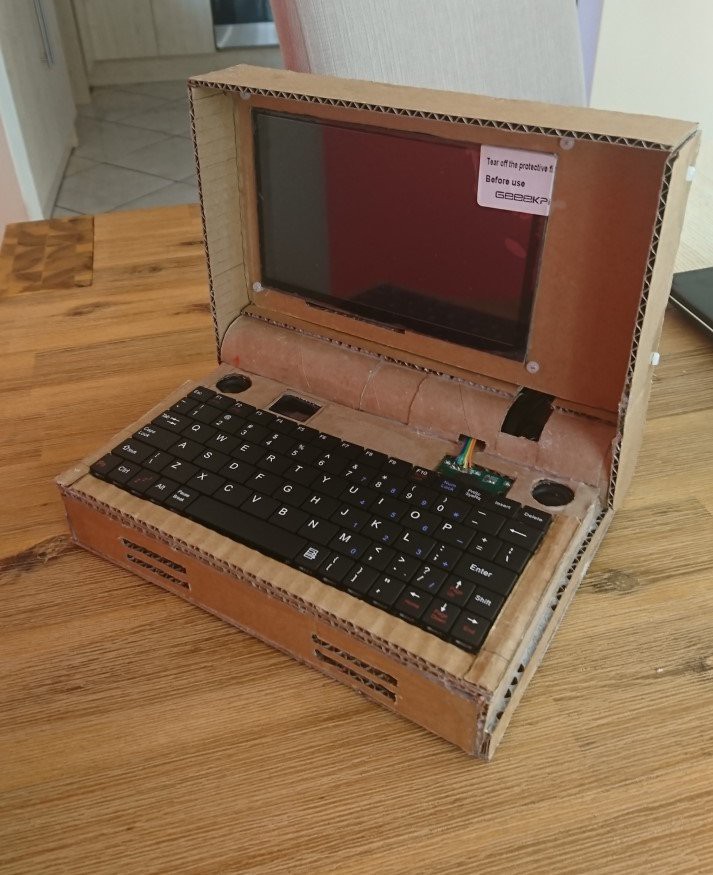
09/27/2022 at 17:48 • 0 commentsViews from the front:
![]()
![]()
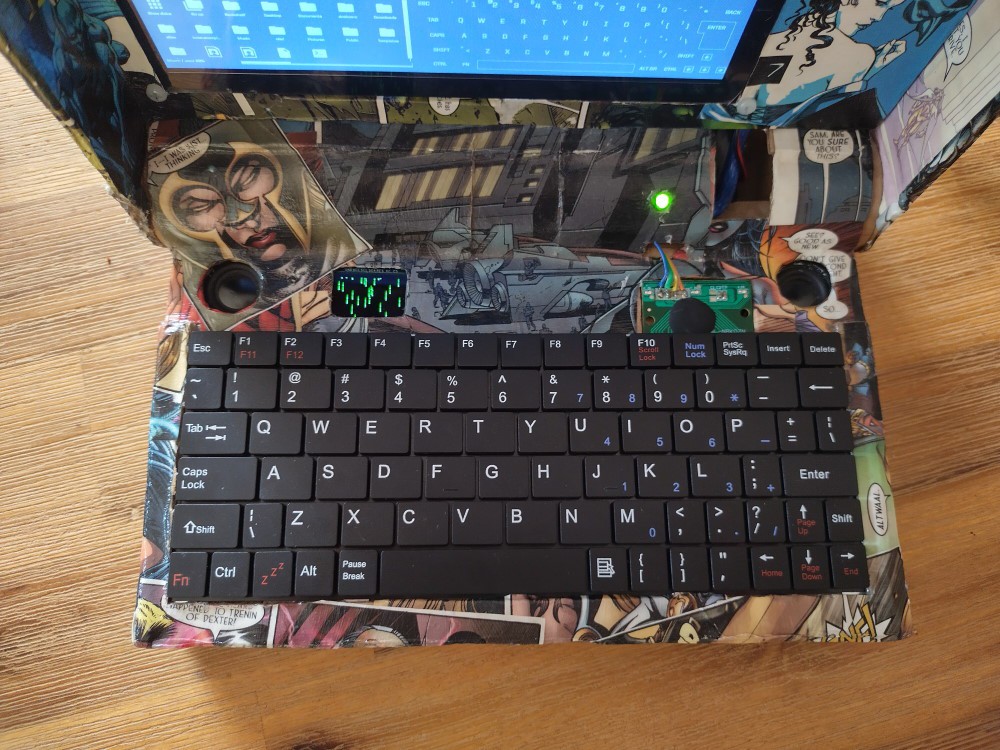
View from the top, showing the OLED display:The system info from Luma.oled's examples:
![]()
The Matrix demo:![]()
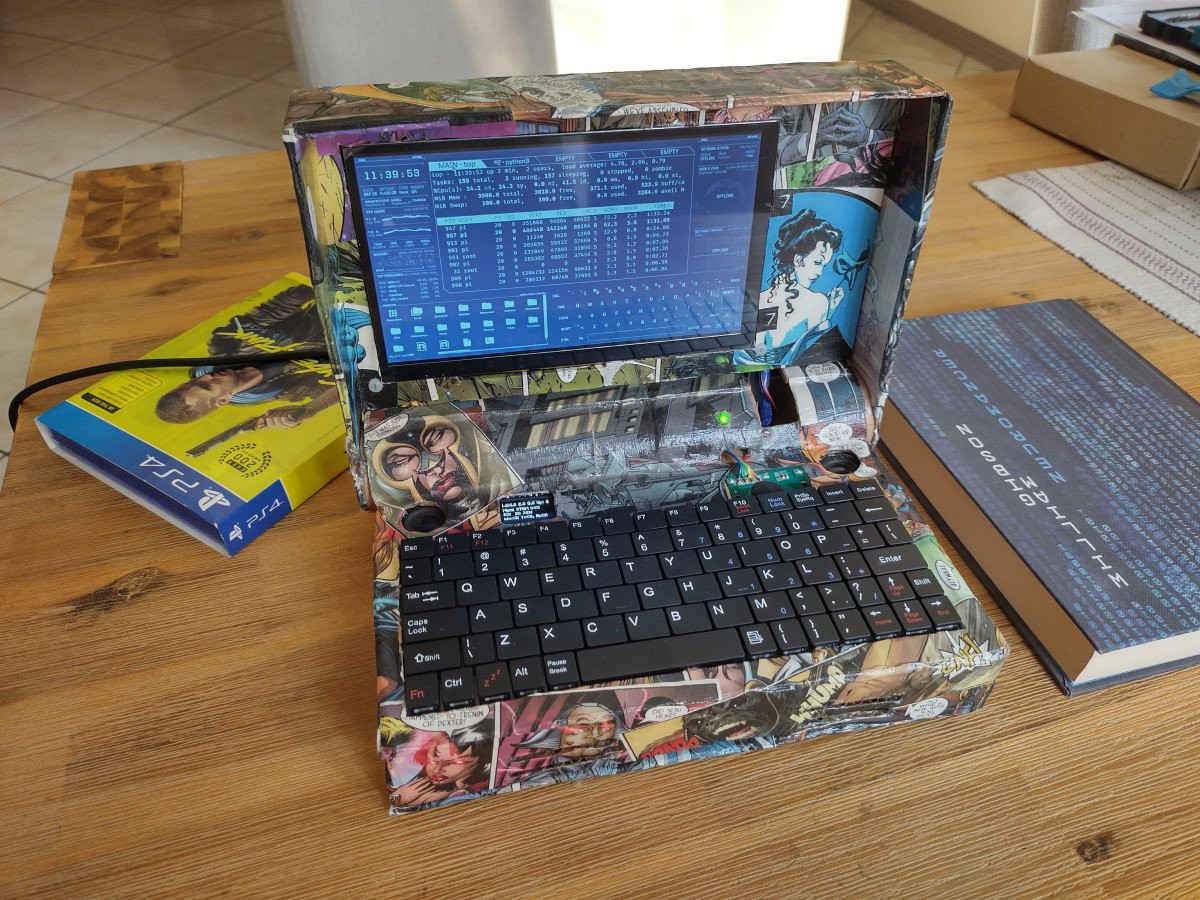
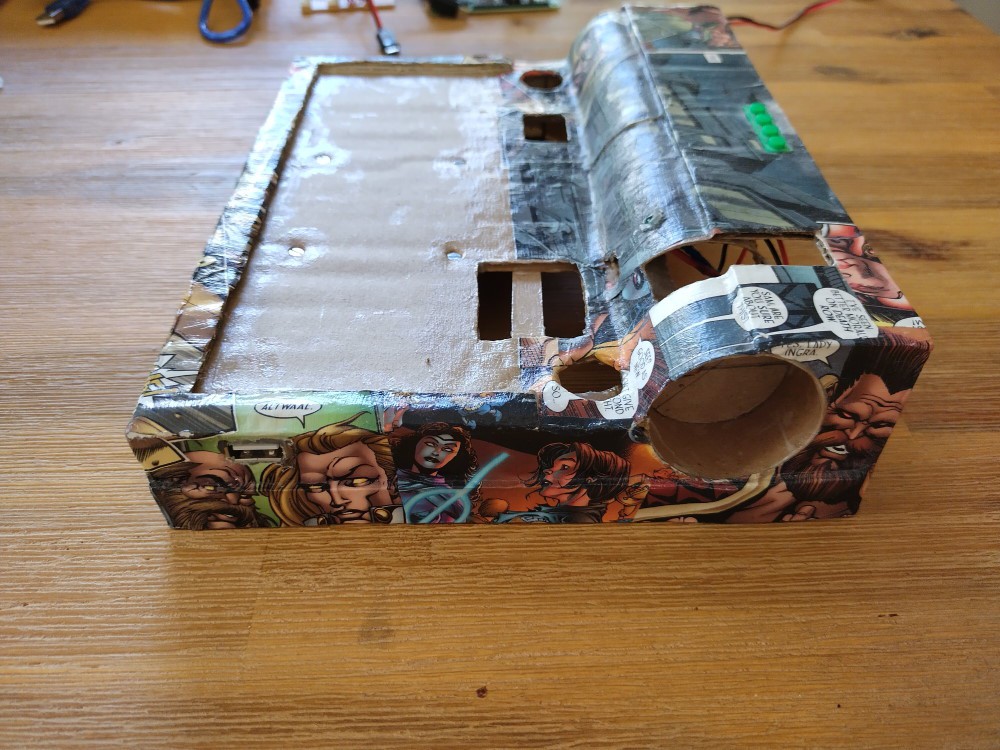
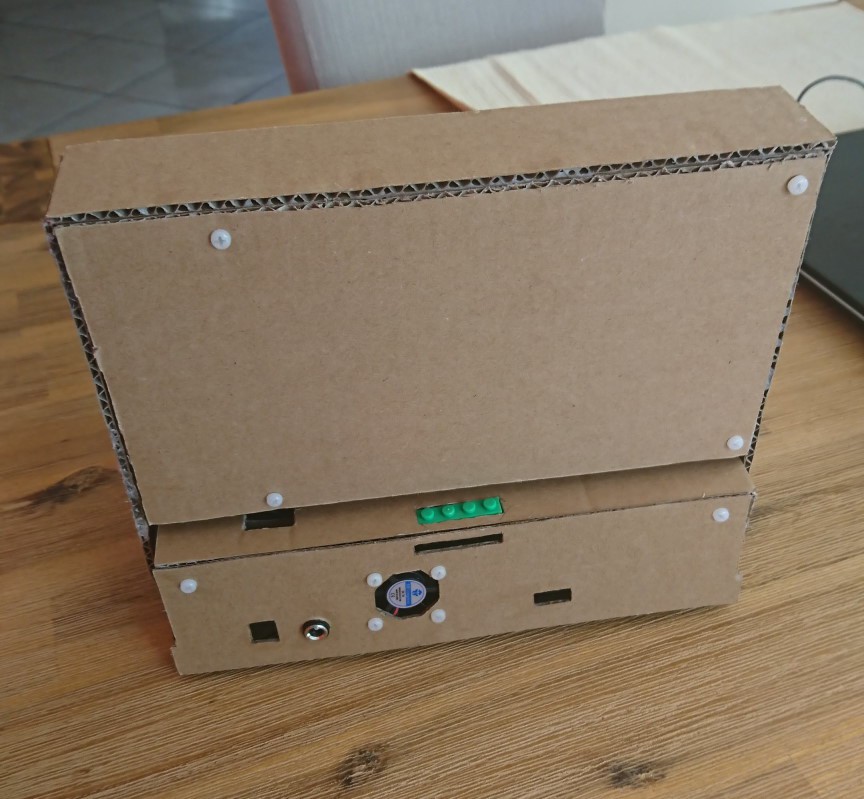
View from the rear:
![]()
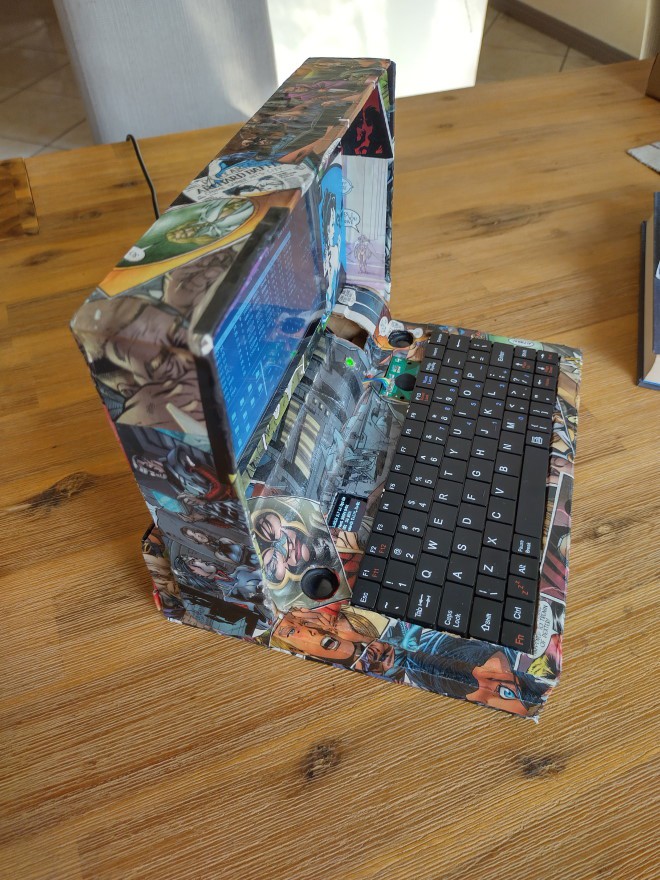
View from the side:
![]()
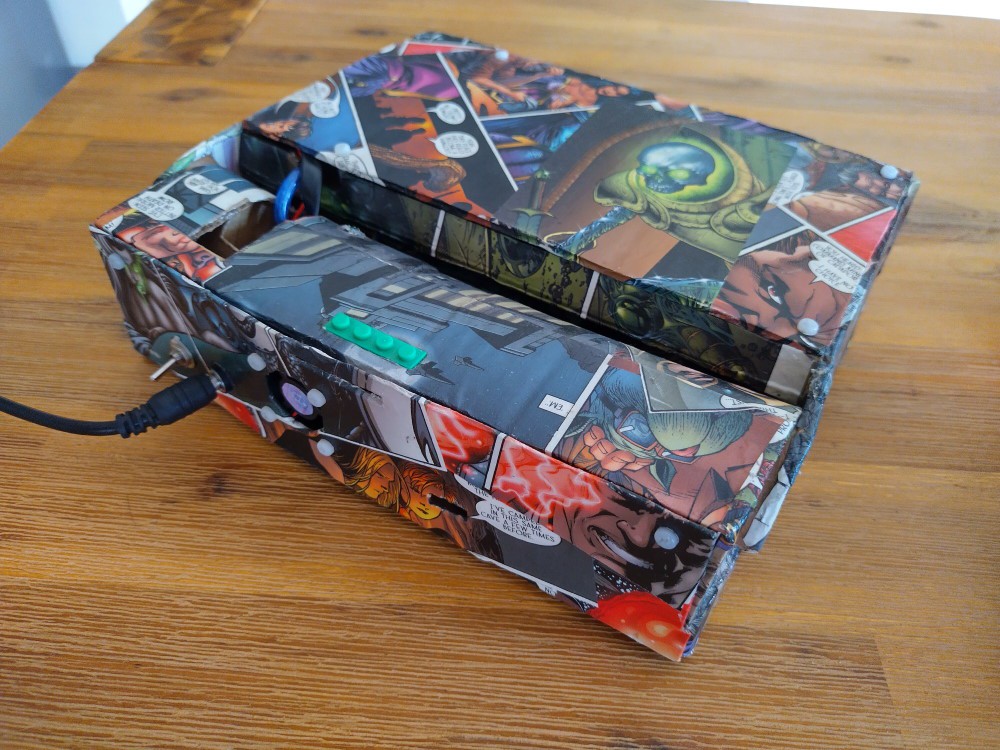
View from the top with the lid closed:
![]()
View from behind with the lid closed:
![]()
-
Assembly
09/26/2022 at 17:42 • 0 commentsThe cyberdeck can be completely disassembled and reassembled.
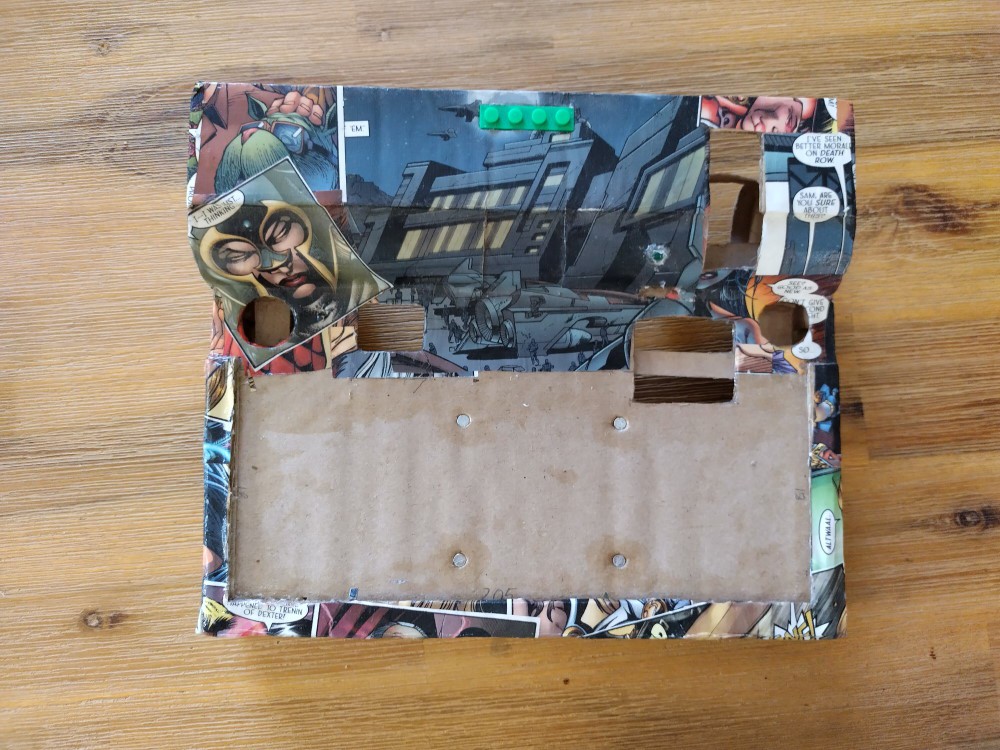
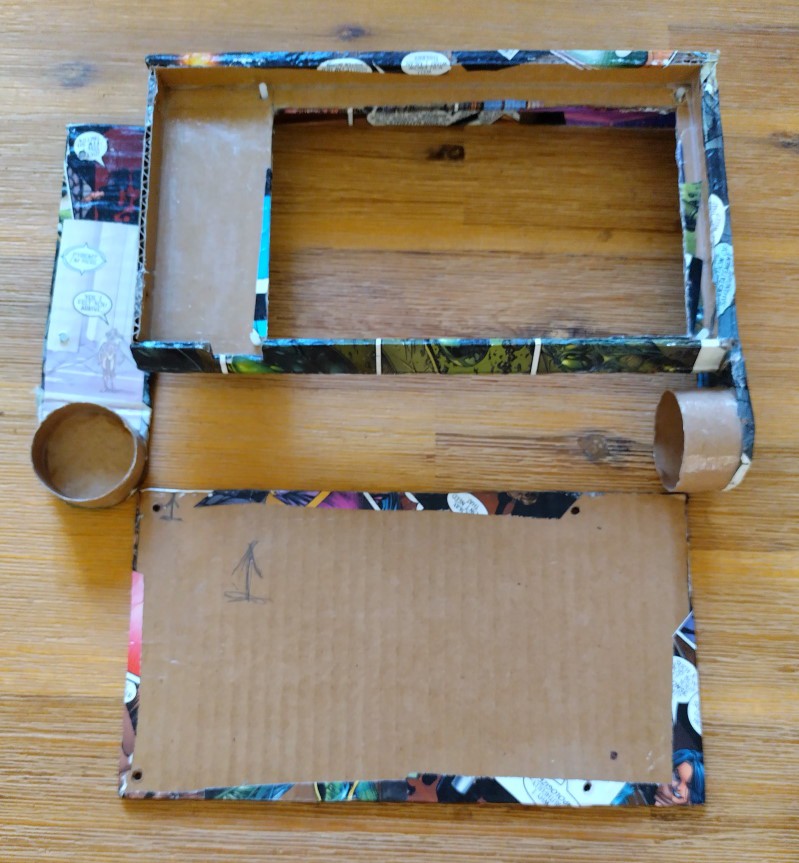
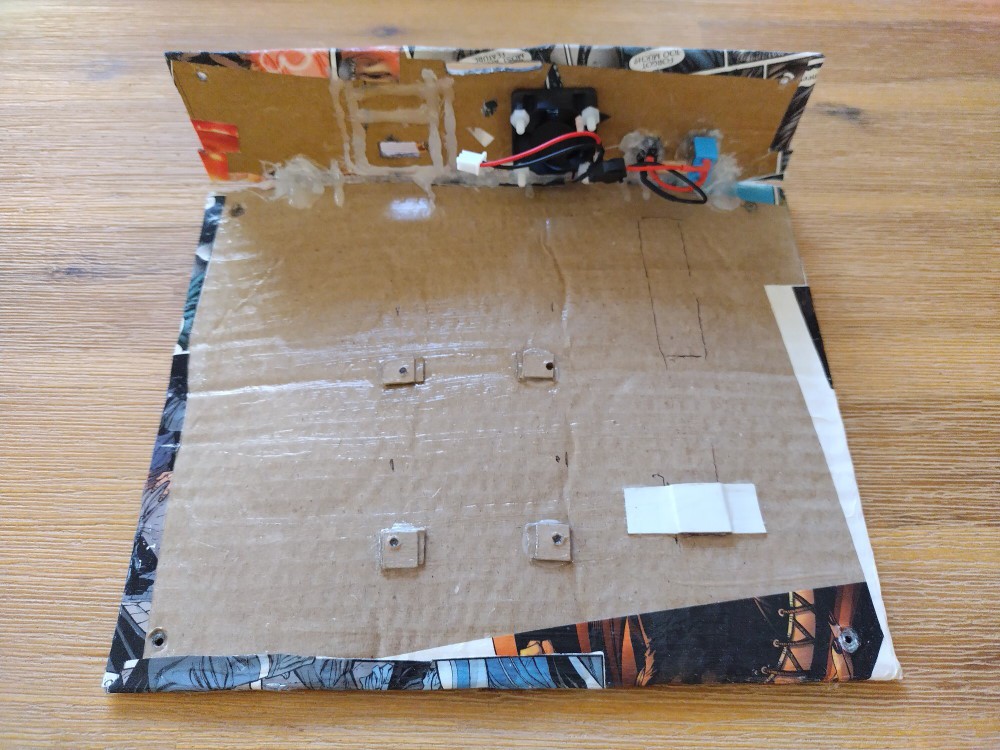
This is what the base looks like from the top:
![]()
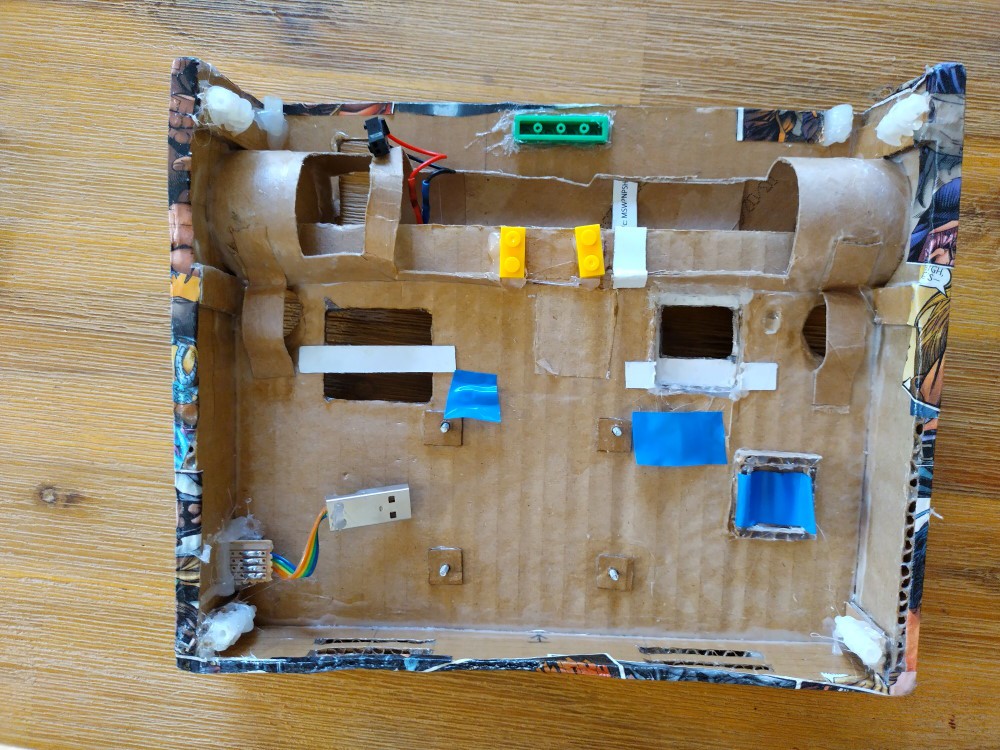
Here is the view from the bottom:
![]()
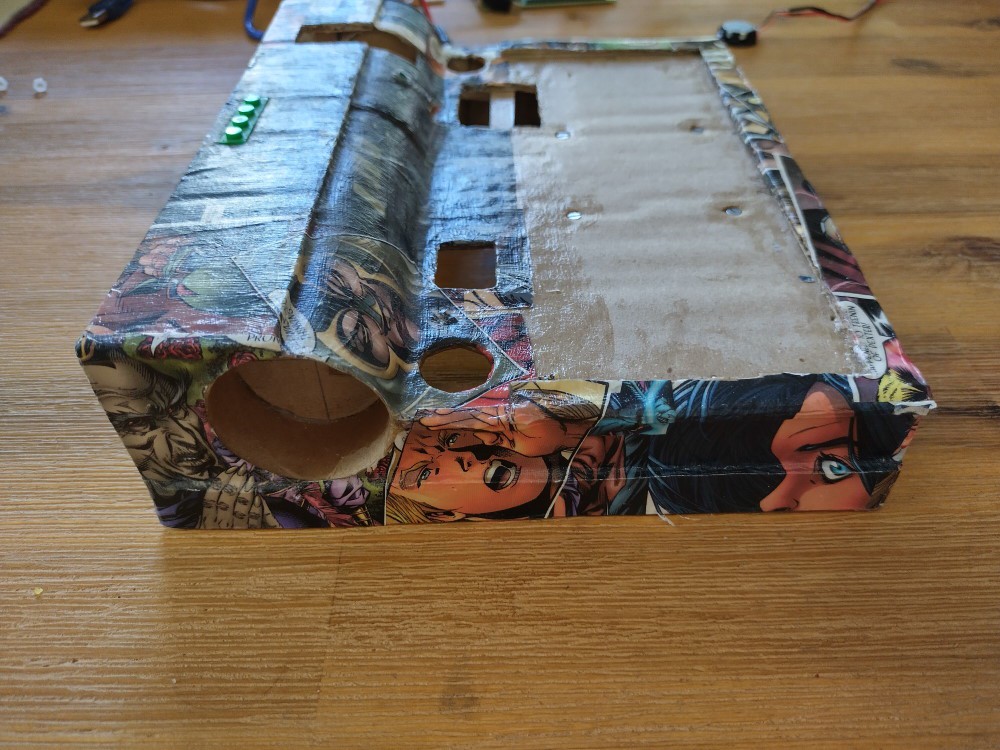
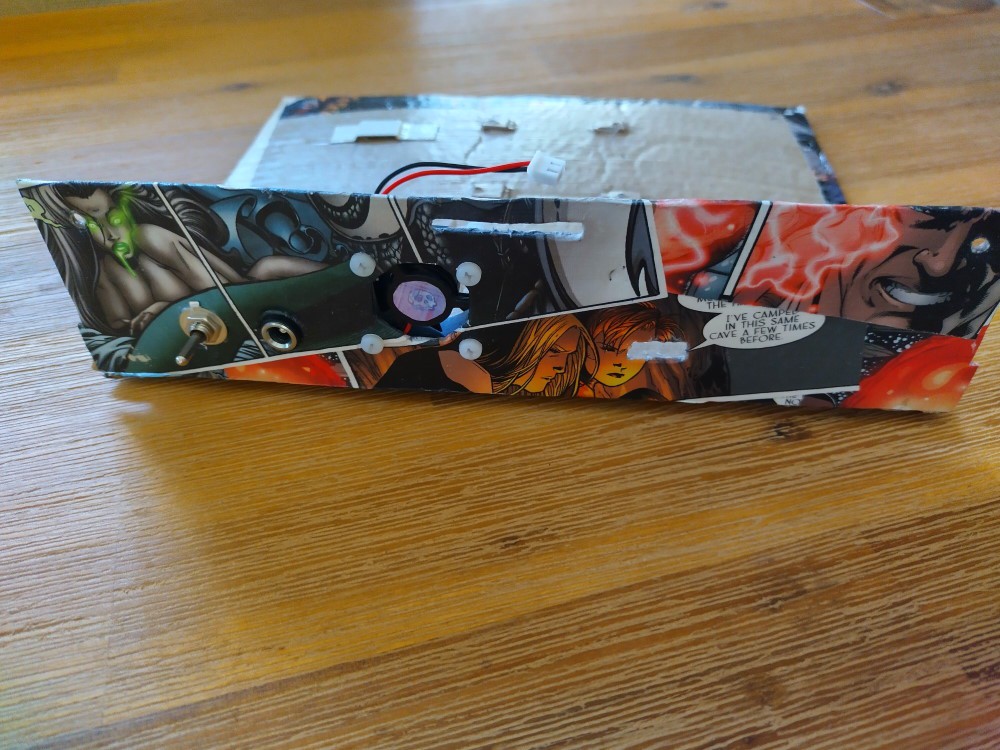
Here are two views from the side:
![]()
![]()
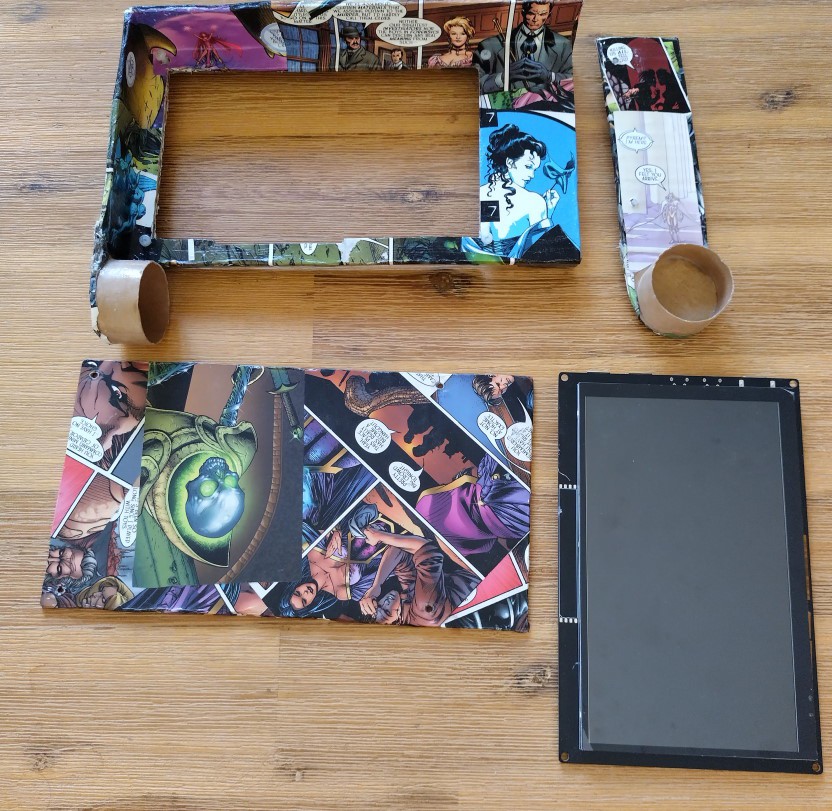
This is the screen frame:
![]()
...and from the back:![]()
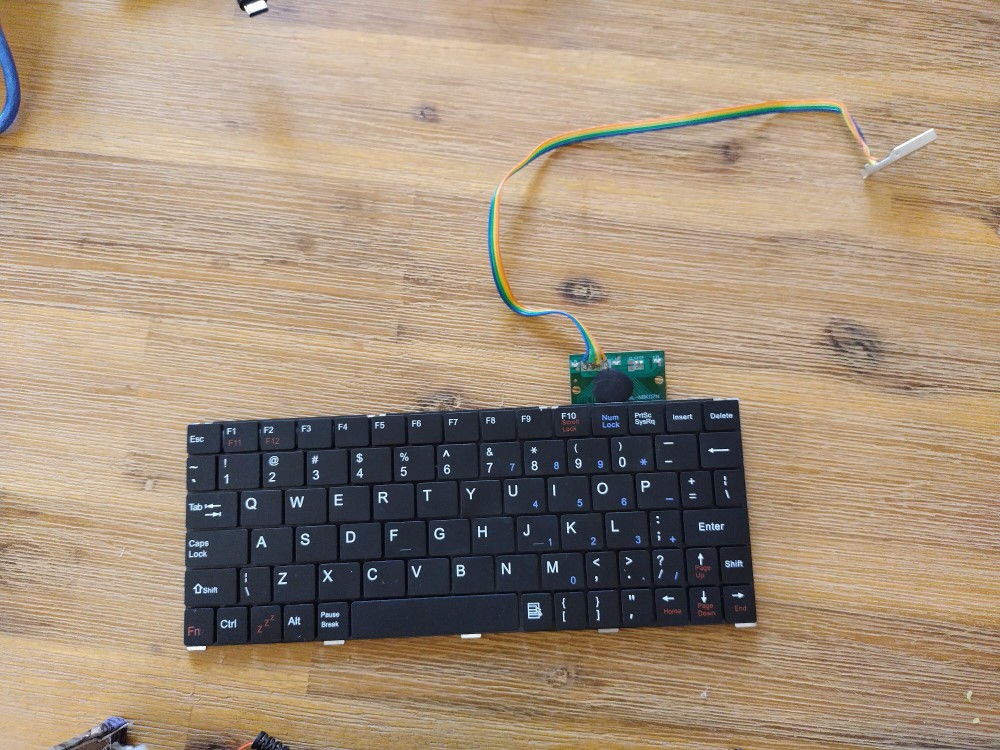
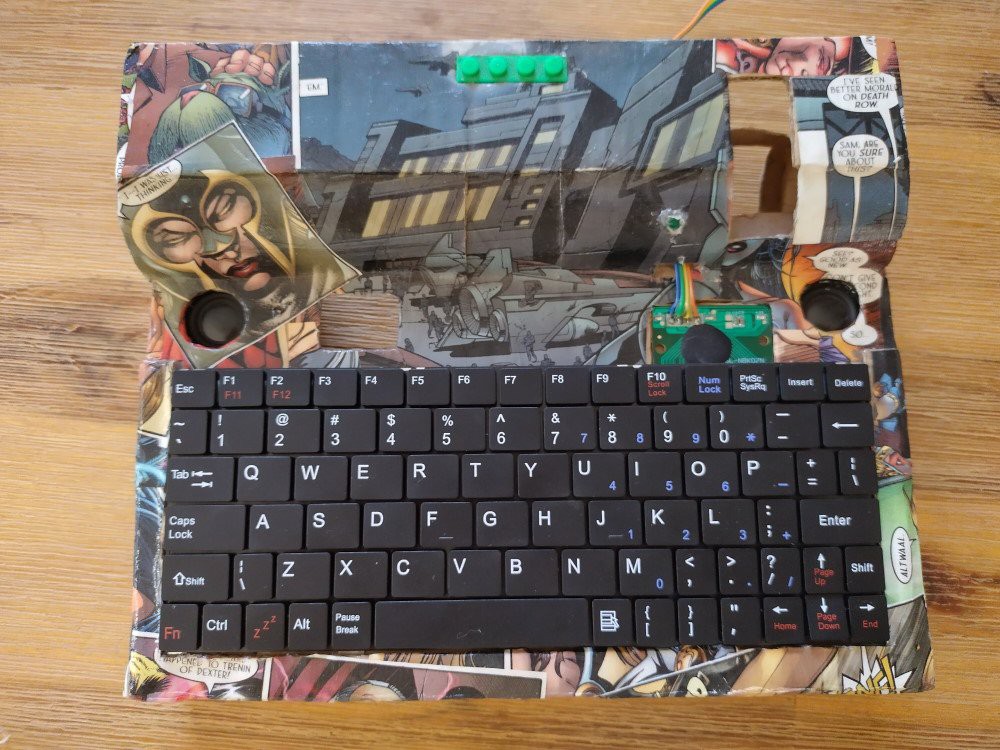
The keyboard has a bit of an inconvenient circuit board. It also came with a USB-B connector which I replaced with a USB-A connector:
![]()
The keyboard is quite flexible so it just clicks into the cardboard on top of the box:
![]()
This is what it looks like with the amplifier and speakers installed:
![]()
The speakers slide into those little cardboard strips. The amplifier fits quite snugly into the little cardboard nest I built for it. The strip of electrical tape beneath the amplifier can be pulled to pop out the amplifier.
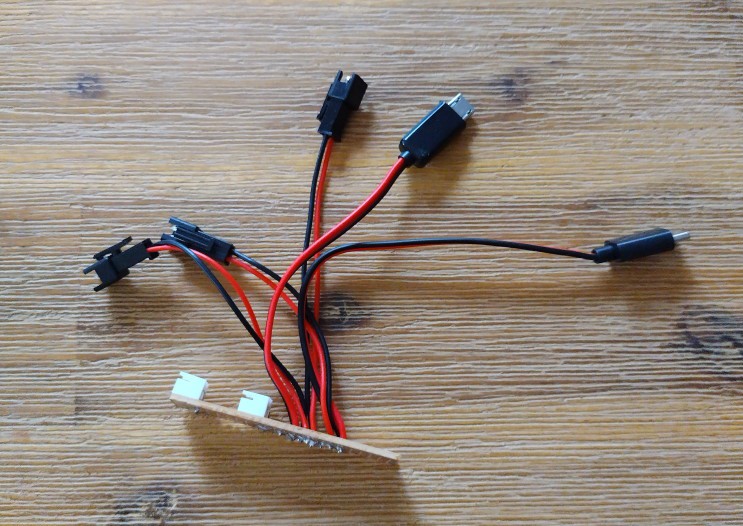
It was fortunate that all the components can be driven off a 5V supply. The power socket at the back of the board plugs into a electronic spider soldered on a vero board that distributes power to all the components and looks like this:![]()
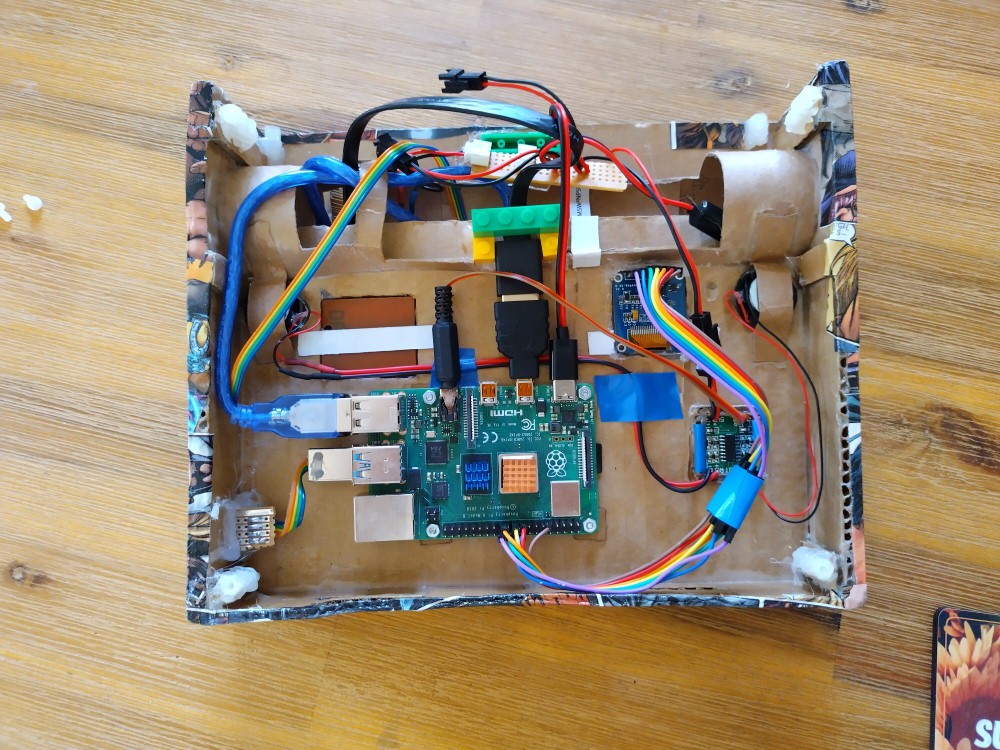
Here's a photo of everything installed
![]()
I haven't mentioned the little 0.95" OLED screen yet. The edges of its opening was lined with hot glue, so it fits snugly in it.
Also, the HDMI adapter was a bit loose, so I glued those bricks on the board next to it to keep in in place.
The power distribution board just slides into a little cardboard tab at the bottom of the box that looks like this:![]()
Here's the base plate with the fan and power switch:
![]()
And from the back:
![]()
My one regret is that this was originally two separate parts and when I realised that the gap between them would be too big, I just glued them together with hot glue. I thought that there were too many wires and screws in the way of something better so it seemed like a good idea at the time.
You can also see from the bottom plate that the Raspberry Pi and the power distribution board was supposed to be mounted on it. It worked, but it was to difficult to connect all the wires properly when you put everything together. Mounting the Raspberry Pi upside down under the keyboard makes assembly much easier.
That is also why I abandoned the hole for a USB-A connector at the rear of the case.
-
Early Work
09/26/2022 at 17:26 • 0 commentsI really regret that I didn't take more photos during construction. Here are the few I have.
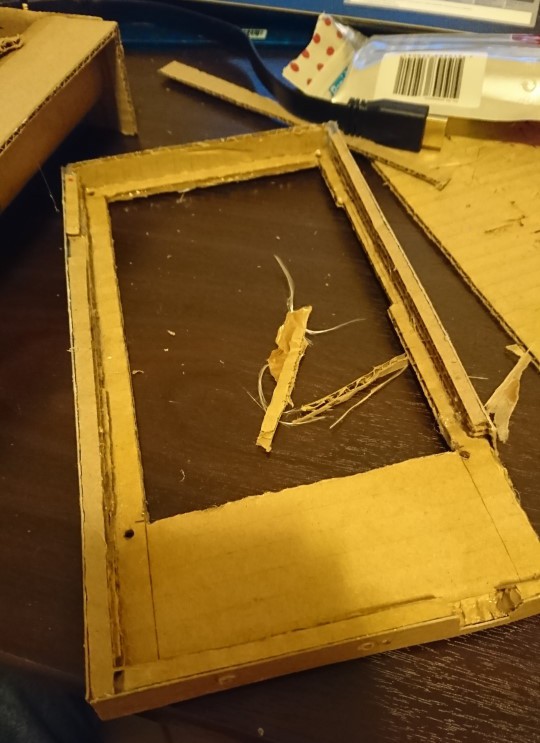
This was taken while I constructed the screen frame:
![]()
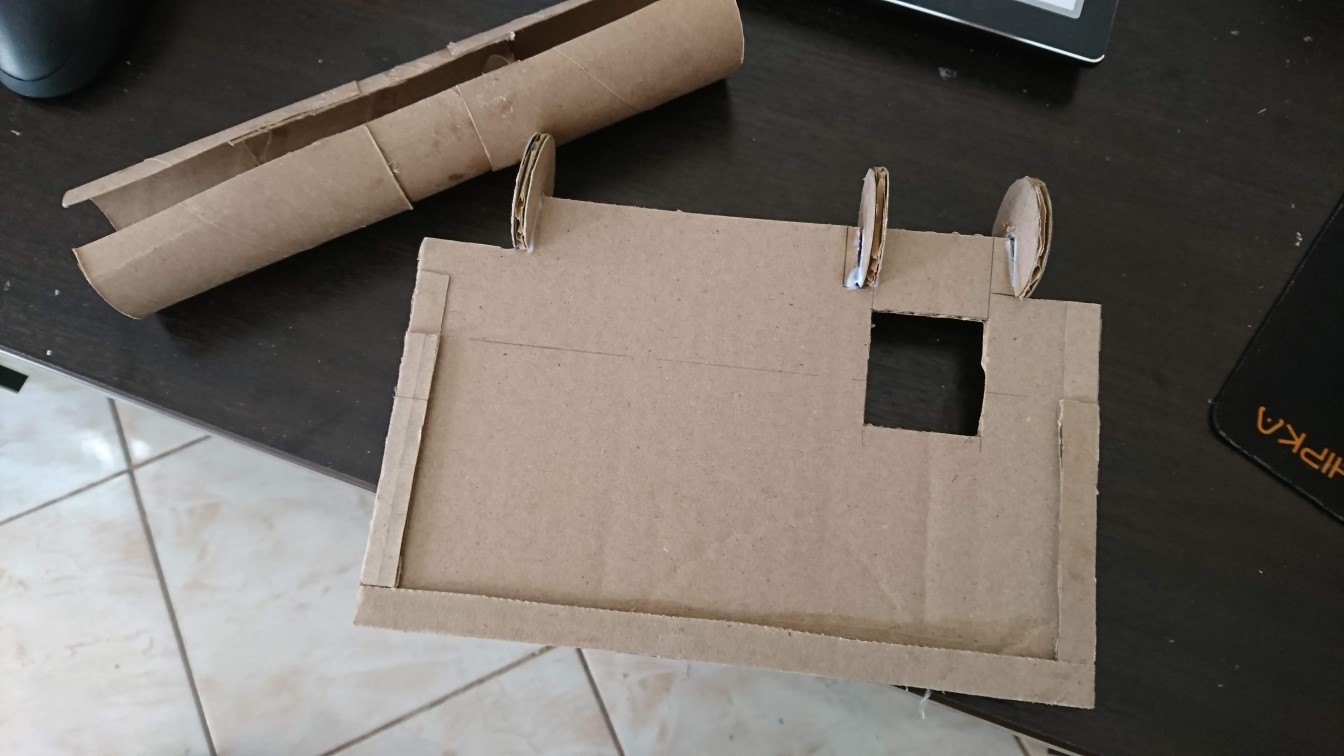
This one shows how the hinge was put together:
![]()
I made a couple of cuts in the cardboard afterwards for the wiring.
Here are some more photos after the initial construction was done, before I decoupaged it:
![]()
![]()