 f4drj
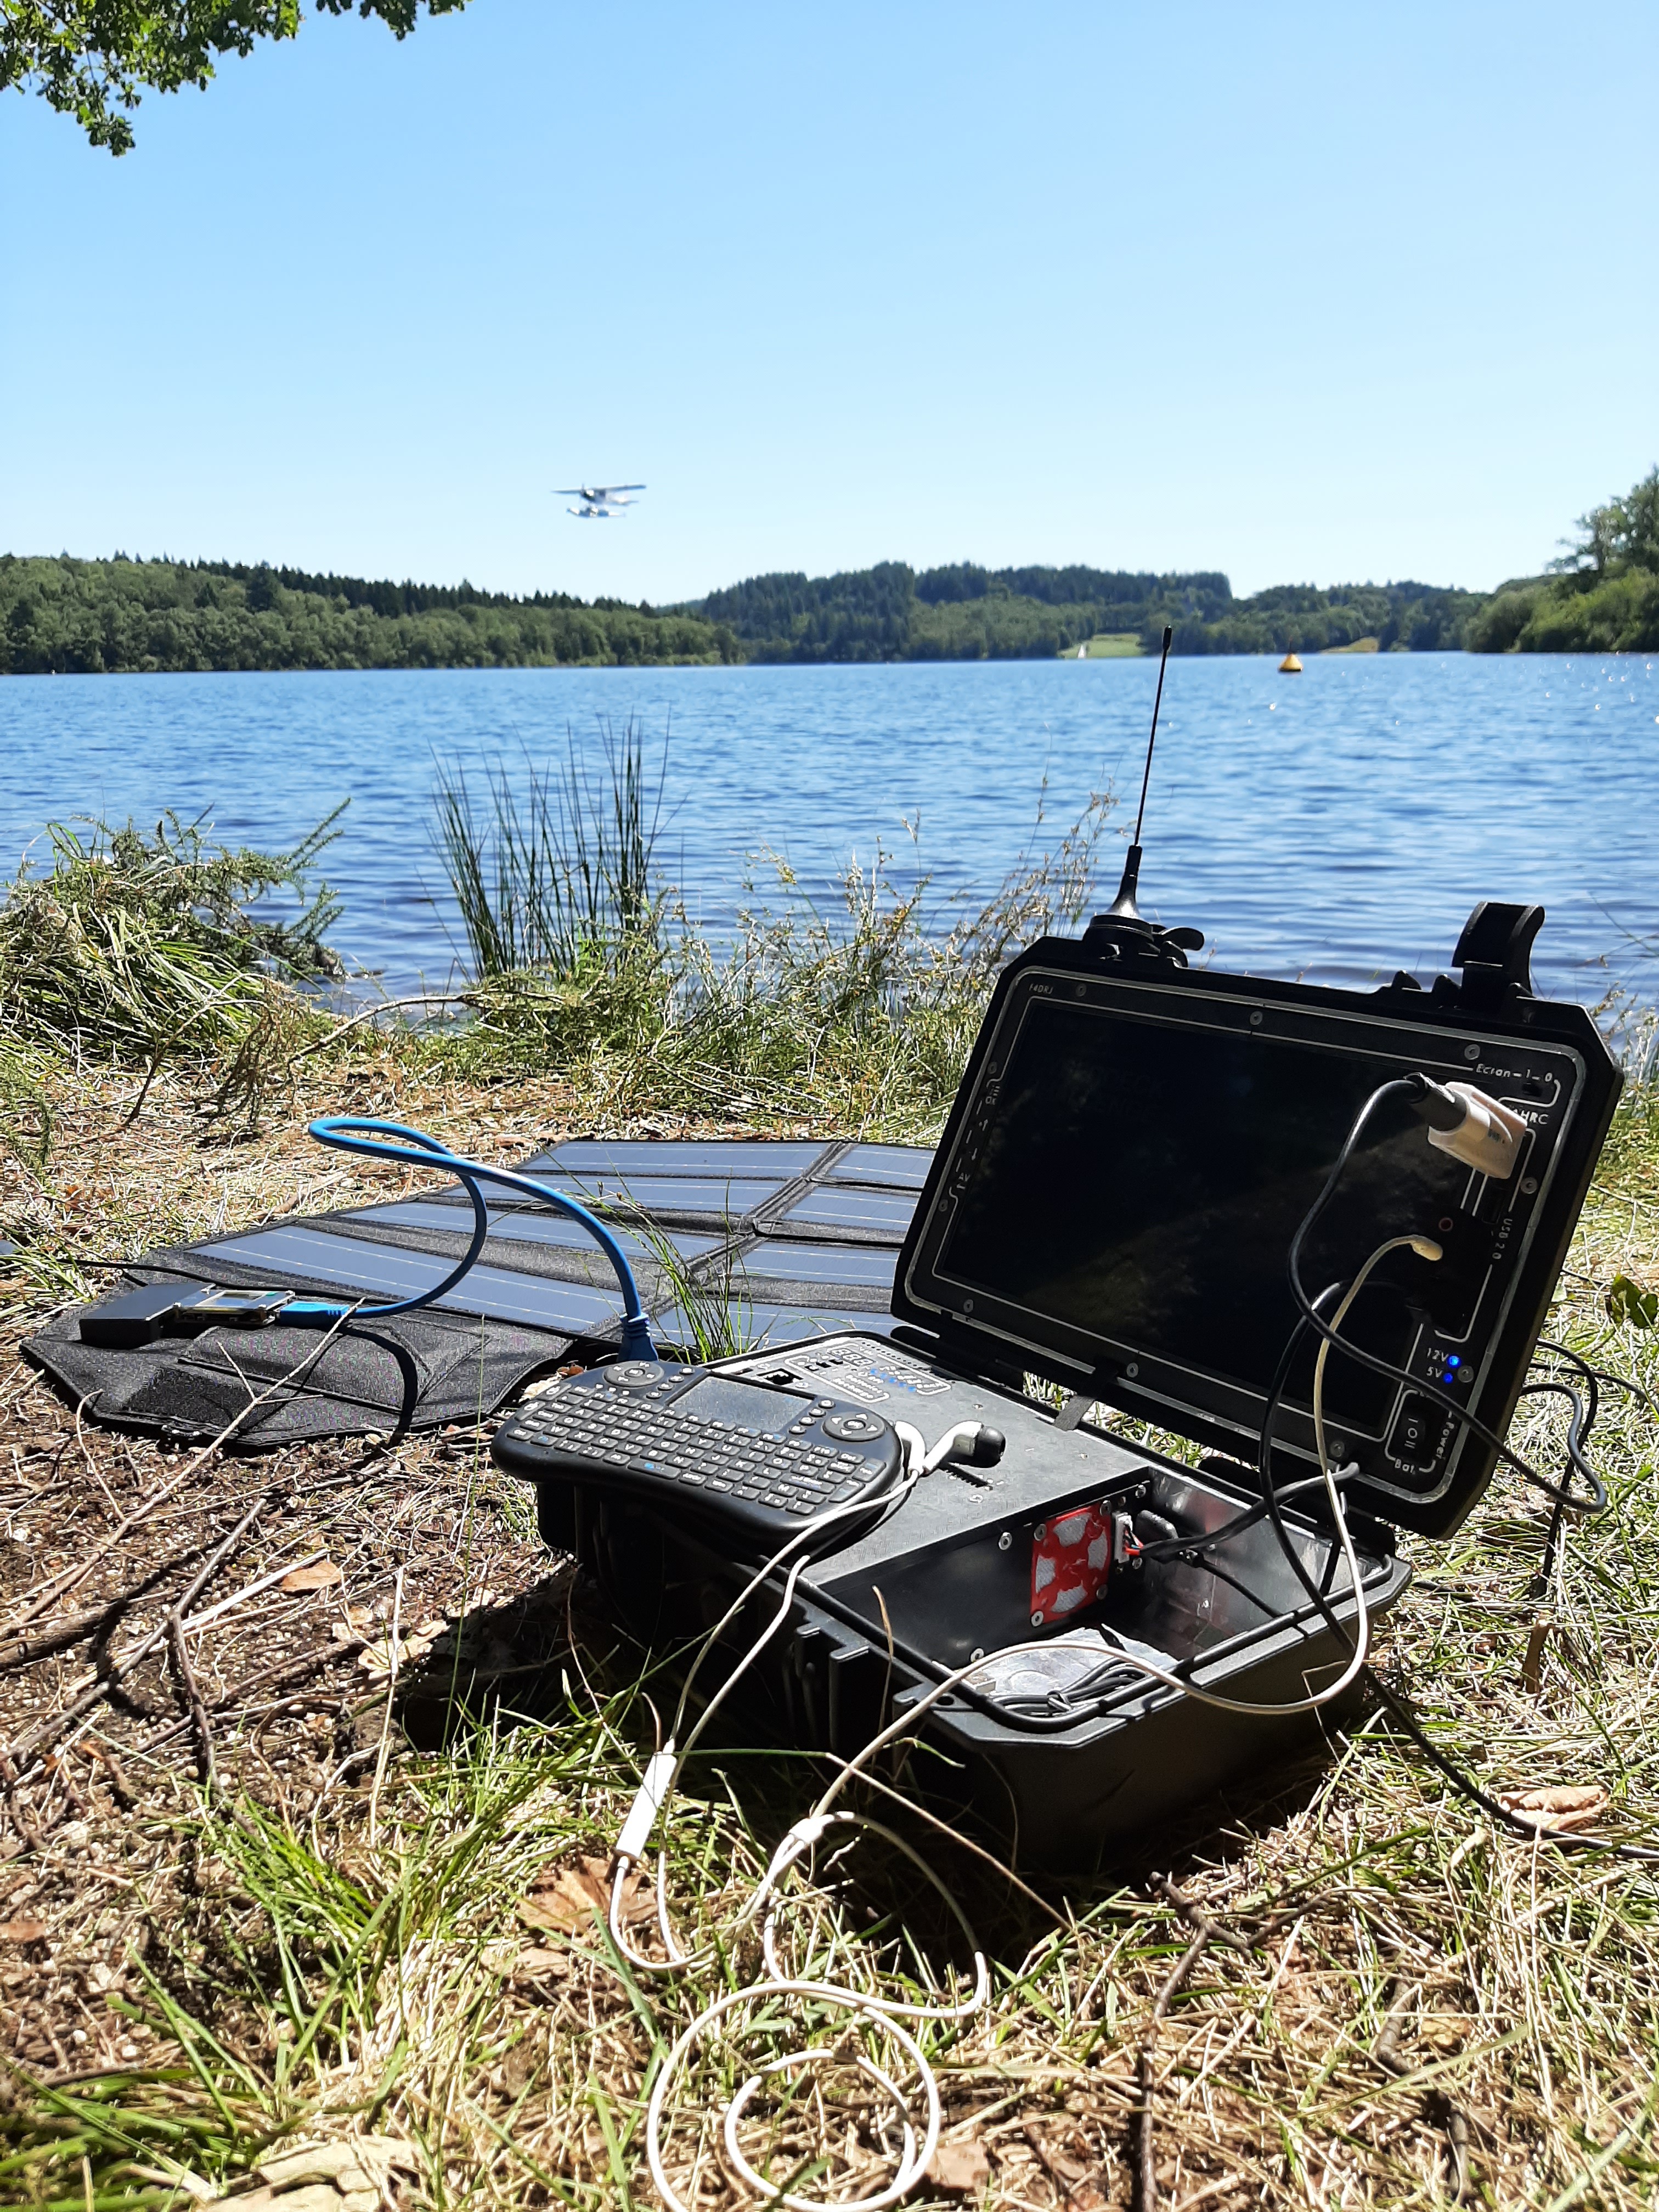
f4drjThis rugged and compact minicomputer was in a corner of my mind for too long with a 10.1 LCD screen laying around and few other components.
Luckily this Hackaday opportunity boost me up to remove this idea from the project waiting list.
Design in Solidworks then 3D printed and finally mounted with shoehorn, this Cyberdeck gave me a lot of satisfaction and is still work in progress but touching the final
I hope you will enjoy this project as much as I do and see it replicated for your hack, ham, maker or journey trip activities.
Have fun !
Hardware
- Rugged and compact minicomputer
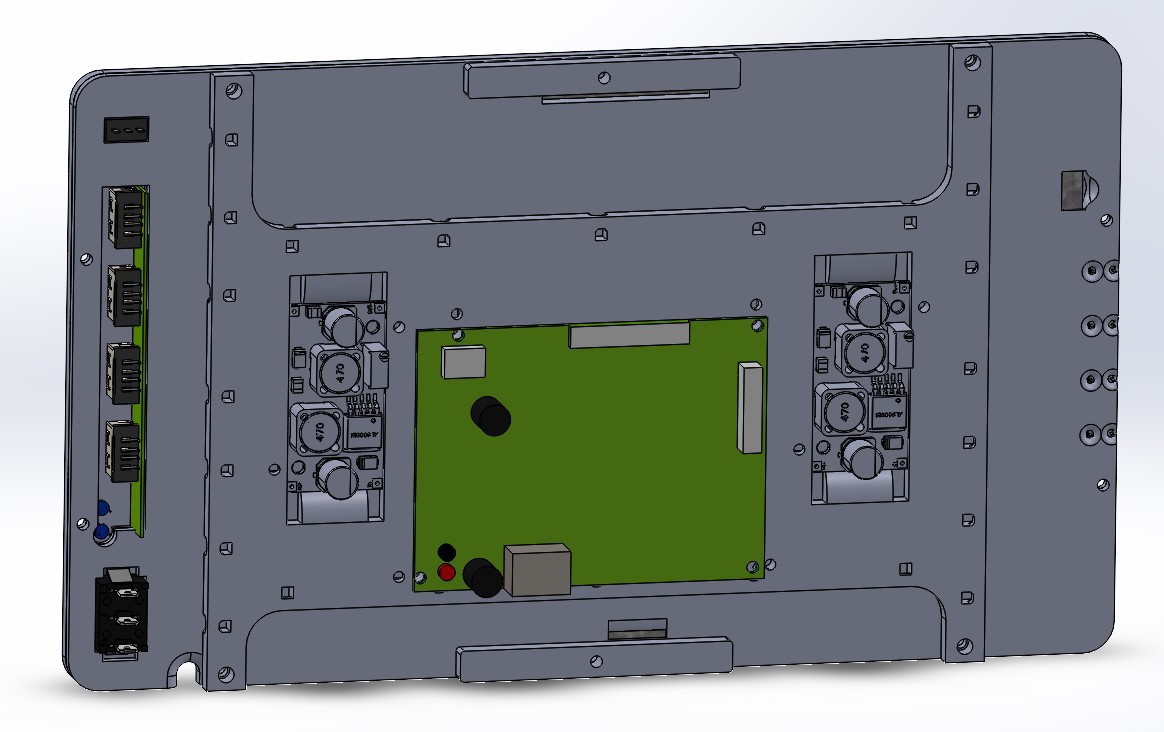
- Regular laptop usage thanks to rpi 3B+
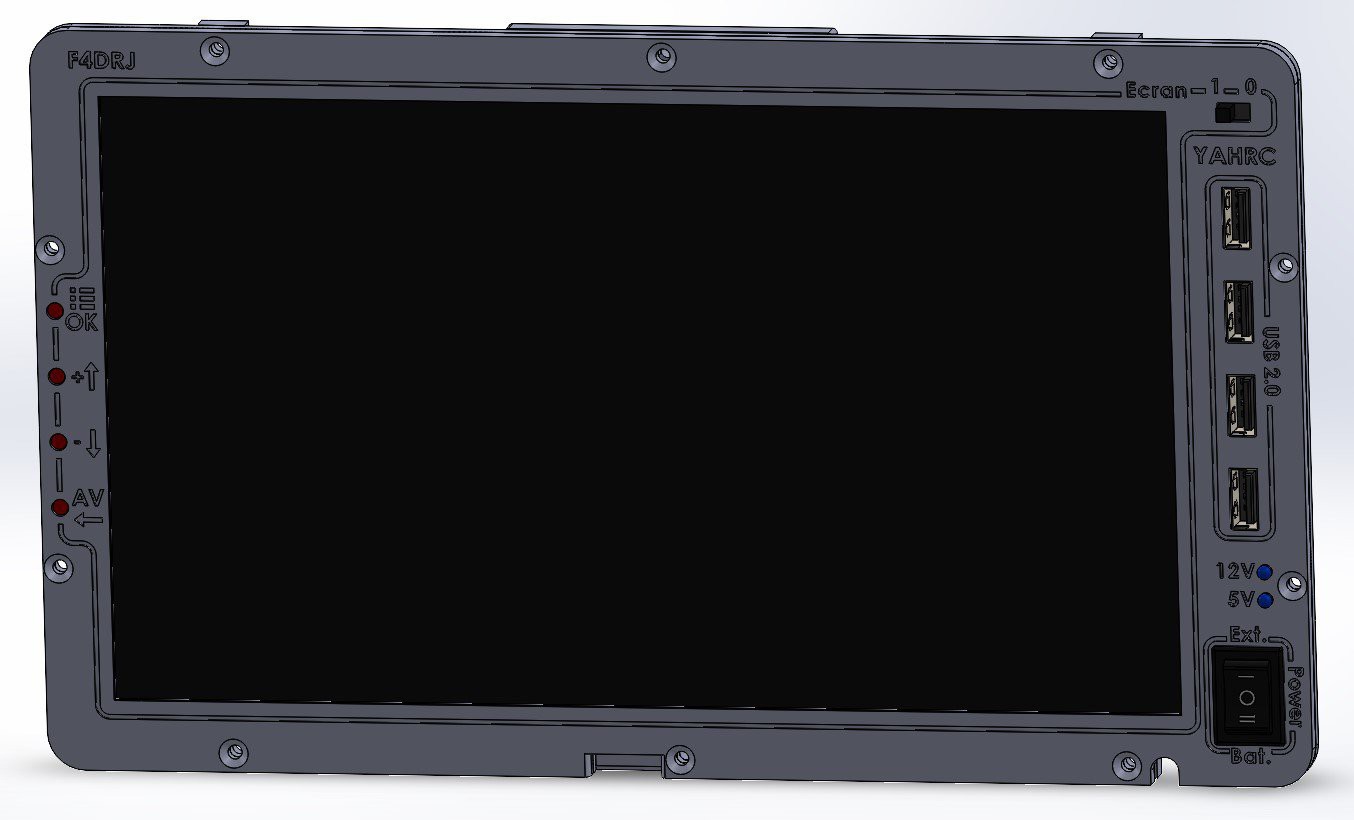
- 10.1 LCD screen
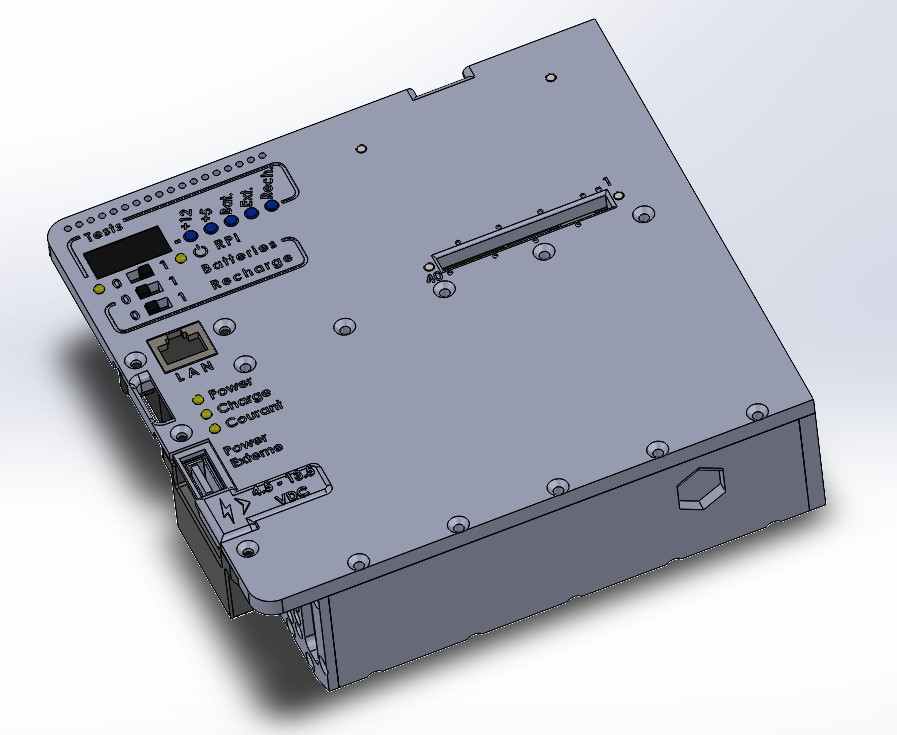
- LAN capabilities with 1Gb Ethernet port
- Low profil usb 3.0 4 ports integration
- 2.5 ssd capability
- Radio tx/rx capability with cheap dual separate sdr module
- gps module for getting precise time synchronisation and geolocalisation thanks to Galileo (EU), GPS (US), GLONASS (RU) compatibilities
- More than enough power autonomie, 2s7p battery pack 18650 1500mA lithium batteries type lgdahb21865 so equivalent to a 15000mA powerbank
- External emergency power supply through standard usb 2.0 A type port (solar, powerbank, etc)
- Internal battery power charging through standard usb 2.0 A type port (5v input power)
- internal small 12v cooling fan
- Storage Compartment : BLE keyboard/touchpad, 2 srd with wide range or sized antennas, connectors, rugged usb key
Supervision
- rpi led power status
- rpi led activity status
- Easy internals system voltage check (without injecting it in)
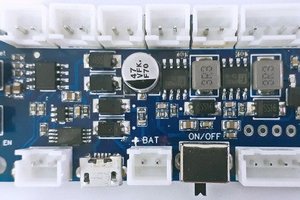
- Visual access to main power supply 5v & 12v
Features
- individually choose to power on or off modules such as screen, usb hub, rpi, internal battery pack or external power source
- 3-Position switch (ON/OFF/ON - up to down) : external power from 3.8vdc to 32vdc (solar, powerbank, etc), completly off, internal battery powered
- error avoidence feature when trying to recharge internal battery when using external power supply
- Microcontroler programming with rpi GPIO
- EMP proofed (not tested yet, must be grounded to be efficent)
- Printed modules can be reproduced easily
Soft such as
- awesome FISSURE repository
- GPSD
- SSTV Encoder
- etc
To be improved
- change for a rpi 4 (better performance and real use of usb 3.0 features)
- try different connectors like JST SM CHECKED
- merge all connectors between 2 pelicase' side by one connector CHECKED
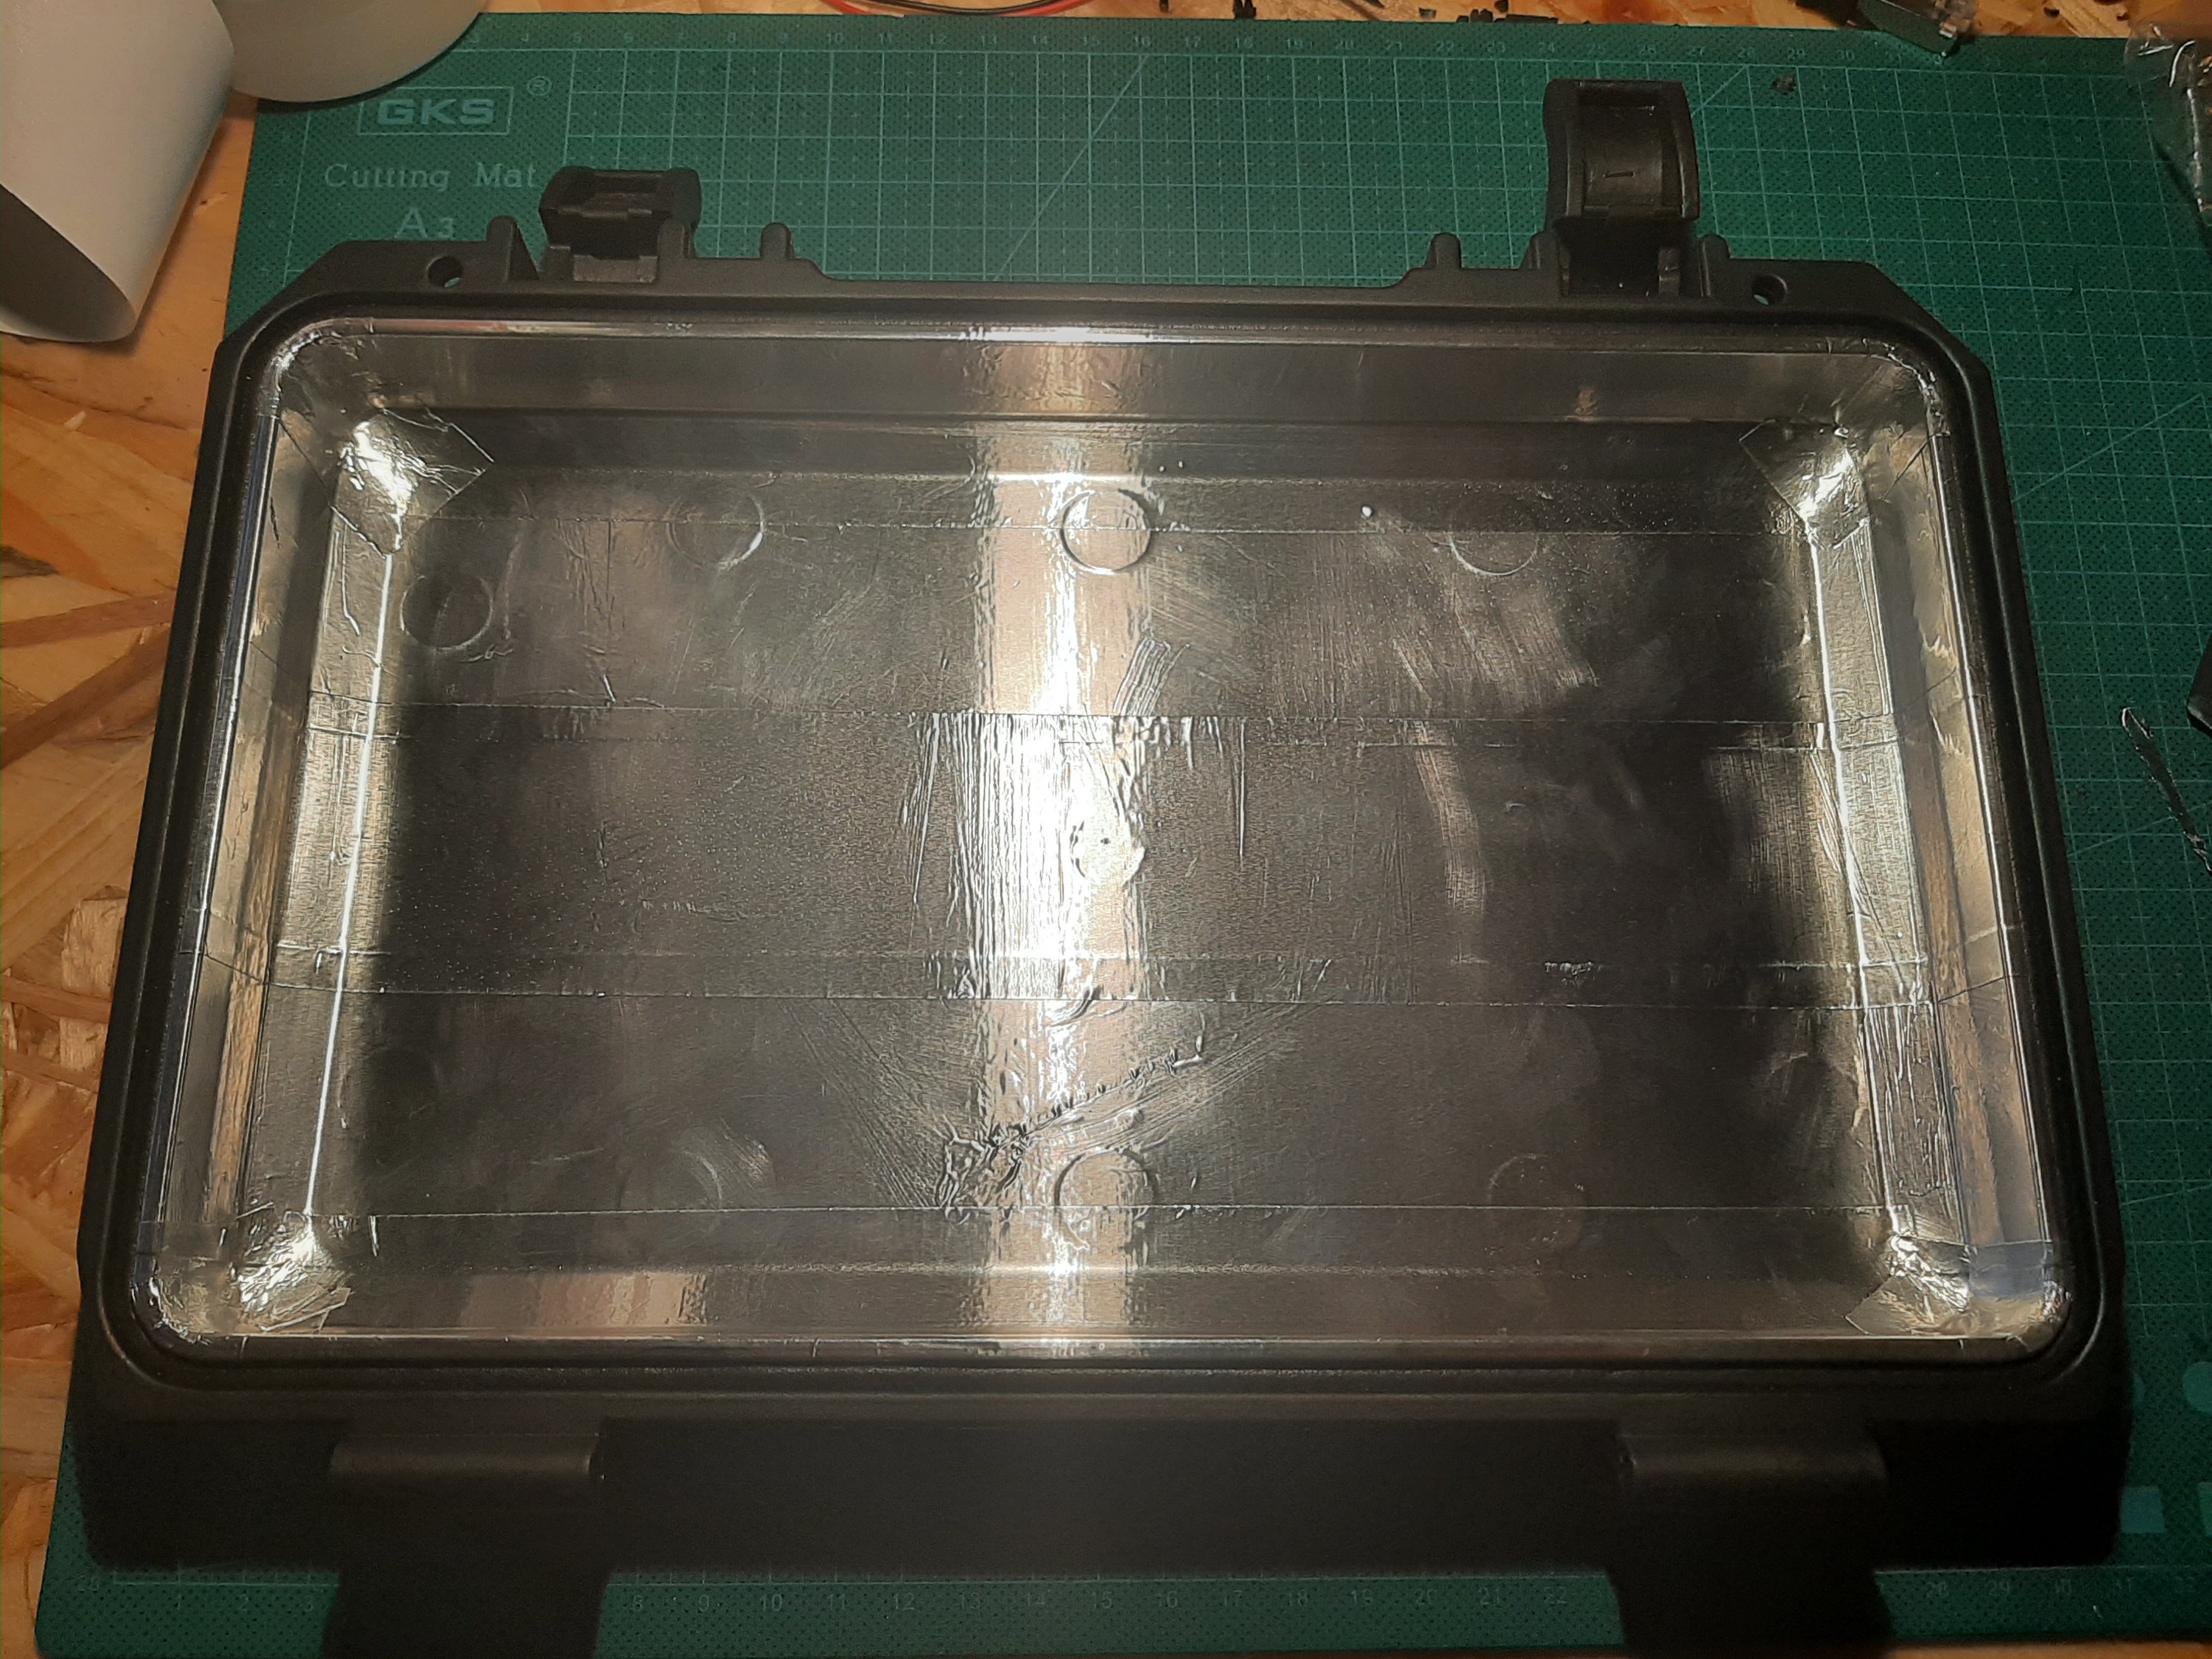
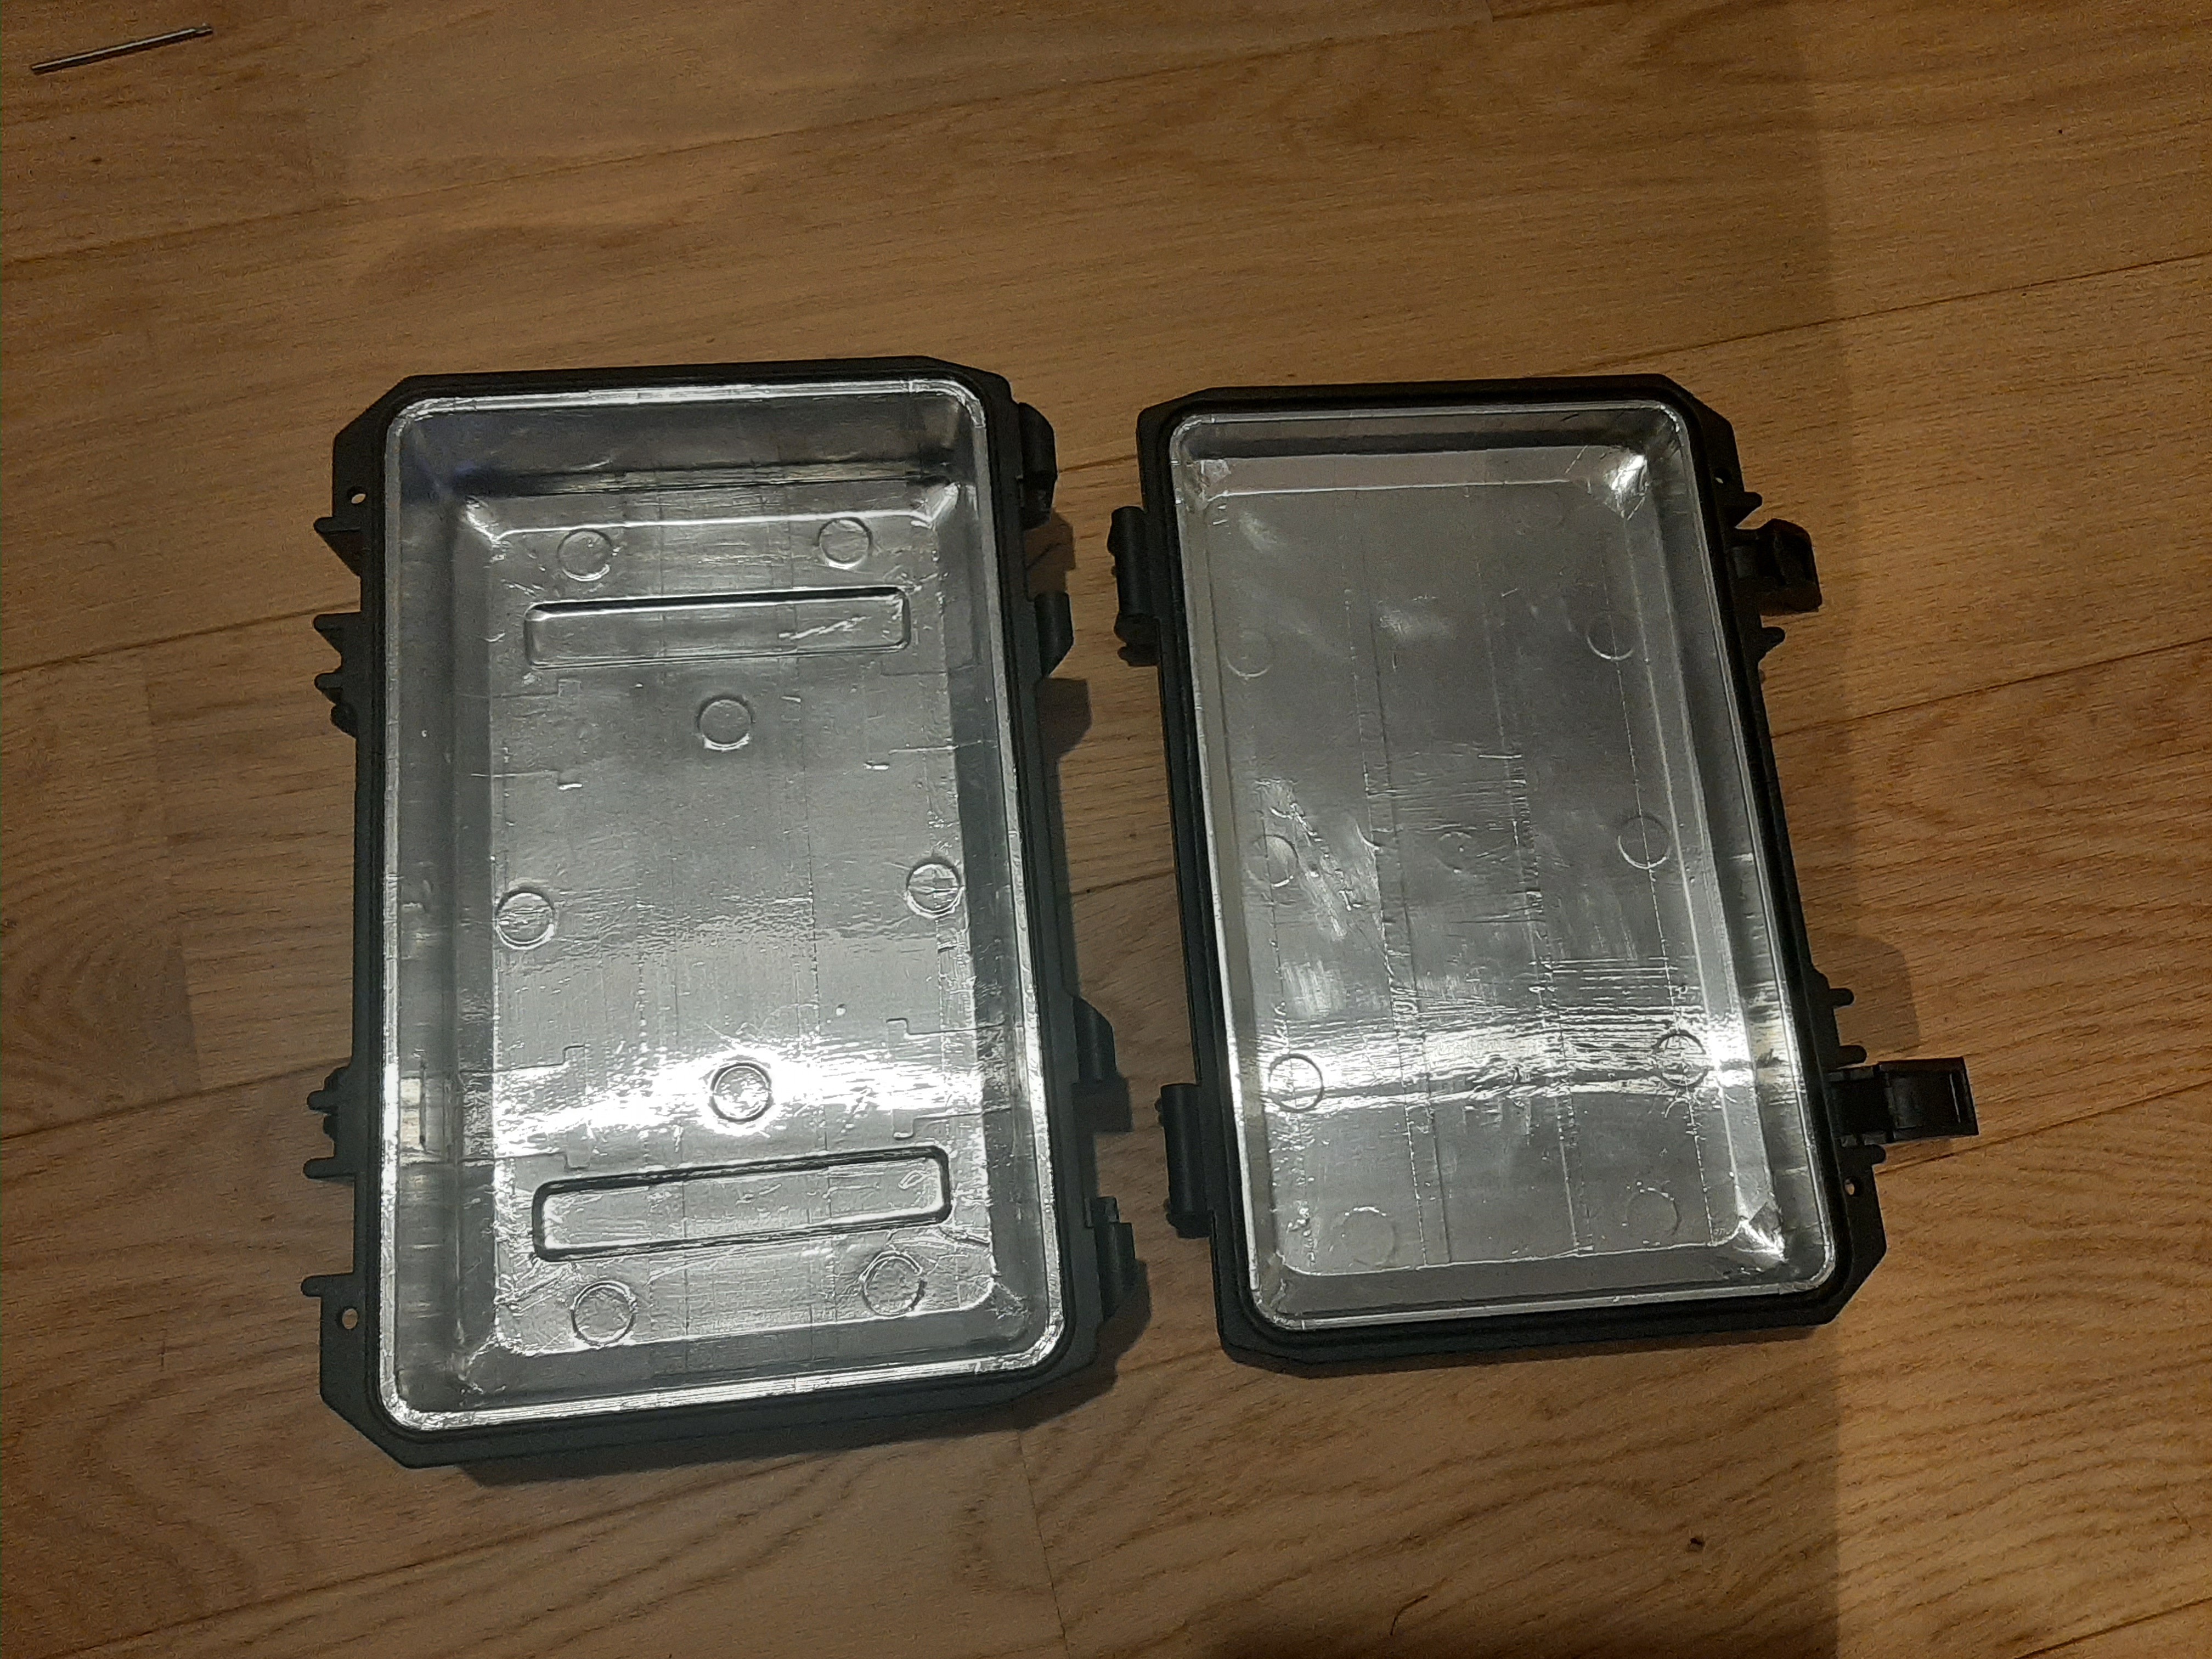
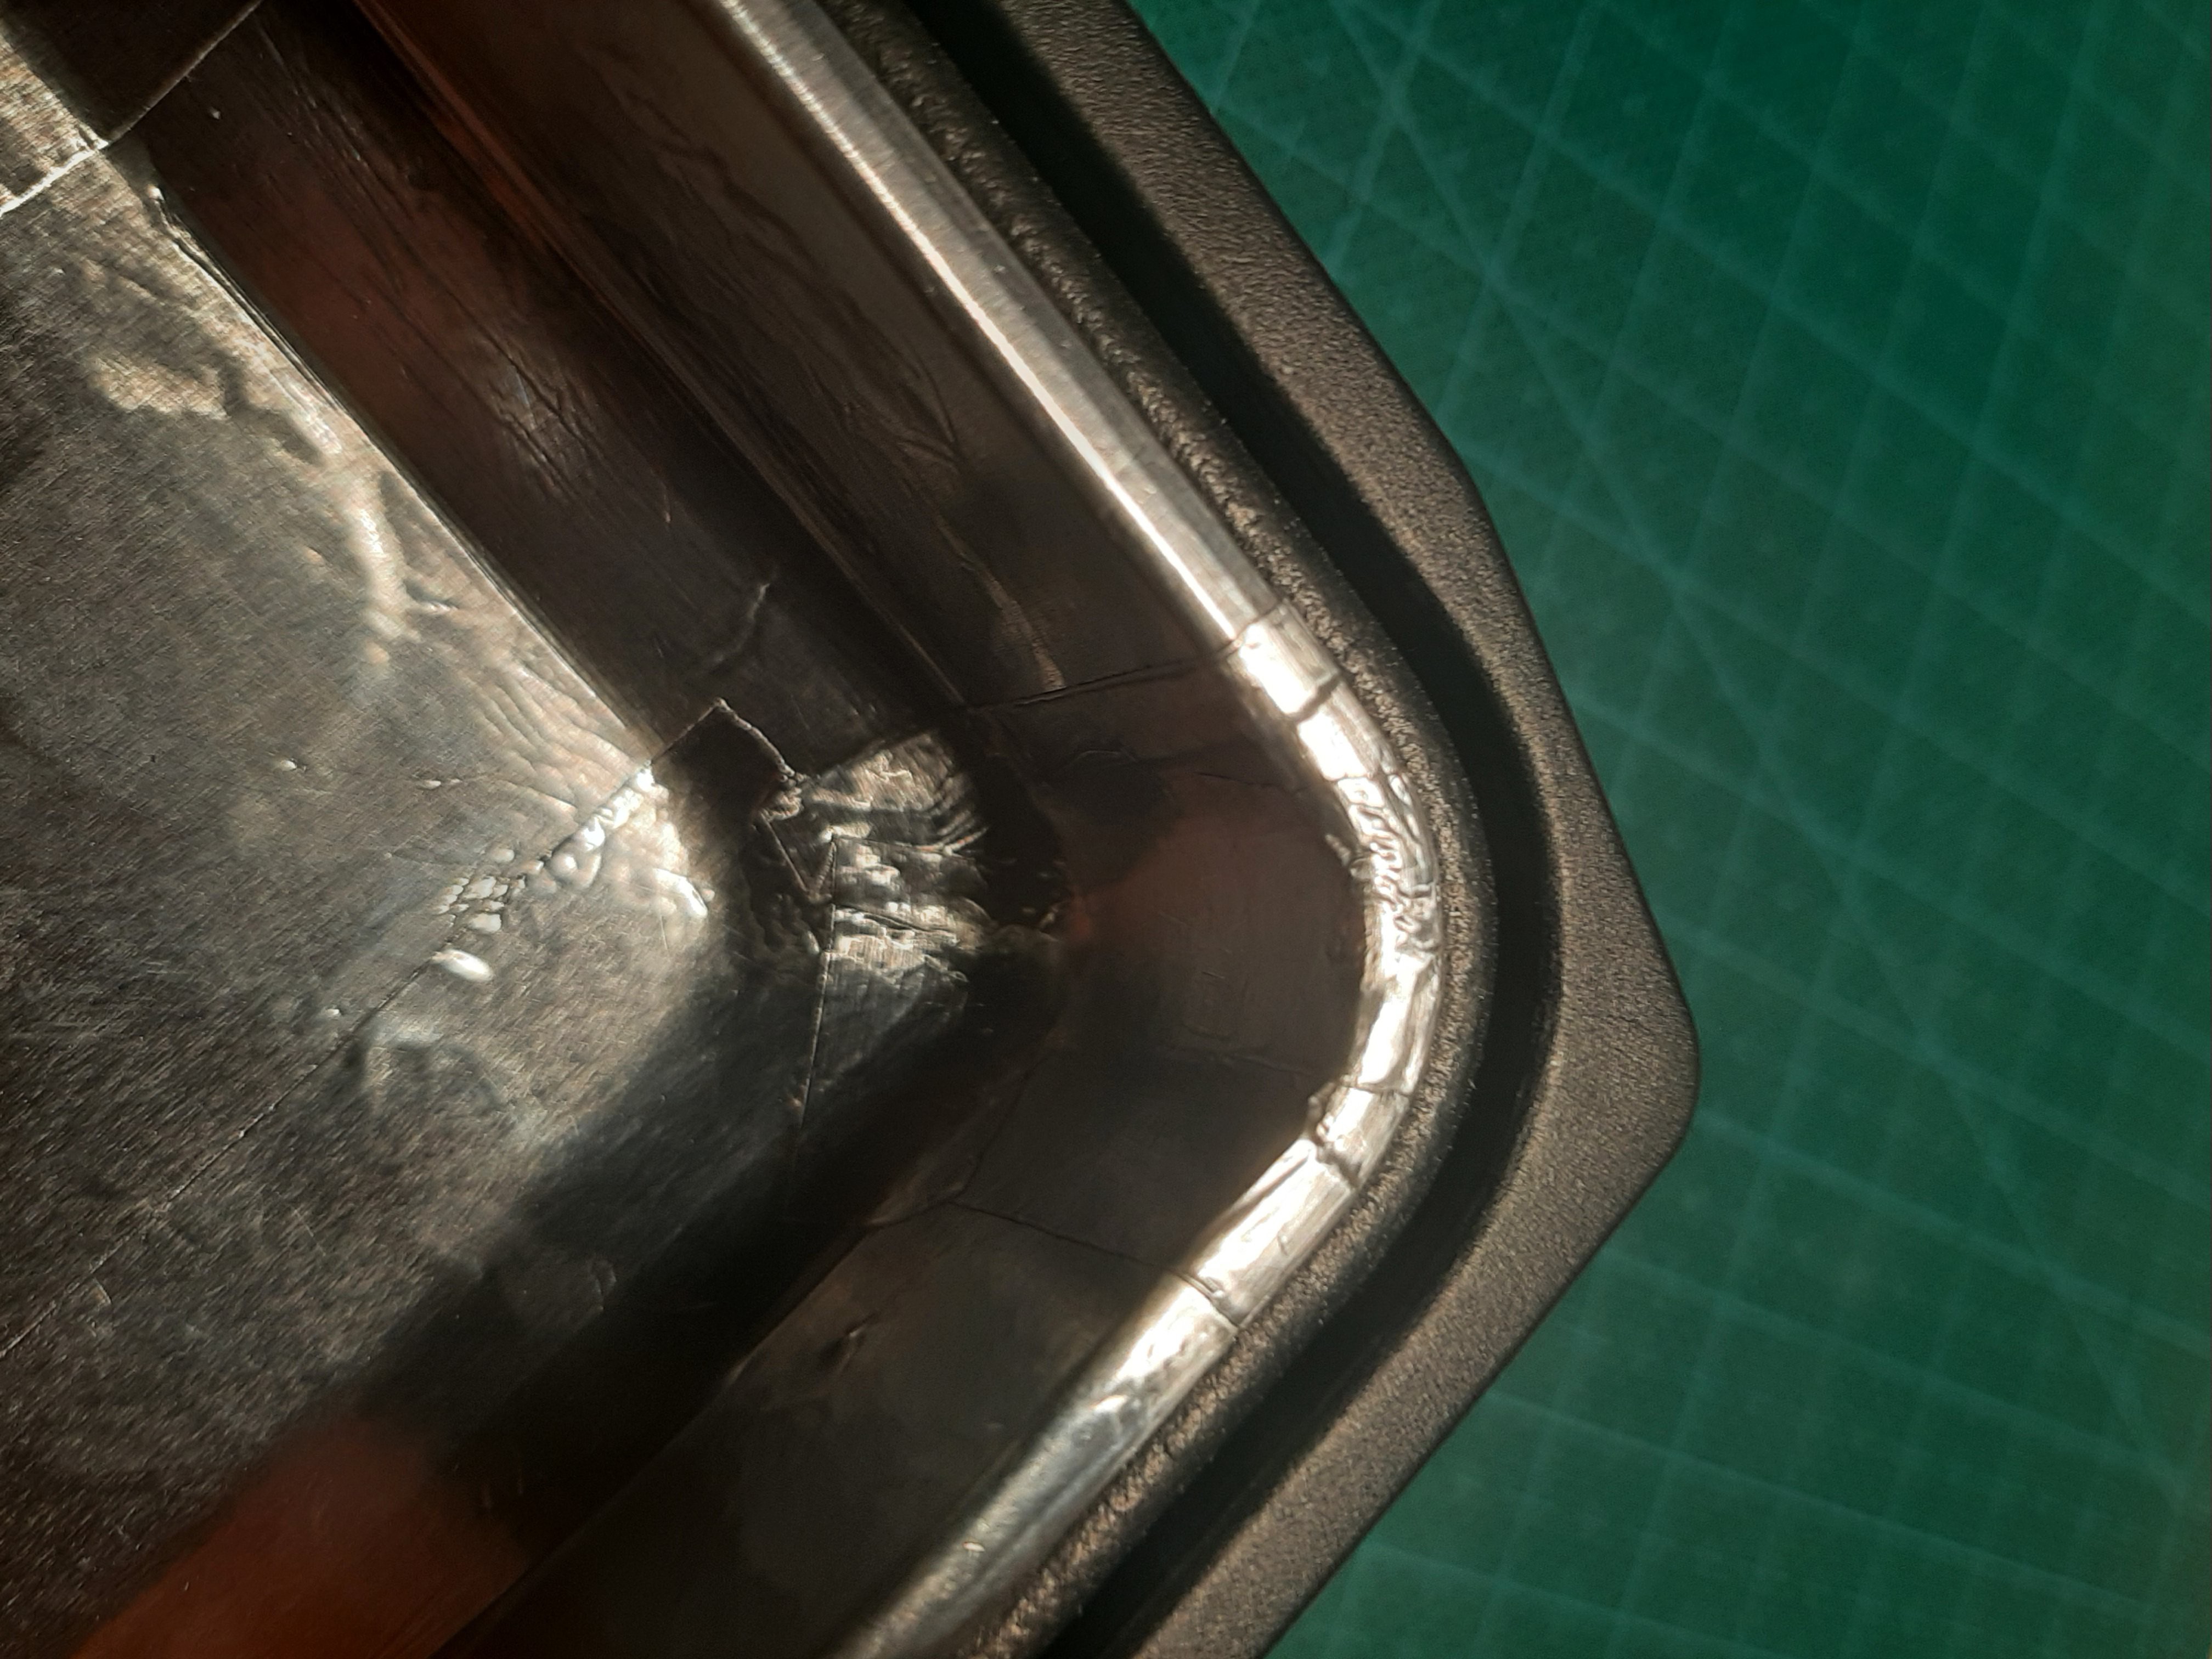
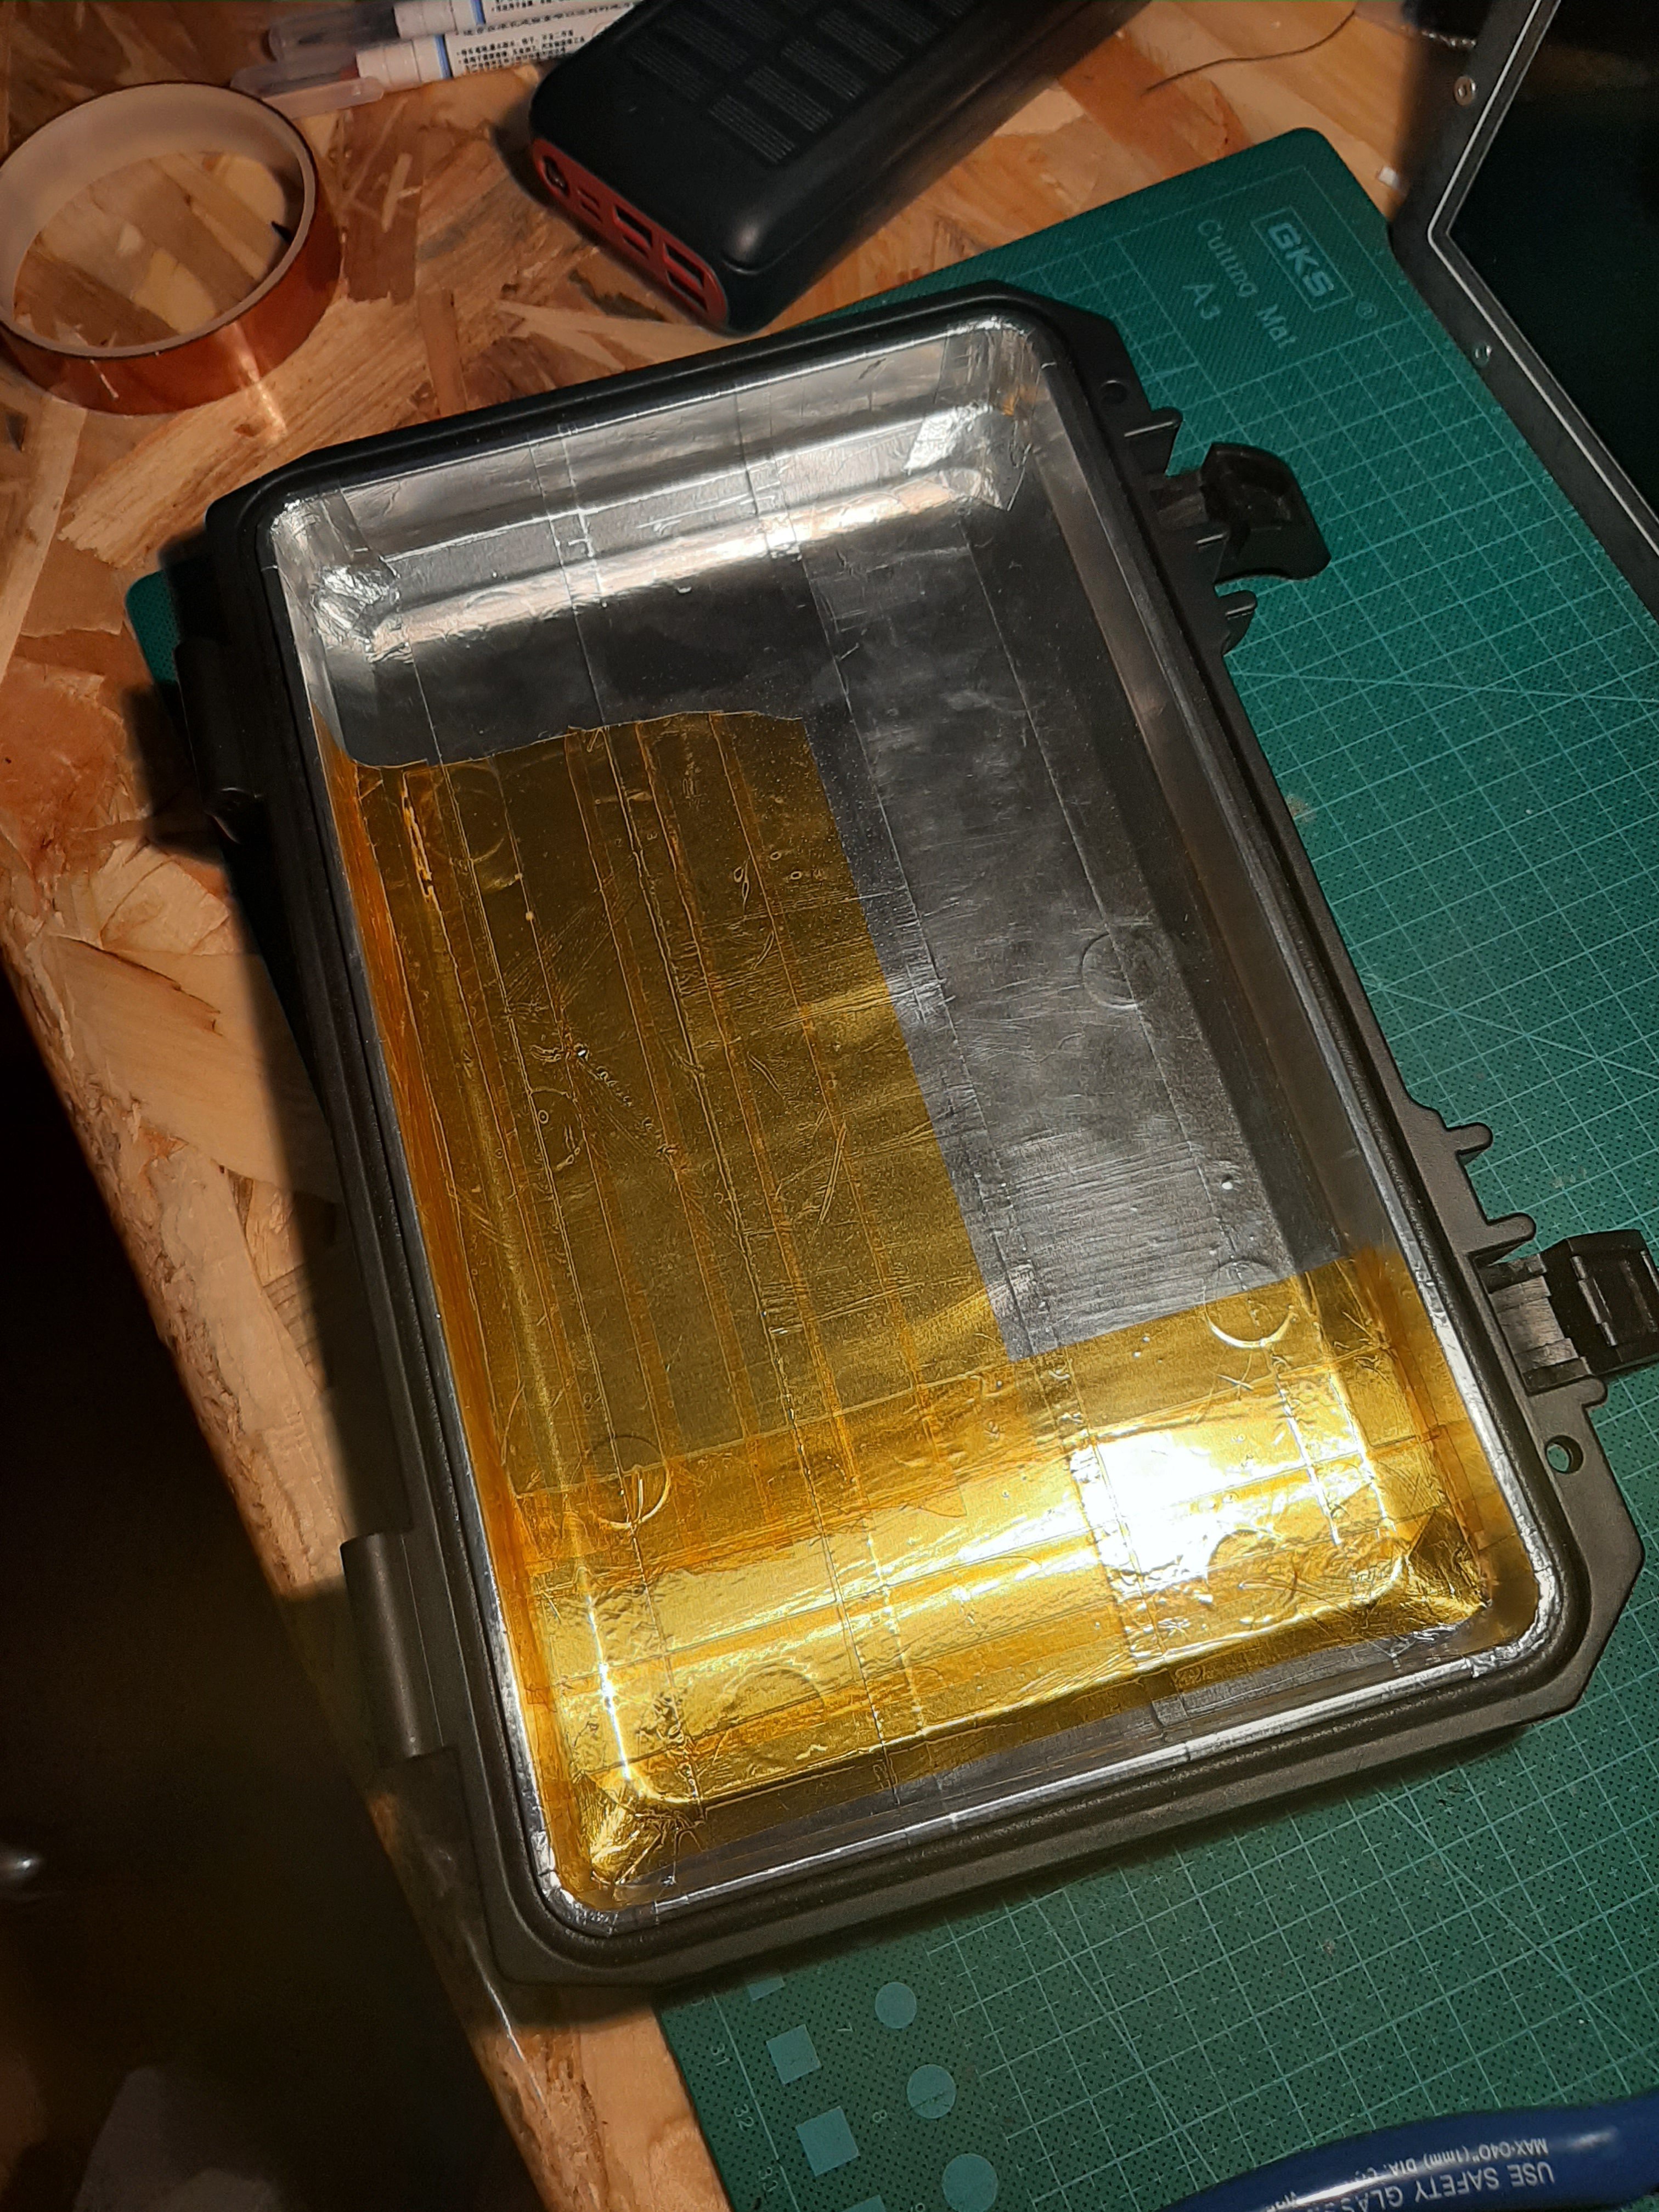
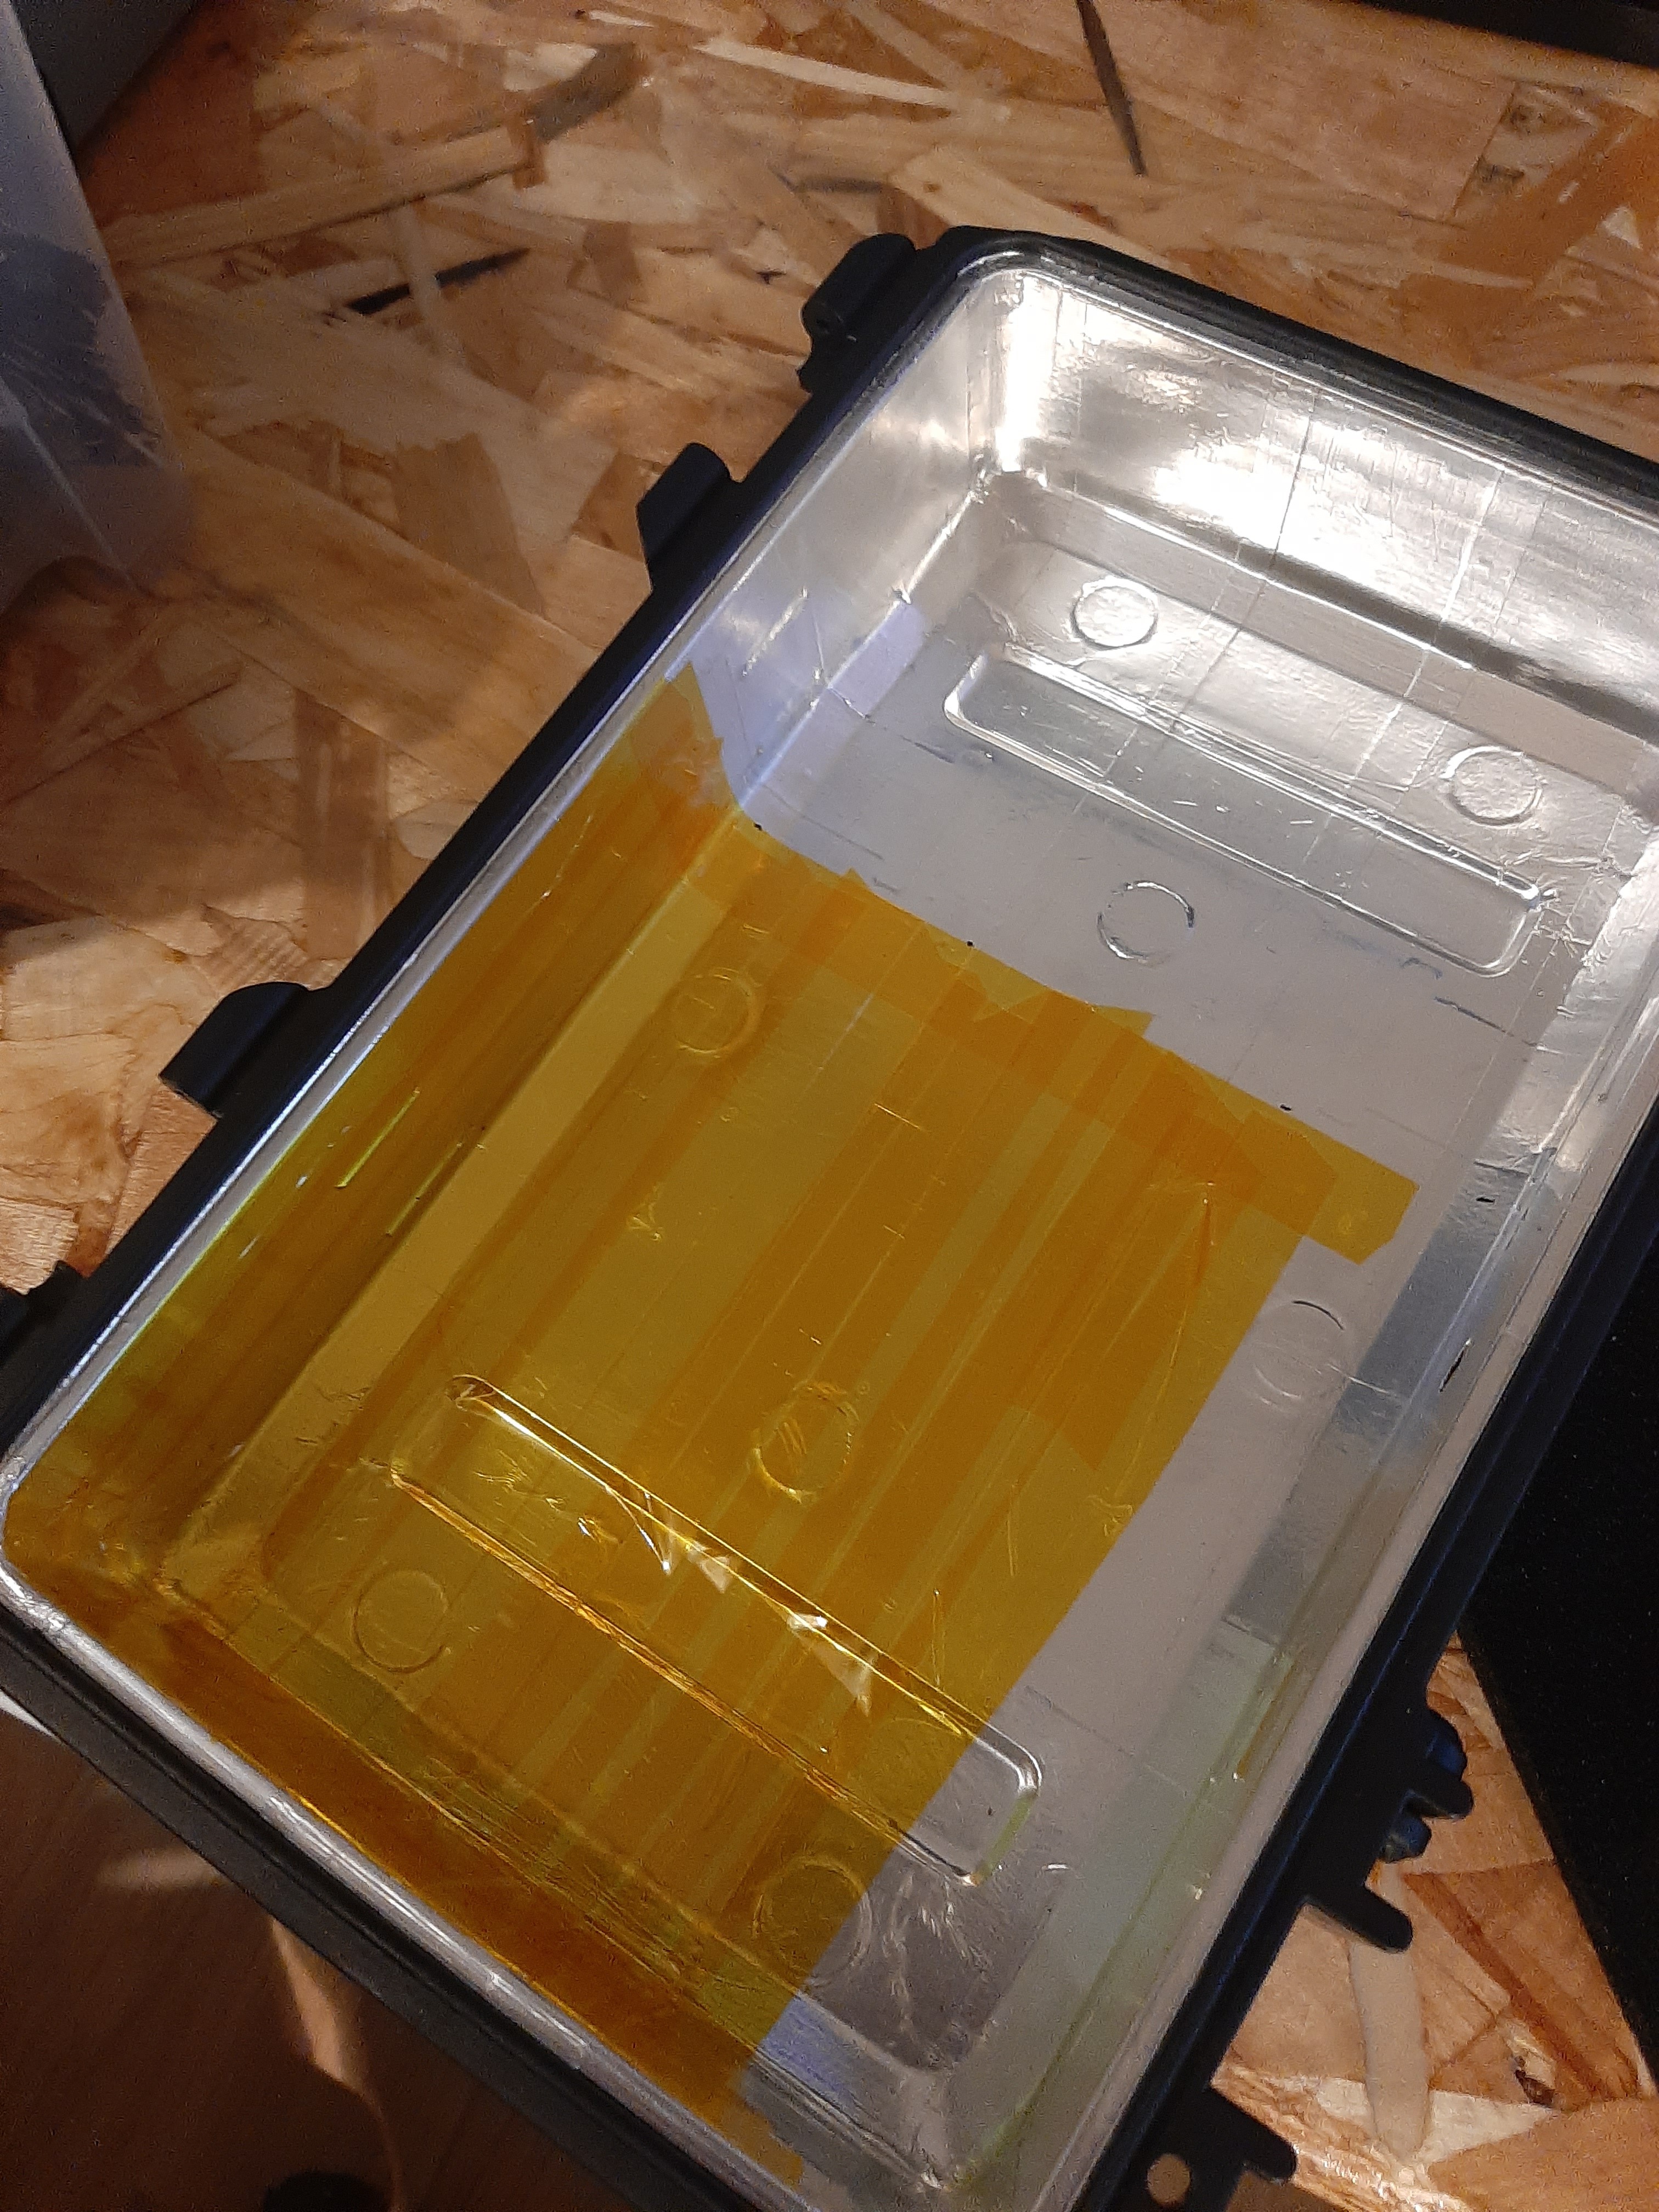
- improve shielding by using copper tape (better than aluminium tape ? ) also with grounding point
- visualy access to powerbank leds status to one of panels, actually the way is to mesure battery voltage on front panel (8.4v for high value and 5.2v for low voltage power pack) CHECKED
- find a way to replace usb sound card and get access to the embedded rpi 3.5mm mini stereo jack plug (didnt find suitable solution due to compact design)
- improve cooling system or remove it because not enough data (temperature mesurement) to analyse CHECKED, custom NPN/PNP/MOSFET driver board with GPIO PWM drive
- Conductive foam between the 2 parts of the pelicase
- do small custom pi shield to minimize wiring
- Add small usb led light


 Cole B
 Stefan Kratz
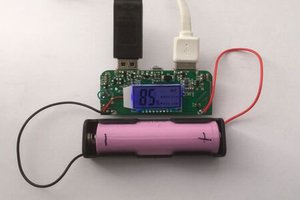
 IoT-devices, LLC
Neat ! Very detailed project & awesome 3d modelling !