 David Matthew Mooney
The background photo shows an art installation in Ottawa that looks heliostat-inspired.
Relevance:
“Residential energy use is responsible for about 20% of total greenhouse gas (GHG) emissions in the US.”
From
Last accessed 6 Nov 2022.
Figure not found in a peer reviewed source but probably partly based on
Dichter, N., & Aboud, A. (2020). Analysis of Greenhouse Gas Emissions from Residential Heating Technologies in the USA. UC Davis Western Cooling Efficiency Center. https://wcec.ucdavis.edu/wp-content/uploads/GHG-Emissions-from-Residential-
Comment:
The carbon emissions on these shores appear to be roughly evenly distributed across sectors. (See: “Overview of greenhouse gasses”, publisher: EPA, govt, USA) Therefore, meaningful reductions will require a combination of collective action and household-level action: neither will suffice by itself.
From Zig Ziglar, we have this: “Whatever you need to do, do a little every day.”
Safety:
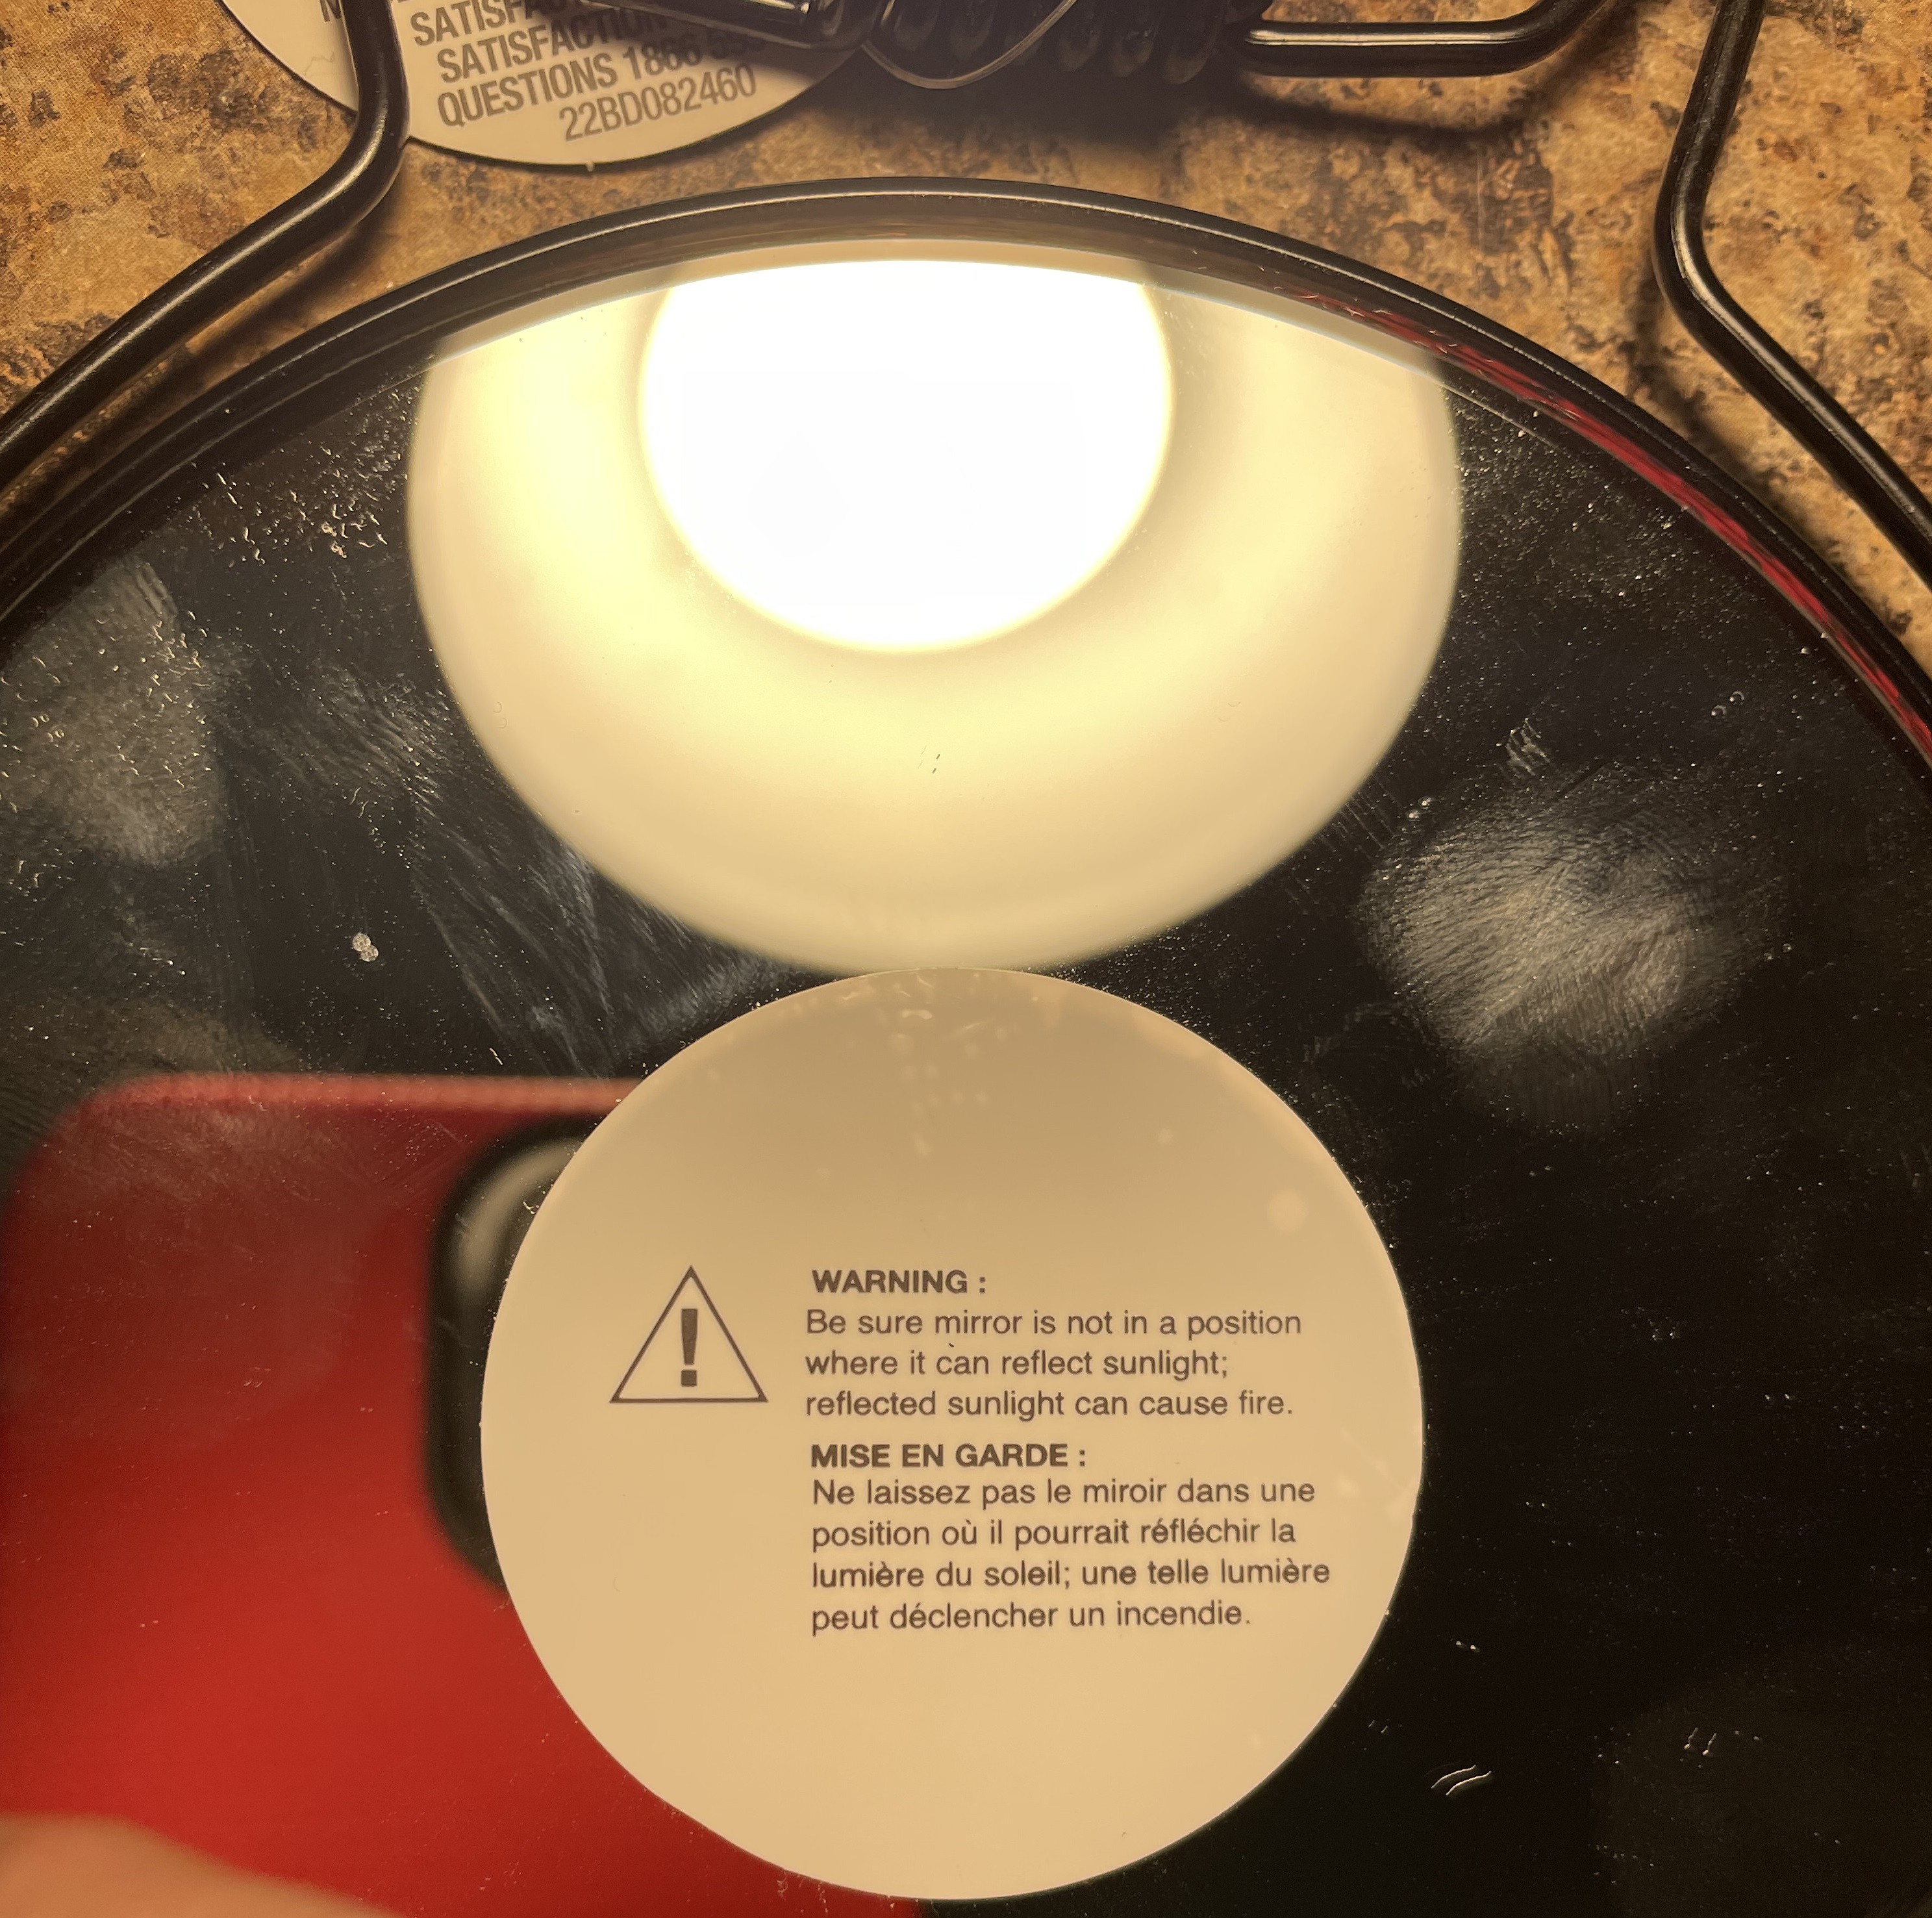
Do not use warped plywood for the reflector or it may focus sunlight and cause a fire. Replace or reverse it if it becomes warped. Waterproof it carefully before putting it into service. Inspect for foci periodically and after each rain and renew or reverse the reflector if any are found.
Linseed oil safety:
X
https://www.simplemost.com/linseed-oil-can-fire-hazard-need-know-stay-safe/
X
https://www.flinnsci.com/sds_450-linseed-oil/sds_450/
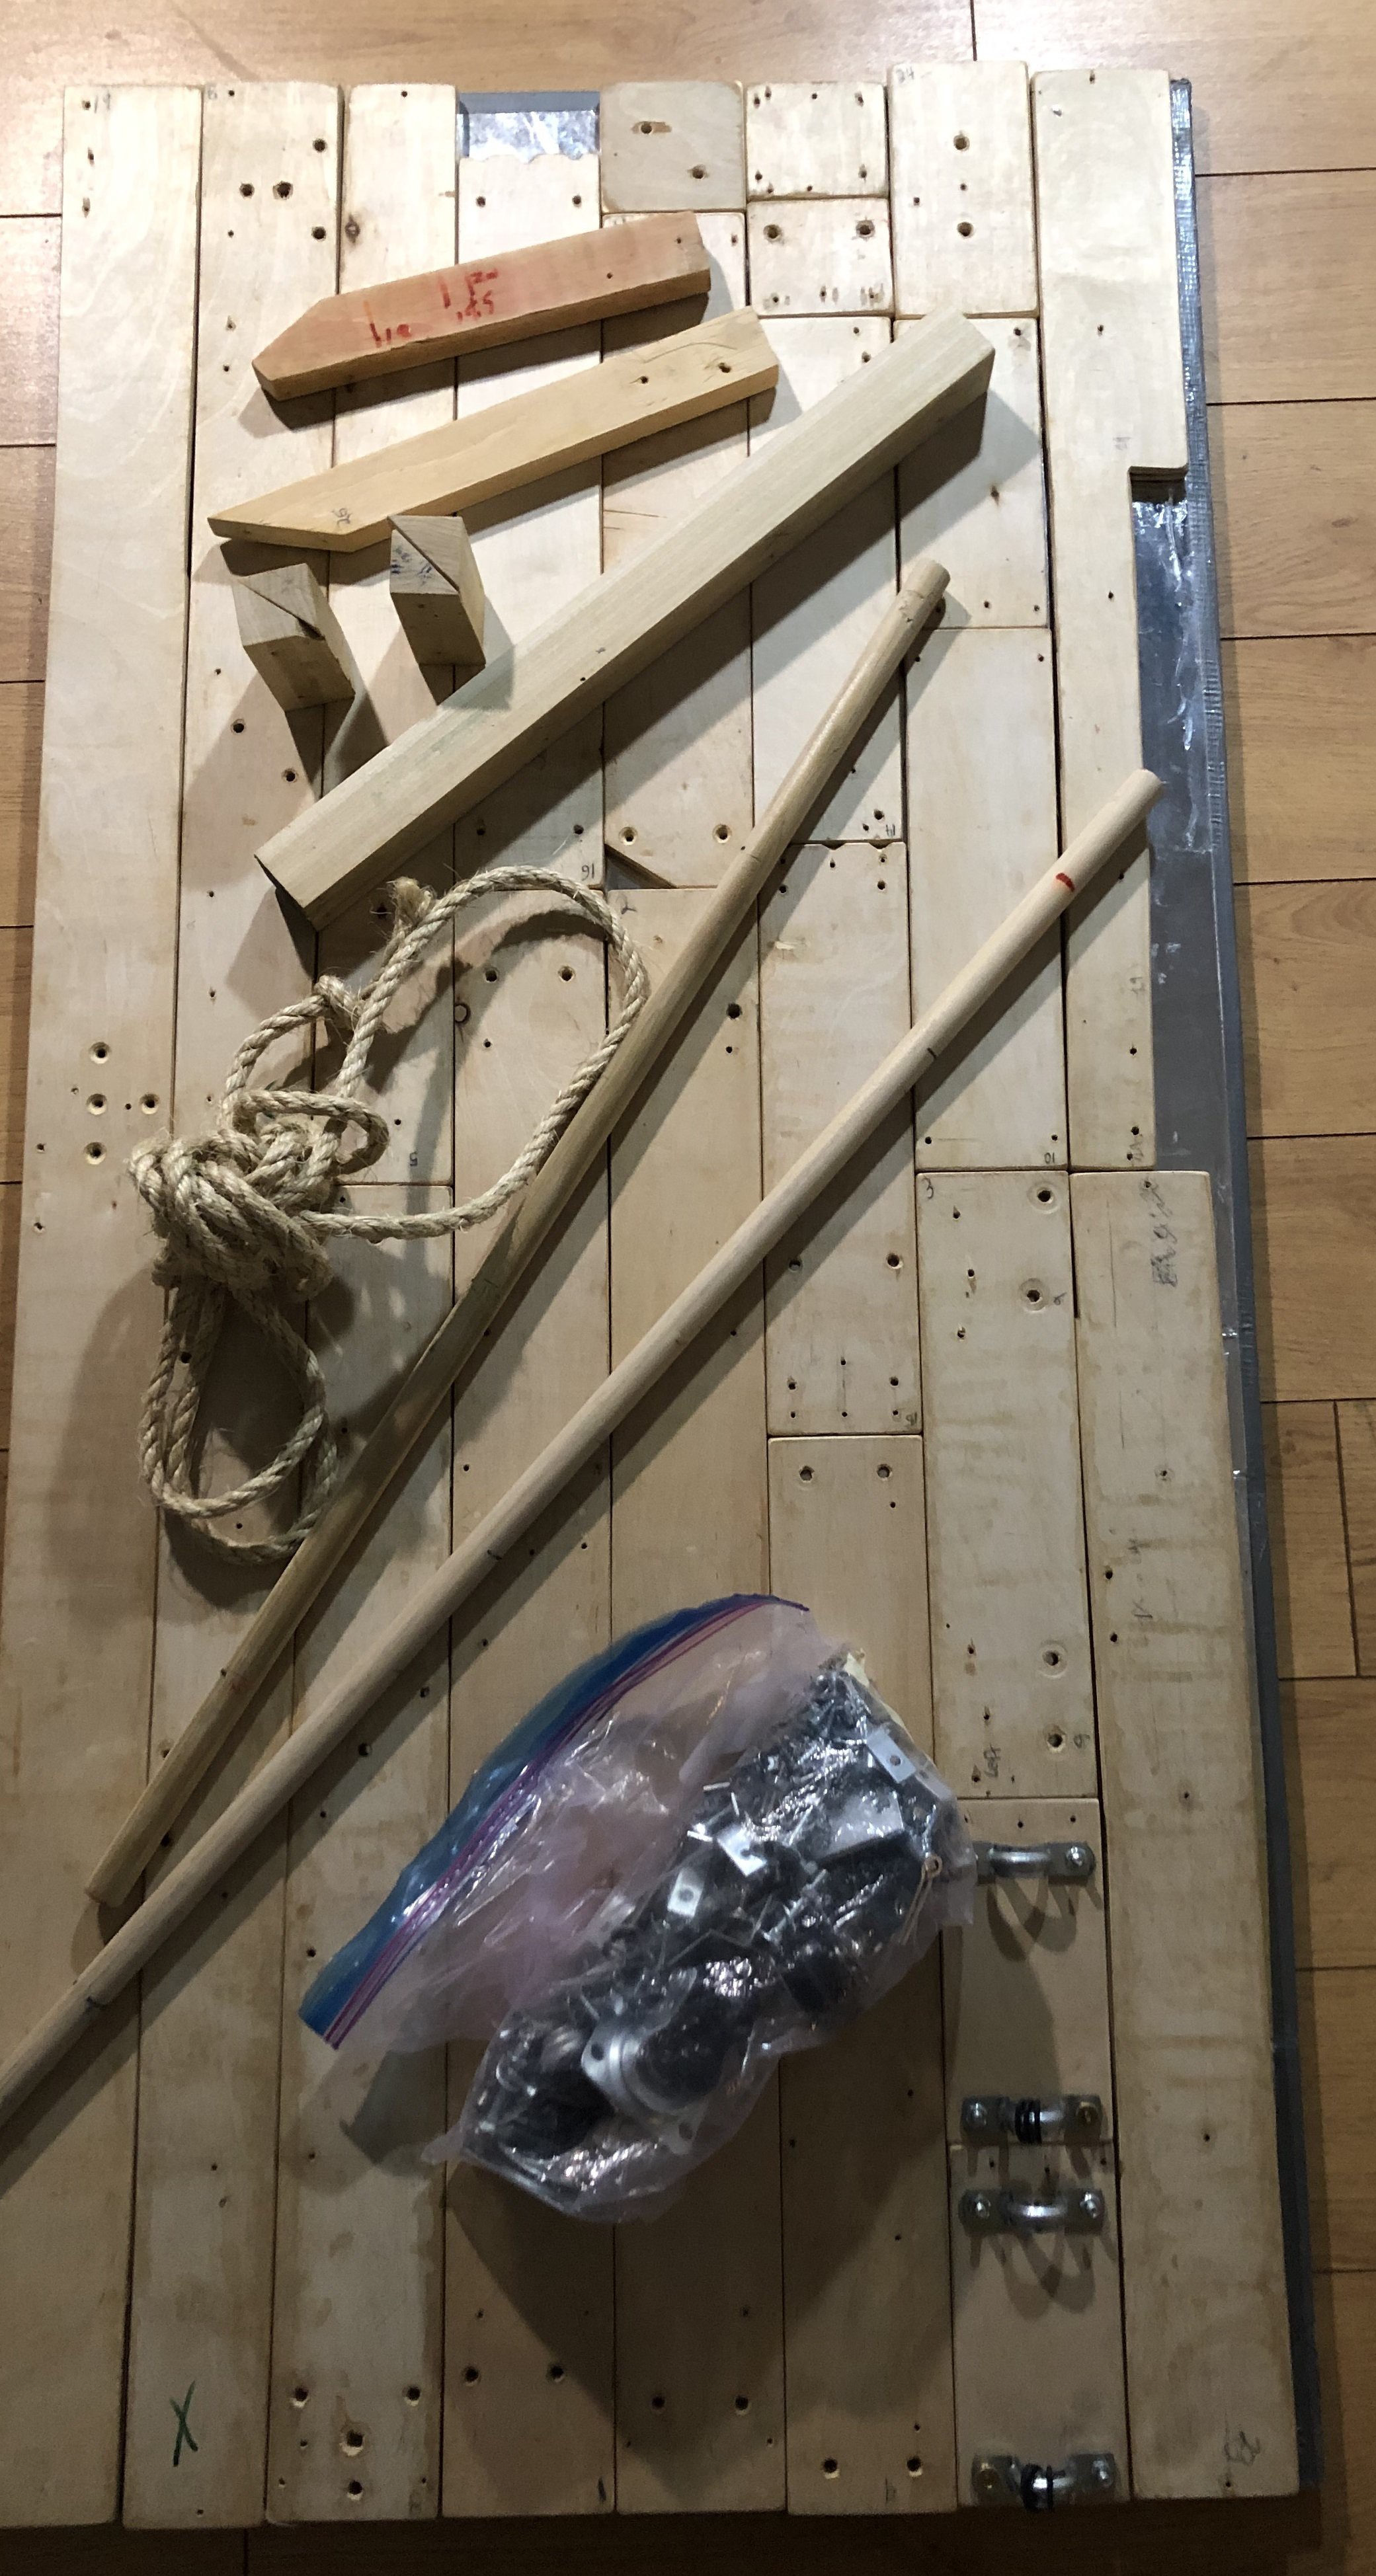
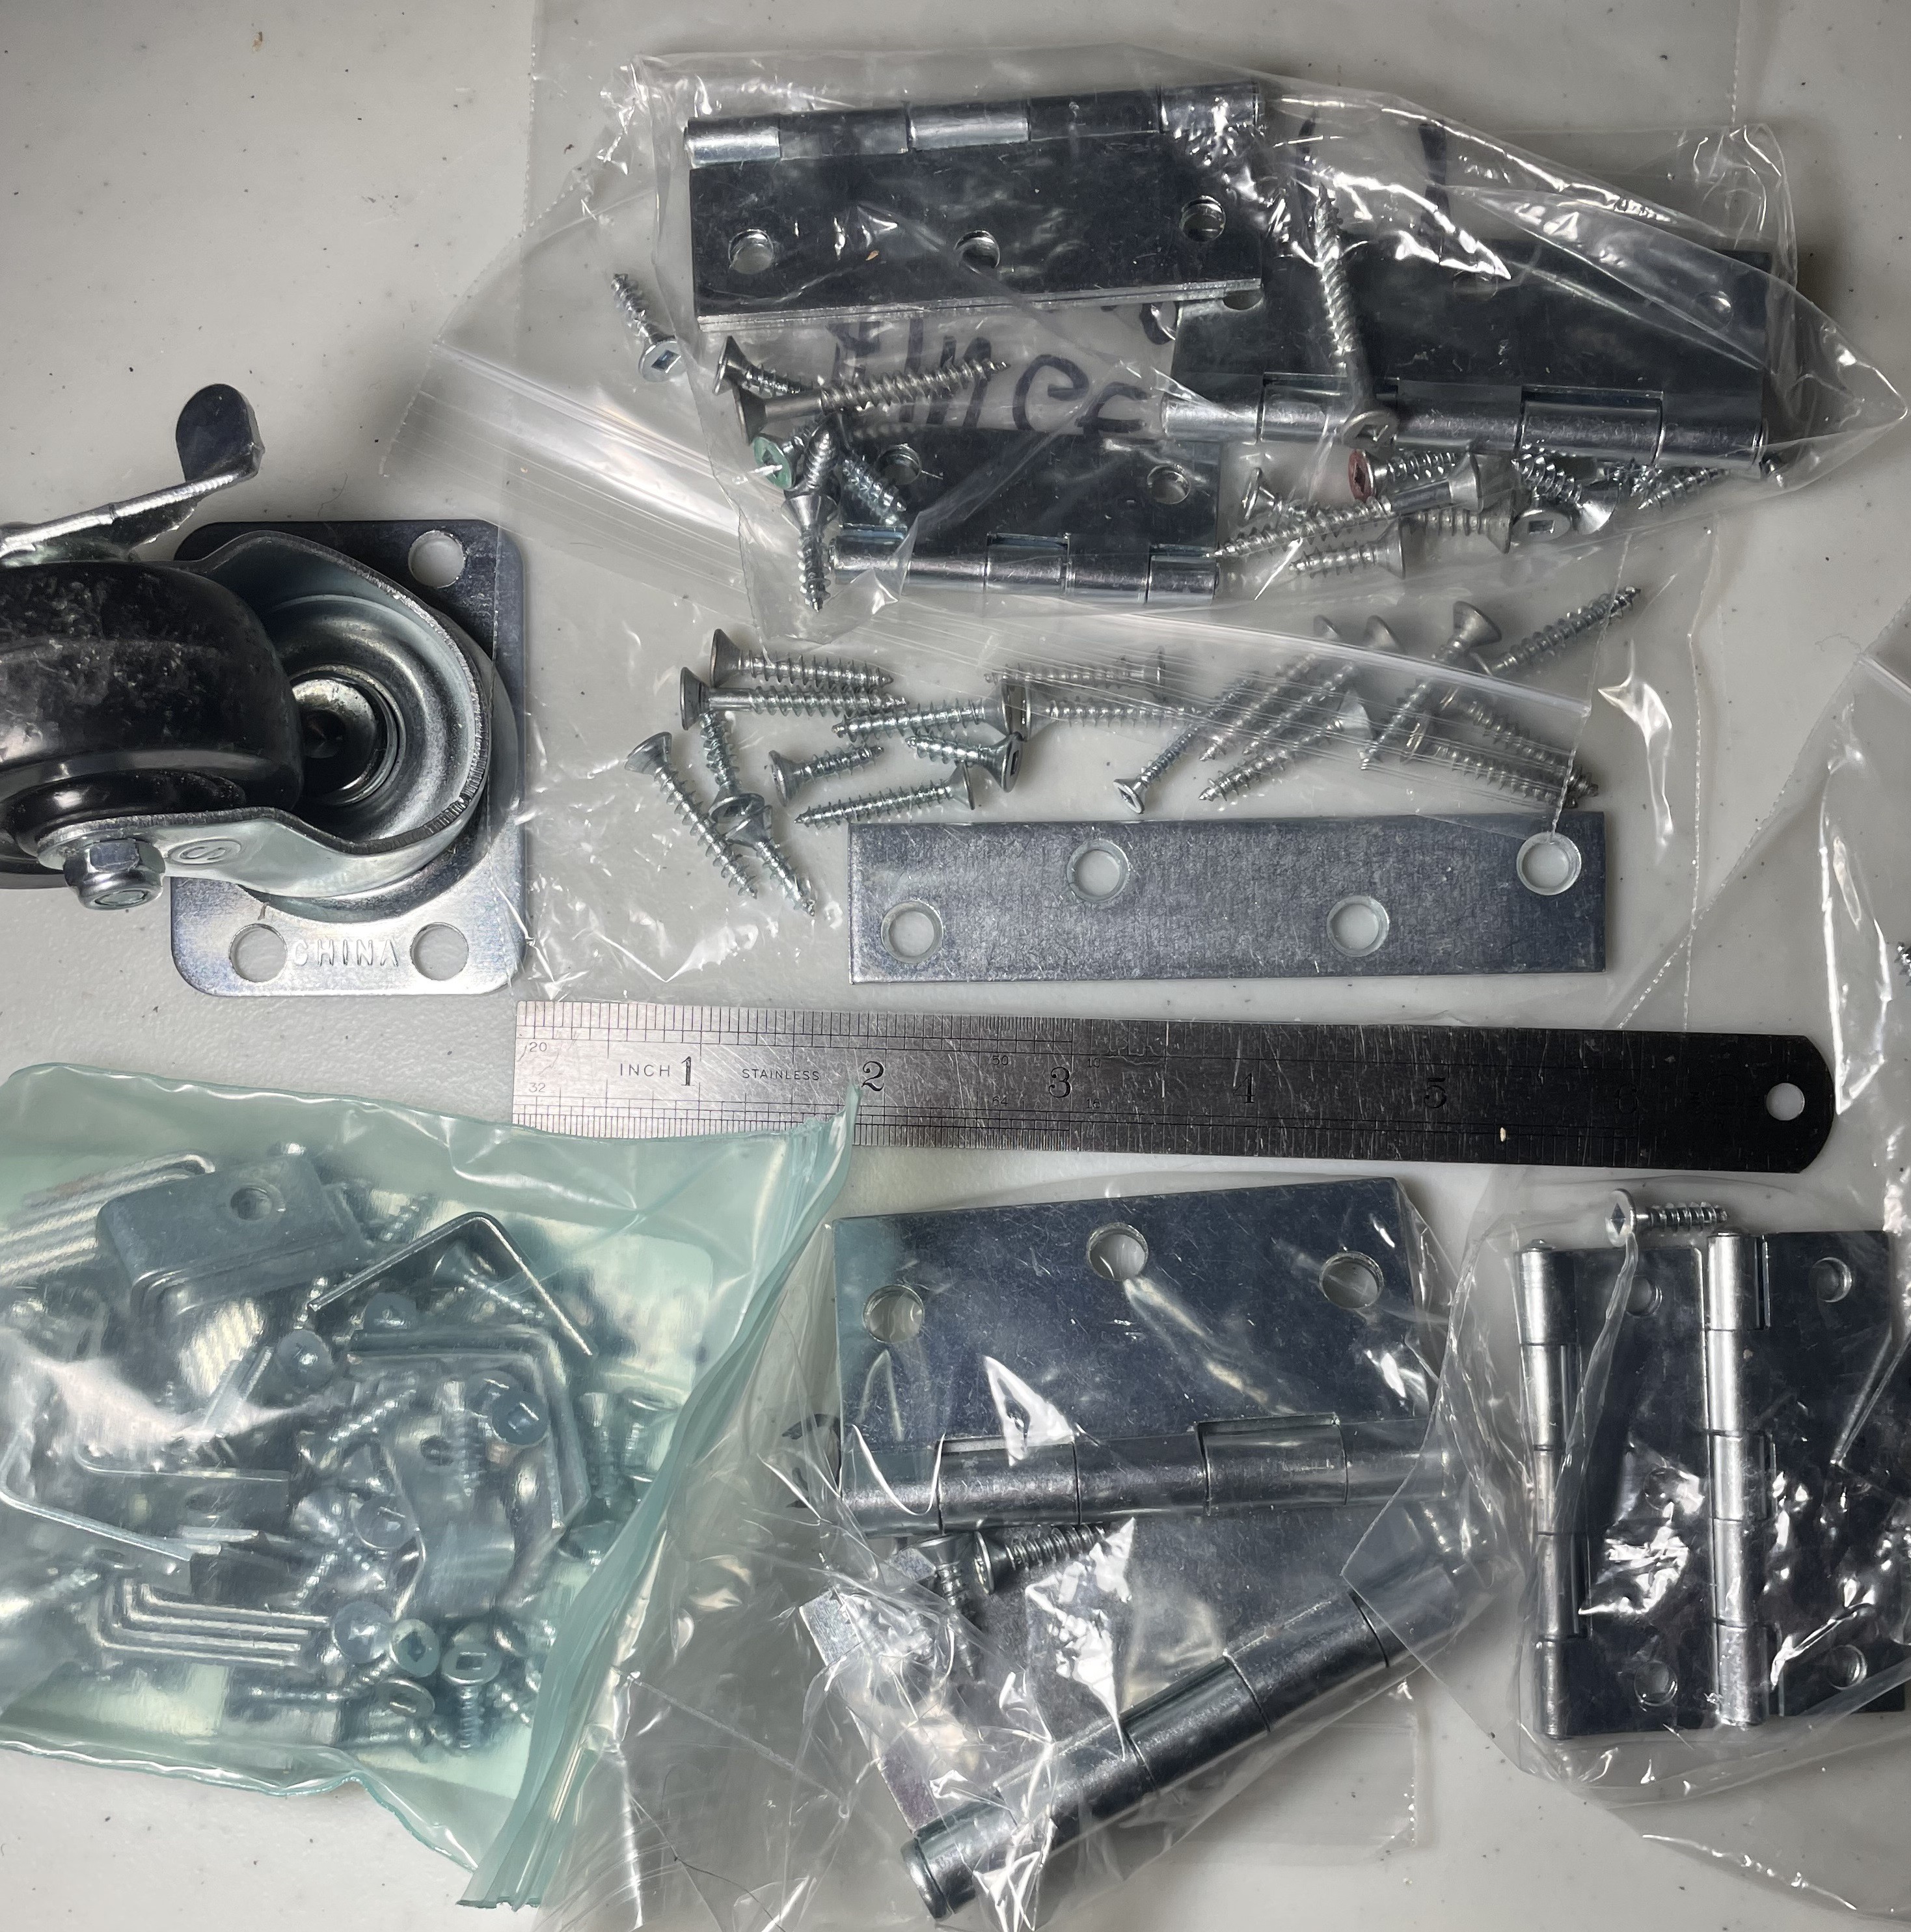
Build, miscellaneous:
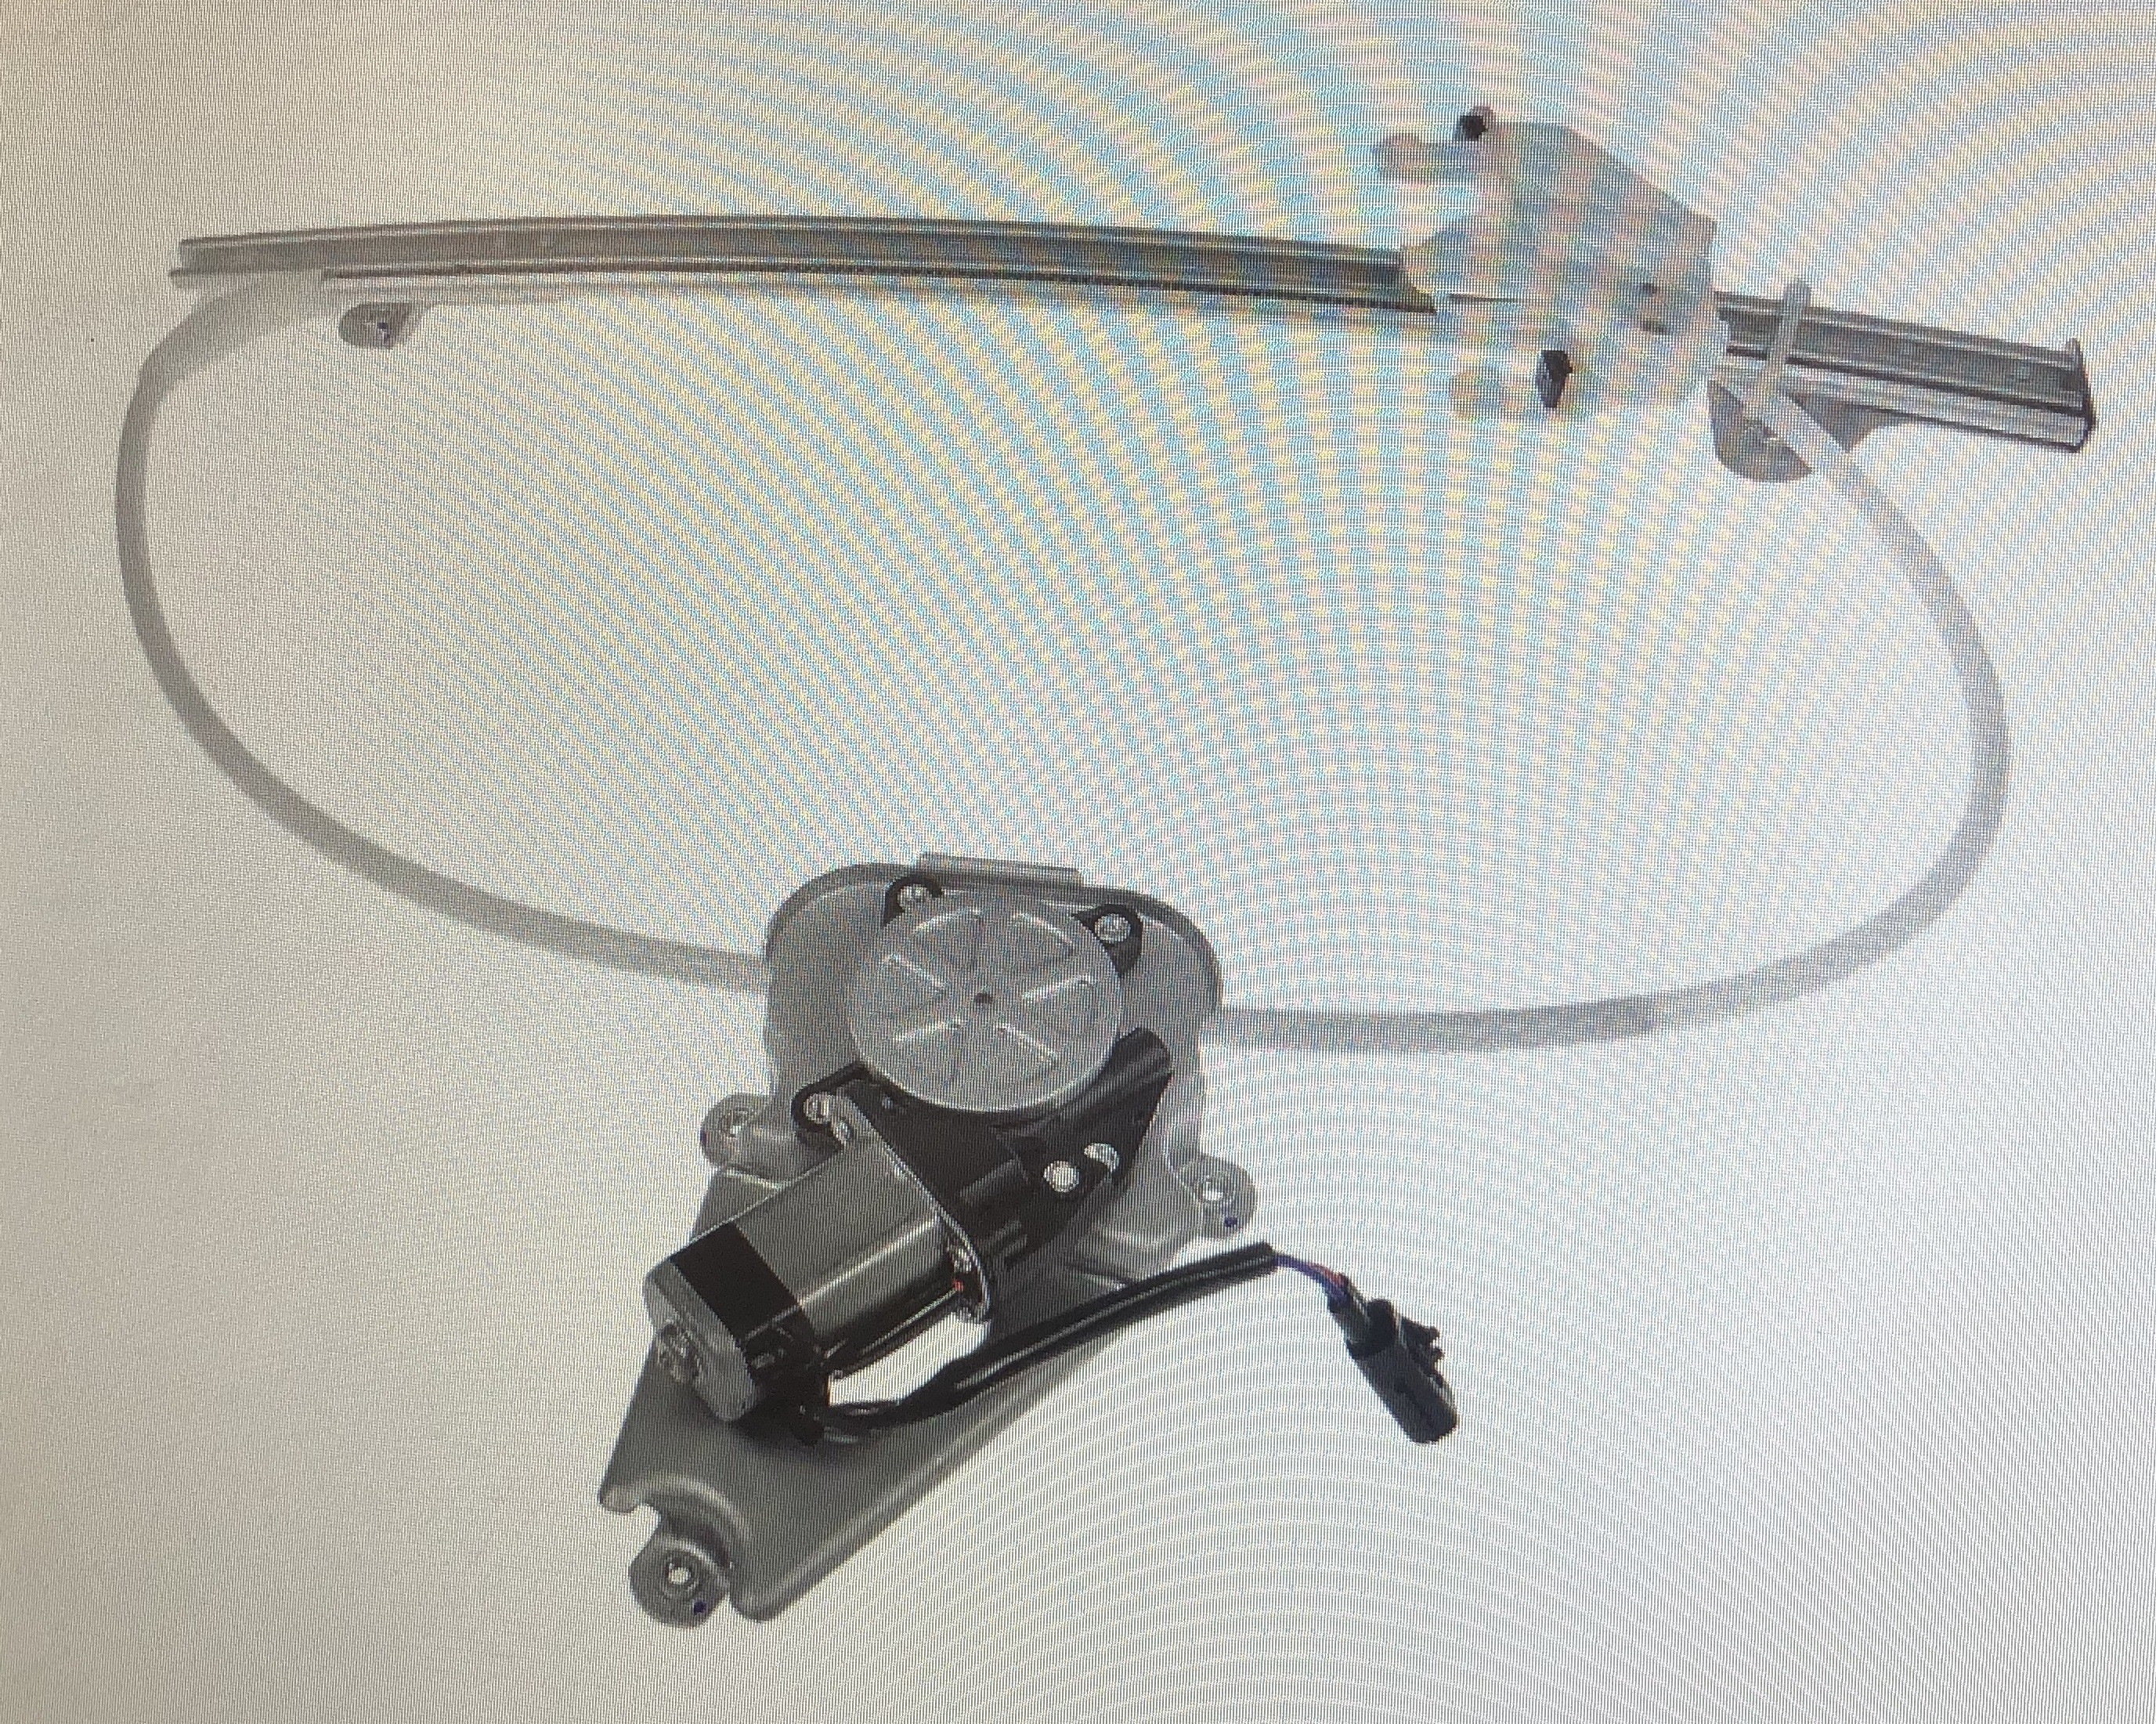
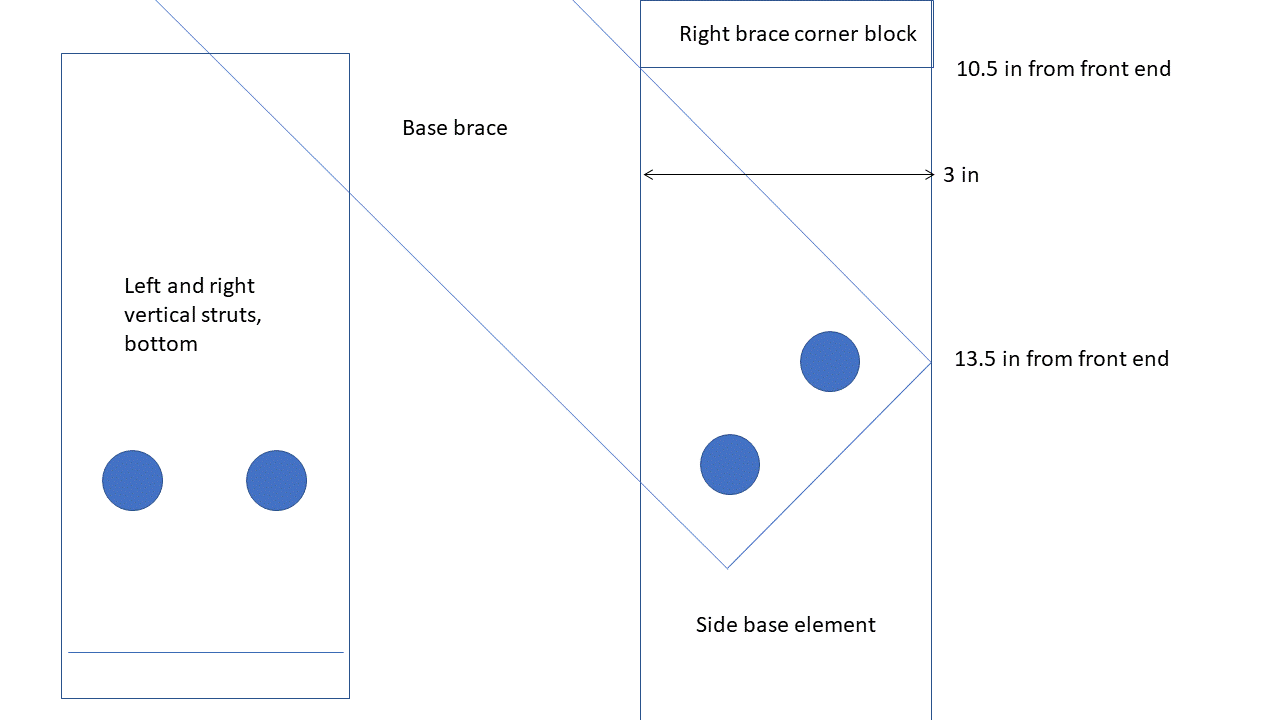
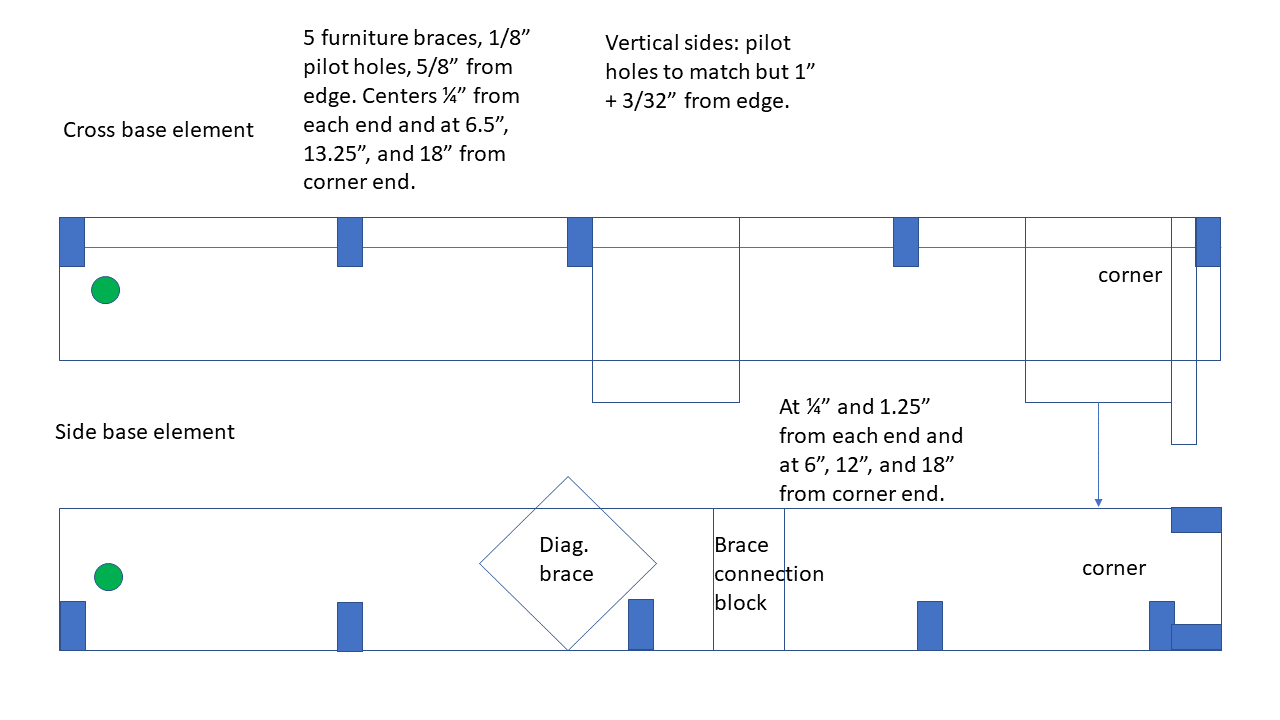
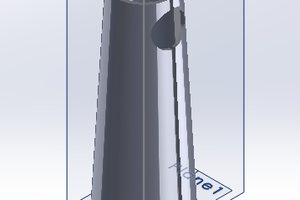
I use push-rods made of wooden dowels to set the angles. These can be marked with a pencil to show the daily series of settings that must be reproduced by a future computerized controller. The dowel can be rotated to get a fresh surface for marking the results for the following month. In future, each dowel will be replaced by some electric device such as a car's cable-type power window regulator, illustrated below. The system diagram shown in the gallery is proposed and not built.


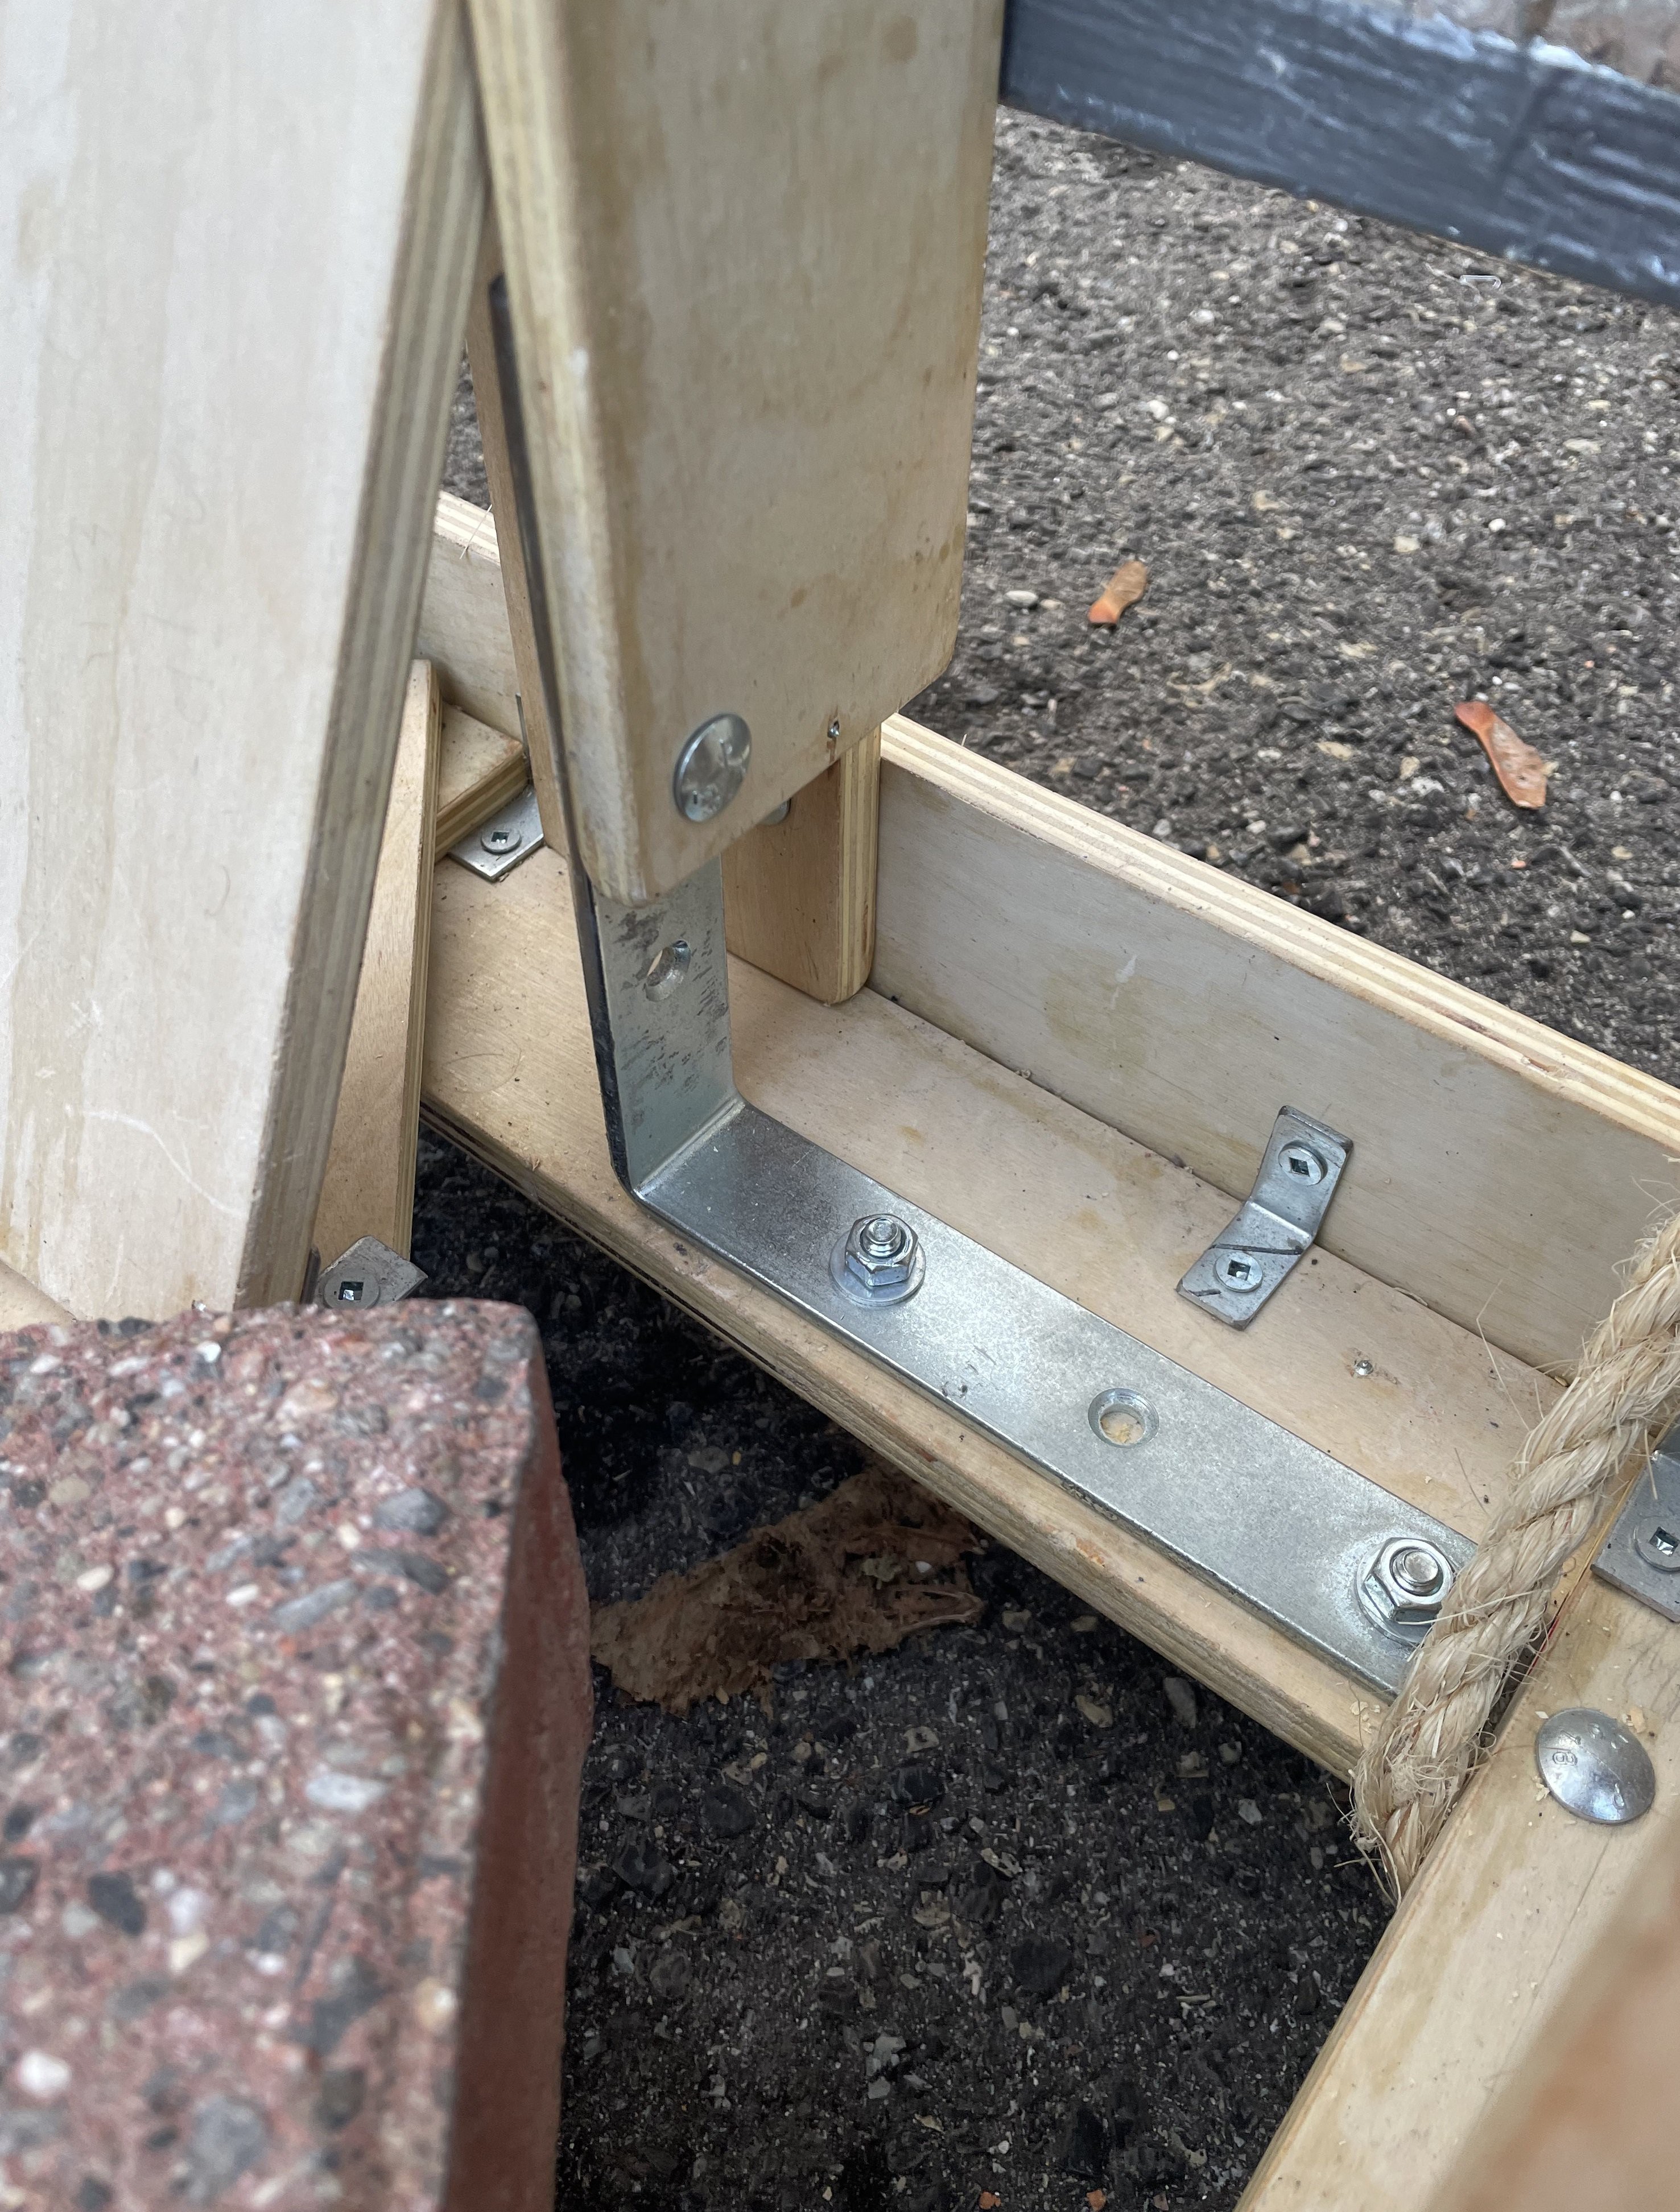
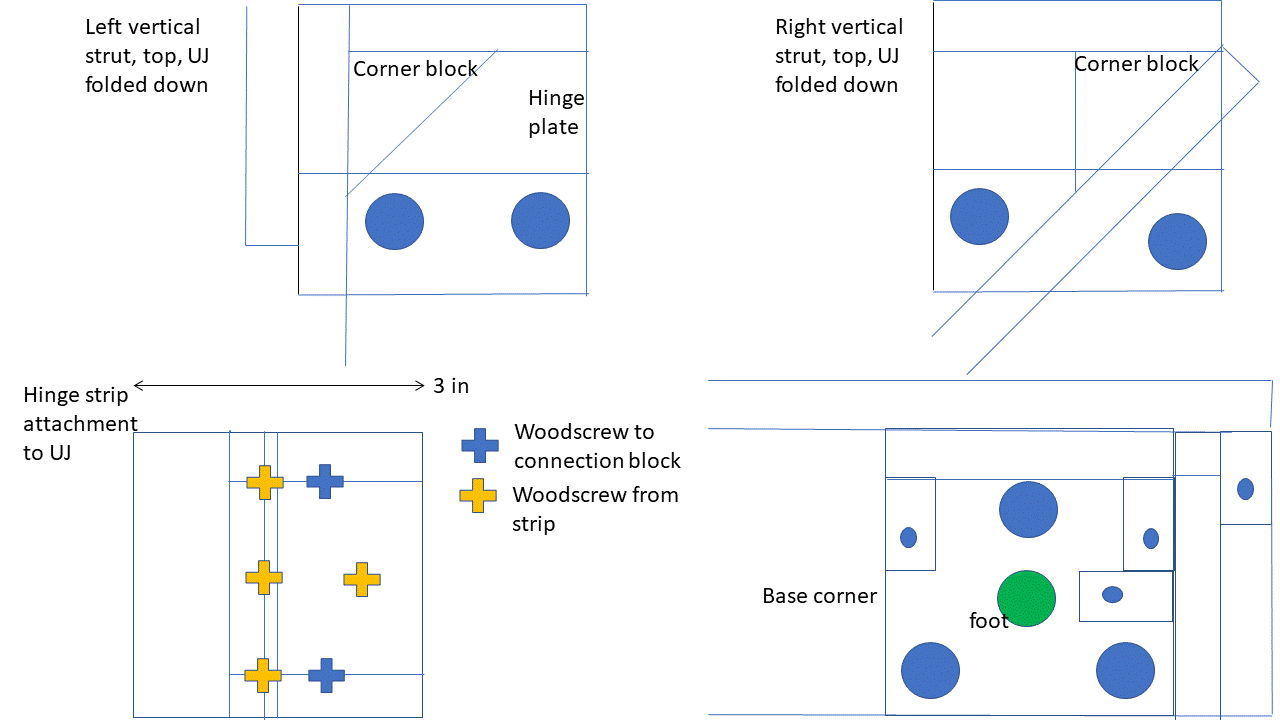
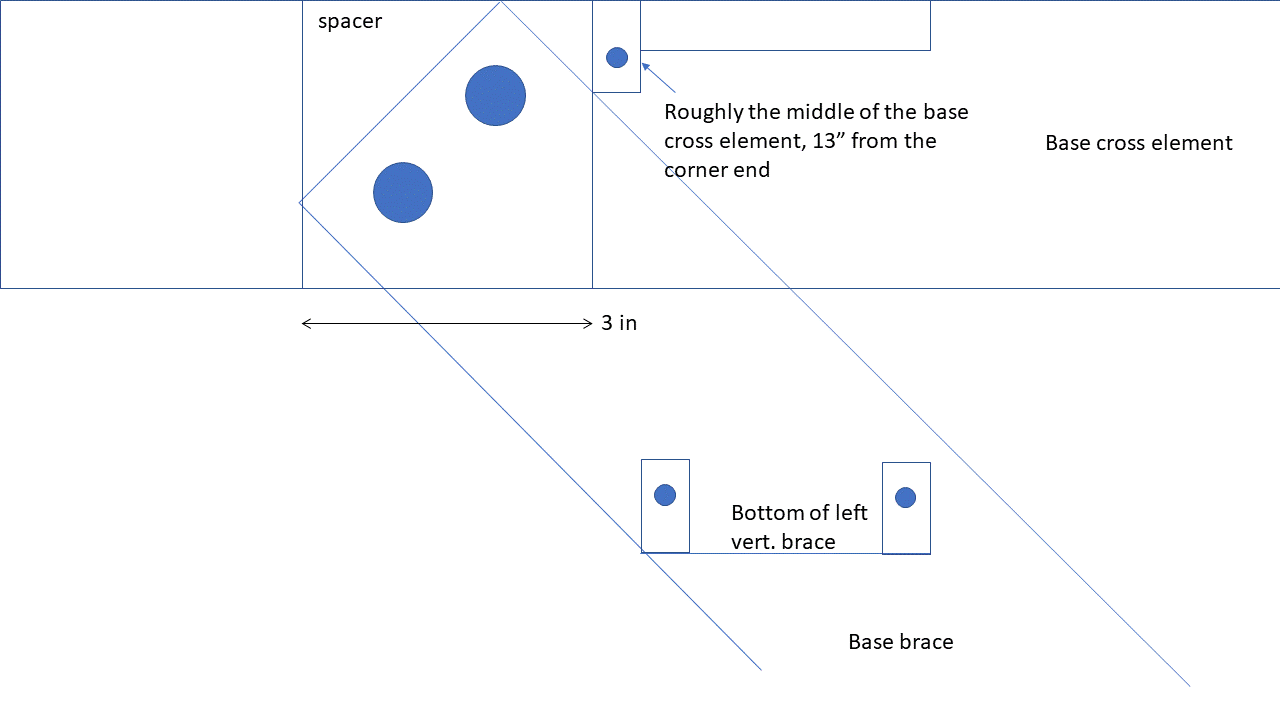
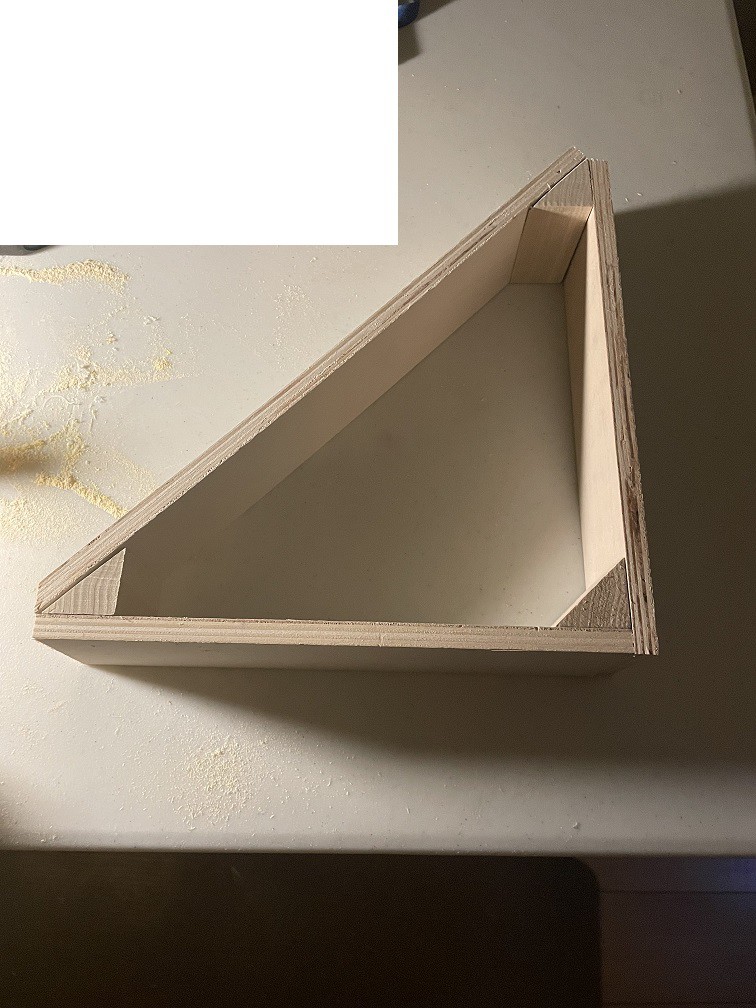
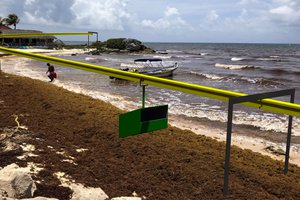
The above two pictures show how I braced the prototype to reduce wobble. In each picture, the point of interest is near the center. One brace is a bent mending plate. Results satisfactory.
Weather test:
After 4 months outdoors, Nov-Mar, the project remained mechanically sound with no rust. The reflector board was somewhat dusty but not noticeably warped. Some areas of end grain facing upwards were split or delaminated, so such surfaces need to be double-sealed. The second coat on these areas was outdoor spar urethane, oil based. Before applying, I wiped down with a Varsol-moistened rag in lieu of sanding, wearing "Mr. Clean" brand gloves, which did not pucker when a drop of Varsol was left on them for 7 min. A second coat of urethane was applied to upward end grain located below...

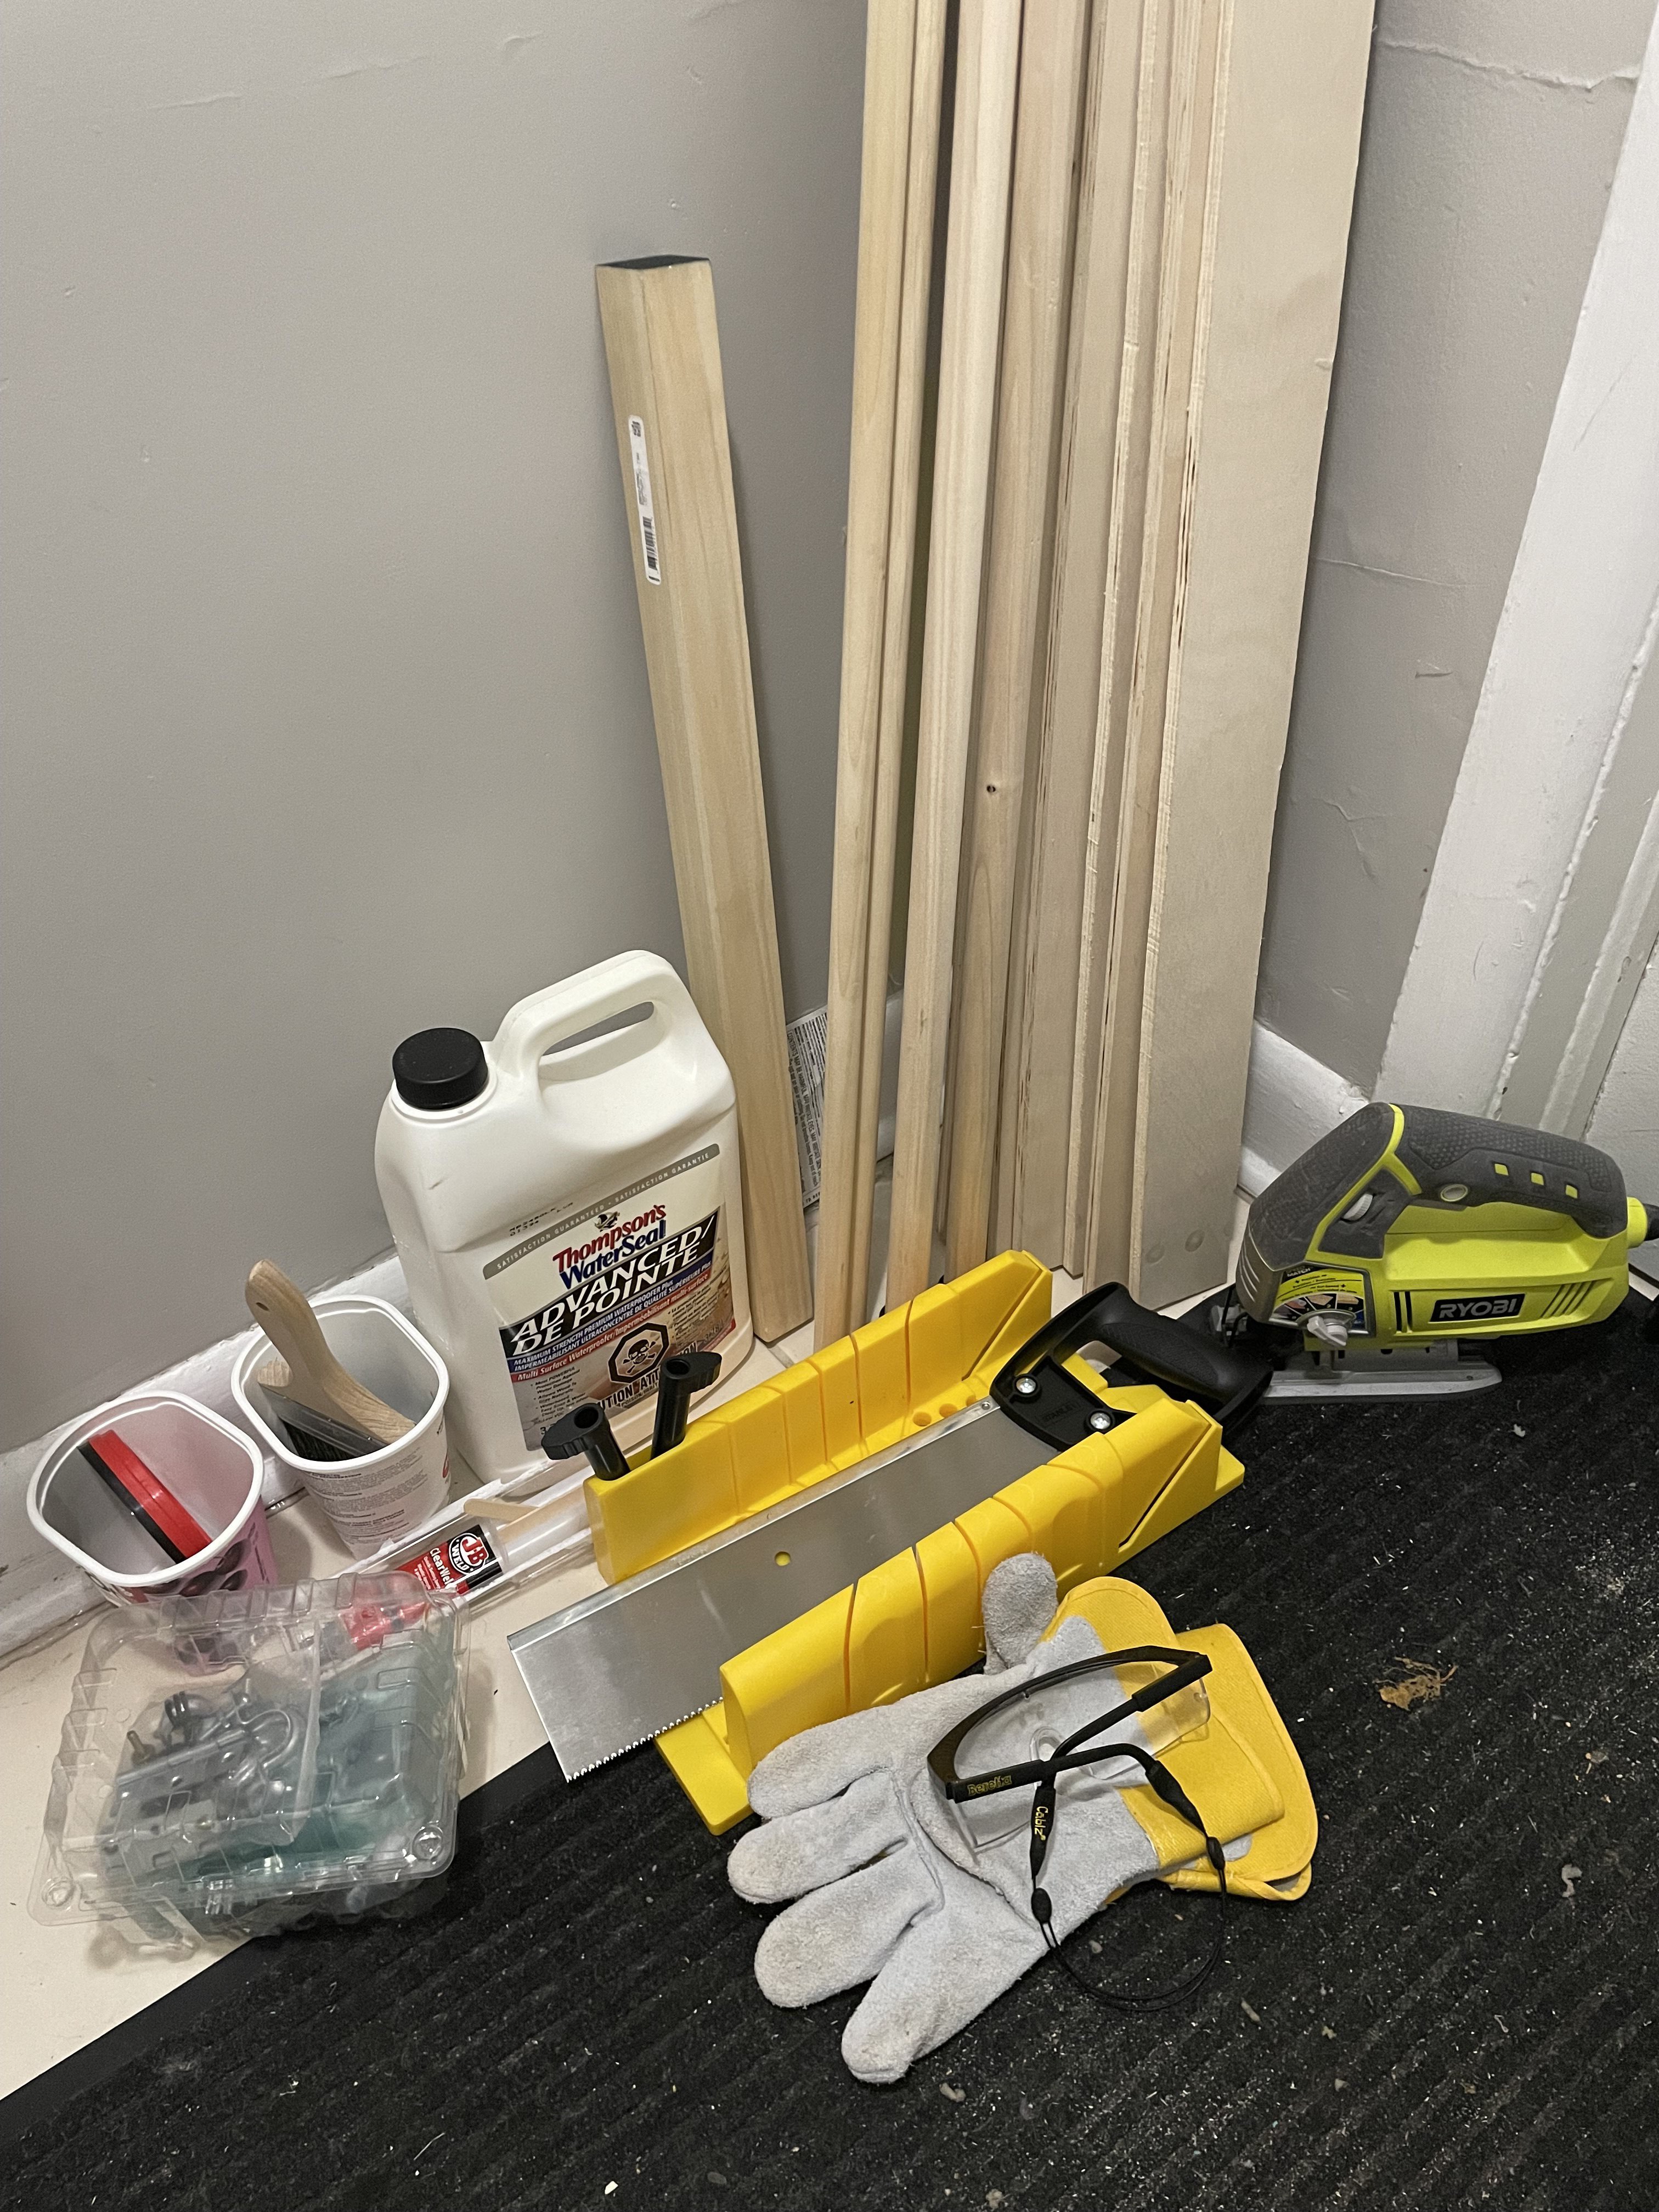
 Complete the cuts and keep an eye on the humidity. I gather that for best results, you condition all lumber in the room where it will be cut (done) and cut everything the same day. (Or at least at the same humidity?) Right after cutting, I sanded all edges and corners, (outside and while wearing gloves) because I was getting tired of infected splinters. I put on a P100 respirator halfway through sanding. I finished by brushing off the sandings with a new shoeshine brush. Now everything I cut feels like a wooden kid's toy.
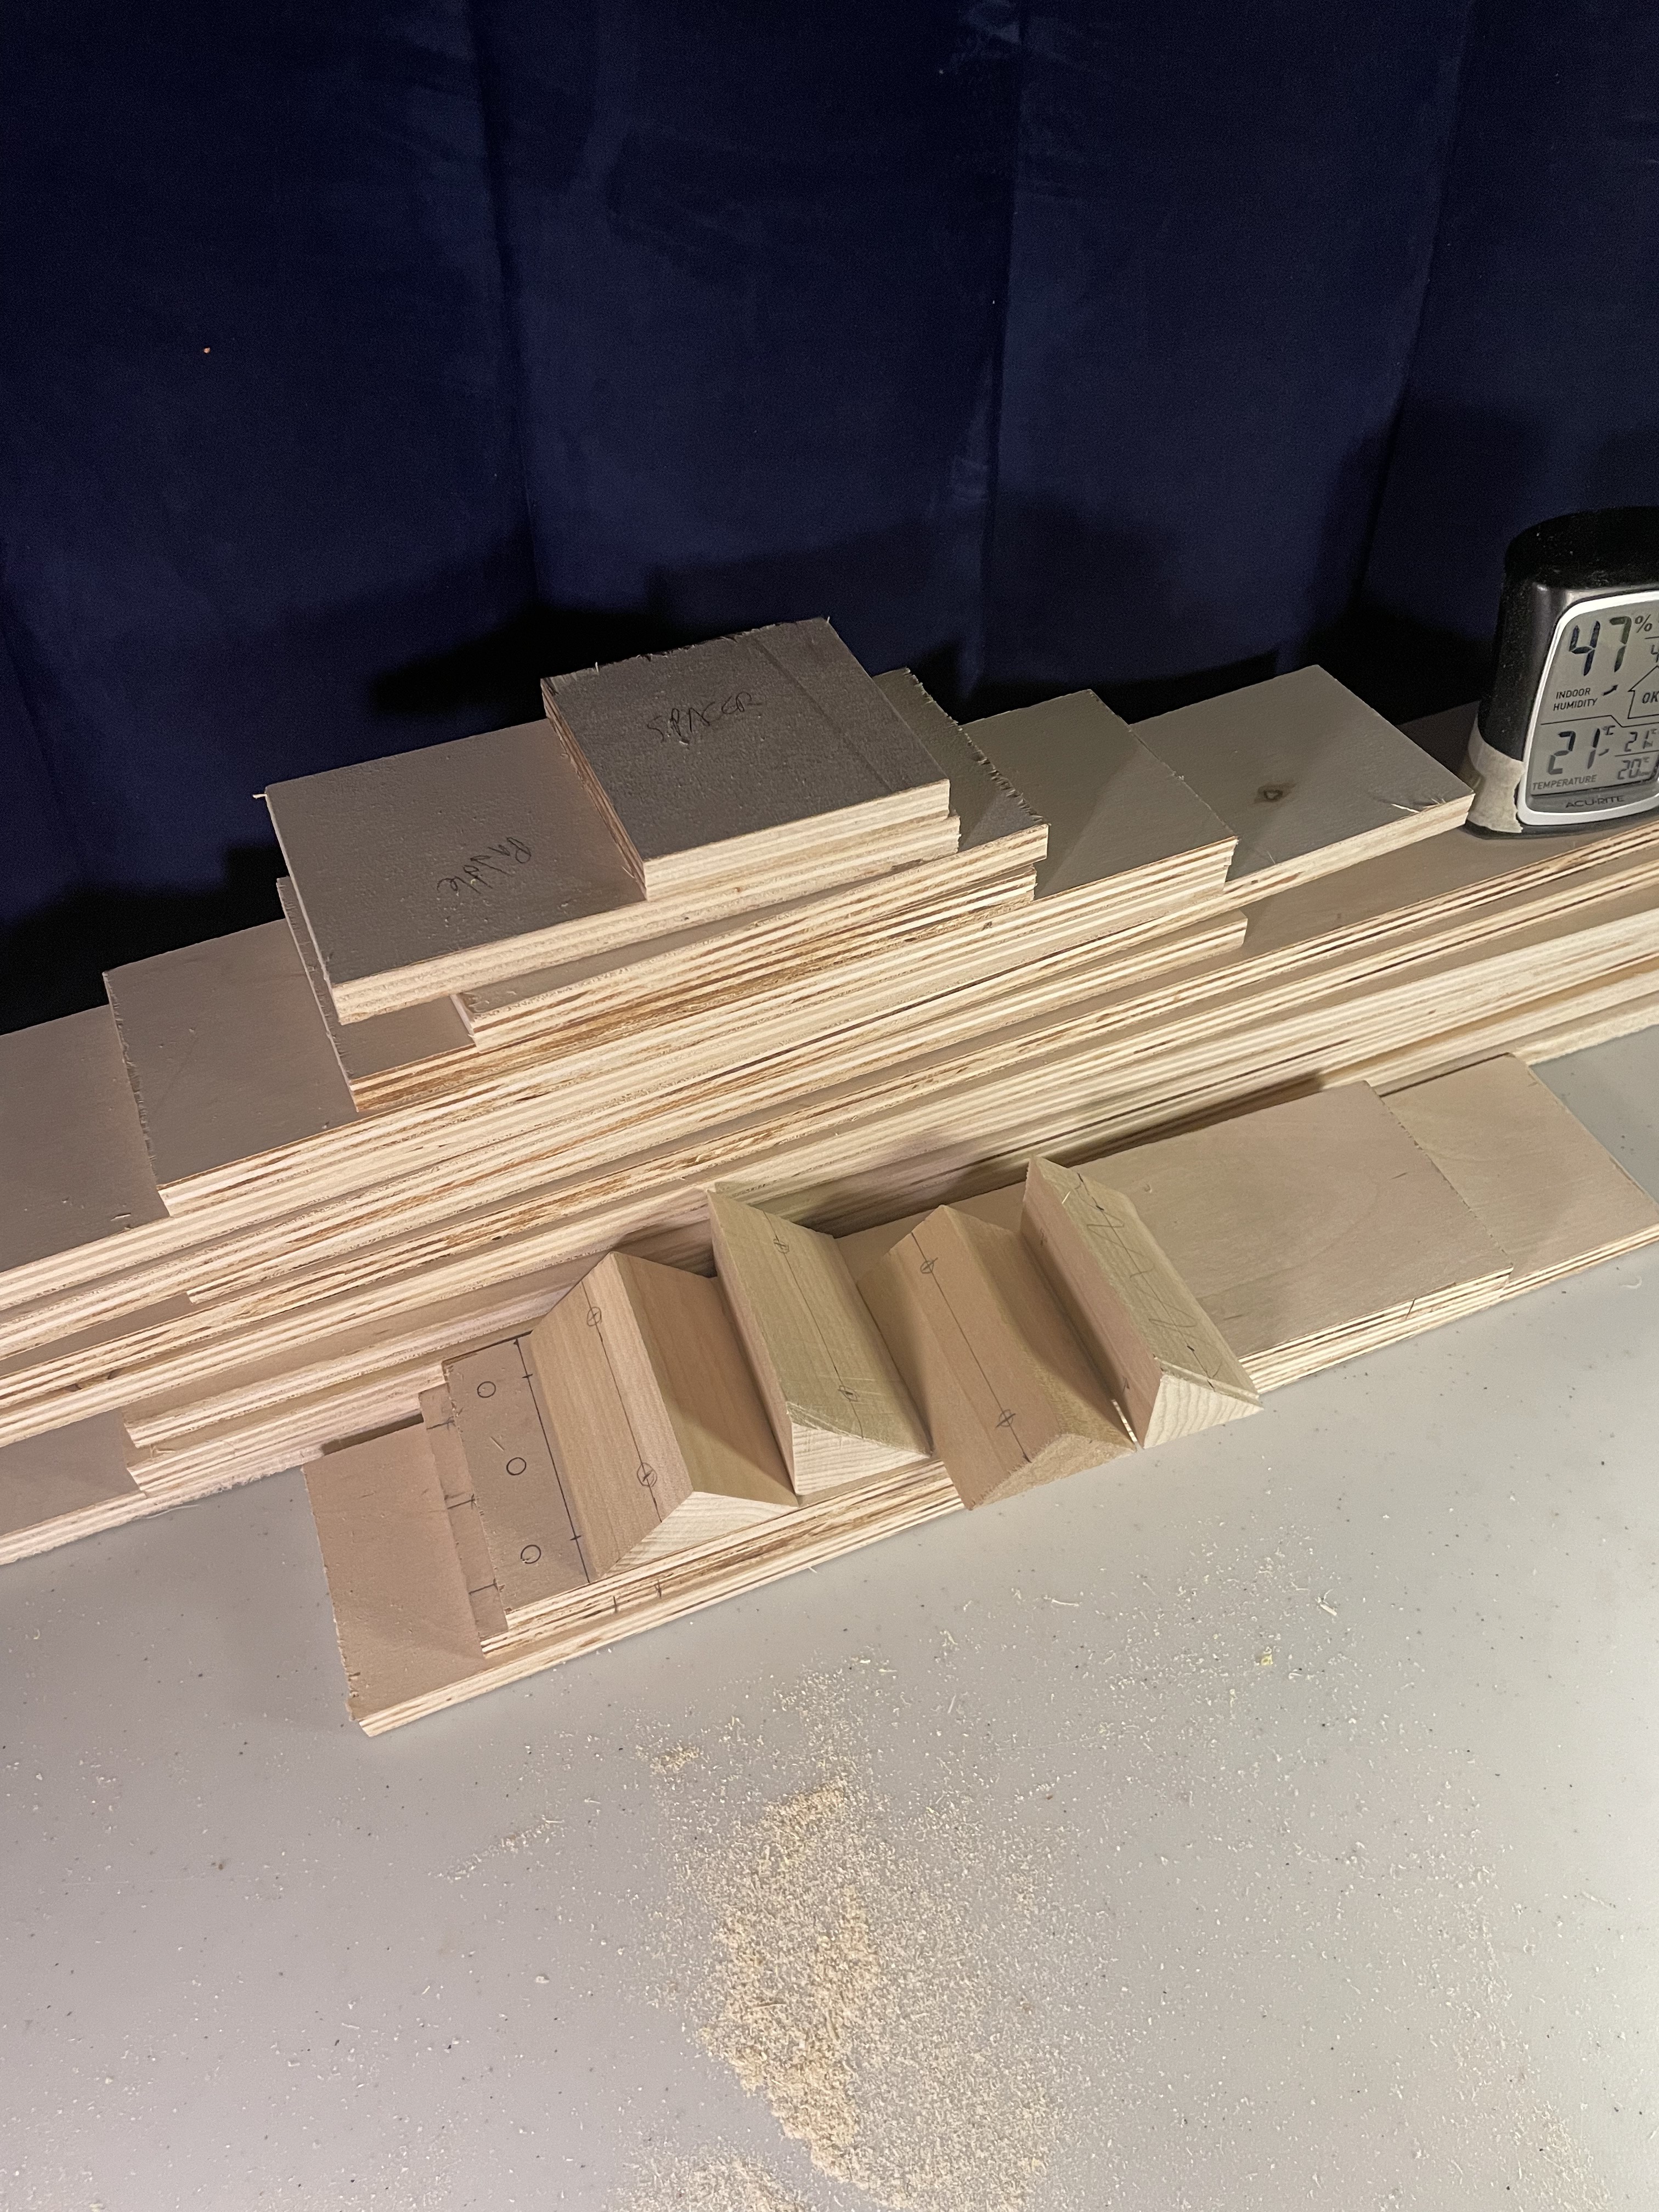
 Anteneh Gashaw
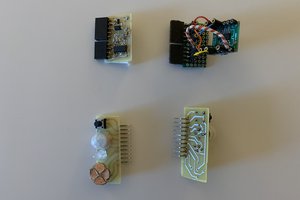
 Lutetium