 Mark VandeWettering
As I go along with this project, some of my logs will be not so much to inform you as to what to do to reproduce my project, but rather to explain why I did some of the things I did in a more philosophical sense.
A fair number of my friends of roll their eyes when I mention Arduino projects. To them, the Arduino represents "amateur hour" in the tinkering universe. In their eyes, Arduino is the kind of thing that you teach to nine year olds, but discard when you become a teenager.
I think that does the Arduino a disservice. I think there are many reasons to like the Arduino:
- I can strum a few tunes out on the ukulele, but I doubt I'll ever have enough time to be truly proficient. That does not mean it can't be fun and rewarding to try, and over time I may learn more than seems obvious to me today. In trying to learn to programming, it's hard to see where the baby steps we may take will lead us, but if we are going to make any projects, we need to take those baby steps.
- The Arduino community is awesome. Lots of people share libraries, codes, and ideas for projects. People answer questions online, and post videos of their projects too.
- Arduino programming tools are free and available on every major platform.
- Arduino is popular enough that a whole ecosystem of board variants and shields can be found, which makes prototyping new ideas with sensors and displays easy.
All great stuff, but there are a few drawbacks to doing things the "Arduino way."
The Arduino framework can limit performance
The Arduino software framework provides a high level and easy to understand interface to the hardware capabilities of the Arduino board. For instance, each pin on the Arduino is abstracted as an individual numbered resource. You can tell each pin whether it is to serve as an input or an output using pinMode, and then use digitalWrite to set it to either be HIGH or LOW. If I use a Uno, a Trinket, or even one of the Arduino Mega boards, my code will work without change. As long as you have the appropriately labeled pin, it will work.
But this abstraction isn't how the real machine is organized. Each pin is part of a "port", which is a collection of eight pins. They might bear names like PORTB, and have numbered pins with names like PB_7. On different types of Arduinos, a pin number like "5" may be wired to a different pin on a different port. The Arduino framework translates the simple "5" into the appropriate port and pin number, depending on what type of Arduino you've told to compile for.
But this translation can be slow.
I wrote up some exploration of this in this blog post about using digitalWrite to drive a simple 7 segment LED display. This display is pretty simple to implement. It requires three pins. To start sending data, you bring the "latch" pin LOW. You then send which digit you want, starting with the most significant bit by:
- setting the data pin to the appropriate value
- setting the clock pin high
- resetting the clock pin low.
You then repeat the process to send which segments you want to turn on, and when you are finished, you set the latch back high, and the digits update.
Here's the code implemented in canonical Arduino framework style:
void
LED_irq(void)
{
    digitalWrite(latchpin, LOW);

    // select the digit...
    shiftOut(datapin, clockpin, MSBFIRST, col[segcnt]) ;
    // and select the segments
    shiftOut(datapin, clockpin, MSBFIRST, segbuf[segcnt]) ;

    digitalWrite(latchpin, HIGH) ;
    segcnt ++ ;
    segcnt &= NDIGITS_MASK ;
}
When I first set this up, I hooked up the latch pin to my oscilloscope so I could time the total amount of time that it would take to execute. I found out it took about 320 microseconds when running at a 16Mhz clock rate like on the classic Uno. I set this up to run every 2ms, which means it takes up about 16% of available cycles. That's fine, but if I wanted to run it on an 8Mhz, it would be consuming 32% of available cycles, and I couldn't think about running it at 1Mhz.But there are faster ways to implement the same idea. The digitalWrite and shiftOut calls are really just wrappers for modifications to the PORTB data direction and data registers. They can be implemented much faster (and considerably uglier) using direct access to those registers. If this doesn't make sense to you, then don't panic, but here's the faster implementation of the same code.
void
LED_irq(void)
{
    PORTB &= ~0b00010000 ;

    for (int i=0; i<8; i++) {
	if (col[segcnt] & (0x80 >> i))
	    PORTB |= 0b00000100 ;
	else
	    PORTB &= ~0b00000100 ;
	PORTB |= 0b00001000 ;
	PORTB &= ~0b00001000 ;
    }

    for (int i=0; i<8; i++) {
	if (segbuf[segcnt] & (0x80 >> i))
	    PORTB |= 0b00000100 ;
	else
	    PORTB &= ~0b00000100 ;
	PORTB |= 0b00001000 ;
	PORTB &= ~0b00001000 ;
    }

    PORTB |= 0b00010000 ;

    segcnt ++ ;
    segcnt &= NDIGITS_MASK ;
}
Yes, it could use some additional work to explain, but if you understand that PORTB represents 8 pins at once, and can decipher C's rather inscrutable binary arithmetic, you can see that this pretty much the same code. Except that it runs about 8x faster, only about 48 microseconds out of every 2 milliseconds, or about 2.4% of available CPU. But now, you have the option of slowing down the clock. Running at just 1Mhz, it would be about 38.4%. Yeah, that's still a lot, but it's doable. Incidently, a simple sketch that drives this 8 digit display can be found on my github repository.
We'll revisit this when I show you the code for driving the WS2812 LED chains, which like our LED display, can require some careful timing.
The Arduino framework doesn't really help you understand interrupts
For the most part, the Arduino framework is at its best when it works by polling. If you have an application that reads some switches, and does some stuff in response, then your inner loop might look like this:
void
loop()
{
    for (;;) {
        if (readswitchA())
            doswitchAstuff() ;
        if (readswitchB())
            doswitchBstuff() ;
        delay(500) ; // wait for half a second...
    }
}
That's not bad, but there are a few problems with this kind of programming. Let's say that the doswitchAstuff() takes several seconds (or even longer to execute) but that you really want to make sure you react to switchB as fast as possible (perhaps it is the "shut down the robot as fast as possible before it eats a child" button.) It won't examine switchB until after you've done the switchA stuff, so little Sally could be halfway down the steel gullet of Robosaurus Rex before we examine it again.
What we really would like is that if switchB was thrown, wherever the program is in execution, it interrupts whatever it was doing and "handles" this situation. Such conditions are called appropriately called "interrupts" and the routines they execute are called "interrupt handlers". They are really useful. It means that I can go ahead and write doswitchAstuff() however I like, and yet I don't need to wait to check switchB to know if it was thrown. The hardware itself will monitor switchB, and if it changes state it will automatically call an ISR (interrupt service routine) to handle the situation.
Beginning programmers can have a difficult time understanding interrupts. The Arduino framework basically tries to pretend they don't exist, and don't provide much help in setting them up and using them.
Individual libraries can use them and provide an abstraction that hides the complexities from you. A good example is the TimerOne library that I used in the clock8 example that I linked above. Every 2ms, I want to update the state of one of the digits of my clock. The TimerOne library uses a hardware timer to execute the update code (LEDirq in the example) every 2ms. I can go about writing my normal loop() code as I would. I don't need to poll for the right conditions to fire my code: it happens more or less automatically.
But really interrupts aren't all that hard to understand, and with a little work, you can use them in our own code. I rather wish that the Arduino framework made some effort to provide support for them, because it would allow Arduino programmers to write more powerful programs, but with a little effort, we can set them up and achieve some coolness that would be hard to achieve without them.
The Arduino framework doesn't provide protected abstract access to hardware resources
This is a bit more abstract, but important. When you first start using an Arduino, it's easy just to think that the machine is actually something called "an Arduino". But in reality, that's just an abstract view of a real, hardware processor. The processor that is used in the Arduino Uno is made by Atmel, and is called the ATmega328p. If you google for that term, you can find the datasheet which tells you all about the low level details of the chip. PDF of Atmel ATmega328 datasheet
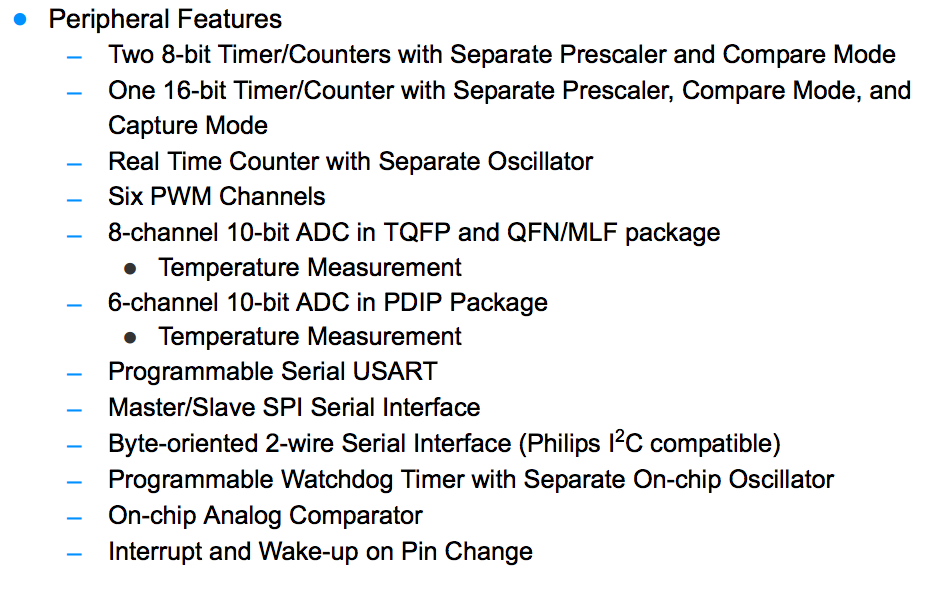
If you scan the sheet, you can find out about some of the hardware peripherals it provides.
I'll just concentrate on the first two, which indicate that the ATmega328p has three different Timer modules. When we were talking about interrupts above, one of the ideas was that you could use a Timer to execute code at different intervals by providing periodic interrupts. But these Timer modules can also do other things. They can (for instance) count pulses, which might be good for your application. Instead of polling and watching for each transition from HIGH to LOW to HIGH again (and possibly miss one if you are off busy doing something else) you can just let the hardware Timer keep track of these counts for you, and read the total out when you need to.
But again, the Arduino framework hides Timers from you. If you read the datasheet, you'll see that these timers are labelled Timer0, Timer1, and Timer2. Timer0 and Timer2 are the eight bit timers, and Timer1 is a 16 bit timer. You might think that you can just go ahead and use them.
But, there is a gotcha. Timer0 is already being used to implement the Arduino delay(), millis() and micros() functions. If you try to use Timer0 for your own code, then you'll have to avoid using those functions.
Similarly, Timer1 is used by the common Servo library, and Timer2 is used to implement the tone() function. Let's say you are working on a system to control a radio controlled quadcopter. You want to be able to use delay, so you shouldn't try to use Timer0. You also would like to use the Servo library, so Timer1 is out. No problem, think you! Timer2 is only used by tone(), and I don't use tone(), so I can use it.
But there are problems. Perhaps there is a library that you want to use that does use tone() for some reason you didn't know about. Or perhaps that library uses Timer2 for an entirely different purpose (after all, you chose it for that reason as well.)
This wouldn't be bad if the compilation process told you "hey, there is some contention for the use of Timer2", but there is no such process. Both bits of code can access the hardware registers that control Timer2, perhaps one using it to trigger interrupts, and the other trying to count pulses, and nothing good will happen.
What this means is that sometimes you have to be pretty careful in looking at libraries and how they are used. As you get to be a more experienced Arduino programmer, you'll find that you have to look inside the code for libraries and learn about the hard details of what they are trying to shield you from. And, you have to be careful in how you use the hardware resources at your disposal. But with this experience will also come power. You'll actually understand how these things work, and that will enable you to do things that you didn't know how to do before.
Addendum
Okay, that was sufficiently abstract and boring that I bet nobody made it this far. The next installment will be back to writing code to blink LEDs. Thanks for listening.
Discussions
Become a Hackaday.io Member
Create an account to leave a comment. Already have an account? Log In.
dude its in the middle of the night. Im in bed exhausted by two little kids and i am reading your article. Wonderful!!! Thank you 1000 times. It gave so much insight. Thank you thank you thank you.
I even registered hackaday so i could comment and thank. Now i will read other projects of yours.
Are you sure? yes | no