 Sp4m
Sp4mI was immediately dissatisfied with the size of the first RHS Steam Deck Dock Module. At its most simple, I want to provide a sexy keyboard and dock integration solution, and I think using the official steam deck, and keeping the form factor close to the Steam Deck is the best way.
With the mk1 design, I had the following problems:
1. It was too long. This off-set the aesthetics of the device.
2. All connections are facing to the right of the device.
This isn't too bad, but it means that the keyboard cable needs to run the full perimeter of the device to plug into the hub, and that the cable connecting the steam deck to the hub has to run a longer distance.
3. There is no solution for cable management, and added need for cable management.
By iterating on my design, I think I can address these issues.
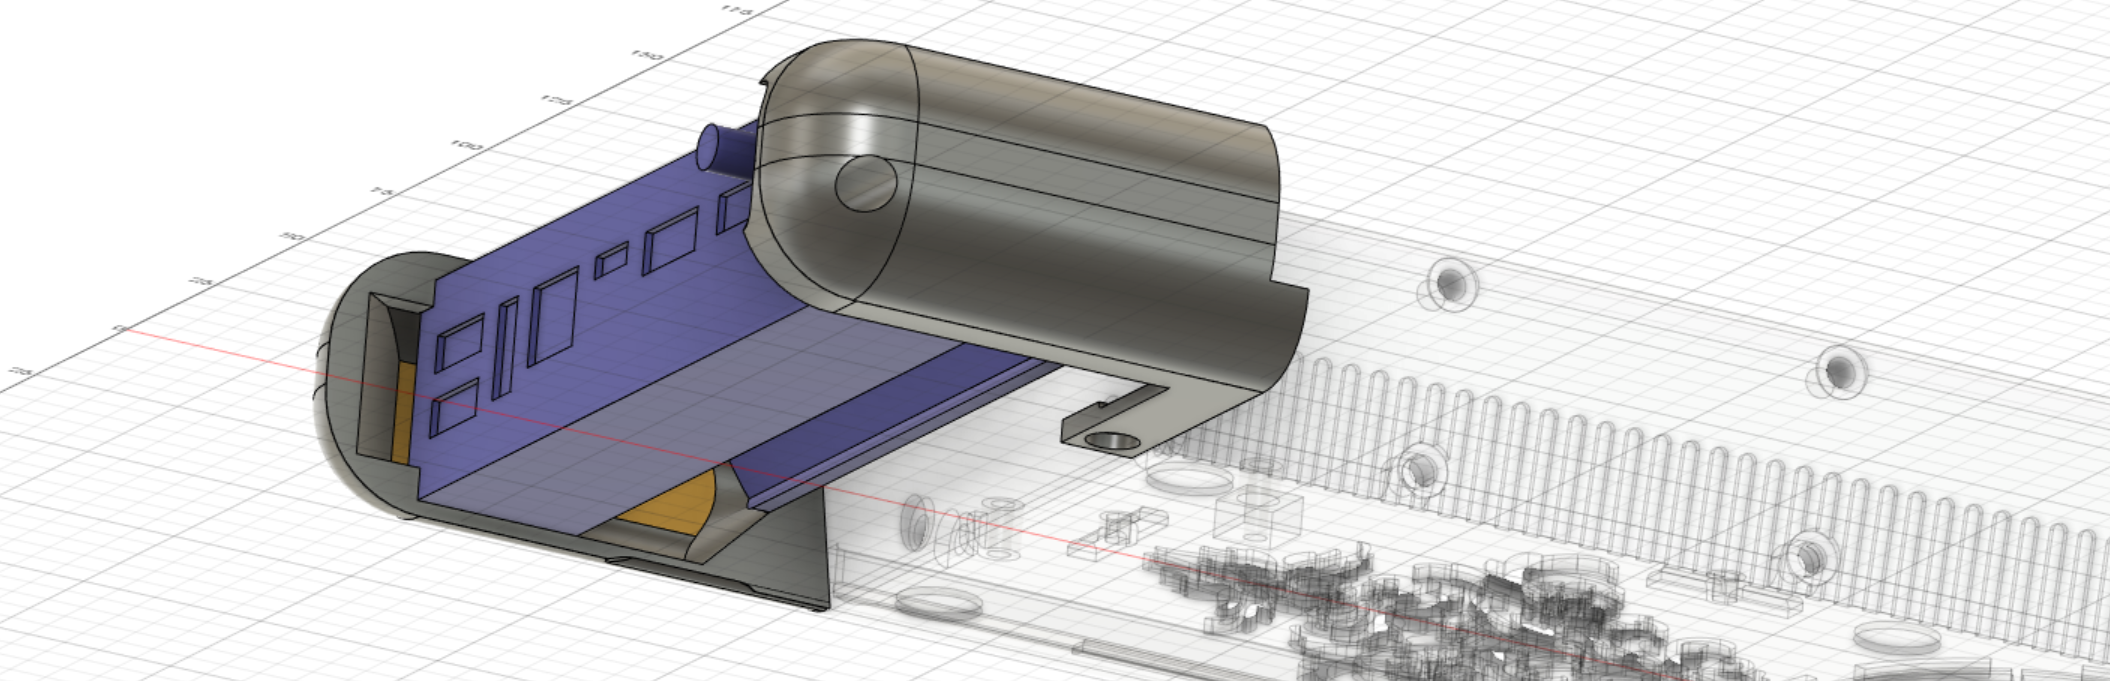
The Yellow wall shows the cable management channel. Devices plug in to the hub, and their cables tuck into the left side, and then run through the cable channel.
Here's the end-cap. What a disaster! What was I thinking?! No wonder it broke.
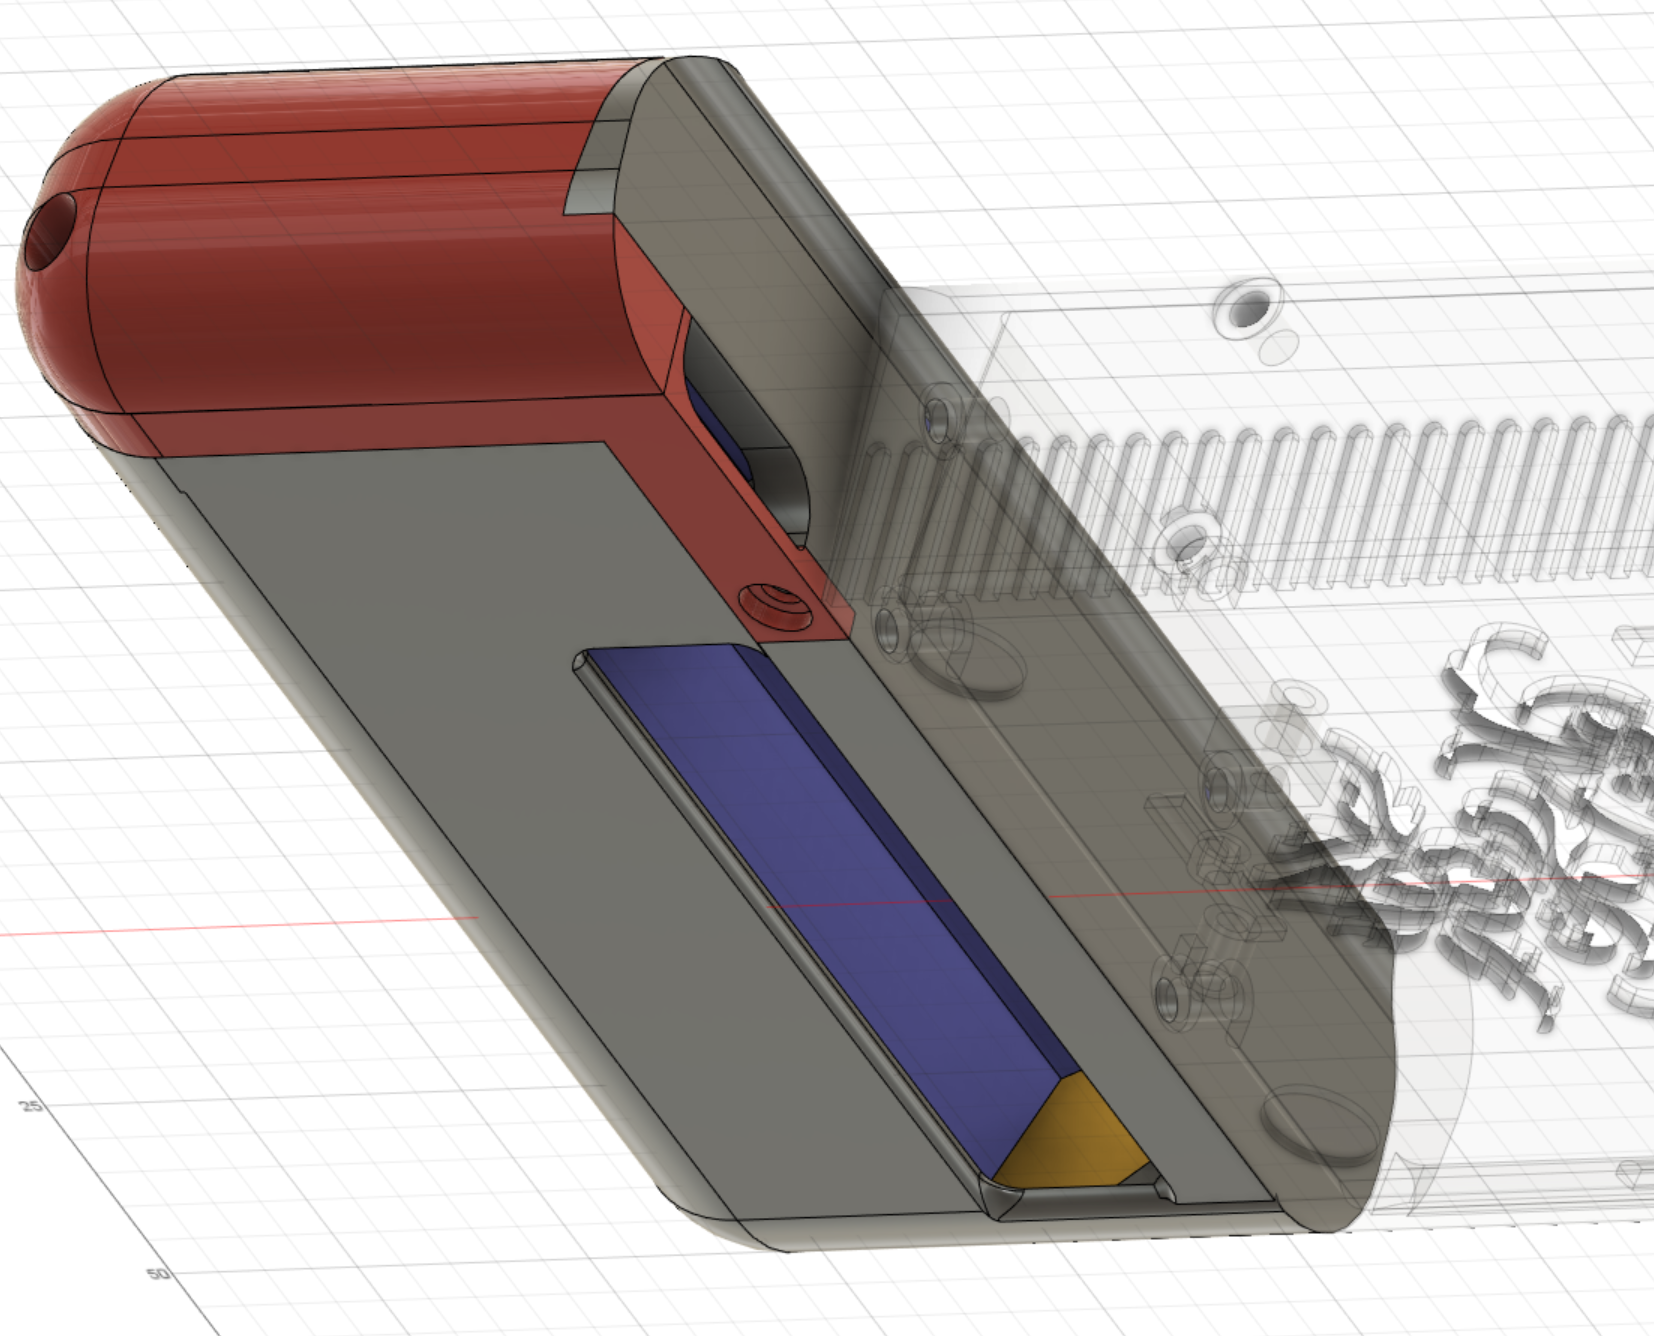
I want to move the screw-holes to the same face. The opening on the back is a cable channel, and I want it to be open on one side (closed by the end cap), so I don't need to worry about squeezing cable connectors through there.
Also, I thought I'd try to see how the module looks with a symmetrical rounding. I'm not a fan, I think it adds too much depth to the model.
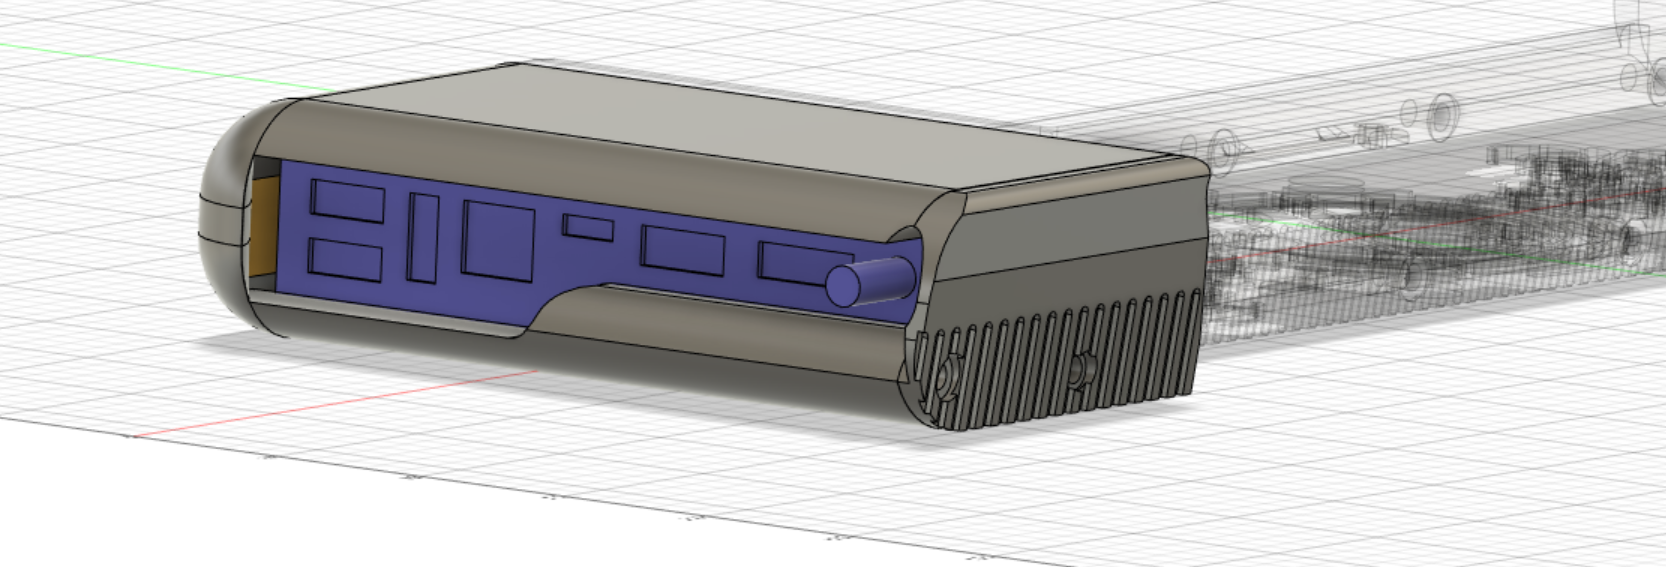
Doesn't that look nicer! It carries forward the slope and groove pattern from the back of the chassis. I had the opportunity to use one of the screw connectors for the back to also align with the 55mm spacing of the chassis mount points, but that particular position interfered with cable management, and it seems unlikely that I am going to connect additional modules to the back side of this one. Instead, I opted to position the connection points where they'd be most effective and easily added to the model.
I want to point out one technique I've developed that I think is sort of clever.
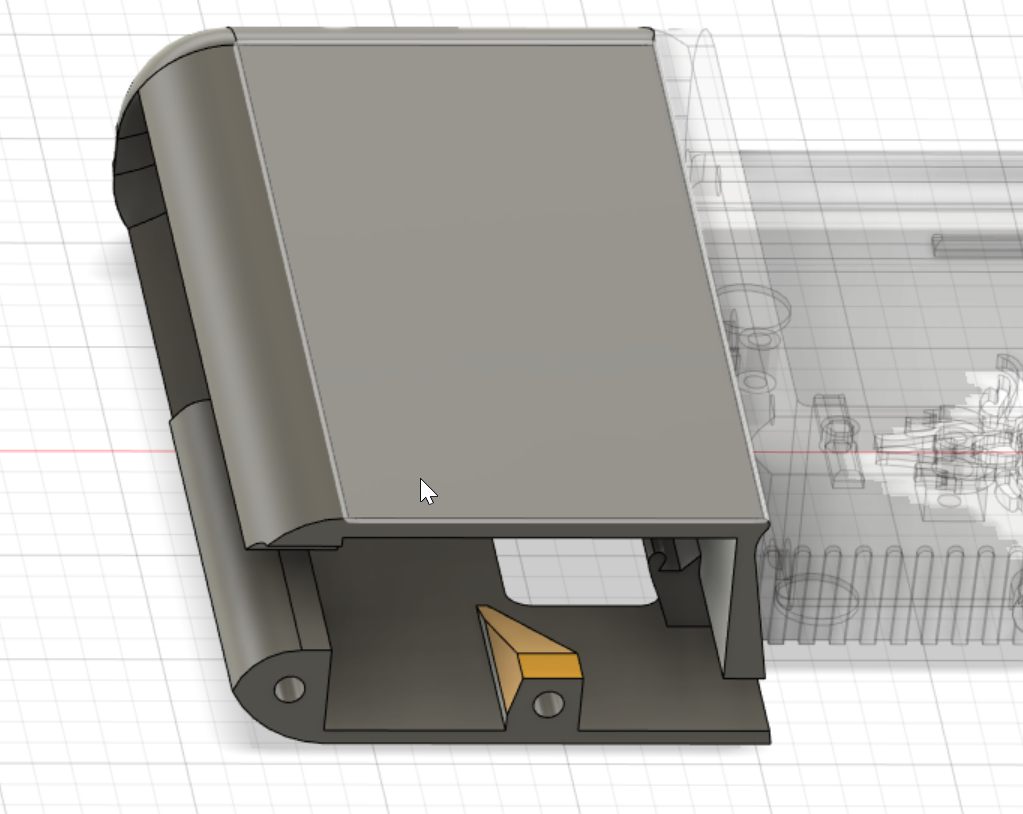
The yellow slope provides a gradual build platform for that support hole. It's going to be on the top of the model when printed, and by using a sloped edge, I can avoid the need for supports!
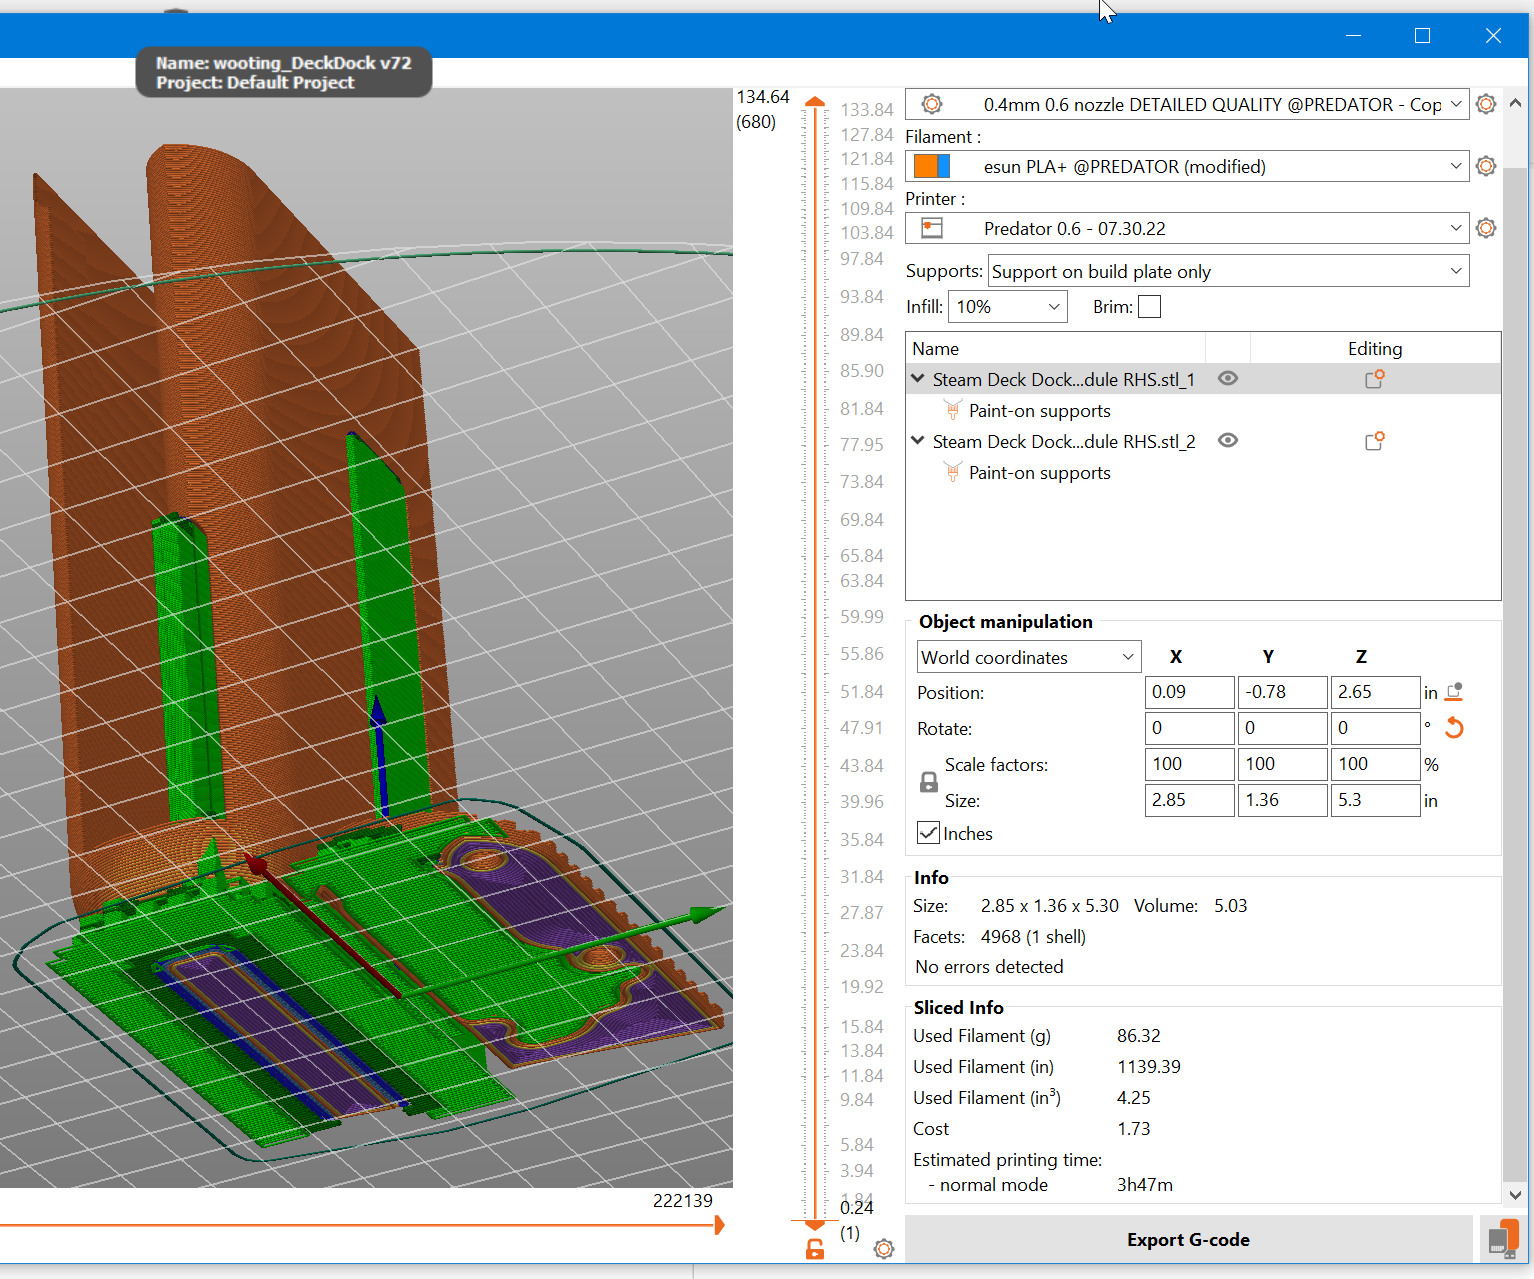
Here's my print config:
No support in the holes this time, print temp upped to 220 (recommended for the Black Silk filament) and minimal support structures.
Wish me Luck!
Discussions
Become a Hackaday.io Member
Create an account to leave a comment. Already have an account? Log In.