 Sp4m
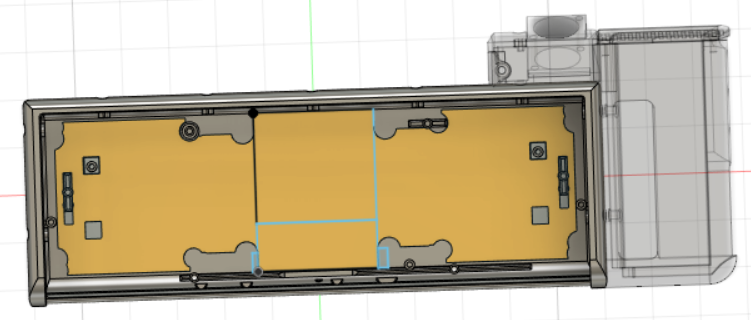
Sp4mToday I've fleshed out the measurements of a steel plate that can be embedded in the chassis of either the original Wooting HE60 case, or the one I designed.
Why? Because I thought it would be really fast, and I was wrong.
The Wooting 60HE is an analog keyboard, and it uses magnetic hall-effect switches in each key to register an analog value corresponding to the depth of each key press. This means that if you take a magnet and you rub it under the keyboard, it will register key-presses. This is expected behavior, and not a common occurrence, but I still have an idea with how this can be mitigated!
I did some testing, and about 2mm worth of a magnetically reactive metal is enough to dampen the magnetic field enough to prevent the keys from triggering. This is also a potential opportunity for me to leverage PCBWay!
PCBWay provides not only on-demand circuit-board prototyping, but laser-cutting and CNC as well!
So why not?
Maybe because it's not necessary, and tangential to my higher-priority design goals?
Eh. I'm dumb. Let's do it.
Also, let's add some artificial design constraints!
I want it to be reversible, so people can experiment with different finishes or colors, without needing to buy two plates.
The one above was my first design. Like a good pair of underpants, it goes forwards, backwards, upside down forwards, and upside down backwards!
Then I checked its fit in the original Wooting Chassis, and it wasn't great.
So I went back to the drawing board to make a steel plate that would fit both.
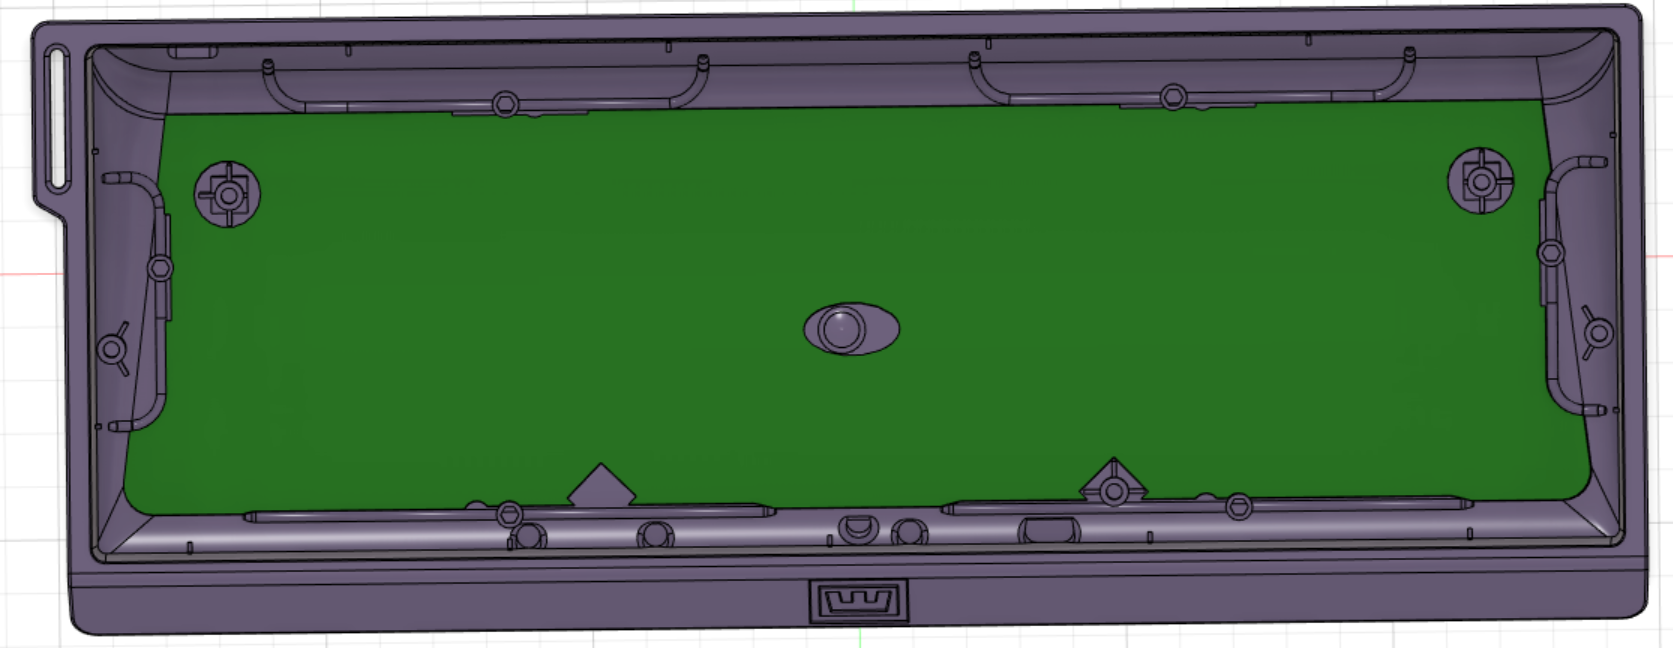
This one flips on the X-axis, and has a nice fit in the original Wooting HE chassis.
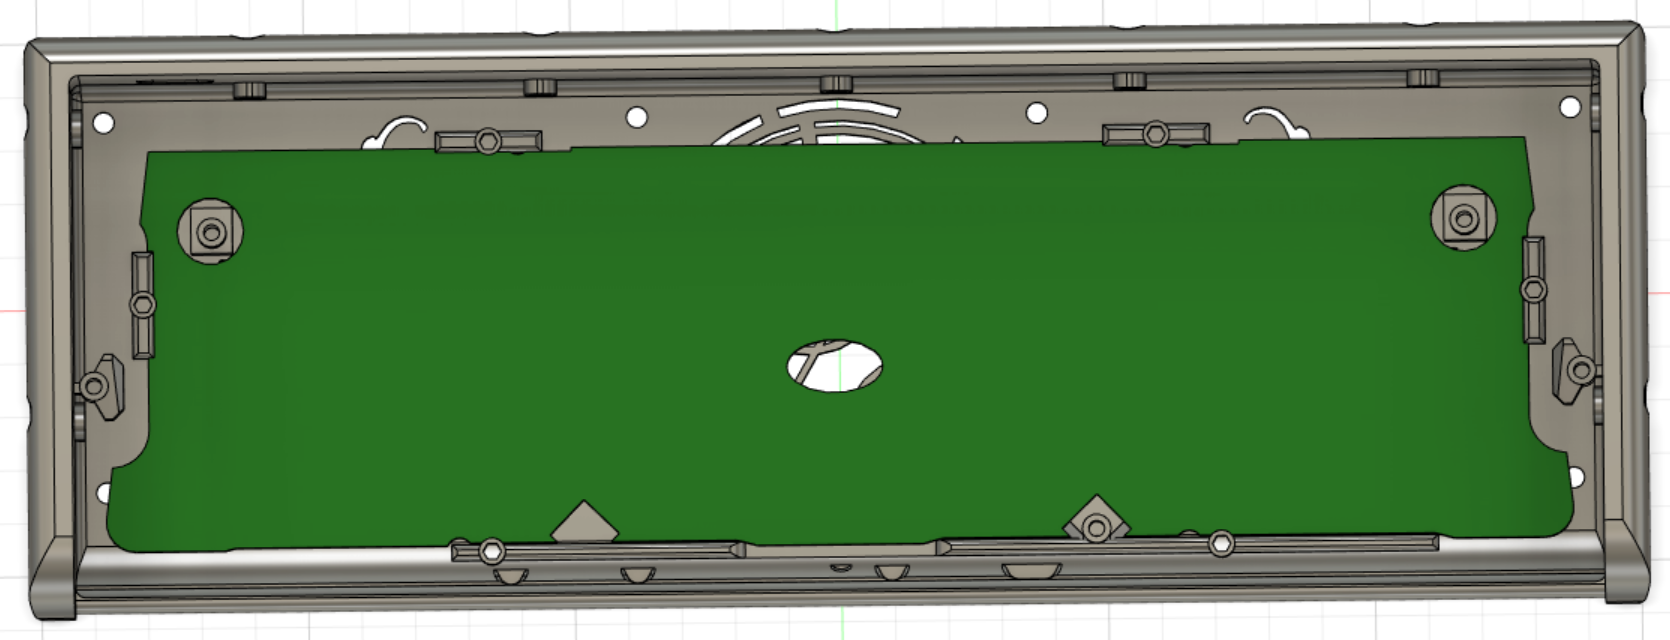
My modular chassis was made a little roomier than the Wooting Chassis, less chamfer, and since it's printed and not injection molded, I didn't need as many injection molding access tubes.
Parts of my chassis art aren't covered, which I can compensate for by adjusting the art. All-in-All, not a bad sacrifice if I can make a thing that works for the original chassis as well!
Discussions
Become a Hackaday.io Member
Create an account to leave a comment. Already have an account? Log In.
Here's an idea: The steel plate can be used as a structural component by placing 3mm holes that align with chassis holes. That way it can be secured to the chassis (perhaps under the feet), and the chassis can be split in the middle for printing convenience, and perhaps style. Also, the bump in the middle of the chassis is really small. I think it can be ignored.
Are you sure? yes | no