 selena1995
WHY AUTOMATIC IRRIGATION SYSTEM IS NEEDED
The benefits of automatic irrigation are:
- reduced labor.
- timely irrigation — plants being watered when needed.
- management of higher flow rates.
- accurate cut-off of water compared to manual checking.
- reduced runoff of water and nutrients.
- reduced costs for vehicles used to check irrigation.
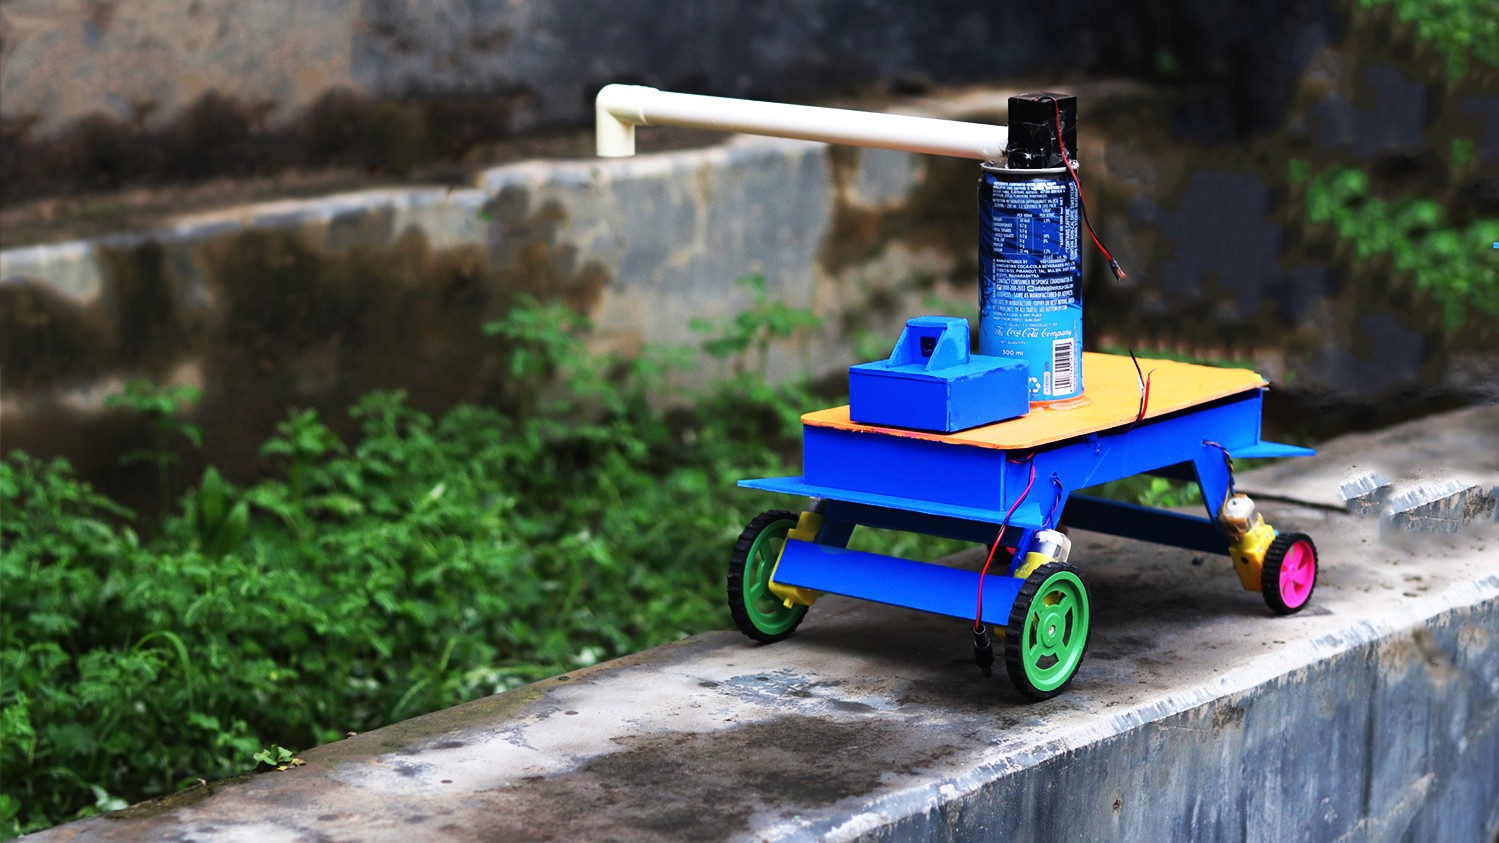
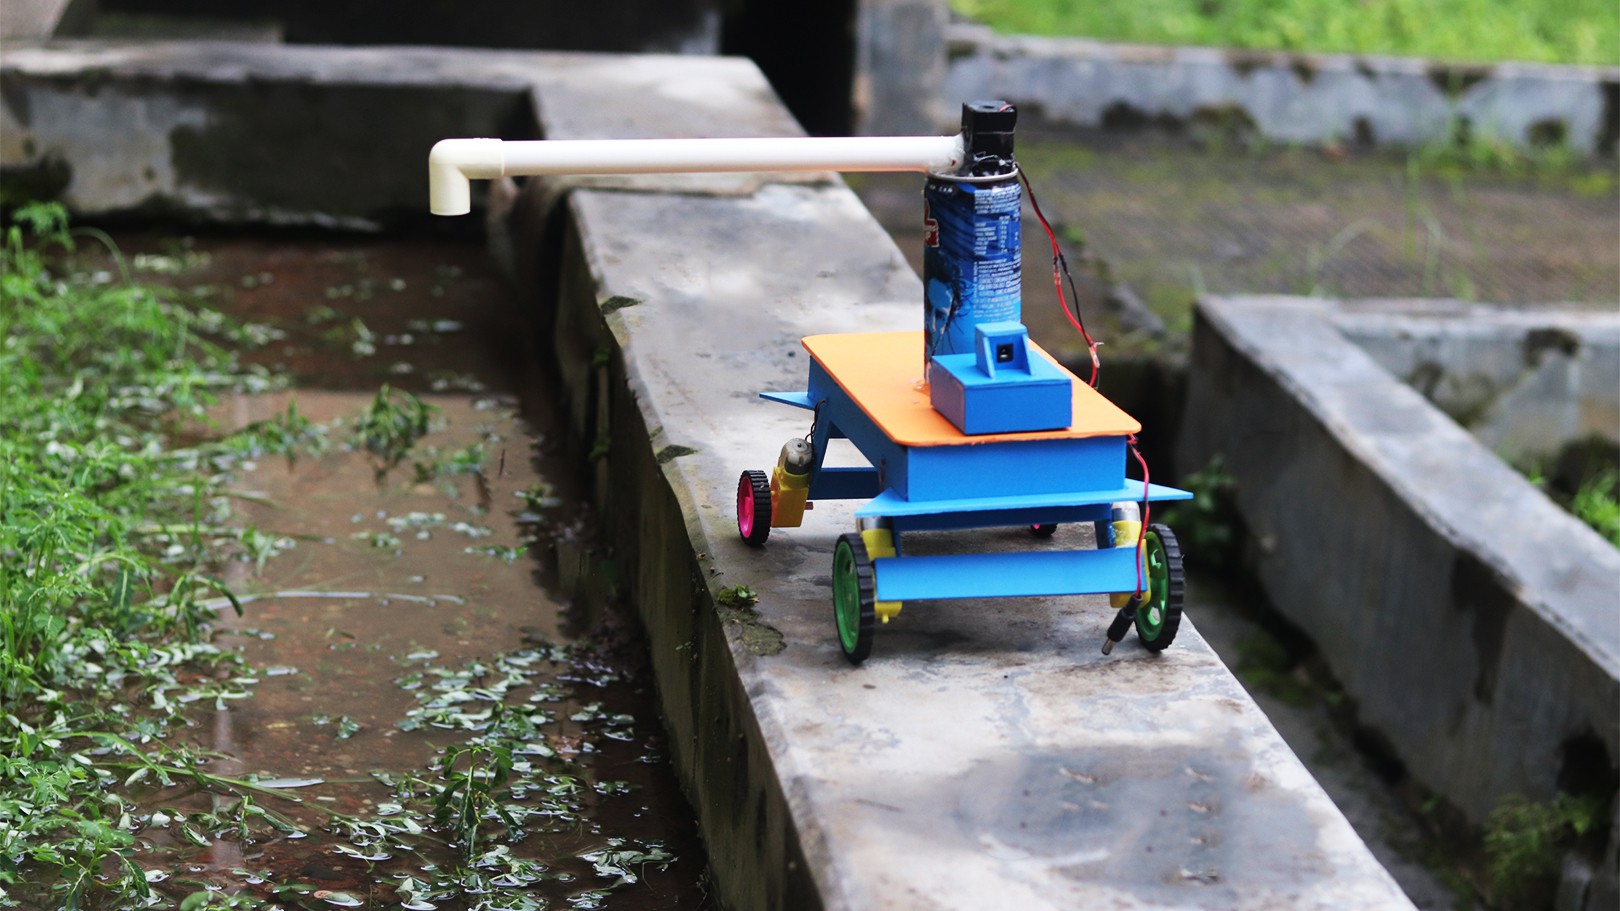
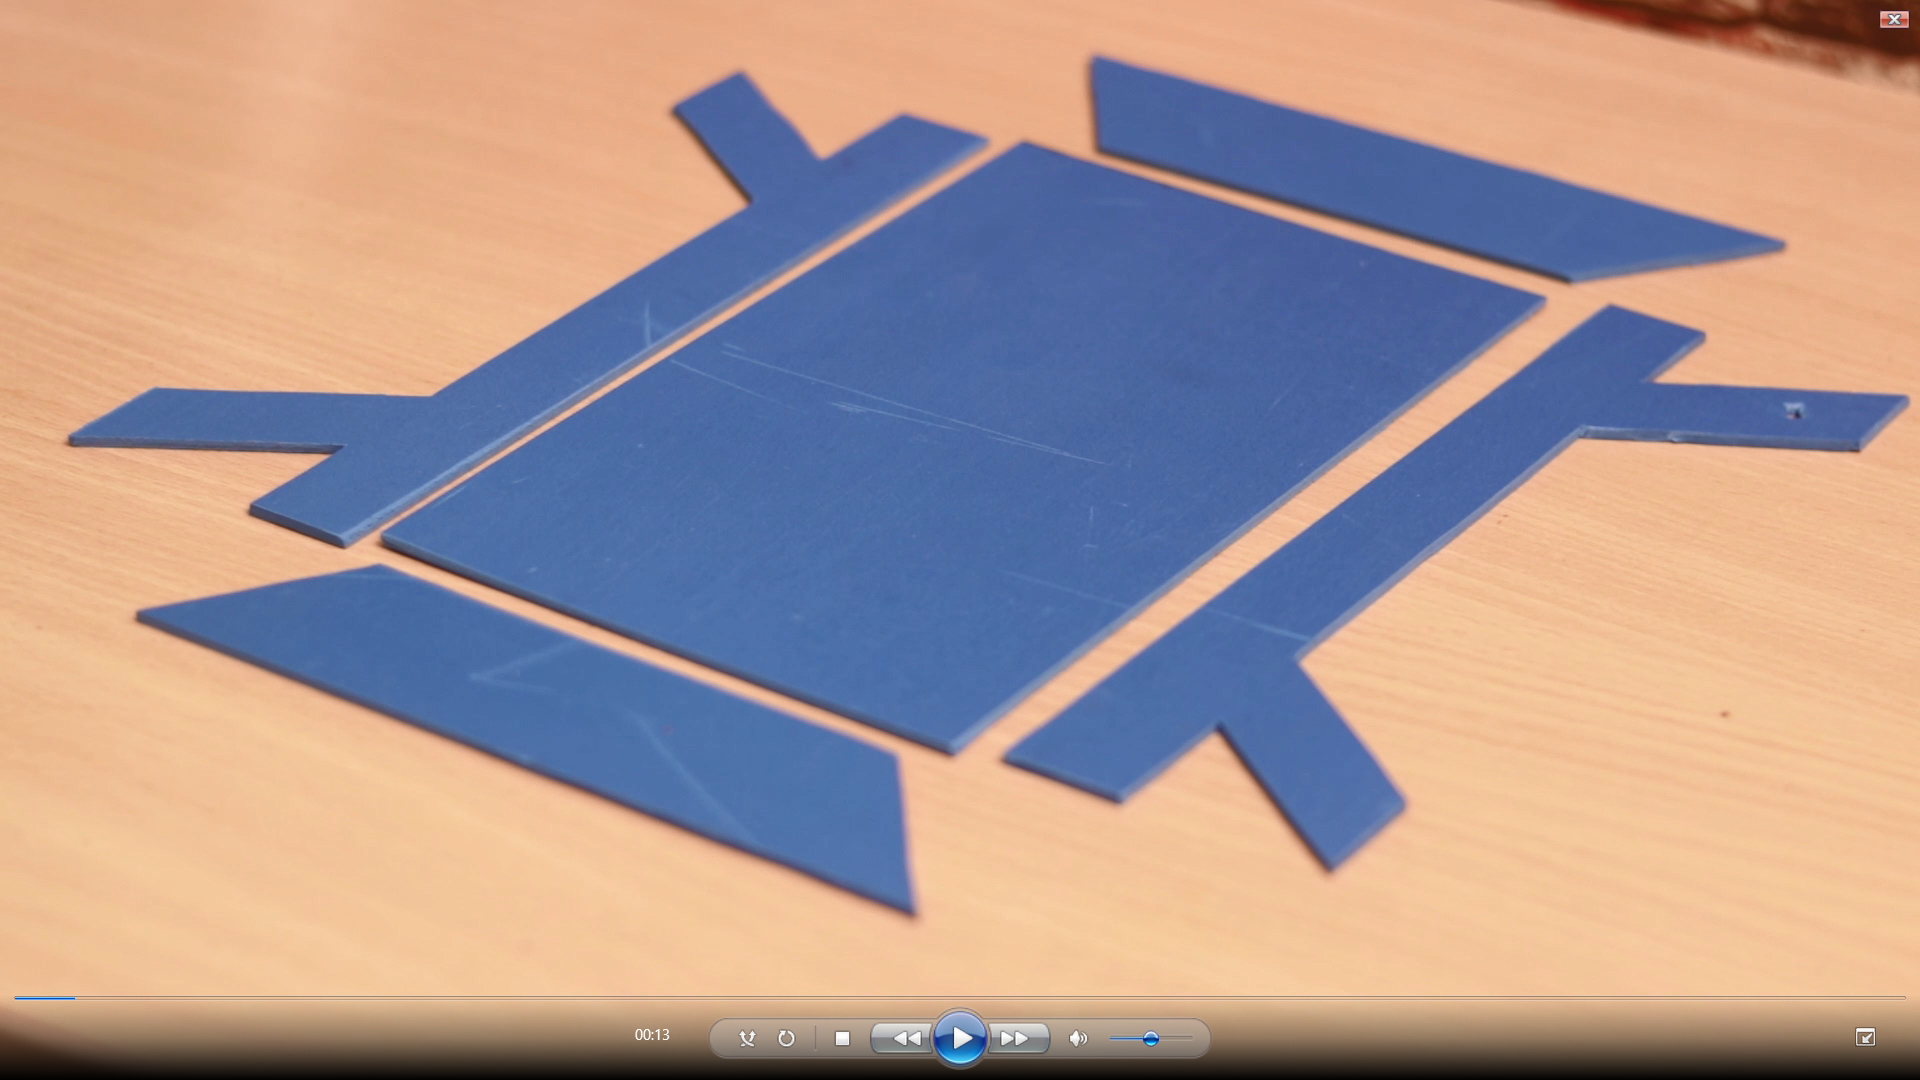
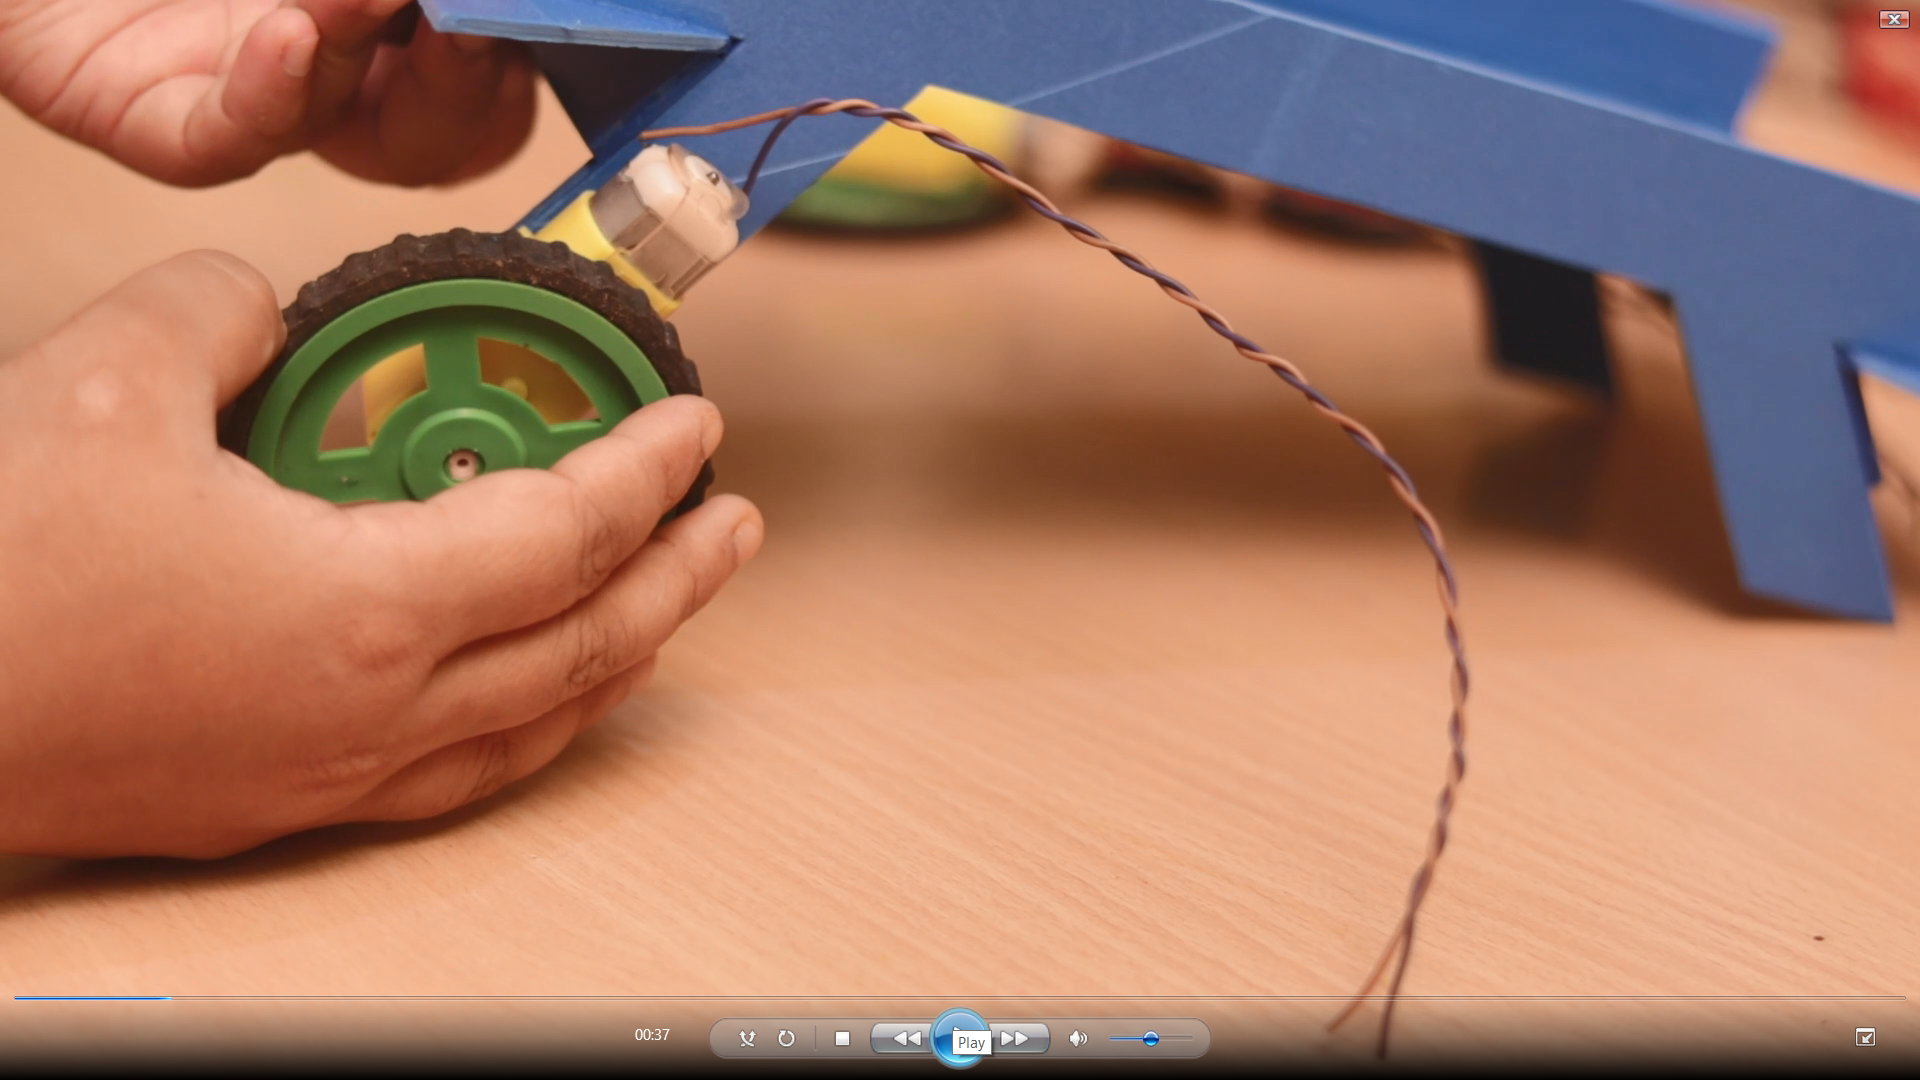
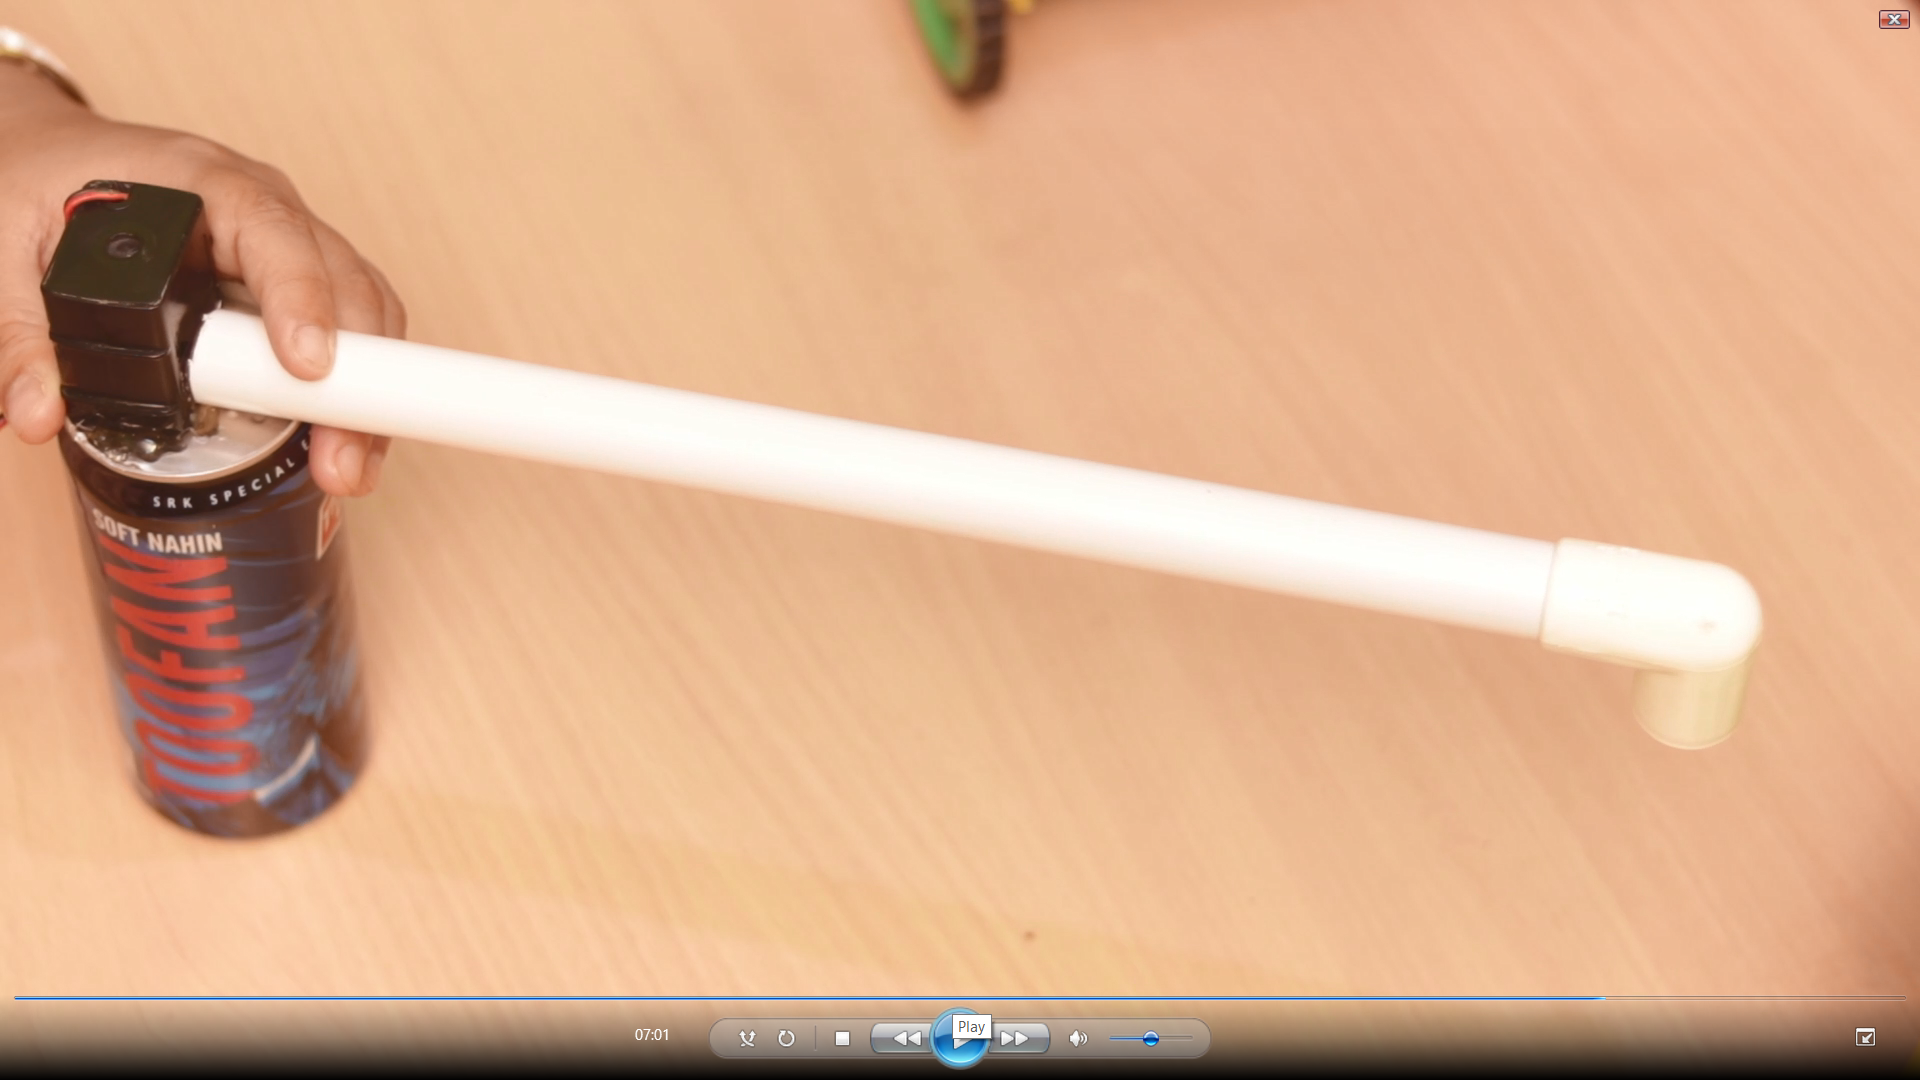
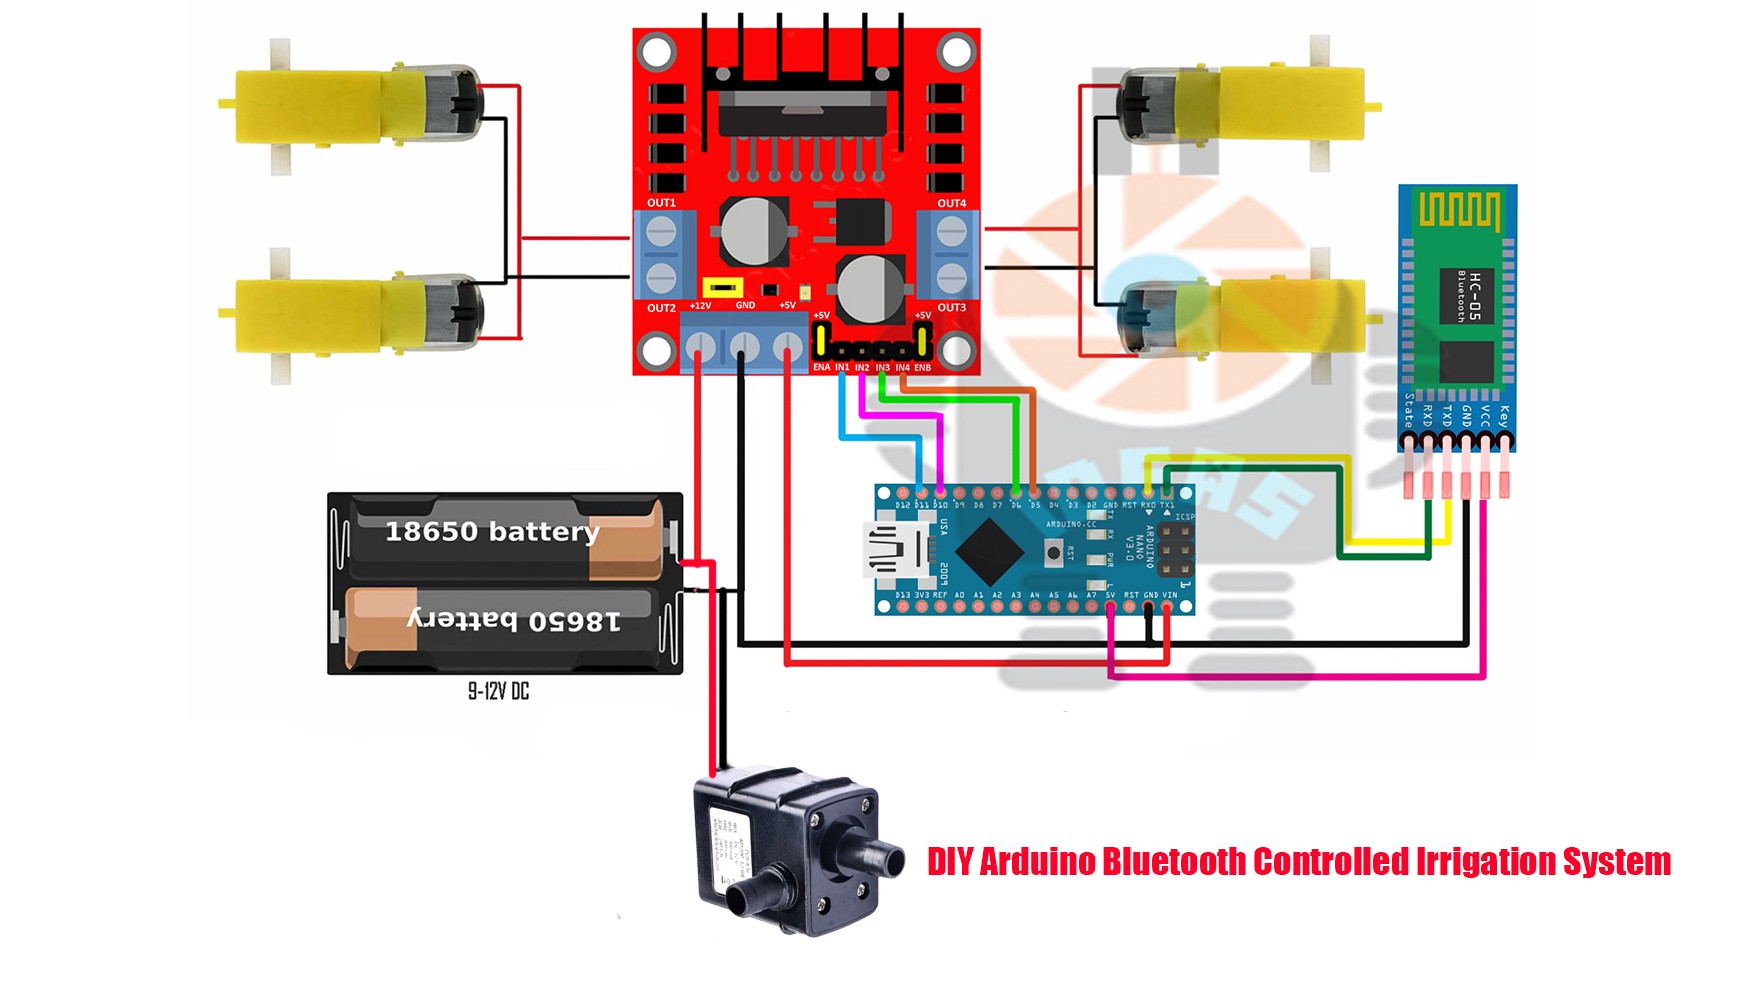
PARTS OF THE PROJECT
To make and understand it easily we have splatted this project into two main parts.
- MECHANICAL Part
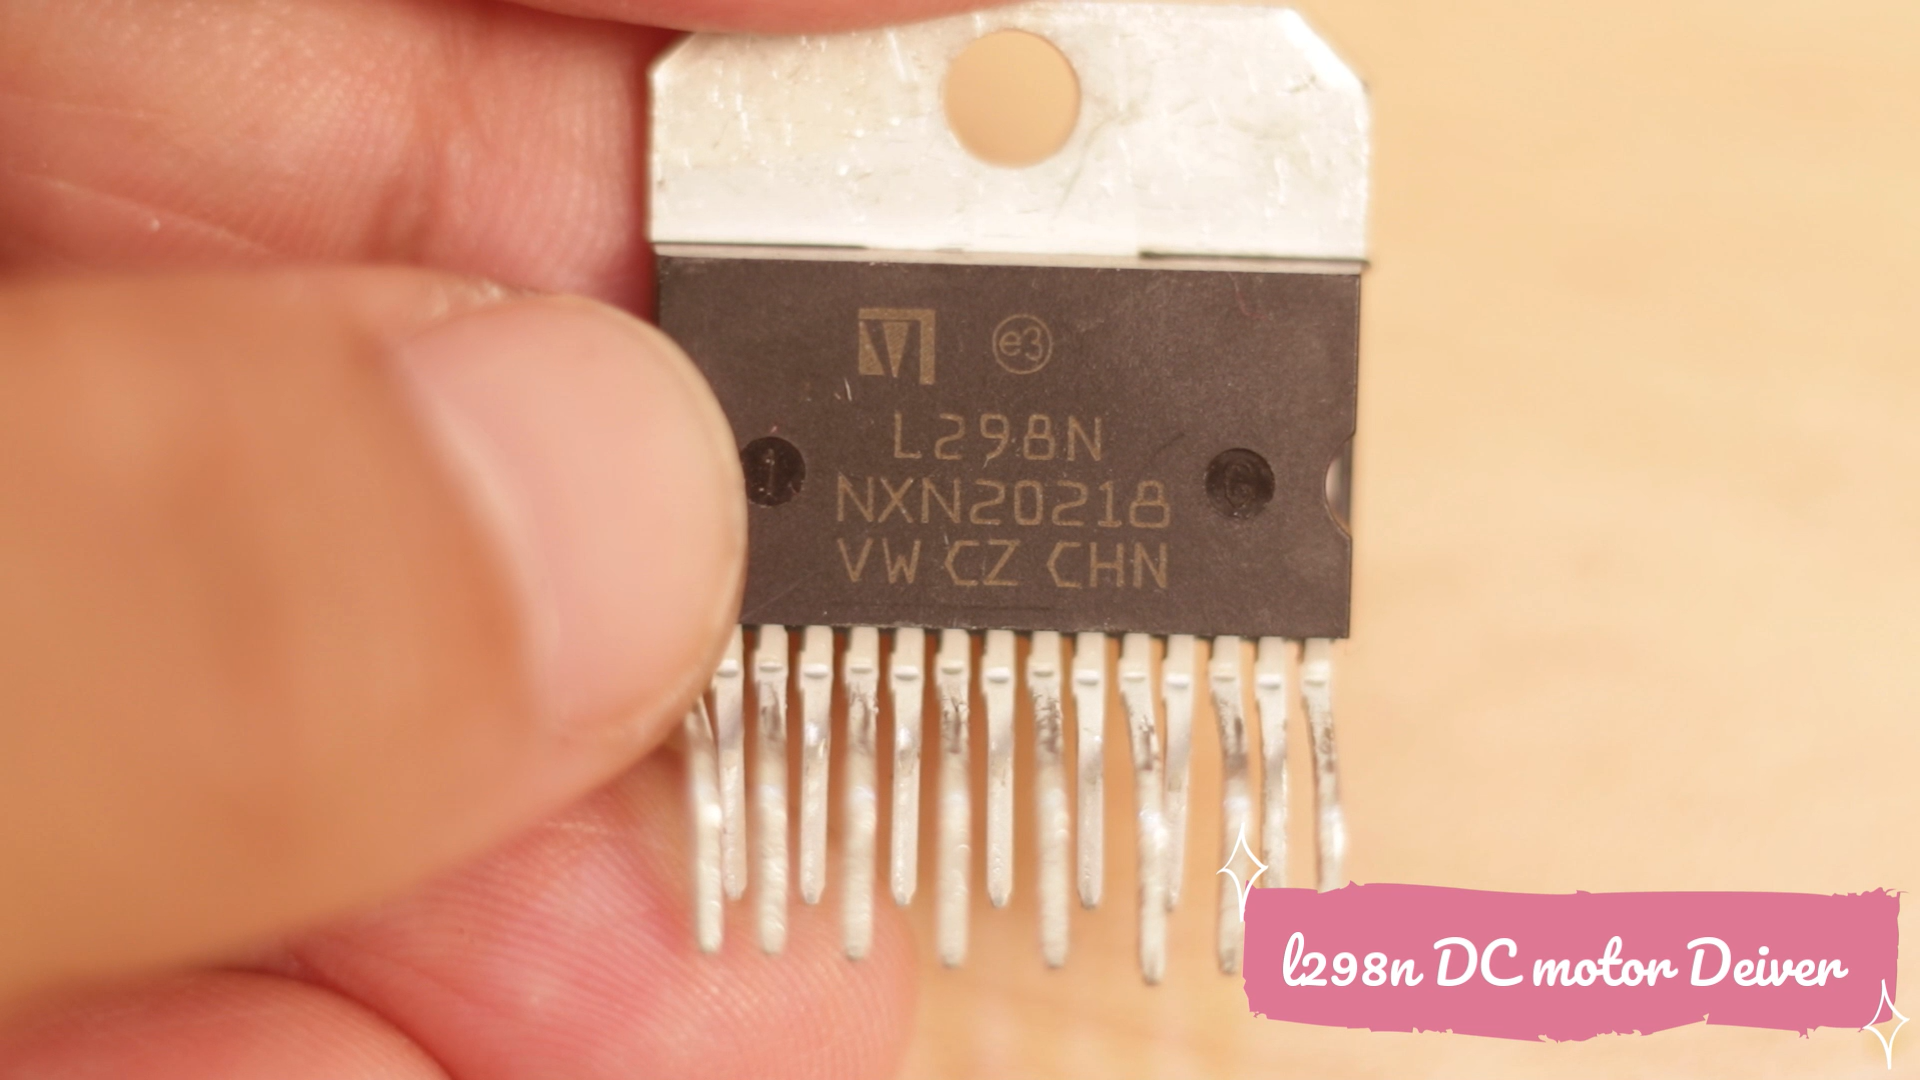
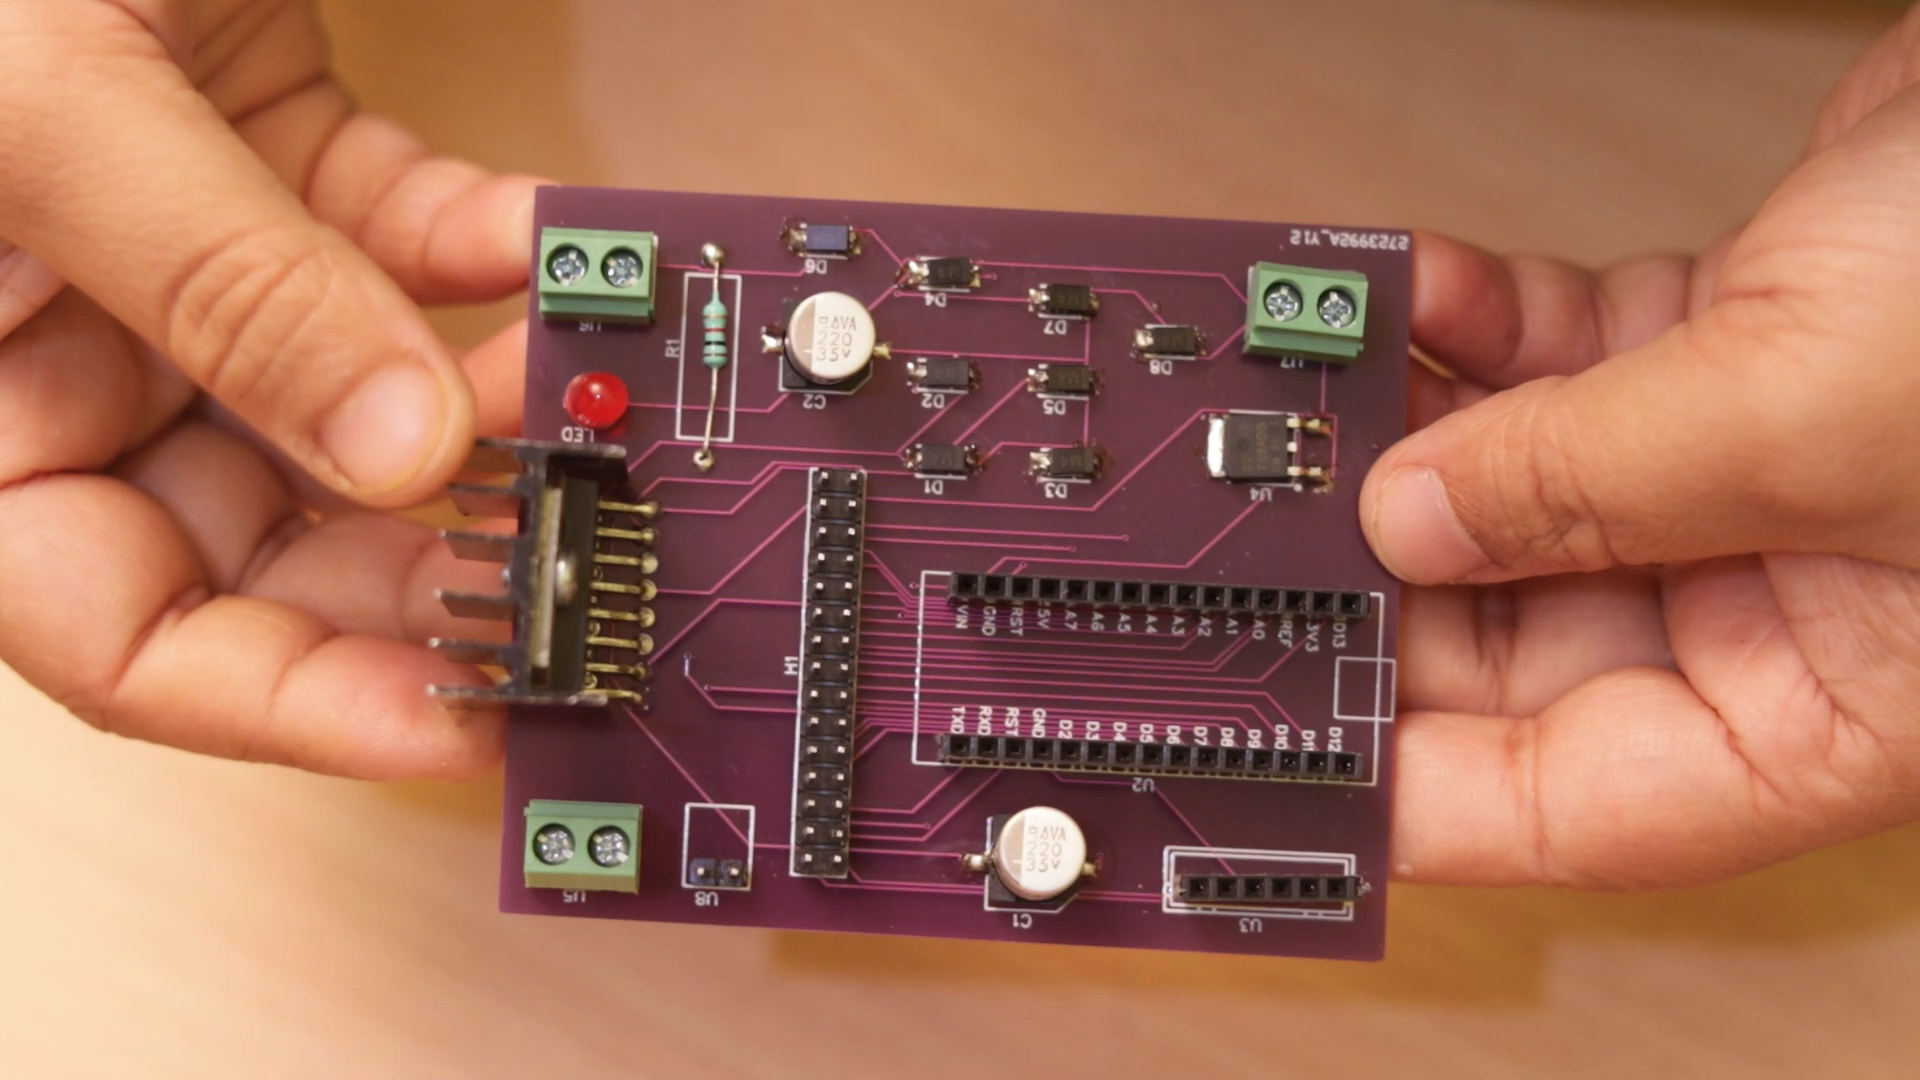
- ELECTRONICS Part
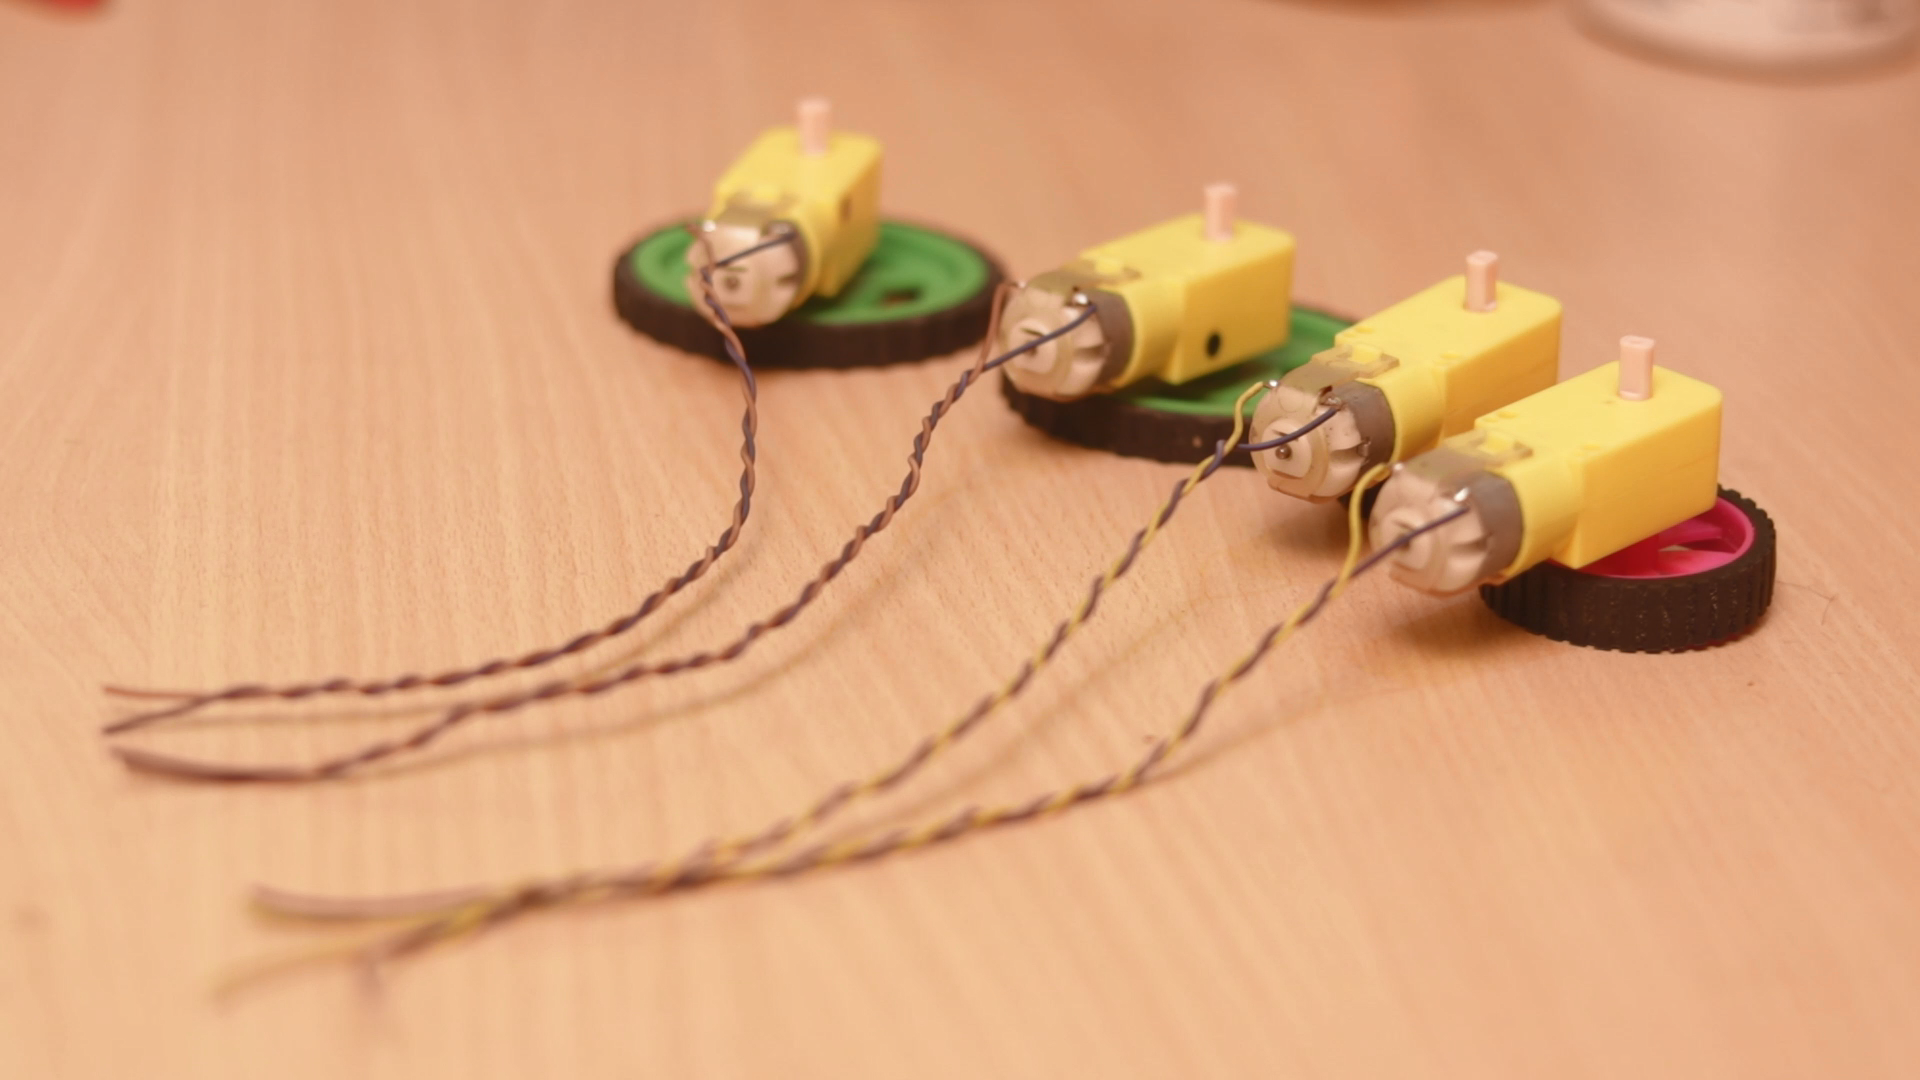
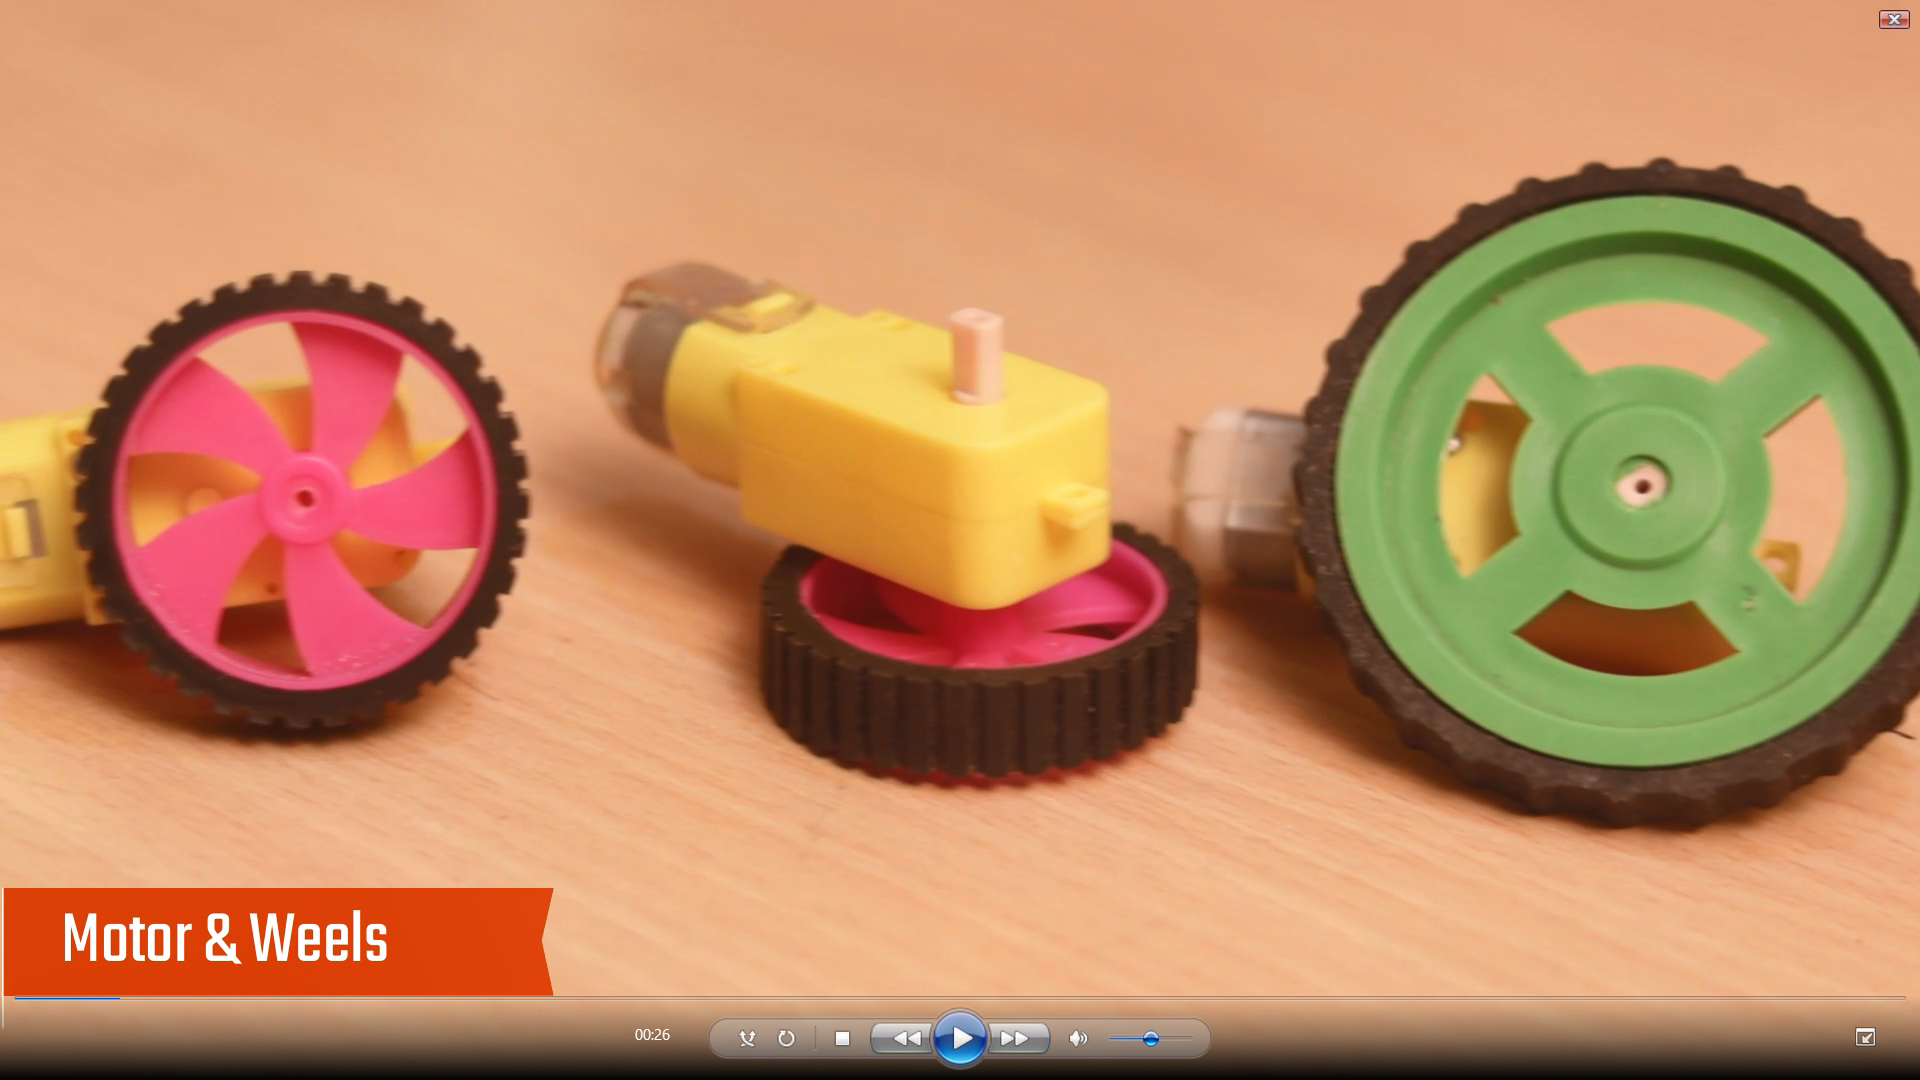
for better explanation we have divided our ELECTRONICS Part into
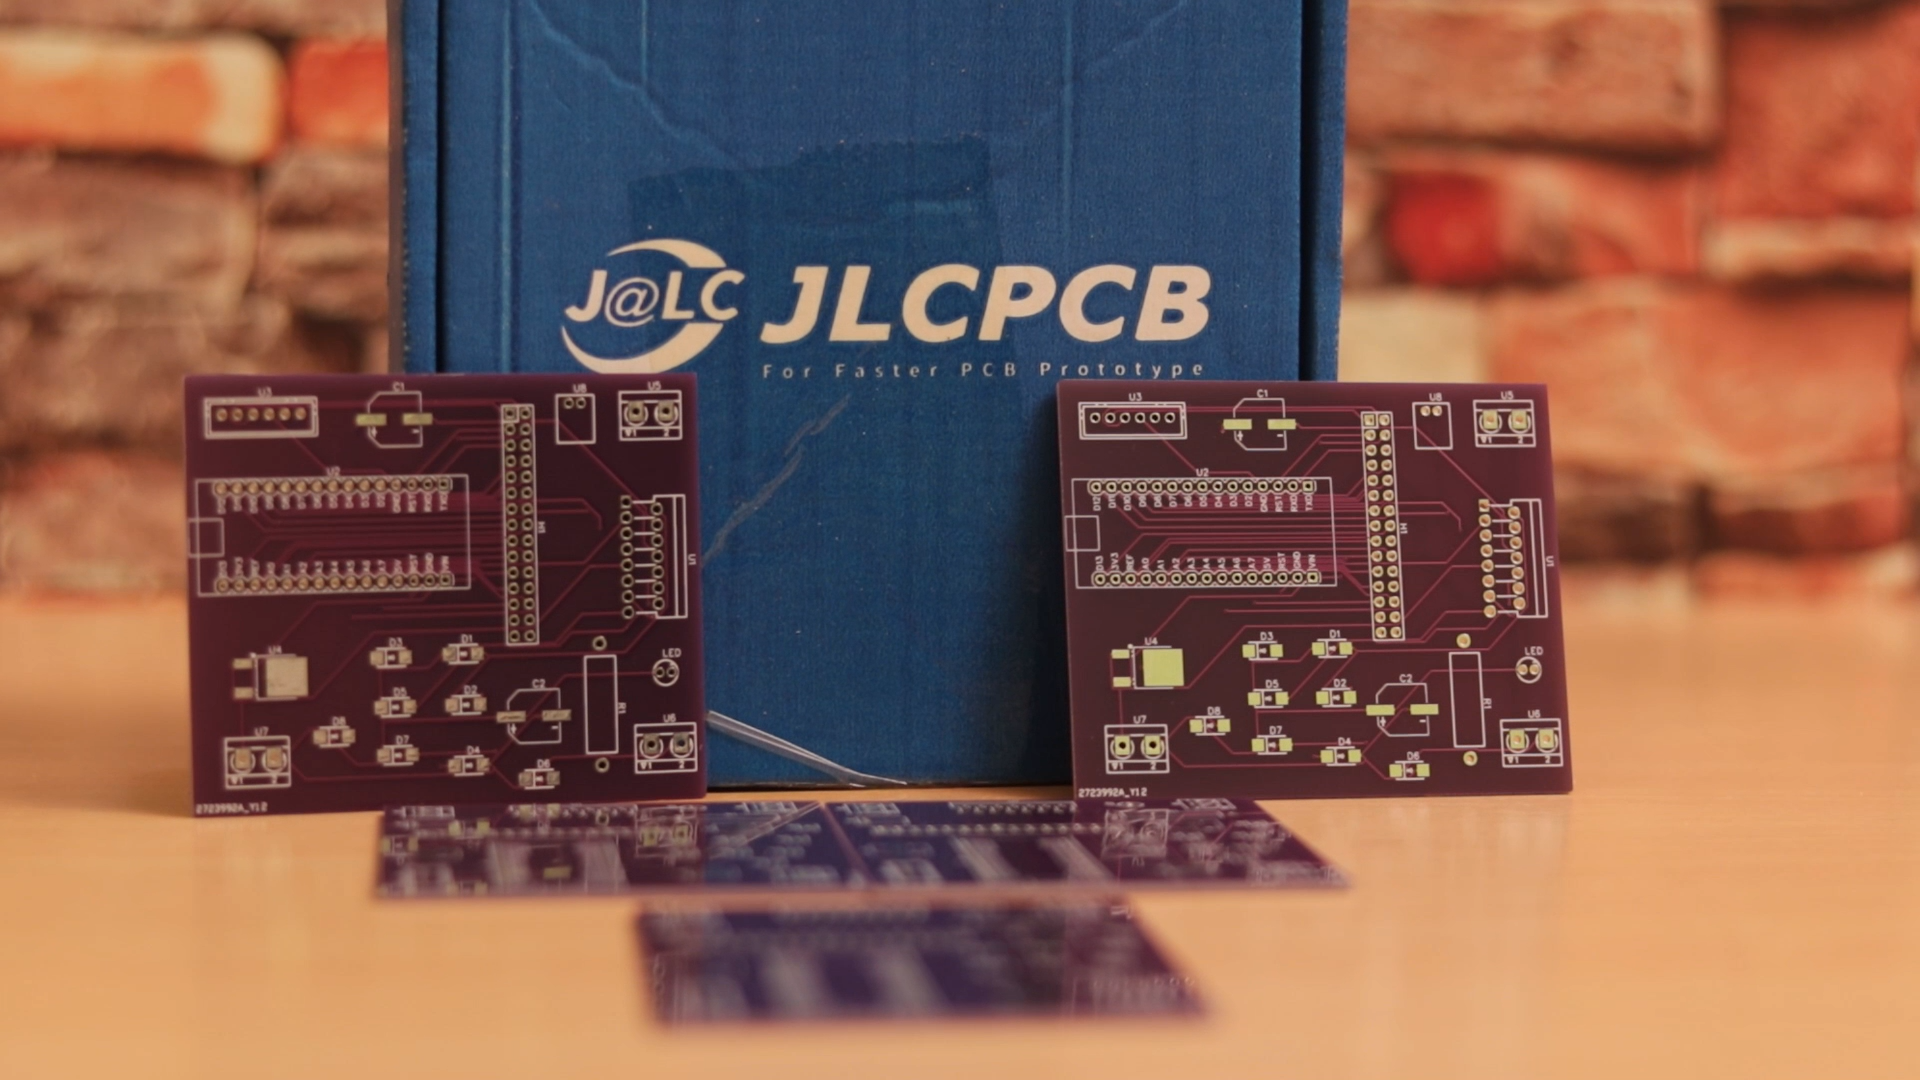
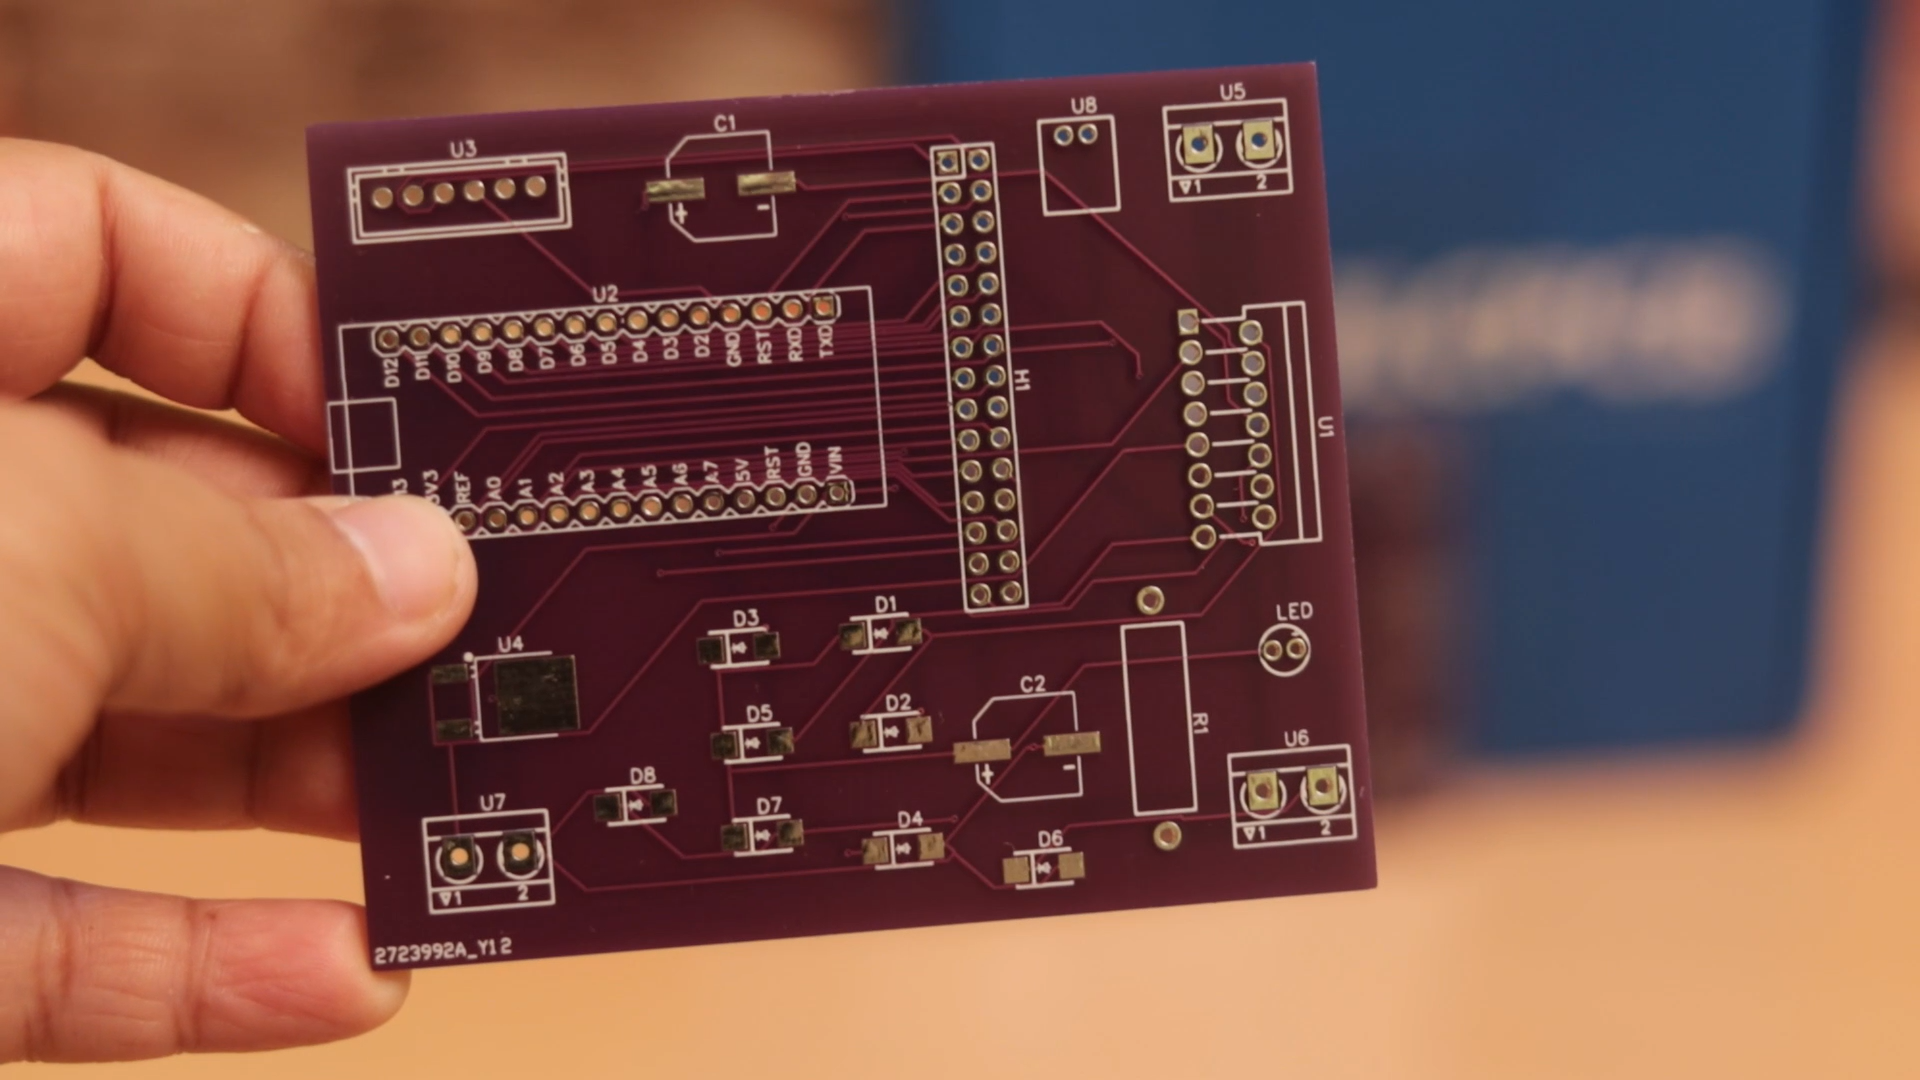
- Circuit and PCB
- Assemble the electronics components
- ARDUINO coding
 DEM-DWG
 C.J. Windisch
 Freddy Thobhani