 Quinn
QuinnLCD panels are complicated stacks of parts, with many times awkward clips and adhesive holding things together. I've taken apart a lot of them before, and while there are some similarities, there are also a lot of differences, especially the way the backlight itself works. Having the disassembly instructions intended for someone recycling the monitor helped confirm the process, but it was not a surprise.
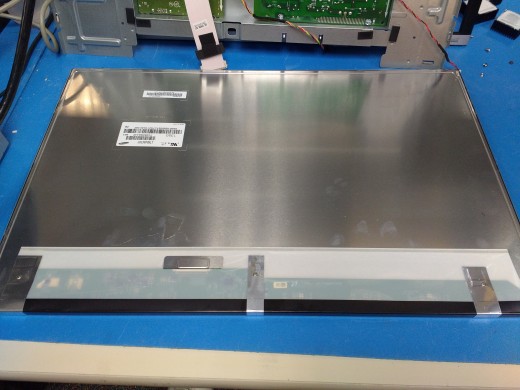
First was to pull off the plastic sheet protecting the circuit board. It is attached with simple adhesive, pulled off gently.

Next was removing the outer frame, which was clipped in along all the edges.

These were pretty easy to slip a slot screw driver between the frame and the inside, lift the frame out a little, and apply pressure to push the frame away. The first one or two were tricky, but after a couple came it was really easy.

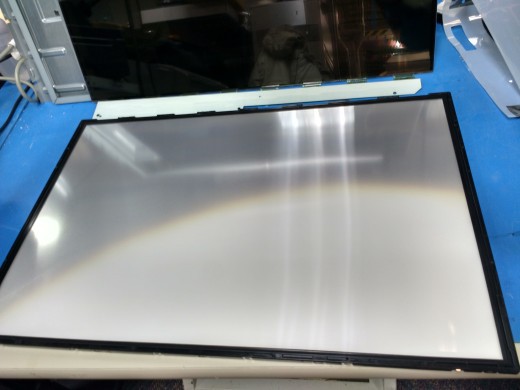
Here I had to do the bottom and sides, because the top had a metal lip around the backside. Once the bottom and sides were done, the frame simply tipped up, releasing the top. In this case, the panel was now free, save for the adhesive that attached it to the inner plastic frame. Applying gentle but constant pressure to pull the panel off the frame using a corner, it slowly lifted free without breaking. In the below picture, the LCD is in the background, leaning against some boxes.
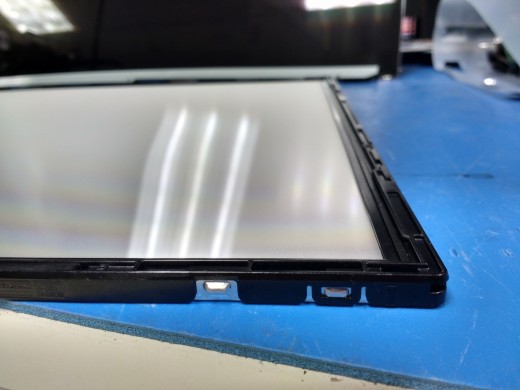
This next picture shows the clips attach. The left one was for the outer frame. The right one is for the inner plastic frame. If I wanted to pull apart the diffusers, I would lift out those clips to separate the frame.
At this point, I've done all the disassembly that should be needed. This was one of the easiest panels I've taken apart, which was nice. I snapped the metal outer frame back on, and tested it out. On this panel, because there was the inner plastic frame, I could do this straight away without the backlight diffusers falling out. In other panels, they may, and you will need to come up with a spacer, or just replace the LCD panel with the same size clear glass. I could have taken it apart further, by my experience with panels is that they don't always go back together perfect, and the further you go, the more risk you have. As I actually want to use this, I stopped here. If you have a scrap monitor you don't want to use, go ahead, the layers in the diffuser are fascinating material.
Testing it proved plenty bright now that the light didn't have to go through the dark LCD polarizers and glass layers. I know that backlights focus the light in a specific angle so as to not waste light. I found that the viewing angle of equal light was slightly larger and similar to what it was with the monitor fully assembled and working. In this case, plenty of working room when working from above the light table. The original monitor specs were "Up to 170° horizontal and 160° vertical", though in practice, as a functioning monitor, I found it to be narrower. I think with the LCD removed, it seemed pretty close to this.
Next up is to decide how to protect the surface.
Discussions
Become a Hackaday.io Member
Create an account to leave a comment. Already have an account? Log In.