Close
0%
0%

Shop Reorganization

Putting my house in order

Similar projects worth following
So my workshop is basically 3 foot section at the back of the garage. It is finally time to reorganize it and try to improve the workflow in this tiny space.

I have a tiny workshop built into the back of my garage.  A while ago I made a small bench and organized my tools. But after several years of collecting new tools and life it is starting to become a cluttered mess.  It is time for a reorganization of the shop.  My plan is to rework my workbench as well as build some new cabinets and storage to try and make better use of the very limited space I have.  The other big goal is to get all my major power tools up where I can quickly access them without needing to do a lot of reshuffling of the workspace.

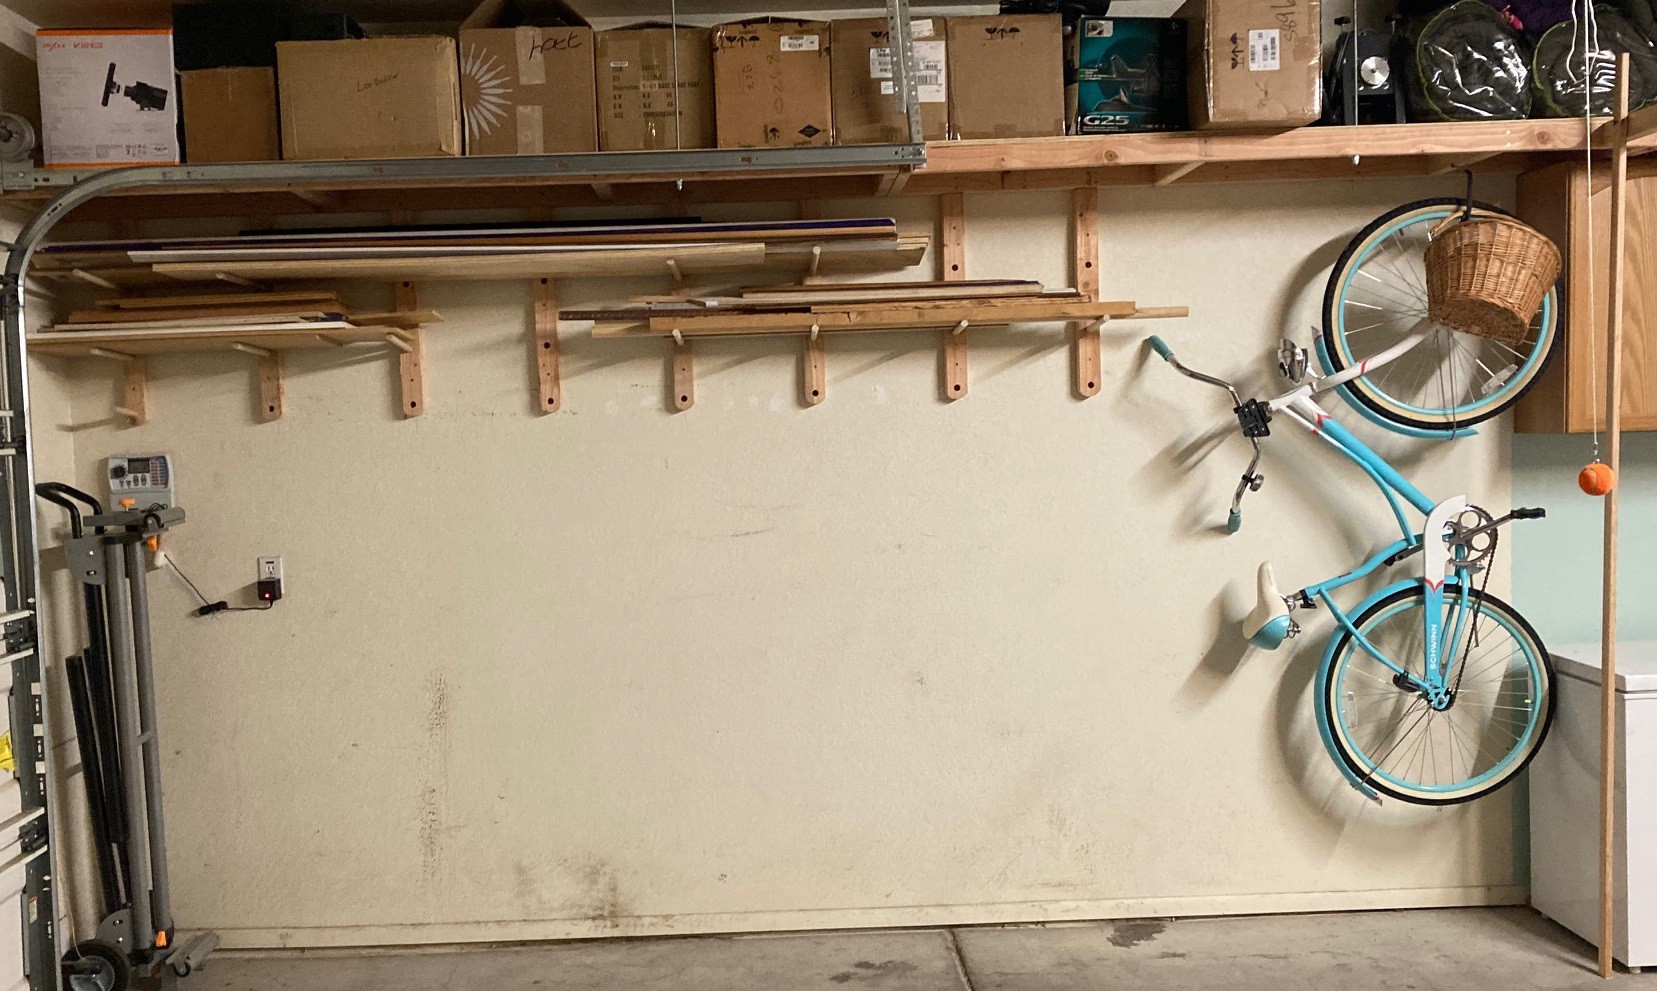
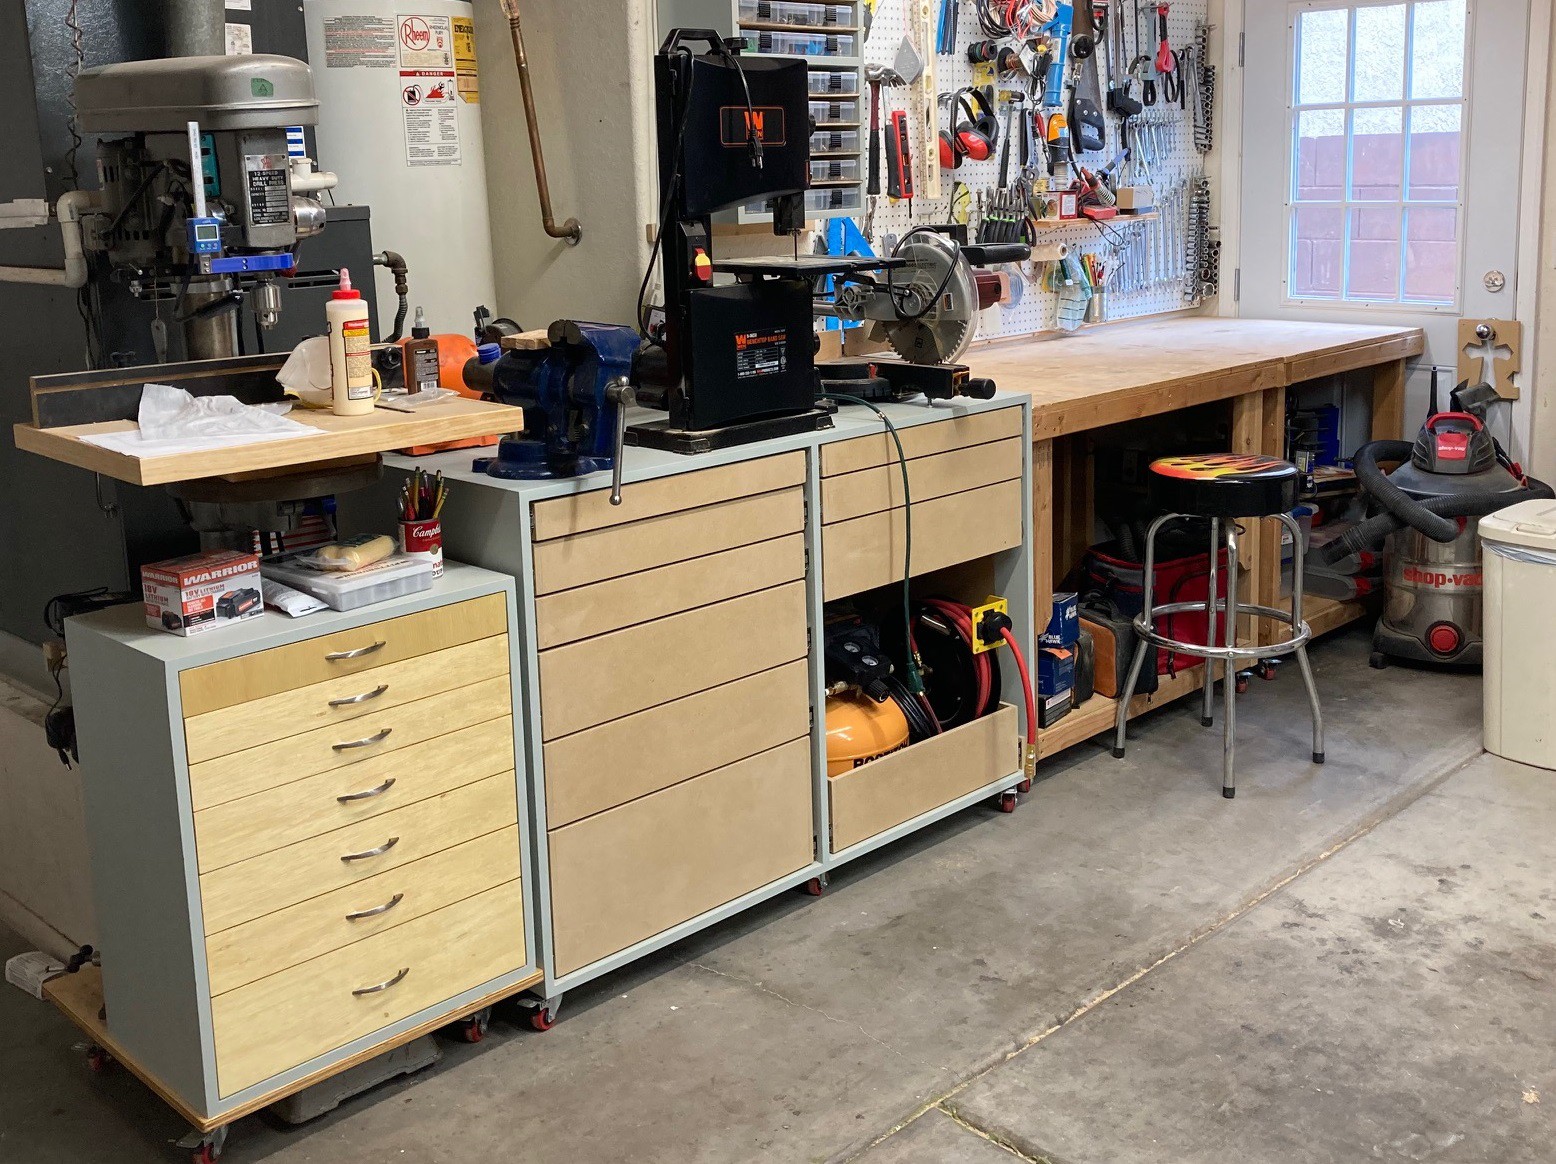
Here is a snapshot of where things stand now.  Along the right wall I have built in shelves that are crammed with treasures and use all the available space very well.  On the back wall is my small workbench, this is designed to fold up so I can use the door (that I never actually use). On the left wall we have the laundry area, tool and bike storage and some more shelves that are poorly organized.

So far I have added wrap around shelves across the top of the left side of the garage.

Reorganized and painted the laundry area.

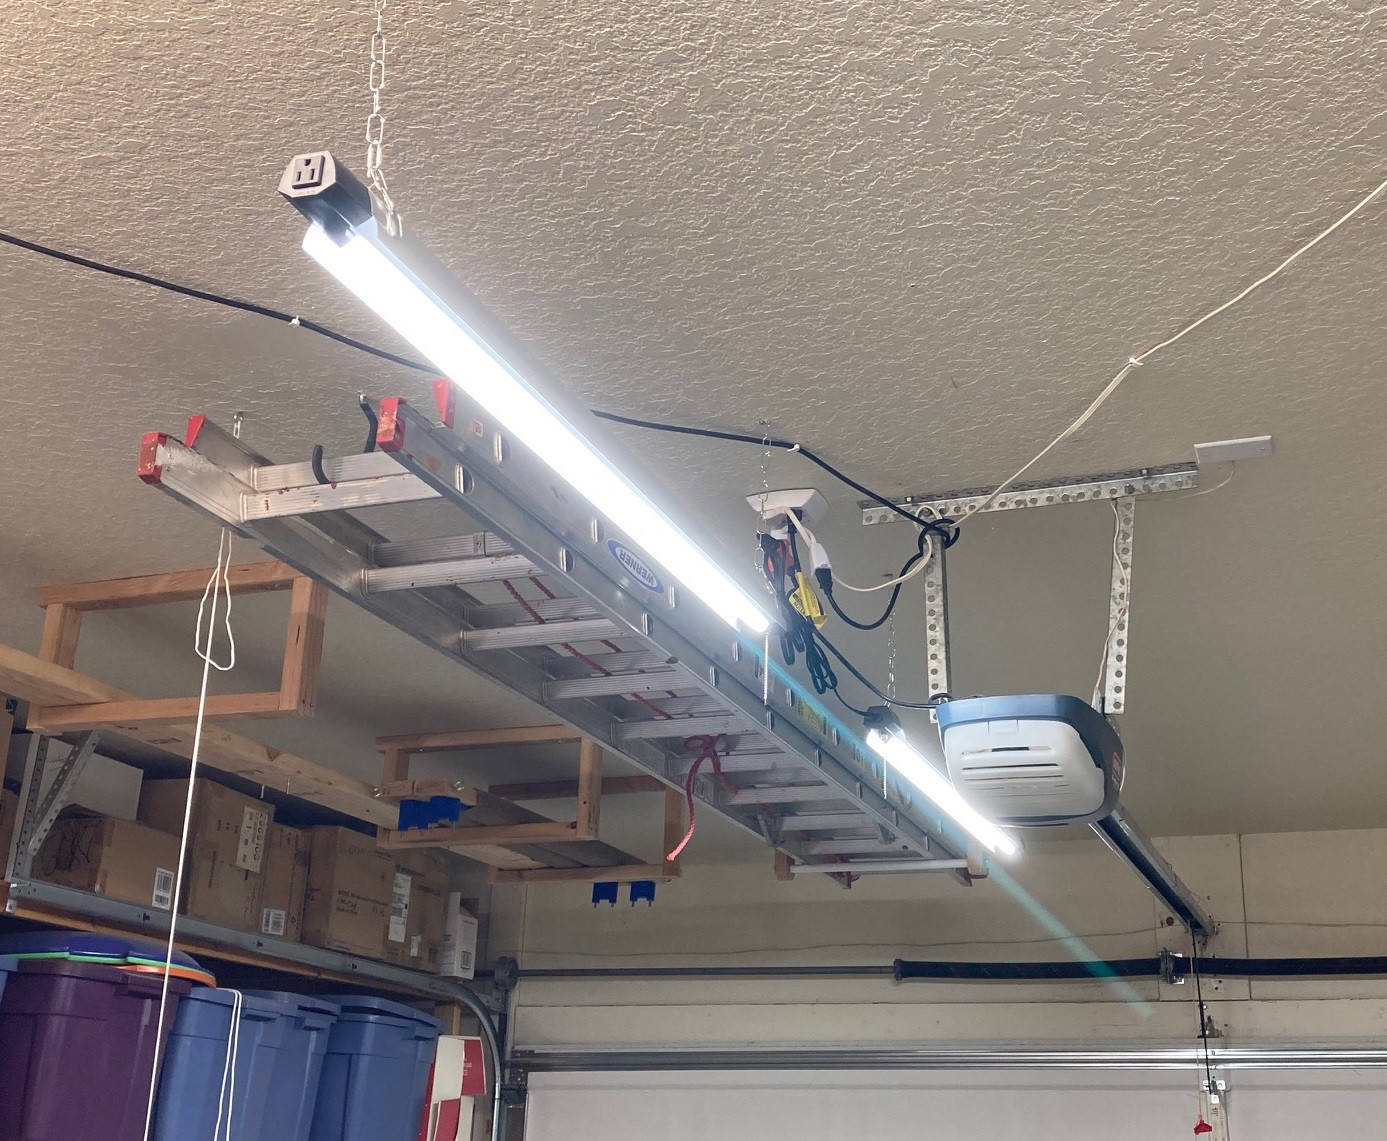
Made a new roof mount for my extension ladder.

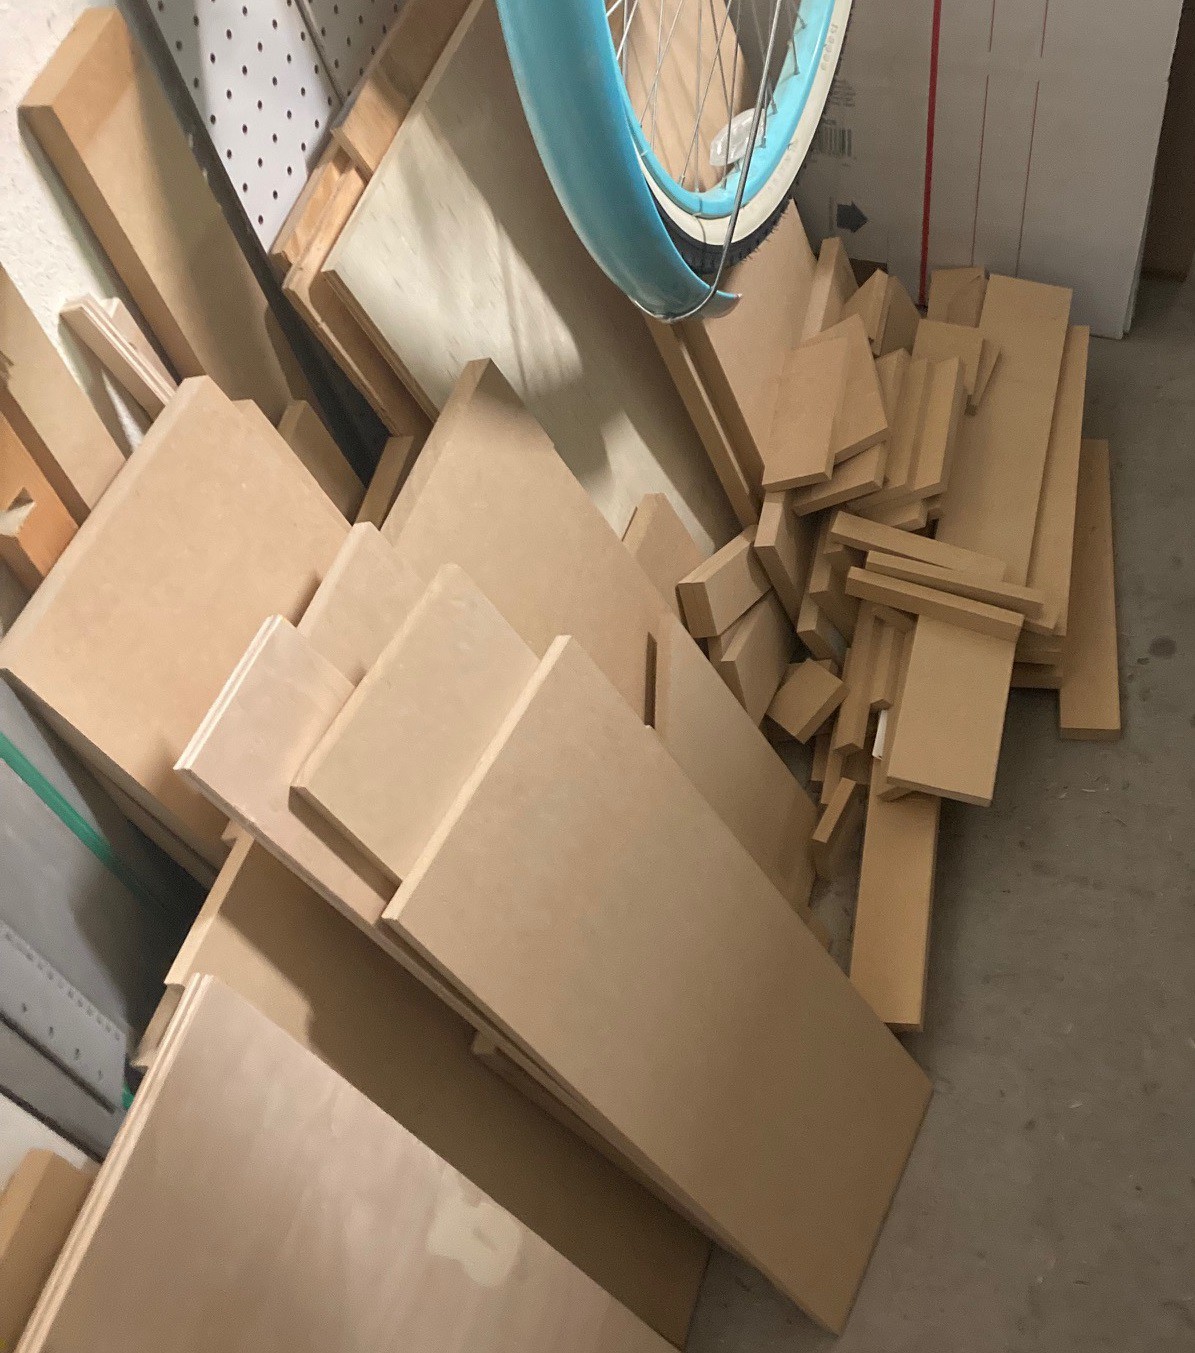
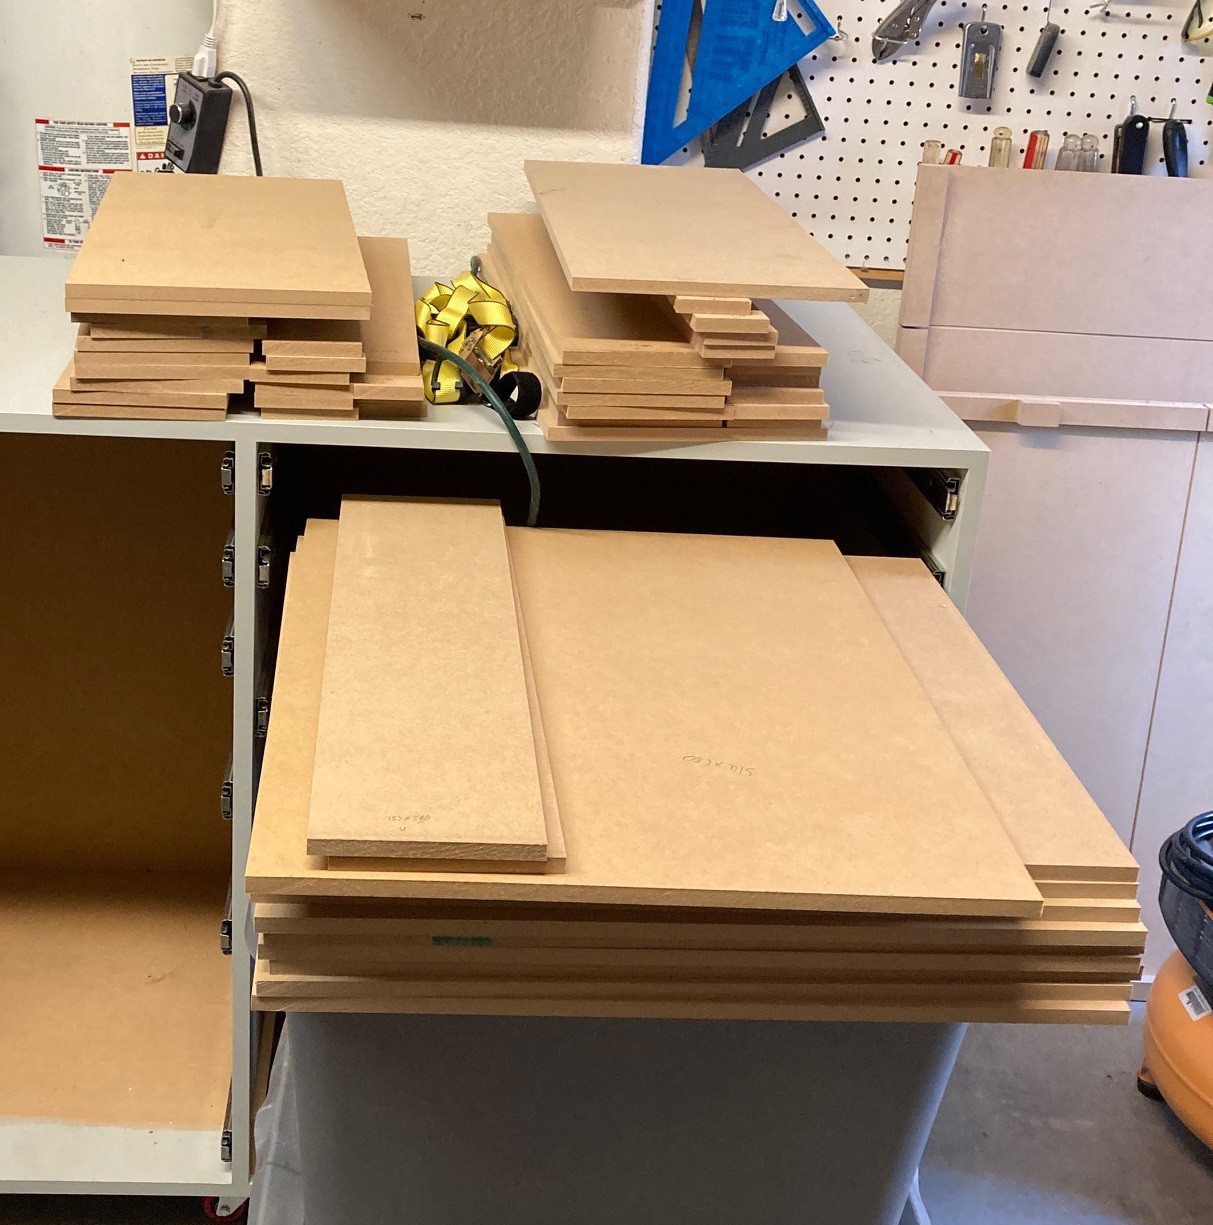
And cleaned up the space beside the car for easier entry and exit, along with finally starting to organize my wood collection.

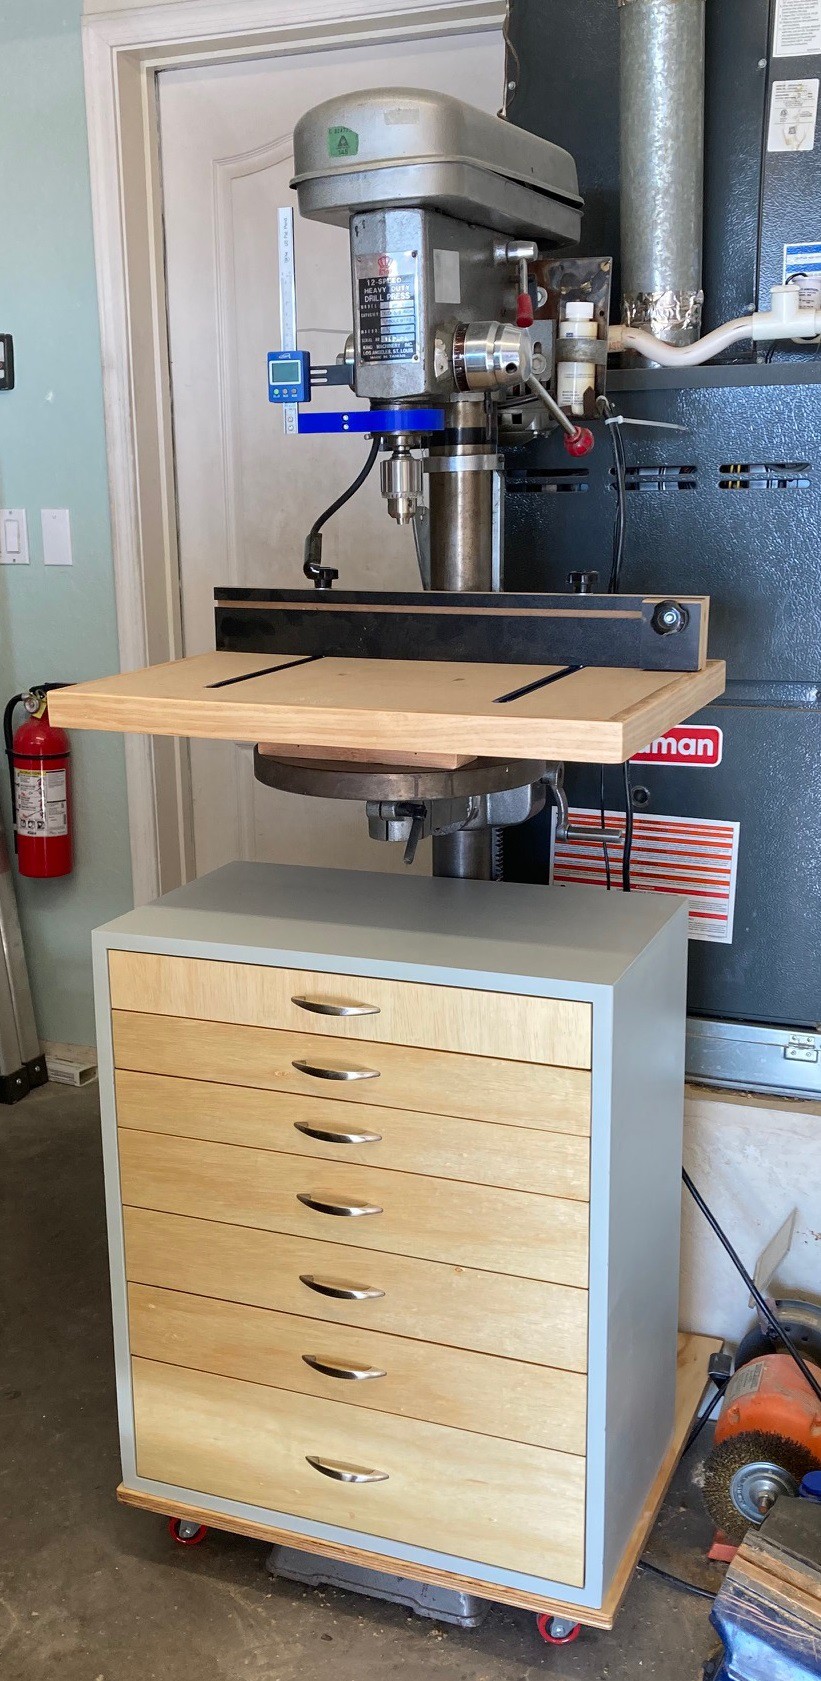
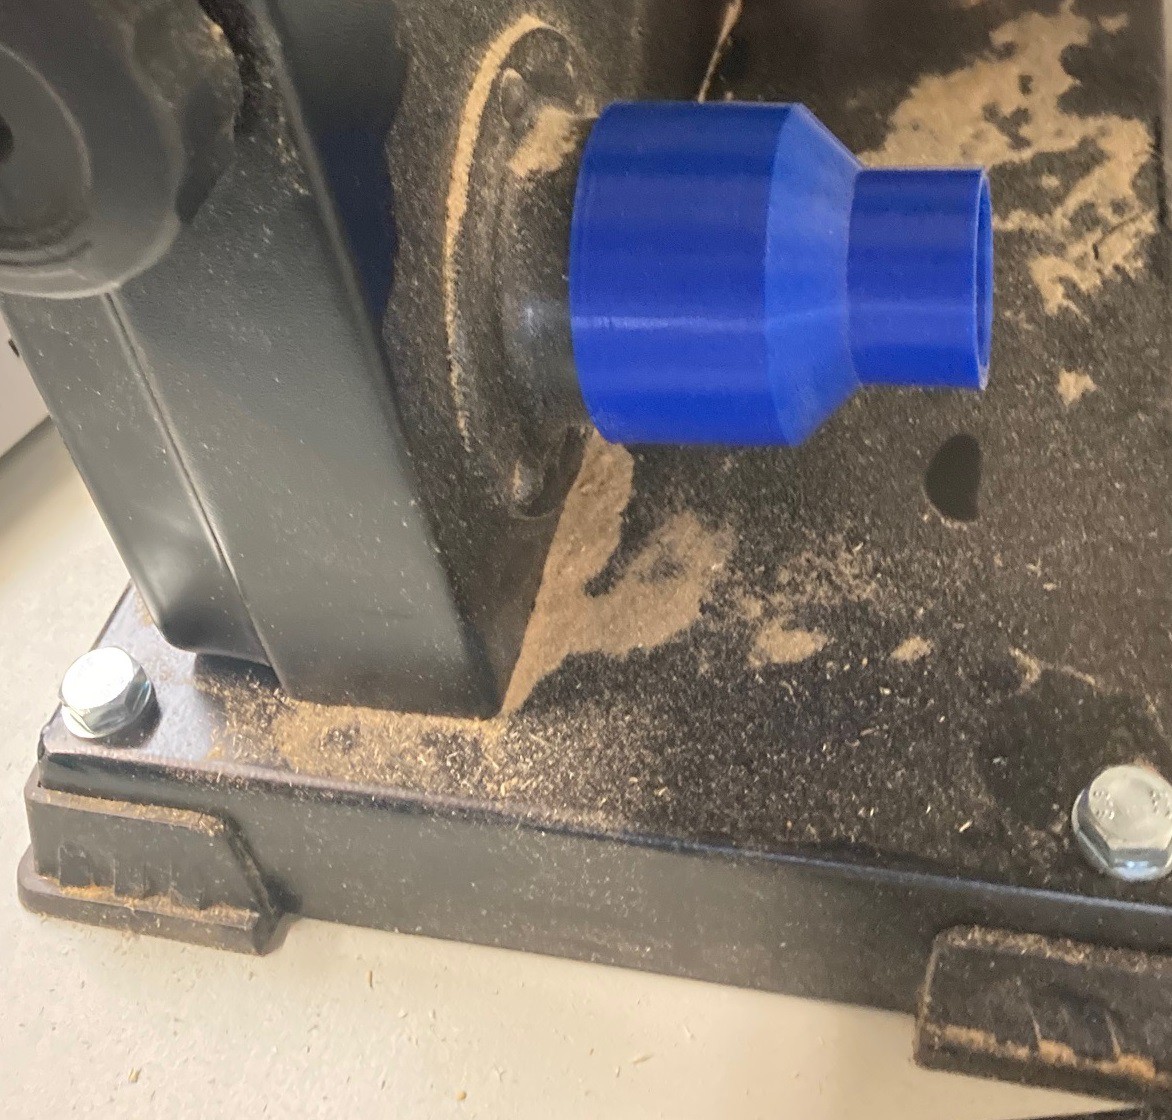
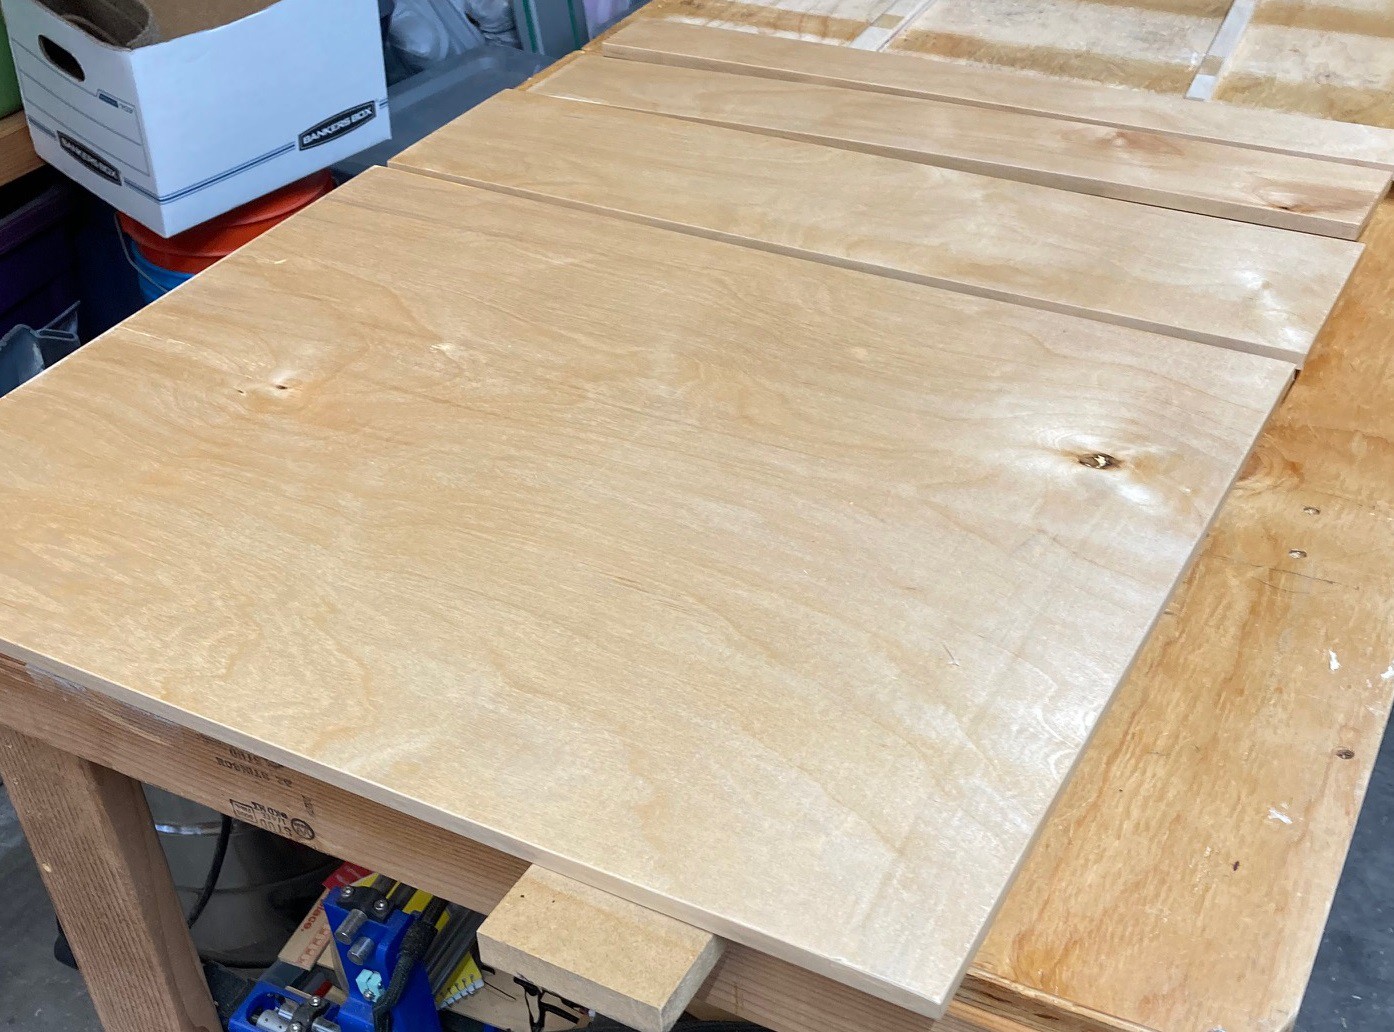
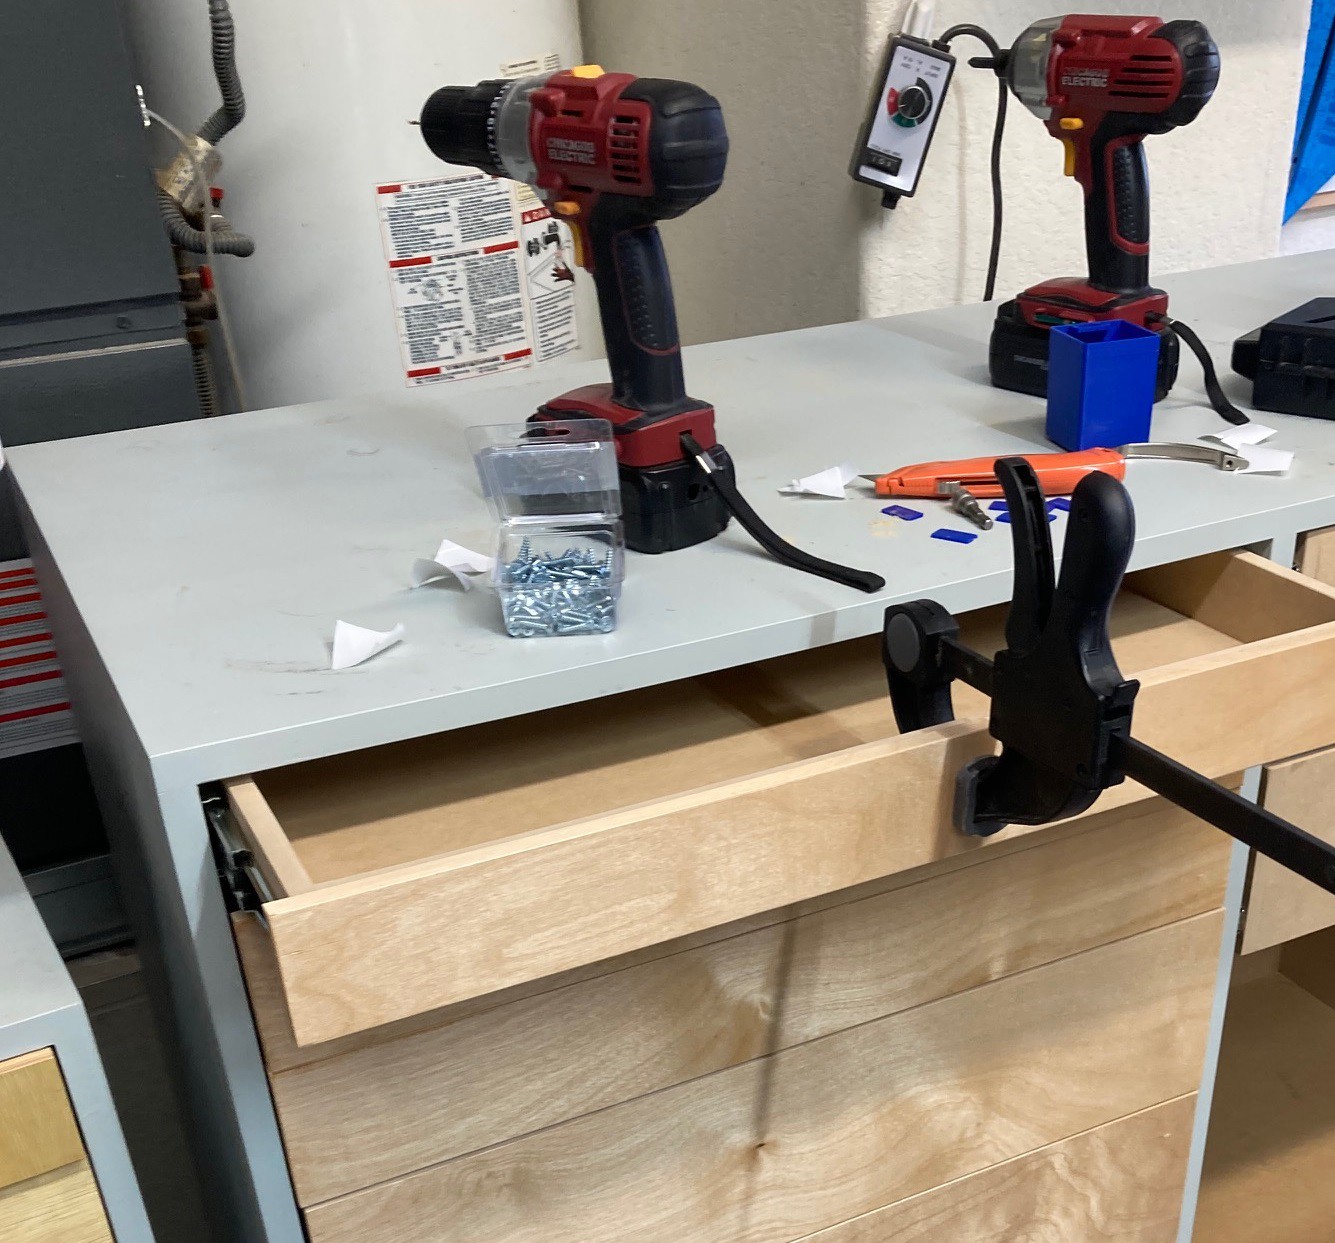
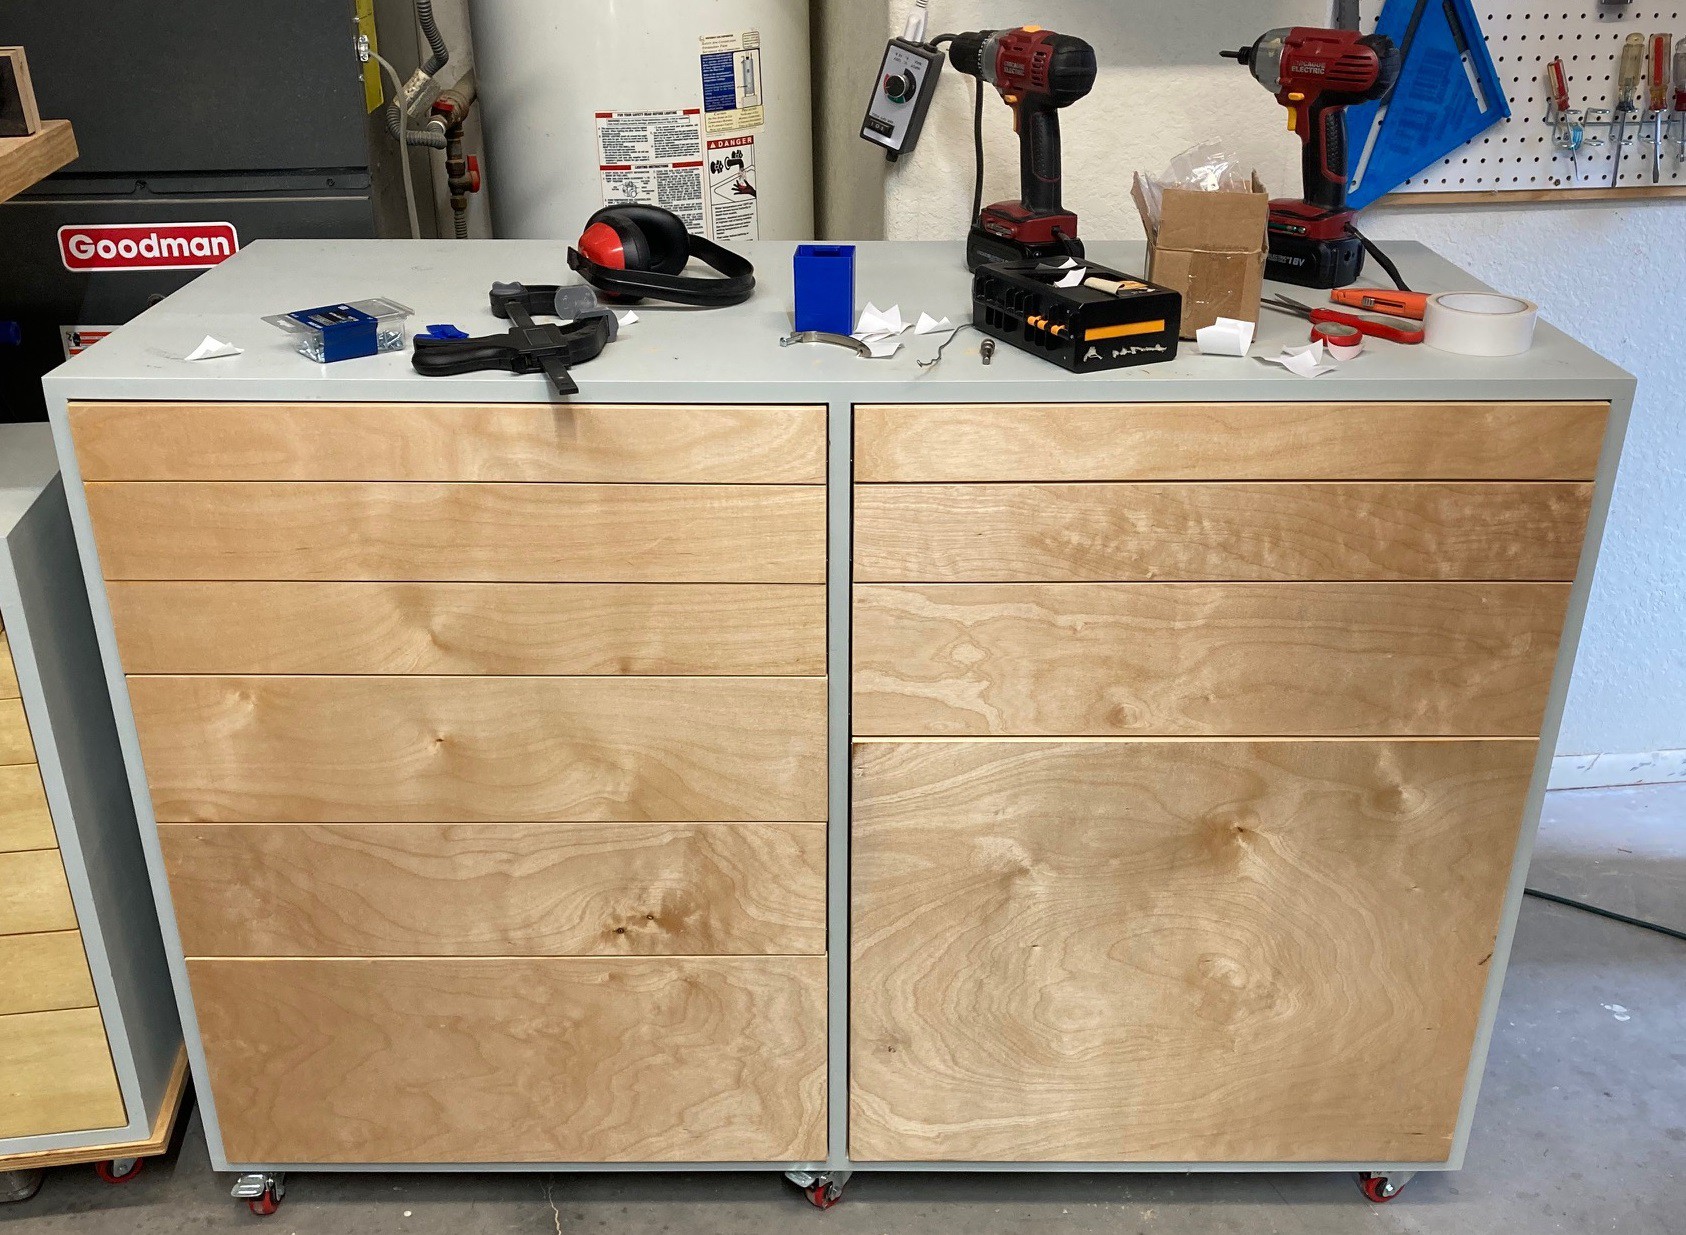
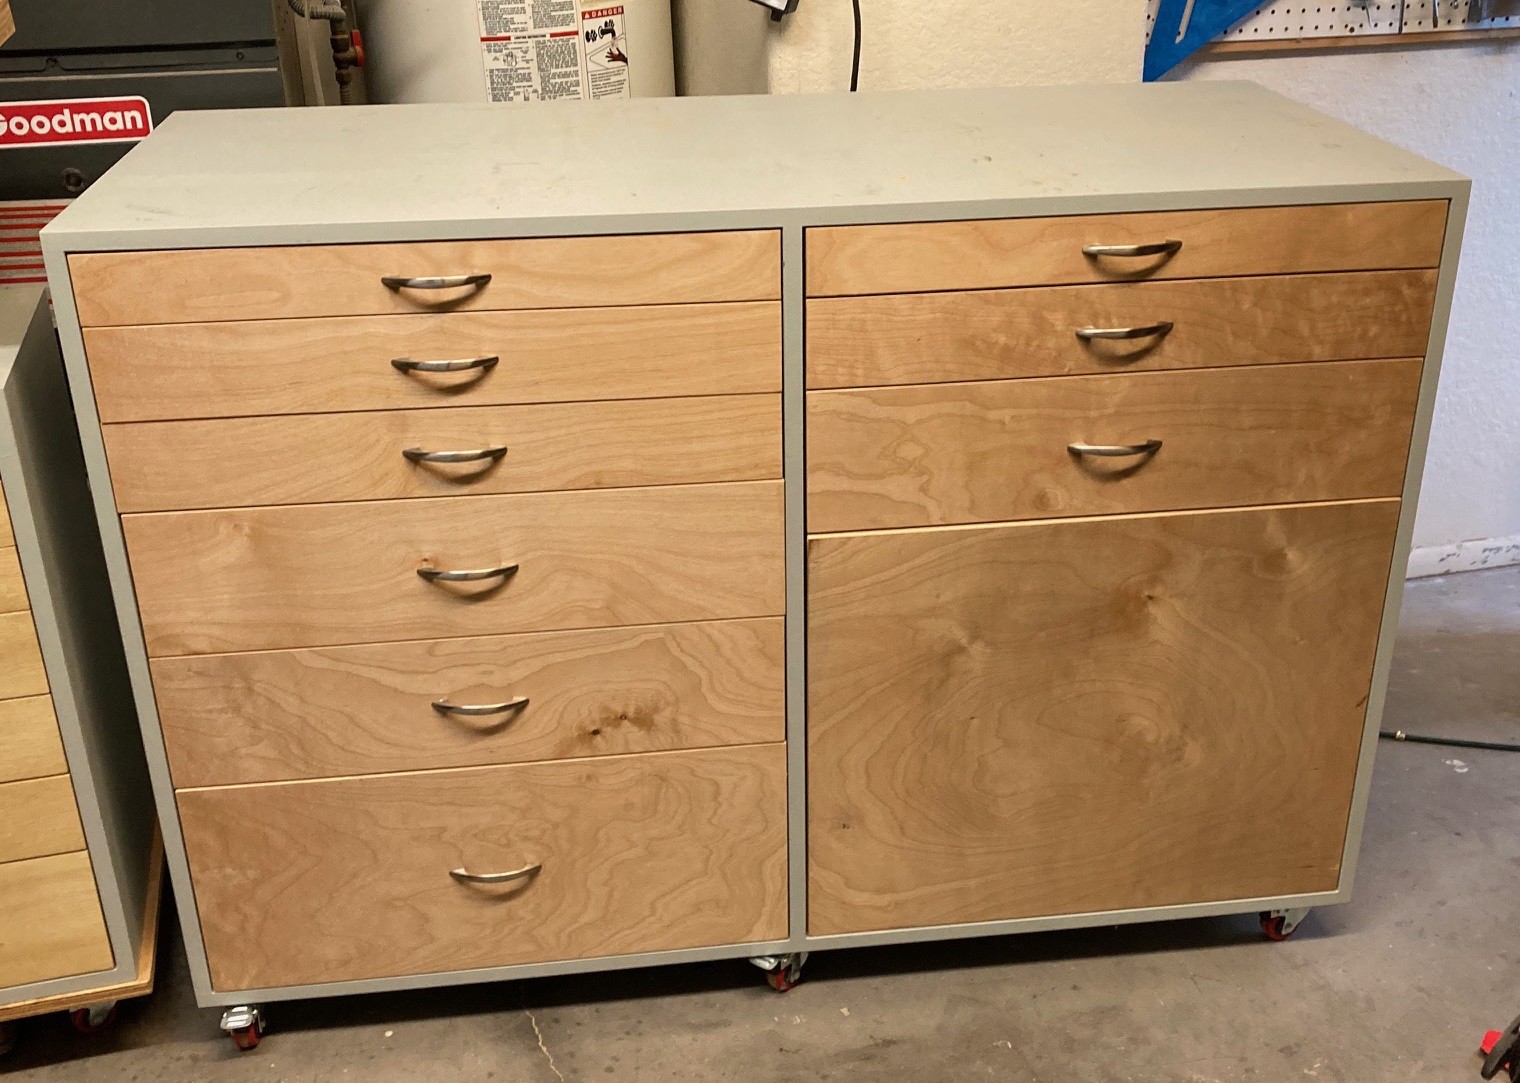
I put my drill press up on casters and built a new table and storage drawer for it as well.  Finally I fit a DRO and LED light to the drill to help improve my accuracy.

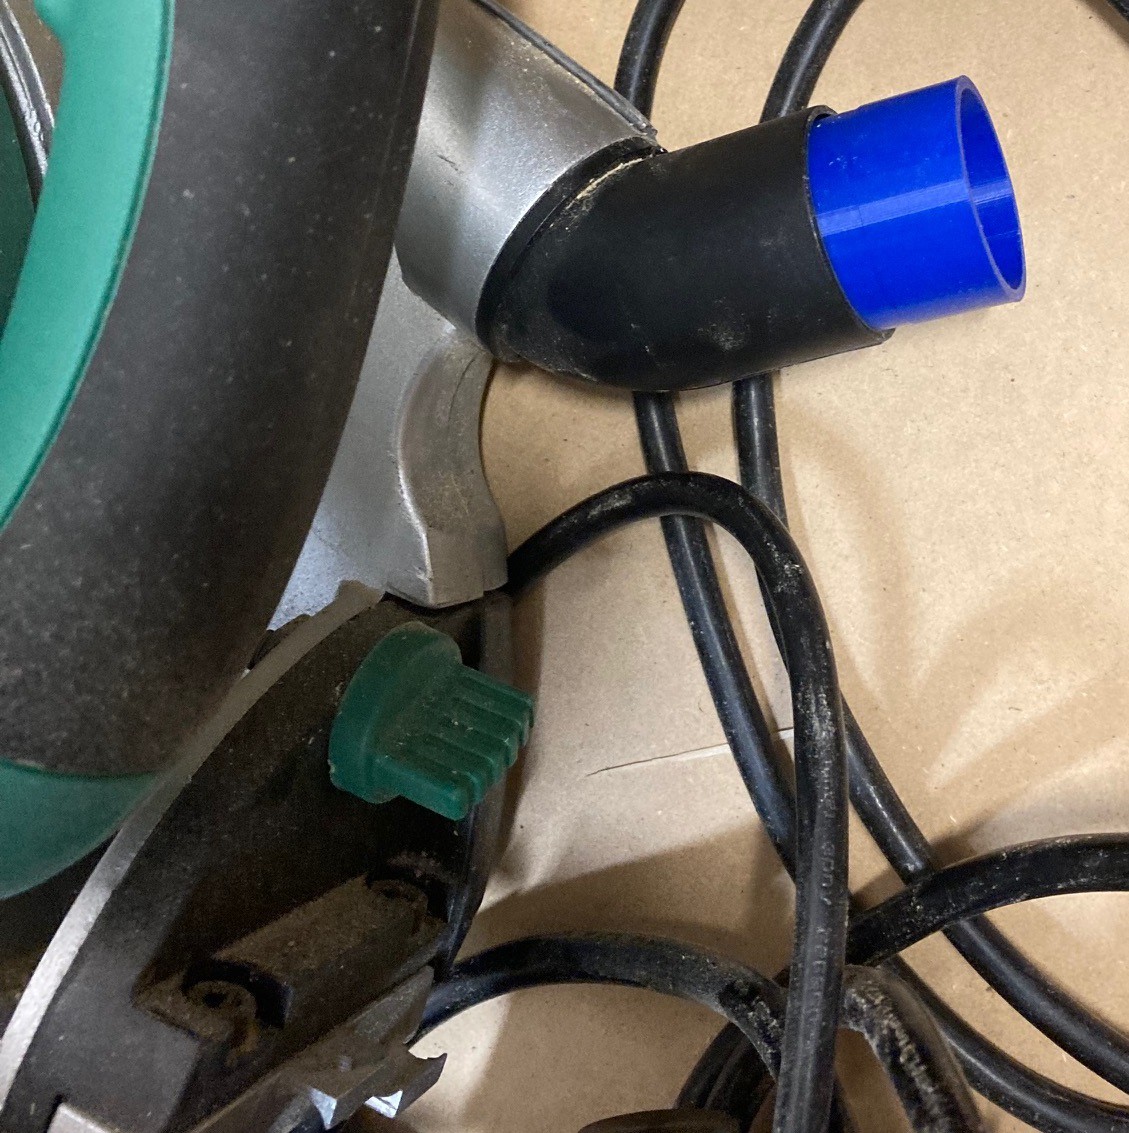
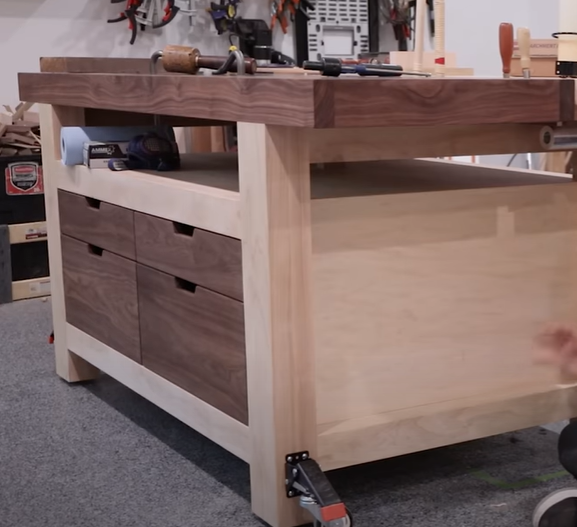
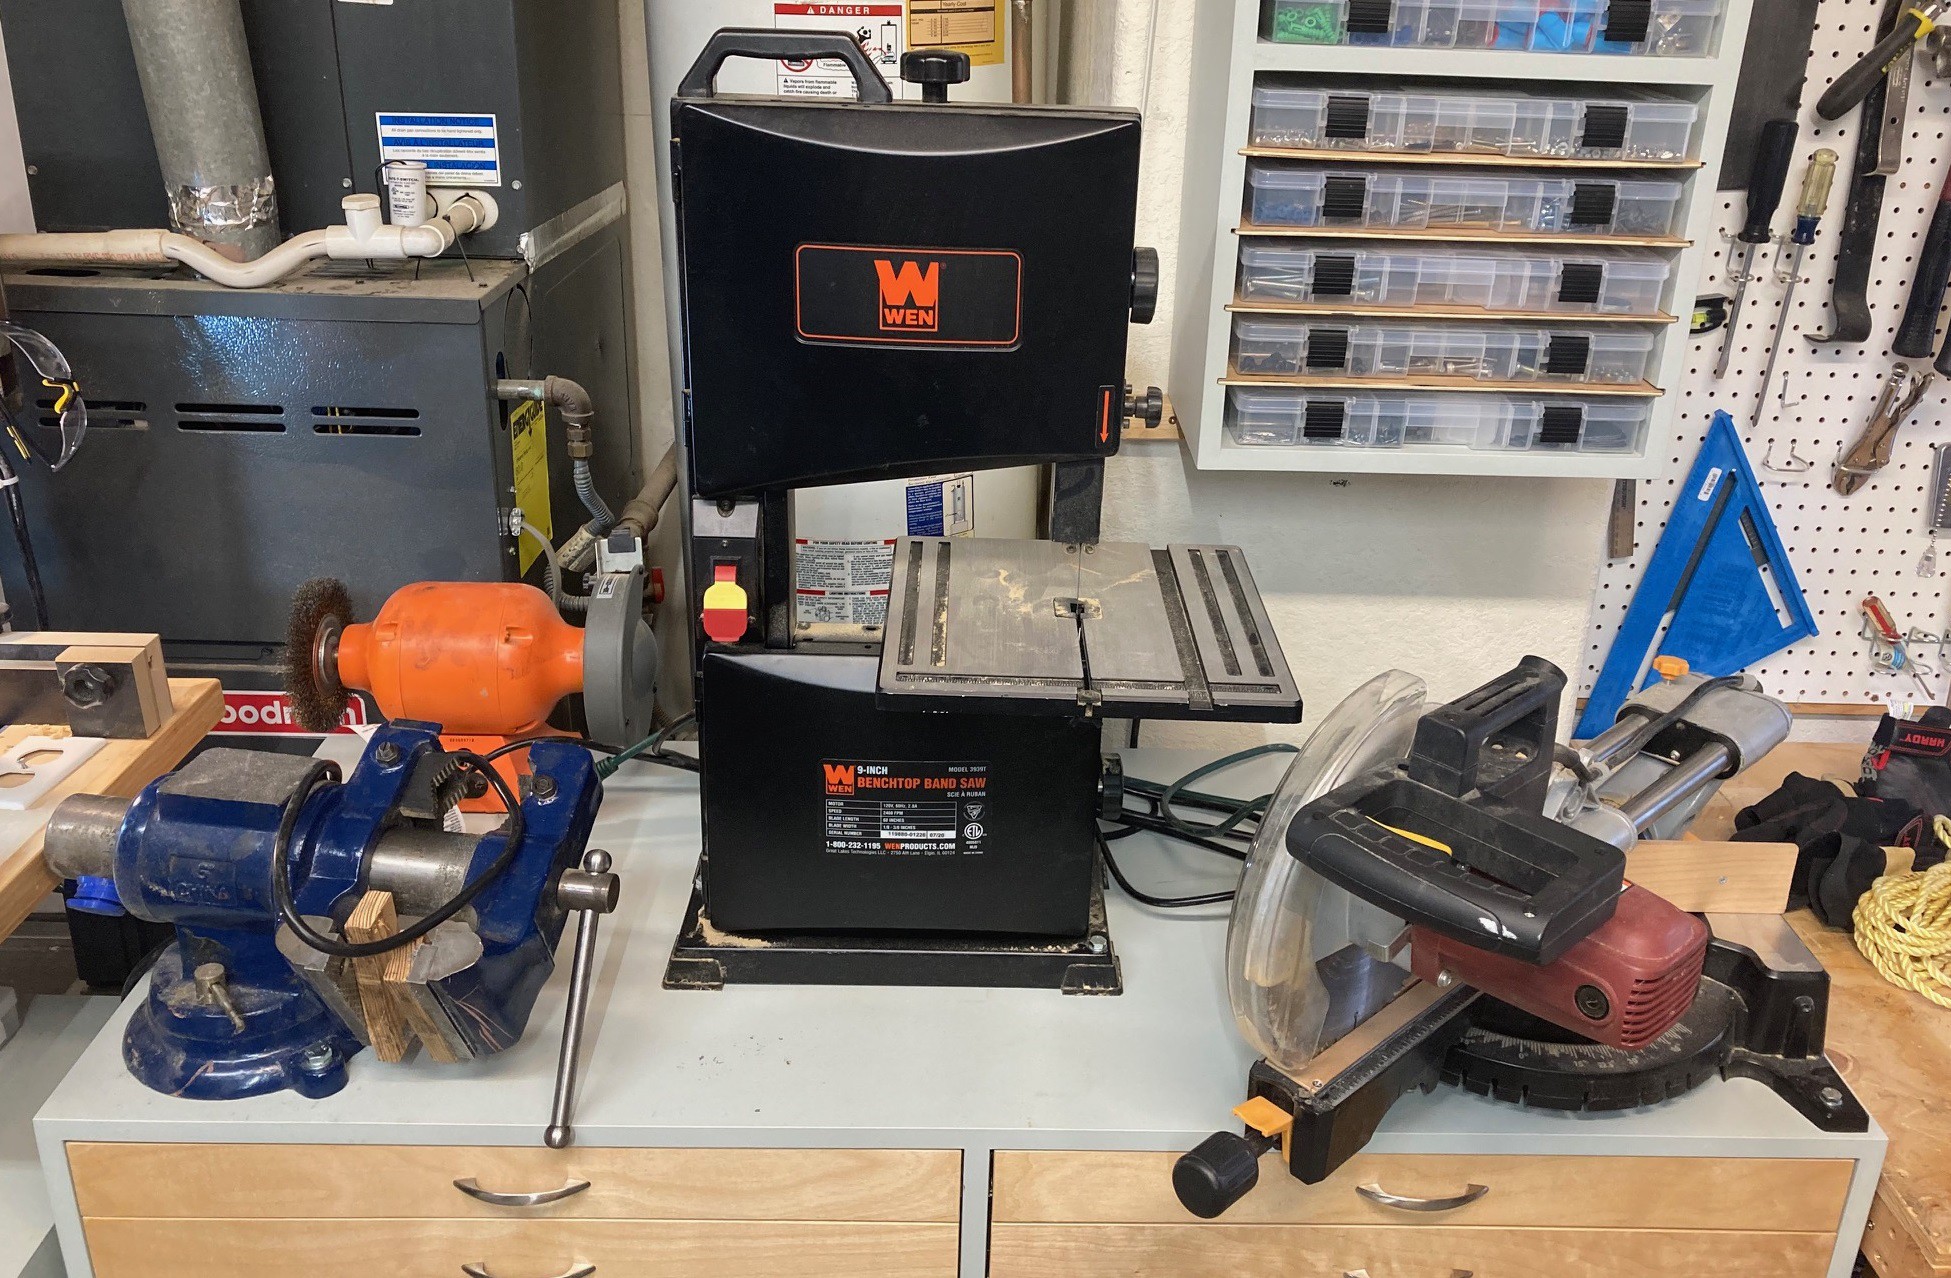
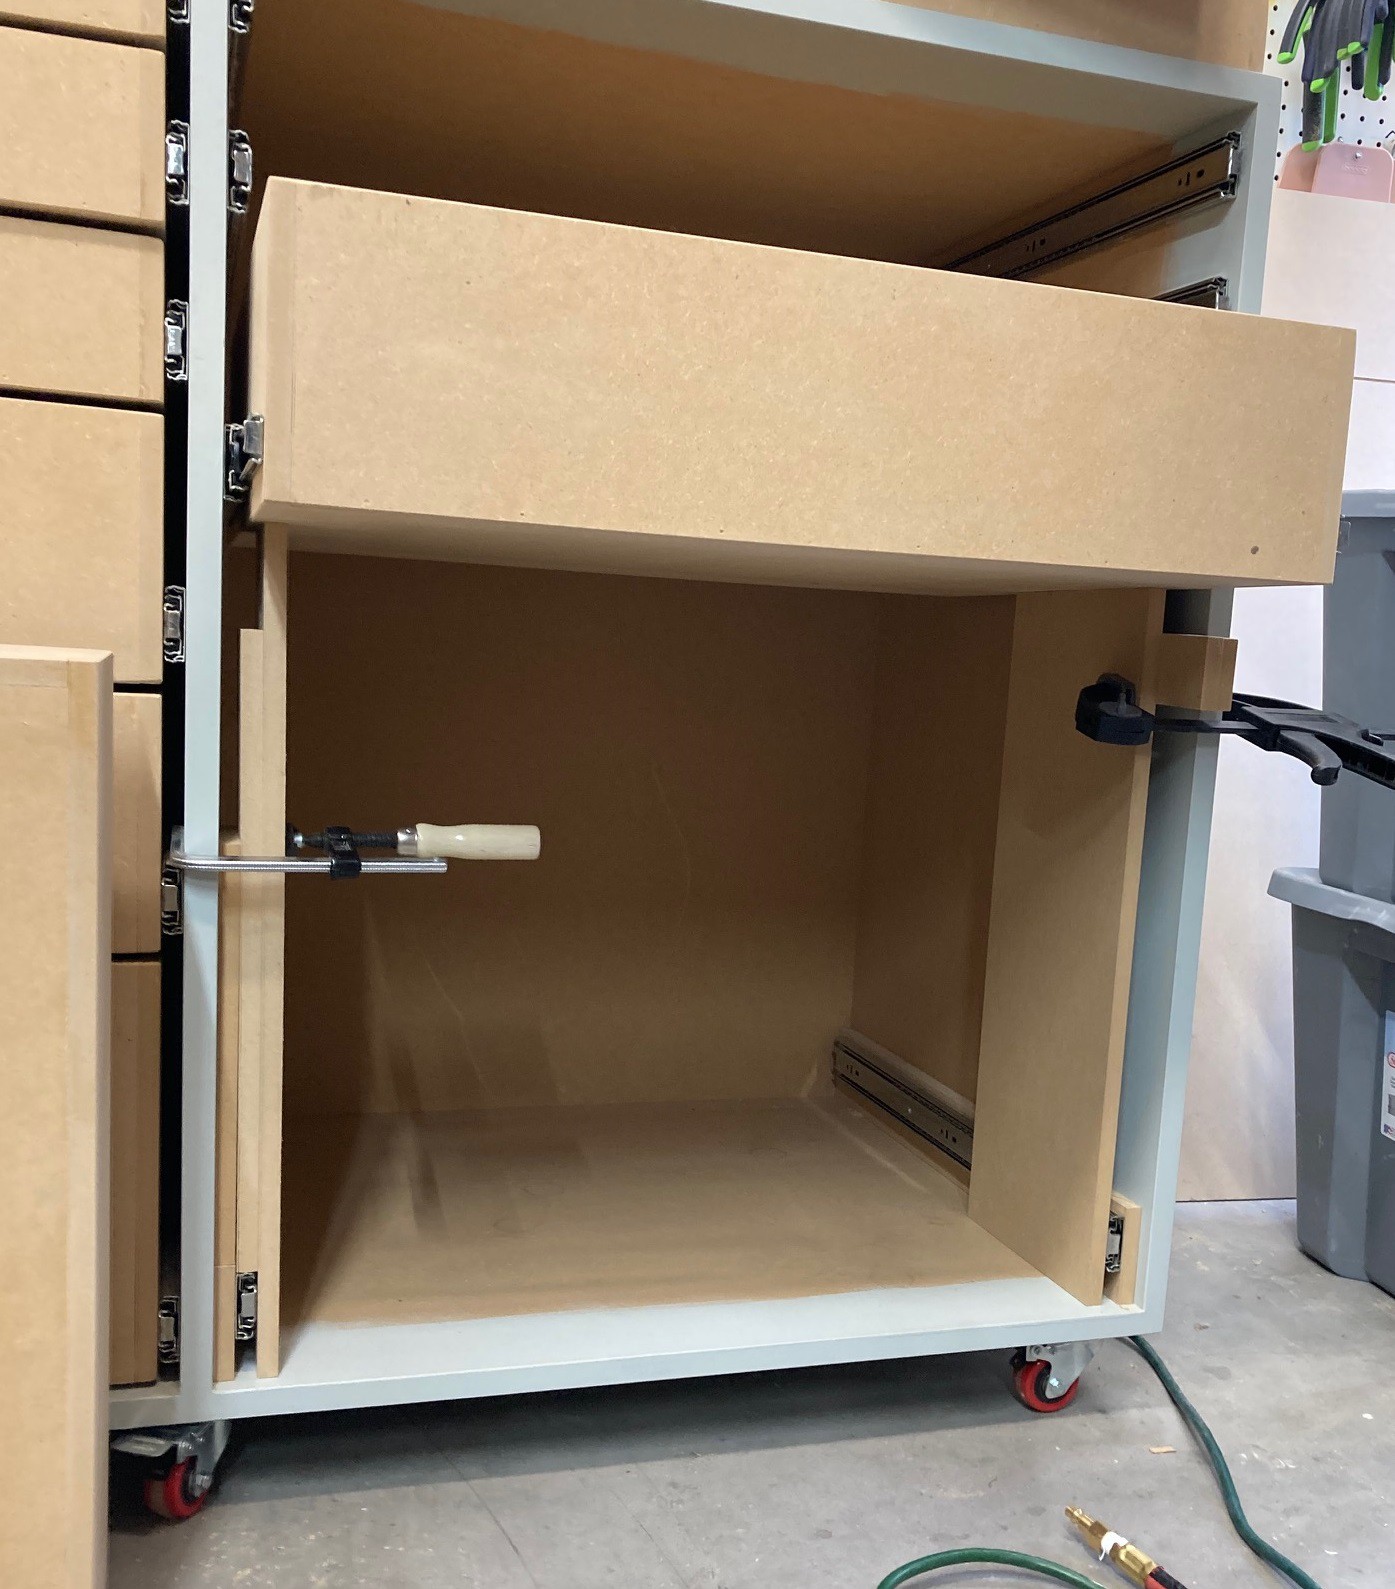
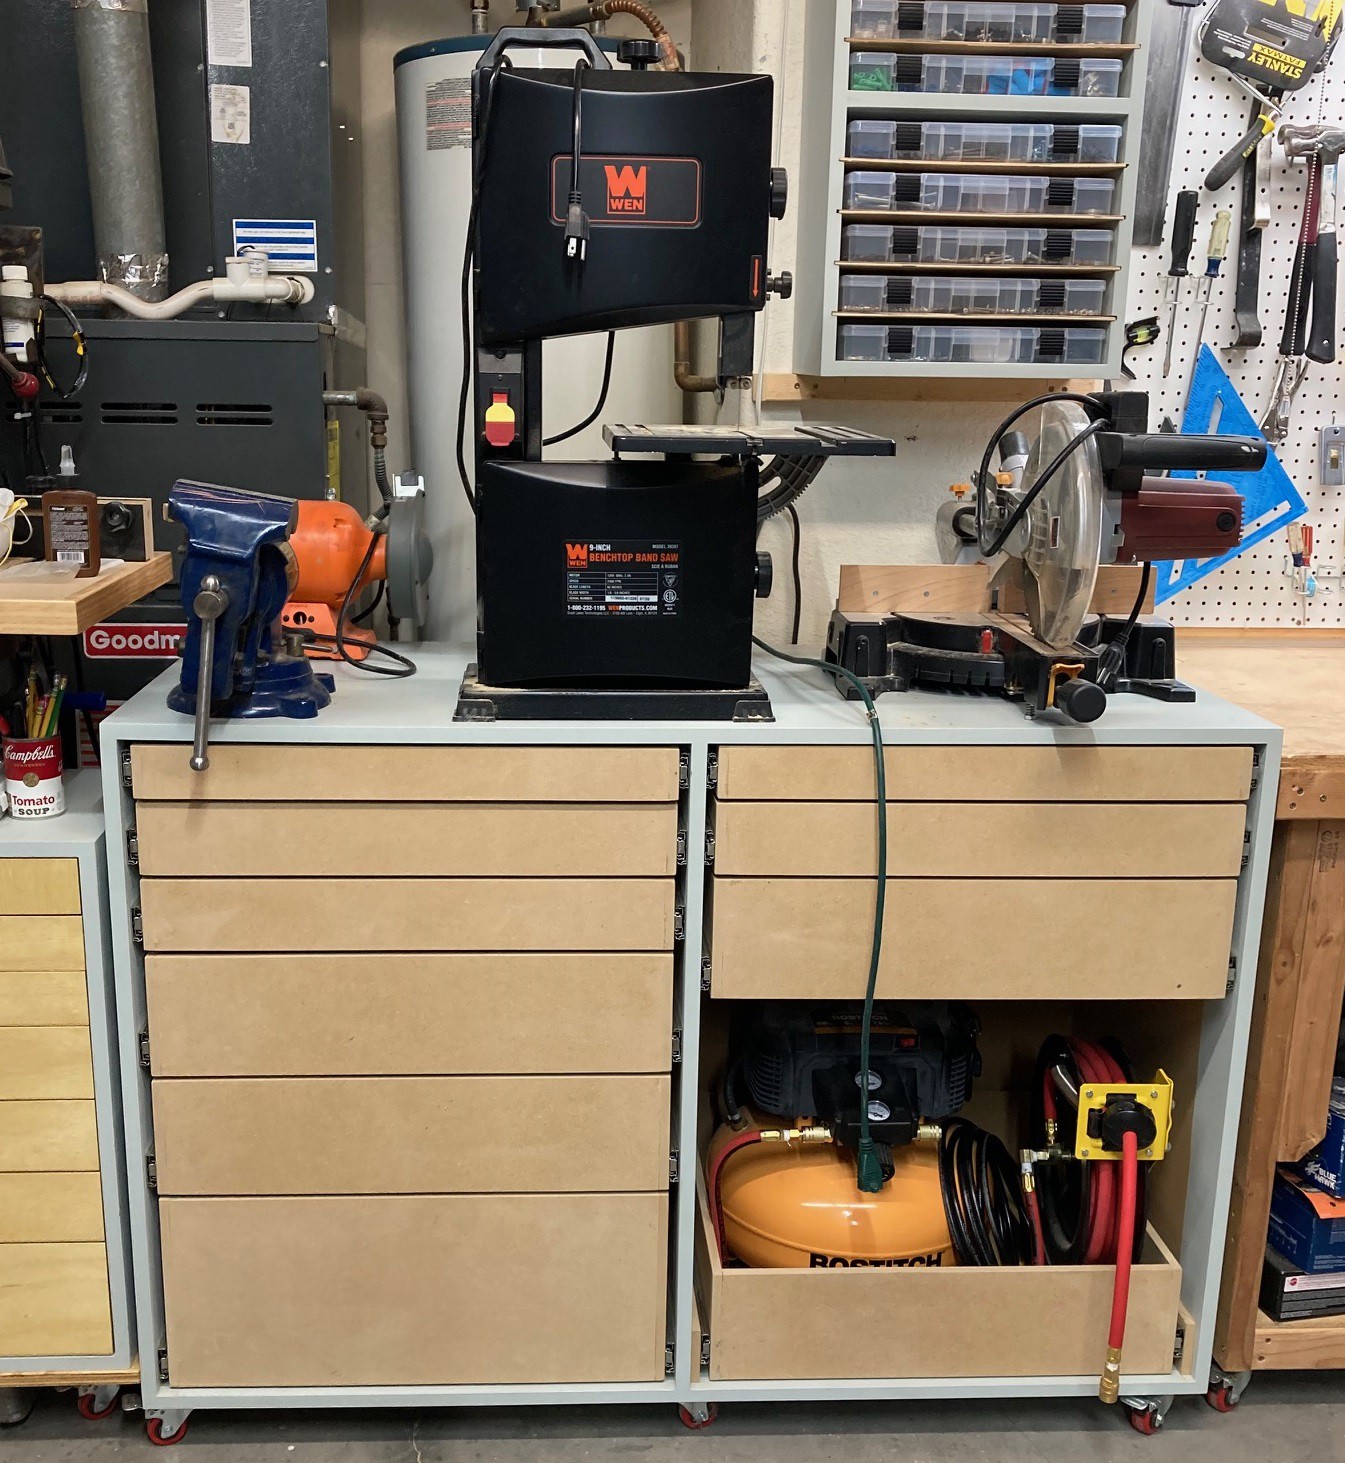
I have built a tool cart to hold my miter saw, band saw, vice and grinder.  There is space in the back for a few more tools (maybe a disk sander).

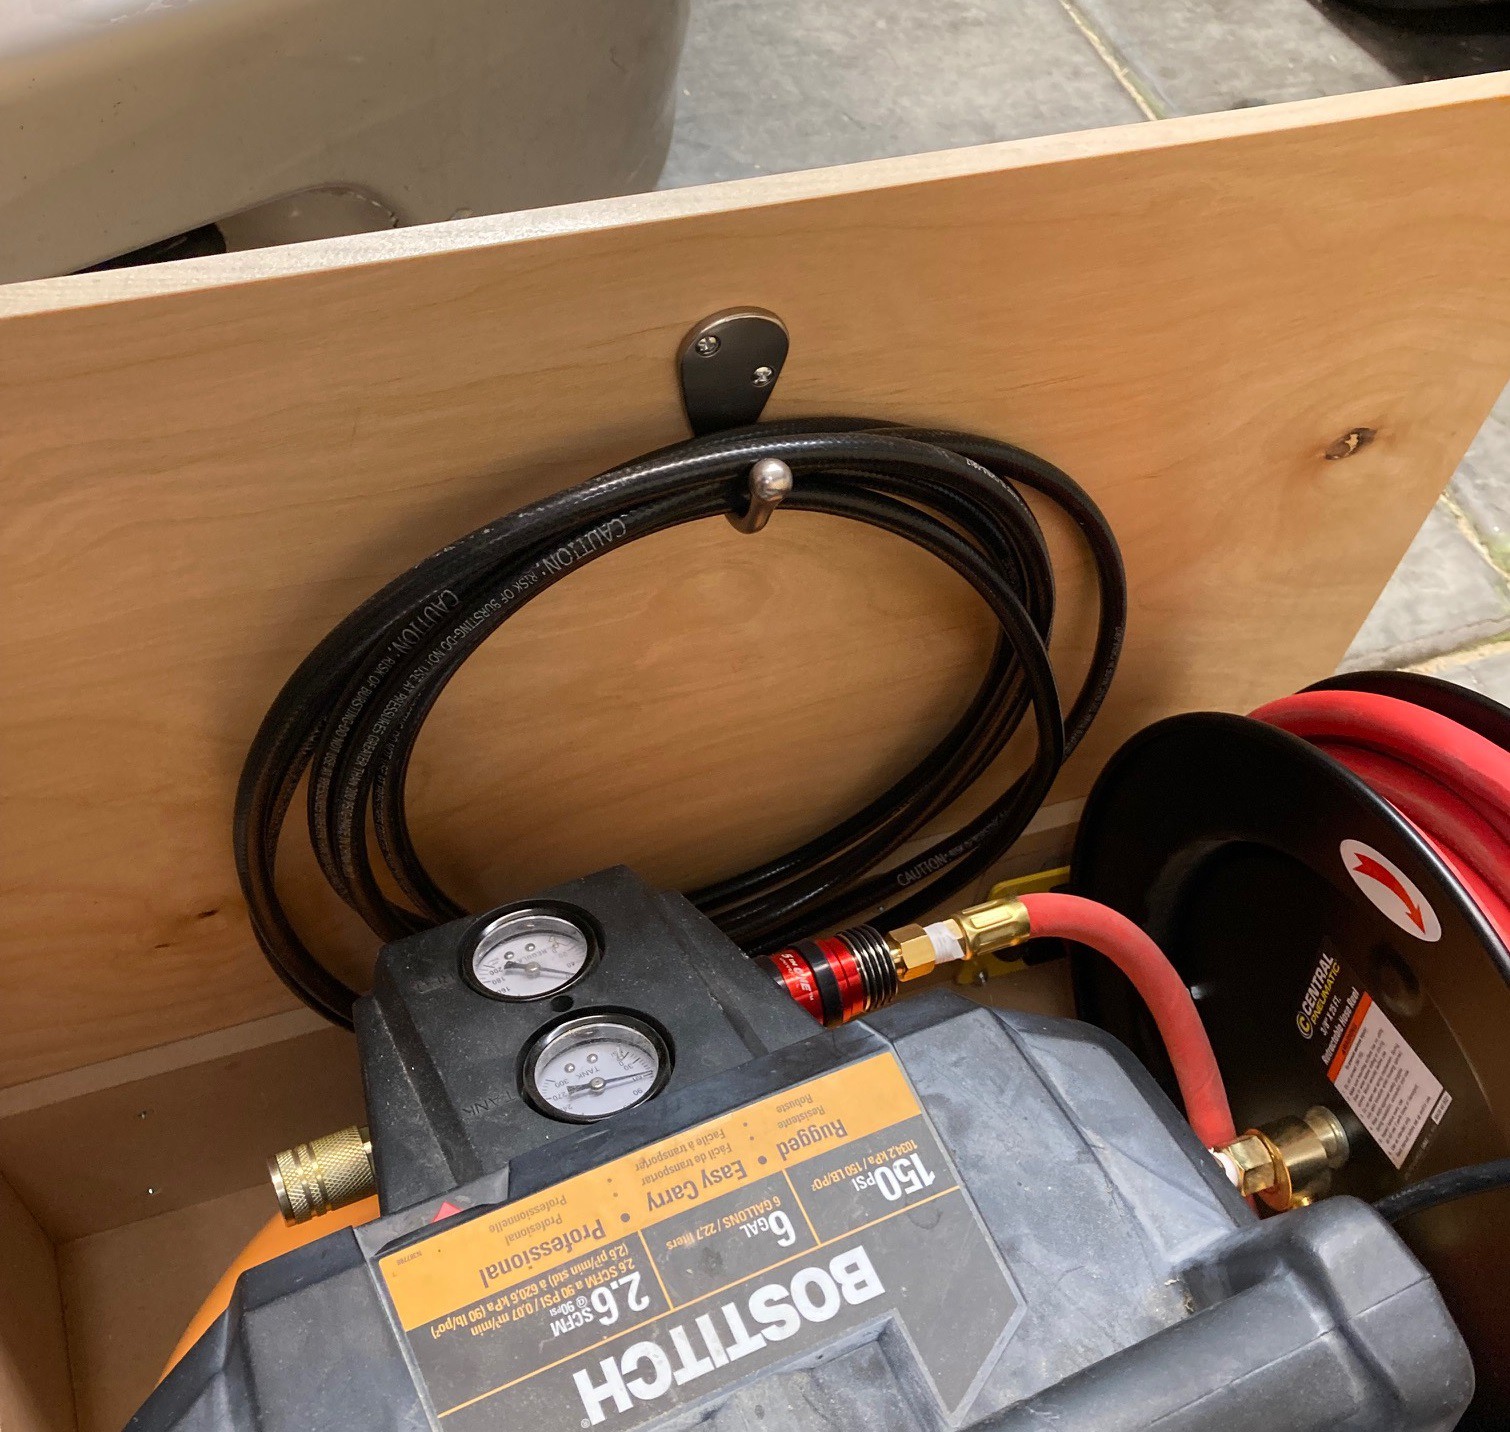
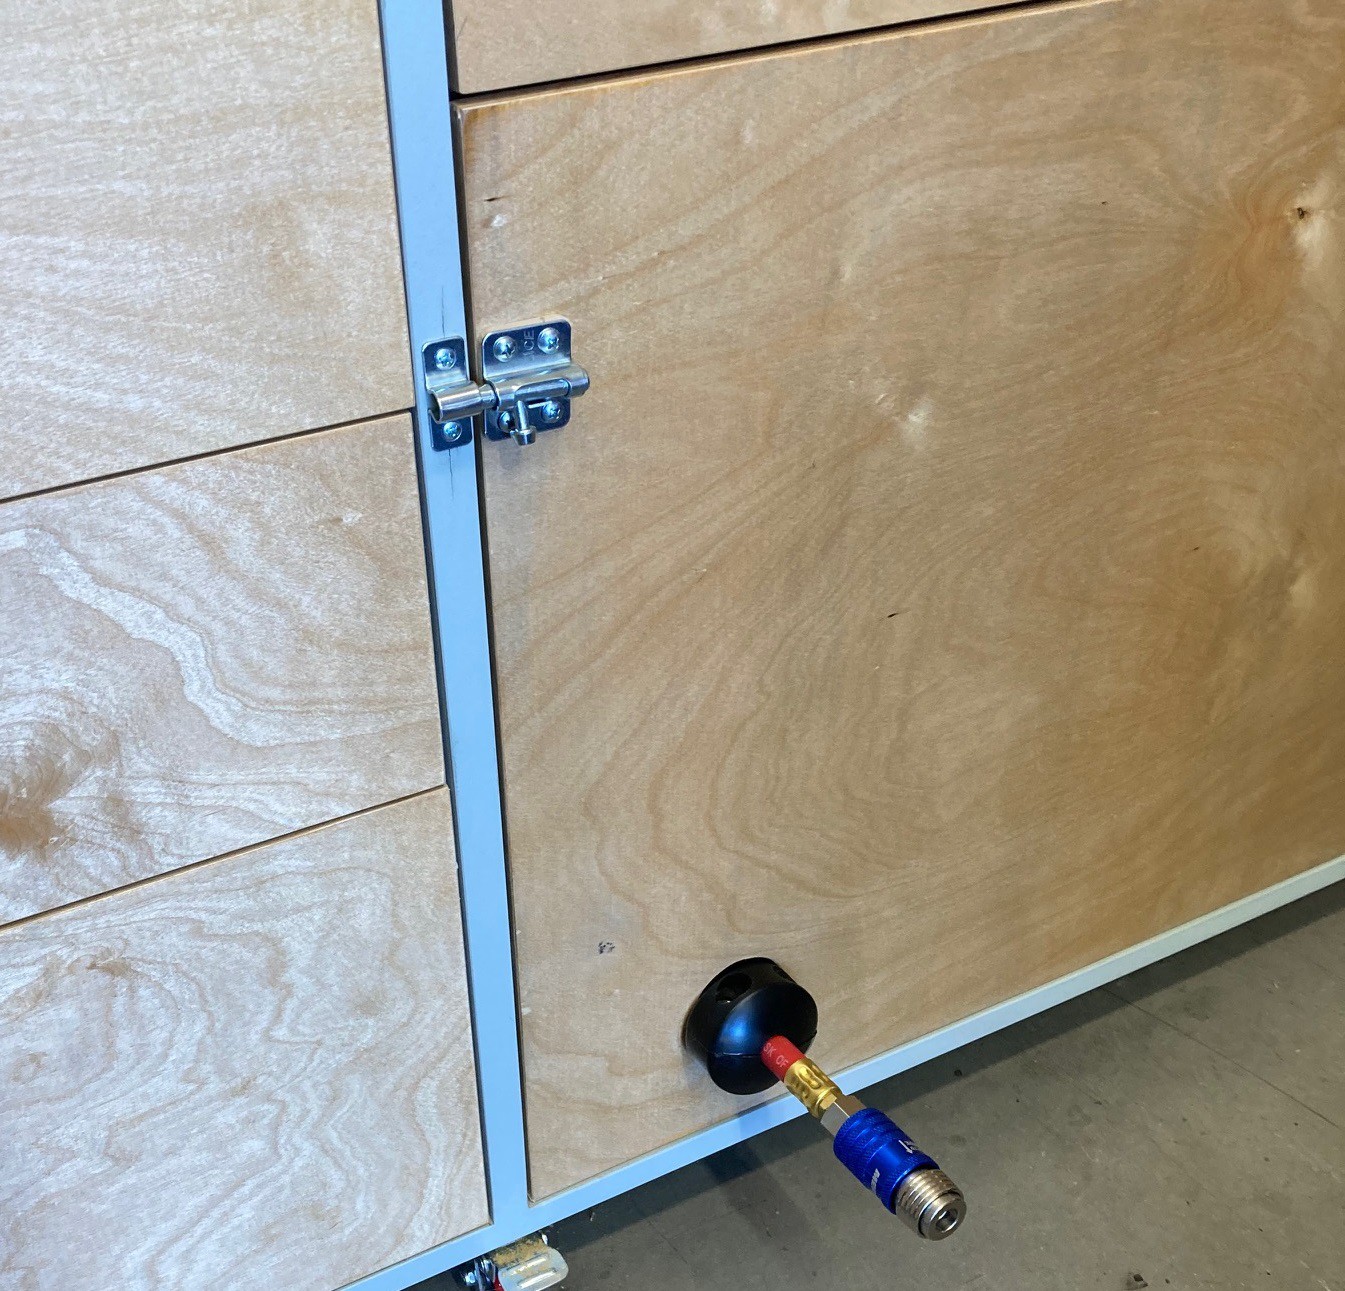
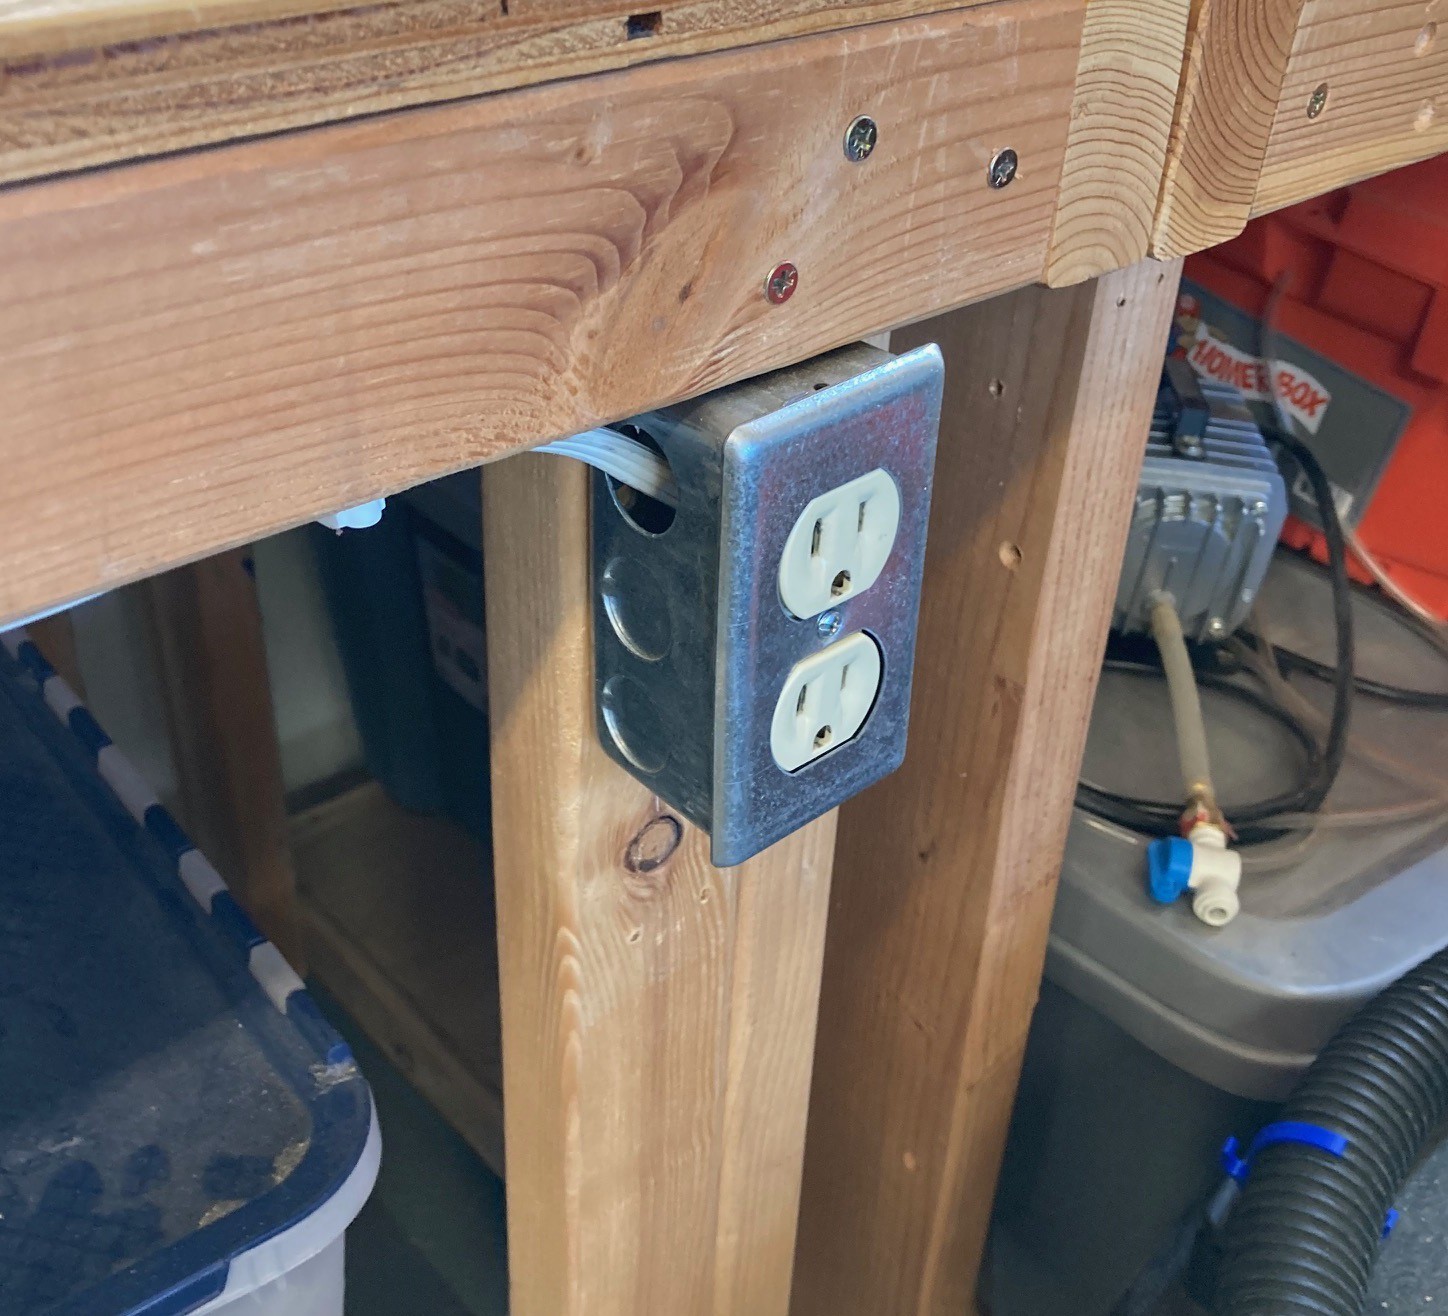
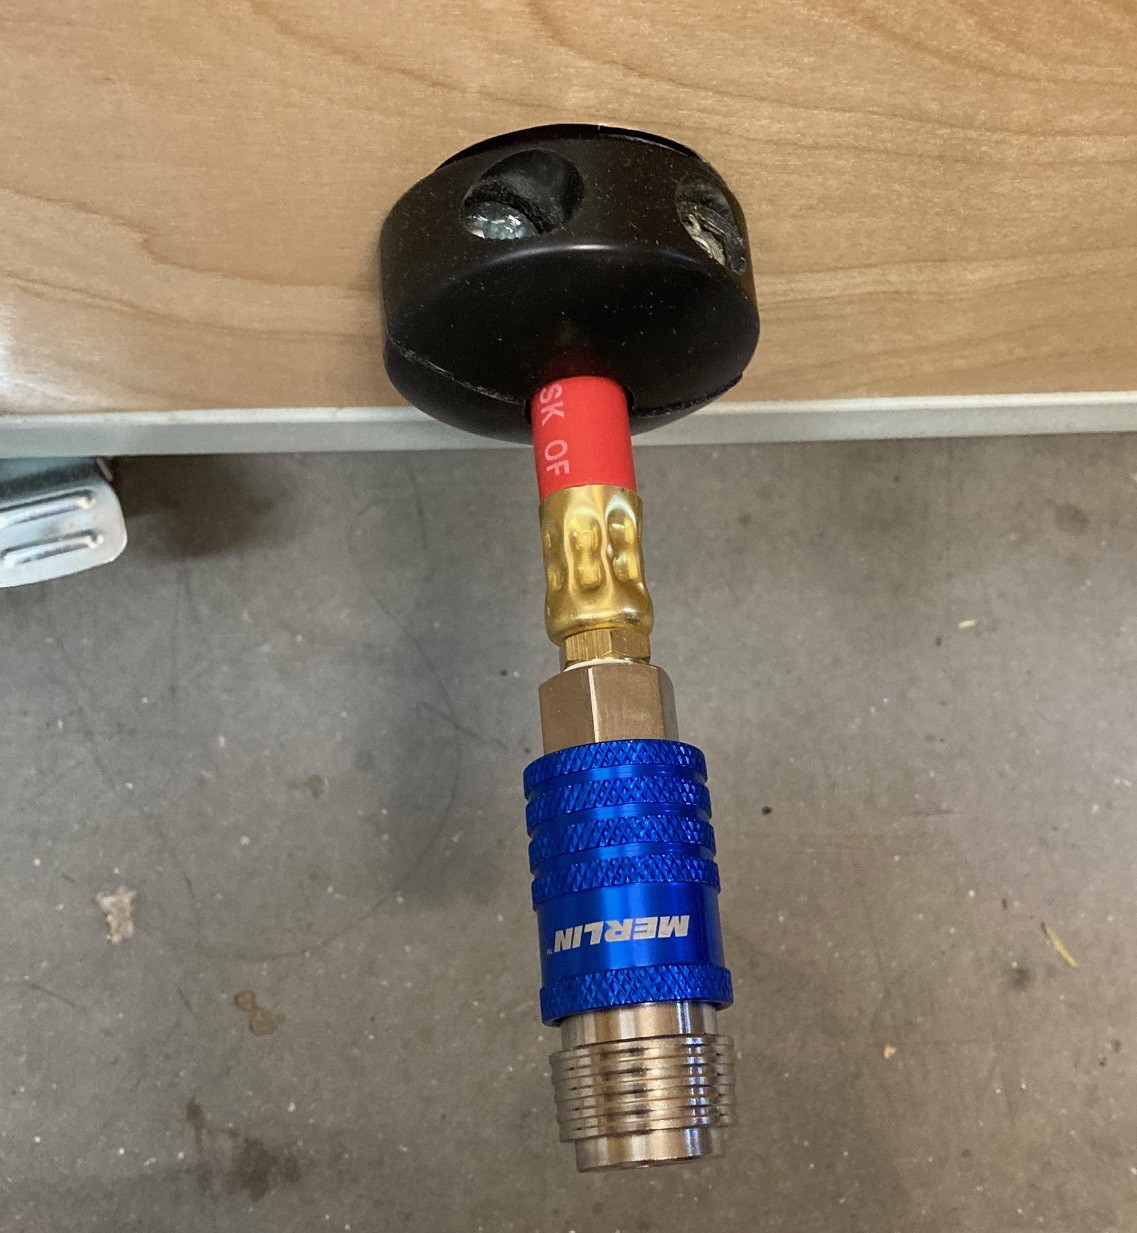
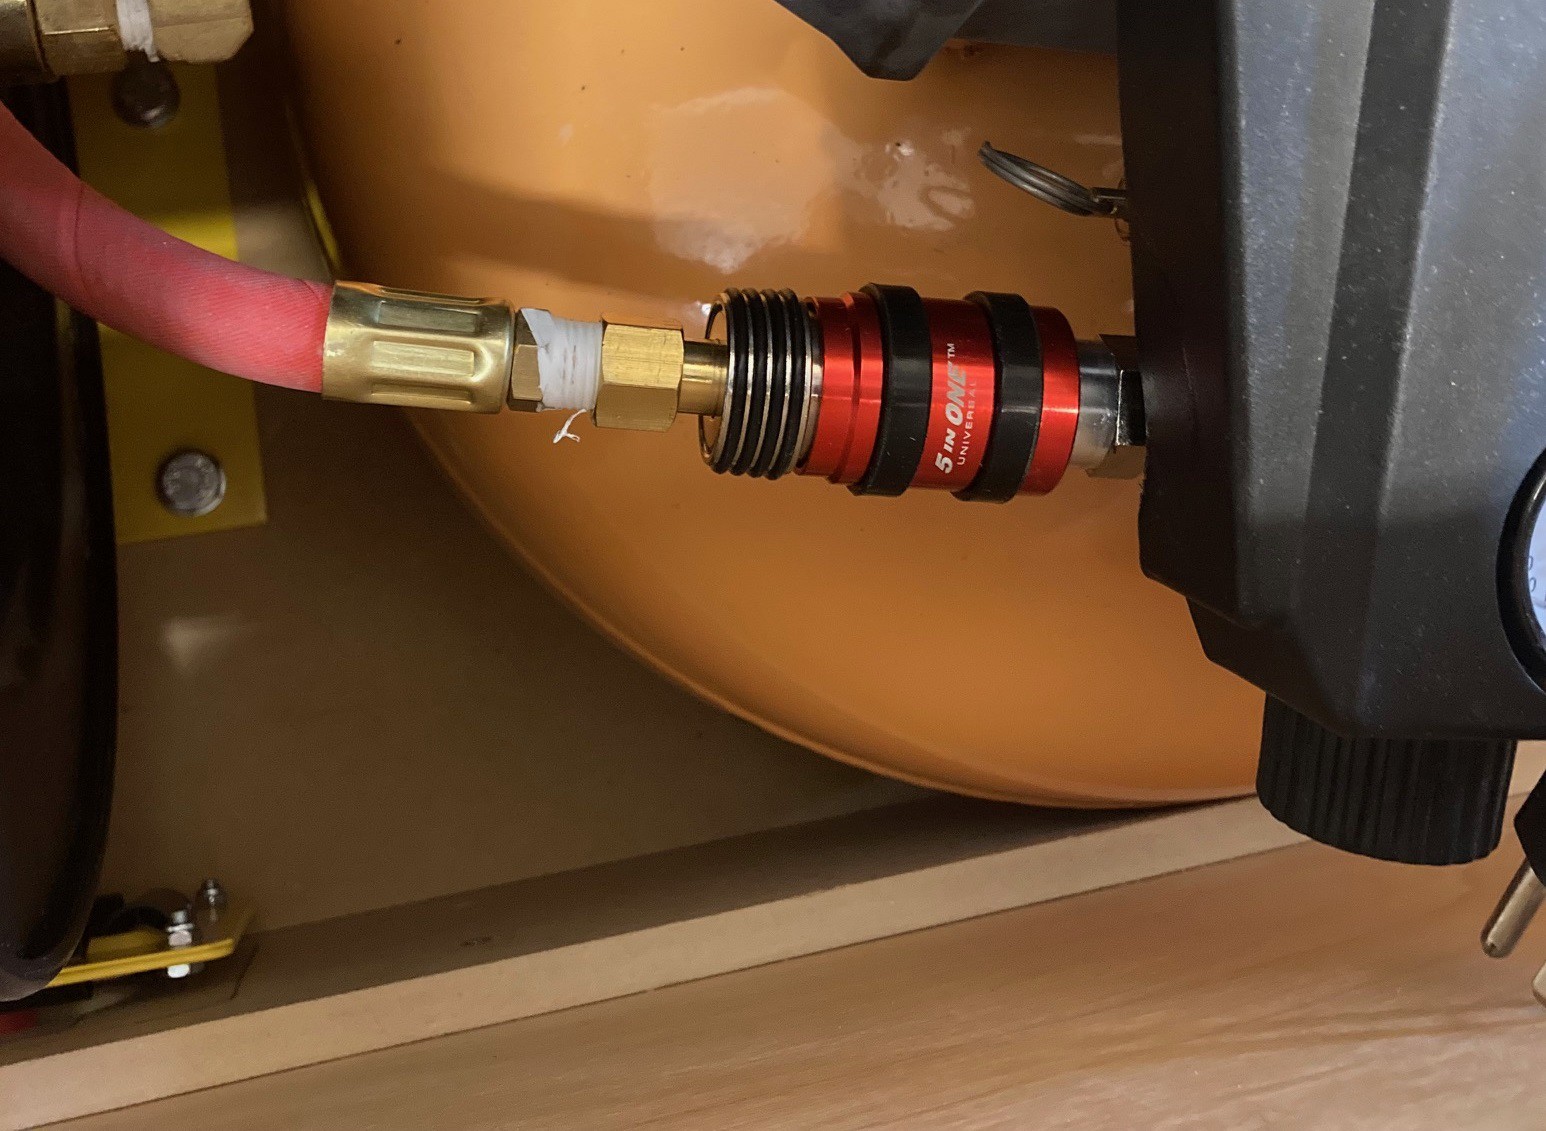
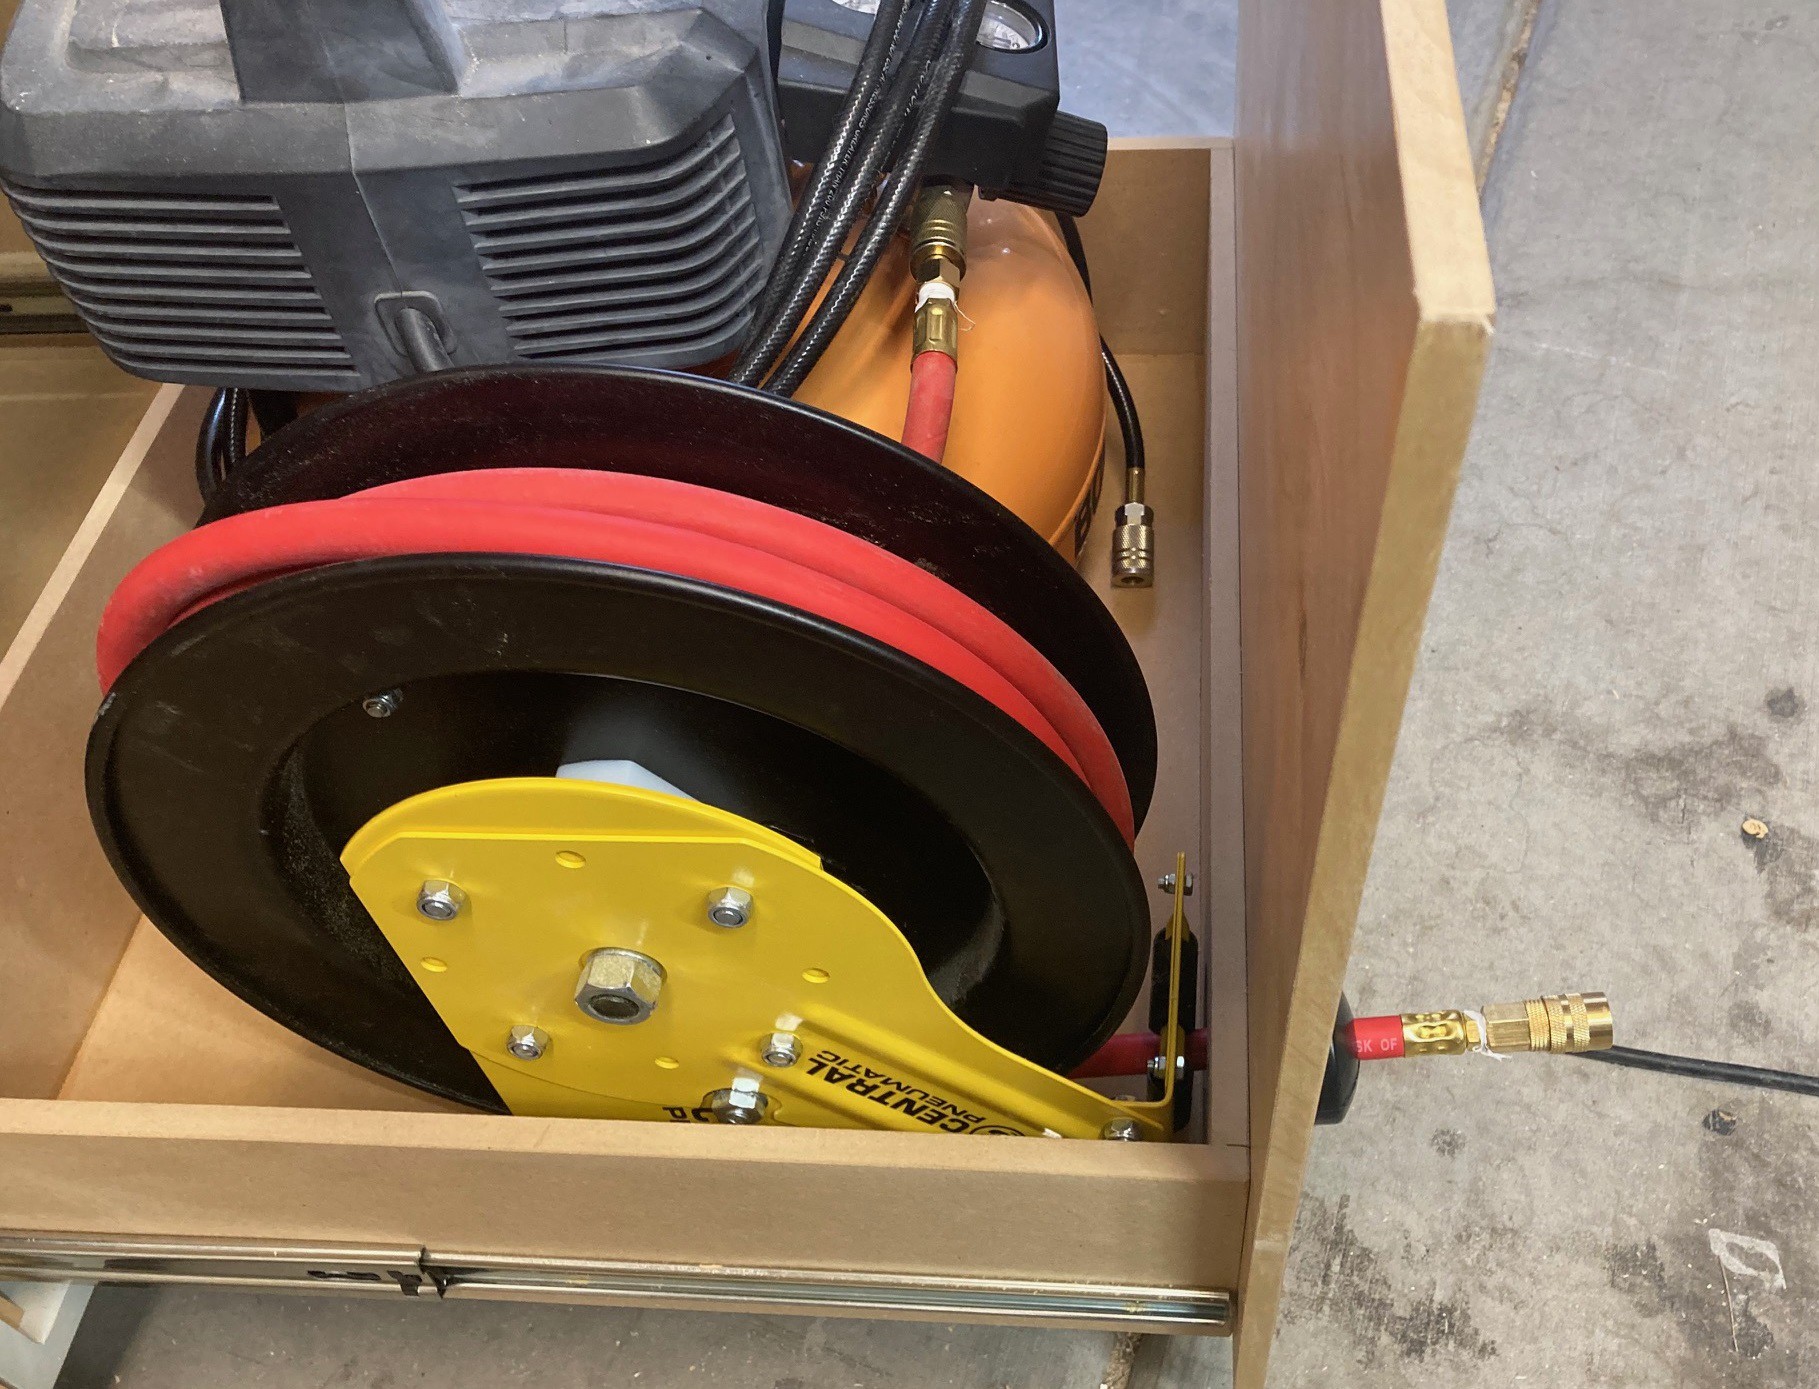
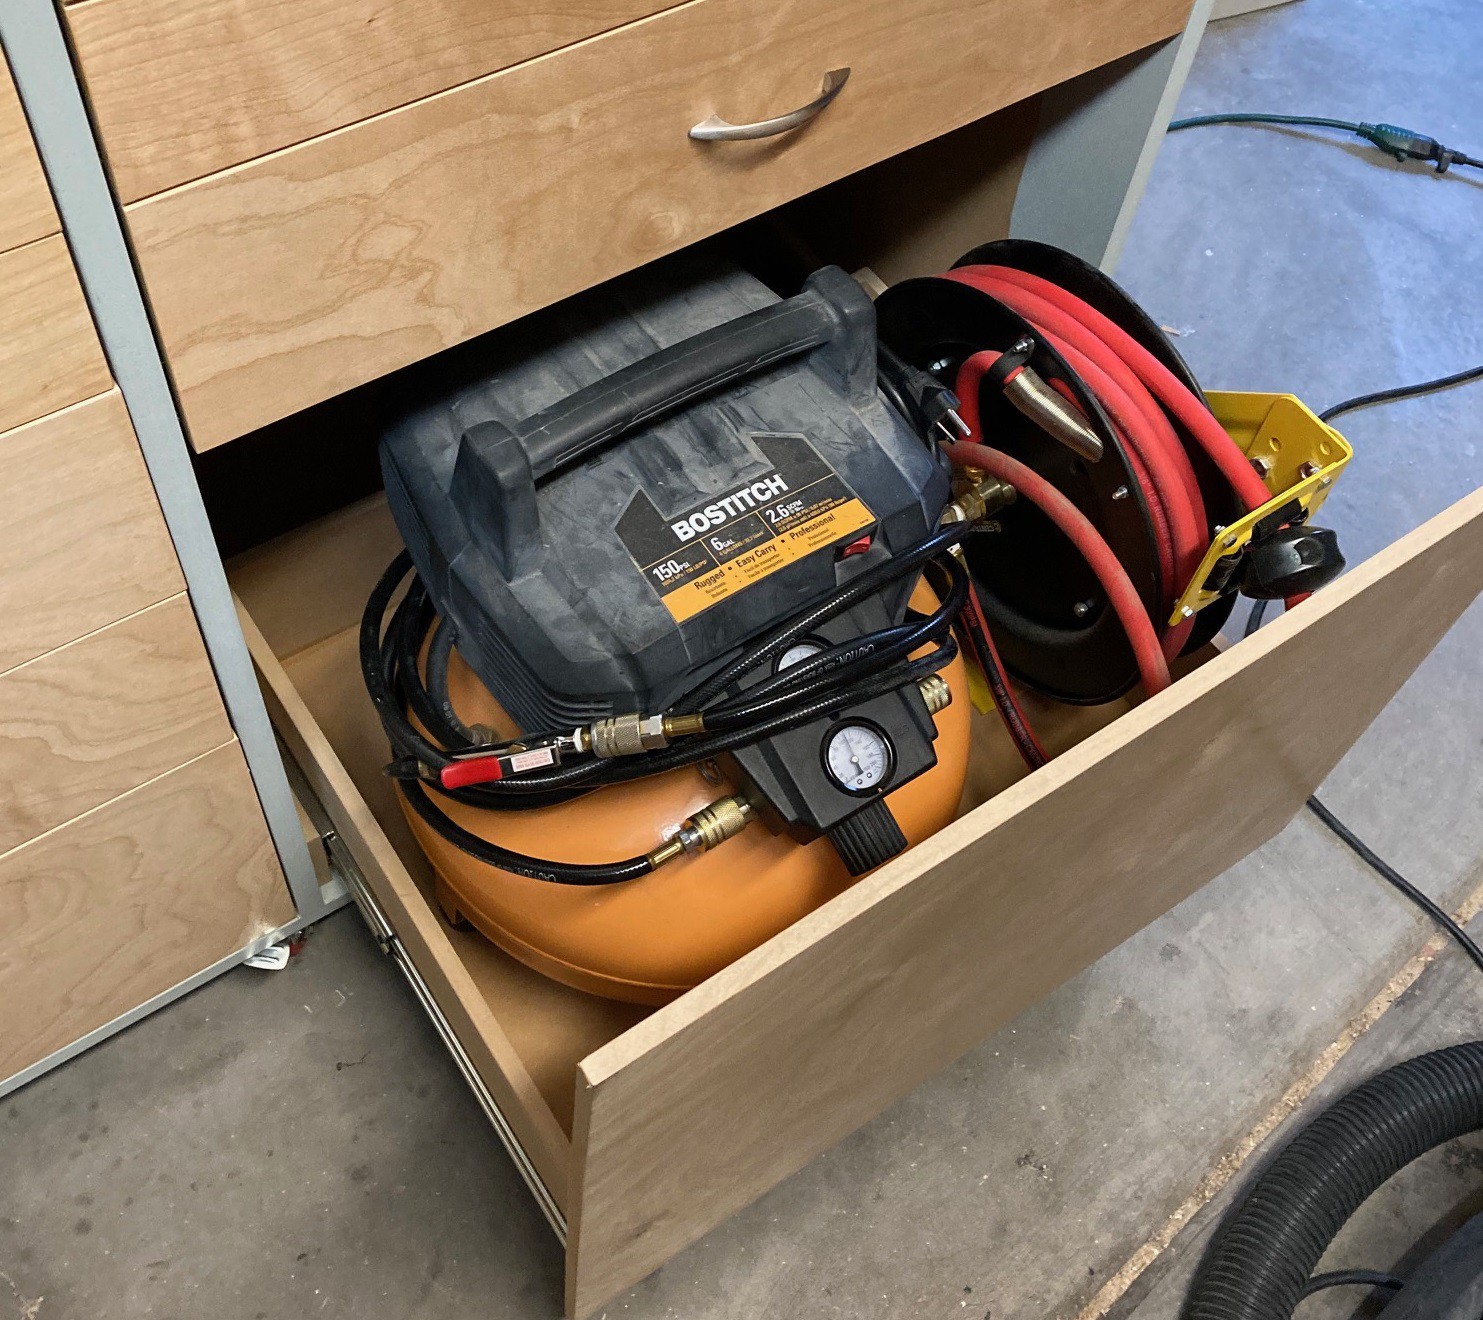
Hidden in a drawer is an air compressor and hose reel. The hope is this will quiet down the compressor so I don't have to wear ear protection when using it.

  • Tidying Up

    David Tucker11/22/2023 at 23:01 0 comments

    When I finished up my tool cart, life got in the way and I ran out of time to put the finishing touches on it.  Now that we have a long weekend I decided to go ahead and finish it up.

    First up I picked up a remote controlled timer to let me turn the air compressor on/off without having to open up the drawer it is in.  This has an auto shutoff that ranges from 30 minutes to 8 hours.  This way I won't accidentally forget to turn off the compressor.  I'm actually surprised this is not an option built into air compressors.

    On top of that I installed a power outlet in the box, and ran the cord out the back. That way I can easily plug in the compressor without having to leave the door opened a crack for the cord.

    I put up a hook for my spare hose.  This makes it very convenient when I need to drag the compressor out somewhere.

    And I put a latch on the door to hold it close when pulling on the hose reel.  I put it up a little high to counteract a tiny bit of warping in the door.  That seems to quiet things down a bit.

    Finally I wired my workbench back  up for power with a nice long extension cord.

    I still have some organization to do. And I have to work out how I want to rebuild the workbench. But things are in a good enough place that I could live with them like this for a very long time.

  • Drawing a Vacuum...

    David Tucker11/20/2023 at 03:28 0 comments

    So my Shop-Vac is quite strong, much stronger than I really need. In the past I have had troubles with it collapsing my dust collector.  It has always baffled me that they don't have a vacuum relief valve built right into it.  All my home vacuums have one, and they act as a good indicator that something is wrong.

    I was contemplating various ways to add a relief valve and finally hit on replacing the drain cap.  That lets me reverse the modification when I need more pressure (ie when sucking up water) and yet it is large enough to allow for good pressure relief.

    This is made up of just two 3d printed parts and a m6 bolt and spring.

    And it is designed to print without any supports.  Here you can see a cross section of the cap from an early test print.  It fits quite nicely.

    This works quite well and I'm very pleased with it.  I have only done some small tests with it, but it seems to provide a good level of protection.  Time will tell if it is truly a good idea, but I'm very happy with it.

    You can download the stl files from my Thingiverse page.

  • Organized in 3, 2, 1...

    David Tucker11/15/2023 at 02:25 0 comments

    So I'm still contemplating what I want my workbench to look like. So in the meantime I thought I would start organizing my tool cart.

    The first step was my socket collection. I had these hanging on the wall and really did not like the system.  After overthinking it for a while, I thought I would just make some compact trays to hold things.  After playing around with various configurations I came up with this one. Printing out the layout allowed me to double check the fit without wasting filament.

    This is a fast project, I just tried to make things as small and efficient as possible. I'm hoping in the future to make these a uniform size and possibly to add in some markers.

    A few more and I have a half organized drawer!  Next up is the spanners. You can see how a little better planning could make this all fit together much more compactly.

    Disconnecting the air hose reel from the compressor is a bit too exiting.  I stumbled across this safety coupler that seems to have solved the problem.   This has a pressure release valve built into it. So you can drain the air line before disconnecting the hose.  It removes the 'pop' as well as being much easier to decouple.

    These are the same size as the old couplers, but they look like little light sabers (pew-pew)

    The one on the inlet side is more important, the reel holds a lot of air!

    Finally I took some time to clean up my shop vac, so all my tools can use the 1-1/4" hose that came with my vacuum.  I have a 2" hose as well, but I find it too bulky to use with my tools.

    My track saw just needed a small sleeve to make things fit.

    But the biscuit joiner has a funky connector that took a little more effort.  Finally my sander and chop saw already worked with my hose.  It is surprising to me that there are only a few hose sizes, and yet nothing is designed to actually fit them out of the box.  I also made some clips to make it easy to tie a tools power cable to the shop vac hose, and disconnect it quickly as well.

  • Next Steps

    David Tucker10/10/2023 at 02:58 0 comments

    So I have been thinking about workbenches again.  I'm trying to work out what type of top I want.  A lot of people seem to build there tops out of 2x4's that have been machined down flat and then glued back up.  I don't have the tools needed to really pull this off. And I'm not sure my benchtop needs to be this strong.

    One good idea to work around this is to use pieces of plywood cut up into strips and laminated back together to build the frame of the table.  I'm not sure I have the tools to pull that off either, but it is much more achievable with only a track saw.

    I really like the idea of having a face to clamp material onto.  I'm not sure how often I would use this, but for sure it would come in handy once and a while.

    And of course I love the idea of fitting a router lift or small table saw into the workbench. Space is at a premium and this saves a lot.  However I could do away with the router table all together and only use my trim router.  It is not as convenient, but it is even smaller.

    I really love the idea of having some sort of small gap between the benchtop and the drawers.  If I'm ever going to consider dog holes then a gap of some sort (or removable top) is needed in case things fall into the holes.  I'm not stuck on dog holes, but I do really want a way to have a track saw.

  • Bolted

    David Tucker09/16/2023 at 17:43 0 comments

    I picked up a box of t-nuts that range from 6-10 mm and that are the full 22 mm thickness of my bench top.

    Then after carefully laying out all my tools in an optimal arrangement I marked, drilled and installed the t-nuts.  The idea is to hold everything securely, but still be able to quickly remove a tool, if I need it somewhere else.  In particular, the miter saw has a separate stand, and I may need to use it on a project or two.

    I took my hose reel appart and modified it so the hose pulls from the bottom rather than the top.  This should reduce the stress on the drawer since I'm pulling in line with the drawer slides.

    I then marked and drilled a 50 mm hole thorough the drawer, and mounted the reel to the drawer with t-nuts.  This will allow me to use the compressor without needing to open the drawer.  The compressor is just resting in the drawer for now and I plan on setting it up so I can quickly lift it out of the drawer if I need to take it with me.

    It all fits in well together, and with everything tucked back it does not stick out into the shop much at all.  I mounted the miter saw right at the front of the bench so that I could place wood in front of the bandsaw, without having to reach really far across to still access the band saw.  That has a downside of the miter saw sticking quite a bit into the room, when not turned to a 45 degree.  I've already bashed my head on this once, we will see if this was a bad idea or not.

    I quickly put the shop back together.  It looks very nice to me!  I still need to move all the tools into the various drawers. And I need to sort out the power situation.  I want to have a single power cord sticking out of the back of the bench that controls every tool.  And I would like some quick disconnect in the drawer so I can unplug the compressor without fishing cords around.  And I want a way to turn the compressor on/off from outside of the drawer

    I also want to add some sound absorbing material to the compressor drawer, and add in a latch to hold it closed while pulling on the hose.  And I need to find a way to straighten up the face of the drawer.  The 1/2" plywood I used for it is already warping, and i was not smart enough to back it with a large piece of MDF to help stabilize it.  I will probably come up with something that also allows me to hold a spare hose for the compressor so it serves more than one purpose.

    One issue I'm having is that it is relatively difficult to roll this around.  Once you get it rolling it continues just fine.  But changing directions or steering is difficult. I think the top bearing on my wheels is not really up to the load and that makes it a bit sticky.  I have a set of 3" casters I could swap out for these 2" casters, I may do that if it gets worse.  I figure there is about 200 pounds on the 6 casters right now, and I expect another 100 or so pounds of tools in here.  These casters should be able to hold 800 pounds, if there claims are correct.

    Now that I'm done with this second cart, it is also time to sort through my scrap wood pile.  I hate throwing away wood, but there are only so many 2" wide pieces of MDF a person needs!

    My hope is to get this all cleaned up and packed away this weekend.  I probably will need a little more time to sort through the power and sound isolation, but I can knock out the cleanup at least.  It will be nice to have my shop put back together and get rid of the boxes of stuff.

    I still have a whole other project organizing the drawers.  I have plans to bring some 3D printing in to help, but I also just want to take the time to really sort it out intelligently.  I have never had a really well organized shop before, and I'm itching for it.

  • Faced

    David Tucker09/10/2023 at 05:32 0 comments

    It is done!  I finally got the drawer fronts on, including the handles.  I nearly had a stroke in the 110 degree heat today, but it is finished.

    After edge banding I sanded everything and then gave it a few coats of lacquer.

    I then used some 2mm spacers and double sided tape to stick the fronts to the drawers. Then carefully pulled the drawer open and clamped it.  Finally I shot some holes through the back and screwed the faces on.

    It took some time, but it looks really good!

    For the handles I put some painters tape on each drawer, then measured out the holes for one drawer. Finally I used my laser level to transfer the hole positions to the other drawers, so they all line up straight.

    I have not decided what I want to do with the air compressor drawer, that is why it does not have a handle.  I'm contemplating not having a proper handle at all.  But instead having some sort of hidden pull or latch you can tug on to open it if needed. The hope is that it will always be closed.

    The hose reel will allow for access to the air, and I plan on having some sort of a remote switch for the compressor so I don't have to open this to turn it on.  Finally I want to put some sound absorbing materials in the drawer to quiet everything down.

    I'm not quite done. I want to put some sort of top on the box, maybe some floor vinal.  Something more robust than paint.  And I need to put in t-nuts for all the tools, that will help keep them in alignment, but still make it easy to remove if needed. Finally I need to sort out power, I want another power strip so this cart can be rolled around independently and all the tools just use one cord.

    Still it is very nice to be even this close to finished!

  • Edged

    David Tucker09/10/2023 at 05:21 0 comments

    So I needed to do a bit of edge banding, but so far it has been a fairly miserable experience.  I find it difficult to get the banding to stick evenly.  It tends to splinter when trimming, and it usually gets glue everywhere. However it is one of the few things that makes plywood look solid, and so it is worth trying to come up with a better technique.

    The first thing to do is build a jig to hold your boards.  This is easy to crank out, and it makes it much simpler to hold the work.  That in turn gives you more control.

    The next trick is to use the right material.  Somehow I ended up with 3/4" banding, and I was using it on a 1/2" board.  It is much more likely to shred if your using too wide of a tape.  I ordered a 1/2" roll and it worked much better.

    One thing I recently discovered is that you don't need to use nearly as much heat and pressure as you would think. The glue melts in just a few seconds, and if you overheat it and press too hard then all the glue leaks out and nothing will stick.

    When trimming the edge I find it is best to trim one side, then go ahead and trim the whole edge.  That seems to reduce the chance of the end splitting or tearing.

    Finally I have tried several tricks for trimming back the side of the edge banding, but none of them worked well.  I tried trimming with a razer blade, that wandered.  Trimming with a file, that tended to gouge the material or create a fold.  I tried a chisel, but that was a real mess.  I broke down and picked up this orange trimmer designed for edge banding, but it was not sharp enough and caused a lot of tear out.  

    Finally I followed a tip from Alexandre Chappel, he recommended using a blade from a planer.  I found a cheap set of replacement blades on Amazon.  They are a bit small, but they work very well. If you find your getting some tear out, then try cutting from the other direction, you may be fighting against the grain of the tape.

    These helped, but I still hate edge banding.  It is a lot of work, for a splotchy messy result.  Maybe I need better quality tape, or just more experience.  In any event, it is done, and it turned out better than I expected.

  • Next Steps

    David Tucker08/27/2023 at 04:57 0 comments

    I still need to finish up the faces for my tool cart, but the weather has just been too off to get into the shop recently.  In the meantime I am trying to start thinking about the final design for my workbench.

    I know I want to put the CNC router into the workbench.  I'm fairly happy with that idea.  And I want to have a overhang around the edge of the table top so I can get clamps onto it.

    Someday I want to pick up a small sawstop table saw and stick it in the end.  I'm not really comfortable with saws in general and I feel the sawstop adds that touch of safety that makes it possible to get a saw. For now it is well outside of my price range, but it is nice to know it could fit, with a bit of modification.

    I want to make a cross cut fixture for my tracksaw.  This involves small offsets attached to the front/rear of the table to rest the rail on, as well as a popup fence in the back that can be lowered to give a continuous surface.  To make this work I was thinking of installing an aluminum profile in the front and back of the table top.  That can be used to clamp the trac to, as well as used as a face clamp for holding pieces vertical.

    Finally it would be nice to have a proper face vice in the table on the left hand side.

    I was thinking about trying to fit a router into this contraption, but I think a small jig that can be fit into the table clamp to hold the router would be a better use of space. I don't expect to use a router table very often.

    I'm not quite sure what to do with the remaining space under the table. Probably just toss a couple of shelves in there for now.  And of course I'm not going to make the space for the table saw right away. That can be added in later, if I ever manage to buy one.

    Oh, and I keep thinking about adding in a MFT style top, but I just can't see doing that.  However I can see adding a few holes in the top near the clamp to allow for clamping much larger objects.

  • Drawers

    David Tucker08/21/2023 at 04:32 0 comments

    The heat is killing me, but I pushed on through and managed to get all the drawers installed.  The ones over my air compressor drawer took special effort to put in.  Fortunately the cad file has all the dimensions, so it was just a matter of cutting some scrap wood to use as offsets.

    I made a small mistake on the air compressor drawer. I had planned to offset the bottom by enough space that I could put in a seal if needed.  I think I will leave it as it is for now, I'm not sure I need the seal, and I can move the shelf up later if it turns out I'm wrong.

    I still need to make the faces for the drawers, but I decided to put it all together for now, just to see how it comes together.  It is looking good!

    My drill press had a broken handle on the table lift.  I 3D printed a new handle and it worked out really nice.  I took a stab at polishing it up, It feels really nice, although it still looks a little rough. 

    I also picked up a pair of LED shop lights from harbor freight.  They are rather small, but they are noticeably brighter than my 4 tube florescent light.  I still need to sort out the wiring, I currently have a hodgepodge of power cords to make them work.

    I came across this youtube video showing a different way to make a tool wall.  I have a pegboard and I'm not really very happy with it.  There idea is to put a sheet of plywood on the wall, then use pin nails to tack the tool holders onto it.  That way you can pull the tool holders back off and move them, if you really want to reorganize it.  This is great, because 99% of the time I don't want to rearrange my wall, and the pesky peg system is always falling apart.

  • Sliced

    David Tucker08/06/2023 at 19:33 0 comments

    The temperature dropped down to 105F this weekend, so I braved the garage and managed to get all the parts of my drawers cut down to there final size.  It is getting very hot again and I think I'm done for this weekend.  I still need to do a dry fit of the parts to make sure I did not mess anything up, then do a rough sanding to take care of any small oopsies when cutting, then glue and staple them together and finally toss in a few screws to make it really hold together well.  Finally the big event, putting them in and adding faces.  I went out today and picked up the rest of the materials I will need to finish it all up.  So hopefully, if the weather holds, I can get close to finished next weekend.  If not, then chances are we will have another month of scorching heat and this could take a while to finish.

View all 62 project logs

Enjoy this project?

Share

Discussions

chuzzicute12 wrote 05/30/2023 at 11:05 point

Wow, it sounds like you're taking on quite the project to reorganize your workshop! I can definitely relate to the struggle of a cluttered space after years of collecting tools and dealing with the demands of life. Your plan to rework the workbench and build new cabinets and storage sounds like a great way to maximize the limited space you have.

I must say, your dedication to getting all your major power tools easily accessible without constant reshuffling is impressive. It's clear that efficiency and functionality are important to you in your workshop.

I took a look at the snapshot you provided, and it's great to see the progress you've made so far. The built-in shelves along the right wall seem to be a treasure trove of well-utilized space. The wrap-around shelves on the left side of the garage are a smart addition, providing more storage options. The reorganized and painted laundry area adds a fresh touch to the workspace, and the new roof mount for your extension ladder is a clever solution.

Furthermore, your effort to clean up the space beside the car for easier entry and exit is a thoughtful improvement. And let's not forget about your wood collection! Starting to organize it is a step in the right direction.

I particularly admire how you put your drill press on casters and built a new table with a storage drawer for it. Adding a DRO (Digital Read Out) and an LED light to enhance accuracy is a fantastic idea. Your attention to detail and commitment to improving your tools and workspace is commendable.

On that note, if anyone is looking for reliable information and guidance on mobile screen repairing, I highly recommend checking out your website. It's evident that you possess a wealth of knowledge and experience in this field. Your website is sure to provide valuable insights, tips, and solutions for anyone interested in mobile screen repairs by ifixscreens. Keep up the excellent work.

  Are you sure? yes | no

rich.quackenbush wrote 01/22/2023 at 19:22 point

Wow - great project and even better write up / pictures. Thanks for sharing this! Now I need to go out and organize my garage.

  Are you sure? yes | no

raziaaslam2838 wrote 01/20/2023 at 07:20 point

Hi, such a valuable project that surely help to properly organize our business as well. I will share this with my team of https://networkcableinstall.cablingcompany.co.za/fiber-installations/ improve their performance and working capacity.

  Are you sure? yes | no

Gregory Sanders wrote 01/01/2023 at 12:19 point

A worthy project and full of creative applications of hacktivity, imho.  Keep up the good work!

  Are you sure? yes | no

Similar Projects

Does this project spark your interest?

Become a member to follow this project and never miss any updates